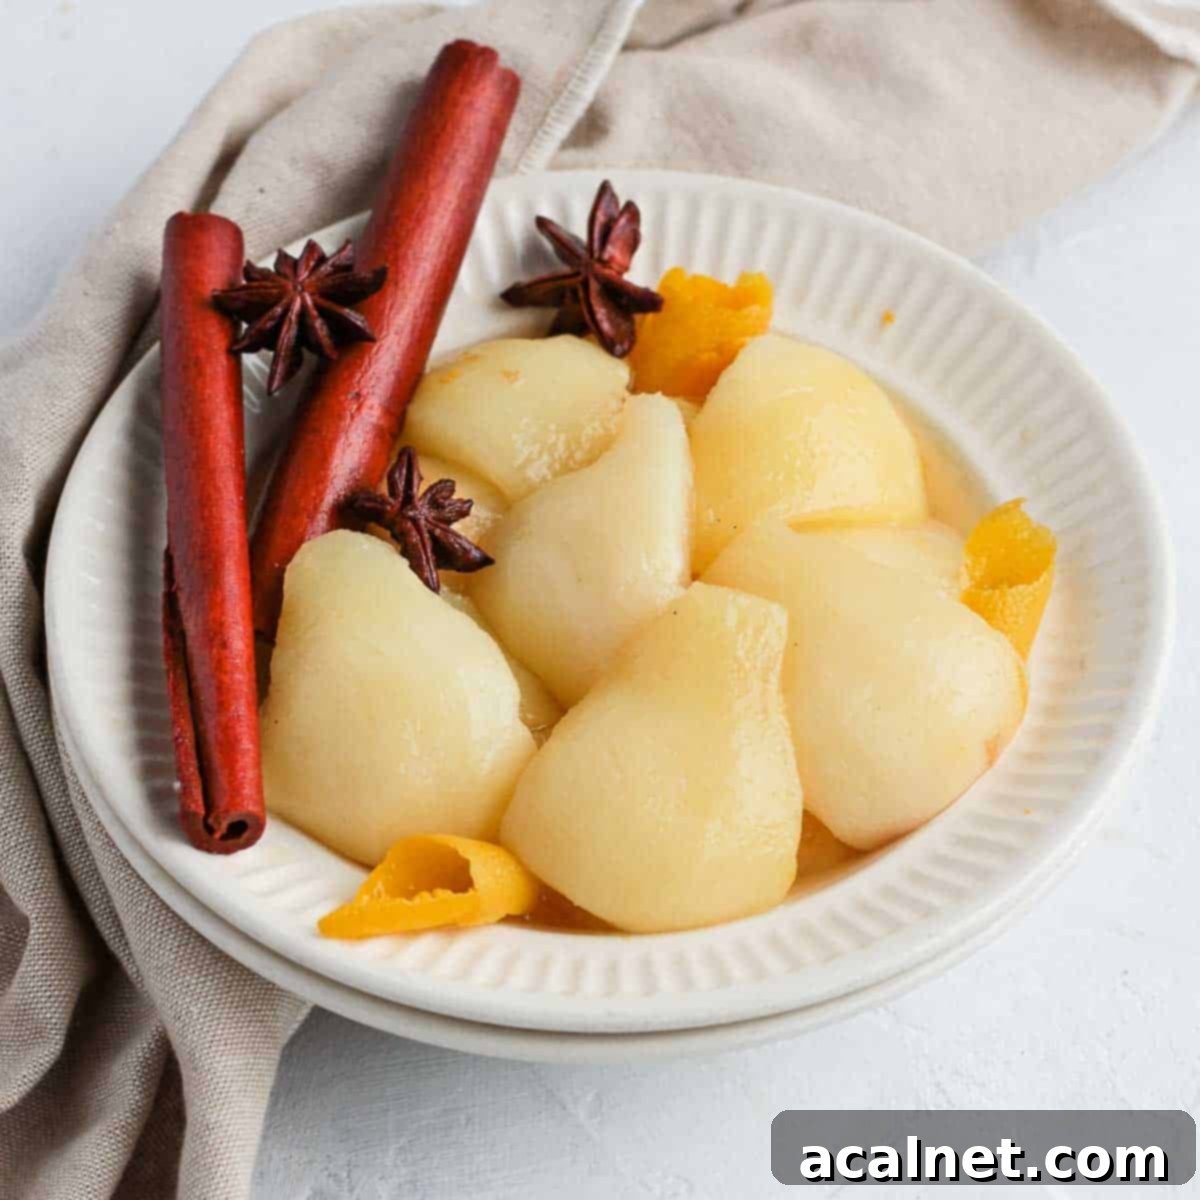
Easy & Healthy Stewed Pears: Your Ultimate Cozy Winter Dessert (No Refined Sugar!)
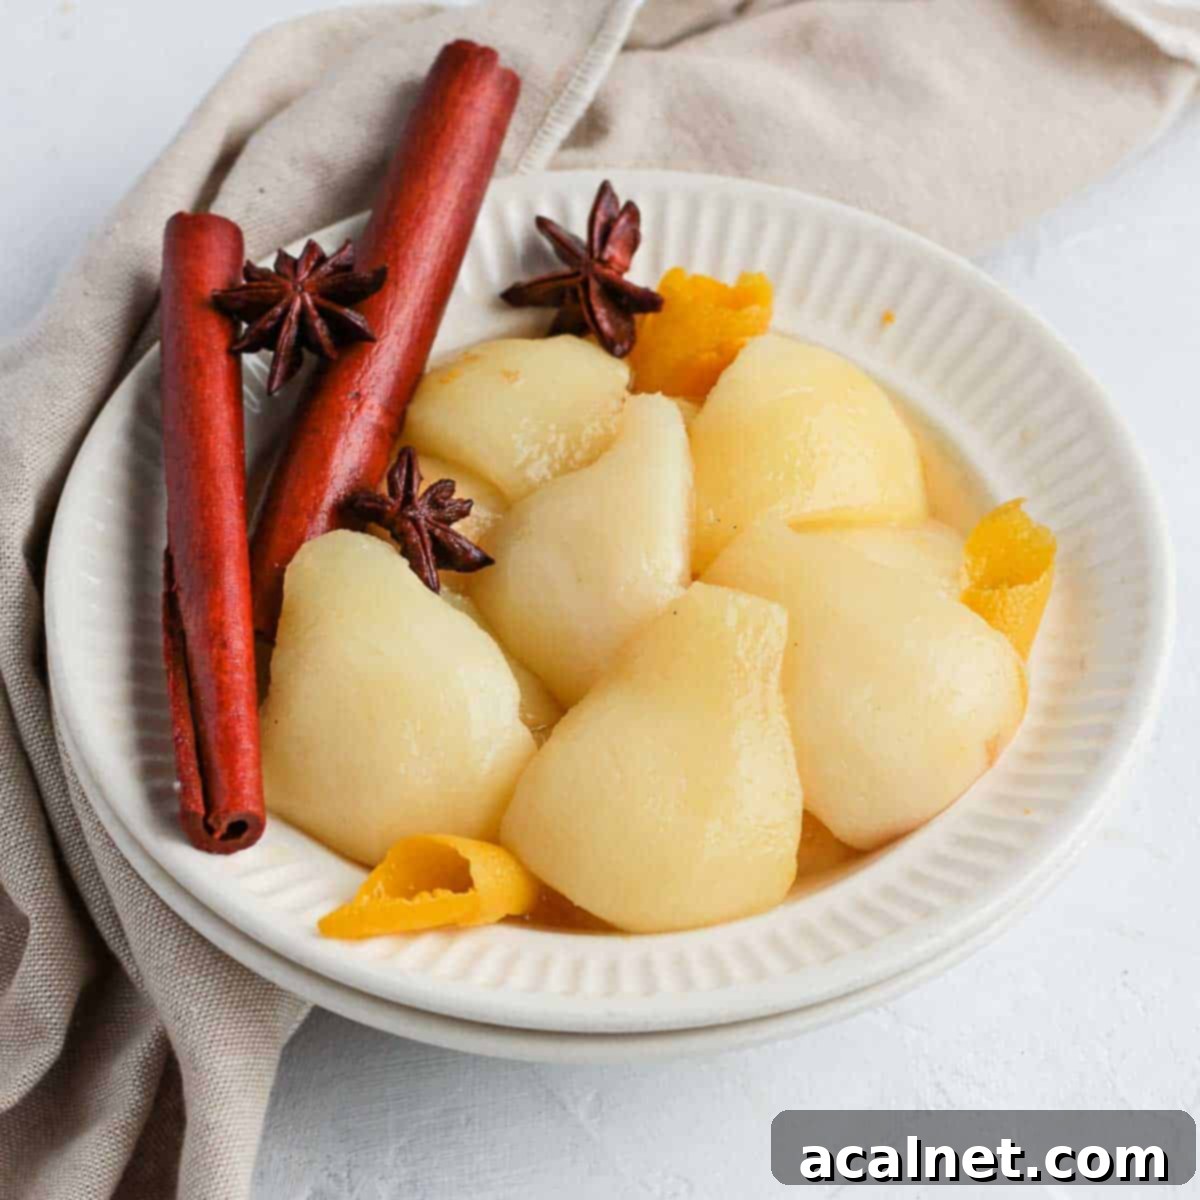
Embrace the comforting flavors of winter with these effortlessly delightful stewed pears. This recipe transforms humble pears into a healthy, versatile, and incredibly flavorful dessert or breakfast topping. Cooked gently with zesty lemon, sweet oranges, and warming spices – all without a trace of refined sugar – these fragrant poached pears achieve a deliciously soft texture and are bursting with aromatic goodness. Get ready to fill your kitchen with the enticing scents of the season!
[feast_advanced_jump_to]
Why You’ll Adore This Easy Stewed Pear Recipe
There’s a special magic about these quick, easy, and incredibly flavorful stewed pears, especially during the colder months. This healthy pear recipe isn’t just remarkably simple to prepare; it’s also wonderfully versatile, making it a staple in any kitchen.
Much like a vibrant Stewed Rhubarb in spring or the smooth textures of an Easy Pear Compote, these poached pears offer endless possibilities. Enjoy them simply on their own as a light dessert, spoon them over creamy yogurt or a scoop of vanilla ice cream, transform your morning oatmeal into a gourmet experience, or use them as an elegant topping for pancakes, waffles, or even cakes. It’s an ideal way to utilize a bounty of fresh pears, and the process will infuse your entire home with the delightful aromas of citrus and warm spices. Best of all, you achieve all this incredible flavor and comfort without needing any processed sugar!
Essential Ingredients for Perfect Stewed Pears
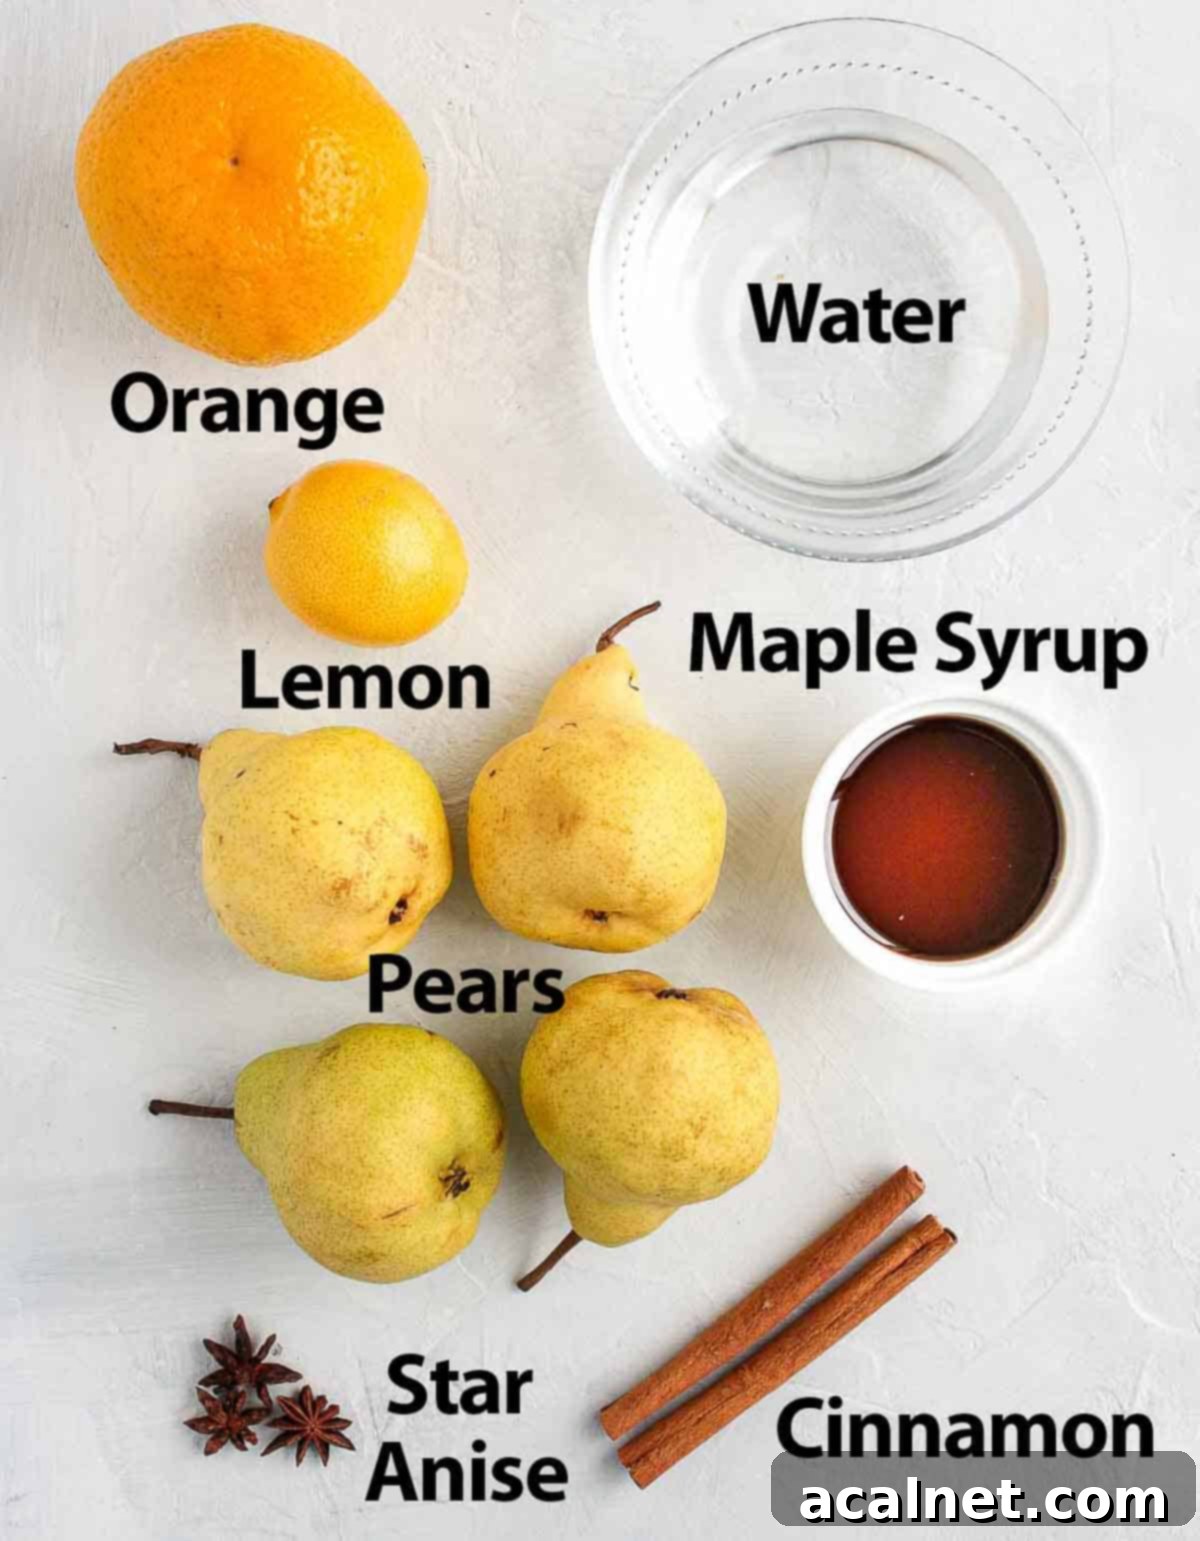
These flavorful stewed pears are crafted with just six simple ingredients (plus water), but the beauty of this recipe lies in its adaptability. Feel free to add, change, or substitute some components to create your own unique flavor combinations.
- Pears: The key to perfectly stewed pears is choosing the right ripeness. Look for fruit that is somewhere between firm and ripe. A very ripe pear will quickly break down into a mushy consistency in the hot stewing liquid, while a very firm, unripe pear will take significantly longer to soften, potentially becoming rubbery. Varieties like Bosc, Anjou, or Comice are excellent choices as they tend to hold their shape well when cooked, absorbing all the wonderful flavors.
- Citrus: We use a harmonious blend of Lemon and Orange. The lemon provides a touch of essential acidity to balance the sweetness, while the orange contributes a lovely, bright sweetness and a vibrant aroma. By utilizing both the peels (zest) and the juices, we infuse the poaching liquid with maximum citrusy flavor. If you prefer a milder citrus note, you can opt to use only the peels. Be sure to avoid the white pith when peeling, as it can impart bitterness.
- Maple Syrup: This natural liquid sweetener is a fantastic choice, adding a deep, caramel-like flavor that perfectly complements the spices. It’s a wonderful alternative to refined sugars, offering a more nuanced sweetness. You can easily adjust the quantity of maple syrup to suit your preference and the natural sweetness of your pears. Honey or agave syrup are also great alternatives if maple syrup isn’t available.
- Spices: Our go-to combination for this recipe is classic Cinnamon Sticks and aromatic Star Anise Pods. These spices bring a warm, inviting, and slightly exotic profile to the dish. We highly recommend using whole sticks and pods rather than powdered spices. Powdered spices can sometimes leave a grainy texture on the fruit or make the poaching liquid cloudy, whereas whole spices infuse their flavor cleanly and can be easily removed before serving.
- Water: The base of our poaching liquid. Ensure there’s enough water to fully submerge the pears, allowing them to cook evenly and absorb all the delightful flavors.
Creative Substitutions for Your Stewed Pears
Don’t be afraid to get creative with your ingredients! This recipe is incredibly forgiving and adaptable.
- Sweetener Alternatives: While maple syrup offers a rich flavor, you can easily substitute it with other liquid sweeteners such as Honey or Agave Syrup. If you prefer, regular granulated White Sugar or more flavorful Brown Sugar can also be used. Just ensure that any granulated sugar is fully dissolved in the liquid before you add the pears to prevent crystallization and ensure even sweetness.
- Exploring Different Spices: The world of spices is your oyster! Feel free to experiment with any of your favorite warming spices. Consider adding or substituting with Whole Cloves, fragrant Cardamom Pods, a pinch of freshly grated Nutmeg, or even thinly sliced fresh Ginger for a delightful kick. A blend of mixed spice or apple pie spice would also work beautifully.
Exciting Additions to Elevate Your Poached Pears
There are countless ways to customize this recipe and truly make it your own. The poaching liquid itself can be transformed!
For example, the plain water can be partially or fully replaced with (or combined with) White Wine for a lighter, more sophisticated flavor, or Red Wine, similar to these stunning Spiced Red Wine Poached Pears, for a deeper, more robust profile. A splash of apple cider could also add a lovely fruity depth. You can also introduce a touch of warmth and sweetness with a whole Vanilla Bean, split down the middle, or a teaspoon of pure vanilla extract added at the end of cooking.
How to Make Delicious Stewed Pears: A Simple Guide
Creating this flavorful pear stew is remarkably easy – you’ll only need a cutting board, a sharp knife, and a medium-sized saucepan. Let’s walk through the simple steps to achieve perfectly tender, aromatic stewed pears.
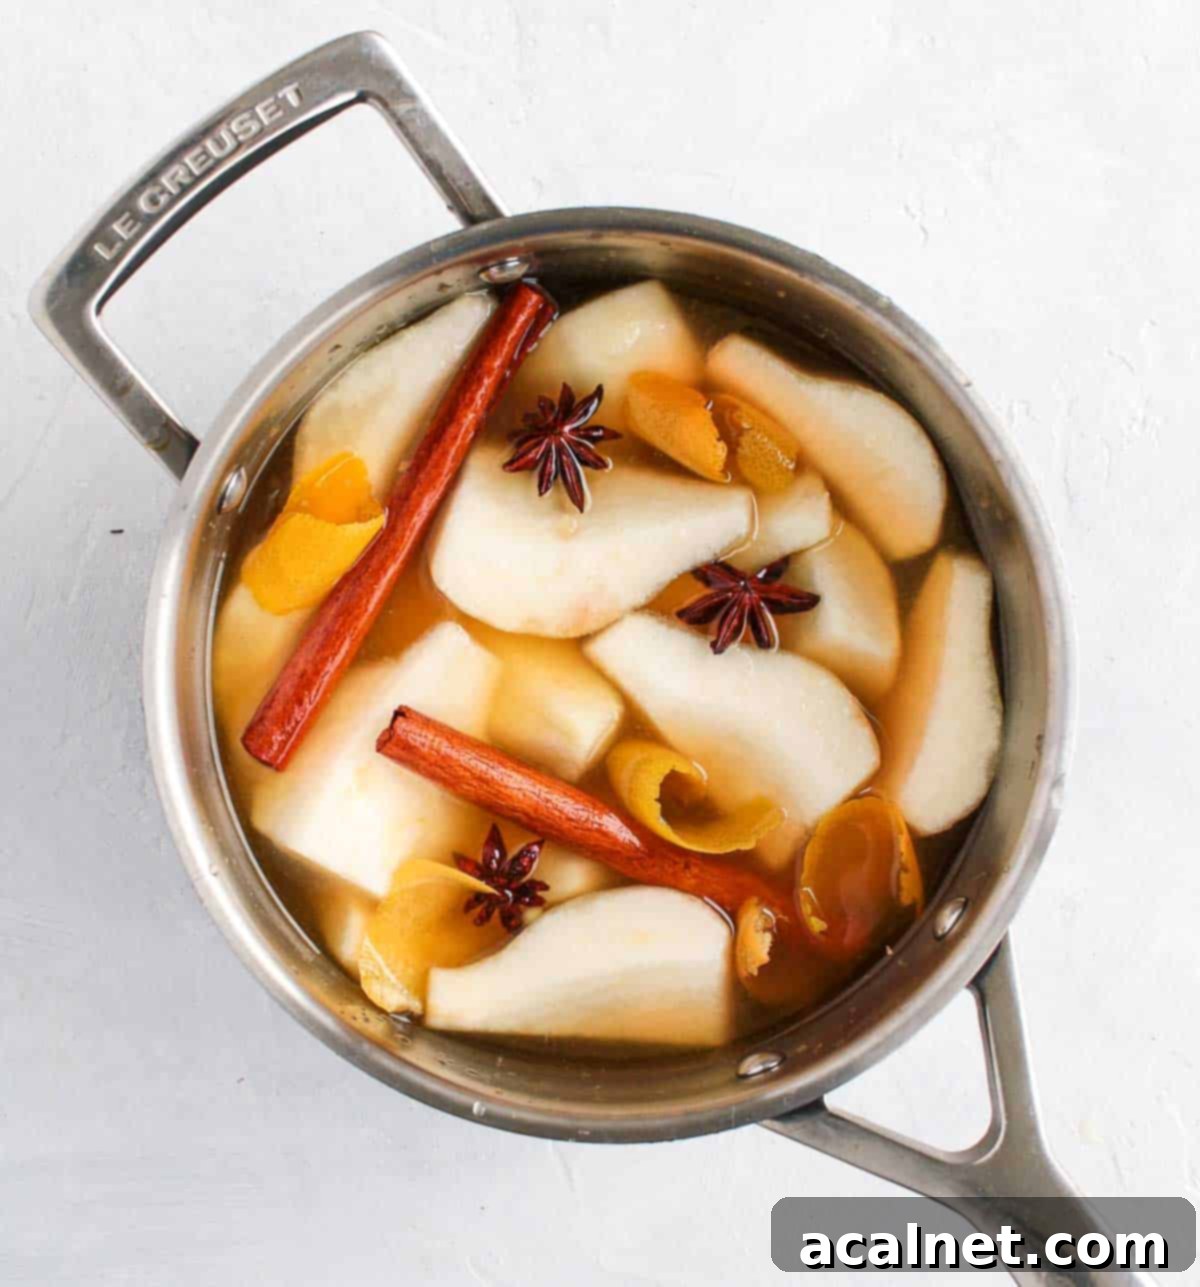
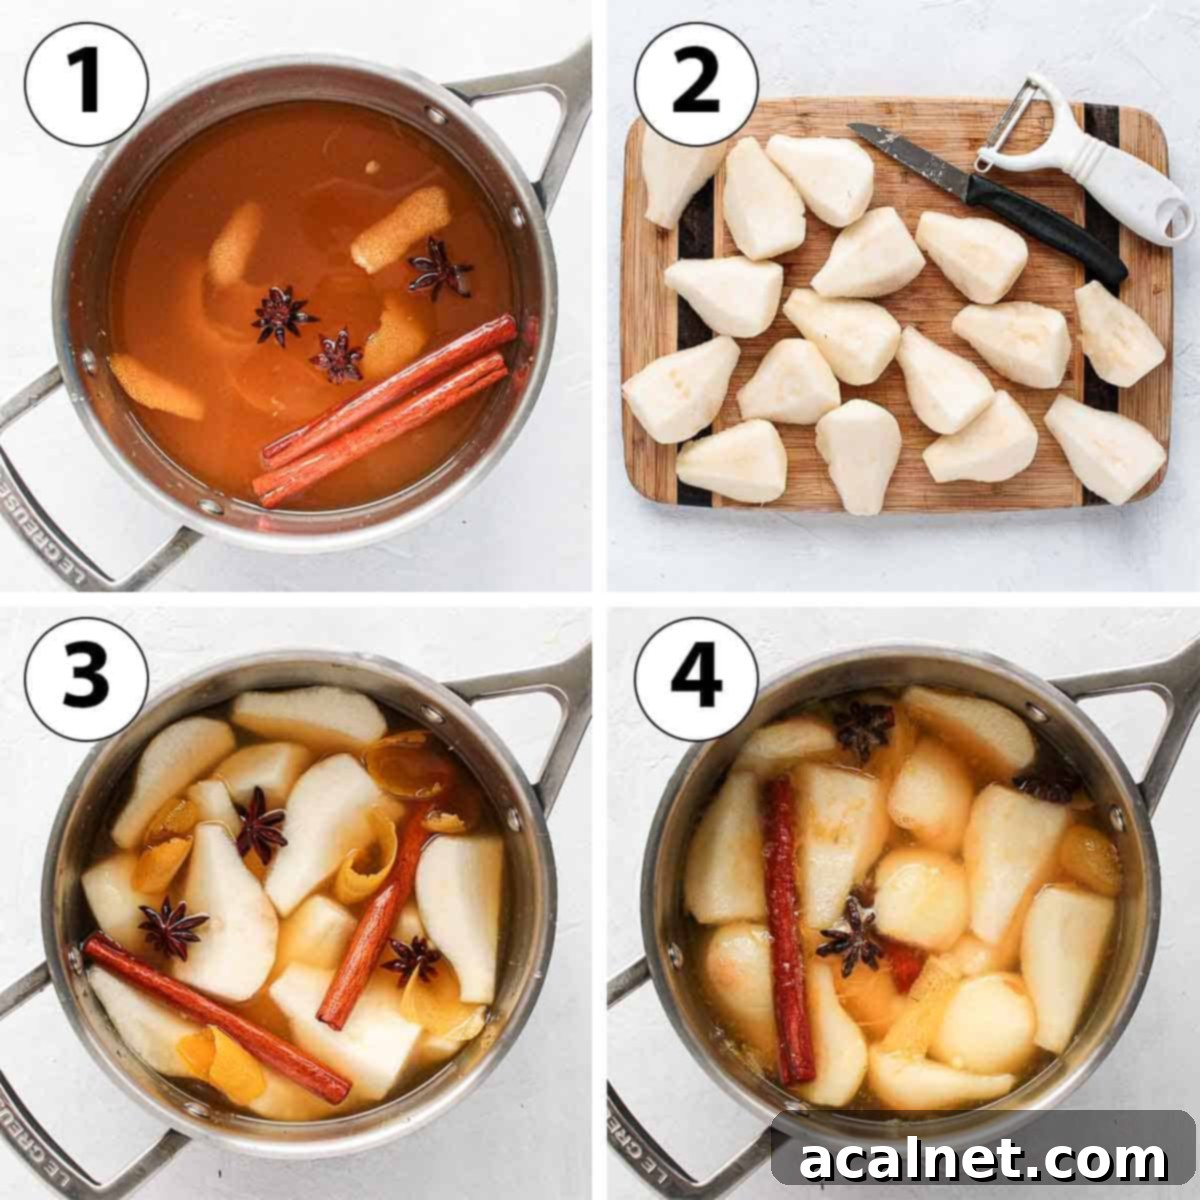
- Photo 1: Prepare Your Poaching Liquid. Begin by carefully peeling the zest from your orange and lemon, ensuring you avoid the bitter white pith beneath. Place these fragrant peels into a medium-sized saucepan. Then, juice both the orange and lemon and add the fresh citrus juices to the saucepan. Pour in the water and maple syrup, then add the whole star anise pods and cinnamon sticks. Give everything a good stir to combine all the ingredients. Place the saucepan on your stove and turn the heat to low, allowing the liquid to gently warm and the flavors to start melding.
- Photo 2: Prepare the Pears. While your aromatic stewing liquid is gently heating, prepare your pears. Carefully peel each pear, then cut them into quarters or halves, depending on your preferred size. Make sure to remove the core from each piece. If you prefer, you can certainly leave the peels on for added fiber and a rustic look, just ensure they are thoroughly washed. Once prepared, gently add the pear pieces to the simmering liquid, making sure they are mostly submerged.
- Photo 3: Gentle Simmering. Continue to simmer the pears on a low to medium-low heat. The stewing process typically takes between 15 to 25 minutes. The goal is for the pears to become wonderfully soft and tender, yet still retain their shape beautifully. Avoid boiling vigorously, as this can cause the pears to break apart prematurely. (See our tips below for how to tell when they are perfectly cooked.)
- Photo 4: Check for Tenderness. To determine if your stewed pears are ready, use a small, sharp knife. Gently insert the knife into one of the pear pieces. It should slide in with little to no resistance, indicating that the pears are beautifully soft and tender throughout.
- Once cooked to your desired tenderness, carefully remove the stewed pear slices from the liquid using a slotted spoon. Transfer them to a clean bowl and allow them to cool down completely at room temperature. Once cool, they can be stored in an airtight container in the fridge for up to 3 days. You can also store them submerged in their delicious poaching liquid to keep them extra moist and flavorful.
Tips for Stewed Pear Perfection
Achieving perfectly stewed pears is simple with these helpful pointers:
- Liquid Quantity Matters: The amount of water (or other liquid) needed can vary based on the size and shape of your saucepan. The most important thing is that your pears are fully covered by the stewing liquid. This ensures even cooking and maximum flavor absorption. Don’t hesitate to add more water if needed to achieve this.
- Monitoring Stewing Time: The exact stewing time is not an exact science; it depends on several factors: the ripeness of your chosen pears, the size of your pot, and the heat setting of your stove. Keep a close eye on the pears and check their consistency regularly with a small knife. They are ready when they feel tender but still hold their shape. Remember, they will continue to soften slightly as they cool down, so it’s often better to undercook them slightly than overcook them into a mush.
- Don’t Discard the Poaching Liquid! This flavorful liquid is a treasure. You can use it to store your cooked pears, keeping them moist and infused with flavor. Alternatively, you can return the liquid (after removing the pears and spices) to the stove and reduce it over medium-high heat until it thickens into a beautiful, aromatic syrup. This syrup makes a fantastic topping for desserts, pancakes, or yogurt.
- Transform into Pear Compote: If your pears become a little too soft, or if you simply prefer a different texture, don’t worry! You can easily transform your stewed pears into a delicious compote. Simply blend the pears (with or without some of the poaching liquid) using a regular blender or an immersion blender until it reaches your desired consistency – smooth or chunky.
Creative Ways to Enjoy These Poached Pears
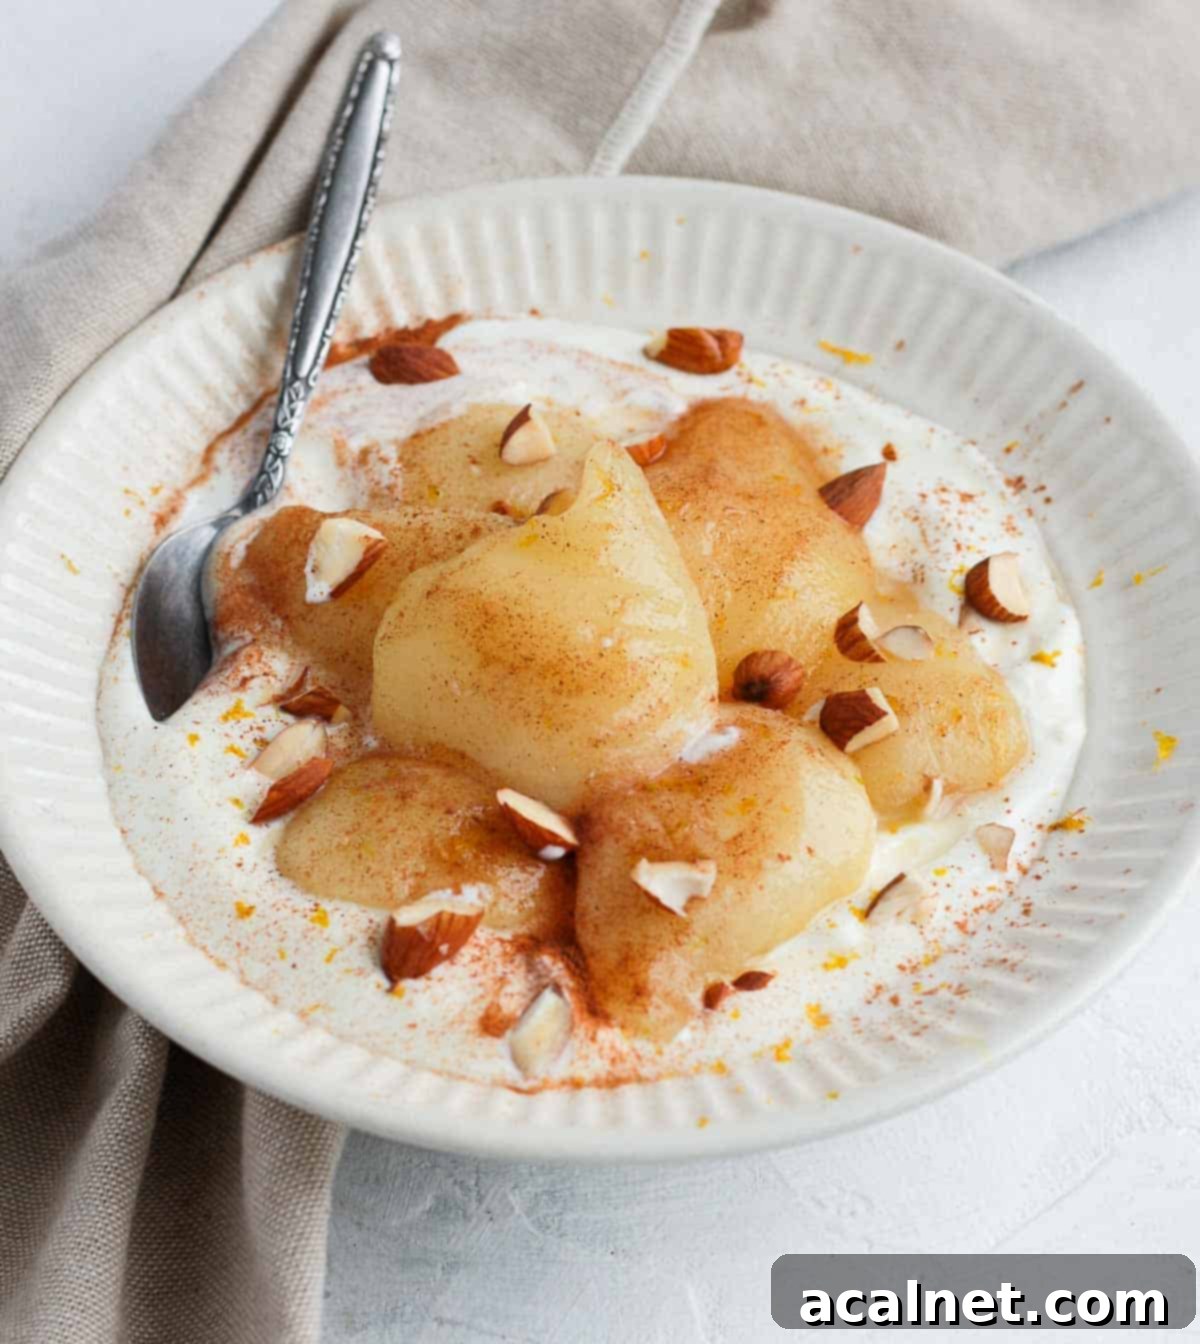
While I absolutely love enjoying these healthy stewed pears over a generous serving of creamy Yogurt, perhaps with a drizzle of extra maple syrup, a sprinkle of toasted almonds, a dash of ground cinnamon, and a few delicate orange peels, their versatility truly knows no bounds. These flavorful poached pears can elevate a variety of dishes, both sweet and savory. Here are just a few delicious ideas:
- As a Simple Dessert: Serve them warm or cold with a scoop of premium Ice Cream (vanilla, cinnamon, or even ginger ice cream are fantastic pairings), a dollop of whipped cream, or a drizzle of the reduced poaching syrup.
- Breakfast Bliss: Take your breakfast game to the next level! These pears make an exquisite topping for fluffy Pancakes, crispy Waffles, or decadent French Toast. Stir them into your morning Granola or warm Oatmeal for a burst of flavor and natural sweetness.
- Elegant Pastries & Cakes: Incorporate these tender stewed pears into your baking. They are perfect for making sophisticated pastries like these delicate Pear Frangipane Tartlets, flaky Puff Pastry Pear Tartlets, or even baked inside a comforting cake, such as this rich Chocolate Pear Cake. They add moisture and a beautiful texture.
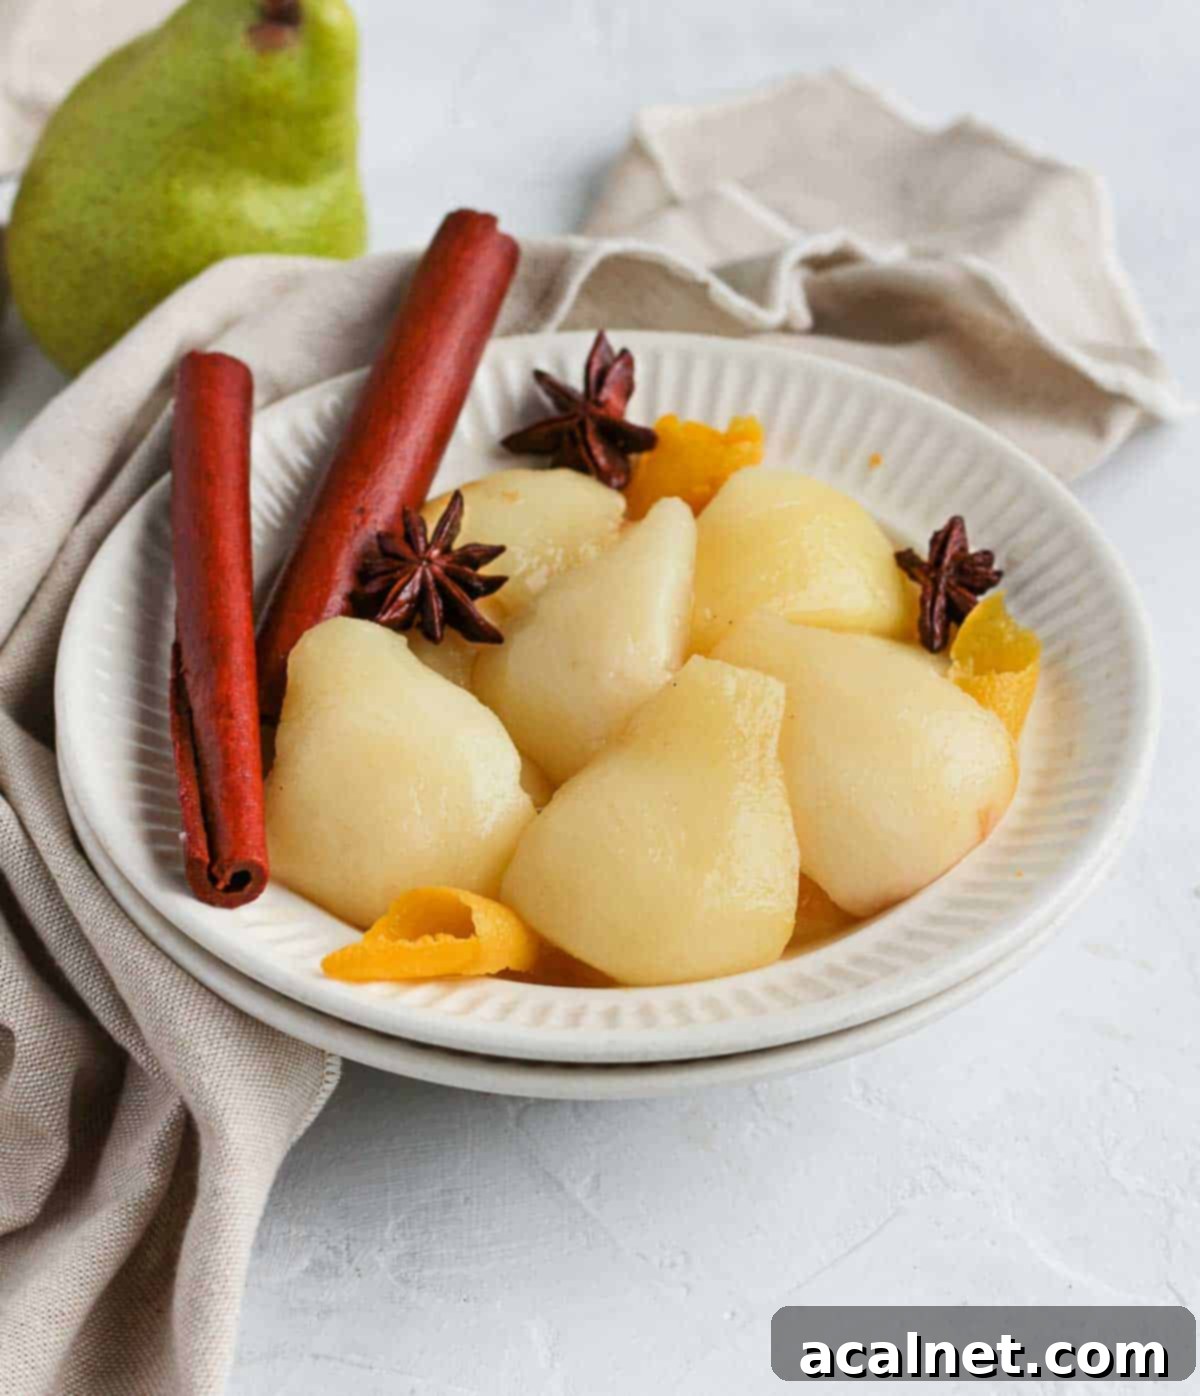
- On Their Own! Sometimes, the simplest way is the best. Enjoy a bowl of these warm, spiced pears as a comforting and healthy snack or a light dessert.
Common Questions About Stewed Pears
For the best results, aim for pears that are somewhere in between firm and ripe. Pears that are too firm will take an excessively long time to poach and may not achieve the desired tender texture. Conversely, very ripe pears will quickly turn into a mushy compote rather than holding their elegant shape in the stewing syrup. A pear that gives slightly when gently pressed is ideal.
The best pears for stewing are those that are naturally sweet and firm enough to hold their shape beautifully during the cooking process. Excellent choices include Beurre Bosc Pears, Corella Pears, Packham Pears, and Anjou Pears. These varieties have a dense flesh that softens wonderfully without disintegrating.
It’s generally best to avoid very soft varieties like Williams or Bartlett Pears, as they tend to break down too quickly and are more suited for making pear sauce or compote.
There’s no single “right” answer here, as the ideal texture depends entirely on your personal preference! Some people enjoy a slightly firmer pear, while others prefer them meltingly soft. As a general guideline, the pears are ready when you can easily insert a small knife or fork into the fruit without encountering any significant resistance. The pears should feel tender all the way through but still maintain their structural integrity.
Storing & Freezing Stewed Pears
Proper storage ensures you can enjoy these delicious stewed pears for days to come:
Once your stewed pears have cooled completely to room temperature, carefully transfer them into an airtight container. They will keep beautifully in the fridge for up to 3 days. For even better flavor and moisture retention, you can store the pears submerged in their aromatic stewing syrup. This helps to prevent them from drying out and keeps them infused with all the wonderful spices and citrus notes.
However, I do not recommend freezing these poached pears. Pears have a high water content, and upon thawing, they tend to become very watery and mushy, losing their appealing texture. It’s best to enjoy them fresh within a few days of preparation.
More Irresistible Pear Dessert Ideas
If you’ve fallen in love with the humble pear, there’s a whole world of delicious pear-based desserts waiting to be explored. Here are some more of our favorites:
- Cozy Apple & Pear Crumble
- Rich Pear Almond Cake
- Aromatic Spiced Pears Muffins
- 25 Delicious & Easy Pear Desserts
- Classic Fresh Pear Pie
- Comforting Pear Crumble Cake
Made this recipe?
Let us know if you liked it by leaving a comment below, and tag us on Instagram @a.baking.journey with a photo of your creation!
Recipe Card

Easy Stewed Pears
Print Recipe
Ingredients
- 1 Orange – Juice + Peels, about 120 ml (1/2 cup) of juice
- 1 Lemon – Juice + Peels, about 20 ml (1 tablesp.) of juice
- 600 ml (2 1/2 cups) Water, see note below
- 60 ml (1/4 cup) Maple Syrup
- 2 Cinnamon Sticks
- 3 Star Anise Pods
- 4 Pears
Instructions
- Roughly peel the Orange and Lemon and place in a medium size saucepan (see note 1). Juice the Orange and Lemon and add to the saucepan.
- Add the Water, Maple Syrup, Cinnamon Sticks and Star Anise Pods. Stir to combine and turn on low heat, occasionally stirring.
- While the liquid is heating up, peel the Pears, cut in quarters (or halves) and remove the core. Add to the stewing liquid.
- Leave to simmer on a low to medium low heat for 15 to 25 minutes (see note 2) or until soft. Remove the Pear slices from the stewing liquid and leave to cool down at room temperature. Store in the fridge for up to 3 days once cool (see note 3).
Would you like to save this recipe?
We’ll email this post to you, so you can come back to it later!
Notes
Ingredient Notes:
- Pears: I recommend using relatively unripe pears to insure the fruits will hold their shape after stewing. If you use a fruit that is too ripe, it will start to turn into a compote.
- Water: you might need more or less water, depending on the size of your saucepan. Make sure that the pears are fully covered by the liquid, adding more water if required.
- Spices: I used Cinnamon and Star Anise but you can basically use/add/substitute any spice you’d like!
- Maple Syrup: if your pears aren’t too ripe or naturally sweet, you might want to increase the maple syrup quantity for a sweeter dessert.
Instruction Notes:
- Try to use only the orange/lemon peel without the pith (white part) that contains most of the bitterness of the fruit.
- The time it will take for the pears to be ready will depend on the ripeness of the fruits and how soft you want them. Use a small knife to check the pears – if it feels soft, the pears are ready.
- The stewing liquid can be used to store the pears in once in the fridge if you want. Otherwise, discard the liquid, peels and spices or leave to reduce on the stove to create a syrup.
Nutrition (per serving)
