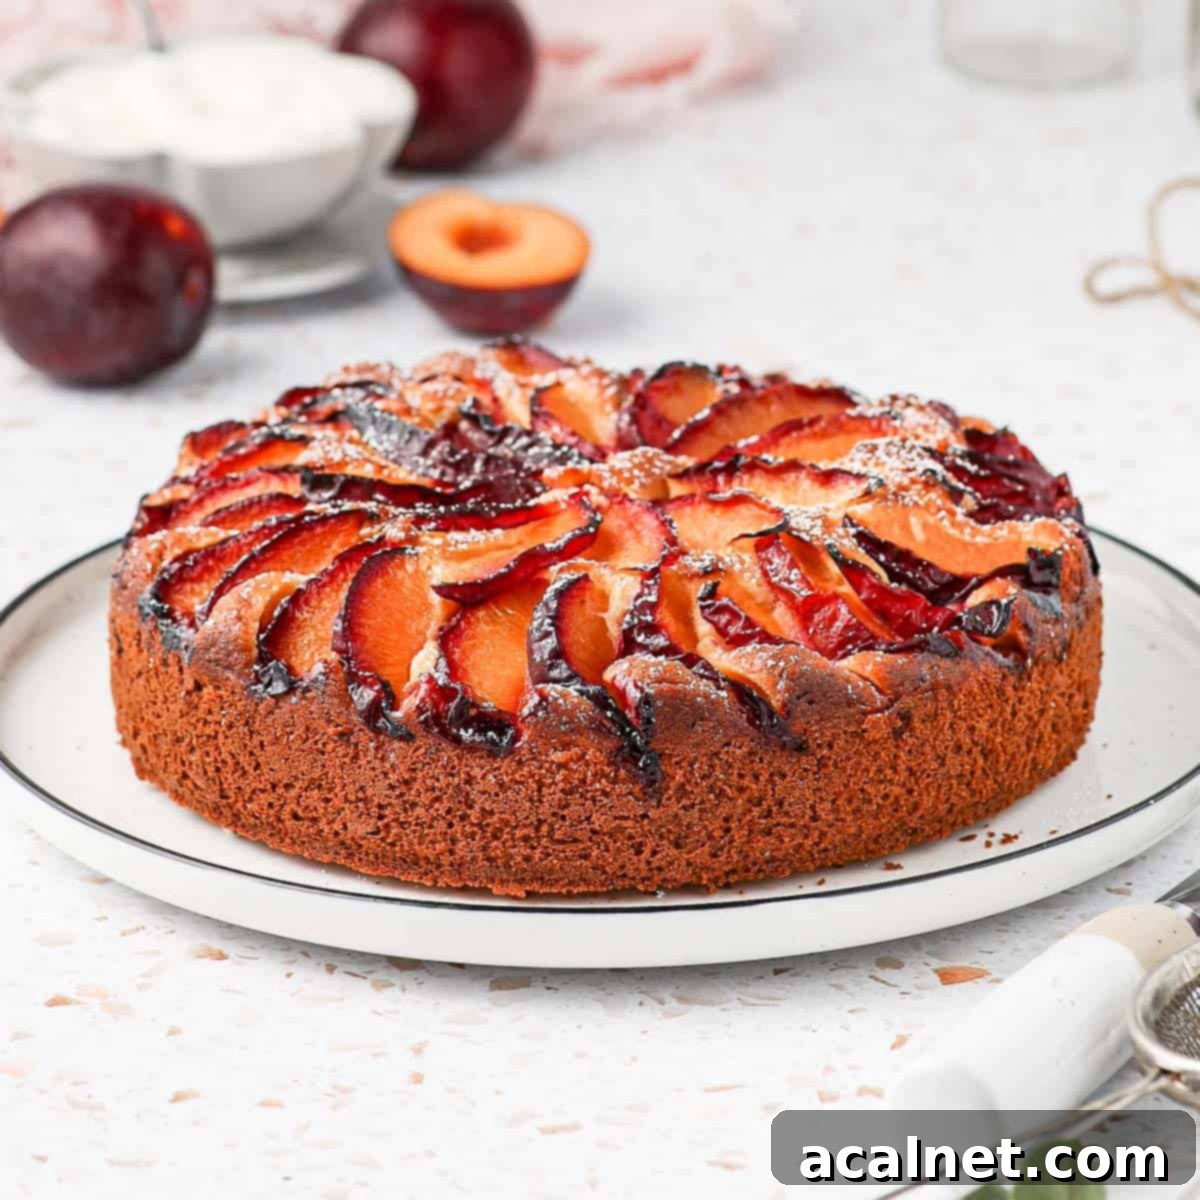
Easy & Delicious Yogurt Plum Cake Recipe: Your Perfect Summer Dessert
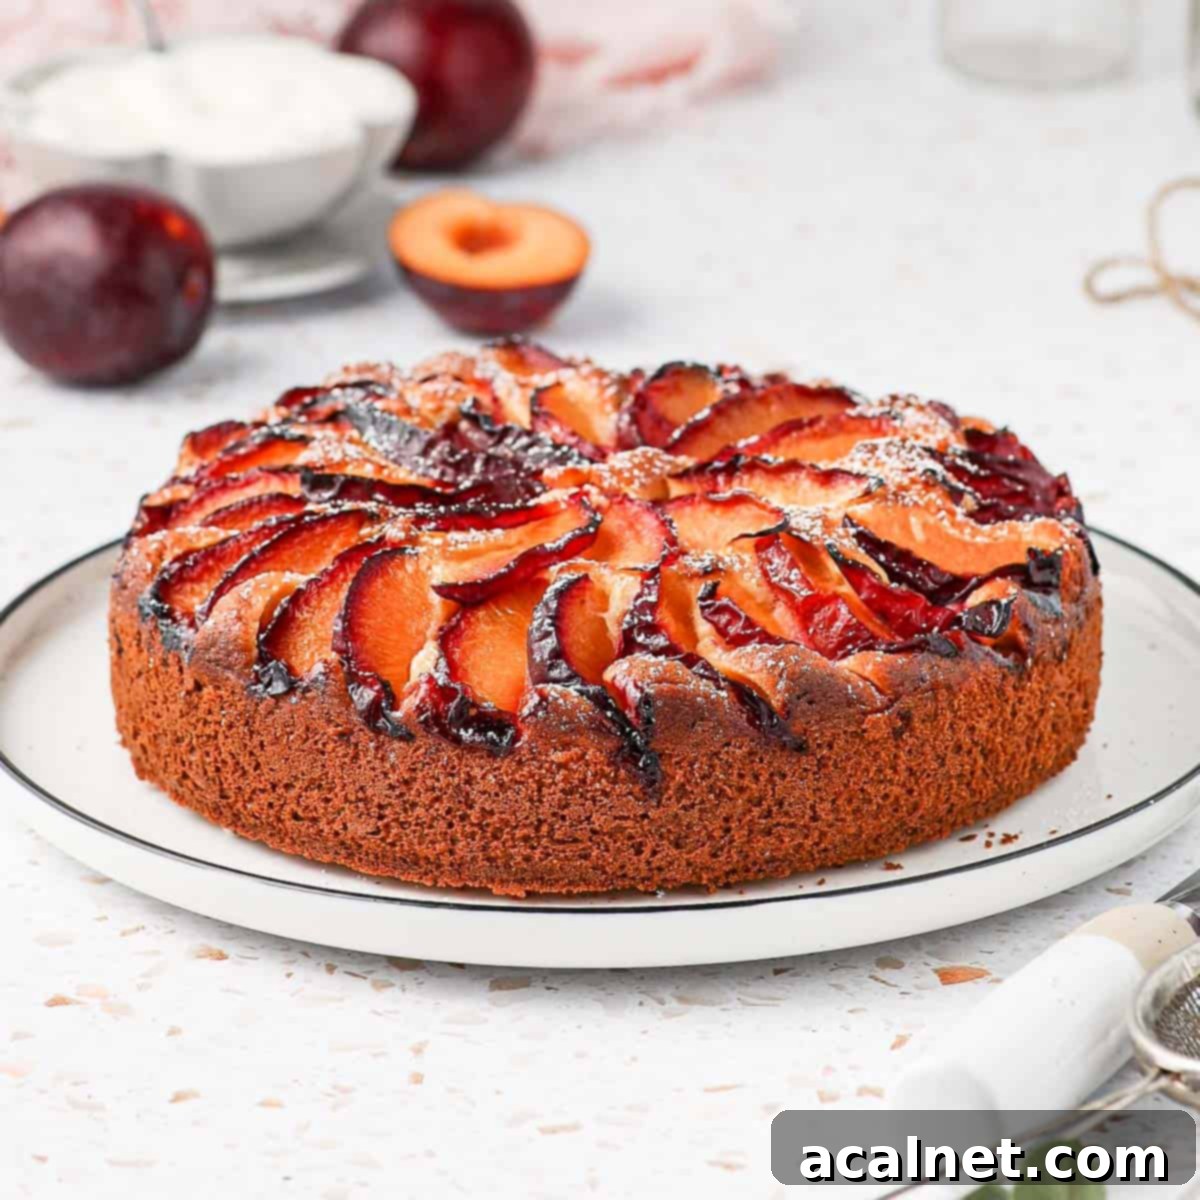
This **Yogurt Plum Cake** is an absolute delight, embodying everything you’d want in a summer dessert: it’s deliciously light, incredibly fresh, and bursting with vibrant plum flavor. Designed for simplicity, this recipe makes baking a joy, even for beginners. Each slice features a tender, moist crumb infused with the creamy goodness of yogurt, perfectly complemented by juicy, sweet-tart summer plums. Whether you’re planning an elegant afternoon tea or searching for a show-stopping dessert for a dinner party, this versatile cake is guaranteed to impress with its effortless charm and irresistible taste.
[feast_advanced_jump_to]
Why You’ll Adore This Easy Yogurt Plum Cake
While often overshadowed by berries and peaches, plums are truly a hidden gem of summer fruits, offering a unique and delightful experience when baked into desserts. Their natural sweetness is perfectly balanced by a pleasant tanginess, and when subjected to the oven’s warmth, their flesh transforms into a wonderfully soft, almost jam-like consistency that melts in your mouth.
This Yogurt Plum Cake masterfully combines the distinct characteristics of plums with the beloved light, fluffy, and incredibly moist crumb of a classic yogurt cake. Much like our popular French Yogurt Cake or the zesty Lemon Yogurt Cake, the addition of yogurt guarantees a tender texture and a subtle, refreshing tang that elevates the entire dessert. The result is a perfectly balanced summer treat – sophisticated enough for a dinner party, yet comforting and simple for a casual afternoon tea. It’s truly a celebration of seasonal flavors in every bite, promising a delightful culinary journey.
More Delicious Plum Desserts to Explore:
- Plum Clafoutis
- Plum Upside Down Cake
- Custard and Plum Tart
Essential Ingredients for Your Perfect Plum Yogurt Cake
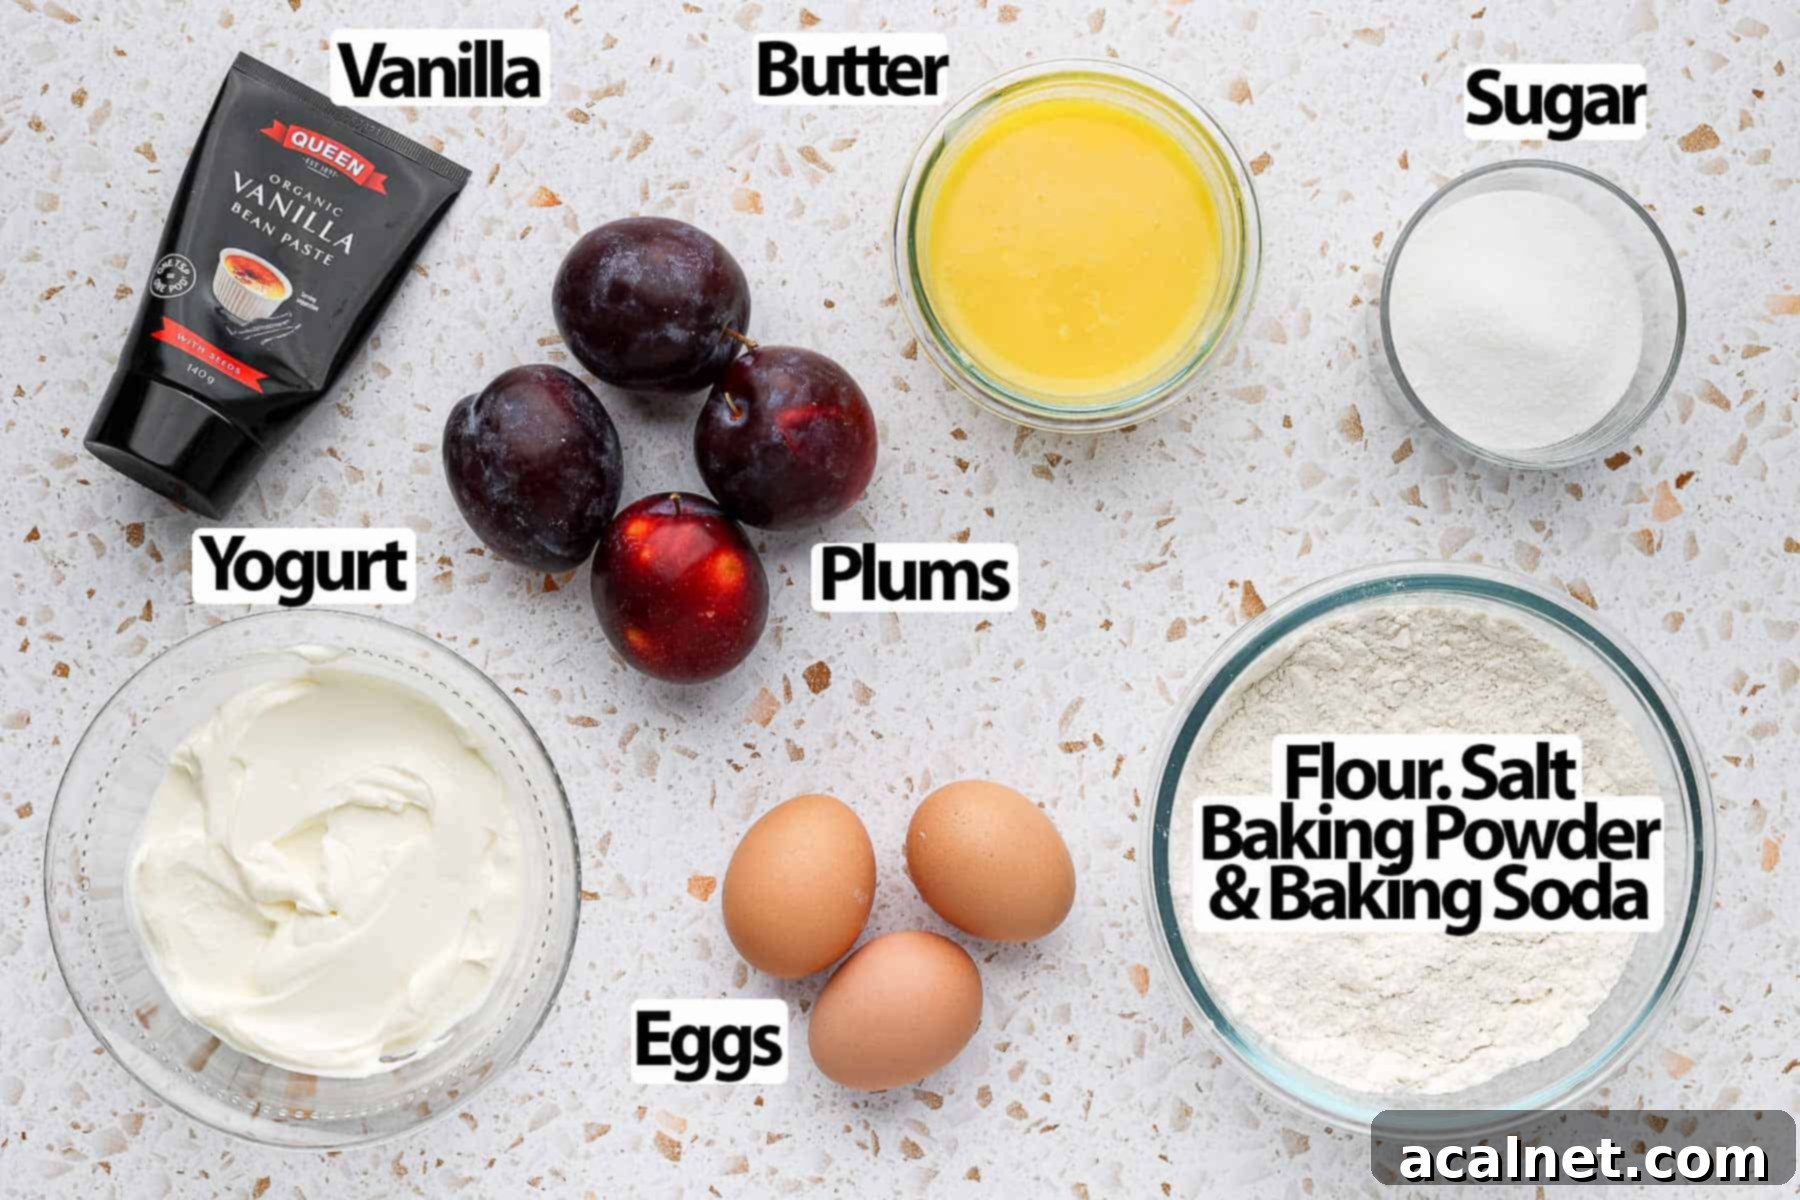
This delightful plum yogurt cake comes together with a selection of simple, readily available ingredients. You’ll find all exact quantities in the recipe card below, but let’s delve into what makes each component crucial for the perfect bake:
- Fresh Plums: The star of our show! I typically use vibrant Red Plums for their striking color and balanced flavor, but Yellow or Black Plums will work beautifully too. The key is to choose plums that are firm, rather than overly ripe. This ensures they hold their shape elegantly when baked and don’t turn mushy. Depending on their size and your desired fruit-to-cake ratio, you’ll need about 3 to 4 plums. Look for plums that yield slightly when gently squeezed but aren’t soft.
- Large Eggs: Always use medium to large eggs at room temperature. This helps them incorporate more easily and evenly into the batter, leading to a smoother mixture and a lighter, airier cake texture. Eggs provide structure and moisture, acting as a crucial binder.
- Caster Sugar: Also known as fine white granulated sugar, caster sugar dissolves quickly, contributing to the cake’s fine crumb. It’s essential for sweetness and also helps in tenderizing the cake. If you only have regular granulated sugar, that will work, but caster sugar offers a slight edge in texture.
- Unsalted Butter: Melted and then cooled, unsalted butter is preferred as it gives you full control over the salt content in your cake. Beyond moisture, butter imparts a rich, deep flavor that enhances the overall profile. While you *could* substitute with a neutral cooking oil like canola or even olive oil for a different flavor nuance, butter truly delivers a superior taste. Ensure it’s cooled to avoid scrambling the eggs.
- Greek Yogurt: This is the secret to an incredibly moist and tender cake! I swear by full-fat Greek Yogurt for its rich texture and tangy flavor. However, a natural unsweetened plain yogurt (full-fat is best) will also yield excellent results. Yogurt contributes to a delicate crumb, adds moisture, and its acidity reacts with baking soda to give the cake a lovely lift.
- Vanilla Paste or Extract: For the most intense and authentic vanilla flavor, I highly recommend using vanilla bean paste. Its visible specks also add a gourmet touch. If vanilla paste isn’t available, a good quality vanilla extract is a perfectly acceptable substitute to infuse that classic warmth into your cake.
- Dry Ingredients: This blend consists of All-Purpose / Plain **Flour** for structure, **Baking Powder** and **Baking Soda** for leavening (working in harmony with the acidic yogurt), and a pinch of fine table **Salt** to enhance and balance all the flavors. For the fluffiest cake, it’s crucial to mix and sift these dry ingredients together thoroughly before adding them to the wet mixture. This prevents lumps and ensures even distribution of the leavening agents.
- **Optional Enhancements**:
- Lemon Zest: A fragrant addition that brightens the cake and beautifully balances the sweetness of the plums, adding a subtle citrusy lift.
- Spices: For a warming twist, consider adding a sprinkle of ground cinnamon or a touch of ground ginger to the dry ingredients. These spices pair wonderfully with plums and add an extra layer of complexity to the flavor profile.
Step-by-Step Guide: Crafting Your Easy Plum Yogurt Cake
Creating this easy yogurt plum cake is a straightforward and rewarding process. Follow these simple instructions for a perfectly baked, delicious dessert:
- Prepare Your Workspace and Pan: Begin by preheating your oven to 180°C (350°F). Next, prepare a 22 cm / 8.5-inch springform pan. Line the bottom with a circle of baking paper or parchment paper, and lightly grease the sides. This ensures easy removal and a beautifully presented cake.
- Melt and Cool the Butter: Gently melt your unsalted butter, either in a small saucepan over low heat or carefully in the microwave. Once melted, set it aside to cool completely while you prepare the other ingredients. This prevents the butter from cooking the eggs when combined.
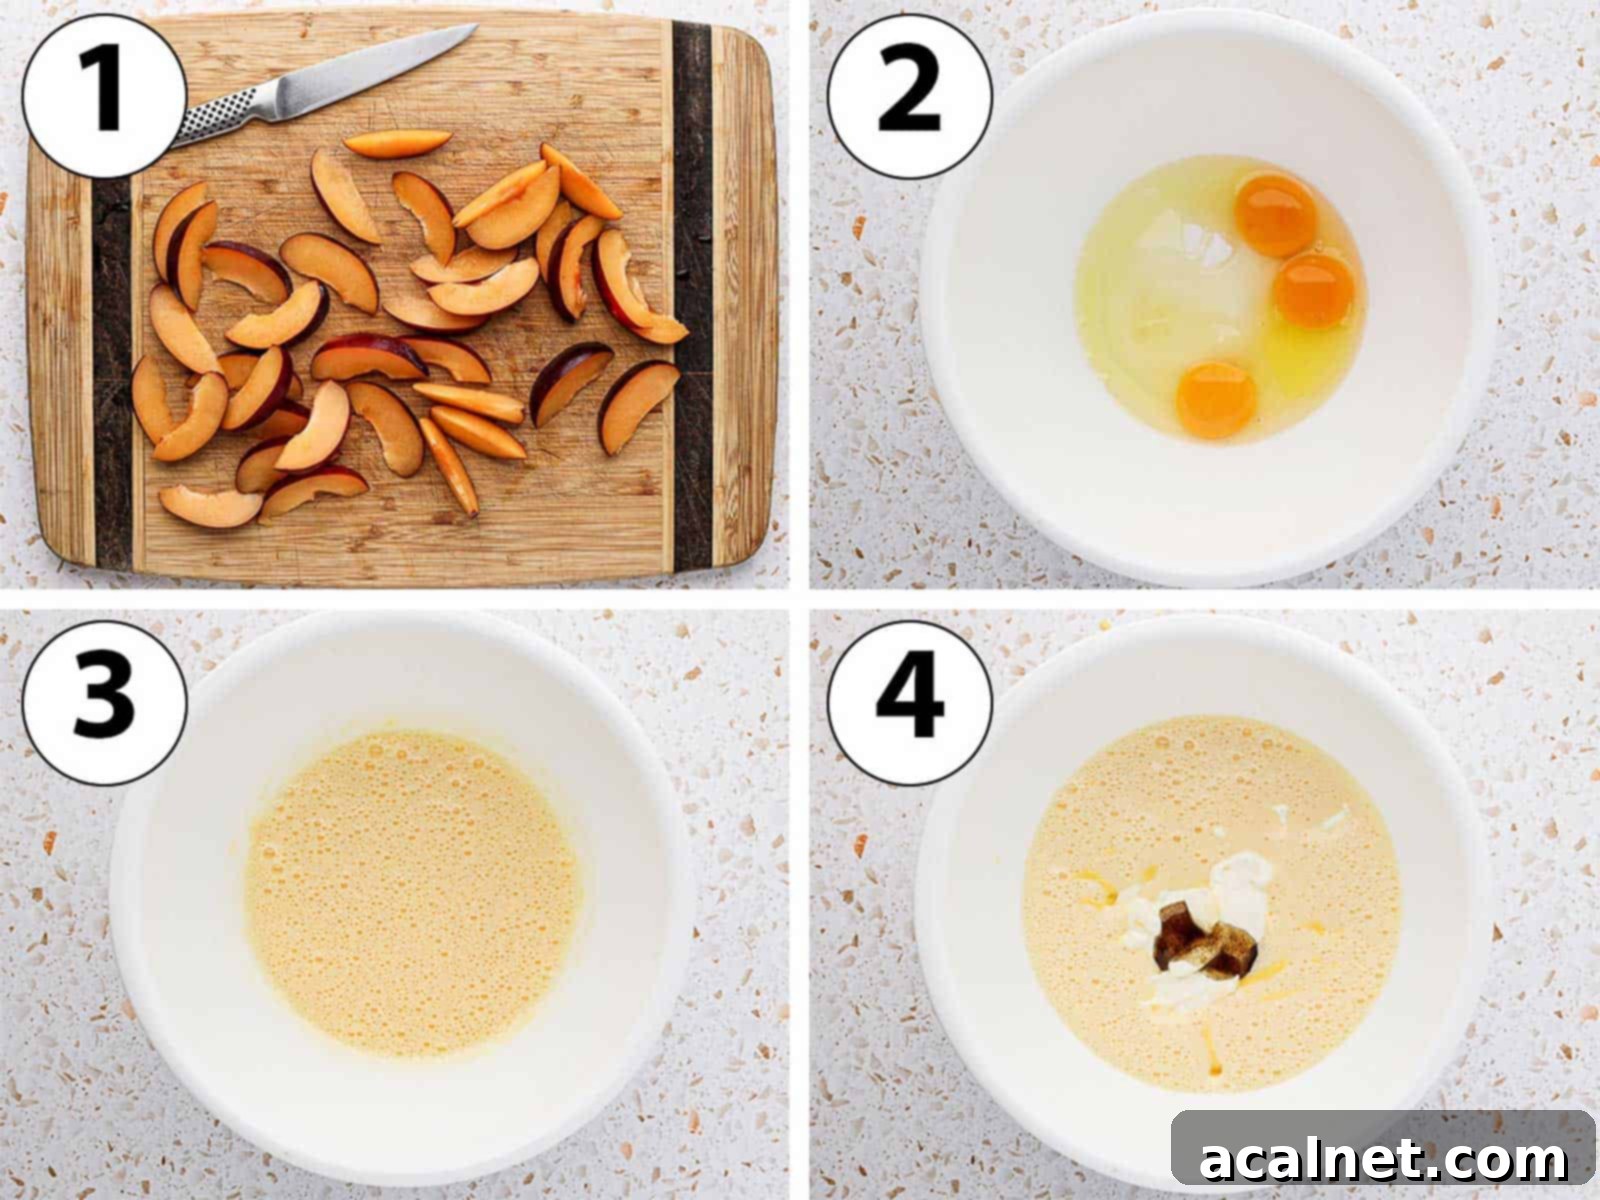
- Photo 1: Prepare the Plums: Wash your fresh plums thoroughly, then carefully remove their pits. Slice each plum into thin, even pieces, aiming for about 12 to 16 slices per fruit. The thinner slices will bake more evenly and soften beautifully into the cake. Set these vibrant slices aside.
- Photo 2 & 3: Whisk Eggs and Sugar: In a large mixing bowl (or the bowl of your stand mixer), combine the room temperature eggs and caster sugar. This is also the ideal time to add the optional lemon zest if you’re using it. Whisk with a hand mixer or electric mixer on medium speed for a good 3 to 5 minutes. You’re looking for the mixture to significantly increase in volume, become pale in color, and appear light and bubbly. This crucial step incorporates air, which contributes to the cake’s incredibly fluffy and tender crumb. **Do not skip this step!**
- Photo 4 & 5: Combine Wet Ingredients: Once your egg mixture is light and airy, gently add the remaining wet ingredients: the cooled melted butter, creamy Greek yogurt, and vanilla paste (or extract). Mix on a slow speed, just until everything is smoothly combined. Avoid overmixing here, as you want to preserve the air you’ve just whipped into the eggs.
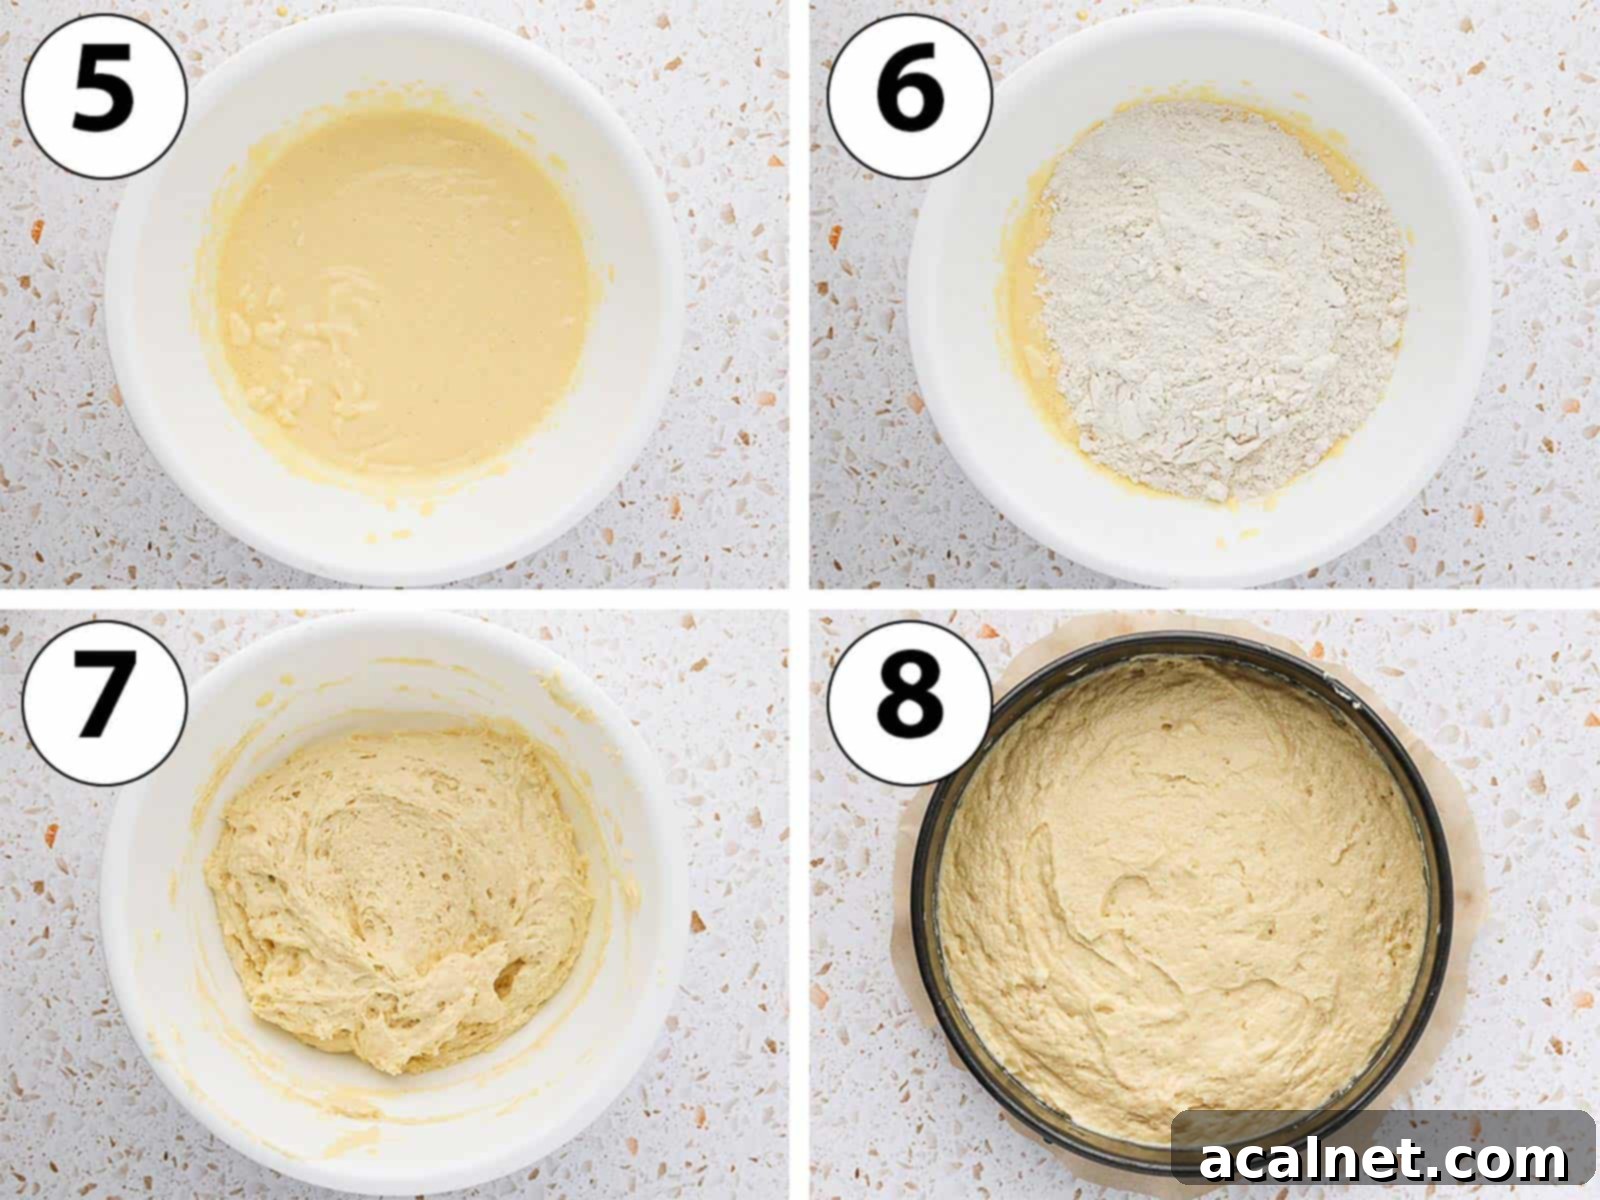
- Photo 6 & 7: Incorporate Dry Ingredients: In a separate bowl, whisk together your dry ingredients: plain/all-purpose flour, baking powder, baking soda, and salt. For optimal results, sift them together before adding to the wet mixture. Gradually add the sifted dry ingredients to the wet batter. Mix slowly and gently, just until they are combined and no streaks of flour remain. **Crucially, stop mixing as soon as the batter is smooth.** Over-mixing develops gluten, which can lead to a tough, dense cake. The batter will be relatively thick – this is completely normal and contributes to the cake’s rich texture.
- Photo 8: Assemble the Cake: Pour the thick cake batter into your prepared springform pan. Use a small offset spatula or a flat silicone spatula to gently spread the batter evenly across the bottom. Next, artfully arrange your sliced plums over the cake batter. Start from the edges of the pan and work your way inwards, creating concentric circles or any pattern you prefer. You can layer them slightly or place them side-by-side – add as many or as few plums as you desire for your perfect cake.
- Bake to Golden Perfection: Transfer the pan to your preheated oven and bake for approximately 45 to 50 minutes. The cake is done when a knife or wooden toothpick inserted into the center comes out clean, with no wet batter clinging to it. The top should be golden brown and the plums beautifully caramelized.
- Cool Completely: Once baked, carefully remove the cake from the oven and place it on a wire rack. Allow it to cool down completely in the pan before attempting to remove the springform sides. This is vital, as the cake finishes setting as it cools, preventing it from collapsing.
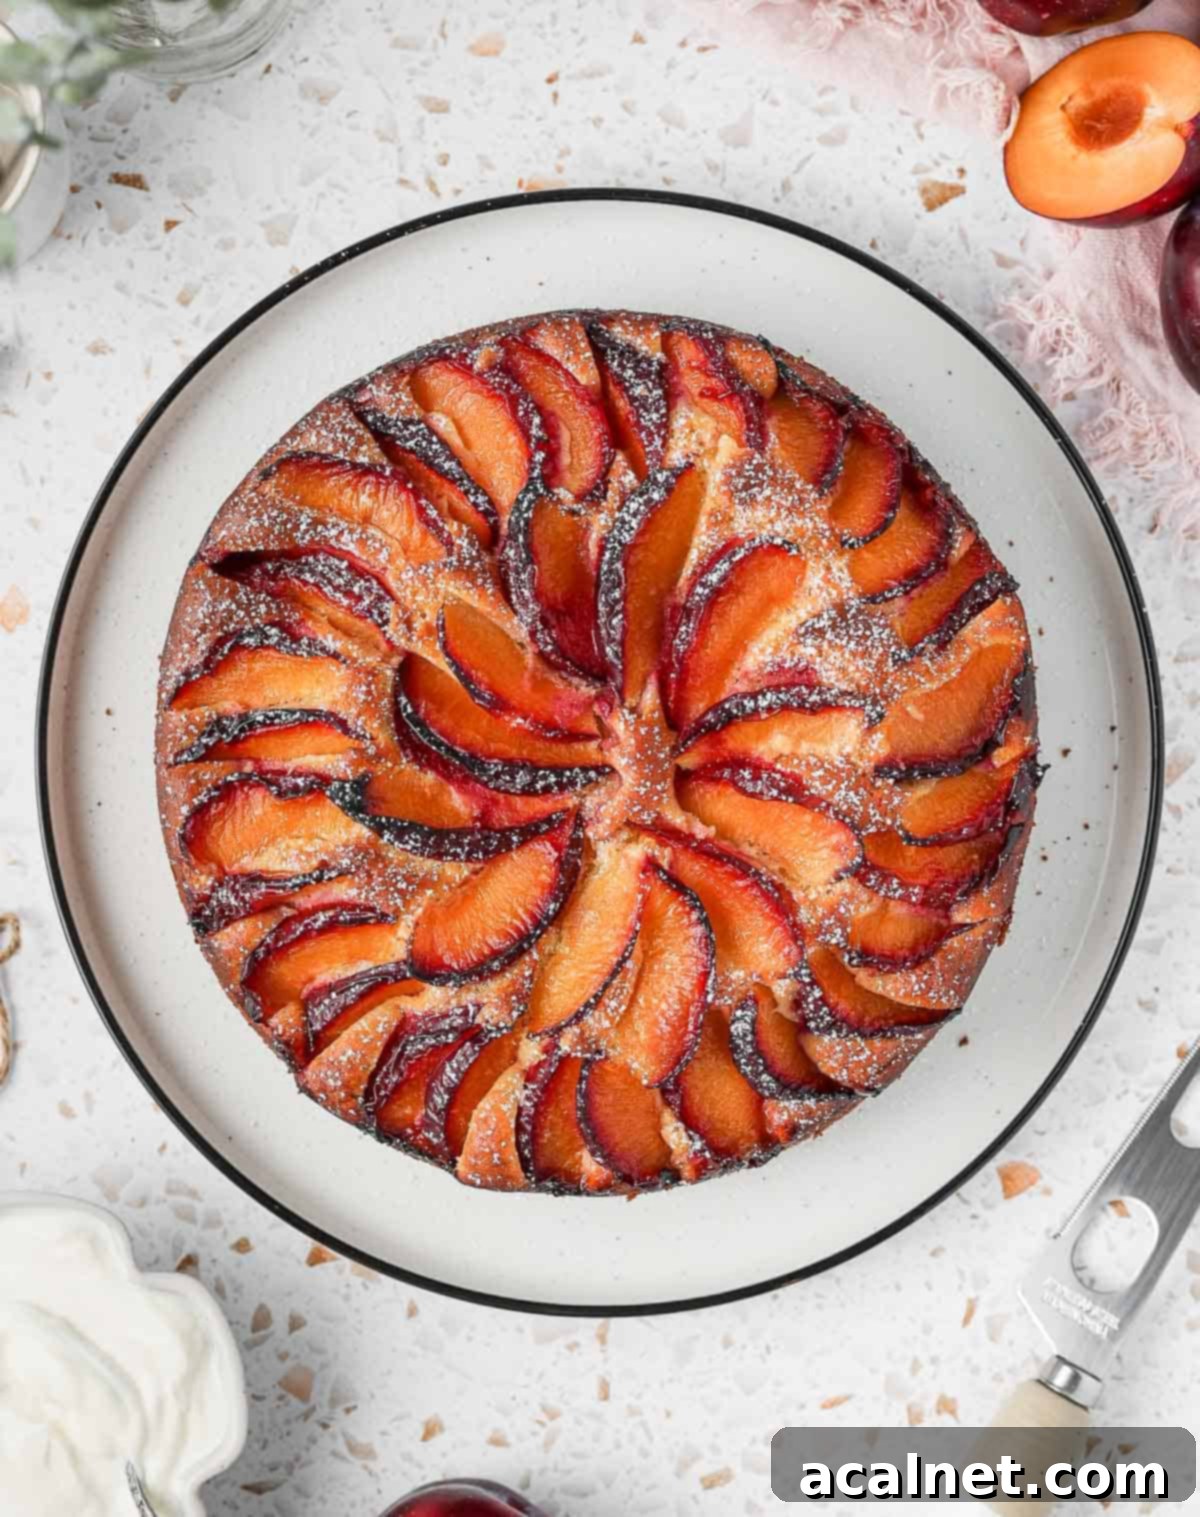
- Optional Flourish: For a final touch of elegance, dust the cooled cake with a delicate layer of icing sugar just before serving. This adds a beautiful contrast and a touch of extra sweetness.
Your Questions Answered: Yogurt Plum Cake FAQs
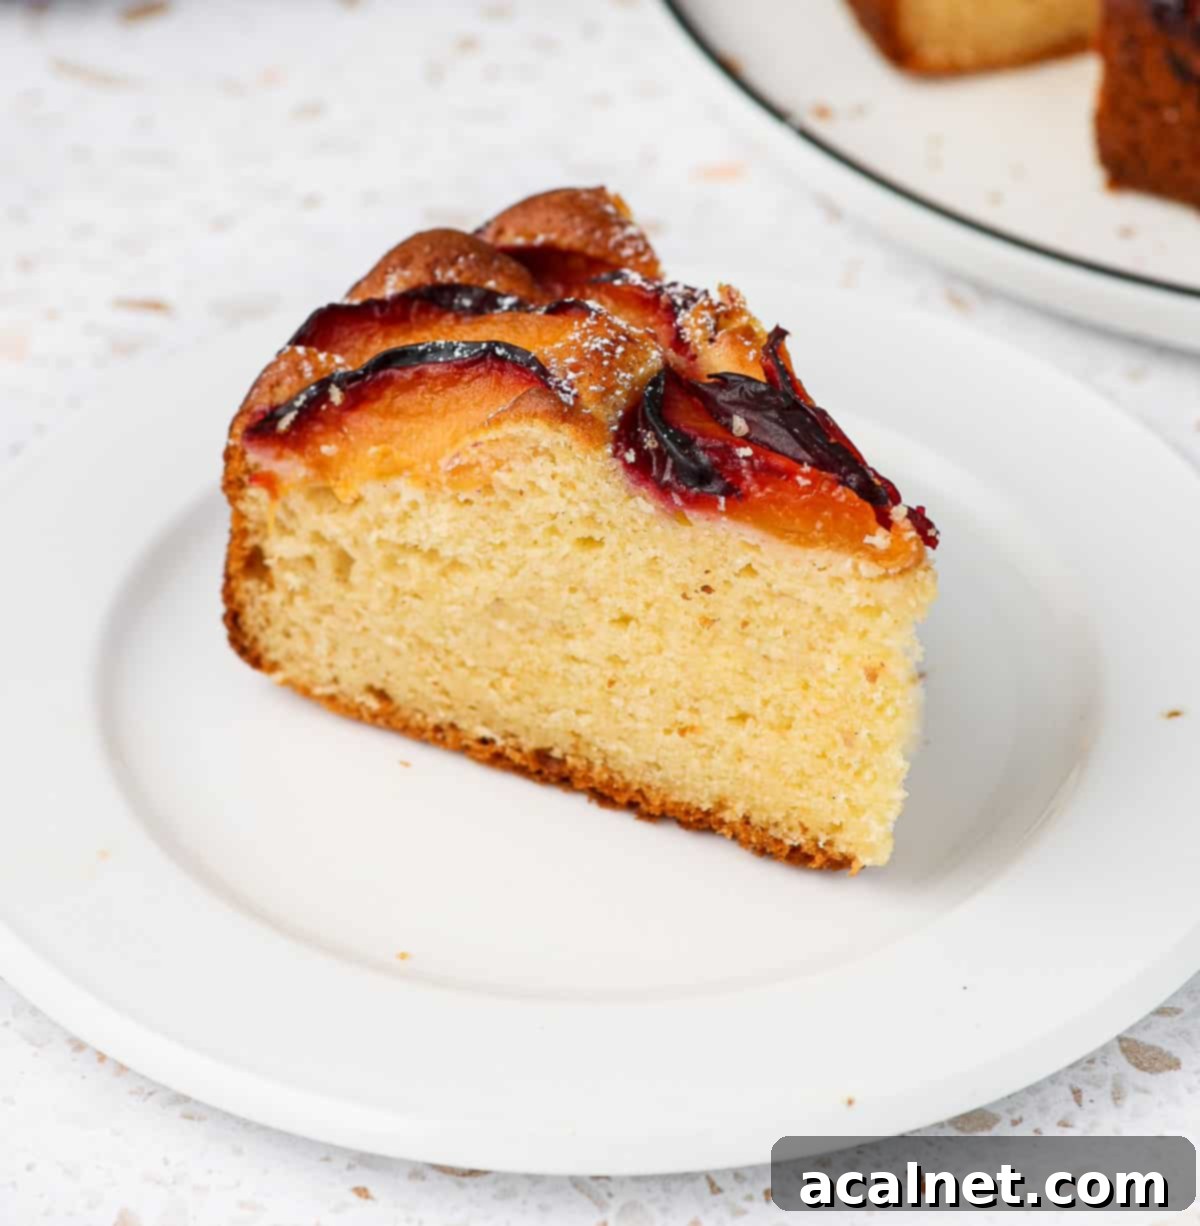
You have a lot of flexibility here! Any type of plum will work beautifully, from classic Red Plums to vibrant Yellow or deep Black Plums. The most important factor is the ripeness. Aim for plums that are firm to the touch rather than overly soft or mushy. This ensures they maintain their shape and distinct texture during baking, preventing them from dissolving into the cake. Slightly firm plums are also much easier to slice thinly and neatly.
Absolutely! Making this cake dairy-free is quite simple. The butter can be easily replaced with a neutral-flavored cooking oil, such as canola oil, sunflower oil, or even melted coconut oil (ensure it’s cooled). For a unique flavor profile, you could also experiment with a good quality olive oil. As for the Greek yogurt, substitute it with an equal amount of a plain, unsweetened, dairy-free or plant-based yogurt. Almond, oat, or soy yogurts are all great options, but make sure they are full-fat for the best moisture and texture.
While you can technically use self-rising flour, it might slightly alter the cake’s rise and texture. Self-rising flour typically contains baking powder and salt but often lacks baking soda. In this yogurt cake recipe, baking soda is crucial because it reacts with the acidity of the yogurt, creating extra lift and contributing to a wonderfully light and fluffy crumb. If you opt for self-rising flour, I highly recommend adding 1/2 teaspoon of baking soda to ensure you still get that desired rise and tender texture.
Yogurt is a fantastic secret ingredient in baking, and especially in cakes! Firstly, it adds incredible moisture to the cake, ensuring it stays tender and never dry. Secondly, it introduces a delightful, subtle tanginess that beautifully complements the sweetness of the plums and other ingredients. Thirdly, full-fat yogurt contributes richness (fat content) without making the cake heavy. Finally, and crucially, the acidity in yogurt reacts with baking soda (a leavening agent) to produce carbon dioxide, which helps the cake rise, resulting in a lighter, airier crumb. For the best results, always opt for full-fat (or full-cream) yogurt; low-fat or non-fat varieties may not provide the same moisture and richness.
While fresh plums are highly recommended for their texture and vibrant appearance, you can use frozen plums in a pinch. However, frozen plums tend to release more moisture when baked, which can make the cake a bit soggy. To mitigate this, make sure to thaw them completely and drain any excess liquid before slicing and adding them to the batter. You might also want to toss them lightly in a tablespoon of flour or cornstarch before placing them on the cake to help absorb some of the moisture.
This cake stores wonderfully! At room temperature, covered loosely, it will stay deliciously fresh and moist for up to 3 days. If you need to extend its shelf life, you can store it in an airtight container in the refrigerator for up to 5 days. Be aware that the crumb might become slightly drier in the fridge compared to room temperature. Always allow it to come to room temperature before serving for the best flavor and texture.
Expert Tips for Baking the Best Yogurt Plum Cake
Achieving a perfectly moist, fluffy, and flavorful yogurt plum cake is easy with these tried-and-true tips:
- **Sift and Mix Dry Ingredients Separately**: Before combining your wet and dry ingredients, always take the extra minute to sift your flour, baking powder, baking soda, and salt together in a separate bowl. Then, whisk them thoroughly to ensure they are evenly distributed. This simple step is crucial for two reasons: it prevents lumps in your batter and, more importantly, guarantees that your leavening agents (baking powder and soda) are spread uniformly, promoting an even rise and a consistently light texture throughout the cake without the need for over-mixing.
- **Gentle Mixing is Key**: After the initial rigorous whisking of eggs and sugar (which creates a lot of air), subsequent mixing should be done on a slow speed or even by hand with a whisk or spatula. Over-mixing once the flour is added can lead to over-development of gluten, resulting in a tougher, denser cake rather than the desired tender, airy crumb. Mix just until the ingredients are combined and no dry streaks of flour remain.
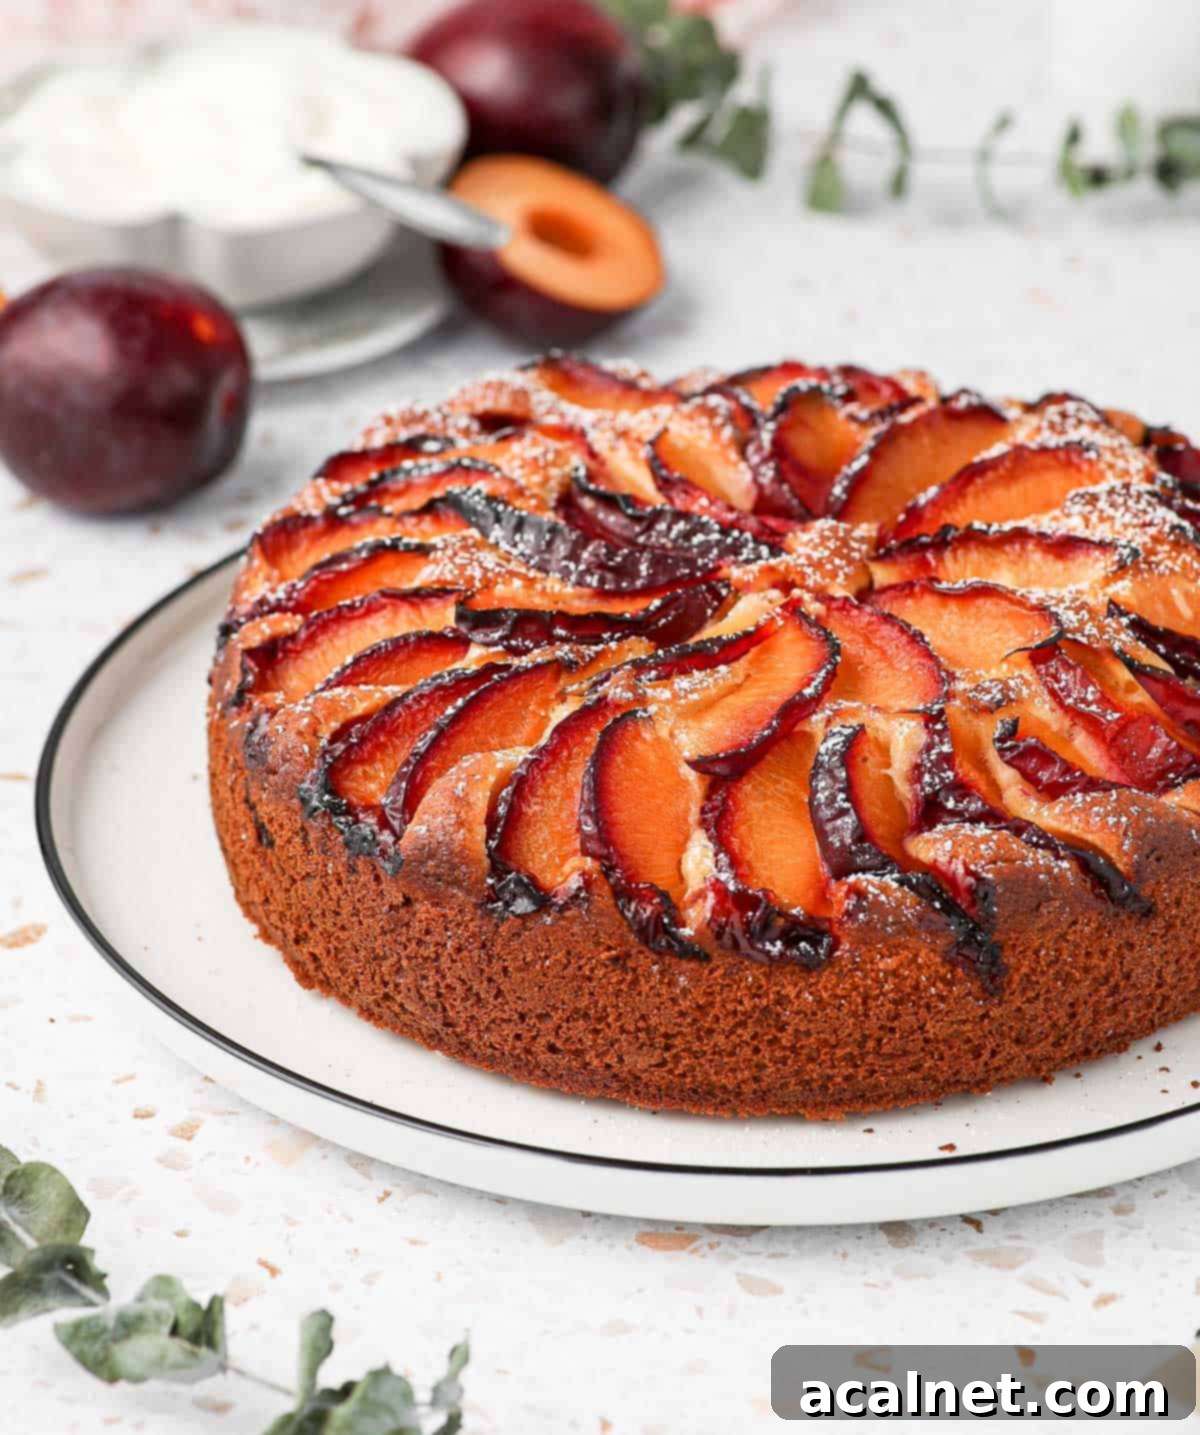
- **Elevate Your Serving**: While delicious on its own, a simple garnish can transform your yogurt plum cake into an even more impressive dessert. A light dusting of icing sugar (confectioners’ sugar) adds an elegant finish and a touch of sweetness. For a truly indulgent experience, serve slices with a scoop of creamy vanilla ice cream, a dollop of freshly whipped cream, or even a drizzle of a homemade fruit coulis.
- **Experiment with Other Stone Fruits**: This versatile yogurt cake recipe is not limited to plums! Feel free to switch out the plums for other seasonal stone fruits like ripe peaches, sweet nectarines, or delicate apricots. Each will lend its unique flavor profile to the cake. You could even combine different stone fruits for a vibrant, multi-colored dessert that’s as beautiful as it is delicious. Just ensure the fruit is not overly ripe to maintain its structure during baking.
- **Room Temperature Ingredients**: As with most baking recipes, using room temperature eggs, yogurt, and butter ensures that all ingredients emulsify smoothly, creating a homogeneous batter. This results in a finer, more consistent cake texture.
Storing & Freezing Your Yogurt Plum Cake
One of the many reasons to love this yogurt and plum cake is how wonderfully it keeps! I’ve enjoyed slices a full three days after baking, and they’ve retained their delicious softness and fresh flavor. For optimal freshness and texture, I highly recommend storing the cake at room temperature, loosely covered, for up to 3 days. If you need to extend its shelf life beyond that, you can transfer it to an airtight container and store it in the refrigerator for up to 5 days. Be aware that refrigerated cake may develop a slightly drier crumb, so allowing it to come to room temperature before serving is always a good idea.
While this cake can be frozen, for the absolute best flavor and tender texture, I always recommend enjoying it fresh within the suggested storage times. If you do choose to freeze it, wrap individual slices or the whole cooled cake tightly in plastic wrap, then again in aluminum foil, and store in a freezer-safe bag or container for up to 1 month. Thaw at room temperature before serving.
Explore More Delightful Summer Fruit Recipes
If you’ve fallen in love with baking with seasonal fruits, you’ll be thrilled to discover these other fantastic recipes that celebrate the bounty of summer:
- Peach Tarte Tatin
- Strawberry Upside Down Cake
- Apricot Oat Crumble
- Strawberry Crumble Cake
- Blackberry Upside Down Cake
- Cherry Clafoutis
Made this recipe?
We’d love to hear from you! Let us know if you liked it by leaving a comment below, and don’t forget to tag us on Instagram @a.baking.journey with a photo of your delightful creation!
Recipe Card: Easy Yogurt Plum Cake

Yogurt Plum Cake
Servings:
10
Author:
Sylvie
20 minutes
45 minutes
1 hour
5 minutes
Print Recipe
Prevent your screen from going dark
Ingredients
- 120 gr (1/2 cup) Unsalted Butter, melted and cooled
- 3 to 4 Plums, medium, firm, pitted and thinly sliced
- 3 medium Eggs, at room temperature
- 120 gr (1/2 cup) Caster Sugar
- 1 Lemon, zested, optional, for brighter flavor
- 250 gr (1 cup) Greek Yogurt, full-fat, or plain natural yogurt (unsweetened)
- 1 1/2 teaspoon Vanilla Paste, or high-quality vanilla extract
- 225 gr (1 1/2 cup) Plain / All Purpose Flour
- 1 1/2 teaspoon Baking Powder
- 1/2 teaspoon Baking Soda
- 1 pinch Fine Table Salt
Instructions
- Preheat your oven to 180°C (350°F). Prepare a 22 cm / 8.5-inch Springform Pan by lining the bottom with baking paper and lightly greasing the sides.
- Melt the Butter and set aside to cool down completely.
- Wash, pit, then cut the fresh plums into thin slices; about 12 to 16 plum slices per fruit (see note 1). Set aside.
- Place the Eggs and Sugar (plus optionally the lemon zest) in a large bowl and whisk with a hand mixer on medium speed for 3 to 5 minutes, or until increased in volume and very bubbly (see note 2).
- Slowly mix in the cooled down melted Butter, Greek Yogurt, and Vanilla until smooth. Mix just until combined to avoid deflating the batter (see note 3).
- Add the Flour, Baking Powder, Baking Soda, and Salt – preferably pre-sifted and mixed. Slowly mix it in on low speed, stopping as soon as it looks incorporated (see note 4). You should get a relatively thick cake batter.
- Pour the cake batter into the prepared pan and spread it around with a spatula. Arrange the plum slices over the cake batter in large circles, starting from the edges of the pan and working towards the center of the cake (see note 5).
- Bake in the oven for 45 to 50 minutes, or until a knife or wooden toothpick inserted into the center comes out clean. Leave to cool down completely on a wire rack before removing from the pan.
- Optionally, dust with a little bit of icing sugar before serving for decoration.
Would you like to save this recipe?
We’ll email this post to you, so you can come back to it later!
Notes
- Depending on the size of the fruits and how thick you slice them, you will need 3 or 4 medium plums. Feel free to use slightly less or more depending on your personal preference for fruit content in the cake.
- Whisking the eggs and sugar vigorously for several minutes is essential for incorporating sufficient air, which results in a wonderfully light and fluffy crumb. This step can be achieved with a hand mixer, a stand mixer, or even by hand if you’re up for a good arm workout!
- It’s important not to overmix the batter after adding the wet ingredients. Mix just until smooth to avoid deflating the air bubbles that were created in the previous step, which are crucial for a light cake.
- When adding the dry ingredients, mix slowly and gently. Over-working the mixture at this stage can develop the gluten in the flour too much, leading to a cake with a tougher, less tender texture. Stop as soon as the flour is just incorporated.
- You have creative freedom with how you arrange the plum slices! You can add more or less plums, layering them on top of each other for a richer fruit flavor and more dramatic presentation. I like to arrange them very close together, with each slice slightly overlapping the next, to maximize the plum goodness in every bite.
Nutrition (per serving)
Calories:
261
kcal
|
Carbohydrates:
33
g
|
Protein:
7
g
|
Fat:
11
g
|
Saturated Fat:
7
g
|
Polyunsaturated Fat:
1
g
|
Monounsaturated Fat:
3
g
|
Trans Fat:
1
g
|
Cholesterol:
76
mg
|
Sodium:
152
mg
|
Potassium:
113
mg
|
Fiber:
1
g
|
Sugar:
15
g
|
Vitamin A:
441
IU
|
Vitamin C:
3
mg
|
Calcium:
79
mg
|
Iron:
1
mg
Discover the full visual guide: Easy Yogurt Plum Cake Story
