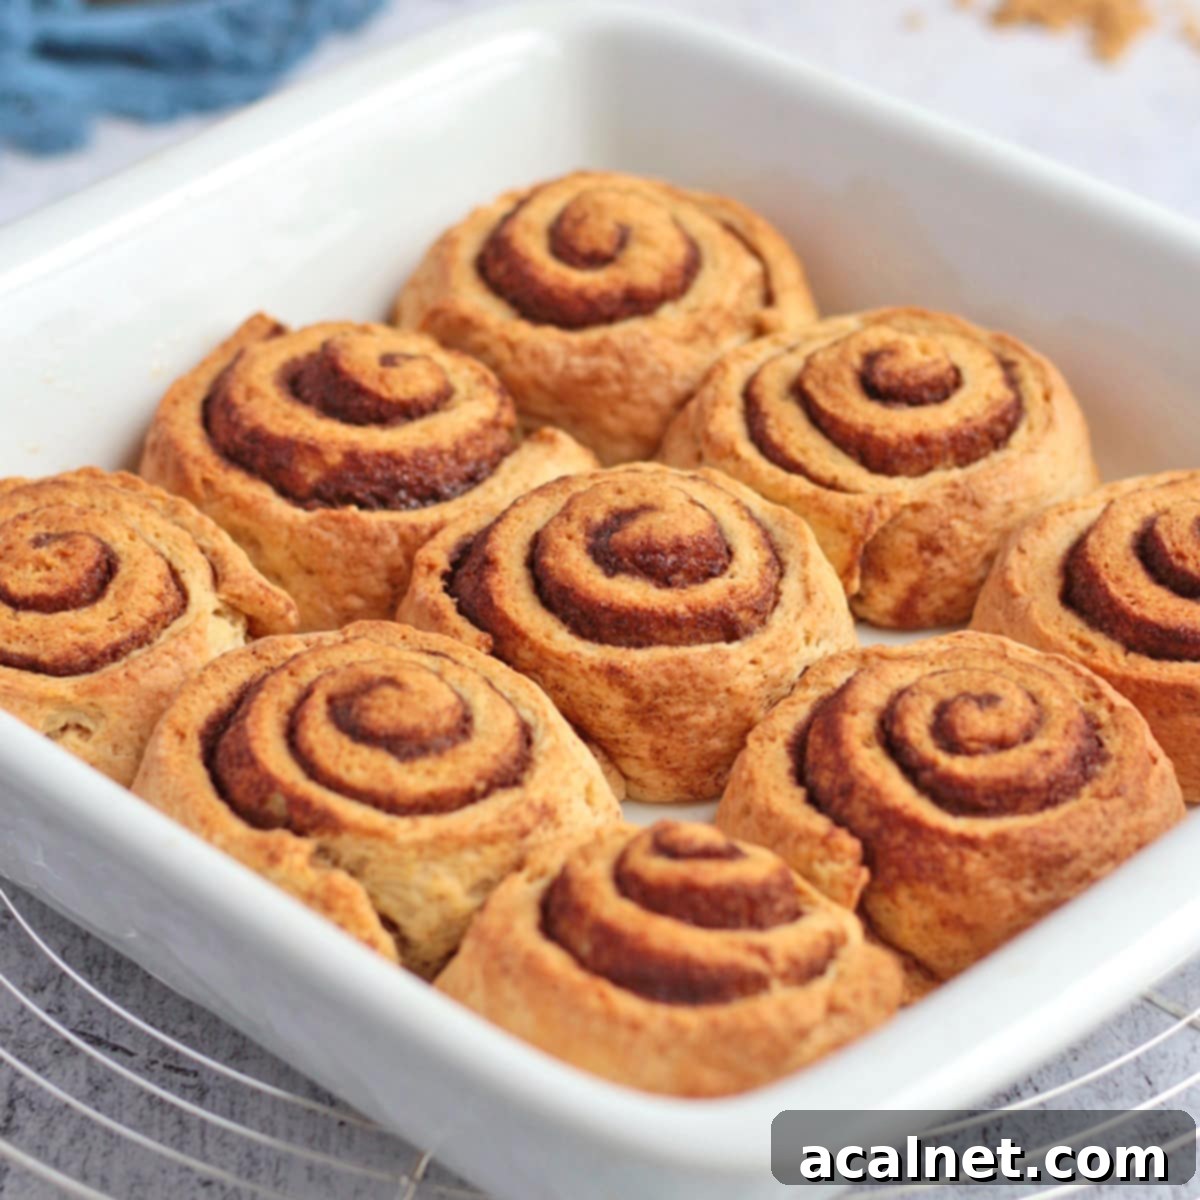
Quick No Yeast Cinnamon Rolls: Your New Favorite Fast & Fluffy Treat (Ready in Under 40 Minutes!)
Craving warm, gooey cinnamon rolls but don’t have hours to wait for yeast to rise? Look no further! These super easy and incredibly quick No Yeast Cinnamon Rolls are the perfect solution, offering a delicious alternative to classic cinnamon rolls that will be ready from scratch in less than 40 minutes. No mixer required, no lengthy proofing, just pure cinnamon-spiced bliss!
[feast_advanced_jump_to]
Why You’ll Absolutely Love These Quick No Yeast Cinnamon Rolls
While I adore the process of baking with yeast – it’s truly a fascinating scientific endeavor in the kitchen – the reality is that yeast-leavened baked goods demand significant time for proofing and rising. Sometimes, that instant gratification for a warm, comforting treat is exactly what you need. That’s where these incredible homemade cinnamon rolls without yeast or milk shine!
Yes, you read that right! It is absolutely possible to make cinnamon rolls without milk AND without yeast, and have them taste remarkably similar to the classic version. This recipe is perfect for a spontaneous breakfast, a last-minute brunch, or a satisfying sweet craving, ready to delight your taste buds in an astonishing 40 minutes or less from start to finish. Imagine fresh, warm cinnamon rolls on your table in under an hour – it’s a game-changer!
A slight heads-up: while these quick no yeast cinnamon rolls are incredibly delicious, their texture will naturally be a little different from traditional yeast-leavened rolls. Expect a slightly denser, more cake-like crumb rather than the super-airy, chewy texture of classic cinnamon rolls. They are, however, incredibly soft and moist in their own right, and equally addictive!
The Secret Ingredients for Fluffy Yeast-Free Cinnamon Rolls
So, if we’re making yeast-free cinnamon rolls and skipping the milk, what’s the magic behind their light and fluffy texture? My friends, the star ingredient here is undoubtedly Greek Yogurt! I frequently incorporate Greek yogurt into my baking, and I’ve found it consistently imparts an unbelievably light and tender texture to cakes and various baked goods.
Without yeast, you might be wondering, “how exactly are these cinnamon rolls going to rise to such delightful heights!?” And perhaps, “what is a good substitute for yeast in baking?” The answer lies in a clever combination of three key ingredients that work together to create that wonderful lift:
- Baking Powder: A leavening agent that reacts with liquid and heat to produce carbon dioxide gas, helping the dough rise.
- Baking Soda: Another leavening agent that requires an acid to activate its rising properties.
- Greek Yogurt: This is where the magic happens! The natural acidity in Greek yogurt reacts with the baking soda, creating additional gas that contributes to the rolls’ lightness and fluffiness. Beyond leavening, Greek yogurt also adds moisture, richness, and a subtle tang that beautifully complements the sweet cinnamon filling.
This ingenious trio ensures your quick cinnamon rolls are soft, tender, and beautifully risen, all without the need for yeast or lengthy proofing times. It’s truly a testament to how simple ingredients can create extraordinary results!
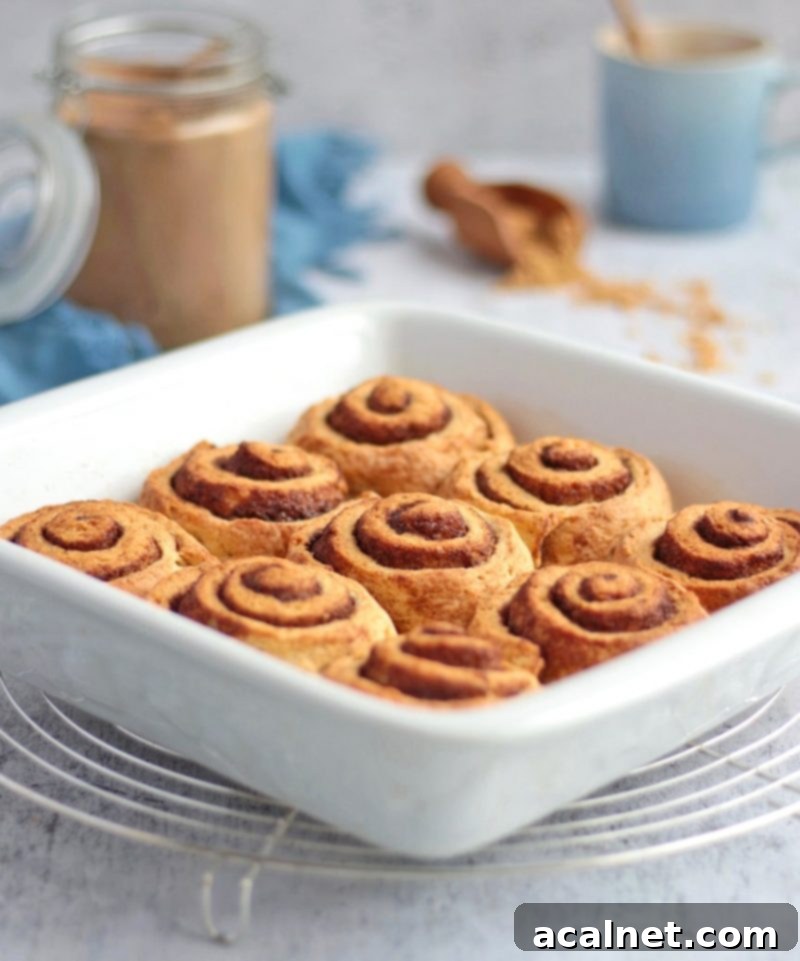
To make these incredible No Yeast Cinnamon Rolls, you will need the following simple ingredients (for exact quantities, please scroll down to the detailed recipe card):
For the Dough:
- Plain Flour: The foundation of our dough, providing structure.
- Brown Sugar: Adds sweetness and a lovely caramel note to the dough.
- Baking Powder: Our primary leavening agent for lift.
- Baking Soda: Works with Greek yogurt for extra rise and tenderness.
- Salt: Balances the sweetness and enhances all the flavors.
- Greek Yogurt (Natural): The star ingredient, replacing yeast and milk, adding moisture, tang, and leavening power.
- Melted Butter: For richness and a tender crumb in the dough.
For the Classic Cinnamon Filling:
- Very Soft Butter: Essential for easy spreading and creating that irresistible gooey layer. It should be at room temperature, almost spreadable like a frosting.
- Brown Sugar: Provides deep, rich sweetness and contributes to the caramelized texture.
- Ground Cinnamon: The quintessential spice that gives these rolls their signature aroma and flavor.
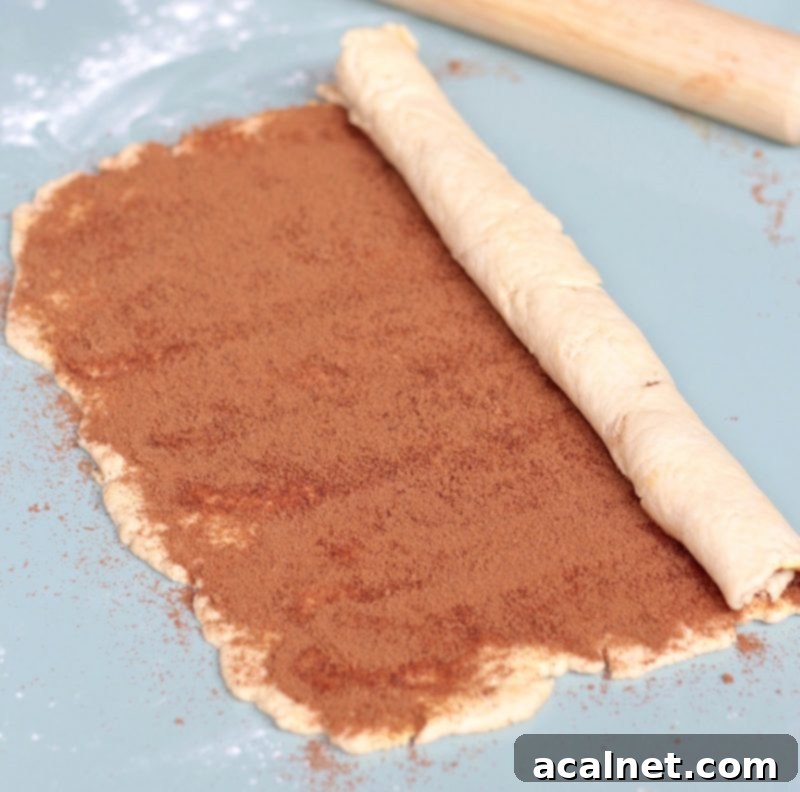
How to Make Quick No Yeast Cinnamon Rolls from Scratch
The beauty of these homemade no-yeast cinnamon rolls lies in their simplicity and speed. The technique is vastly different from traditional yeast-based recipes because you completely bypass the kneading and proofing stages, which are typically the most time-consuming parts of cinnamon roll making. Instead, we’re going for efficiency without sacrificing flavor!
You will simply combine all the dough ingredients, gently bring them together, and roll out your dough directly. There’s no waiting around for hours for the dough to rise! Once your dough is rolled, topped with the delightful cinnamon-butter filling, and sliced into individual rolls, they go straight into the oven.
Here’s a detailed, step-by-step guide on how to make these delightful no-yeast cinnamon rolls from scratch:
- Prepare Your Dry Ingredients: In a large mixing bowl, combine the plain flour, brown sugar, baking powder, baking soda, and a pinch of salt. Whisk them together thoroughly to ensure the leavening agents are evenly distributed. This step is crucial for an even rise.
- Incorporate Wet Ingredients: Add the Greek yogurt and melted butter to the dry mixture. Using a stiff spatula or a wooden spoon, mix until the dough begins to come together. It might look a bit shaggy at first, but keep mixing until no dry streaks of flour remain.
- Light Kneading (Briefly!): Transfer the dough onto a lightly floured surface. Gently knead it for just a few seconds – literally 10-15 seconds – just enough to bring the dough into a cohesive ball. Do not overwork the dough! Over-kneading will develop too much gluten, resulting in tough rolls. If the dough feels a bit dry or crumbly, add a tiny bit more Greek yogurt, one tablespoon at a time, until it’s pliable and easy to handle.
- Roll the Dough: Using a rolling pin, roll the dough into a large rectangle. Aim for a thickness of about 1/4 to 1/3 inch. While this dough is less elastic than yeast dough, it should still roll out nicely. If you notice small cracks forming, simply press them back together with your fingers.
- Spread the Filling: Generously spread the very soft, room-temperature butter evenly over the entire rolled pastry, reaching almost to the edges. Then, sprinkle the brown sugar and ground cinnamon mixture all over the butter layer. Ensure an even coating for maximum flavor in every bite.
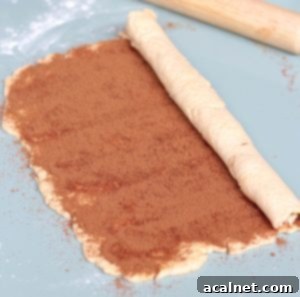
- Roll and Slice: Starting from one of the longer sides of the rectangle, carefully and tightly roll the pastry into a log, creating a beautiful spiral. Once rolled, use your preferred method to cut the log into 9 equal slices. (See “How to Cut the Rolls” section below for a pro tip!)
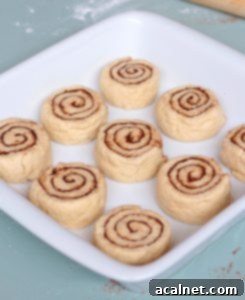
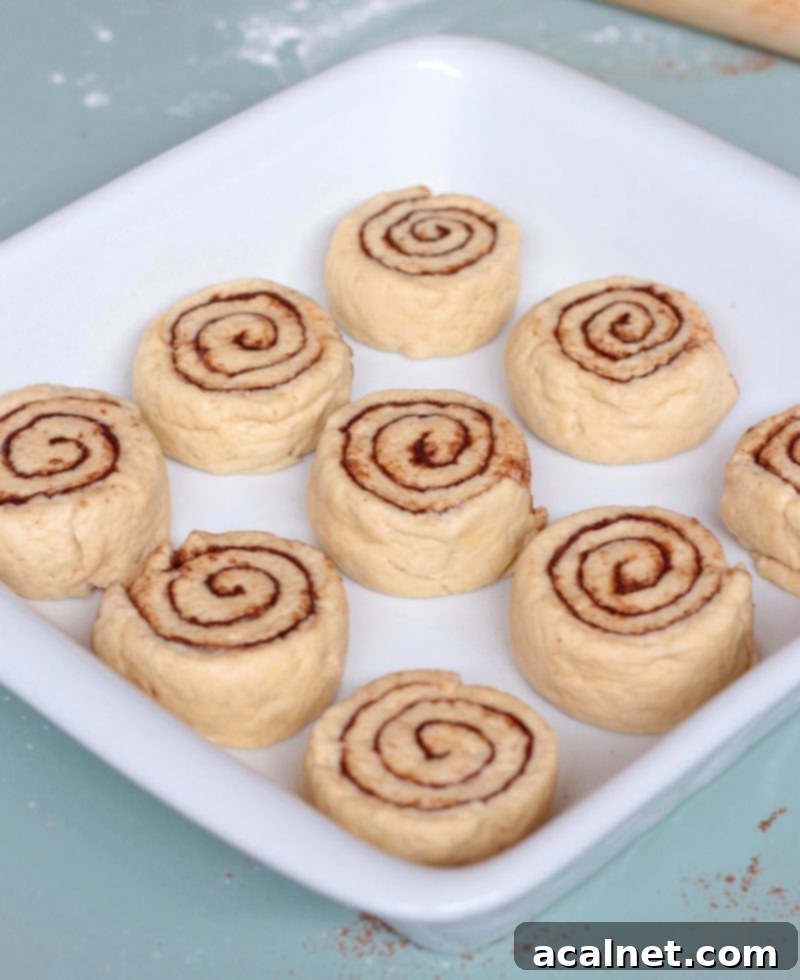
- Bake Immediately: Arrange the cut cinnamon rolls in your prepared baking dish, leaving a little space between each roll for them to expand slightly during baking. Bake according to the recipe card instructions until golden brown and fragrant.
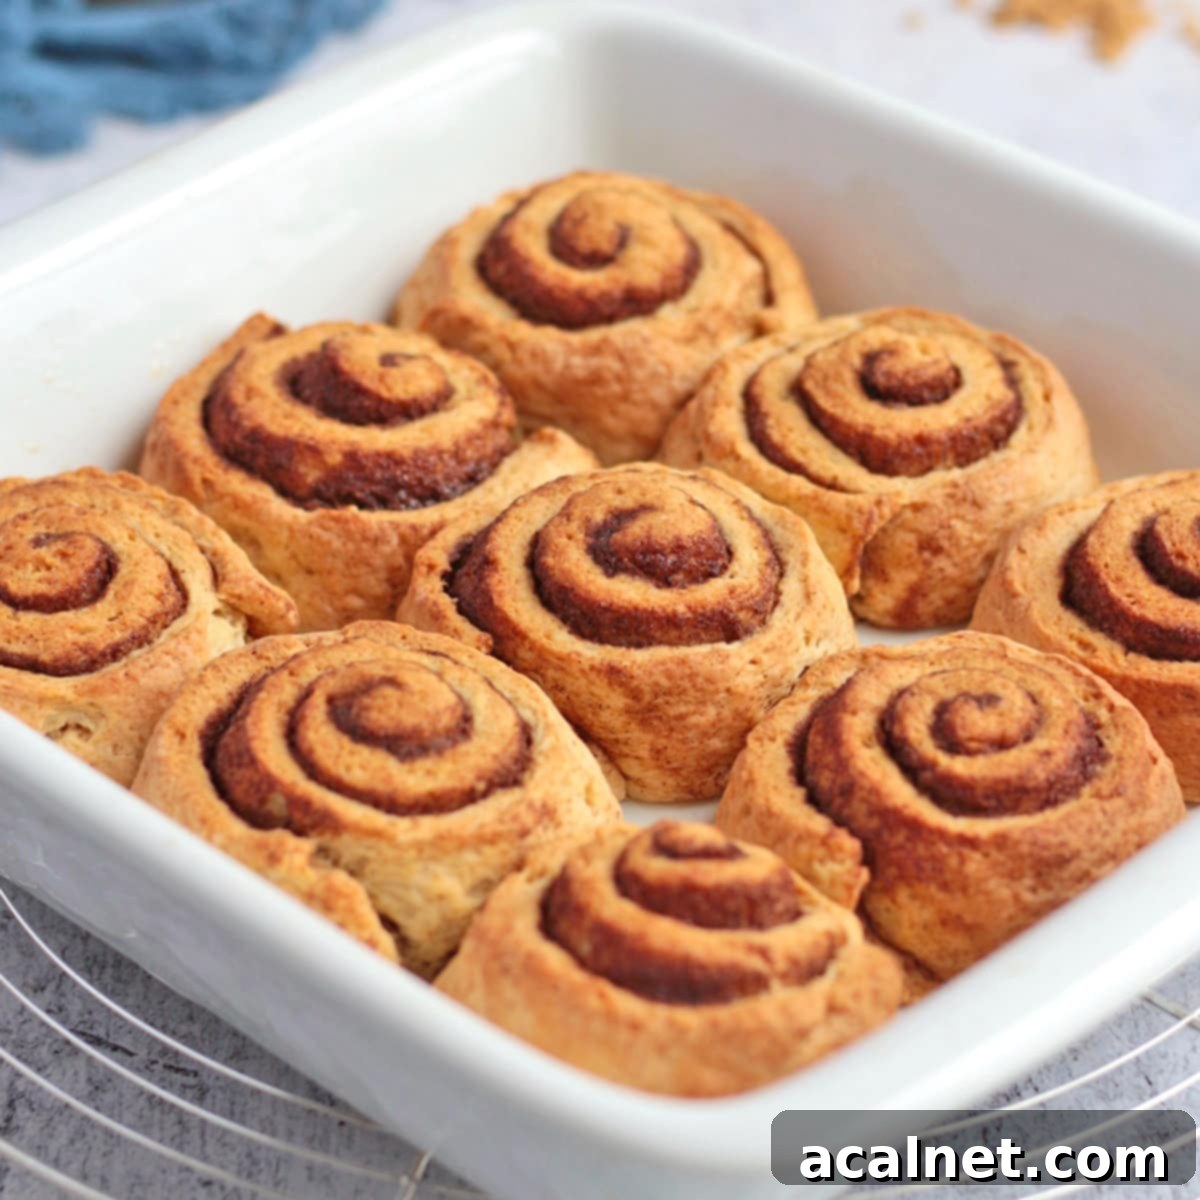
I typically bake these quick cinnamon rolls in a square ceramic dish, but a metal pan or an oven-safe glass dish works perfectly too. Just make sure your chosen dish is well-greased or lined with baking paper to prevent sticking.
Expert Tip: How to Effortlessly Cut Your No-Yeast Cinnamon Rolls
Achieving perfectly shaped cinnamon rolls is key to their appeal. While I often reach for a Pastry Scraper/Chopper for cutting dough, with this specific no-yeast dough, I have a secret weapon: a simple Bread Knife!
Because no-yeast dough tends to be a bit more delicate and less elastic than its yeast-leavened counterpart, a sharp bread knife with its serrated edge allows for cleaner cuts without squishing or distorting the spirals. By using gentle back-and-forth sawing motions, you’ll be able to easily cut your yeast-free cinnamon rolls into beautiful, distinct slices without tearing or breaking them. You can opt for 9 thick rolls or even 12 slightly thinner ones, depending on your preference!
Light & Tangy Greek Yogurt Icing for the Perfect Finish
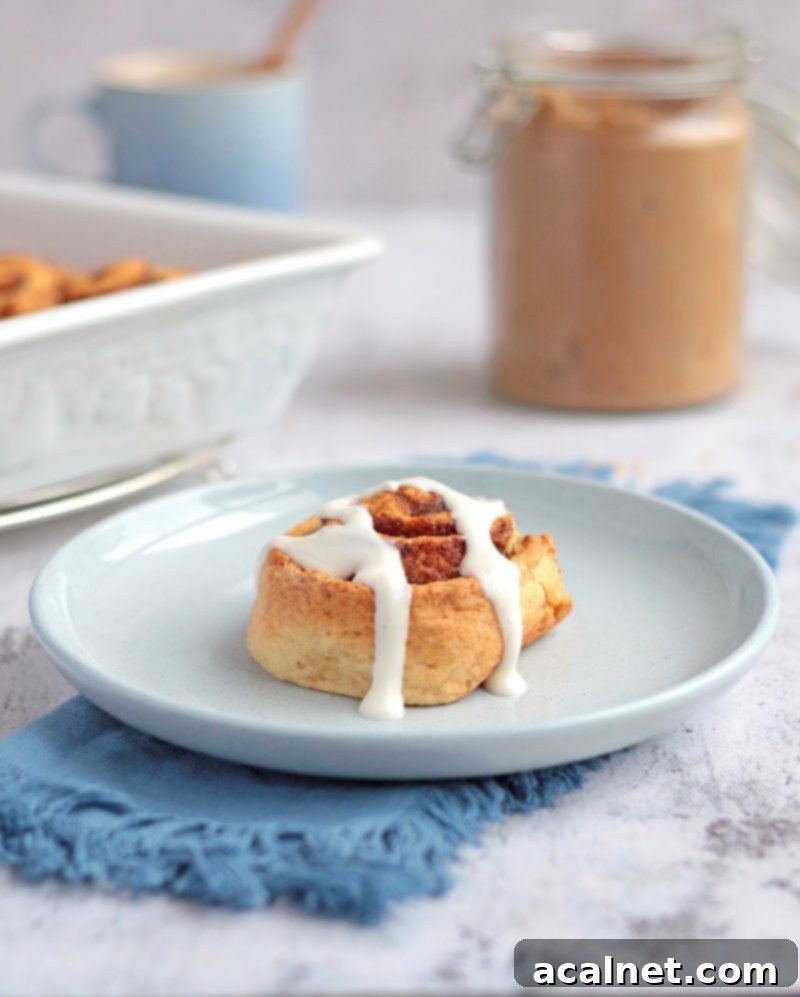
To crown these glorious quick cinnamon rolls, I’ve opted for a simple yet incredibly delicious Greek Yogurt Icing. Personally, I find traditional sugar-heavy icing can sometimes overpower the delicate flavors of the roll. My Greek yogurt version offers a lovely tangy counterpoint to the sweet cinnamon, making each bite perfectly balanced and less cloyingly sweet.
Of course, if you prefer, you can easily substitute the Greek yogurt with cream cheese for a classic cream cheese frosting, or stick to a traditional powdered sugar glaze. But I highly recommend trying this lighter, tangier option!
To make this simple Greek Yogurt Icing, you will need:
- Natural Greek Yogurt: Provides the creamy base and tangy flavor.
- Icing / Powdered Sugar: To sweeten and thicken the glaze to a drizzle-able consistency.
- Optional: A pinch of Cinnamon Powder: For an extra layer of warmth and spice, if desired.
Simply combine the Greek yogurt and icing sugar in a small bowl, stirring until smooth and lump-free. For a thicker icing, add a little more powdered sugar; for a thinner drizzle, add a tiny splash of milk or water. Drizzle generously over your cooled homemade yeast-free cinnamon rolls just before serving for the best texture and flavor.
Pro Tip: For optimal freshness and storage, I highly recommend drizzling this icing over individual rolls just before you’re ready to eat them. The rolls themselves will keep much longer un-iced.
Frequently Asked Questions About No Yeast Cinnamon Rolls
The most important secret to keeping your no-yeast cinnamon rolls wonderfully fresh for several days is to NOT add the Greek Yogurt Icing until you are ready to serve and eat them. The moisture from the icing can sometimes affect the rolls’ texture over time.
You can store these un-iced rolls at room temperature in an airtight container for up to 2 days. For extended freshness, they can also be kept in the refrigerator for up to 4 days. To best enjoy them after storage, I highly recommend warming them up slightly in the microwave for about 30 seconds. This will bring back their soft, moist, and tender texture, making them taste as if they were freshly baked!
Absolutely! These homemade cinnamon rolls without yeast freeze beautifully, making them excellent for meal prepping or enjoying a sweet treat whenever a craving strikes. Just remember, always freeze them without any icing on them. You have a couple of convenient options for freezing:
- Before baking: Prepare the yeast-free rolls as instructed, cutting them into individual spirals. Place them on a baking tray lined with parchment paper and freeze until solid. Once fully frozen, you can transfer them to an airtight container or wrap them individually in plastic wrap and then foil to prevent freezer burn.
- After baking: Allow the baked cinnamon rolls to cool down completely to room temperature. Then, wrap them individually in plastic wrap and/or aluminum foil, or store them in a freezer-safe airtight container.
To thaw and enjoy:
- For frozen un-baked rolls: Place them directly from the freezer into your baking dish and bake in a preheated oven at the temperature indicated in the recipe card, adding an extra 5-10 minutes to the baking time, or until golden brown and cooked through.
- For frozen pre-baked rolls: You can thaw them overnight in the refrigerator, reheat them briefly in the microwave until warm and soft, or place them back in a preheated oven for about 5-10 minutes until heated through.
While Greek yogurt is highly recommended for its thickness and higher protein content, plain yogurt can be used in a pinch. However, you might need to adjust the flour slightly, as plain yogurt is typically thinner. If using plain yogurt, start with a little less and add more if the dough feels too dry. The texture might also be slightly less fluffy due to the lower fat and thicker consistency of Greek yogurt.
I haven’t tested this specific recipe with gluten-free flour, but generally, a 1:1 gluten-free baking flour blend (that includes xanthan gum) often works well as a direct substitute. Keep in mind that gluten-free doughs can be more fragile, so handle with extra care during rolling. The overall texture may also vary slightly from the regular flour version.
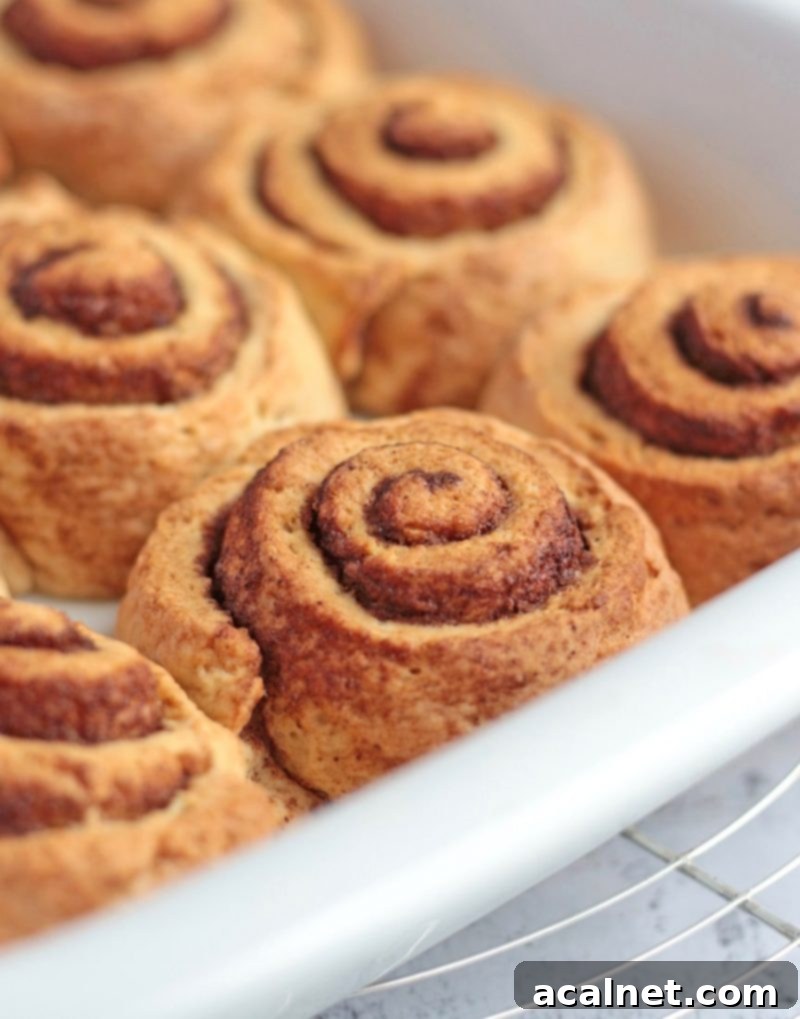
Pro Tips for Perfectly Quick No Yeast Cinnamon Rolls
- Don’t Overmix the Dough: This is crucial for a tender crumb. Mix just until the ingredients are combined and no dry flour remains. Overmixing develops gluten, leading to tough rolls.
- Ensure Soft Butter for Filling: The butter for the filling needs to be very soft, almost spreadable, but not melted. This makes it easy to spread evenly without tearing the dough and helps create that gooey, delicious layer.
- Measure Flour Correctly: For consistent results, spoon your flour into the measuring cup and level it off with a straight edge. Don’t scoop directly from the bag, as this can compact the flour and lead to too much flour, resulting in a dry dough.
- Gentle Rolling: While rolling the dough into a rectangle, be firm but gentle. If the dough resists or springs back too much, let it rest for 5-10 minutes to relax the gluten before continuing.
- Evenly Distribute Filling: Make sure the cinnamon-sugar mixture is spread right to the edges of the butter layer for flavor in every bite.
- Don’t Overbake: Overbaked rolls will be dry. Bake just until they are golden brown and cooked through. A toothpick inserted into the center of a roll (avoiding the filling) should come out mostly clean.
- Adjust Greek Yogurt as Needed: Depending on the humidity and your brand of flour, you might need a tiny bit more Greek yogurt to get the perfect dough consistency. Add it one tablespoon at a time if your dough seems too dry or crumbly.
Serving Suggestions for Your Quick Cinnamon Rolls
These fast cinnamon rolls are incredibly versatile and perfect for any time of day! Here are some ideas to enjoy them:
- Breakfast or Brunch: Serve them warm with a steaming cup of coffee or tea, alongside some fresh fruit for a complete meal.
- Dessert: A perfect ending to any meal, especially when served warm with a scoop of vanilla ice cream.
- Afternoon Snack: A delightful pick-me-up with a glass of milk or a hot beverage.
- Holiday Treat: Impress your guests with these quick and easy rolls during festive seasons, saving you precious time in the kitchen.
Explore More Delicious Sweet Roll & Bread Recipes
- Apple Cinnamon Pull Apart Bread
- Lemon Sweet Rolls
- Raspberry Chocolate Chips Brioche Buns
- Chocolate Brioche Bread Wreath
- Sweet Potato Buns
- Chocolate Chip Brioche
- Cinnamon Roll Bread Loaf
- Triple Chocolate Cinnamon Rolls
- Coffee Cinnamon Rolls
Loved this recipe?
We’d be thrilled to hear about your experience! Please leave a comment below with your feedback, and don’t forget to tag us on Instagram @a.baking.journey with a photo of your delicious creation! Your support means the world to us.
Full Recipe: Quick No Yeast Cinnamon Rolls

Quick No Yeast Cinnamon Rolls
Servings:
9 Large Rolls
Author:
Sylvie
20 minutes
20 minutes
40 minutes
Print Recipe
Ingredients
Cinnamon Roll Dough
- 2 cups (300gr) Plain Flour
- 1/4 cup (45gr) Brown Sugar
- 1 1/2 teasp. Baking Powder
- 1/2 teasp. Baking Soda
- 1 pinch Salt
- 1 cup (250gr) Natural Greek Yogurt (*)
- 1/3 cup (90ml) Melted Butter
Cinnamon Rolls Filling
- 1/4 cup (60gr) Soft Butter
- 1/4 cup (45gr) Brown Sugar
- 1 1/2 teasp. Ground Cinnamon
Greek Yogurt Icing
- 1/2 cup (125gr) Natural Greek Yogurt
- 1/4 cup (25gr) Icing Sugar
Instructions
- Preheat your oven to 180°C (350°F) and lightly grease your chosen square baking pan.
Prepare the Cinnamon Roll Filling
- Before starting the dough, prepare your filling. Cut the Butter into small cubes. If it’s not already very soft, microwave it for 30 seconds, stopping every 10 seconds to stir, until it is spreadably soft but not melted (see Note 1 for tips). Set aside.
- In a small separate bowl, combine the Brown Sugar and Ground Cinnamon. Mix well and set aside.
Make the No Yeast Cinnamon Roll Dough
- Melt the butter for the dough in the microwave and set it aside to cool slightly.
- In a large mixing bowl, combine all the dry dough ingredients: Plain Flour, Brown Sugar, Baking Powder, Baking Soda, and Salt. Stir thoroughly to ensure everything is well mixed.
- Add the Natural Greek Yogurt and the slightly cooled Melted Butter to the dry ingredients. Using a stiff spatula or wooden spoon, mix until the dough just starts to come together and forms a shaggy ball.
- Transfer the dough onto a lightly floured surface. Gently knead for only a few seconds (about 10-15 seconds) to ensure all ingredients are fully incorporated and the dough forms a cohesive ball. Be careful not to overwork the dough (see Note 2).
- Using a rolling pin, roll the dough into a large rectangle, approximately 1/4 to 1/3 inch thick. Try not to roll it too thin, as this dough is less elastic and might crack (see Note 3). Small cracks can be easily patched with your fingers.
Assemble and Bake the Rolls
- Spread the very soft butter evenly over the entire rolled pastry. Then, liberally sprinkle the prepared Brown Sugar and Cinnamon mixture all over the buttered dough. Tightly roll the pastry from its longest side to form a spiral log. Carefully cut the log into 9 large, equal slices (or 12 smaller ones if preferred) using a bread knife for best results.

- Arrange the cut cinnamon rolls in your greased square baking pan (a ceramic one works wonderfully!), leaving a small amount of space between each roll for them to expand as they bake.

- Bake for 20 to 25 minutes, or until the tops are golden brown and the rolls are puffed. Let them cool down completely in the pan before adding the Greek Yogurt Icing.
Prepare the Greek Yogurt Icing
- In a small bowl, whisk together the Greek Yogurt and Icing Sugar until smooth. Drizzle this delightful icing generously over the cooled no-yeast cinnamon rolls just before serving. Enjoy!
Would you like to save this recipe?
We’ll email this post to you, so you can come back to it later!
Notes
- If some pieces of butter for the filling have melted rather than just softened, stir them well with the soft pieces. If it’s too liquidy, place it in the fridge for a couple of minutes until it firms up to a spreadable consistency. If the butter is still not soft enough after 30 seconds in the microwave, continue in 10-second increments, stirring after each, until it reaches the desired softness. Alternatively, simply take your butter out of the fridge a couple of hours before you plan to bake, so it’s perfectly soft when you need it.
- It’s vital not to overwork the dough for these quick cinnamon rolls. Over-kneading will activate the gluten in the flour too much, making the dough tough and difficult to roll out, as it will keep springing back. If you find this happening, don’t worry! Just place the dough in the fridge for about 30 minutes to allow the gluten to relax, and then try rolling again.
- This dough, being yeast-free, will not be as elastic or stretchy as a traditional yeast dough. It’s completely normal for it to feel a bit more delicate or even develop small cracks as you roll it out. These cracks can easily be pressed and patched up with your fingers, so don’t fret if they appear!
(*) Depending on the specific type of flour you use and the humidity in your kitchen, the dough might be a little bit dry and/or crumbly. If you encounter this, gradually add a little more Greek Yogurt to the dough. I recommend starting with just 1 tablespoon at a time until you reach a pliable and workable consistency.
Nutrition (per serving)
