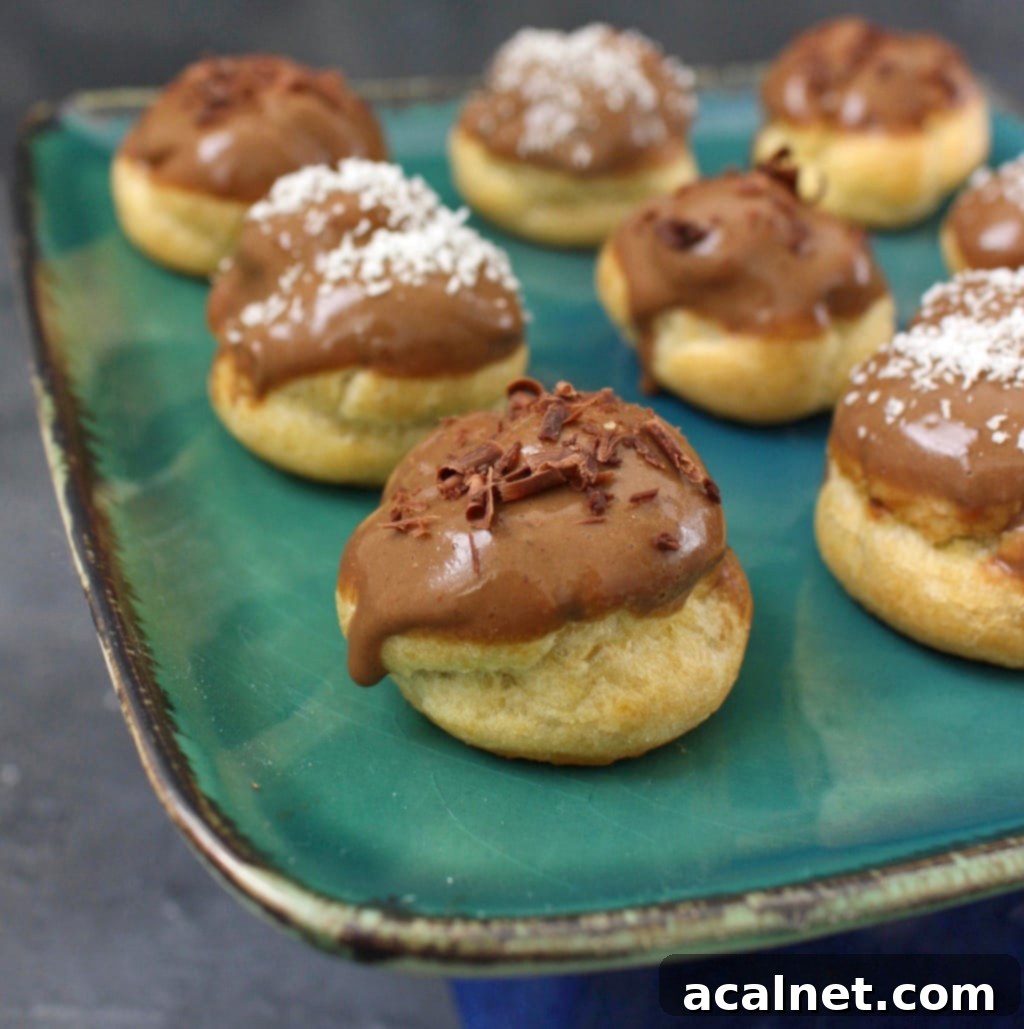
Irresistible Coffee Choux Buns: A Guide to Classic French Pastry Perfection
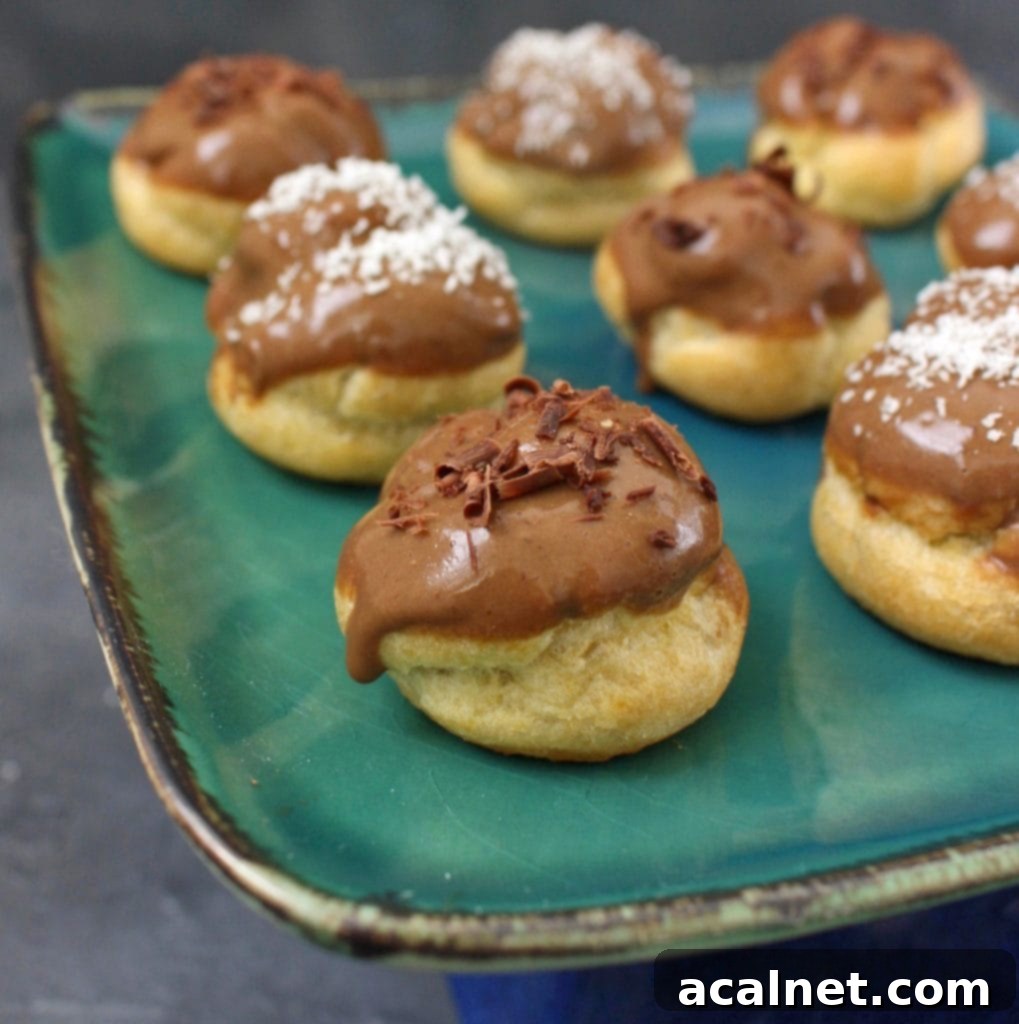
Indulge in the exquisite world of French patisserie with these super indulgent Coffee Choux Buns. Featuring a delicate, airy choux pastry shell, a luscious coffee-flavoured pastry cream filling, and a glossy coffee glaze, these treats are a true delight for coffee lovers and pastry enthusiasts alike. Best enjoyed with a freshly brewed cup of coffee, they promise a sophisticated and satisfying experience. Prepare to elevate your baking skills and impress with this timeless classic!
Jump to Recipe
Why You’ll Adore These Coffee Choux Buns
Choux Pastry (or Pâte à Choux) holds a special place in the heart of French baking, and for good reason! It’s incredibly versatile, capable of transforming into a myriad of sweet and savoury delights. What makes it truly magical is its ability to puff up into beautifully hollow, light, and crispy shells – the perfect vessel for decadent fillings. These Coffee Choux Buns take that classic foundation and infuse it with the rich, aromatic flavour of coffee, creating an unforgettable dessert.
While coffee is famously used to flavour classic French Éclairs, we’re focusing on a mini, bite-sized version today, perfect for sharing or enjoying as an individual treat. This recipe faithfully upholds all the traditional elements of classic choux pastry creations:
- A simple, 5-ingredient Choux Pastry dough that’s surprisingly easy to master.
- A creamy, rich Coffee Creme Patissiere (pastry cream) that’s bursting with coffee flavour.
- A dazzling, shiny Coffee Glaze to complete the luxurious experience.
Get ready to embark on a delightful baking journey that will leave you with a batch of irresistible Coffee Choux Buns. Let’s dive into the details of crafting each component to perfection!
Mastering the Basic Choux Pastry (Pâte à Choux)
The thought of making Choux Pastry (also known as Pâte à Choux) can seem a little daunting at first, especially if you’re new to the world of French baking. However, with a few key tips and clear instructions, you’ll discover that creating light, airy, and perfectly puffed choux is entirely achievable!
This fundamental Choux Pastry recipe is a gateway to an extensive range of delectable treats, both sweet and savoury. From classic Choux à la Crème and rich Chocolate Choux Buns, to crunchy Chouquettes and elegant Profiteroles. You can also make delicate Mini Chocolate Éclairs, unique French Cruller Donuts, savoury Gougeres, and even impressive Choux au Craquelin. The possibilities are truly endless!
But for our Coffee Choux Buns, let’s focus on perfecting the core component: the choux pastry itself. You’ll only need four incredibly basic ingredients:
- Water: The liquid base that creates steam, crucial for the ‘puff’.
- Butter: Adds richness and helps with the texture.
- Flour: Provides structure to the pastry.
- Eggs: Bind the dough and add moisture, richness, and help with the lift.
It sounds deceptively simple, right? The real secret to successful Choux Pastry lies not just in the ingredients, but in understanding the technique and the science behind it. The dough undergoes a unique “twice-baked” process: first on the stovetop, then in the oven. This method is essential for achieving that signature hollow interior and crispy exterior.
The initial stovetop cooking step is vital for dehydrating the pastry dough (known as panada). This process removes excess moisture, creating a thick, cohesive dough that will later absorb the eggs. This dehydration allows the steam generated during oven baking to expand rapidly, causing the choux to puff dramatically. Remarkably, this entire initial stage happens in a single pot, minimizing cleanup!
Let’s walk through the detailed steps for creating this magical dough:
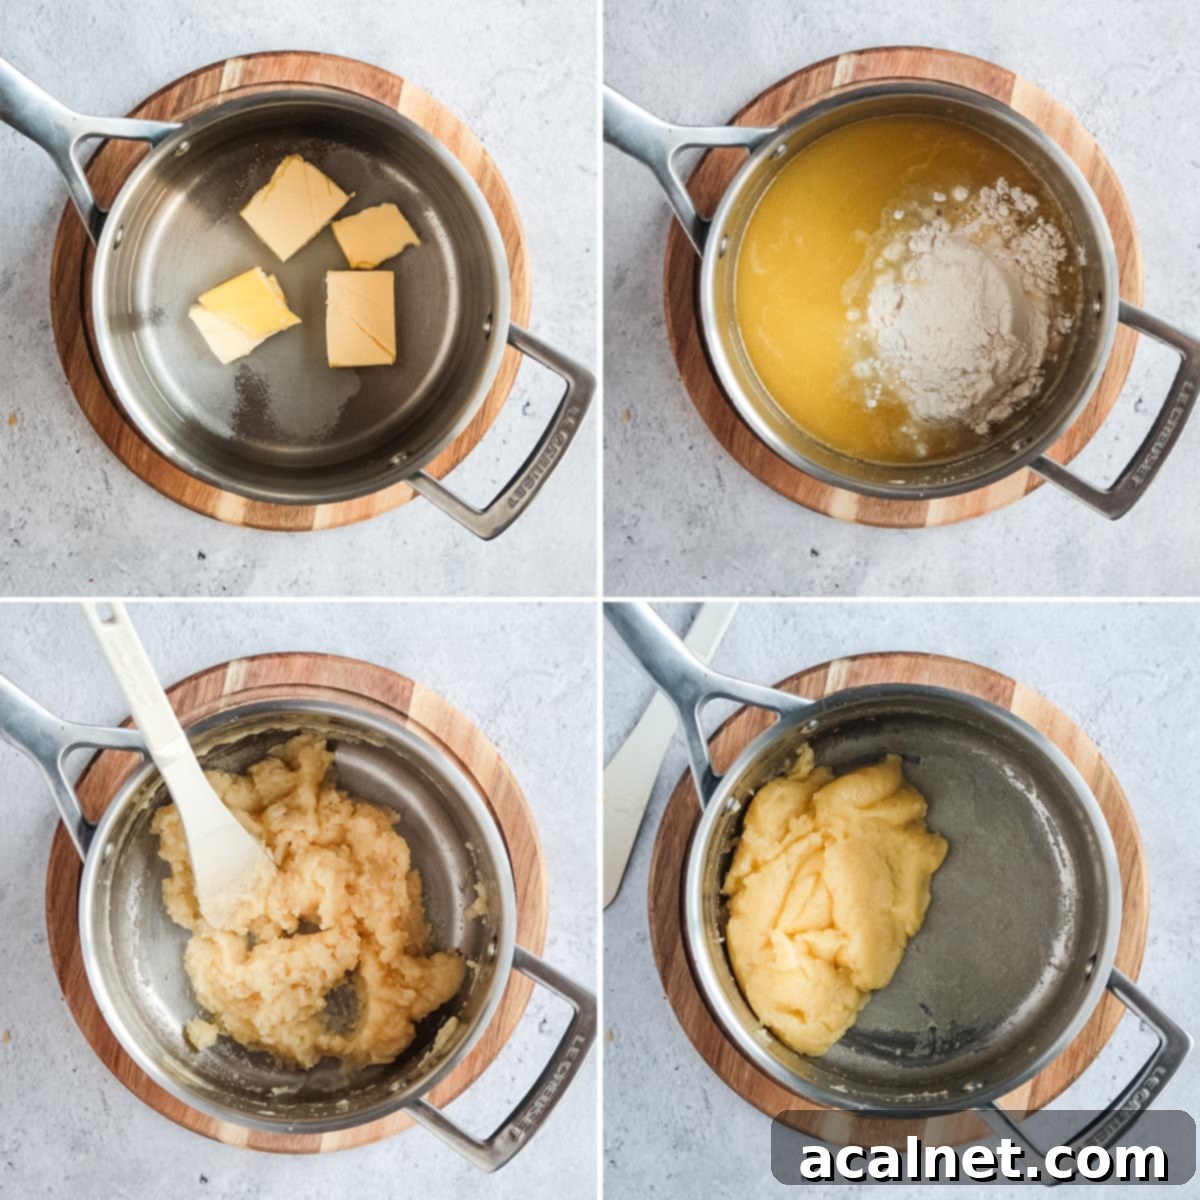
- In a medium-sized, heavy-bottomed pot, combine the Water and Butter (and Caster Sugar, if using for sweet choux). Bring this mixture to a rolling boil over medium-high heat. Ensure the butter is fully melted before it boils to prevent too much water from evaporating.
- Once the mixture is vigorously boiling, immediately remove the pot from the heat. Add all the flour at once. Using a sturdy wooden spoon, quickly and vigorously mix the flour into the liquid until a cohesive ball of dough forms and pulls away from the sides of the pot.
- Return the pot to medium heat. Continue to mix and “cook” the dough for about 2-3 minutes. This crucial step dehydrates the dough, forming a thin film at the bottom of the pot. Use the side of your wooden spoon to press the dough against the hot sides of the pot, ensuring even drying. This drying process is key for a good puff in the oven.
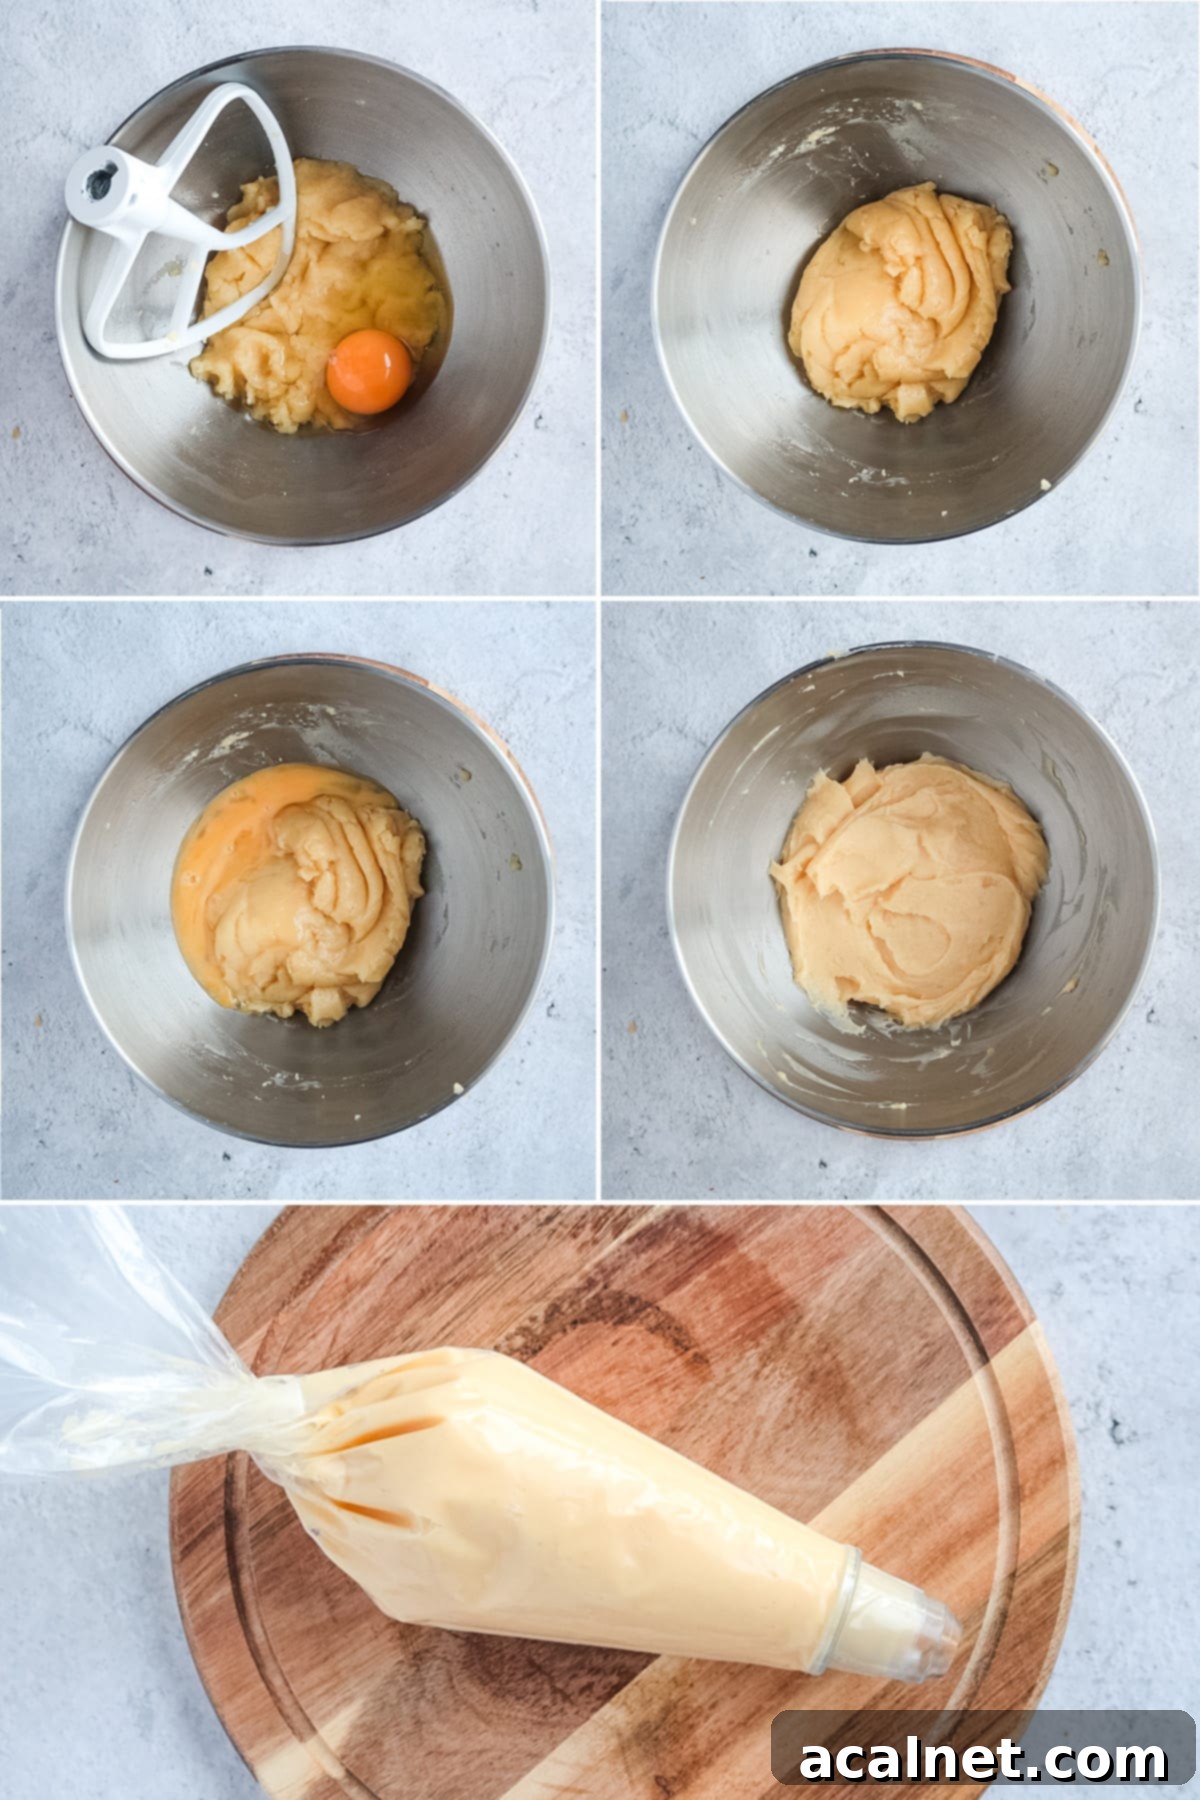
- Remove the pot from the heat and transfer the dough into a clean bowl. It’s crucial to let the dough cool down for a few minutes. This prevents the added eggs from scrambling or “cooking” upon contact with hot dough. Stirring it gently can help it cool faster.
- Once the dough is slightly cooled (it should still be warm, but not hot to the touch), begin to add the Eggs, one at a time. Mix each egg thoroughly with a wooden spoon or a robust silicone spatula until it is fully incorporated and the dough returns to a smooth, cohesive consistency before adding the next egg. The dough will initially look like it’s separating, but keep mixing – it will come back together. You’re looking for a dough that is shiny, smooth, and forms a “V” shape when lifted with the spoon, slowly falling back into the bowl.
- And there you have it! Your perfectly prepared Choux Pastry is now ready to be piped into your desired shapes for baking!
One last critical tip for achieving perfectly crisp Choux Buns: the baking process. Bake your choux in a preheated oven (typically 180-200°C) for the initial 15-20 minutes until they are beautifully puffed and golden brown. Then, for the last 5-10 minutes, slightly open the oven door (you can prop it open with a wooden spoon) to allow the steam to escape. This final step is essential for creating a dry, crispy shell and preventing the choux from collapsing once cooled. Allow them to cool completely on a wire rack before filling.
Decadent Coffee Pastry Cream (Crème Pâtissière)
The soul of most classic Choux pastries lies in their exquisite filling, traditionally a rich and creamy Crème Pâtissière – the French term for pastry cream or custard. This luscious cream provides a perfect contrast to the light and airy choux shell, and for our Coffee Choux Buns, we’re infusing it with a wonderful coffee flavour.
Like the choux pastry itself, a good Crème Pâtissière relies on a handful of very basic, readily available ingredients:
- Egg Yolks: Provide richness, flavour, and act as a thickener.
- Sugar: Sweetens the cream and helps stabilize the egg yolks.
- Milk: The liquid base for the custard.
- Cornstarch: A crucial thickening agent that gives the cream its smooth, stable texture.
These four ingredients form the foundation of a simple yet elegant pastry cream. The beauty of Crème Pâtissière, however, is its adaptability. While a traditional recipe is often delicately flavoured with vanilla – like the delicious version I used for my Plum Vanilla Custard Tart – it serves as an ideal canvas for countless other flavours. For this recipe, we’re creating a robust Coffee Crème Pâtissière. You could just as easily infuse it with chocolate, various fruit purees, or other extracts to match any dessert theme.
Here are the key steps to crafting a flawless Coffee Pastry Cream:
- In a saucepan, gently bring the Milk to a boil, infusing it with the Instant Coffee Powder. Stir occasionally to dissolve the coffee and prevent scorching. Remove from heat just as it starts to simmer.
- In a separate, heat-proof bowl, vigorously whisk together the Sugar and Egg Yolks until the mixture becomes pale and foamy. Then, gradually add the Cornstarch, mixing thoroughly until no lumps remain. This creates a smooth, thick paste.
- Carefully temper the egg mixture by slowly pouring about half of the hot coffee-infused milk over the egg yolk mixture while continuously whisking. This step gently raises the temperature of the eggs, preventing them from scrambling. Once combined, pour this warmed egg mixture back into the pot with the remaining hot milk.
- Return the pot to medium heat and whisk continuously and vigorously. The cream will begin to thicken relatively quickly – usually within a few minutes – as the cornstarch activates. Once it reaches a thick, pudding-like consistency, immediately remove it from the heat.
- Transfer the freshly made Crème Pâtissière into a clean bowl or container. Cover the surface directly with plastic wrap (the wrap should be touching the cream to prevent a skin from forming). Allow it to cool slightly at room temperature, then refrigerate until it is completely chilled and firm enough to pipe – typically at least an hour, or preferably longer.
Crafting the Rich Cacao Coffee Glaze
With your perfectly baked Choux Buns cooled on a rack and your creamy Coffee Crème Pâtissière chilling in the fridge, we’re almost at the finish line! The final flourish for these delightful pastries is the glossy and flavourful glaze. To complement our coffee theme, I’ve developed a rich Cacao Coffee Glaze. The addition of cacao powder deepens the colour and adds an extra layer of robust flavour, creating a more intense and satisfying coffee-chocolate experience. If you prefer a pure coffee flavour, you can certainly omit the cacao and use only instant coffee powder.
Making this glaze is surprisingly simple. You’ll essentially create a thickened coffee-flavoured liquid that sets into a beautiful, shiny coating. The key ingredient that gives this glaze its unique properties is Agar Agar Powder. If you’re a regular follower of my recipes, you’ll know I’m a big fan of agar agar!
Agar agar is a natural, plant-based gelling agent derived from seaweed, making it an excellent alternative to gelatin for vegetarians and vegans. It has some fantastic properties that are perfect for glazes: it sets quickly at room temperature, creates a firm yet tender gel, and, perhaps most interestingly, it’s thermoreversible. This means that if your glaze starts to set too quickly while you’re working, you can simply gently reheat it to bring it back to a liquid state without affecting its gelling properties. This makes it very forgiving and easy to work with.
To prepare the glaze, simply combine milk, instant coffee powder, cacao powder, and a touch of sugar in a saucepan and bring it to a boil. Once boiling, whisk in the agar agar powder and let it simmer for a couple of minutes to ensure the agar agar is fully dissolved and activated. Then, remove it from the heat and allow it to cool slightly before dipping your choux buns. The goal is a glaze that’s cool enough to thicken but still liquid enough to coat smoothly.
Assembling Your Perfect Coffee Choux Buns
Now that we’ve meticulously prepared each individual component – the light-as-air Choux Pastry, the rich Coffee Crème Pâtissière, and the lustrous Cacao Coffee Glaze – it’s time for the exciting part: bringing them all together to create our spectacular Coffee Choux Buns. Assembly is straightforward but requires a few key steps to ensure a beautiful and delicious finish.
Step 1: Preparing and Baking the Choux Pastry Shells
First, let’s ensure your choux pastry shells are perfectly baked and ready. Once your choux batter is prepared and has cooled slightly, transfer it into a piping bag fitted with a large round piping nozzle (about 1.5-2 cm in diameter works well for small buns). Line a baking tray with parchment paper or a Silicone Baking Mat – this prevents sticking and ensures even baking.
Pipe the choux buns onto the prepared tray, aiming for consistent sizes. For bite-sized treats, pipe small mounds of dough; for larger choux, pipe accordingly. Remember, they will expand significantly in the oven, so leave ample space (about 5 cm or 2 inches) between each piped bun to prevent them from merging. Bake them in a preheated oven (refer to the recipe card for precise temperature and time). Typically, small choux buns take about 15-20 minutes to puff up and turn golden brown. For the last 5 minutes of baking, slightly open the oven door and prop it with a wooden spoon – this allows steam to escape, ensuring a crispy shell. Once baked, immediately transfer the Choux Buns onto a wire cooling rack and let them cool down completely. This prevents condensation and keeps them crisp.
Step 2: Filling the Choux Buns with Coffee Crème Pâtissière
While your choux shells are cooling, make sure your Coffee Crème Pâtissière is thoroughly chilled and firm. If it’s too soft, it won’t hold its shape when piped. Once cooled, you might want to give it a quick whisk to loosen it slightly and make it smooth again. Transfer the chilled pastry cream into a clean piping bag, ideally fitted with a small round nozzle or a bismark tip for filling.
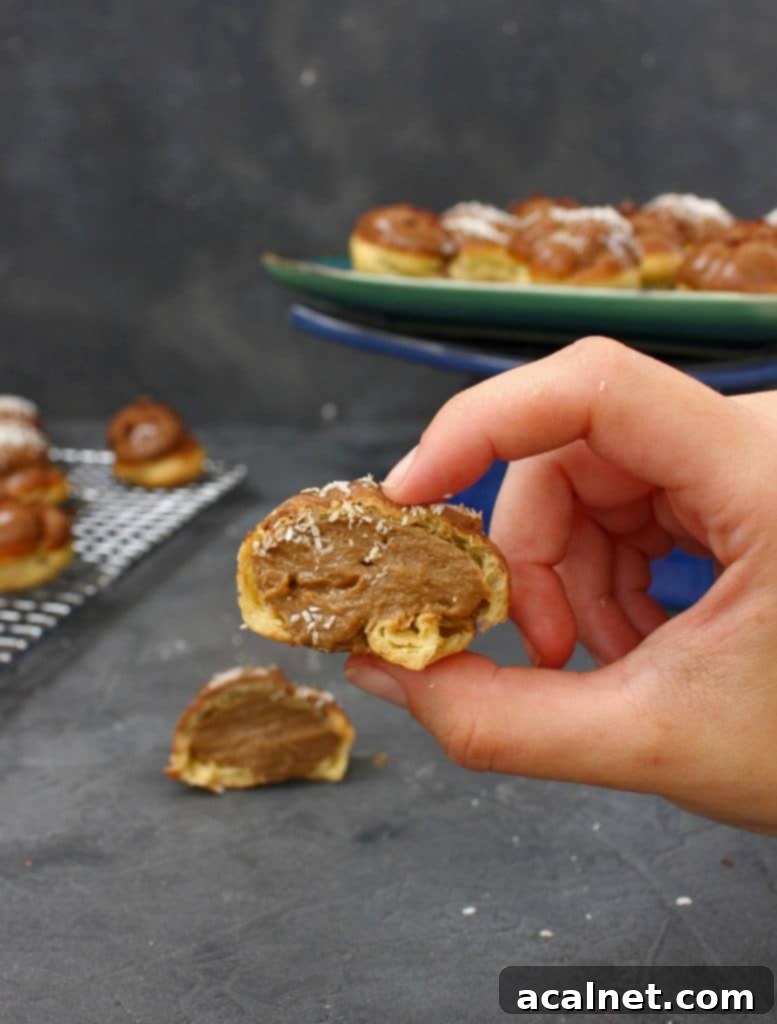
To fill each choux bun, carefully create a small hole on the bottom (or side, if preferred) using a small sharp knife or the tip of your piping nozzle. Insert the nozzle into the hole and gently pipe the coffee cream until the choux bun feels noticeably heavier and slightly full. Be careful not to overfill, as this can cause the bun to burst or become soggy.
Step 3: Glazing for a Perfect Finish
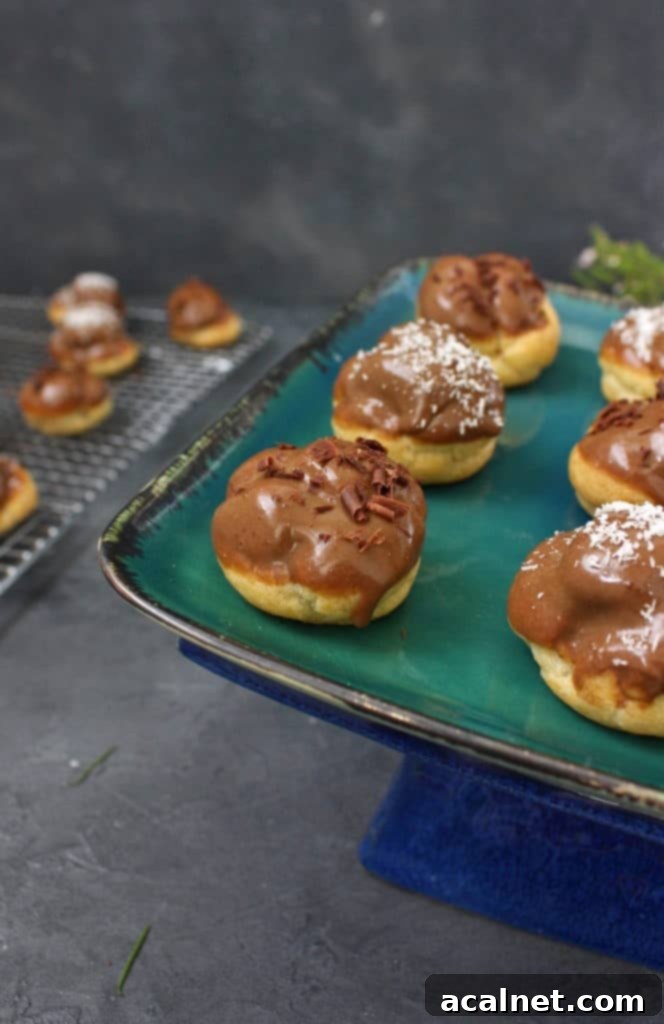
Finally, prepare your Cacao Coffee Glaze. Bring the glaze mixture to a boil as per the instructions, then remove it from the heat and let it cool for a few minutes. It should be warm but starting to thicken slightly – if it’s too hot, it will be too runny; if too cool, it will set too quickly. Dip the top of each filled choux bun into the glaze, allowing any excess to drip off before placing it back onto the cooling rack. For a thicker, more luxurious coating, allow the first layer of glaze to set completely (this happens quickly thanks to the agar agar) before dipping them a second time.
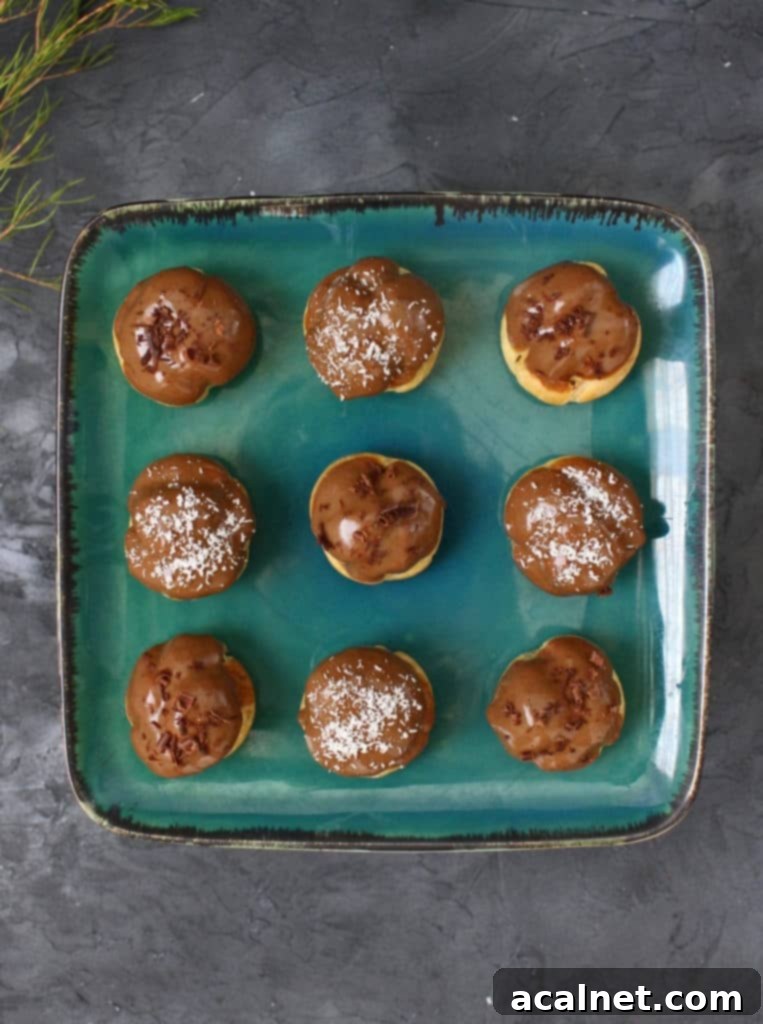
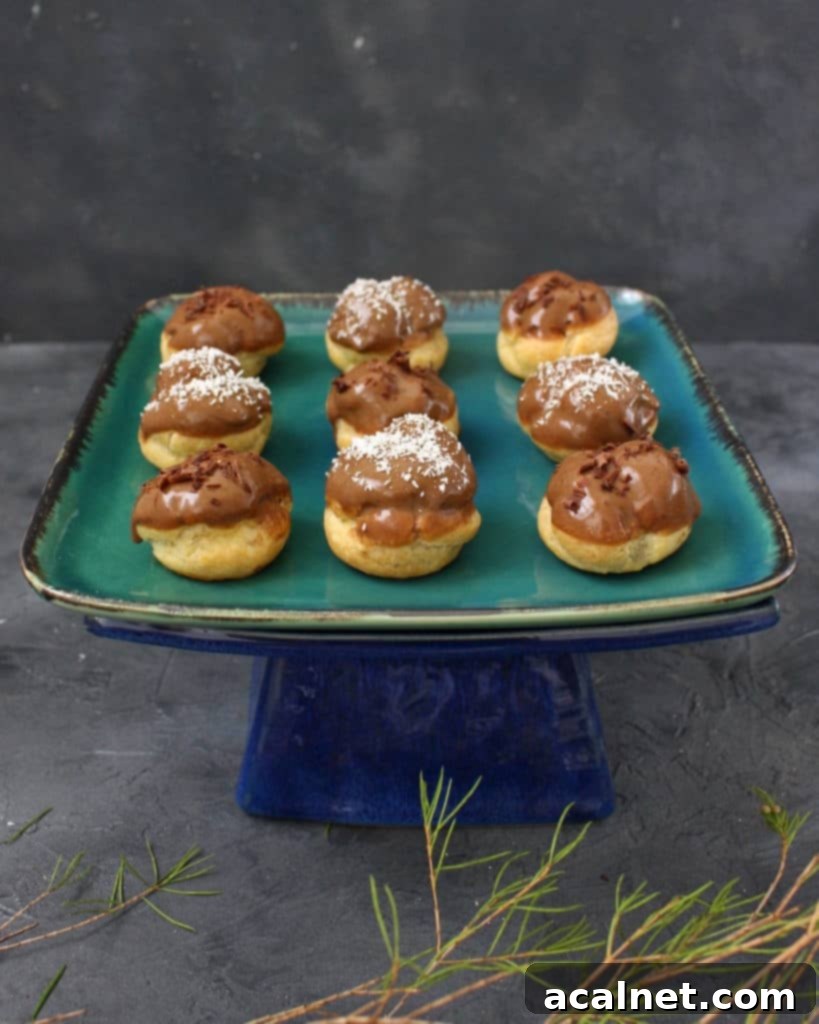
To add a final touch of elegance and flavour, sprinkle your glazed Coffee Choux Buns with some finely shaved dark chocolate or a dusting of unsweetened cacao powder. Shredded coconut also makes a wonderful, textural garnish. Serve immediately or store them properly. These beautiful pastries are now ready to be savoured!
Explore More Coffee-Flavoured Desserts
If you’ve fallen in love with the rich flavour profile of these Coffee Choux Buns, you’re in for a treat! Coffee is an incredibly versatile ingredient in baking, adding depth and a sophisticated aroma to a wide array of desserts. Here are some other delightful coffee-infused recipes you might enjoy from our collection:
- Coffee Financiers: Small, almond-based cakes with a subtle coffee kick.
- Chocolate Chiffon Cake with Chocolate Coffee Glaze: A light and airy chocolate cake enhanced with a decadent coffee glaze.
- Coffee Crème Brûlée: A classic French dessert with a creamy coffee custard base and a perfectly caramelized sugar crust.
- The best Coffee Mousse Cups: Light, airy, and intensely coffee-flavoured mousse, served in elegant cups.
- Coffee Loaf Cake: A moist and tender loaf cake, perfect for a coffee break, topped with a sweet coffee glaze.
- Coffee Cheesecake: A rich and creamy cheesecake infused with the beloved taste of coffee.
Each of these recipes offers a unique way to enjoy the wonderful flavour of coffee in a sweet treat. Happy baking!
Made this recipe?
We’d love to see your beautiful creations! Let us know if you liked it by leaving a comment below, and don’t forget to tag us on Instagram @a.baking.journey with a photo of your masterpiece!
Recipe
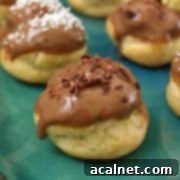
Coffee Choux Buns
Print Recipe
Ingredients
Basic Choux Pastry
- 125 ml (1/2 cup) Water
- 60 gr (1/4 cup) Butter
- 1 tbsp. Caster Sugar
- 75 gr (1/2 cup) Plain Flour
- 2 Eggs
Coffee Creme Patissiere
- 250 ml (1 cup) Full Cream Milk
- 2 tbsp Instant Coffee Powder, Use more or less depending on the intensity of the flavour your want
- 2 Egg Yolks
- 30 gr (2 tbsp) Caster Sugar
- 30 gr (1/4 cup) Cornstarch
Cacao Coffee Glaze
- 150 ml (1/2 cup + 2 tbsp) Full Cream Milk
- 2 teasp. Instant Coffee Powder
- 1 teasp. Unsweetened Cacao Powder
- 1 teasp. Caster Sugar
- 1 teasp. Agar Agar Powder
Instructions
Basic Choux Pastry
- Preheat the oven on 180’C.
- In a medium size pot, bring the Water and Butter to a boil with the Sugar.
When boiling, remove from the heat and drop in the Flour at once. With a wooden spoon, mix the flour in until all incorporated.
- Place the pot back on the heat and mix the dough with the spoon for a couple of minutes to dehydrate it. Use the side of your pot (that should be really hot at this point) to dry out the dough but pressing it against the sides.
- Turn off the heat and transfer into a clean bowl. Leave the dough to cool down for a few minutes (see note 1).
Add the Eggs – one at the time. Mix well with a wooden spoon or silicone spatula in between each eggs.
- Line a baking tray with paper or a mat. Fill a piping bag with a round piping nozzle with the Choux Pastry and pipe little circle of dough. Leave enough space in between each of them to puff.
- Place in the oven for 20 to 25 minutes, or until the choux look puffed and golden brown. Open the over door to let the steam out and directly close it back. Leave to cook for another 10 minutes (see note 2). Move the Choux Buns on a cooling rack and leave them to cool down completely.
Coffee Creme Patissiere
- In a small pot, bring the Milk and Instant Coffee Powder to a boil.
- In the meantime, whisk the Egg Yolks and Sugar in a separate bowl until foamy. Add the Cornstarch and mix well until there are no more lumps.
While whisking, pour half of the Milk over the eggs, quickly mix, then pour the batter back into the pot with the rest of the Milk.
- Place the pot back on the heat and vigorously whisk until it starts thickening. Directly remove from the heat and transfer the Creme Patissiere onto a clean bowl. Cover with Cling Wrap (touching the cream) and place in the fridge to cool down completely.
To assemble the Choux
- Create a small hole on the bottom of each choux. Fill a clean piping bag with the Coffee Creme Patissiere. Fill each Choux with the Creme Patissiere.
Cacao Coffee Glaze
- Place the Milk, Cacao Powder, Instant Coffee Powder and Sugar in a Pot. Bring to a boil, then add the Agar Agar Powder. Whisk for a couple of minutes then remove from the heat.
- Wait about 5 minutes for the glaze to start setting, then dip each Choux in the glaze. Optionally, dip a second time for a thicker glaze.
- Sprinkle some shaved Dark Chocolate and/or Shredded Coconut on top of each choux to finish them.
Would you like to save this recipe?
We’ll email this post to you, so you can come back to it later!
Notes
- It is important to let the dough cool down before adding the eggs. If you add the eggs while the batter is still hot, it will cool the eggs – which you want to avoid.
- Another technique is to cook the Choux with the oven door closed, then open it and leave it slightly opened by placing a wooden spoon between the door and the oven.
Nutrition (per serving)
