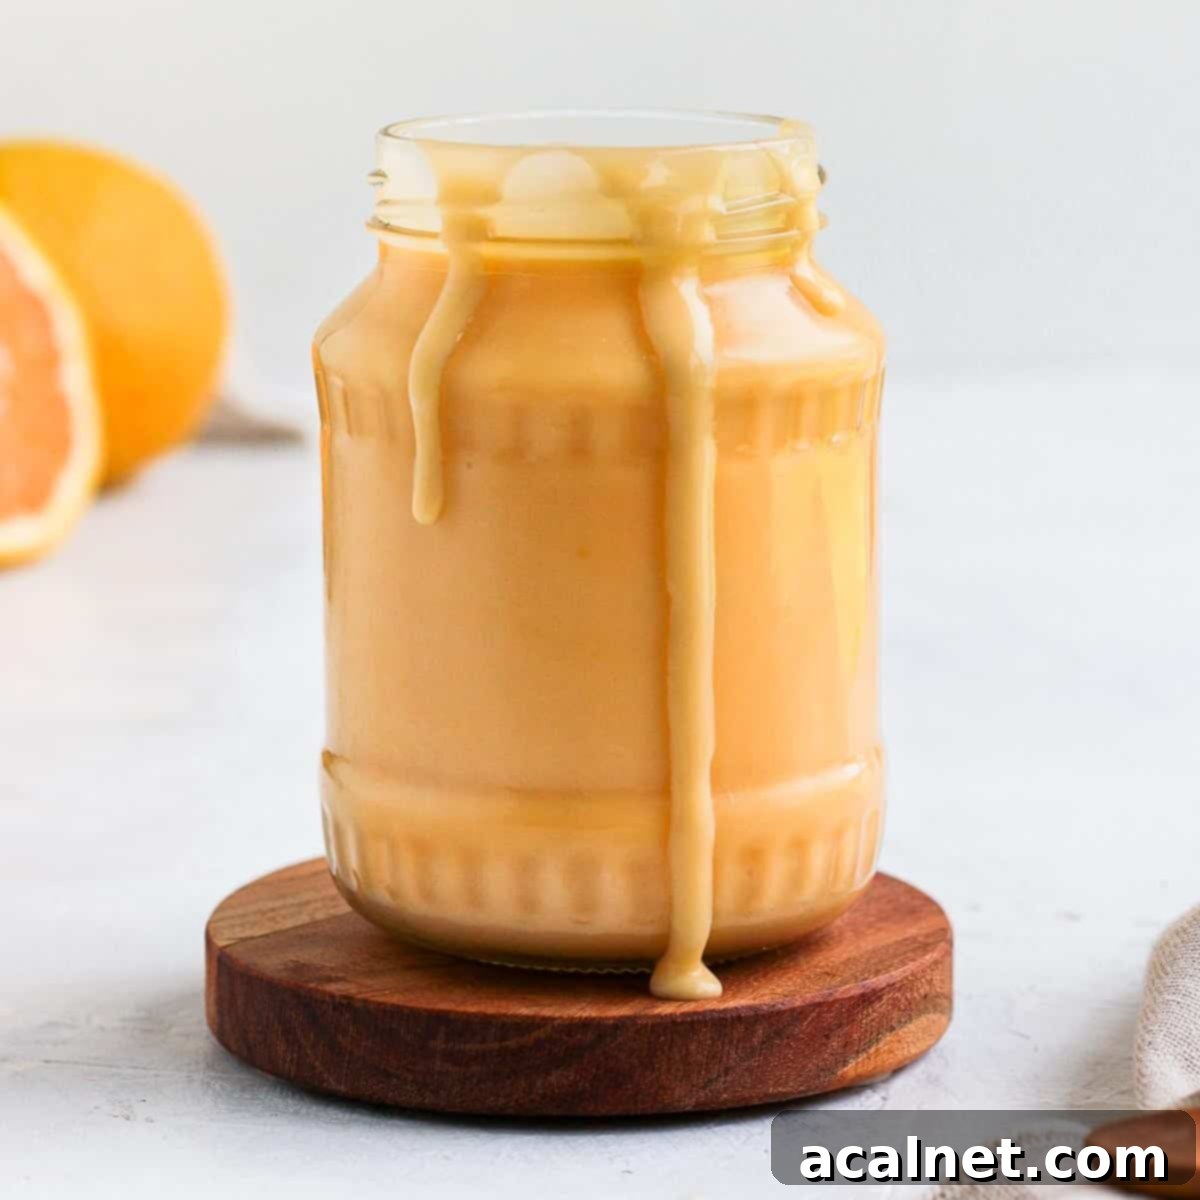
Easy Homemade Orange Curd Recipe: Just 4 Ingredients, Ready in Under 30 Minutes
Discover the delightful world of homemade orange curd with this incredibly easy recipe. Made with just four simple ingredients, this vibrant and creamy citrus spread comes together in less than 30 minutes, not including chilling time. It’s the perfect sweet and tangy addition to elevate your breakfast, desserts, and baked goods. Imagine serving this luscious orange cream over warm scones, fluffy pancakes, or crispy waffles. It also makes an exceptional filling for cakes and pastries, a bright topping for ice cream, or a delicious mix-in for granola and yogurt. Get ready to transform ordinary meals into extraordinary culinary experiences with this simple yet sophisticated orange curd.
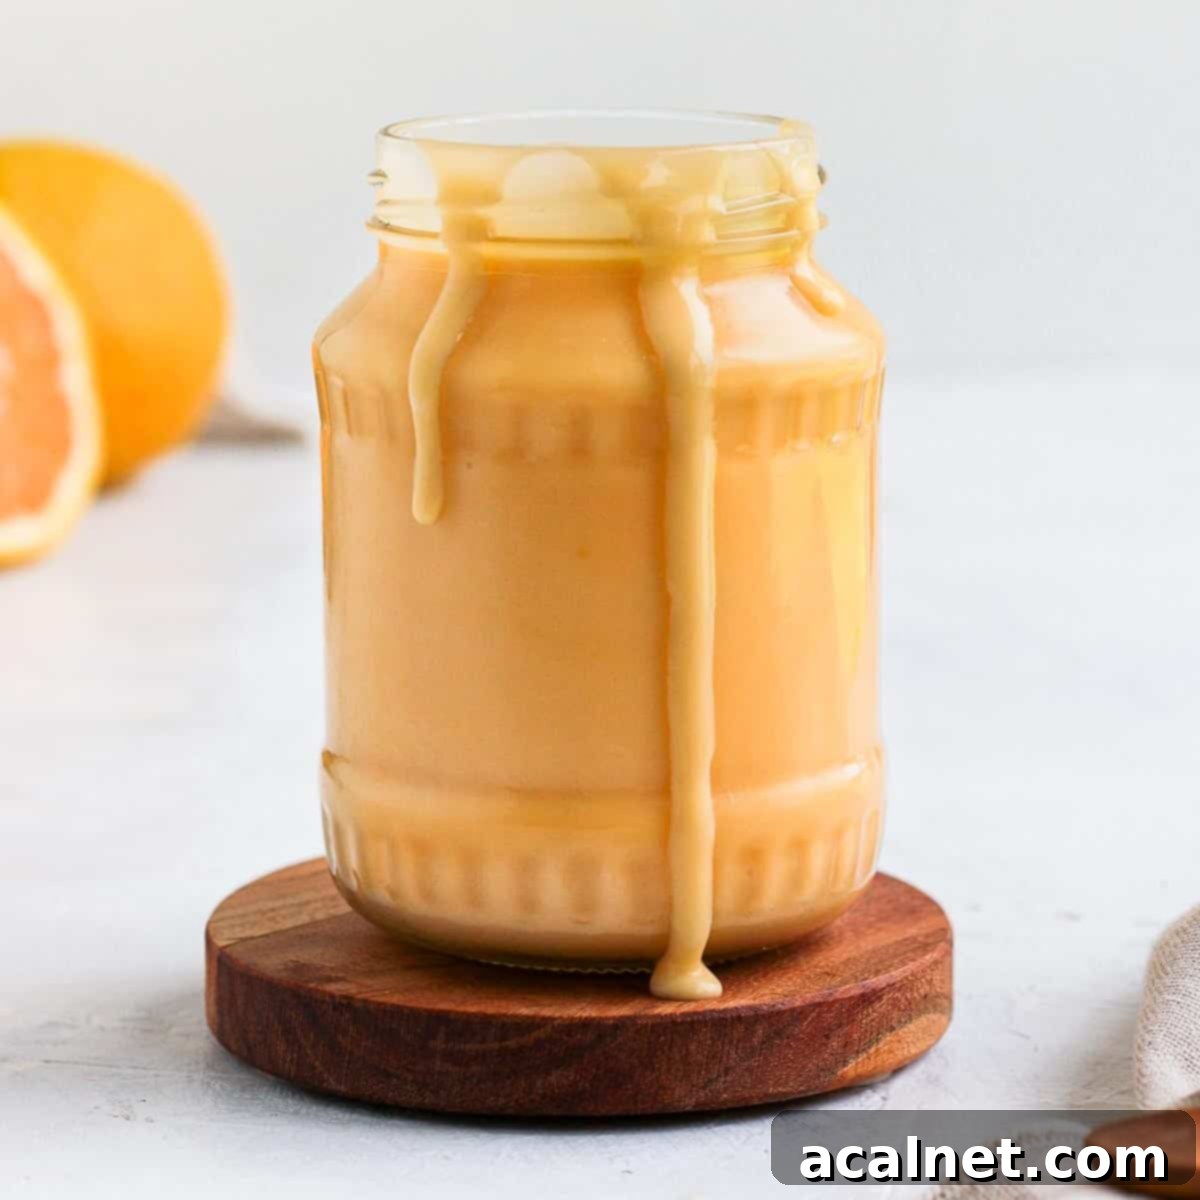
Why You’ll Adore This Easy Orange Curd Recipe
While lemon curd often steals the spotlight, curds are certainly not limited to just lemons! Using other delightful citrus fruits like oranges creates an equally fantastic, if not slightly sweeter, and wonderfully flavorful spread. This homemade orange curd recipe truly shines for several reasons, making it a favorite for both seasoned bakers and kitchen novices.
First and foremost, its simplicity is unmatched. Requiring only four basic ingredients – a testament to how incredible simple, quality components can be – and taking less than 30 minutes to cook, this recipe fits perfectly into any busy schedule. Forget complicated techniques or specialized equipment; there’s no need for a double-boiler here. All you need is a single saucepan, making cleanup a breeze and the cooking process straightforward and enjoyable.
The texture of this orange curd is deliberately crafted to be on the thinner, wonderfully creamy side. This smooth, luxurious consistency is precisely what we aim for, ensuring there are no overly thick or lumpy bits. It’s a velvety orange cream that effortlessly glides over surfaces, making it an ideal candidate for a variety of uses. Whether you’re topping your favorite breakfast foods, creating exquisite cake fillings, or enhancing delicate pastry fillings like these Orange Tartlets or Chocolate Orange Tartlets, this curd delivers a burst of sunshine in every bite. It’s more than just a spread; it’s a versatile ingredient that elevates any dish it graces.
More Delightful Curd Recipes to Try:
- Tangy Lemon Curd
- Passion Fruit Curd
- Mango Curd
- Apple Curd
- Raspberry Curd
Essential Ingredients for Your Homemade Orange Curd
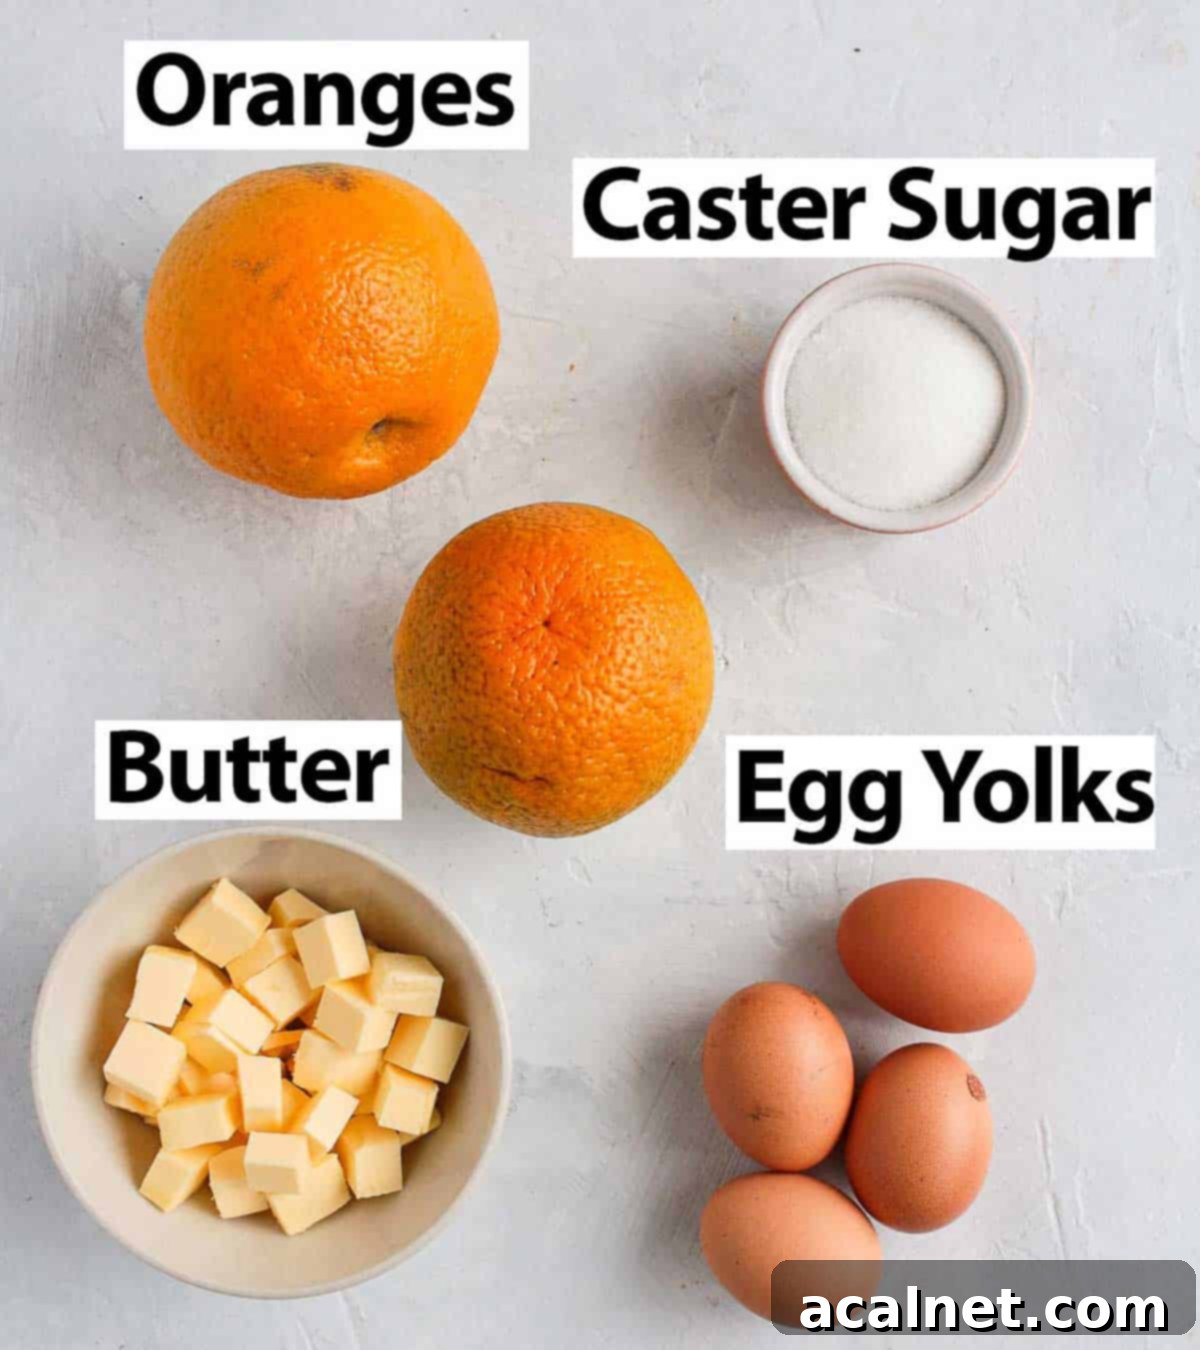
This wonderfully simple orange curd recipe relies on just four fundamental ingredients to deliver its exquisite flavor and silky texture. Each component plays a crucial role in creating the perfect balance of sweet and tangy, resulting in a truly irresistible spread. (For precise quantities, please refer to the detailed recipe card below.)
- Fresh Oranges: The star of our show! We utilize both the juice and the finely grated zest of fresh oranges to infuse the curd with the deepest, most authentic orange flavor possible. For the best results, select orange varieties known for their sweetness and ample juice, such as Navel or Valencia oranges. Their bright, aromatic zest is essential for that signature citrus kick, while their abundant juice forms the flavorful base of the curd. Opting for fresh oranges makes a significant difference in the final taste and aroma compared to bottled juice.
- Granulated Sugar: A basic Caster Sugar (or any fine white granulated sugar) works beautifully here, providing the necessary sweetness and helping to create that smooth consistency. If you’re feeling adventurous and desire a slightly different flavor profile, you could experiment with brown sugar for subtle caramel notes. For those aiming for a sugar-free orange curd, natural sweeteners like erythritol or stevia can be substituted, though results may vary slightly in texture and sweetness level.
- Unsalted Butter: Good quality unsalted butter is key to achieving a rich, creamy texture and a luxurious mouthfeel. Cut your butter into small cubes before you start cooking. While it doesn’t need to be at room temperature for an extended period, taking it out of the fridge about 10-15 minutes beforehand allows it to soften slightly, ensuring it melts smoothly and incorporates effortlessly into the curd without cooling down the mixture too much.
- Egg Yolks: These are the magical emulsifiers and thickeners in our curd. We use medium-sized egg yolks, ideally at room temperature, which helps them blend more evenly into the mixture. The egg yolks contribute significantly to the curd’s rich color and silky smooth texture. If you prefer a noticeably thicker orange curd, a common culinary trick is to add an extra egg yolk. This will increase the protein content, resulting in a firmer set.
Optional Enhancements for Your Curd
While the four core ingredients create a fantastic orange curd, these optional additions can help you customize the texture and flavor to your exact preference.
- Cornstarch (or Cornflour): If you’re seeking a noticeably thicker curd – perhaps for spreading generously on toast or as a very firm cake filling – a small amount of cornstarch can be added. This is entirely optional and depends solely on your desired consistency. It acts as a stabilizer and additional thickening agent, ensuring a more robust set. If using, it’s crucial to whisk it thoroughly with the cold liquids before heating to prevent lumps.
- Lemon Juice: Depending on the natural sweetness and acidity of your chosen oranges, you might find that adding a touch of lemon juice can beautifully balance the flavors. Sometimes, oranges can be exceptionally sweet, and a tablespoon or two of fresh lemon juice introduces a bright, zesty counterpoint that prevents the curd from being overly saccharine. Simply taste your mixture during the cooking process and adjust as needed to achieve your ideal sweet-tart harmony.
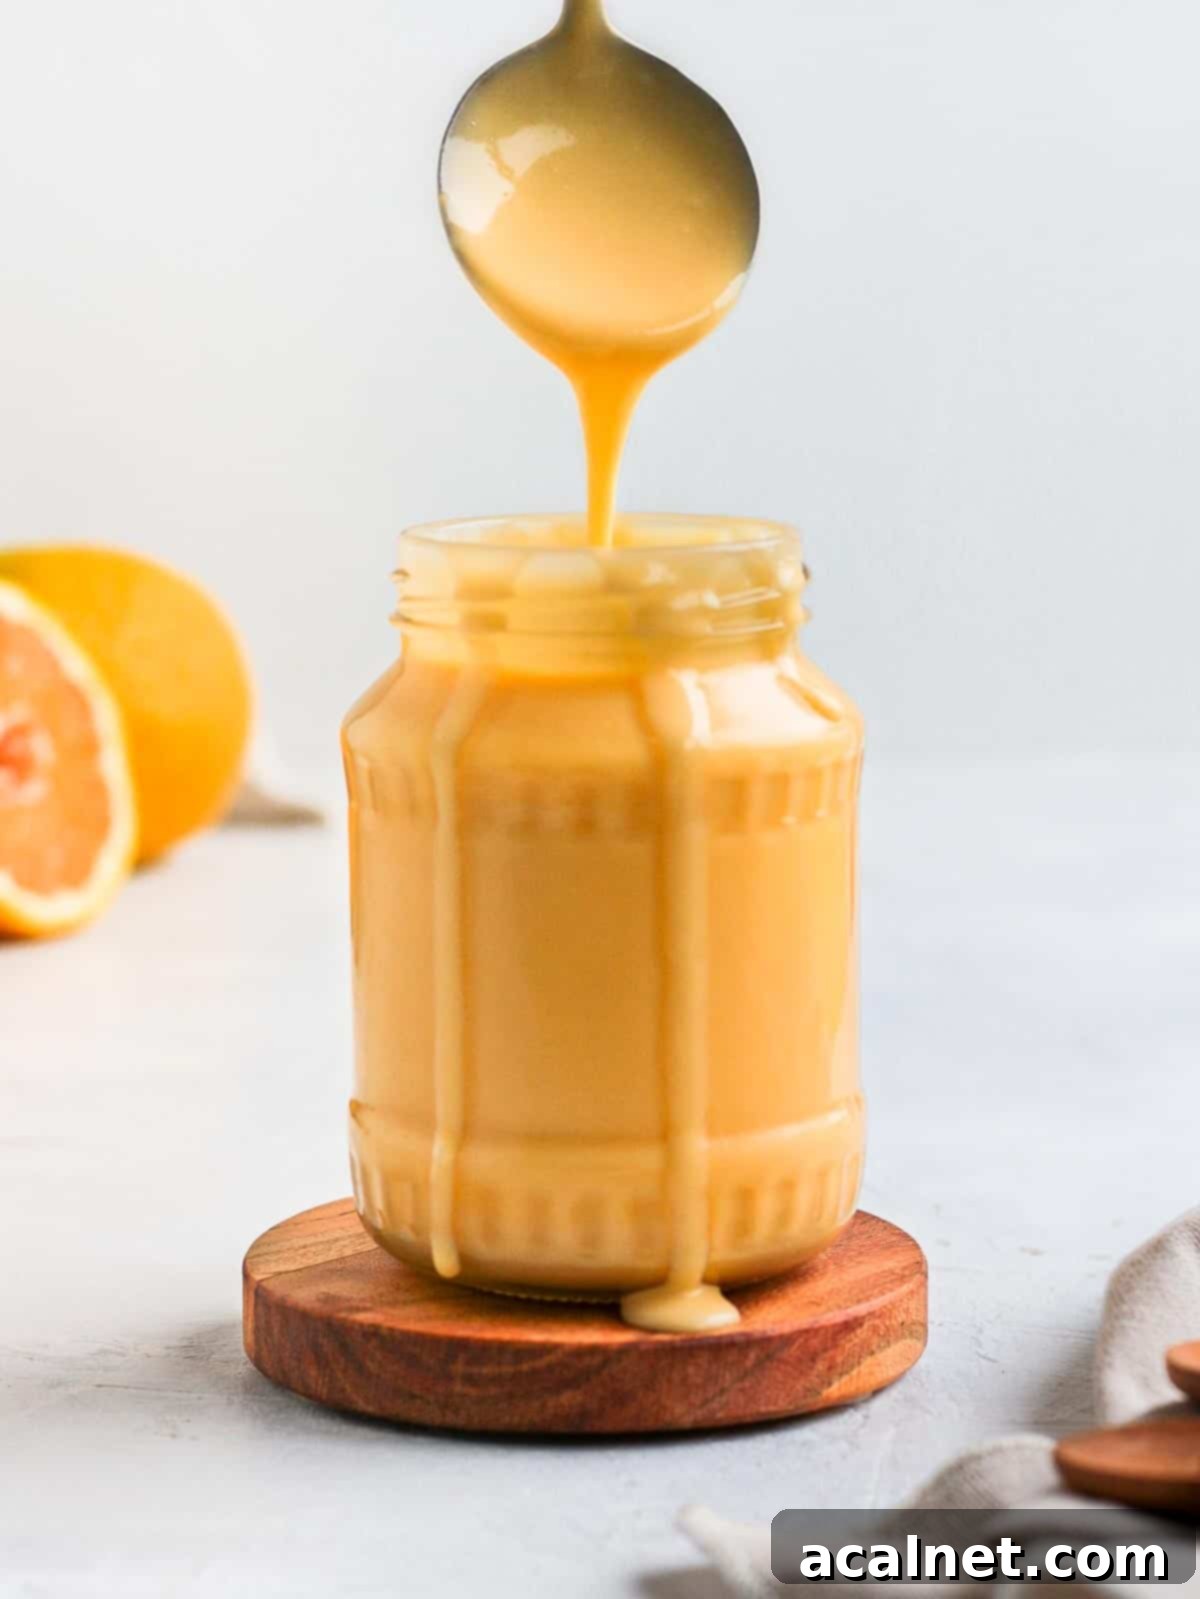
Step-by-Step: Crafting Your Perfect Orange Curd
Making homemade orange curd is far simpler than you might imagine, and you don’t even need a double-boiler for this recipe! While some traditional curd recipes advocate for a bain-marie, we’ll be cooking directly in a saucepan on the stove. This method is much faster, and as long as you maintain a consistently low heat and stir regularly, you’ll achieve a beautifully smooth and creamy curd every time, without any risk of scrambled eggs.
- Begin by preparing your butter: take it out of the fridge, cut it into small, even cubes, and set it aside. This allows it to slightly soften, making it easier to incorporate later.
- Next, prepare your oranges. Thoroughly zest the oranges before juicing them. It’s crucial to accurately measure the liquid volume of the orange juice rather than simply relying on a specific number of oranges, as individual fruits can vary significantly in their juice yield.
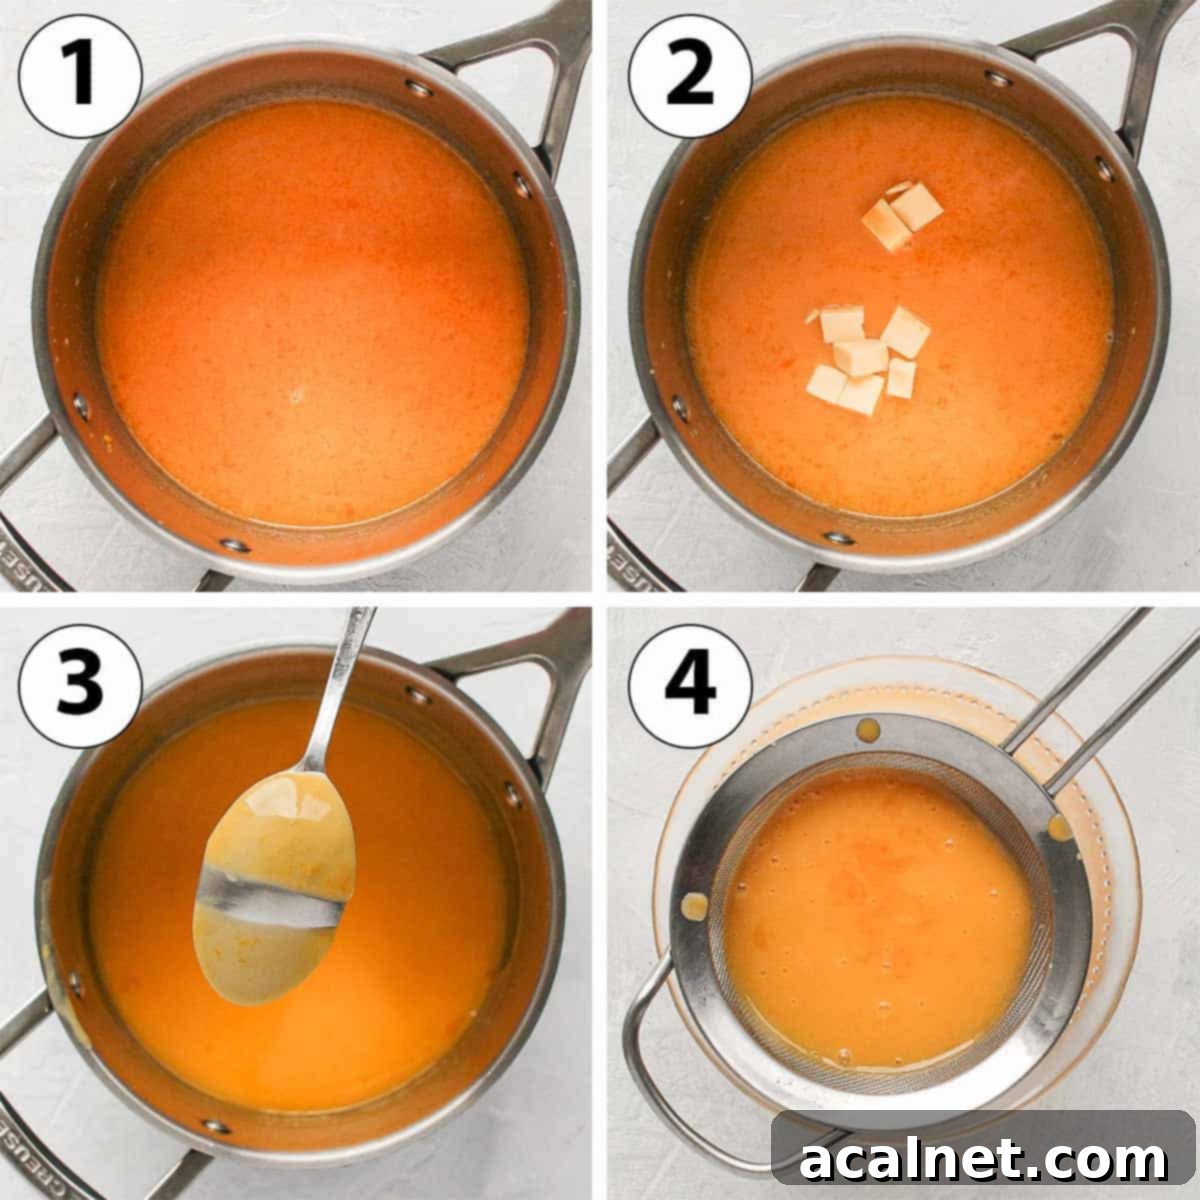
- Photo 1: Initial Mixing and Heating. In a small, heavy-bottomed saucepan, combine the freshly squeezed orange juice, orange zest (and optionally, the lemon juice if using), granulated sugar, and egg yolks. Whisk these ingredients together until well combined and uniform. Place the saucepan over low heat. Continue to stir gently but consistently until all the sugar has completely dissolved. Then, keep cooking and stirring for a few more minutes, during which you’ll notice the liquid starting to subtly thicken.
Note for Cornstarch Users: If you plan to add cornstarch for a thicker curd, incorporate it into the cold orange juice, egg yolks, and sugar mixture at this initial step, before applying any heat. Cornstarch tends to clump if added directly to hot liquids. With cornstarch, the mixture will begin to thicken more quickly, so you won’t need to wait as long before introducing the butter.
- Photo 2: Incorporating the Butter. Gradually add the cubed unsalted butter to the saucepan, a small portion at a time. Stir continuously with a wooden spoon or a heat-resistant spatula until each addition of butter has fully melted and integrated into the mixture before adding the next. This gradual process ensures a smooth emulsion and prevents the curd from becoming oily. Continue until all the butter has been added and thoroughly incorporated.
- Photo 3: Thickening the Curd. Keep the saucepan on low heat and continue stirring constantly. This continuous movement is vital to prevent the egg yolks from cooking too quickly and creating lumps, ensuring a silky finish. The thickening process can take anywhere from 5 to 15 minutes, depending on the exact temperature of your stove and the pan you’re using. Remember, the key is to maintain a low heat – never allow the curd to come to a rolling boil, as this will inevitably scramble the egg yolks.
To accurately determine if your orange curd is perfectly cooked, there are two reliable methods. The most precise way is to use a food thermometer: the curd is ready when it reaches a temperature of 82°C (180°F). Alternatively, perform the classic “spoon test”: dip the back of a wooden spoon into the curd, then draw a clear line across the back of the spoon with your finger. If the line remains distinct and the curd doesn’t immediately flow back to fill the gap, your curd is cooked to perfection. If the liquid drips back over the clear line, it needs a little more cooking time.
- Photo 4: Straining and Chilling. Once the curd has reached the desired consistency and temperature, immediately remove it from the heat. Pour the hot orange curd through a fine-mesh sieve set over a clean bowl or jar. This crucial step removes any tiny bits of cooked egg that might have formed (despite your careful stirring) and separates out the orange zest, leaving you with an incredibly smooth, velvety curd. At this stage, the curd will still appear quite liquid; this is completely normal. It will continue to thicken and set beautifully as it cools.
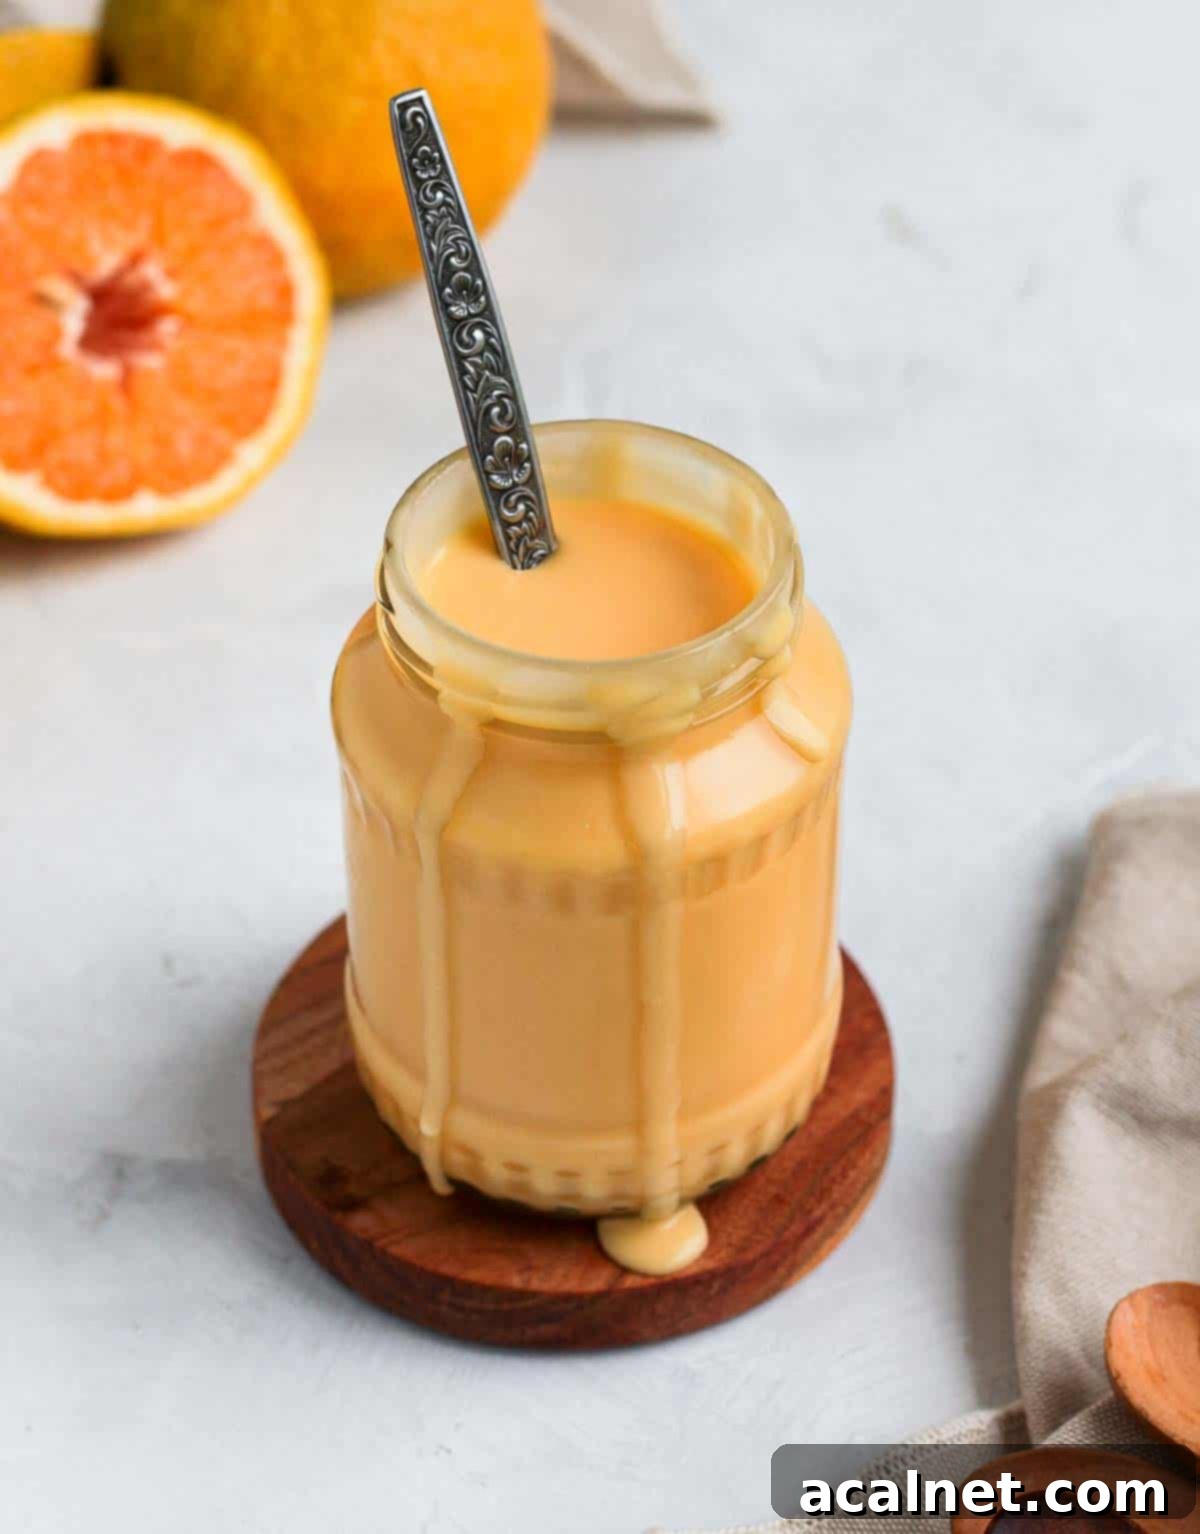
Allow the strained curd to cool down completely at room temperature before transferring it to a clean, airtight jar or container. Once cool, place it in the fridge to set for a minimum of 2 hours, though preferably overnight. This chilling period allows the curd to reach its ideal thick, creamy consistency.
Expert Tips & Troubleshooting for Your Orange Curd
Even with a straightforward recipe like this, a few helpful tips and common troubleshooting solutions can ensure your orange curd turns out perfectly every time. Pay attention to these details for the best results!
- The Definitive Way to Know When a Curd is Cooked: Achieving the right consistency is paramount. The most accurate and foolproof method is to use a food thermometer; your curd is fully cooked and safe to eat when it reaches 82°C (180°F). If you don’t have a thermometer, rely on the visual “spoon test.” Dip a wooden spoon into the curd, then run your finger across the back of the spoon, creating a line. If the line holds clear and the curd doesn’t run back to fill the gap, it’s ready. If it drips back, continue cooking for a few more minutes, stirring constantly. This indicates the egg proteins have set sufficiently.
- If Your Curd Turns Out Too Thick: This recipe is designed for a creamy, slightly thinner curd, but sometimes, after chilling in the fridge, you might find it firmer than desired. Don’t worry, it’s easily fixable! Simply whisk in a small amount of extra orange juice (start with a tablespoon or two) until it reaches your preferred smooth consistency. For a brighter flavor, you could also use lemon juice, which will add a lovely tangy note. Gently re-whisking will typically loosen it up beautifully.
- If Your Curd is Too Thin or Liquid After Chilling: Conversely, if your curd remains too thin even after a full chilling period, there are a couple of solutions. This recipe naturally yields a more flowing curd, but if you desire a truly thick cream, you can incorporate a small amount of cornstarch from the start (as mentioned in the ingredients section). If you find it too thin post-chilling, return the orange curd to a clean saucepan. In a separate small bowl, whisk together a teaspoon of cornstarch with a tablespoon of cold orange juice to create a slurry. Add this slurry to the curd in the saucepan and gently cook over low heat, stirring continuously, until it thickens to your liking. Be patient, as it will thicken further as it cools again.
- Adjusting the Flavors for Perfect Balance: This recipe uses a relatively low amount of sugar, relying on the natural sweetness of ripe oranges. However, the sweetness of oranges can vary greatly. Before serving, or even after the butter is incorporated during cooking, taste the curd. If your oranges weren’t as sweet, feel free to incrementally increase the quantity of sugar until it suits your palate. If the curd tastes overly sweet, substituting a small portion of the orange juice with lemon juice will introduce a balancing tartness that cuts through the sweetness beautifully. Always adjust to your personal preference for the ideal sweet-tart harmony.
Delightful Ways to Enjoy Your Homemade Orange Curd
The versatility of this homemade orange curd is truly one of its best features. Its bright, tangy-sweet flavor and creamy texture make it an incredible addition to a myriad of dishes, transforming everyday meals into something special. Here are just a few inspiring ideas to get you started:
For a luxurious breakfast or an elegant afternoon tea, generously spoon your orange curd over warm, freshly baked Scones or a stack of light, fluffy Pancakes. It’s also sublime drizzled over crispy waffles, bringing a burst of citrus sunshine to your morning. Beyond breakfast, it excels as a vibrant filling for layer cakes, adding a moist and zesty contrast to sponges. Consider it for special occasions, such as this delicious Orange Almond Cake or a simple yet elegant Orange Loaf Cake.
Orange curd is also perfect for creating stunning individual desserts. Fill crisp Tartlet Shells for delightful Orange Curd Tartlets, or use a homemade Sweet Shortcrust Pastry to craft a show-stopping large orange tart. Its creamy texture makes it an excellent topping for Orange Mousse Cups, a swirl into plain or vanilla yogurt for a quick, flavorful snack, or a dollop over your favorite ice cream for an instant upgrade. Don’t forget to try mixing it into a bowl of crunchy granola for a zesty, fruity crunch!
Frequently Asked Questions About Orange Curd
While you can technically use bottled orange juice, we highly recommend using freshly squeezed orange juice for the absolute best and most vibrant flavors. Fresh juice provides a brightness and depth that bottled versions often lack. If you must use bottled juice, ensure it is 100% pure orange juice with no added sugar, pulp, or preservatives, as these can alter the taste and texture of your homemade curd.
Don’t let those leftover egg whites go to waste! They are incredibly versatile for other delicious recipes. Consider using them to make elegant French Financiers (small almond tea cakes), a light and airy Raspberry Mousse, or a classic Pavlova. They can also be frozen for later use in meringues or other baked goods. Simply thaw them in the fridge before using.
Absolutely, you can use a double-boiler (bain-marie) to make this curd. However, be aware that this method will significantly increase the cooking time, often taking much longer to reach the desired temperature and thickness. Our saucepan method works wonderfully as long as you maintain a consistently low heat and stir diligently. Regardless of the method you choose, it’s always a good practice to strain the cooked curd through a thin mesh sieve to ensure a perfectly smooth, lump-free consistency, removing any potential bits of cooked egg or zest.
This recipe is designed to yield a creamy, slightly thinner curd, which is perfect for many applications. If you prefer a noticeably thicker consistency, there are two easy adjustments you can make:
- Add an extra egg yolk: The egg yolks are a primary thickening agent. Incorporating one more egg yolk into the recipe will help create a firmer curd.
- Use cornstarch: Whisk in one tablespoon of cornstarch (or cornflour) with the cold liquids at the very beginning of the cooking process. This acts as an effective stabilizer and thickener, ensuring a robust set.
Both methods will result in a more substantial and spoonable curd.
For the best flavor and juiciness, we recommend using sweet, ripe oranges like Navel or Valencia varieties. These oranges tend to be less acidic and produce a good amount of juice, contributing to a balanced and flavorful curd. Organic oranges are also a great choice, especially since you’ll be using the zest. If organic isn’t available, make sure to thoroughly wash your oranges before zesting.
The sweetness of oranges can vary. Before you start, you can taste a small piece of the orange or a tiny bit of its juice. If it’s quite tart, you might want to slightly increase the sugar quantity in the recipe to achieve your desired sweetness balance. Conversely, if they are very sweet, you might consider adding a touch of lemon juice for a brighter, more complex flavor profile.
Storing Your Homemade Orange Curd
Proper storage is essential to maintain the freshness and quality of your delicious homemade orange curd. Following these guidelines will ensure you can enjoy its vibrant flavor for as long as possible.
How to Store This Orange Cream: Once your orange curd has cooled completely to room temperature, transfer it into a clean, airtight container. A glass jar with a tight-fitting lid is ideal, as it helps preserve the flavor and prevents any absorption of odors from the fridge. Ensure the jar is sterilized if you plan to keep the curd for an extended period within its recommended shelf life.
How Long Will It Last: Due to its relatively low sugar content compared to traditional preserves, and the presence of fresh ingredients like egg yolks, this homemade orange curd is best enjoyed fresh. We recommend consuming it within one week when stored correctly in the refrigerator. This recipe is not designed for traditional canning or long-term preservation methods typically used for jams and jellies, as those require different sugar ratios and processing techniques.
Freezing: We generally do not recommend freezing homemade curds. The delicate emulsion of the curd, rich with egg yolks and butter, can sometimes separate or become grainy after freezing and thawing, compromising its smooth, creamy texture. For the best culinary experience, enjoy your orange curd fresh from the fridge within its recommended storage period.
Explore More Delicious Fruit Spreads & Sauces
If you loved this orange curd, you’ll surely enjoy exploring other homemade fruit spreads and sauces that can elevate your culinary creations:
- Easy Mixed Berry Compote
- Quick Blueberry Coulis
- Simple Strawberry Coulis
- Effortless Raspberry Coulis
- Delicious Blueberry Compote
- Tropical Mango Coulis
- Exotic Passion Fruit Coulis
Made this irresistible recipe?
We’d love to hear from you! Let us know if you liked it by leaving a comment below, and be sure to tag us on Instagram @a.baking.journey with a photo of your delightful creation!
Full Recipe Details

Orange Curd
Print Recipe
Ingredients
Orange Curd
- 4 Egg Yolks, at room temperature
- 50 gr (1/4 cup) Caster Sugar, or fine white granulated sugar
- 125 ml (1/2 cup) Orange Juice , about 2 to 3 large oranges
- 2 Orange Zest
- 75 gr (5 tablesp.) Unsalted Butter, at room temperature
Optional
- 1 tablesp. Cornstarch
- 1 tablesp. Lemon Juice
Instructions
- Cut the Butter into small cubes and set aside to allow it to come to room temperature. Zest the Oranges carefully, then juice them, making sure to measure the liquid accurately.
- In a small, heavy-bottomed saucepan, combine the measured Orange Juice, Orange Zest (and optionally, any lemon juice you wish to add), Egg Yolks, and Caster Sugar. Whisk these ingredients vigorously until they are well combined and the mixture is smooth (refer to note 1 below if you’re adding cornstarch). Place the saucepan over consistently low heat and continue to stir until the sugar has fully dissolved. Continue cooking and stirring for a few minutes until you observe the liquid starting to subtly thicken.
- Begin adding the small, cubed Unsalted Butter to the saucepan, a little bit at a time. Stir continuously with a wooden spoon or a stiff, heat-resistant spatula until each batch of butter is completely melted and smoothly combined into the orange mixture before adding the next portion (refer to note 2 below for tasting tips). This gradual incorporation ensures a smooth, emulsified curd.
- Once all the butter has been incorporated and the mixture is smooth, continue to cook on low heat for an additional 5 to 15 minutes, stirring constantly (refer to note 3 below for doneness test). The curd should visibly start to thicken and coat the back of your spoon. Remember, the curd will achieve its final, thicker consistency only after it has been chilled.
- Immediately remove the saucepan from the heat. Carefully pour the hot orange curd through a fine-mesh sieve into a clean bowl or directly into a sterilized glass jar. This step is crucial for removing any cooked egg bits or orange zest, ensuring a perfectly smooth and luxurious curd. Allow the curd to cool down completely to room temperature before securing the lid. Then, place it in the fridge to set for at least two hours, or ideally, overnight, to reach its optimal creamy texture.
Would you like to save this recipe?
We’ll email this post to you, so you can come back to it later!
Notes
Ingredient Notes:
- Oranges: Always measure your orange juice precisely rather than relying on an estimated number of oranges, as juice yield can vary greatly. Typically, two large oranges should provide the necessary amount of juice, in addition to their zest, for this recipe.
- Sugar: This recipe is designed with a moderate amount of sugar, assuming naturally sweet oranges. If your oranges are on the tarter side or you simply prefer a sweeter curd, you can easily increase the sugar quantity to taste. A quick taste test of the oranges beforehand can help you decide.
- Cornstarch: Our recipe yields a curd that is more creamy and flowing. For those who prefer a notably thicker consistency, such as for a firm tart filling, consider adding one extra egg yolk or a tablespoon of cornstarch to the initial mixture.
- Lemon Juice: To introduce a delightful acidic counterpoint and balance the sweetness of very ripe oranges, I often substitute one tablespoon (approximately 15 ml) of orange juice with fresh lemon juice. This enhances the overall brightness and complexity of the curd’s flavor.
Instruction Notes:
- If you are opting to use cornstarch to thicken your curd, it is crucial to whisk it thoroughly with the cold orange juice, egg yolks, and sugar mixture at the very beginning, before you apply any heat. Adding cornstarch directly to a warm liquid can cause it to clump. Once the cornstarch is incorporated, the mixture will thicken more rapidly. As soon as the sugar has dissolved and the mixture begins to warm, you can start adding the butter. After all the butter is added, cook for just about 2 to 3 minutes, or until you see a gentle simmer, then remove from heat.
- During the butter incorporation phase, or once all the butter has melted, it’s an excellent time to taste the curd and adjust the sweetness to your liking. If it’s not sweet enough, add a little more sugar, stirring until dissolved. If it’s too sweet, a touch more lemon juice can help balance it out.
- The exact cooking time for the curd can vary significantly depending on the specific temperature settings of your stove and the type of saucepan you are using. To ensure your curd is perfectly cooked without scrambling the eggs, use a food thermometer to check if it has reached 82°C (180°F). Alternatively, perform the spoon test: dip the back of a spoon into the curd, then draw a line across it with your finger. If the line remains distinct and clear, the curd is ready. If it runs back together, it requires a few more minutes of gentle cooking and continuous stirring.
Nutrition (per serving)
