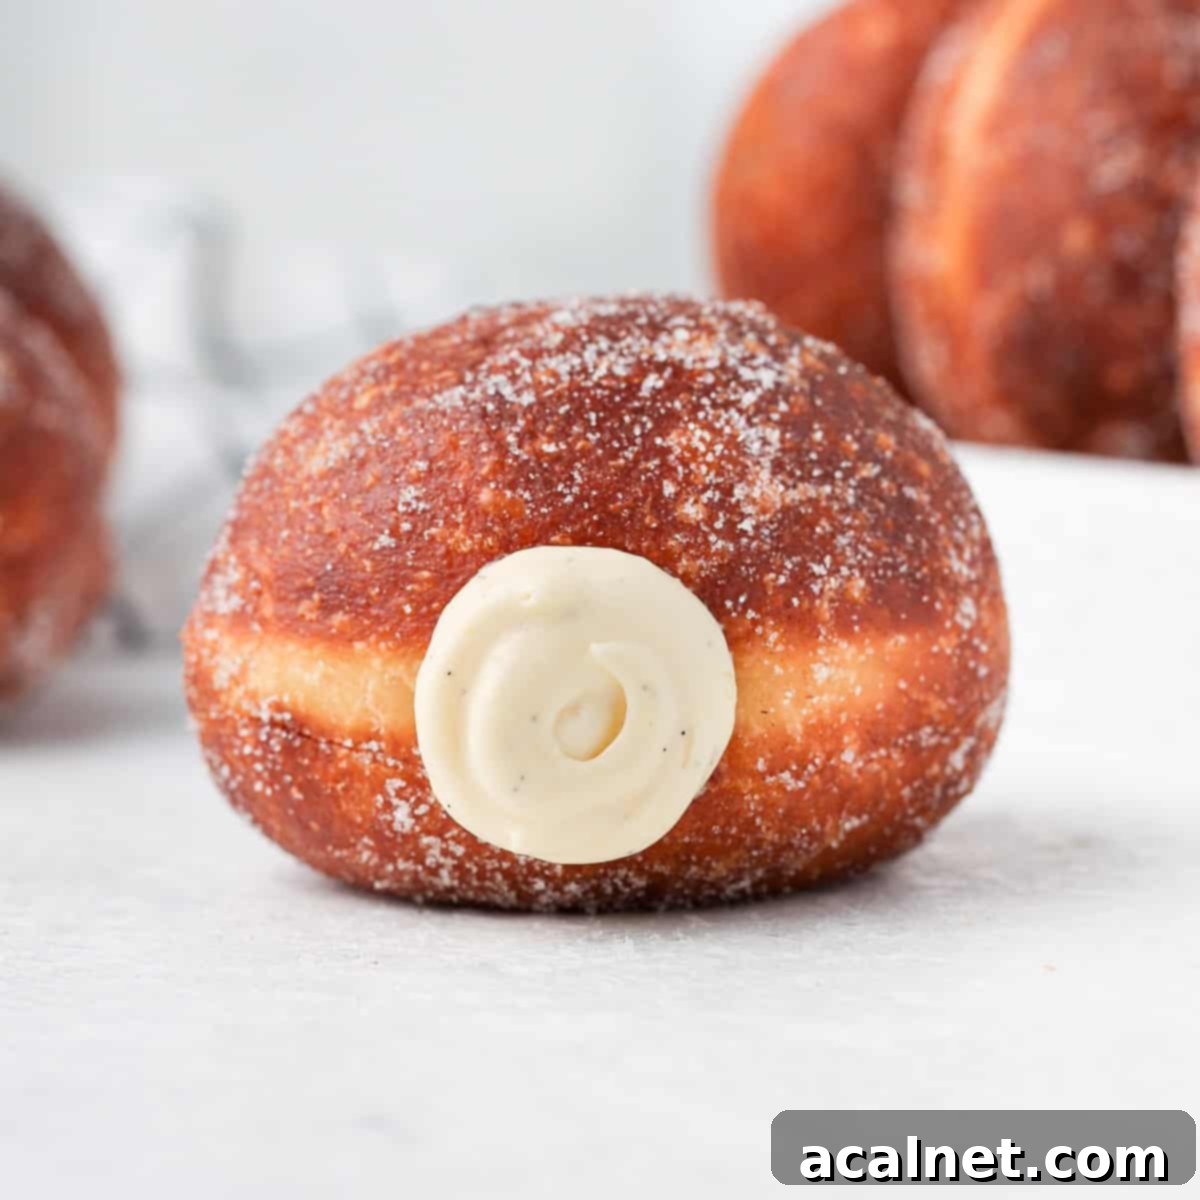
Indulge in Homemade Decadence: The Ultimate Bavarian Cream Donut Recipe
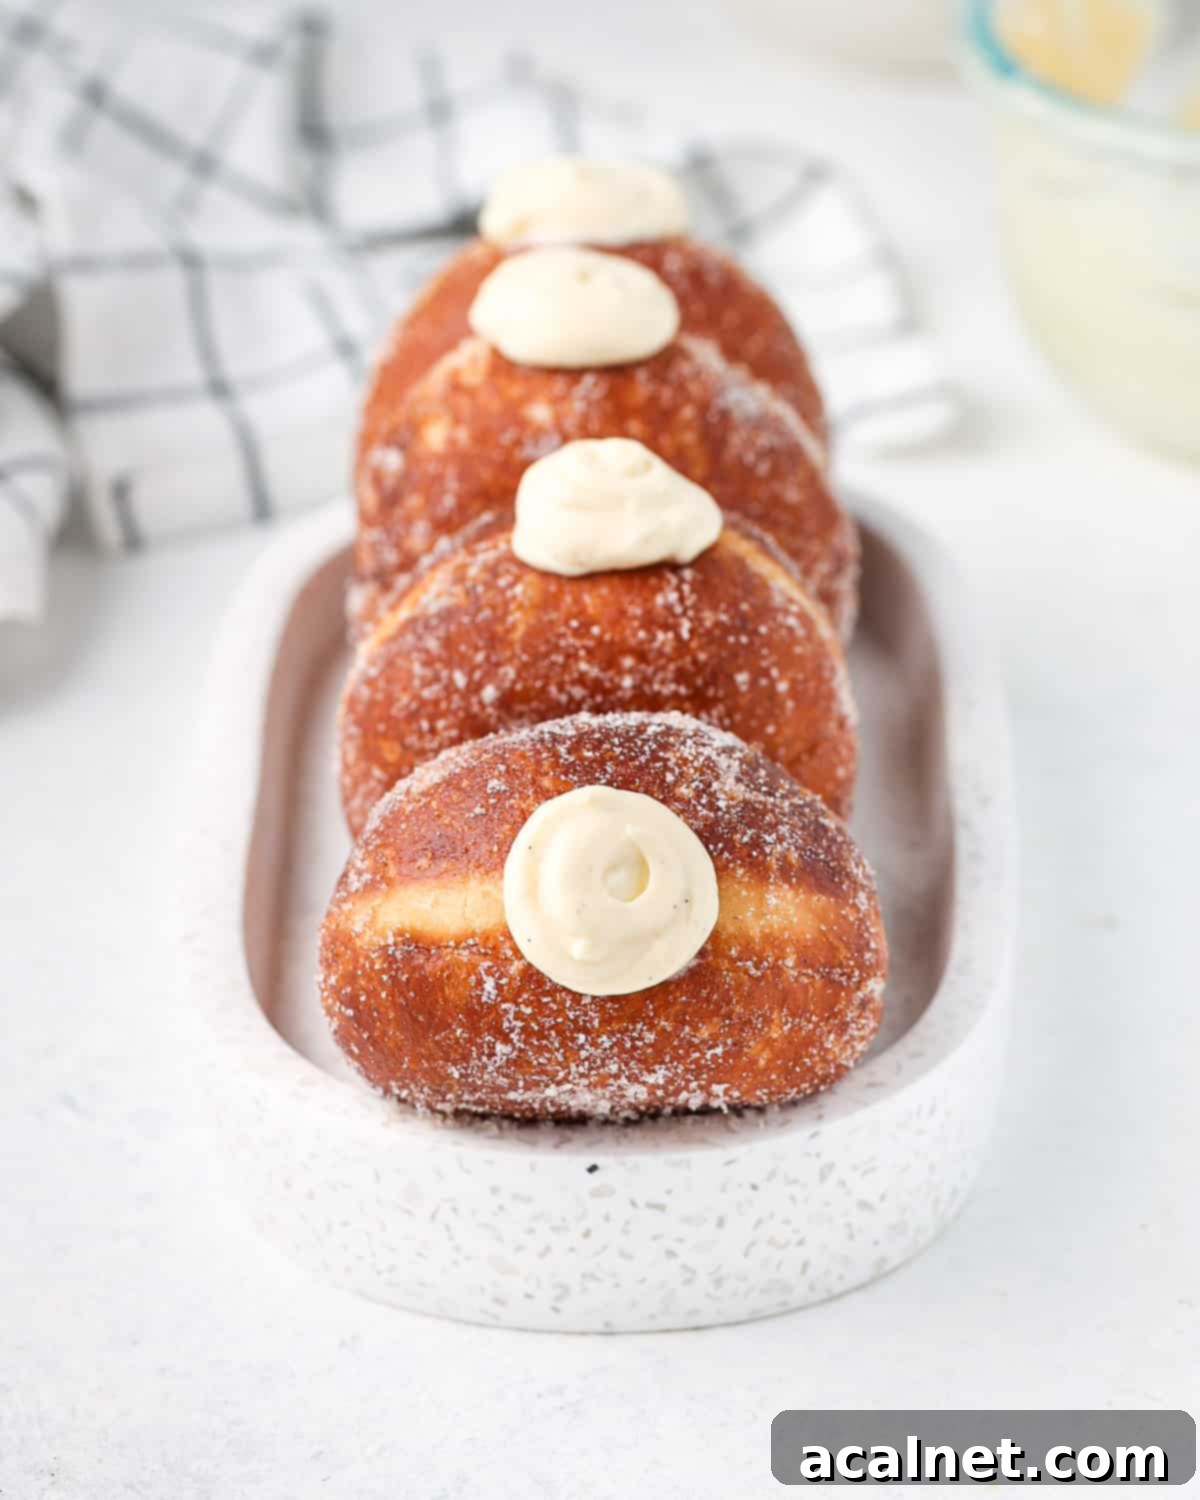
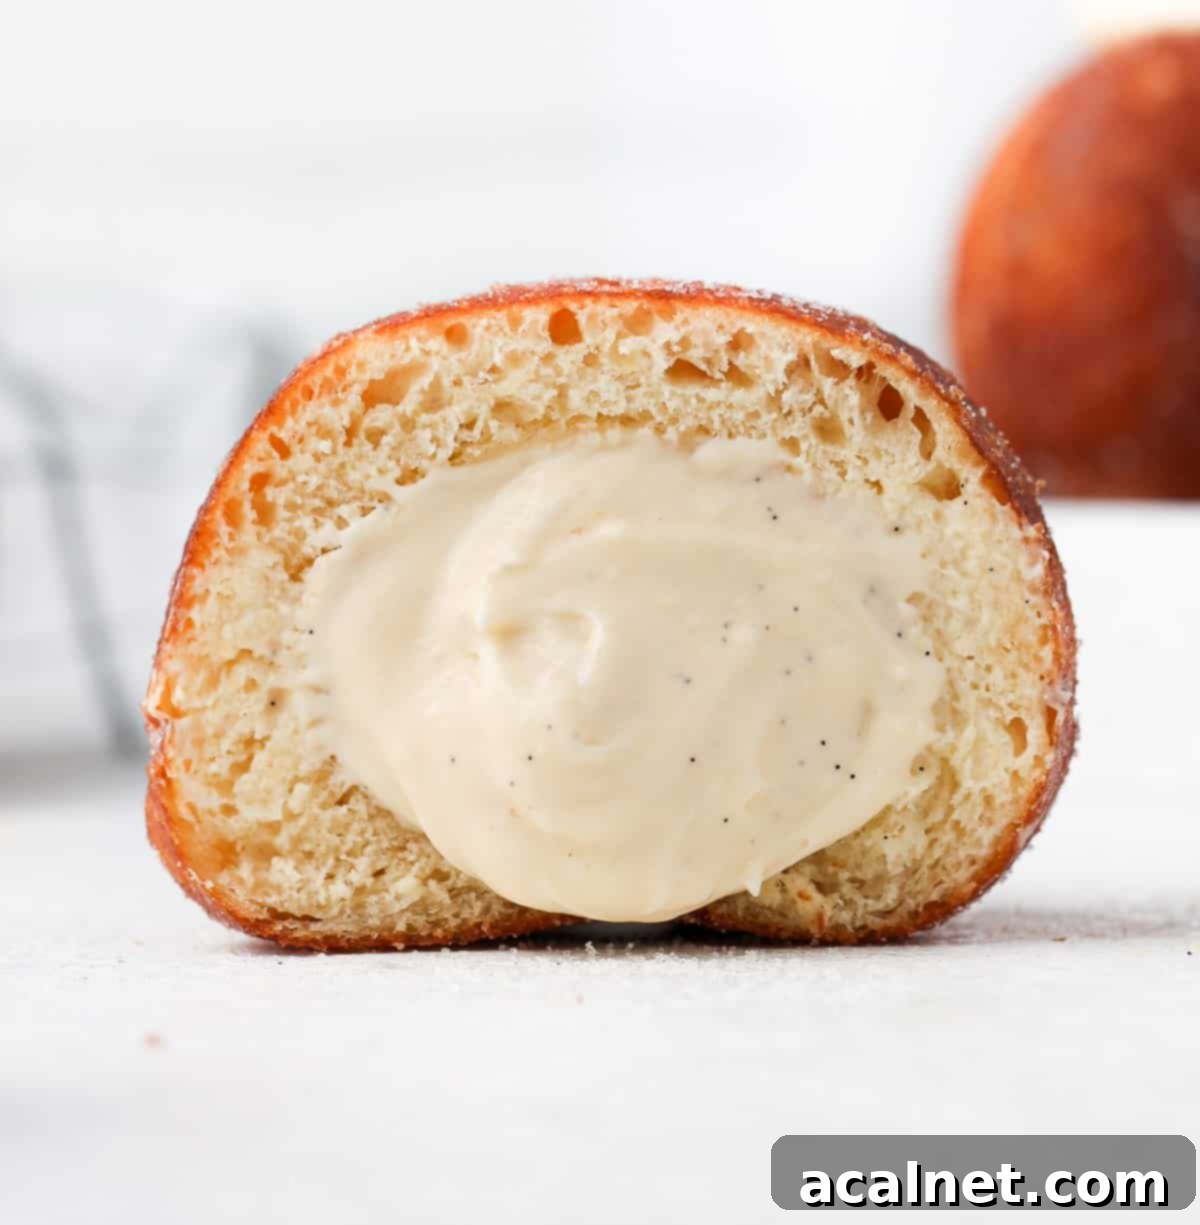
Prepare to elevate your baking game with these truly irresistible homemade Bavarian Cream Donuts. This exquisite recipe marries the unparalleled lightness and richness of super soft, pillowy Brioche Donuts with a luxurious, smooth, and intensely vanilla-flavored Bavarian Cream filling. The result is a decadently fluffy and utterly delightful pastry that promises to be the perfect special treat for any occasion.
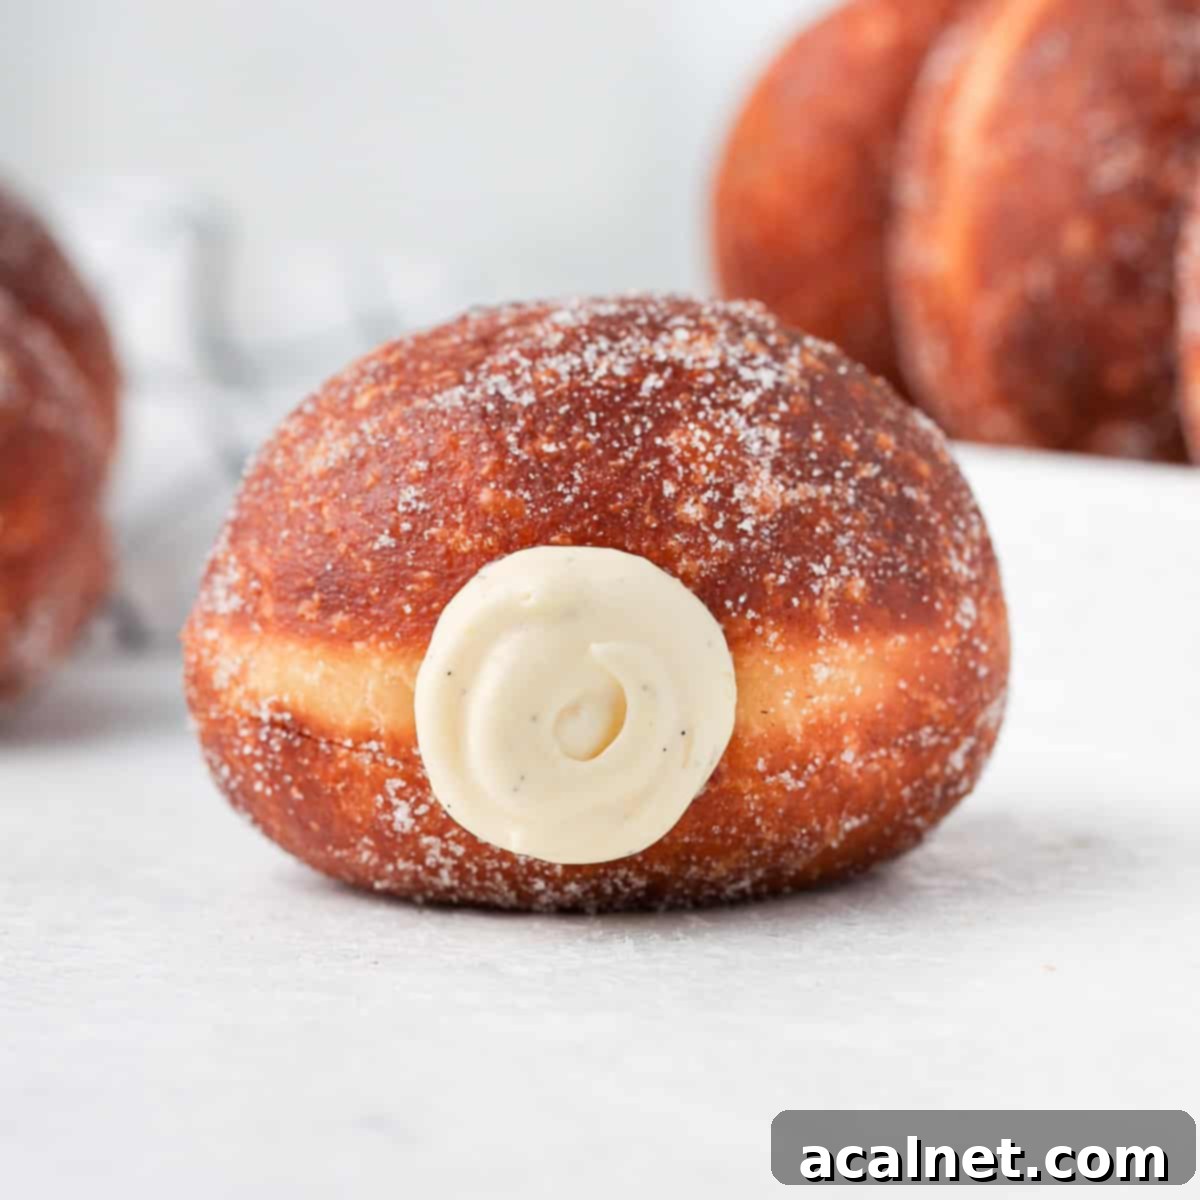
Why You’ll Adore These Bavarian Cream Donuts
Calling all donut enthusiasts and dessert connoisseurs – this recipe is designed with you in mind! If your heart beats for pillowy, cloud-like yeasted donuts, generously filled with a thick, rich, and velvety Vanilla Bavarian Cream, then these homemade Bavarian Cream Donuts are about to become your new obsession. Forget store-bought; the homemade difference is truly unparalleled.
The foundation of these donuts is a classic brioche dough, known for its super light, airy texture and subtly rich, buttery flavor. This perfectly complements the star of the show: a luscious Bavarian cream filling. Infused with fresh vanilla and wonderfully lightened with whipped cream, it’s a dream come true for your taste buds. These donuts are not just a dessert; they’re an experience, perfect for a special breakfast, an elegant afternoon tea, or as a show-stopping treat for any gathering.
One of the best aspects of this recipe is its flexibility. The rich vanilla cream filling can be prepared up to three days in advance and stored in the fridge, saving you valuable time. Furthermore, the brioche donut dough is ideal for an overnight proof in the refrigerator, allowing you to easily split the preparation over two days and enjoy freshly fried donuts whenever the craving strikes.
Essential Ingredients for Perfect Bavarian Cream Donuts
For the Decadent Bavarian Cream Filling
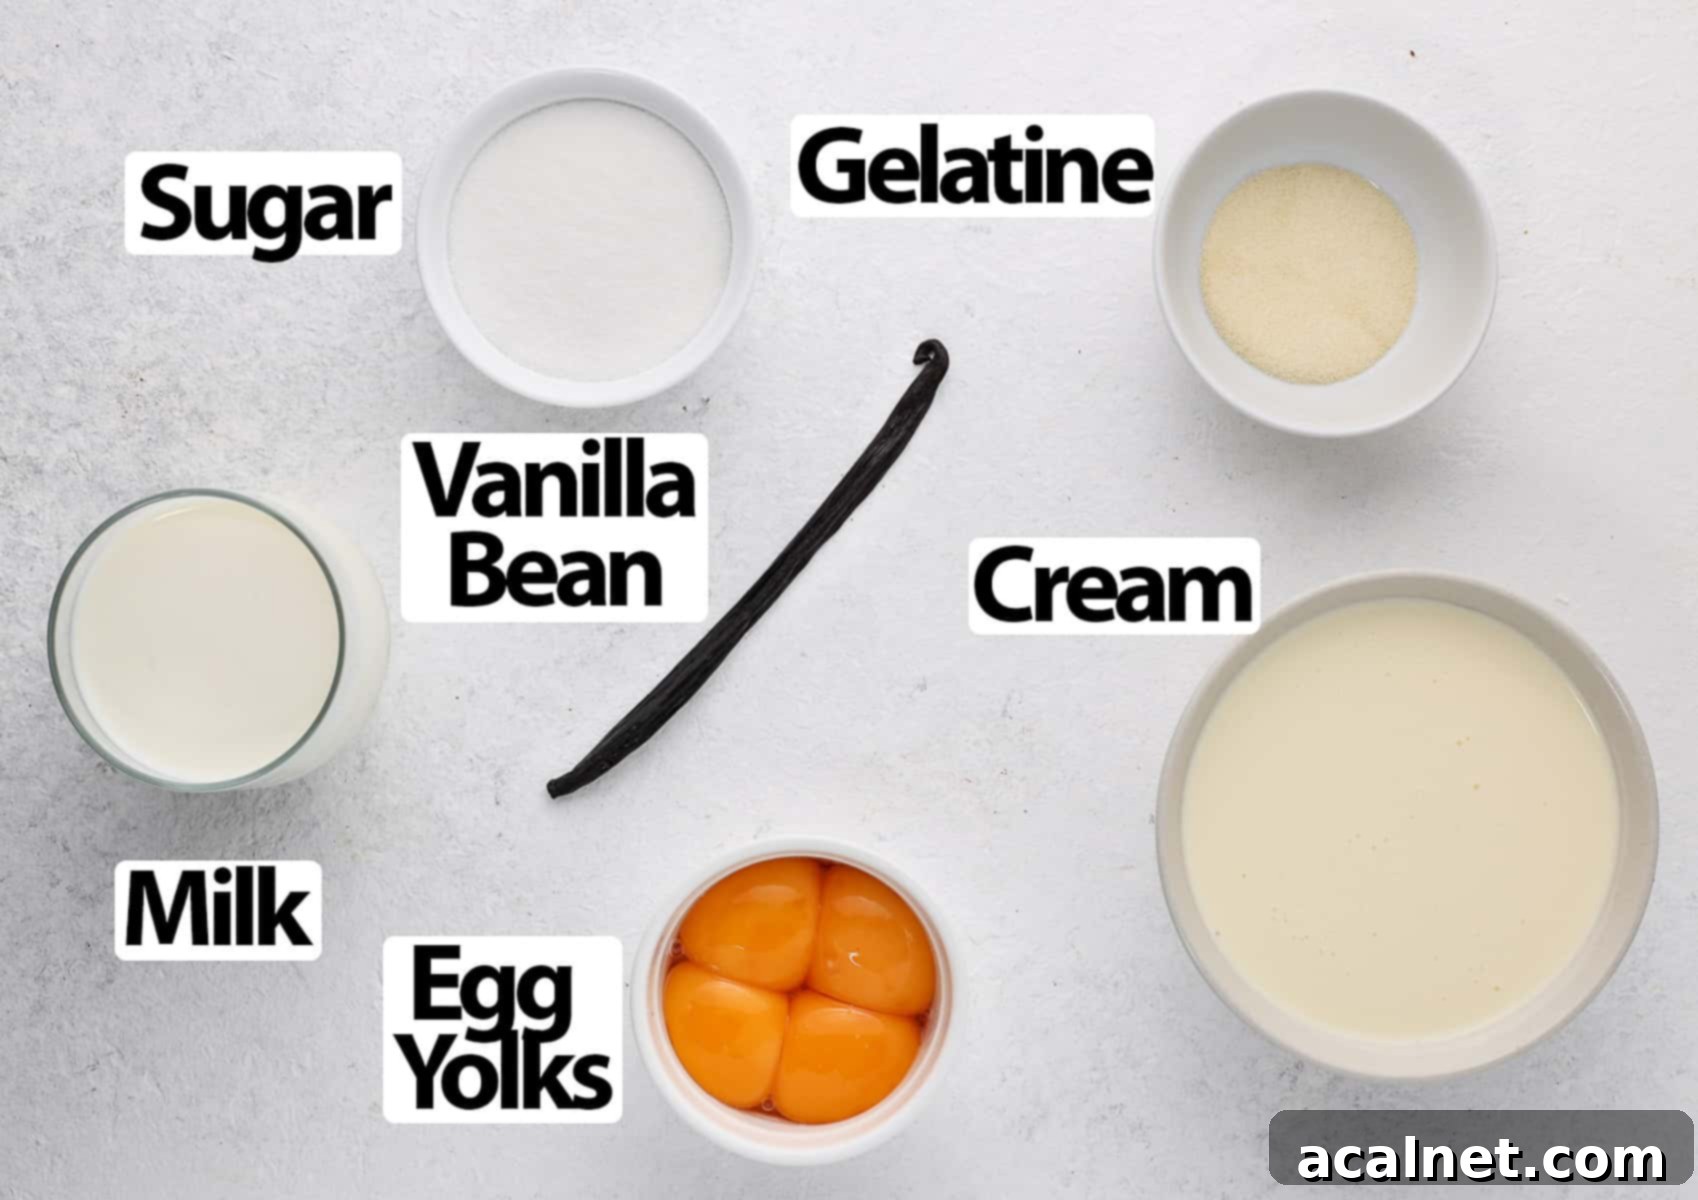
At its heart, a Bavarian Cream (Crème Bavaroise) is a sophisticated French pastry cream. It skillfully combines a rich pouring custard, known as Crème Anglaise (which is similar to Pastry Cream but notably without cornstarch as a thickener), with the setting power of gelatine, and the airy lightness of freshly whipped cream.
Here’s a closer look at the key ingredients that make this vanilla Bavarian cream filling so exceptional (you’ll find all exact quantities in the recipe card below):
- Milk: Opt for Full Cream or Whole Milk. Its higher fat content is crucial for achieving the lusciously rich flavor and smooth, creamy texture that defines a superior Bavarian cream.
- Vanilla: For the most authentic and intense vanilla flavor, nothing beats a fresh Vanilla Bean. Scrape out the fragrant seeds to infuse the milk. If a vanilla bean isn’t available, high-quality Vanilla Paste is an excellent alternative. While vanilla extract can be used (approximately 2 teaspoons), be aware that the vanilla taste will be less pronounced.
- Sugar: Caster Sugar is recommended. Its super-fine granules dissolve quickly and evenly, ensuring a perfectly smooth custard base without any grittiness.
- Egg Yolks: Use medium to large egg yolks, ideally at room temperature. They are essential for enriching the custard, providing its signature pale yellow hue and contributing to its thick, velvety consistency.
- Gelatine: This is the secret to the Bavarian cream’s stable yet delicate set. Gelatine Powder, dissolved in a small amount of cold water, works wonderfully. Alternatively, you can use gelatine sheets or leaves, bloomed in cold water and thoroughly squeezed dry.
- Cream: Heavy Cream or Thickened Cream, with a minimum of 30% fat content, is vital for whipping into stiff peaks. Creams with lower fat percentages will simply not whip properly, impacting the light and airy final texture of your Bavarian cream.
Flavor Variation: Don’t limit yourself to vanilla! Bavarian cream is incredibly versatile. You can easily infuse it with other delicious flavors. Try adding cocoa powder (or melted chocolate) for a chocolate Bavarian cream, incorporating fruit puree or juice (partially replacing the milk) for a fruity version, or even a touch of strong brewed coffee for a sophisticated twist.
For the Fluffy Brioche Donuts
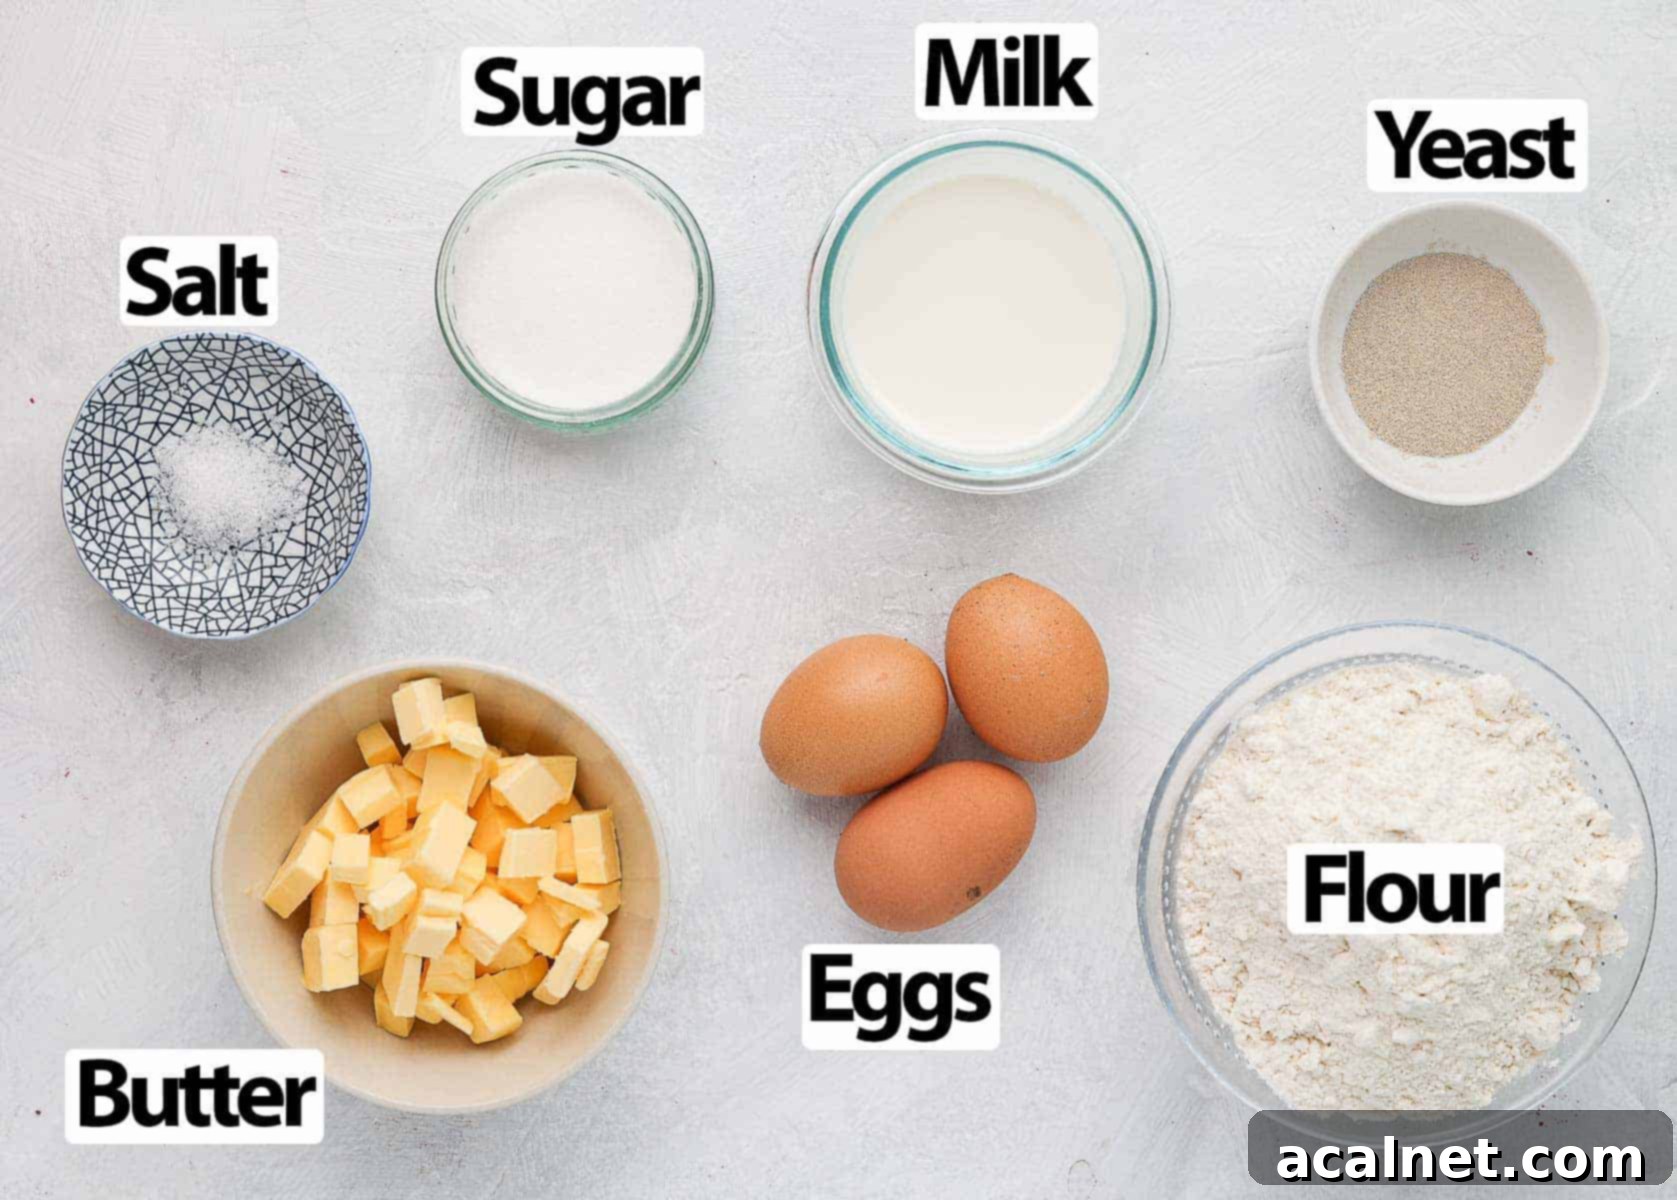
Our Brioche Donuts are crafted from the same rich, tender dough used in a classic Brioche Loaf Bread. This type of yeast dough is famously called an “enriched dough” due to its high content of butter and eggs, which impart its characteristic tenderness and rich flavor profile.
- Milk: Use Full Cream or Whole Milk. It should be gently warmed to around 35°C (95°F). This warmth helps activate the yeast, but be extremely careful not to overheat it, as excessively hot milk can kill the yeast, preventing your dough from rising.
- Yeast: Instant Dry Yeast is convenient and works perfectly. If you opt for Active Dry Yeast, remember that it needs to be properly “bloomed” or rehydrated in the warm milk first for about 5-10 minutes to ensure it’s active and ready to work its magic.
- Flour: A unique characteristic of brioche doughs is their use of Plain or All-Purpose Flour, rather than bread flour. This choice is deliberate, contributing to the brioche’s signature lighter, softer, and more delicate crumb texture.
- Butter: Unsalted butter, softened to room temperature, is crucial. It needs to be soft enough to incorporate smoothly into the dough but not so warm that it’s partially melted, which could make the dough greasy and difficult to handle. Proper butter incorporation is key to brioche’s texture.
For an extra layer of flavor and texture, I love tossing the freshly fried donuts in a mixture of cinnamon sugar. A tiny hint of nutmeg in this coating would also be absolutely delicious! However, this step is entirely optional. If you prefer a simpler presentation, a dusting of powdered sugar over the filled donuts before serving is equally delightful and elegant.
How to Craft Homemade Bavarian Cream Filled Donuts
Mastering the Bavarian Cream Filling
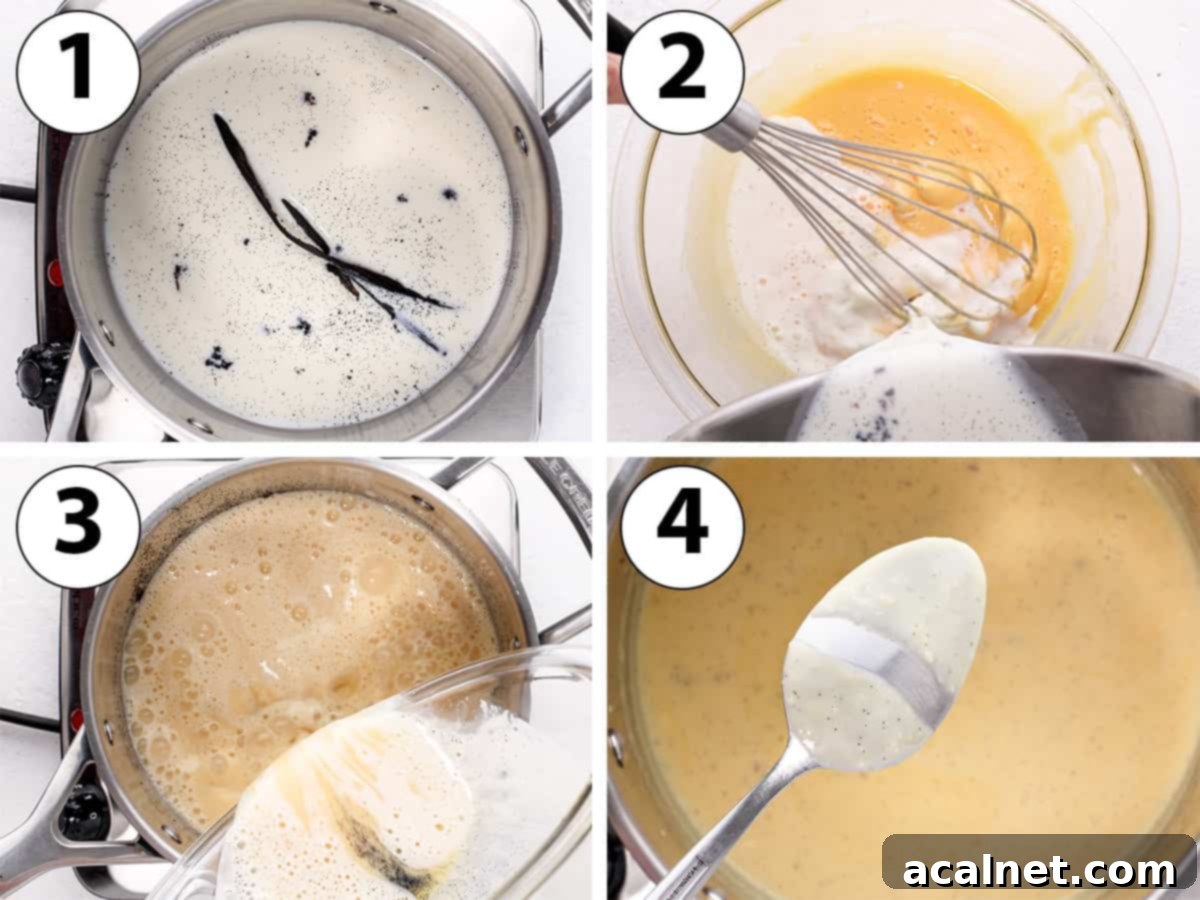
The journey to the perfect Bavarian cream-filled donut begins with the filling itself. It requires two chilling periods, which conveniently allows you to start preparing your donut dough in parallel, especially if you’re comfortable with multitasking in the kitchen.
- Step 1 (Photo 1): Infuse the Milk. Begin by placing the milk in a medium-sized saucepan. If using a vanilla bean, split it lengthwise, scrape out the tiny seeds, and add both the seeds and the empty pod to the milk. Heat over low heat until it just reaches a gentle simmer. Once simmering, immediately remove from heat, cover the saucepan, and let it infuse for 10 to 20 minutes. This step extracts maximum vanilla flavor.
If you’re using vanilla paste or extract, you can skip this infusion step. Just add the vanilla later to the custard. Remember to remove the vanilla pod from the milk after infusion; you can even save it to make homemade vanilla extract!
- Step 2 (Photo 2): Temper the Egg Yolks. In a large, heat-proof bowl, whisk together the egg yolks and sugar until they are well combined and slightly pale. Gradually, and while continuously whisking, slowly pour the warm vanilla-infused milk over the egg yolk mixture. This “tempering” process gently raises the temperature of the egg yolks, preventing them from scrambling when added to the hot pan.
- Step 3 (Photo 3): Cook the Custard. Transfer the entire milk and egg yolk mixture back into the saucepan.
- Step 4 (Photo 4): Thicken the Custard. Cook the mixture over low to medium-low heat for about 5 to 10 minutes, stirring constantly with a whisk or a heat-proof spatula. It’s crucial not to let the mixture boil; boiling will curdle the eggs, leading to a lumpy custard. Continue stirring until the cream visibly thickens and coats the back of a spoon. Once it reaches this consistency, remove it from the heat immediately.
There are two reliable ways to confirm your Crème Anglaise (custard) is perfectly cooked. Firstly, using a thermometer: the custard is ready when it reaches 82°C (180°F). Secondly, perform the “nappe” test: dip the back of a spoon into the custard, then run your finger across it. If the line holds and the custard coats the spoon without dripping back directly, it has reached the ideal consistency.
- Step 5 (Photo 5): Add Gelatine. In a small separate bowl, combine the gelatine powder with cold water. Allow it to sit for a few minutes until it thickens into a paste. Add this bloomed gelatine directly to the warm custard and whisk vigorously until it is completely dissolved and fully integrated.
- Step 6: First Chill. Transfer the gelatine-infused custard into a large clean bowl. Cover the surface directly with plastic wrap to prevent a skin from forming, then place it in the fridge to cool for 30 minutes to 1 hour. The goal is for the custard to return to room temperature, or just slightly cooler, before the next step.
If the custard begins to set too much due to the gelatine while chilling, don’t worry! Simply whisk it vigorously to loosen it up before proceeding. However, avoid leaving it in the fridge for much longer than an hour, or it might set too firmly.
- Step 7 (Photo 6): Whip the Cream. In a large mixing bowl (or the bowl of a stand mixer fitted with a whisk attachment), whip the heavy or thickened cream until it forms stiff peaks. Be careful not to over-whip it into butter.
- Step 8: Loosen Custard. Take the cooled custard out of the fridge and give it a quick whisk to ensure it’s smooth and pliable.
- Step 9 (Photo 7 & 8): Fold in Whipped Cream. Gently, in 3 or 4 additions, fold the whipped cream into the custard. Use a spatula and a light hand, folding from the bottom up, until the mixture is uniform, light, shiny, and wonderfully smooth. This careful folding creates the airy texture of Bavarian cream.
- Step 10: Final Chill. Cover the Bavarian cream again with plastic wrap, directly touching its surface. Store it in the fridge until your brioche donuts are ready to be filled.
If you’ve already prepared and fried your donuts, you can proceed directly to piping the Bavarian cream into them, then store the filled donuts in the fridge until you’re ready to serve them for maximum freshness and enjoyment.
Crafting the Irresistible Donut Dough
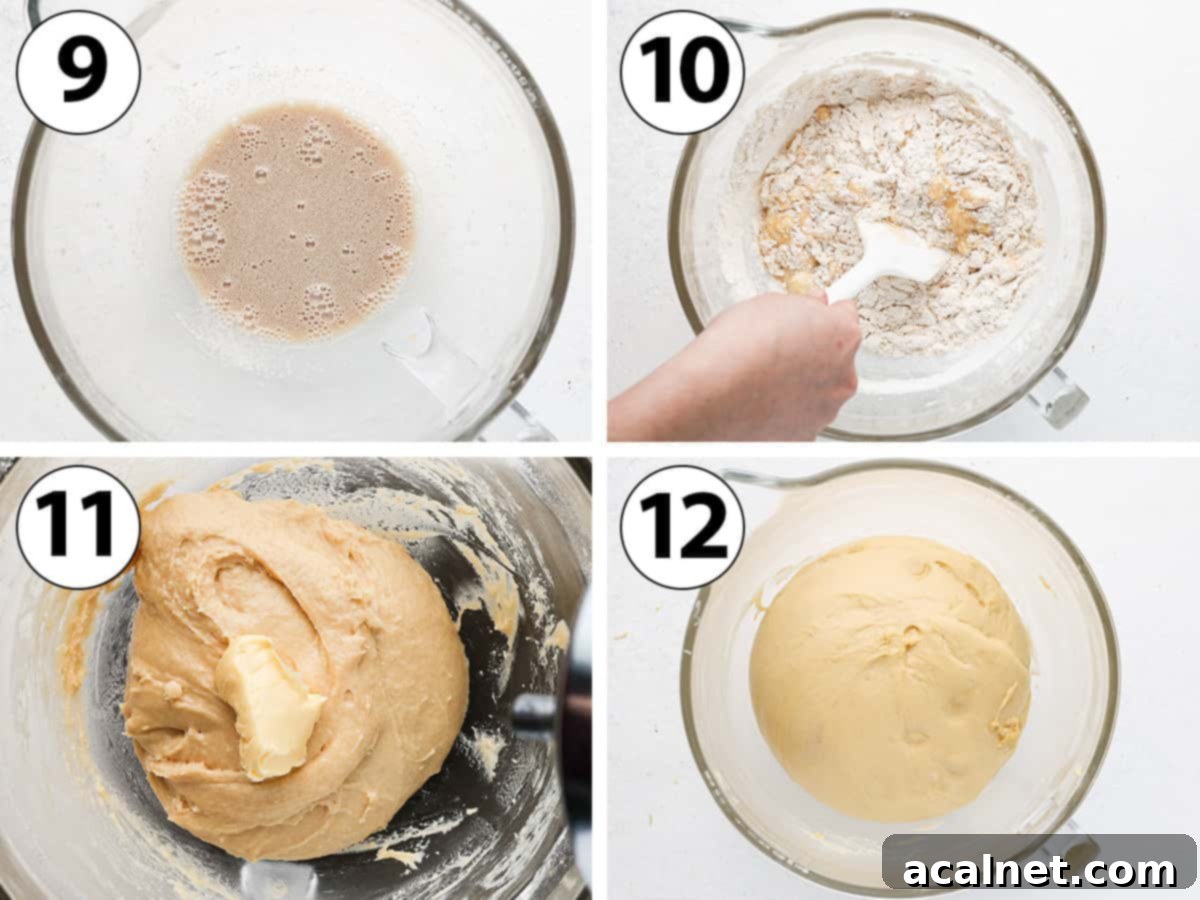
- Step 1 (Photo 9): Activate the Yeast. In the bowl of your stand mixer, combine the lukewarm milk, sugar, and instant yeast. Give it a gentle stir. Let this mixture sit for about 10 minutes until a small layer of foamy bubbles appears on the surface. This indicates that your yeast is active and ready to leaven your dough.
While “blooming” the yeast isn’t strictly necessary for instant yeast, it’s a fantastic preliminary step. It confirms your yeast is alive and active, preventing wasted effort on a dough that won’t rise. If you’re using active dry yeast, this activation step is essential.
- Step 2 (Photo 10): Combine Dry & Wet Ingredients. Add the eggs (I suggest whisking them lightly first in a separate bowl) to the yeast mixture, followed by the flour and salt. Attach the dough hook to your mixer and begin kneading on low to medium speed. Knead for about 5 minutes, or until all ingredients are roughly combined and a shaggy dough forms.
- Step 3 (Photo 11): Incorporate Butter. With the mixer still running on low speed, gradually add the soft, cubed butter, one piece at a time. Wait until each addition of butter is fully incorporated into the dough before adding the next. This slow incorporation ensures the butter is evenly distributed, creating a smooth and pliable dough. Don’t hesitate to stop the mixer and scrape down the sides of the bowl as needed to ensure everything is well mixed.
- Step 4: Intensive Kneading. Once all the butter has been incorporated, increase the mixer speed to medium-high and continue kneading for a solid 20 minutes. This extensive kneading develops the gluten, resulting in a brioche dough that is incredibly soft, elastic, and only slightly sticky to the touch.
To verify if your dough has been sufficiently kneaded, perform the “windowpane test.” Gently pull and stretch a small piece of the dough between your fingers. If it tears quickly, it needs more kneading. If it stretches easily to form a translucent “window” through which light can pass without breaking, your dough has passed the windowpane test and is perfectly kneaded.
- Step 5 (Photo 12): First Proof. Cover the bowl containing your dough with a clean tea towel. Place it in a warm spot to proof for approximately 2 hours, or until the dough has doubled significantly in size. For an enhanced flavor development and easier handling (a cold brioche dough is less sticky), you can also opt for an overnight proof in the fridge (8 to 12 hours).
Shaping, Frying, and Filling Your Donuts
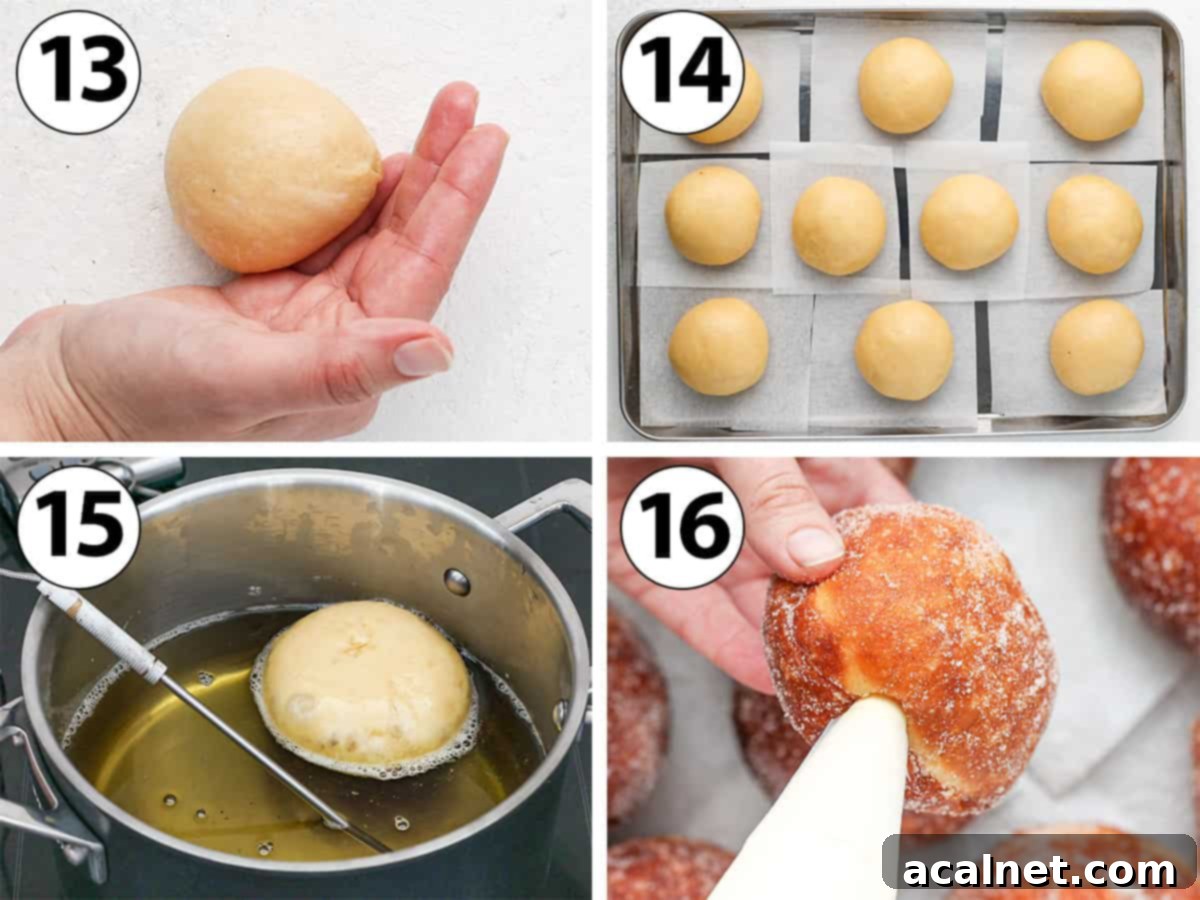
- Step 1: Prepare for Shaping. Line a large baking sheet with 10 small, individually cut pieces of baking or parchment paper. These will prevent your shaped donuts from sticking.
- Step 2: Divide and Shape. Gently punch down the proofed dough to deflate it. Transfer it to a very lightly floured surface. Using a kitchen scale for precision, divide the dough into 10 equal pieces to ensure uniformly sized donuts.
- Step 3 (Photo 13): Form Rolls. Shape each individual piece of dough into a tight, smooth ball or roll.
To effectively shape the dough into a taut roll, flatten the piece of dough slightly. Then, fold the edges of the dough towards the center, gradually tucking them in until you feel a slight resistance and tension build. Flip the ball over so the seam is facing down. Gently pull the ball towards you, using your fingers on one side/bottom of the bun to create surface tension. Roll it under the palm of your hand in a circular motion to achieve smooth, perfectly round little balls. This technique creates a tight skin on the dough, which helps it hold its shape during frying.
- Step 4 (Photo 14): Second Proof. Place each shaped dough ball onto its own individual piece of baking paper on the prepared tray. Cover the tray with a tea towel and let the donuts proof for a second time, for 45 minutes to 1 hour, or until they have almost doubled in size.
To determine if your brioche donuts are ready for frying, gently poke one of the balls with a floured finger. If the indent slowly springs back but doesn’t fully disappear, they have achieved optimal proofing and are ready for the hot oil.
- Step 5 (Photo 15): Fry the Donuts. In a large, heavy-bottomed saucepan or Dutch oven, heat your frying oil (a neutral vegetable oil like canola oil or sunflower oil is best) over medium heat until it reaches approximately 170°C (340°F). Carefully drop each proofed dough ball into the hot oil, seam-side facing up, and use tongs to gently peel off the baking paper. Fry each side for about 2 minutes, or until the donuts are beautifully golden brown and puffed.
Using a candy thermometer is highly recommended for precise oil temperature control. If the oil temperature is too low, your donuts will absorb too much oil and become greasy. If it’s too high, the outside will burn before the inside cooks through, leaving you with raw centers. Maintaining a consistent temperature is key to perfectly fried donuts.
The exact quantity of oil you’ll need will depend on the size of your pot. However, it’s generally recommended to have at least 10 cm (4 inches) of oil in the pot to ensure the donuts are fully submerged and do not touch the bottom of the pan while frying, allowing them to cook evenly.
- Step 6: Drain and Coat. Using a slotted spoon or spider, carefully remove the fried donuts from the oil and transfer them to a wire rack lined with paper towels. This allows excess oil to drain. While the donuts are still warm, you can optionally toss them in a mixture of sugar and cinnamon (or just sugar for a simpler finish). Let them cool completely before filling.
- Step 7 (Photo 16): Fill with Cream. Once the donuts are completely cool, retrieve your chilled Bavarian Cream Filling from the fridge. Transfer it to a piping bag fitted with a round nozzle. Make a small incision on the side of each donut using a small knife or skewer, then gently pipe the luscious cream into the center until it feels full. Serve these magnificent Bavarian cream donuts as soon as possible for the best taste and texture experience.
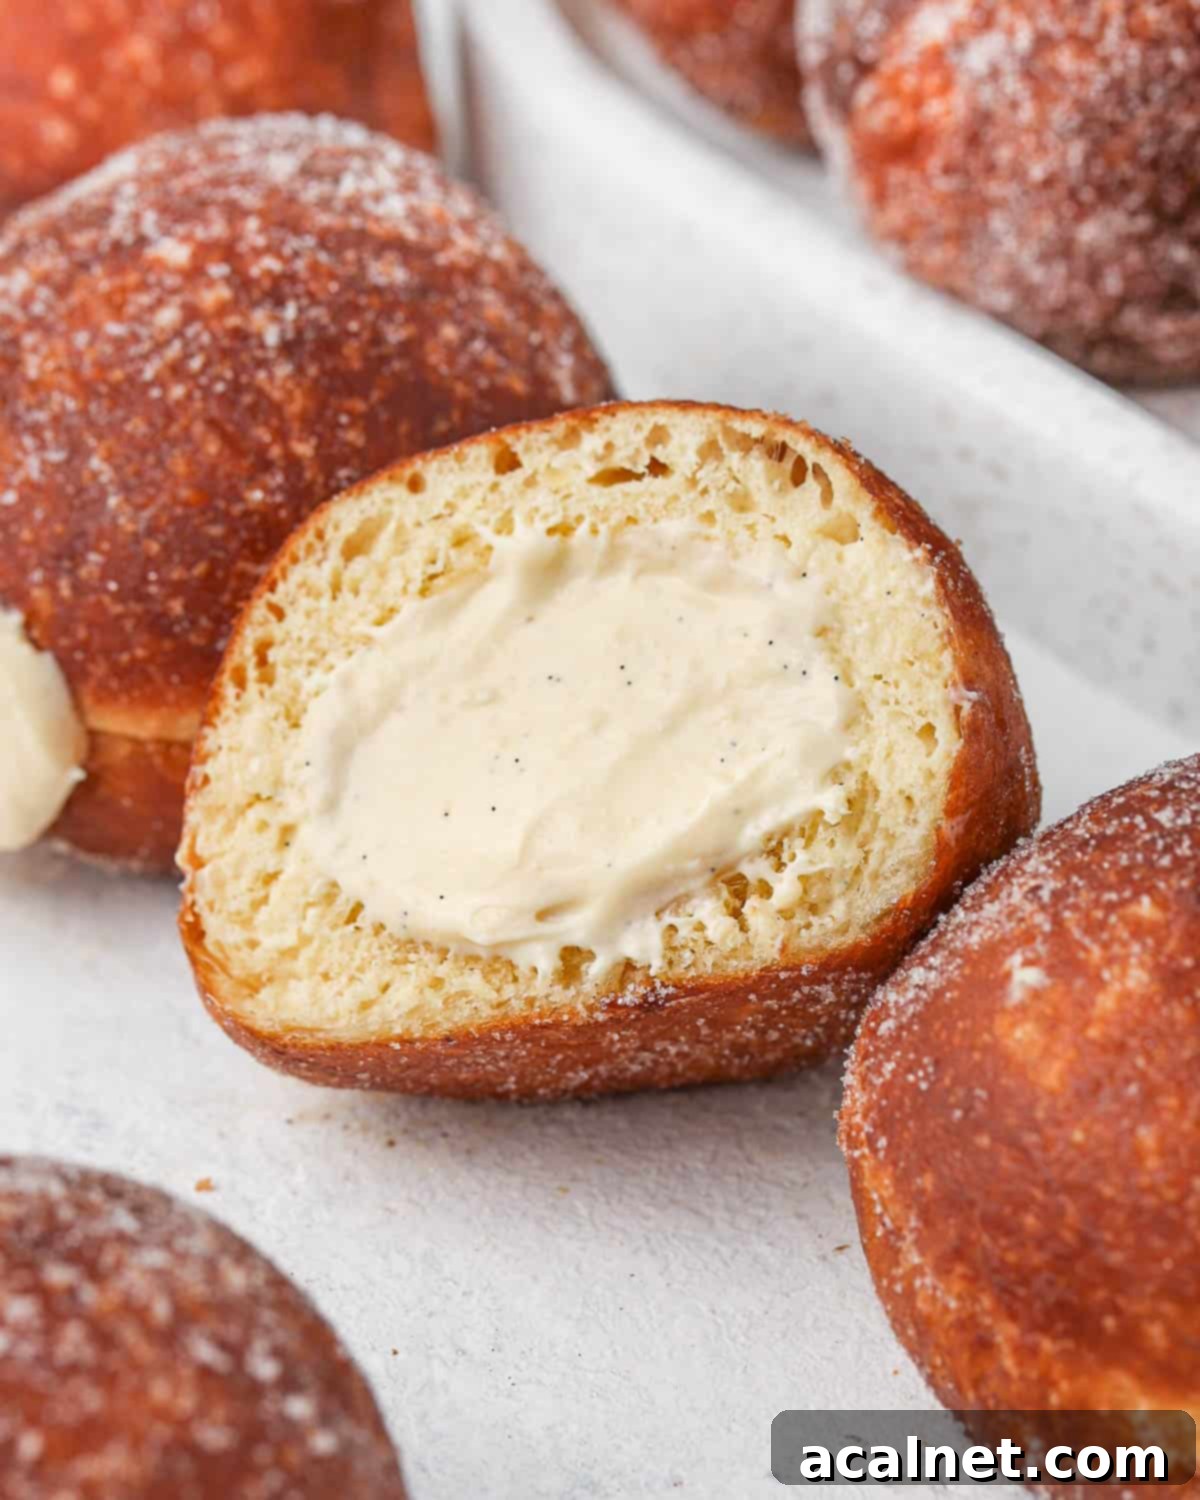
Frequently Asked Questions About Bavarian Cream Donuts
Both Bavarian Donuts and Boston Cream Donuts are delightful fried donuts filled with a vanilla custard cream. The primary difference lies in the specific type of custard and the finishing. Boston Cream Donuts are traditionally filled with a thicker Pastry Cream (Crème Pâtissière) and are always topped with a rich chocolate glaze or frosting. Bavarian Donuts, on the other hand, are filled with Bavarian Cream (Crème Bavaroise), which is a lighter, gelatine-set custard lightened with whipped cream. They are typically left plain or simply dusted with sugar, without a glaze or frosting.
Absolutely! While Bavarian cream is exceptional, this brioche donut recipe is incredibly versatile. It will work beautifully with other creamy fillings like a classic Vanilla Pastry Cream, a decadent Chocolate Pastry Cream, or even an airy Diplomat Cream. For an added layer of flavor and texture, consider incorporating a fruity element alongside the cream, such as a vibrant Strawberry Compote or a tangy Blueberry Coulis.
Yes, and it’s highly recommended! Proofing the brioche dough in the refrigerator overnight (for about 8 to 12 hours) offers several advantages. The slower, colder proofing process allows for a deeper development of flavors in the dough, resulting in a more complex and delicious final product. Additionally, a cold brioche dough is significantly firmer, less sticky, and much easier to handle and shape than dough that has proofed at room temperature.
The best oils for frying donuts are neutral-flavored varieties with a high smoke point. Excellent choices include Vegetable Oil, Canola Oil (which I used in this recipe), Sunflower Oil, or Peanut Oil. The ideal frying temperature for brioche donuts is crucial for achieving a perfectly golden exterior and a fully cooked interior without greasiness. I find that a temperature of about 170°C (340°F) works best. If the oil goes above 180°C (350°F), the donuts will brown too quickly and burn on the outside while remaining raw in the center. Conversely, if the temperature drops below 165°C (330°F), the donuts will fry too slowly and absorb excessive oil, resulting in a heavy, greasy texture.
Expert Tips & Tricks for Success
- Mind the Cream Temperatures: Achieving the perfect Bavarian Cream consistency hinges on temperature control. The custard base needs to be cool enough (around room temperature) so it doesn’t melt the delicate whipped cream when you fold it in. However, if the custard becomes too cold, the gelatine will set too firmly, making it difficult to incorporate the whipped cream smoothly. A brief whisk of the cooled custard before folding helps immensely.
- Constant Oil Temperature for Frying: Invest in a good candy thermometer and use it diligently. Consistently monitor the frying oil temperature and adjust your stove’s heat as needed. Keeping the oil around 170°C (340°F) is critical. Too hot, and the donuts burn outside, raw inside. Too cool, and they become greasy. Small adjustments go a long way.
- Fry Donuts One by One (or in small batches): To maintain a stable oil temperature, avoid overcrowding the pot. Frying one or two donuts at a time is ideal, or a maximum of three if your pot is very large. Adding too many cold donuts at once will cause a rapid drop in oil temperature, leading to greasy, poorly cooked results. Patience here pays off in perfectly golden, fluffy donuts.
Common Issues & How to Fix Them
- The Bavarian Cream is Grainy or Lumpy: This usually occurs if the egg yolks in the custard base are cooked at too high a temperature, causing them to curdle. While prevention is best (cooking on low heat, constant stirring), if lumps do appear, don’t despair! You can save the soft custard base (before adding gelatine and whipped cream) by carefully pouring it through a fine-mesh sieve. This will remove most of the lumps, giving you a smoother starting point.
- The Donuts are Flat or Dense: A flat or dense donut often indicates an issue with proofing – either under-proofed or over-proofed dough. For the first proof, ensure the dough has genuinely doubled in size. For the second proof after shaping, use the gentle poke test: if a small indent slowly springs back (but not fully), the donuts are perfectly proofed and ready to fry. If the indent springs back immediately, it’s under-proofed; if it stays collapsed, it’s over-proofed.
- The Centre of the Donuts is Raw: This is a common problem when donuts are fried at too high a temperature or not for a sufficient duration. The exterior browns quickly, creating a false impression of doneness while the interior remains uncooked. I always recommend performing a “test donut” with your very first one. Slice it open to check the crumb structure and ensure it’s cooked through. This initial test will give you a reliable indication of the correct frying time and allow you to adjust the oil temperature as needed for the rest of your batch.
Storage & Freezing Guidelines
For the absolute best texture and freshness, Bavarian Cream Donuts are truly best enjoyed immediately after filling, or at least within a day of preparation. If you have leftovers, they can be stored in an airtight container in the fridge for up to 3 days. The texture will slightly change over time as the cream moistens the brioche, but they will still be delicious.
While I generally do not recommend freezing the delicate Bavarian Cream filling (as its texture can be compromised upon thawing), the unfried brioche donut dough can be frozen after the first proof, or the fried, unfilled brioche donuts can be frozen once they are completely cool. Wrap them tightly and freeze for up to one month. When ready to enjoy, allow the donuts to thaw completely at room temperature before warming them slightly (if desired) and then filling them with freshly made Bavarian cream.
Explore More Cream-Filled Desserts
- Mini Fruit Tarts
- Choux à la Crème
- Strawberry Custard Tart
- Choux au Craquelin
Made this recipe?
Let us know if you liked it by leaving a comment below, and tag us on Instagram @a.baking.journey with a photo of your creation!
Recipe Card

Bavarian Cream Donuts
Ingredients
Bavarian Cream
- 240 ml (1 cup) Full Cream / Whole Milk
- 1 Vanilla Bean, or 1 1/2 teaspoon of Vanilla Paste
- 4 Egg Yolks, at room temperature (about 75gr)
- 50 gr (1/4 cup) Caster Sugar
- 6 gr (1 1/2 teaspoon) Gelatine Powder , plus 1 tablespoon cold water
- 240 ml (1 cup) Heavy / Thickened Cream, min. 30% fat
Brioche Donuts
- 75 ml (5 tablespoons) Full Cream / Whole Milk, lukewarm
- 80 gr (1/3 cup) Caster Sugar
- 9 gr (1 1/2 teaspoon) Instant Dry Yeast, or active dry yeast
- 3 Eggs, medium to large, at room temperature
- 350 gr (2 1/3 cup) Plain / All-Purpose Flour
- 1/2 teaspoon Fine Table Salt
- 120 gr (1/2 cup) Unsalted Butter, soft
- Canola Oil or Neutral Vegetable Oil, for frying
Instructions
Bavarian Cream
- Place the Milk in a medium size saucepan with the Seeds of the Vanilla Bean and the rest of the pod. Turn on low heat and bring to a simmer. Once it starts to simmer, turn off the stove, cover the saucepan and leave to infuse for 10 to 20 minutes (see note 1).
- In a separate heat-proof bowl, whisk together the Egg Yolks and Sugar. Slowly pour the warm milk over the egg yolk mixture while continuously whisking, then transfer it all back into the saucepan.
- Cook for 5 to 10 minutes on low to medium-low heat while continuously stirring until the cream has slightly thickened (see note 2). Remove from the heat.
- In a small bowl, mix together the Gelatine Powder and cold Water and leave for a few minutes until it resembles a thick paste. Mix it into the warm custard and whisk until completely dissolved.
- Transfer into a large clean bowl, cover with plastic wrap touching the surface of the cream and place in the fridge to cool down for 30 minutes to 1 hour. The cream should be back at room temperature (see note 3).
- In a large mixing bowl (or the bowl of a stand mixer), whip the Heavy / Thickened Cream until it reaches stiff peaks.
- Take the custard out of the fridge and whisk it to loosen it. Gently fold the whipped cream into the custard in 3 or 4 times. Cover with plastic wrap touching the surface and store in the fridge until the donuts are ready to be filled.
Brioche Donuts
- In the bowl of your stand mixer fitted with the dough hook attachment, mix together the lukewarm Milk, Sugar and Instant Yeast. Set aside for 10 minutes or until small bubbles appear on the surface.
- Mix in the Eggs then the Flour and Salt. Turn on your mixer on low to medium speed and knead for about 5 minutes or until all the ingredients are combined.
- Slowly add the soft cubed Butter on low speed, waiting for all the butter to have been incorporated before adding more (see note 4).
- Increase the speed to medium to medium high and continue to knead for about 20 minutes. The dough should be very soft, stretchy and just only slightly sticky (see note 5).
- Cover the bowl with a tea towel and leave in a warm place to proof for about 2 hours (or until doubled in size), or leave to proof in the fridge overnight (for 8-12 hours).
- Prepare a large baking sheet with 10 small cut out pieces of baking paper.
- Punch the dough to deflate it and transfer it over a very lightly floured surface. Cut it into 10 equal pieces (using a kitchen scale for accuracy) and shape into small rolls (see note 6). Place each roll on an individual piece of baking paper on the prepared tray.
- Cover with a tea towel and leave to proof for 45 minutes to 1 hour, or until almost doubled in size (see note 7).
- In a large saucepan, heat up your frying oil (neutral vegetable oil or canola oil) on a medium heat until reaches about 170 degree Celsius / 340 degree Fahrenheit (see note 8). Use a candy thermometer to keep checking on the temperature of the oil.
- Gently drop each roll in the hot oil, seam side facing up and peel off the baking paper with tongs. Fry for about 2 minutes on each side or until the donuts are be golden (see note 9).
- Using a slotted spoon, pick up the fried donuts and place on a wire rack lined with paper towels to drain and cool down completely.
- Take the Bavarian Cream Filling out of the fridge and transfer into a piping bag fitted with a round nozzle. Make a small incision on the side of each donuts and fill them with cream. Serve straight away.
Would you like to save this recipe?
We’ll email this post to you, so you can come back to it later!
Notes
- You can skip the infusion step if using Vanilla Paste or Extract. Make sure to remove the Vanilla Pod once the milk has infused. Keep it to make homemade vanilla extract for example.
- Don’t let the mixture boil or the eggs will curdle and you will get lumps in your custard. There are two ways to know the custard is cooked. First with a thermometer – the custard is cooked when it reaches 82 degree Celsius or 180 degree Fahrenheit. Second, dip the back of a spoon in the mixture. If the custard coats the spoon without dripping back directly, it is ready.
- If the custard has started to set with the gelatin, vigorously whisk it to loosen it. Make sure not to leave it in the fridge for longer than an hour or it will set hard.
- Stop to scrap the sides of the bowl if required. Make sure the butter is soft enough that it incorporates easily into the dough but not too warm or melted, or the dough will turn greasy.
- To know the dough has been kneaded enough, to the “windowpane test”. Pull and stretch a small piece of the dough. If it breaks quickly, it needs to be kneaded for longer. If it stretches easily without breaking and you can see light coming through it, it has passed the windowpane test.
- To shape the piece of dough into a roll, flatten it and fold the edges of the dough towards the centre until you start feeling some resistance. Turn the ball over, seams down. Gently pull it towards you, your fingers placed on one side / bottom of the bun. Roll it under your palm to get smooth little balls.
- To know the brioche donuts are ready to be fried, softly poke one of the ball. If it leaves a small indent that slowly springs back (but not fully), they are ready.
- The exact quantity of oil will vary based on the size of your pot, but I recommend having at least 10 cm (4-inch) of oil in the pot to insure the donuts do not touch the bottom of the pan while frying.
- I recommend doing a time test with the first donut and check the crumb before frying the rest of the batch. It should give you a good indication of the right frying time. Keep on adjusting the temperature of your stove to keep the frying oil at the right temperature.
