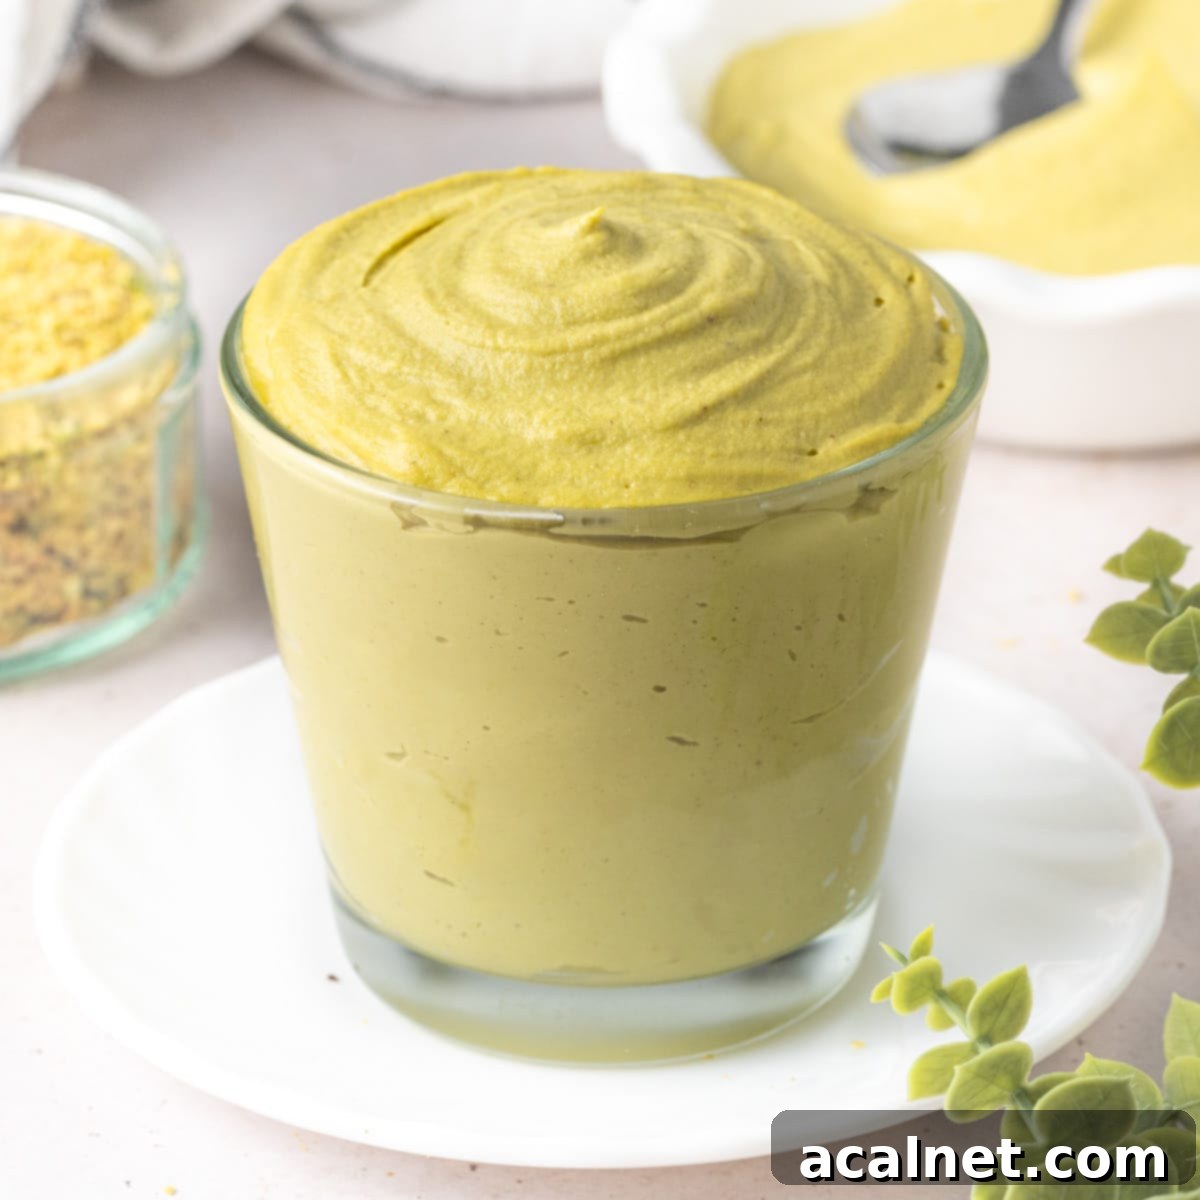
Homemade Pistachio Paste: Unlock Vibrant, Pure Flavor for All Your Desserts
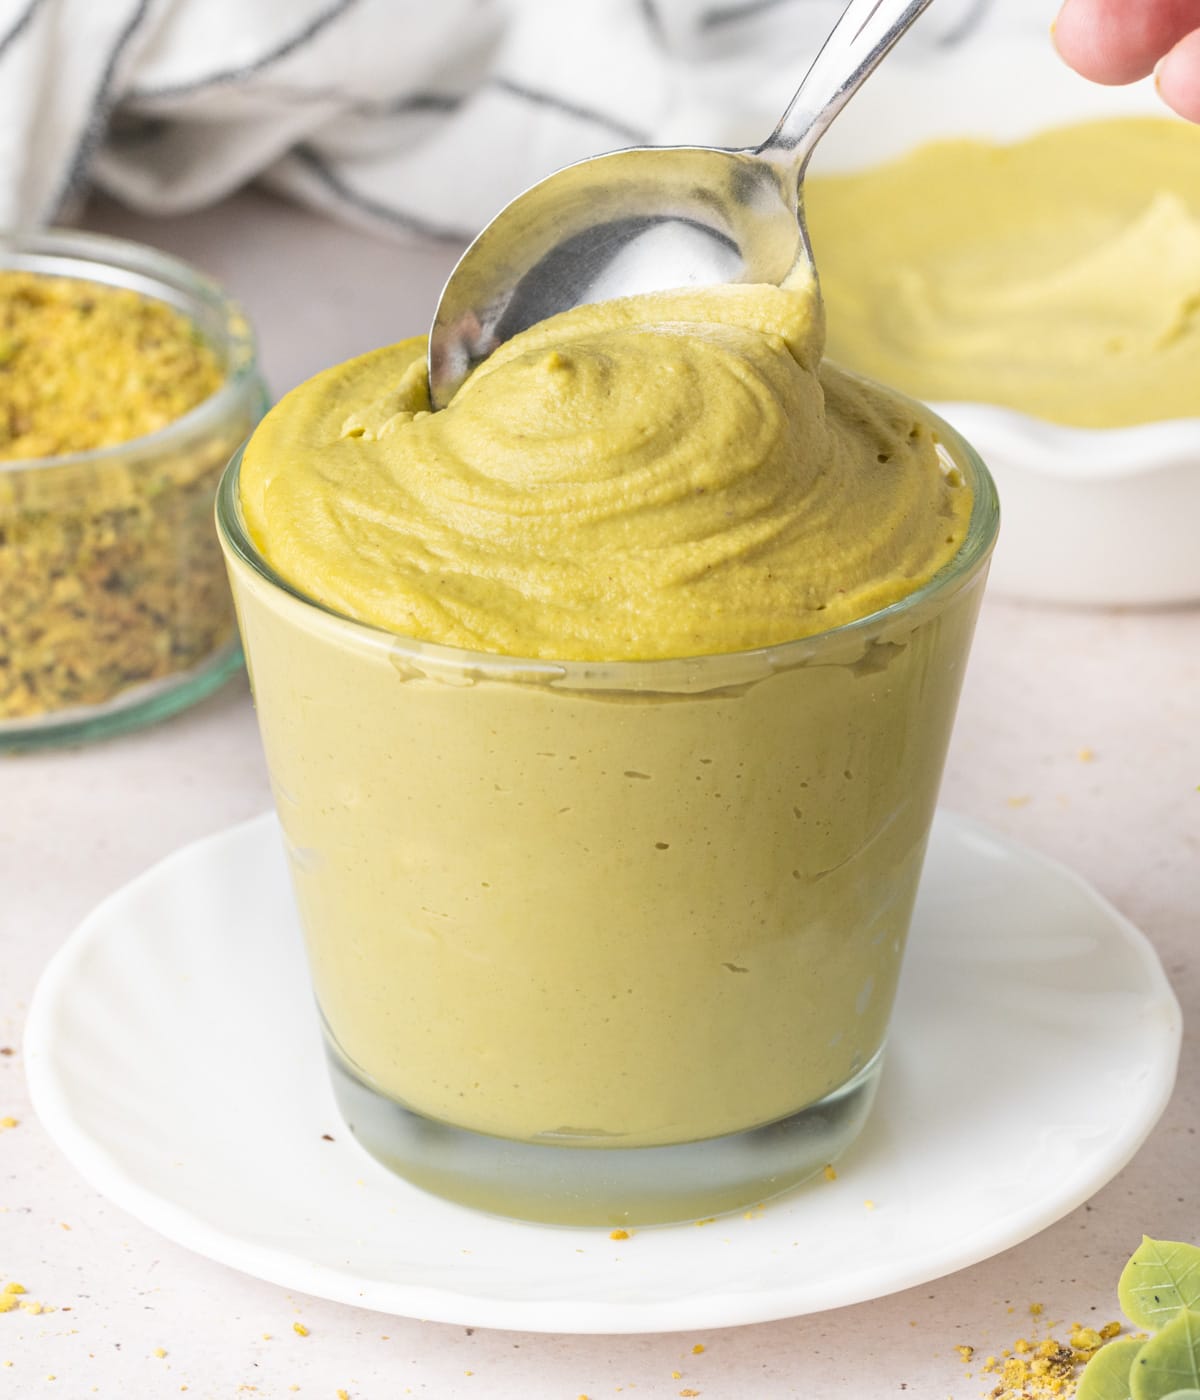
Discover the delightful simplicity of making your own **homemade pistachio paste** – a truly essential ingredient for any passionate baker or dessert enthusiast. This incredibly easy recipe requires just one core ingredient and transforms humble pistachios into a vibrant, rich, and intensely flavorful paste. Forget store-bought versions laden with fillers or artificial colors; our method focuses on pure, unadulterated pistachio goodness, allowing the natural sweetness and distinct character of the nuts to shine. This versatile paste is your secret weapon for elevating your favorite creams, ice creams, cakes, pastries, tarts, and countless other sweet creations. Get ready to infuse your desserts with an authentic, bright green hue and an irresistible nutty aroma that only pure pistachio can provide!
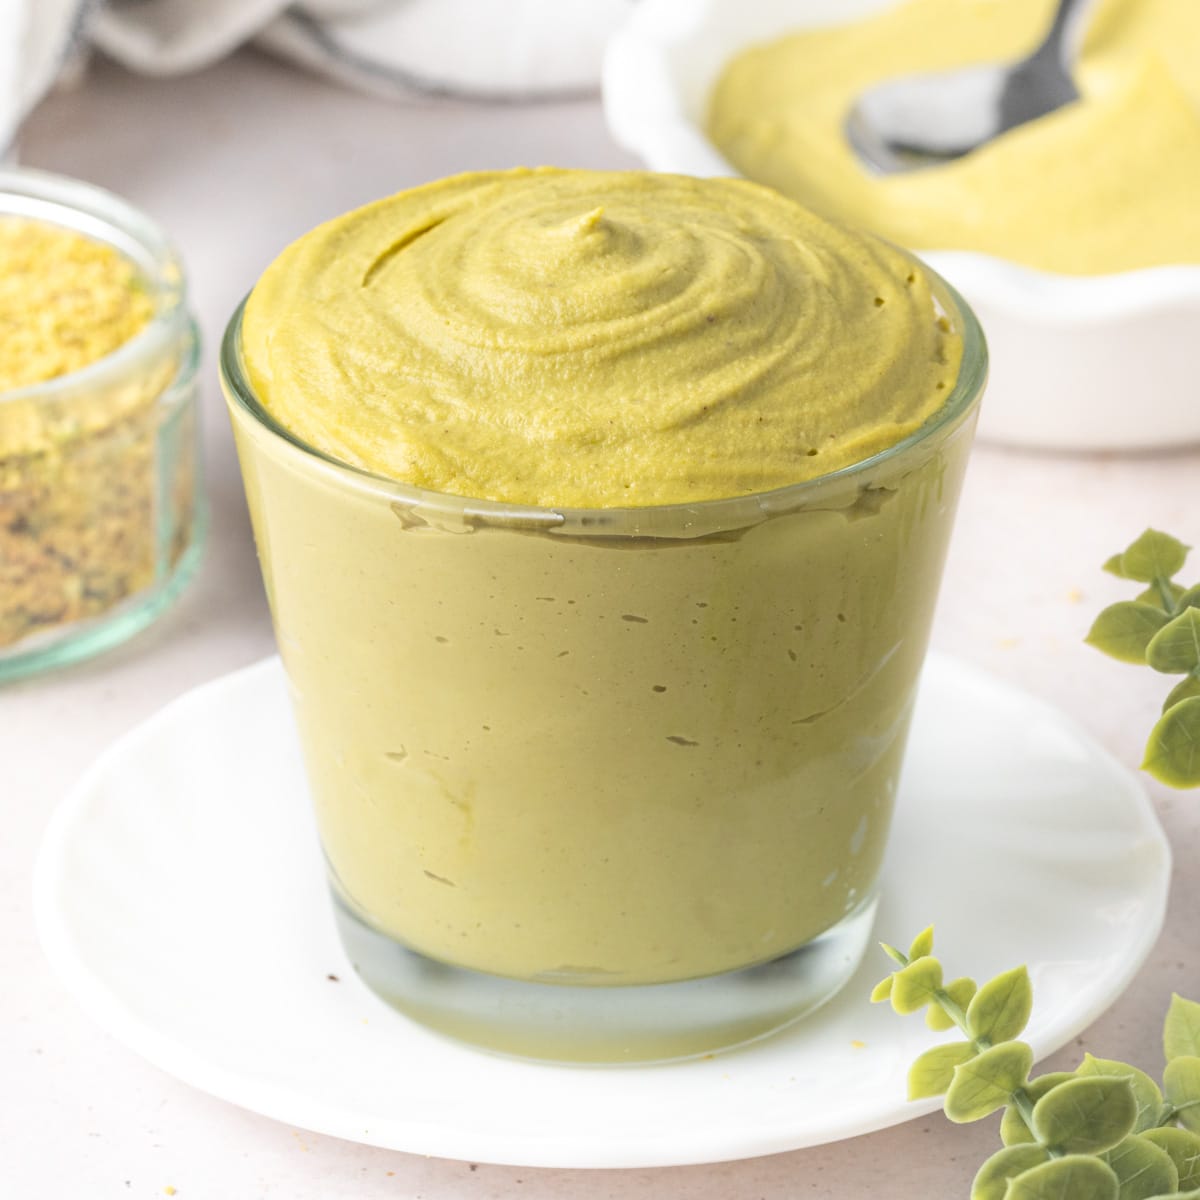
Why You’ll Adore This Easy Homemade Pistachio Paste Recipe
If your heart beats for the unparalleled flavor of pistachios in desserts, then mastering this **easy homemade pistachio paste recipe** is an absolute game-changer. It’s not just “easy”; it’s incredibly straightforward, remarkably versatile, and guarantees an authentic, fresh pistachio taste that simply cannot be replicated by synthetic alternatives. This DIY approach ensures you get a pure product, free from artificial colors, flavors, or unnecessary additives often found in commercial pastes.
The beauty of making your own pistachio paste lies in its incredible versatility. It will instantly elevate the flavor profile of your favorite cream fillings, transforming them into luxurious, nutty delights. Imagine the richness it brings to a classic Pistachio Pastry Cream, a silky smooth buttercream, or a luscious ice cream. It’s perfect for infusing cakes, cheesecakes, macarons, tarts, and a myriad of other desserts with that coveted, delicate pistachio essence and a beautiful, natural green hue.
Beyond its use in creams, this pure pistachio paste is a must-have ingredient for creating show-stopping desserts like my signature Pistachio Tart. It provides a foundational flavor that builds depth and complexity in every bite. Moreover, making it yourself means you control the consistency and sweetness, tailoring it perfectly to your specific baking needs. Once you try this fresh, vibrant homemade version, you’ll never go back to store-bought.
For those who appreciate the craft of homemade nut butters and pastes, be sure to also explore my detailed guide for Homemade Hazelnut Butter, another fantastic staple for your baking pantry.
Essential Ingredients for Pure Pistachio Paste
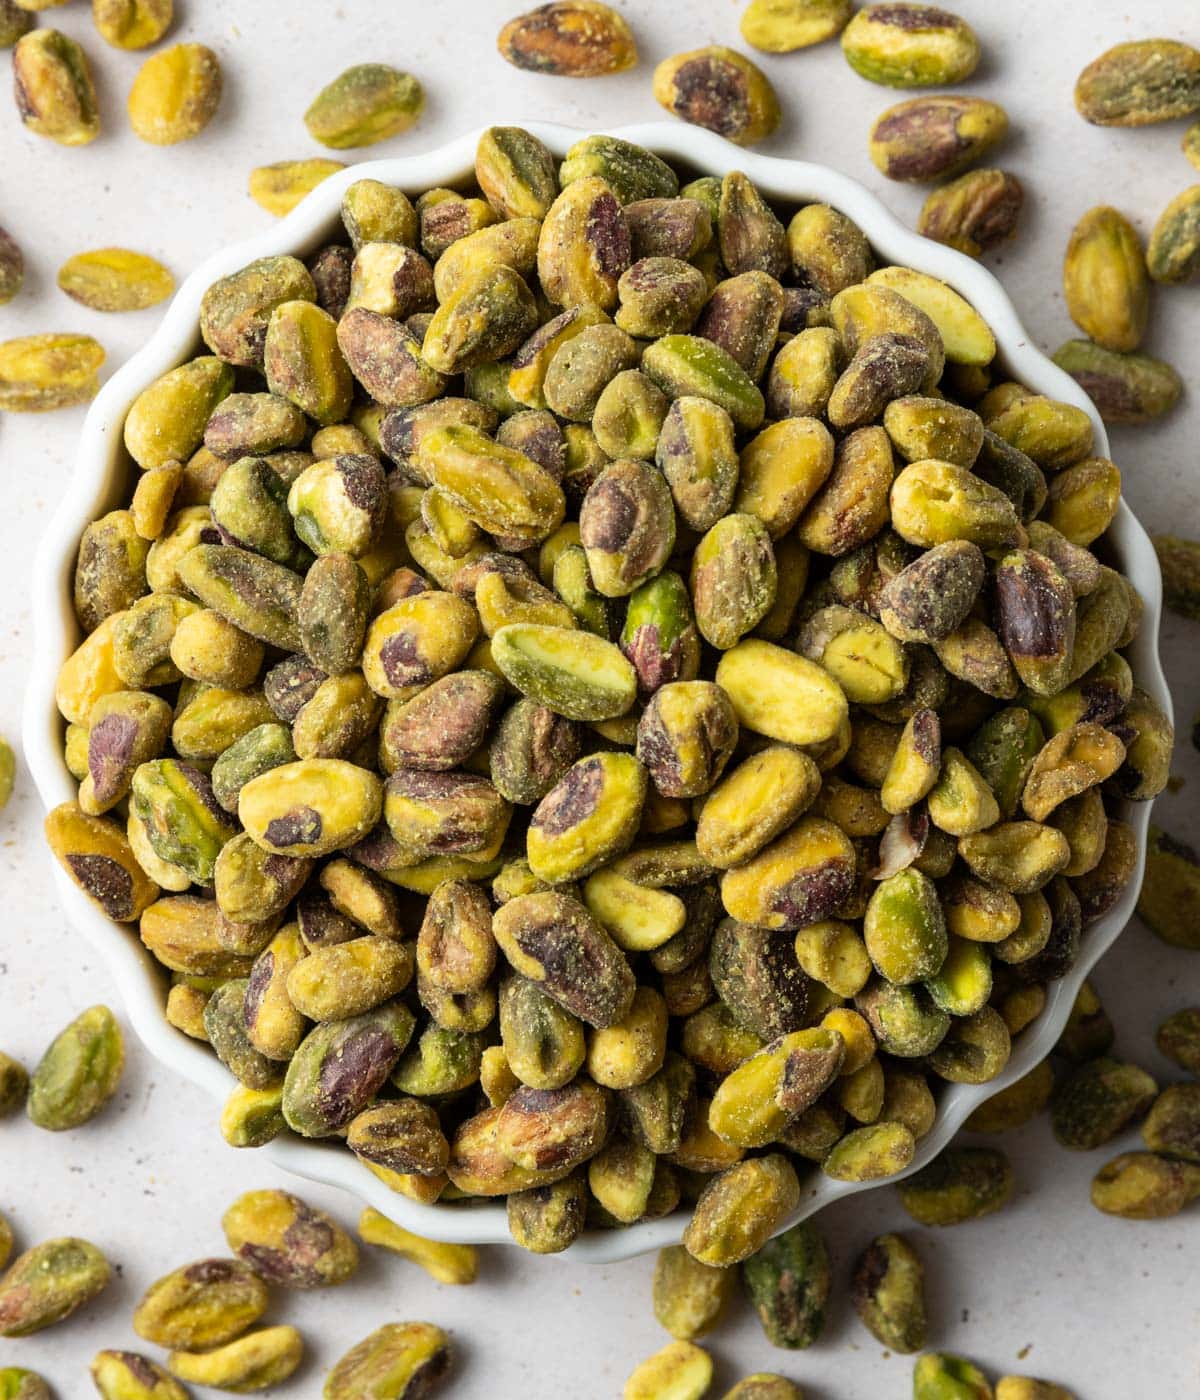
For precise quantities, please refer to the complete recipe card below.
The beauty of homemade pistachio paste lies in its minimal ingredient list, allowing the natural essence of the pistachios to truly shine:
- Raw Pistachio Kernels: This is the star of our paste. It’s crucial to use unsalted pistachios to maintain control over the flavor profile and ensure a pure taste. Shelled pistachios are highly recommended for convenience, as they significantly reduce prep time. If you can find them already peeled (also known as blanched pistachios or Sicilian pistachios), that’s even better! Slivered pistachios can also work effectively. While you can use lightly toasted or roasted pistachios for a deeper, more pronounced nutty flavor, be aware that this often results in a paste that is less vibrant in color, leaning more towards an olive-green or brownish hue. For the most vivid green, opt for raw, unroasted nuts.
As with many culinary endeavors, especially in baking, the quality of your raw ingredients directly impacts the final product. Investing in good quality pistachios, though sometimes more expensive, will yield a noticeably superior paste in terms of both flavor and color. Look for fresh, bright green kernels.
- Water: This ingredient is entirely optional and serves as an emulsifying agent if needed. Its inclusion depends on the desired consistency of your pistachio paste and the efficiency of your food processor. If your nuts are struggling to release their natural oils and form a smooth paste, or if you prefer a thinner consistency, a small amount of water can be added gradually to help achieve the perfect texture.
Optional Additions and Flavor Variations for Your Pistachio Paste
While a pure pistachio paste is magnificent on its own, you can customize it with a few additions to suit specific recipes or personal preferences:
- Powdered Sugar (Confectioners’ Sugar): For a subtly sweetened version of your pistachio paste, you can incorporate a small amount of powdered sugar while blending the nuts. Start with a tablespoon or two and adjust to your taste. This is particularly useful if you plan to use the paste directly in desserts that require some sweetness, such as macarons or as a spread.
- Salt: A tiny pinch of fine table salt or flaky sea salt can act as a flavor enhancer, bringing out the inherent nuttiness and complex notes of the pistachios. Just a small amount makes a big difference, similar to how salt enhances chocolate.
- Flavoring Extracts & Zests: To add another layer of aroma and taste, consider incorporating a few drops of extract or a bit of fresh zest:
- Vanilla Extract: A classic enhancer for almost any sweet dish.
- Citrus Zest: Freshly grated lime or orange zest adds a bright, zesty counterpoint to the rich pistachios. I personally find the tartness of lime zest particularly harmonious.
- Almond Extract: A very common pairing with pistachios, enhancing their inherent nutty flavor profile.
- Orange Blossom Water or Rose Water: These floral extracts are traditional in Middle Eastern and Mediterranean desserts and can lend a beautiful, aromatic complexity to your paste. Use sparingly, as their flavors are potent.
Remember, these additions are optional. The beauty of this recipe is its foundation in pure pistachio flavor, which can be enjoyed as is or thoughtfully customized.
How to Make Vibrant Homemade Pistachio Paste: A Step-by-Step Guide
Creating this rich, green pistachio paste is a straightforward process, largely dependent on patience and the right equipment. Follow these steps for the best results:
1. Blanching and Peeling the Pistachios for Optimal Color
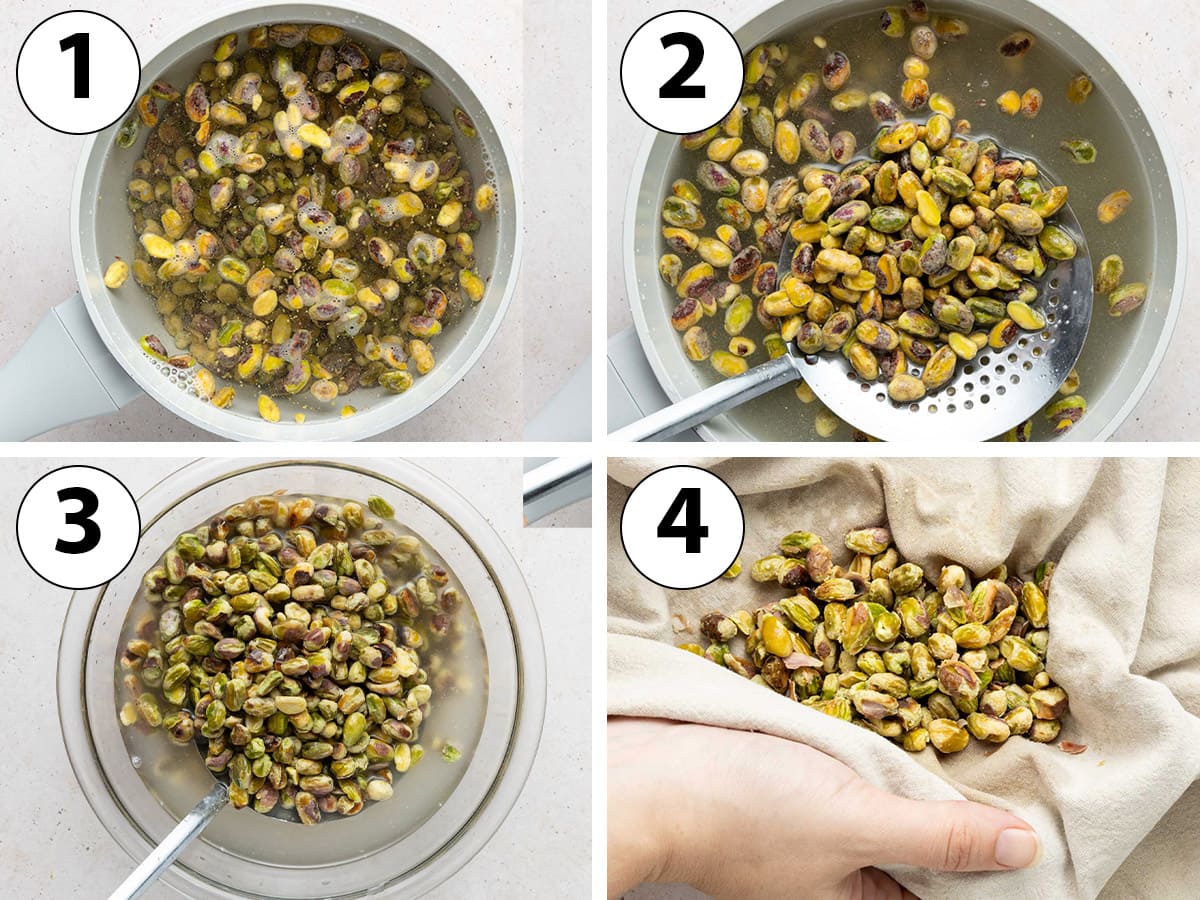
The initial and perhaps most “labor-intensive” step is blanching and peeling the pistachios. This serves two crucial purposes: it makes the thin brown skins incredibly easy to remove, and it lightly softens the nuts, which aids in a smoother blending process later on. This step is key to achieving that desirable bright green color in your finished paste.
- Begin by preparing an ice bath: Fill a large bowl with icy cold water. This can be very cold water straight from the fridge, or tap water augmented with a generous handful of ice cubes. Set this aside.
- Photo 1: Pour fresh water into a small saucepan and bring it to a rolling boil over medium-high heat. Once boiling, add your shelled pistachios. Allow them to cook for a brief period, typically 30 seconds to 1 minute. Do not overcook, as this can diminish their flavor and vibrant color.
- Photo 2: Using a slotted spoon, swiftly transfer the blanched pistachios from the hot water directly into your prepared bowl of icy water. This rapid transfer (known as shocking) immediately stops the cooking process, preserves the pistachios’ bright green color, and helps to loosen their skins further.
If you don’t have a slotted spoon, you can simply strain the pistachios through a fine-mesh sieve and then quickly immerse them into the ice water bath.
- Photo 3: Let the pistachios rest in the cold water for a few minutes. This ensures they are completely cooled down and the cooking process has fully ceased.
- Photo 4: Once cooled, drain the pistachios well. Then, working in small batches, place them inside a clean, dry kitchen towel. Vigorously rub the pistachios together within the towel for several seconds. The friction and the slight softening from blanching will cause the thin brown skins to easily detach from the vibrant green kernels.
- Carefully sort through the rubbed pistachios, discarding the peels and collecting only the beautifully skinned, bright green pistachios. You may need to replace your kitchen towel with a fresh one if it becomes too damp or dirty from the peels, especially if processing a larger quantity of nuts.
While this peeling step can be a bit time-consuming, it is arguably the only “hard” part of this recipe. It’s a crucial step if you desire a pistachio paste with a bright, appealing green color. If you choose to skip the peeling process (perhaps for a more rustic paste or if time is a constraint), be aware that the remaining brown skins will result in a paste with a duller, more brownish-green hue. However, the flavor will still be fantastic!
2. Blending the Pistachios into a Smooth, Creamy Paste
This is where the magic happens, as the pistachios transform into a luscious paste. The key here is a powerful food processor and a bit of patience:
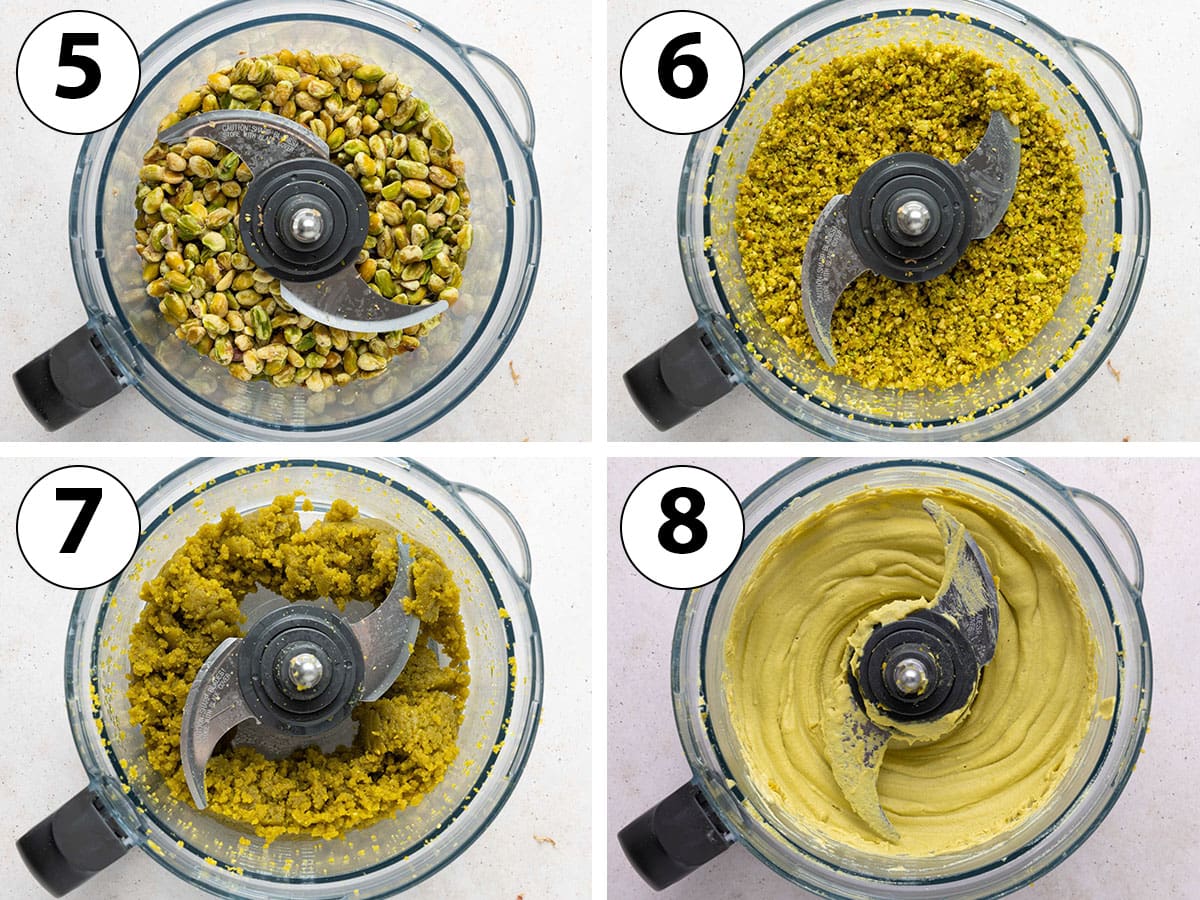
- Photo 5: Transfer all of your carefully peeled pistachios into the bowl of a high-speed, powerful food processor. A robust food processor is absolutely essential for this task, similar to making Hazelnut Praline Paste or any other nut butter. Standard blenders or less powerful machines typically won’t achieve the desired smooth consistency as they lack the sustained power and blade design needed to break down the nuts and release their natural oils effectively.
- Photo 6: Begin blending on medium to high speed. Initially, the pistachios will break down into a coarse powder. Continue processing, and after a couple of minutes, you’ll notice the powder becoming finer, with some larger chunks still present.
- Photo 7: Keep blending! As the nuts are processed, they release their natural oils, and the texture will gradually change. The coarse powder will begin to clump together, eventually turning into a thick, gritty paste. The exact time required for this stage can vary significantly based on the power of your food processor. It’s crucial to stop and scrape down the sides of the bowl frequently with a spatula to ensure all the nuts are evenly processed and to prevent dry pockets.
During prolonged blending, your food processor’s motor may start to heat up. If you notice it getting hot, or if there’s any burning smell, stop the machine immediately and allow it to cool down for several minutes before continuing. This prevents damage to your appliance.
- If, after 5 to 10 minutes of consistent blending, your pistachios are still quite gritty and aren’t forming a cohesive paste, you might need a little assistance. At this point, you can add a very small amount of water to help the emulsification process. Add water gradually, about 1 tablespoon at a time, and blend briefly after each addition. Stop adding water as soon as the texture begins to transform into a paste. Be cautious not to add too much water, as it can thin the paste excessively and slightly dull its vibrant color.
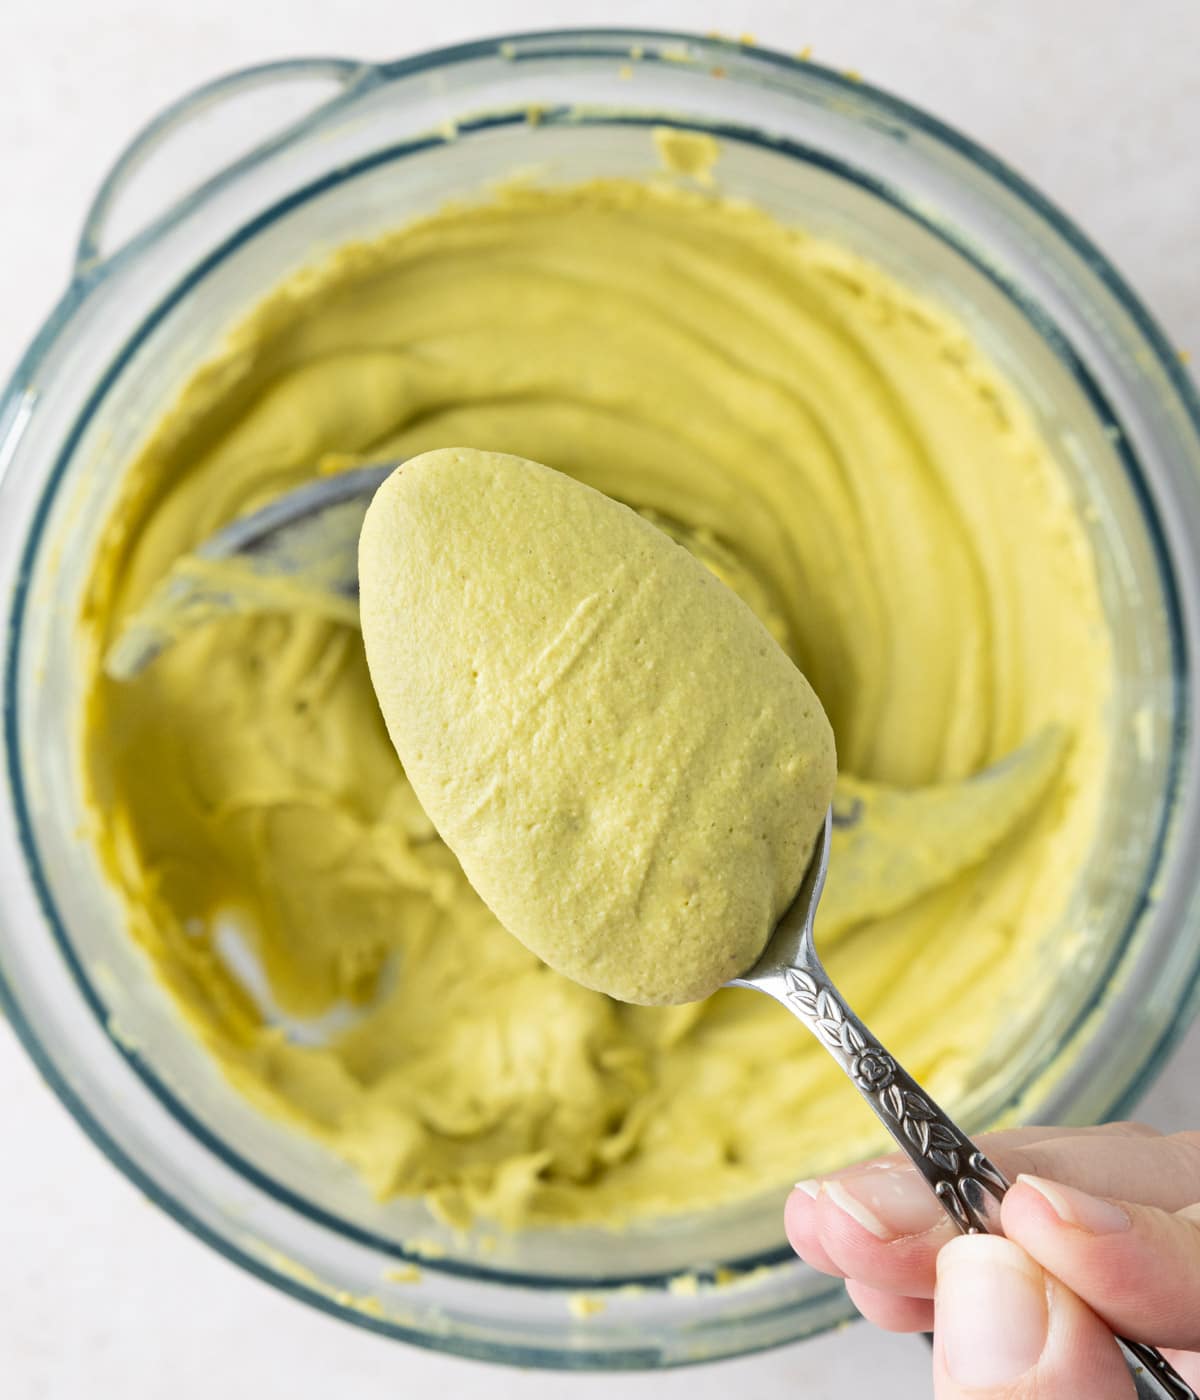
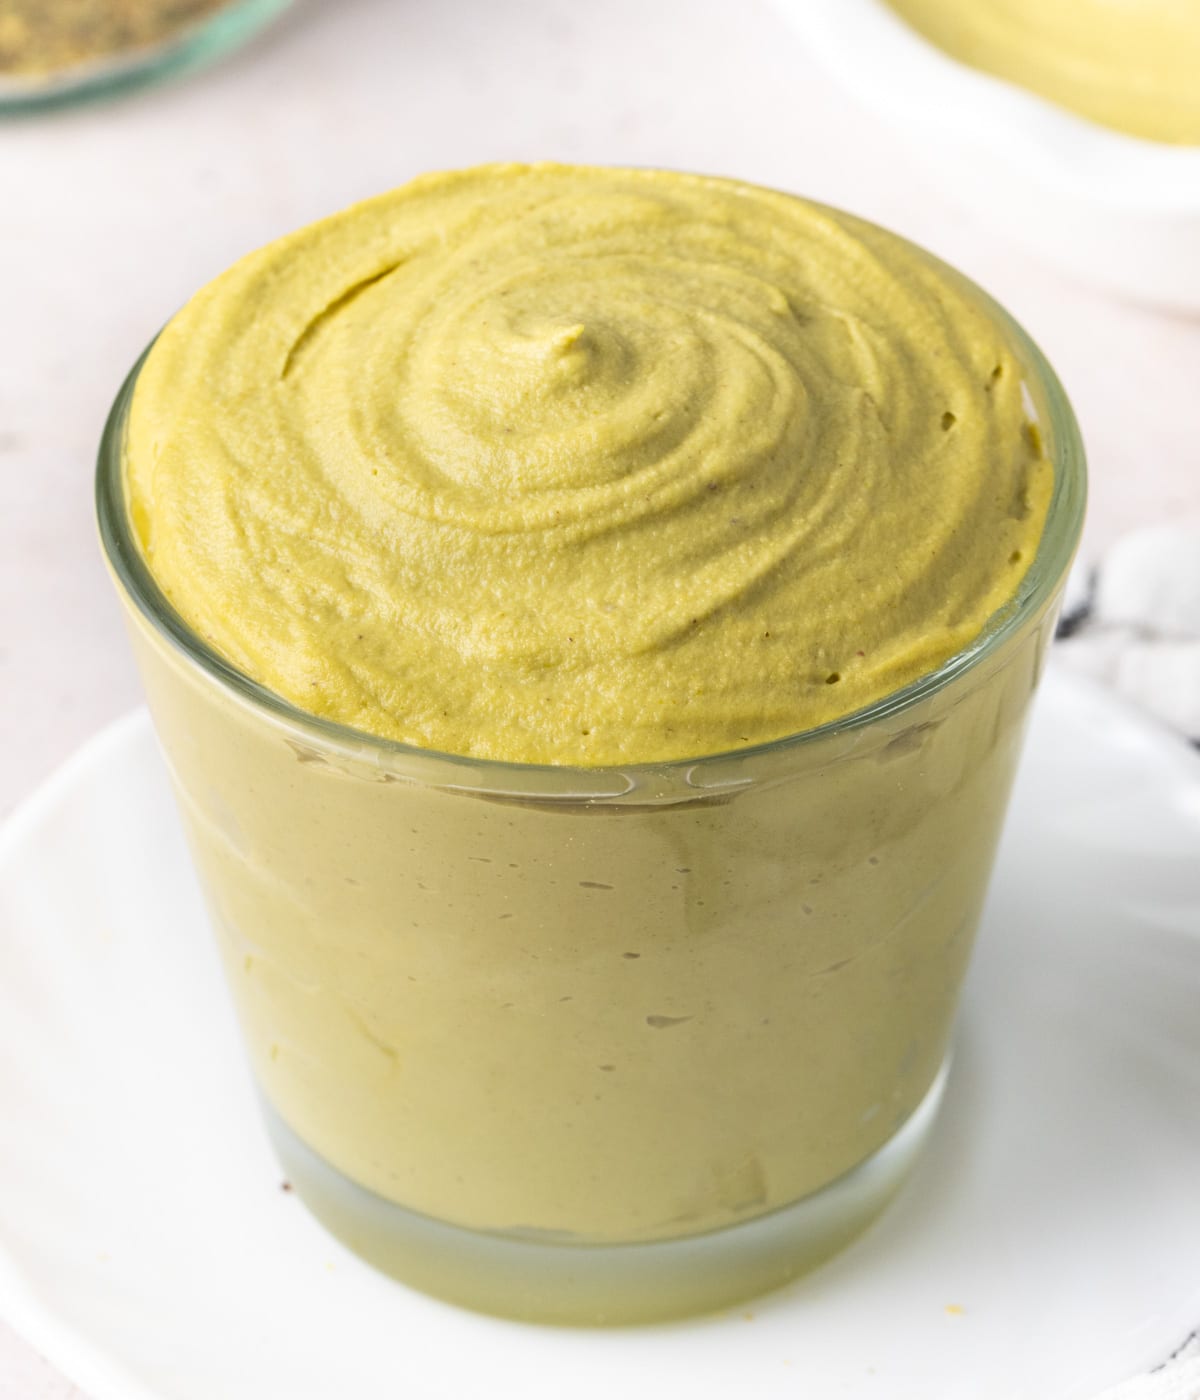
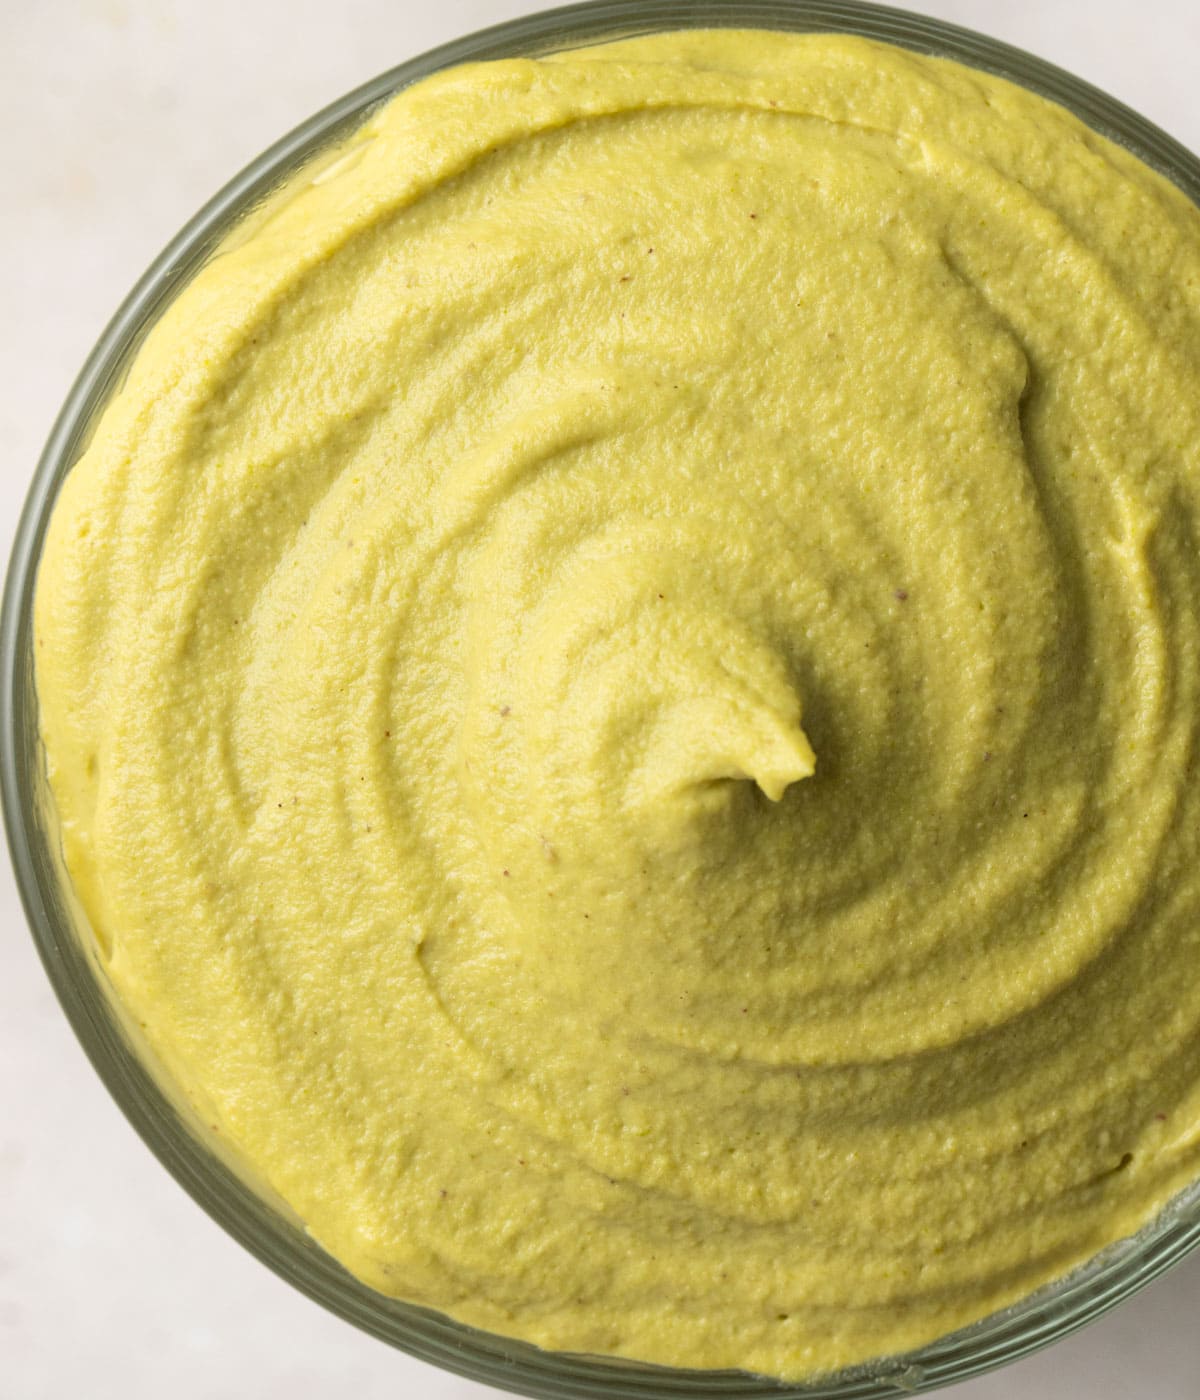
- Photo 8: Continue blending until you reach your desired consistency. You can stop when you have a thick, slightly coarse paste for a more rustic texture, or keep blending for several more minutes until it becomes completely smooth, creamy, and spreadable. The longer you blend (and if you add a tiny bit of water), the smoother and runnier your paste will become. There’s no single “correct” consistency; it all depends on how you plan to use your homemade pistachio paste!
Homemade Pistachio Paste: Your Questions Answered
While the terms are sometimes used interchangeably, in most cases, there’s a distinct difference between pure pistachio paste and commercial pistachio spreads or butters. **Pistachio paste**, particularly as made in this recipe, is typically composed of pure pistachios (and occasionally a tiny bit of water to aid blending). It is designed to be an intense flavoring agent. **Pistachio butter** or **pistachio spread**, on the other hand, often contain additional ingredients such as added oils (like vegetable oil), sweeteners (sugar, honey), emulsifiers, milk powder, or other flavor enhancers. These additions are usually for achieving a specific texture (more spreadable) or a sweeter flavor profile. Our homemade pistachio paste focuses on celebrating the unadulterated flavor of the pistachio itself.
Yes, you can technically skip the blanching and peeling step, but it will significantly impact both the appearance and texture of your finished pistachio paste. Blanching serves two important purposes: it helps to easily remove the thin brown skins from the pistachios, revealing their vibrant green color underneath, and it also slightly softens the nuts, making them easier for your food processor to break down into a smooth paste. If you omit blanching, your paste will have a duller, brownish-green color due to the skins, and it may take considerably longer to achieve a smooth consistency in your food processor, potentially resulting in a grittier texture.
The ideal texture for your homemade pistachio paste is entirely up to your personal preference and how you intend to use it! You can choose to stop blending when it’s on the coarser, thicker side, offering a delightful bite and a rustic feel. Alternatively, you can continue to blend (adding a small amount of water if necessary) until it transforms into a silky-smooth, pourable paste. There’s no right or wrong consistency; it simply depends on whether you prefer a paste with a bit of texture or one that’s ultra-fine and creamy, perfect for delicate applications like macarons or fine glazes. Experiment to find what works best for your culinary creations!
Tips & Troubleshooting for Perfect Pistachio Paste
Making homemade pistachio paste is generally straightforward, but a few common issues can arise. Here are some tips and solutions to ensure your paste turns out perfectly:
- The pistachio skins are not coming off easily: Blanching is the critical step for easy peeling. If the skins are still stubbornly clinging to the nuts, it’s likely they weren’t blanched long enough. Try re-blanching the difficult nuts for an additional 15-30 seconds. Also, ensure you are rubbing them vigorously in small batches within the kitchen towel. The friction is key to loosening those peels. Sometimes, using a slightly textured kitchen towel can also help.
- For a deeper, more intense pistachio flavor: If you desire a more pronounced, toasted nut flavor, you can lightly roast your shelled pistachios before blanching and blending. Spread them in a single layer on a baking tray and roast in a preheated oven at 300°F (150°C) for about 5 to 8 minutes, or until fragrant. Be careful not to burn them! Keep in mind that roasting will inevitably result in a paste with a less vibrant green color, often leaning towards a more subdued olive or brownish tone. This is a trade-off between color and flavor intensity.
- The pistachios won’t turn into a smooth paste: This is almost always a sign that your food processor isn’t powerful enough or that you need more blending time. Nut butters and pastes require sustained high-speed processing to break down the nuts and release their natural oils. If, after several minutes, you still have a gritty powder or thick crumbs, continue blending. If it still won’t emulsify, try adding a very small amount of water – about 1 tablespoon at a time – and blend until the texture starts to change. Do not add too much water at once, as it can thin the paste too much and dilute the flavor.
- Why is the color of my pistachio paste dull or brownish? Several factors can contribute to a duller color:
- Unpeeled Pistachios: The most common reason. The brown skins will impart a brownish hue to the paste.
- Roasted Pistachios: As mentioned above, roasting deepens the flavor but sacrifices the vibrant green color.
- Pistachio Quality/Origin: Some varieties or origins of pistachios naturally have a less intense green color. High-quality Sicilian pistachios are renowned for their vivid green.
- Added Water: Adding too much water can slightly dilute and dull the natural green pigment.
- My food processor is overheating: Blending nuts for an extended period generates heat. If your food processor feels hot to the touch or starts to struggle, turn it off immediately. Allow it to cool down for 5-10 minutes before resuming the blending process. This prevents damage to the motor. Patience is key!
- Ensure pistachios are dry before blending: After blanching and peeling, it’s crucial that your pistachios are as dry as possible before going into the food processor. Excess moisture can prevent the nuts from properly emulsifying and releasing their oils, leading to a clumpy rather than smooth paste. Lay them out on a clean towel or paper towels to air dry for a bit if needed.
How to Use Homemade Pistachio Paste in Your Baking
Once you’ve made your batch of vibrant, flavorful homemade pistachio paste, a world of culinary possibilities opens up! Its rich, nutty essence and beautiful color make it a fantastic addition to both sweet and even some savory dishes. Here are just a few ideas for how to use your pure pistachio paste:
- Decadent Frozen Treats: Transform simple ice cream or traditional Italian gelato into an extraordinary pistachio experience. The paste provides intense flavor and a natural green hue.
- Luxurious Cream Fillings & Frostings: This paste is ideal for flavoring a wide array of creams, custards, and mousses. Incorporate it into:
- Pistachio Pastry Cream for tarts, eclairs, or cream puffs.
- Buttercreams (American, Swiss Meringue, Italian Meringue) for cakes and cupcakes.
- Diplomat Cream or Bavarian Cream for a delicate, nutty twist.
- Light and airy mousses for elegant desserts.
- Whipped ganache for a truly indulgent topping or filling.
- Elegant Pastry & Macaron Fillings: Use pure pistachio paste as a decadent filling for choux pastries, macarons, croissants, or even sweet crepes. Its intense flavor means a little goes a long way.
- Baking Brilliance: Fold the paste directly into batters and doughs to infuse your baked goods with pistachio flavor:
- Pistachio cakes and cupcakes.
- Pistachio cheesecakes.
- Pistachio cookies, brownies, or blondies.
- Muffins, madeleines, or financiers for an elevated breakfast or tea-time treat.
- Gourmet Toppings & Drizzles: Drizzle a thin stream of smooth pistachio paste over:
- Plain yogurt or oatmeal for a luxurious breakfast.
- Fresh fruit salads.
- Your morning toast or crepes.
- Cheesecakes, tarts, or galettes as a finishing touch.
- The Star of Specific Recipes: As a key ingredient in signature dishes like my Pistachio Tart, it provides the essential base for an unforgettable flavor experience.
Experimentation is encouraged! Your homemade pistachio paste is a premium ingredient that adds a sophisticated touch and incredible depth of flavor to almost any sweet application.
Storing & Freezing Your Homemade Pistachio Paste
Proper storage is key to preserving the fresh flavor and vibrant color of your homemade pistachio paste. Since it contains natural oils, it’s susceptible to oxidation if not stored correctly.
- Refrigeration: Once your pistachio paste is ready, transfer it immediately into a clean, airtight jar or container. A glass jar with a tight-fitting lid is ideal. Store it in the refrigerator. For optimal flavor and freshness, it is best used within two weeks. Over time, the color may slightly deepen, and the oils might separate; simply stir it well before use.
- Room Temperature: If you plan to use the paste within a couple of days, it can be kept at cool room temperature in an airtight container, especially if your kitchen isn’t too warm. However, for longer storage, refrigeration is highly recommended to prevent rancidity.
- Freezing: Pistachio paste freezes beautifully, allowing you to prepare a larger batch and always have some on hand. Transfer the paste into a freezer-safe, airtight container or a heavy-duty freezer bag, pressing out any excess air. You can also freeze it in smaller portions (e.g., in ice cube trays) for convenience. It can be frozen for up to three months. To use, simply thaw it in the refrigerator overnight, then stir well to recombine any separated oils before incorporating it into your recipes.
More Essential Cream & Paste Recipes for Bakers
If you loved making this pistachio paste, you’ll find these other foundational cream and paste recipes equally rewarding and useful in your baking:
- How to Make Perfect Chantilly Cream
- Classic Crème Anglaise (English Custard Sauce)
- Homemade Hazelnut Praline Paste
- Silky Whipped Ganache Frosting
- Versatile Almond Cream Filling (Frangipane)
I am so excited to share that my debut cookbook
“Bite-Sized French Pastries for the Beginner Baker”
is now available for purchase!
Recipe Card: Homemade Pistachio Paste
Homemade Pistachio Paste
Print Recipe
Ingredients
- 200 gr Raw Pistachio Kernels, shelled (preferably unroasted for vibrant color)
- Water (optional, if required for blending)
Instructions
1. Blanching & Peeling Pistachios (for vibrant green paste)
- Prepare an ice bath: fill a large bowl with very cold water and a few ice cubes. Set aside.
- Bring a small saucepan of water to a boil. Add the shelled pistachios and cook for 30 seconds to 1 minute. Using a slotted spoon, quickly transfer them into the ice water bath (see note 1). Let them sit in the cold water for a few minutes to fully cool.
- Drain the pistachios. Working in small batches, place them in a clean kitchen towel and vigorously rub them for a few seconds to loosen and detach the skins. Discard the peels, keeping only the skinned pistachios (see note 2). Ensure the peeled pistachios are as dry as possible before proceeding.
Note: If using pre-peeled (blanched) pistachios, you can skip this step.
2. Blending into a Smooth Paste
- Place the dried, peeled pistachios in the bowl of a powerful food processor. Start blending on medium to high speed. The pistachios will first turn into a coarse powder.
- Continue blending, scraping down the sides of the bowl frequently with a spatula. The powder will gradually transform into a thick, gritty paste as the nuts release their natural oils. The time required varies based on your food processor’s power (see note 3).
- If, after 5-10 minutes, the pistachios are still too gritty and not forming a paste, add water, 1 tablespoon at a time, blending briefly after each addition until the desired texture begins to form. Be careful not to add too much.
- Continue to blend until your desired consistency is achieved – either a thick, slightly textured paste or a completely smooth, creamy one. The longer you blend and the more water you add (if any), the smoother the paste will become (though excess water can slightly dull the color and flavor intensity).
- Transfer the finished pistachio paste into a clean, airtight jar or container. Store it in the refrigerator for up to two weeks for optimal flavor, or freeze for up to three months.
Would you like to save this recipe?
We’ll email this post to you, so you can come back to it later!
Recipe Notes
- Alternative Transfer: Instead of a slotted spoon, you can also strain the pistachios through a thin mesh sieve before transferring them directly into the bowl of icy water. The goal is to stop the cooking process quickly.
- Skipping the Peel: You can choose to skip the pistachio peeling process if you prefer, but be aware that keeping the skins will result in a pistachio paste that has a browner, less vibrant green color. If rubbing in the towel, you might need to change the kitchen towel to a fresh, dry one if the first becomes too wet or covered in peels.
- Preventing Overheating: If your food processor starts to feel hot to the touch or if you notice any unusual smells, immediately stop the machine. Allow it to cool down for several minutes before resuming the blending process to prevent damage to the motor. Patience is key to achieving a smooth paste!
Nutrition (per serving)
Made this recipe?
Let us know if you liked it by leaving a comment below, and tag us on Instagram @a.baking.journey with a photo of your creation!
