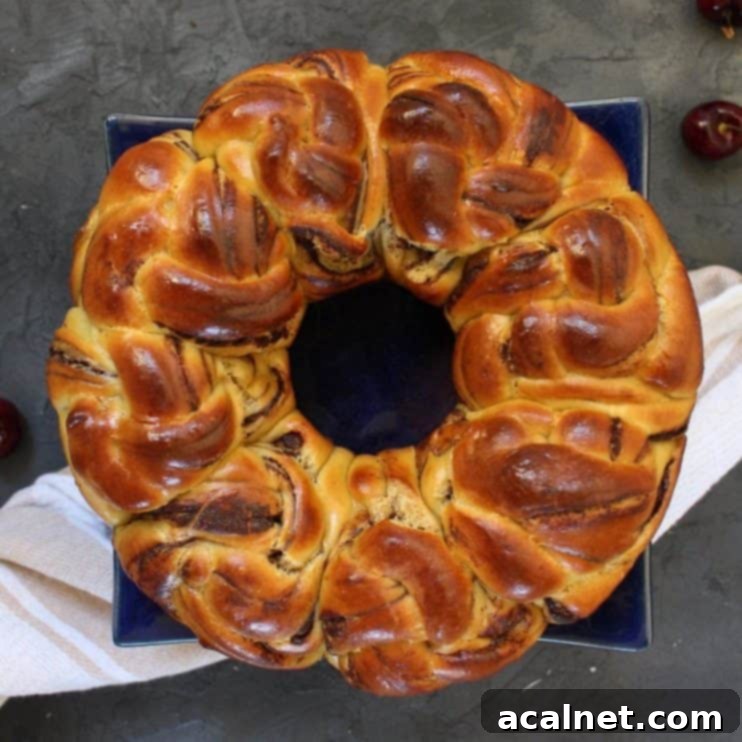
Decadent Chocolate Brioche Bread Wreath: The Ultimate Festive Sweet Bread Recipe
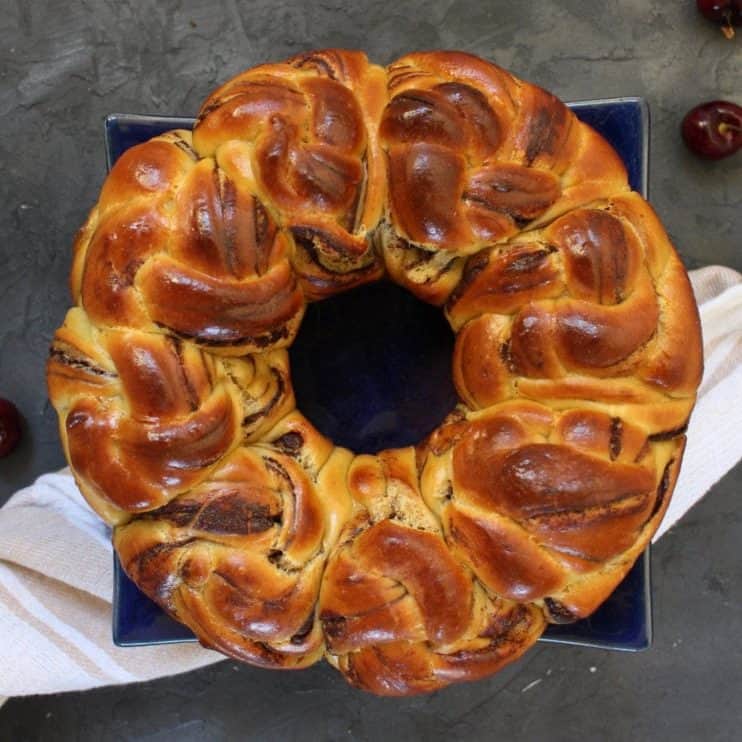
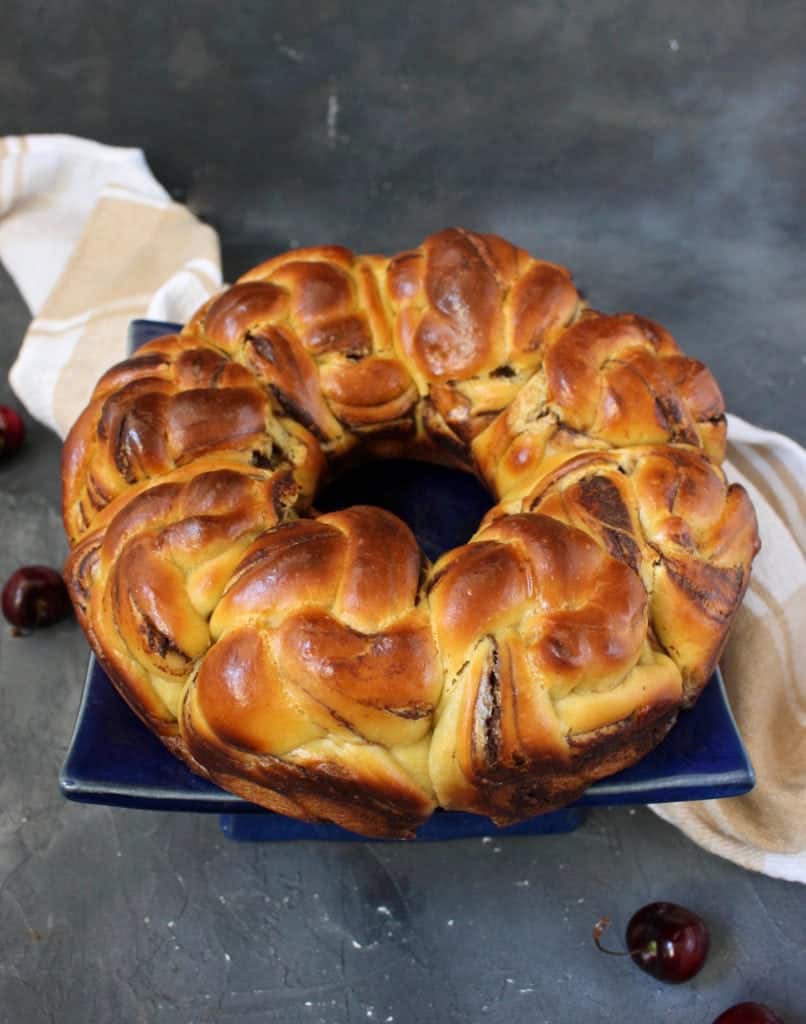
This homemade Chocolate Brioche Bread Wreath is more than just a sweet bread; it’s a culinary masterpiece that’s both a delight to bake and a joy to share. With its impressive appearance and irresistibly soft texture, this chocolate-infused brioche is the perfect centerpiece for your holiday breakfast or brunch table, and an exquisite edible gift for loved ones.
[feast_advanced_jump_to]
Why You’ll Adore This Chocolate Brioche Bread Wreath Recipe
There’s a unique satisfaction that comes with baking your own bread, especially when it’s an enriched, sweet bread like brioche. The process is almost therapeutic – the gentle kneading, the mesmerizing rise, and finally, the intoxicating aroma filling your kitchen. This Chocolate Brioche Bread Wreath takes that joy to another level by combining it with the rich, comforting taste of dark chocolate.
Perfect for any occasion, from a leisurely weekend breakfast to a festive holiday brunch, this recipe is guaranteed to impress. It’s not just a bread; it’s a show-stopping centerpiece, a conversation starter, and a true indulgence for your taste buds. Imagine the delight of your family and friends as they pull apart individual, chocolate-swirled buns from this beautiful wreath!
Much like other beloved recipes such as Chocolate Chip Brioche Bread, Classic Chocolate Brioche, or a decadent Cinnamon Babka, this chocolate bread wreath makes an absolutely perfect festive treat. It’s ideal for sharing during the Christmas season or as a thoughtful, homemade edible gift that truly comes from the heart.
You might also enjoy: Pavlova Wreath for another stunning holiday dessert!
What Exactly is Brioche Bread?
Brioche holds a special place in the world of sweet breads, often hailed as one of the most delightful and versatile. But what gives it its characteristic lightness, fluffiness, and irresistible richness? At its core, Brioche is a classic French sweet yeast bread, distinguished by its luxurious inclusion of eggs and a generous amount of butter. While it’s commonly referred to as a “bread,” brioche technically belongs to the “Viennoiserie” category of baked goods. This classification signifies pastries that are richer than standard breads, thanks to their higher fat content, making them more akin to croissants or pain au chocolat.
Brioches can be enjoyed plain, allowing their buttery flavor and tender crumb to shine, or they can be enhanced with various fillings. Chocolate chips and raisins are among the most traditional choices, but the beauty of a basic brioche recipe lies in its incredible versatility. The enriched dough is wonderfully pliable and forgiving, making it a joy to work with and shape into countless forms, whether it’s a simple loaf, individual buns, or an intricate bread wreath.
My recipe for this chocolate brioche bread wreath is a testament to the adaptability of a great brioche dough. It’s inspired by time-tested techniques, drawing on insights from revered baking guides like “The Complete Guide to Baking: Bread, Brioche and other Gourmet Treats,” which has always been a go-to resource for mastering the art of enriched doughs.
Essential Ingredients for Your Sweet Brioche Dough
Crafting this delightful Chocolate Brioche Bread Wreath begins with a selection of high-quality ingredients that contribute to its distinctive flavor and texture. For the basic brioche dough, you will need:
- Milk: Full cream milk is recommended for its richness, which adds to the tender crumb of the brioche.
- Yeast: Instant Dry Yeast is convenient and reliable, helping your dough achieve that perfect fluffy rise.
- Sugar: Brown Sugar is used in this recipe, imparting a subtle caramel note and a deeper flavor profile compared to white sugar.
- Flour: All-Purpose or Plain Flour works beautifully, though Bread Flour can also be used for an even chewier texture.
- Eggs: Medium-sized eggs, at room temperature, are crucial for the brioche’s structure, richness, and golden hue.
- Butter: Unsalted butter, softened, is the star ingredient that makes brioche so rich and tender. Ensure it’s at room temperature for easy incorporation.
- Salt: A pinch of fine table salt balances the sweetness and enhances all the other flavors in the bread.
Mastering the Art: Techniques for Crafting a Bread Wreath
There are several creative ways to shape a bread wreath, each offering a unique presentation. One popular and visually stunning method is inspired by the Babka technique. A Babka bread is typically made by rolling out the dough into a large rectangle, spreading a delicious filling evenly over it, then rolling it tightly along its length. This log is then sliced in half lengthwise, exposing the beautiful layers of filling. The two halves are then twisted around each other, creating the distinctive braided look of a Babka. To transform this into a bread wreath, you simply take the long twisted dough and gently shape it into a circle, connecting the ends.
For a fantastic visual guide to the Babka technique, I highly recommend checking out the Chocolate Babka Wreath recipe by Michelle from The Brown Eyed Baker. You can also see this method detailed with step-by-step photos in my recipe for Mozzarella Pesto Babka Bread. Understanding this foundational shaping process will be incredibly helpful, as the initial dough preparation is quite similar.
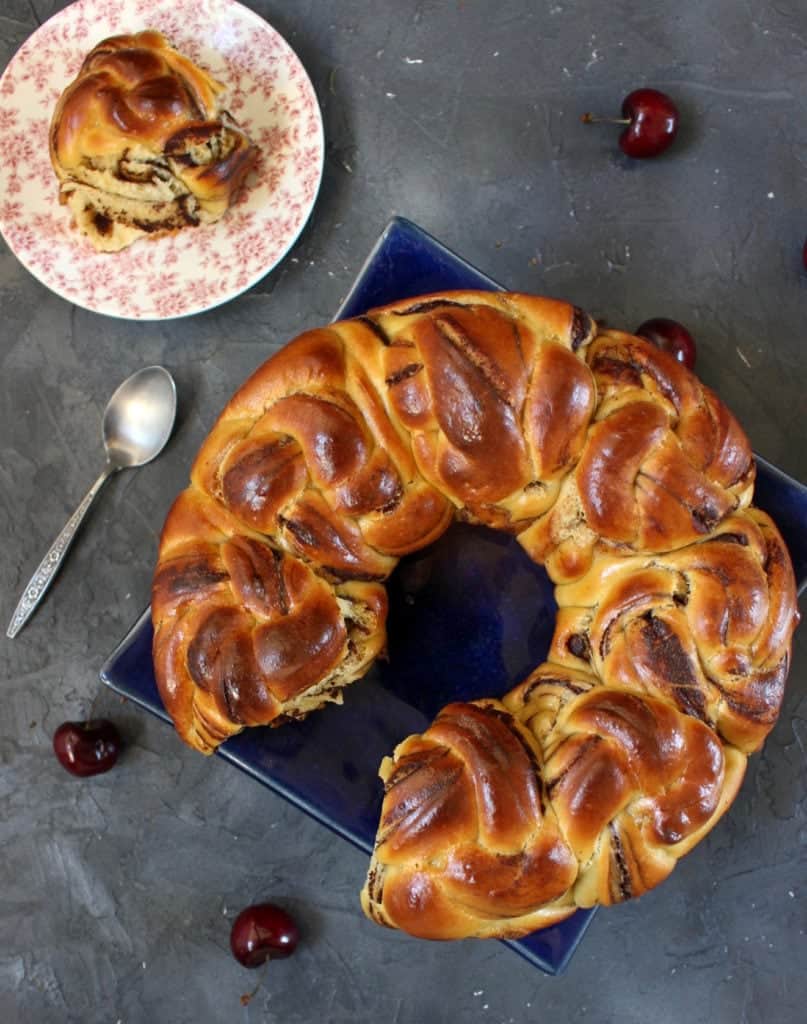
However, for this specific Chocolate Brioche Bread Wreath, I employed a slightly different, equally impressive technique. Instead of creating one large, twisted dough wreath, I divided the rich brioche dough into eight individual twisted buns. These charming little buns are then carefully arranged next to each other in a circular pan, allowing them to proof and eventually bake into a cohesive, yet easily pull-apart, wreath. This method offers a wonderful presentation and makes serving a breeze – guests can simply pull off an individual chocolate brioche bun to enjoy!
Detailed Guide to Shaping the Chocolate Swirl Brioche Buns
While the final appearance of this Chocolate Brioche Bread Wreath might suggest complexity, the shaping process is actually quite straightforward and incredibly rewarding. The technique used here is very similar to how I shaped my Chocolate Raspberry Swirl Brioche Buns, making it accessible even for those new to brioche baking.
Here’s a step-by-step breakdown of how to create those beautiful chocolate-swirled buns:
- Divide the Dough: After the first rise, gently punch down your brioche dough and divide it into eight equal portions. For precision, a kitchen scale can be helpful to ensure each bun is uniformly sized.
- Roll into Rectangles: Take each dough portion and, on a lightly floured surface, roll it out into a relatively thin rectangle. The goal is to create a surface large enough for your chocolate filling.
- Apply the Chocolate Filling: Using a pastry brush or a small spatula, generously spread your decadent dark chocolate ganache filling over the entire surface of each dough rectangle. Leave a small border along one edge to help with sealing.
- Roll into a Rope: Carefully roll the dough from one long side to the other, creating a tight, rope-like shape filled with chocolate. Gently pinch the seam to seal it completely.
- Seal and Lengthen: Using the palms of your hands, gently roll the rope back and forth for a few seconds. This helps to further seal the edges and slightly lengthen the rope, ensuring a beautiful swirl when twisted.
- Slice and Twist: With a sharp knife, slice each rope lengthwise down the middle. Crucially, stop just before you reach one end, leaving about an inch or so attached. This creates two long strands connected at one end. Now, gently twist these two strands around each other, revealing the striking layers of chocolate and brioche dough.
- Form the Bun: Starting from the connected end, roll up the twisted dough to form a neat, round bun. Tuck in any loose ends underneath.
- Repeat: Continue this process for all eight portions of dough until you have eight perfectly shaped chocolate brioche buns.
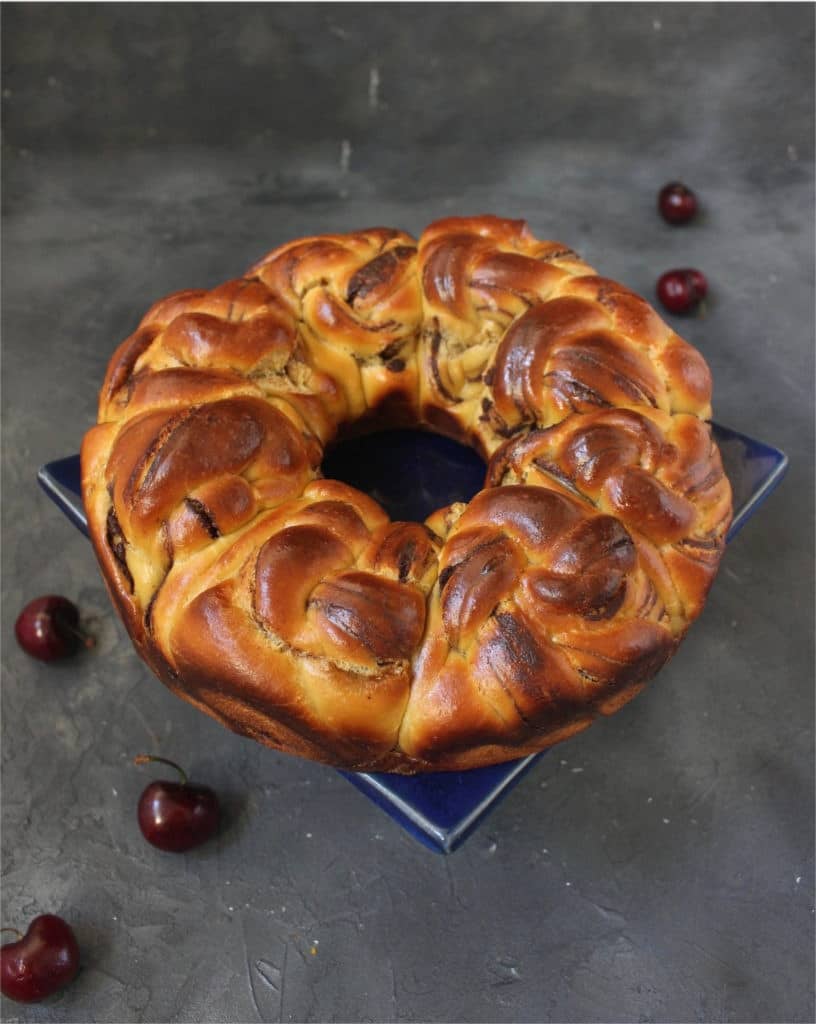
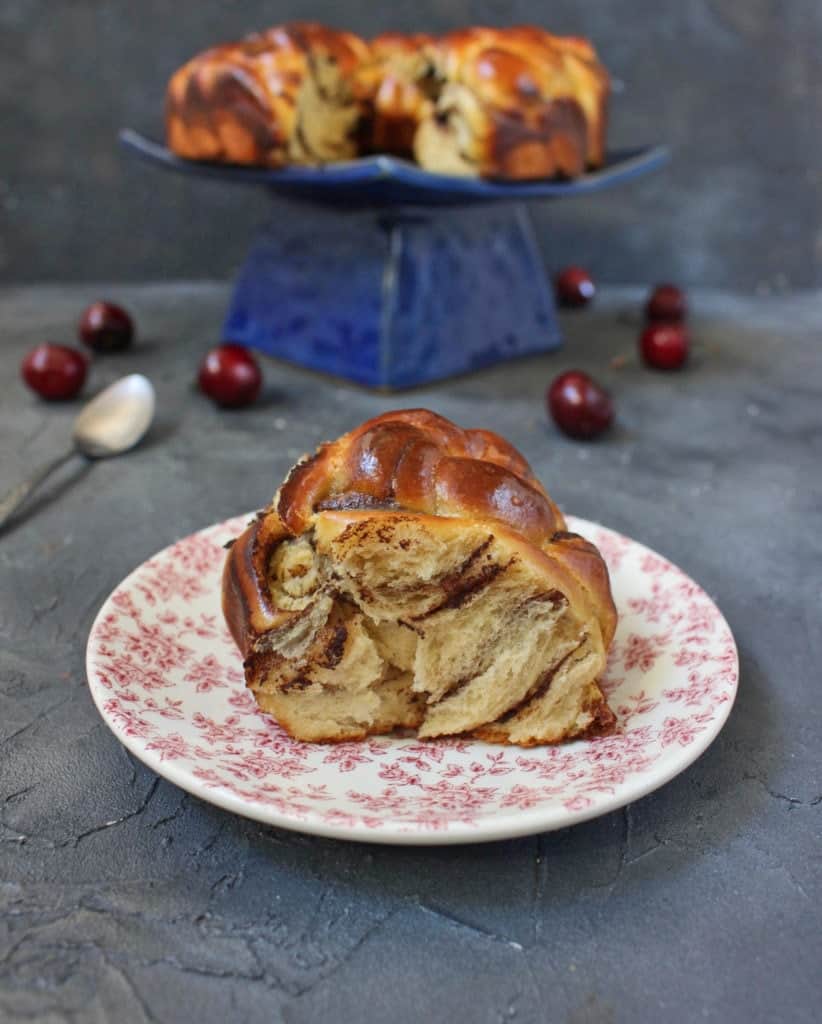
To create the stunning wreath effect, you’ll need a classic Tube Pan, similar to the one used for my Chocolate Chiffon Cake. It is absolutely vital to generously grease your tube pan to prevent the brioche wreath from sticking. Arrange each little chocolate brioche bun side-by-side in the tube pan, ensuring they touch. As they undergo their second proofing, the buns will expand and connect, forming a continuous wreath. During baking, they will rise further, cementing their connection while retaining their individual identity. This thoughtful design allows you to simply pull one tender, chocolatey bun from the wreath, offering an effortless and elegant serving experience.
Tips for a Perfect Chocolate Brioche Bread Wreath
Achieving a bakery-quality brioche wreath at home is entirely possible with a few key considerations:
- Room Temperature Ingredients: Ensure your eggs and butter are at room temperature. This helps them incorporate smoothly into the dough, creating a homogenous mixture and a more tender brioche.
- Don’t Rush the Kneading: Brioche dough is rich, and it takes time for the gluten to develop properly. If kneading by hand, be patient. If using a stand mixer, let it work until the dough is smooth, elastic, and passes the windowpane test (you can stretch a small piece thin enough to see light through it without tearing).
- Warm Proving Environment: Yeast loves warmth! A slightly warm (but not hot) spot will encourage your dough to rise beautifully. If your kitchen is cold, you can create a warm environment by placing the bowl in a slightly warmed (but turned off) oven, or near a sunny window.
- Proper Greasing is Key: As mentioned, generously grease your tube pan. Brioche is rich and can stick easily. A non-stick spray followed by a dusting of flour or cocoa powder (for chocolate bread) can provide extra insurance.
- Don’t Overbake: Brioche can dry out if overbaked. Keep an eye on it during the last few minutes. It should be golden brown and sound hollow when tapped on the bottom. An internal temperature of 190-200°F (88-93°C) indicates it’s done.
- Cooling on a Rack: Once baked, remove the wreath from the pan relatively quickly and let it cool on a wire rack. This prevents the bottom from becoming soggy from trapped steam.
Delicious Variations and Serving Suggestions
While this Chocolate Brioche Bread Wreath is divine as is, feel free to get creative with variations:
- Different Fillings: Experiment with other fillings like Nutella, cinnamon sugar, fruit preserves (raspberry or apricot), a lemon curd swirl, or even a combination of white chocolate and cranberries for a festive touch. For a savory twist, a pesto and cheese filling (like my Mozzarella Pesto Babka) would be fantastic.
- Glaze It: A simple powdered sugar glaze (powdered sugar mixed with a little milk or lemon juice) drizzled over the cooled wreath adds an extra touch of sweetness and visual appeal. For a mocha flavor, add a touch of instant coffee to the glaze.
- Toppings: Before baking, sprinkle with pearl sugar, chopped nuts, or coarse turbinado sugar for added texture and sparkle. After baking, a dusting of cocoa powder or powdered sugar looks elegant.
This Chocolate Brioche Bread Wreath is best served slightly warm, allowing the chocolate filling to be wonderfully gooey and the brioche to be at its softest. It’s an unforgettable addition to any breakfast or brunch spread, paired perfectly with a hot cup of coffee, tea, or even a glass of milk. It also makes a fantastic dessert, especially when served with a scoop of vanilla ice cream or a dollop of whipped cream.
Storage and Reheating Your Brioche Wreath
Fresh brioche is always best, but if you have any leftovers (which is a big “if” with this delicious bread!), here’s how to store and reheat it:
- At Room Temperature: Store the cooled brioche wreath in an airtight container or wrapped tightly in plastic wrap at room temperature for up to 2-3 days.
- Freezing: For longer storage, individual buns or slices of the wreath can be frozen. Wrap them tightly in plastic wrap, then place them in a freezer-safe bag or container. They will keep for up to 1 month.
- Reheating: To enjoy warm brioche again, gently reheat individual buns in the microwave for 10-20 seconds, or in a preheated oven at 300°F (150°C) for about 5-10 minutes, until warmed through. If reheating from frozen, allow them to thaw at room temperature first or reheat directly in the oven for a bit longer.
Explore More Delicious Bread Recipes:
- Cinnamon Roll Bread Loaf (Original link was for Focaccia, corrected to match list item text.)
- Spinach and Ricotta Rolls
- Cinnamon Scrolls from Scratch
- Lemon Sweet Rolls
- Apple Cinnamon Pull Apart Bread
- Chocolate Raspberry Swirl Brioche Buns
- No Yeast Cinnamon Rolls
- Sweet Potato Buns
Made this recipe?
Let us know if you liked it by leaving a comment below, and tag us on Instagram @a.baking.journey with a photo of your creation!
Recipe

Chocolate Brioche Bread Wreath
Servings:
8
Author:
Sylvie
15 minutes
20 minutes
3 hours
35 minutes
Print Recipe
Ingredients
Brioche Bread
- 125 ml (1/2 cup) Full Cream Milk
- 7 gr (2 teasp.) Instant Dry Yeast
- 60 gr (4 tablesp.) Brown Sugar
- 300 gr (2 cups) Plain / AP Flour
- 2 Eggs, at room temperature
- 80 gr (5 1/2 tablesp.) Unsalted Butter, soft
- 1 pinch Salt
Chocolate Filling
- 75 gr (2,5 oz) Dark Chocolate
- 75 ml (1/4 cup + 1 tablesp.) Full Cream Milk
Egg Wash
- 1 Egg
- 15 ml (1 tablesp.) Full Cream Milk
Instructions
To make the Brioche
- Heat up the Milk to be warm (but not boiling hot). Mix in 1 tbsp. of Brown Sugar and the Instant Dry Yeast. Whisk until the Sugar has dissolved and set aside for 10 to 15 minutes, or until foamy and thick.
- Place the Plain Flour and the rest of the Brown Sugar in a large mixing bowl. Make a well in the centre and add the two beaten eggs, then the Milk with the Yeast. With a fork, mix the dough until all the flour has been incorporated into the Eggs and Milk.
- Cut the Butter in small cubes and add to the dough. Gently knead it in until it has been fully incorporated. You shouldn’t see any pieces of butter left.
- Add the pinch of salt, then transfer the dough onto your floured bench. Gently knead the dough for about 5 to 10 minutes, without adding to much flour (see note 1). The dough will be relatively sticky at the start but should get dryer as you knead it.
- Place the dough in a large bowl dusted with flour and cover with greased cling wrap. The plastic wrap should be place directly in contact with the dough. Leave to prove in a warm place for about 1 to 2 hours, or until it has doubled in size (see note 2).
Chocolate Filling
- When the dough has finished its first proving, start preparing the chocolate filling. Finely chop the Chocolate and place it in a heat proof bowl. Heat up the Milk until hot and pour it over the Chocolate. Leave for a couple of minutes then stir with a silicone spatula until smooth (see note 3).
To assemble the Chocolate Brioche Bread Wreath
- Divide the Brioche Dough into 8 equal parts. You can use a kitchen scale to be precise if you want.
- Roll each ball of dough into a rectangle. Using a pastry brush, cover with the chocolate then roll the dough on its long side. Using your palms, roll the rope for a few seconds to make sure it is properly sealed.
- Slice the rope lengthwise, stopping just before the end of the rope to keep the two parts attached. Twist the two parts around each other then starting from one end, roll up the twist until you get a little bun.
Repeat with the 8 rolls.
- Generously Grease a Tube Pan and place each Chocolate Brioche Roll in it to create a wreath.
Egg Wash
- Whisk the Egg and Milk then generously brush it over the rolls.
- Cover the pan with a towel and set aside in a warm place for the second proving – about 1 to 1,5 hour.
- Preheat the oven on 180’C.
When warm, place the pan in the oven and bake for 20 to 30 minutes or until the rolls are puffed and golden.
- Gently remove the wreath for the tube pan and leave on a rack to cool down.
Would you like to save this recipe?
We’ll email this post to you, so you can come back to it later!
Notes
- The time it will take to knead might vary, depending on whether you are making these by hands or using a mixer. The dough should be soft and stretchy; it shouldn’t break straight away if you pull small parts of it.
- Again, the proving time might vary depending on the temperature in your kitchen and the humidity. On average, it takes about 1.5 hours to prove the first time and 1 hour for the second proving.
- If the milk wasn’t hot enough, it is possible that all the chocolate will not have melted. If it’s the case, you can finish melting it in the microwave in 30 seconds increments.
Nutrition (per serving)
