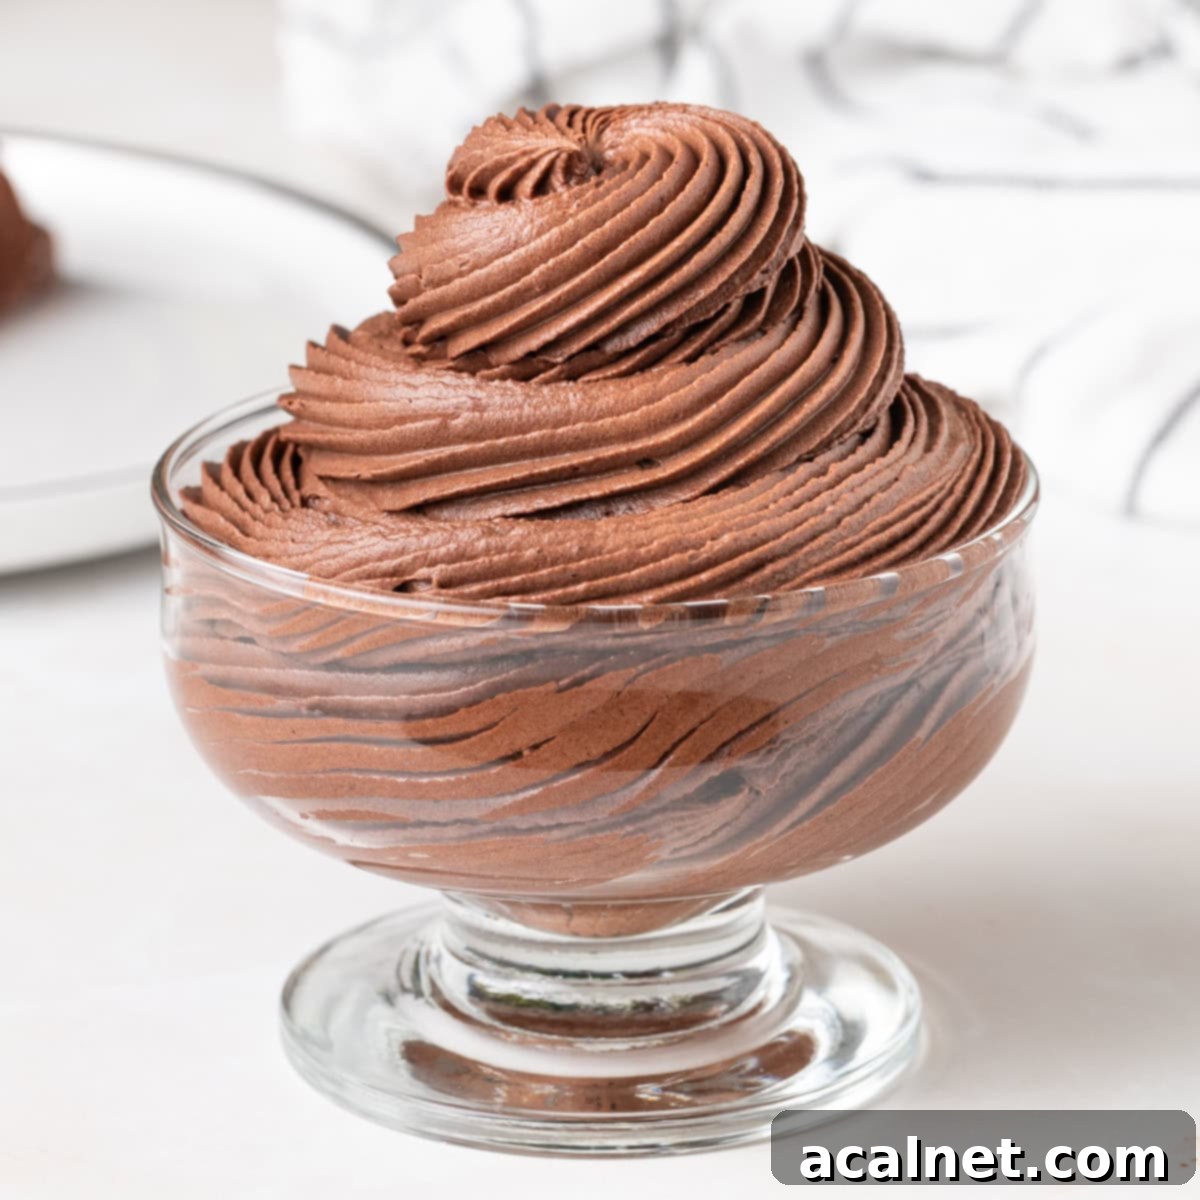
Decadent 3-Ingredient Chocolate Whipped Cream Frosting: Your Go-To Easy Dessert Topping
Discover the secret to creating the most incredible **Chocolate Whipped Cream Frosting** in under 10 minutes! This remarkably easy recipe requires just three core ingredients, transforming them into a gloriously light, fluffy, and intensely chocolatey topping. Whether you’re decorating elegant cakes, playful cupcakes, or simply seeking a luscious dessert enhancement, this frosting delivers a deliciously creamy texture that’s simply irresistible – perfect even for a spoonful straight from the bowl!
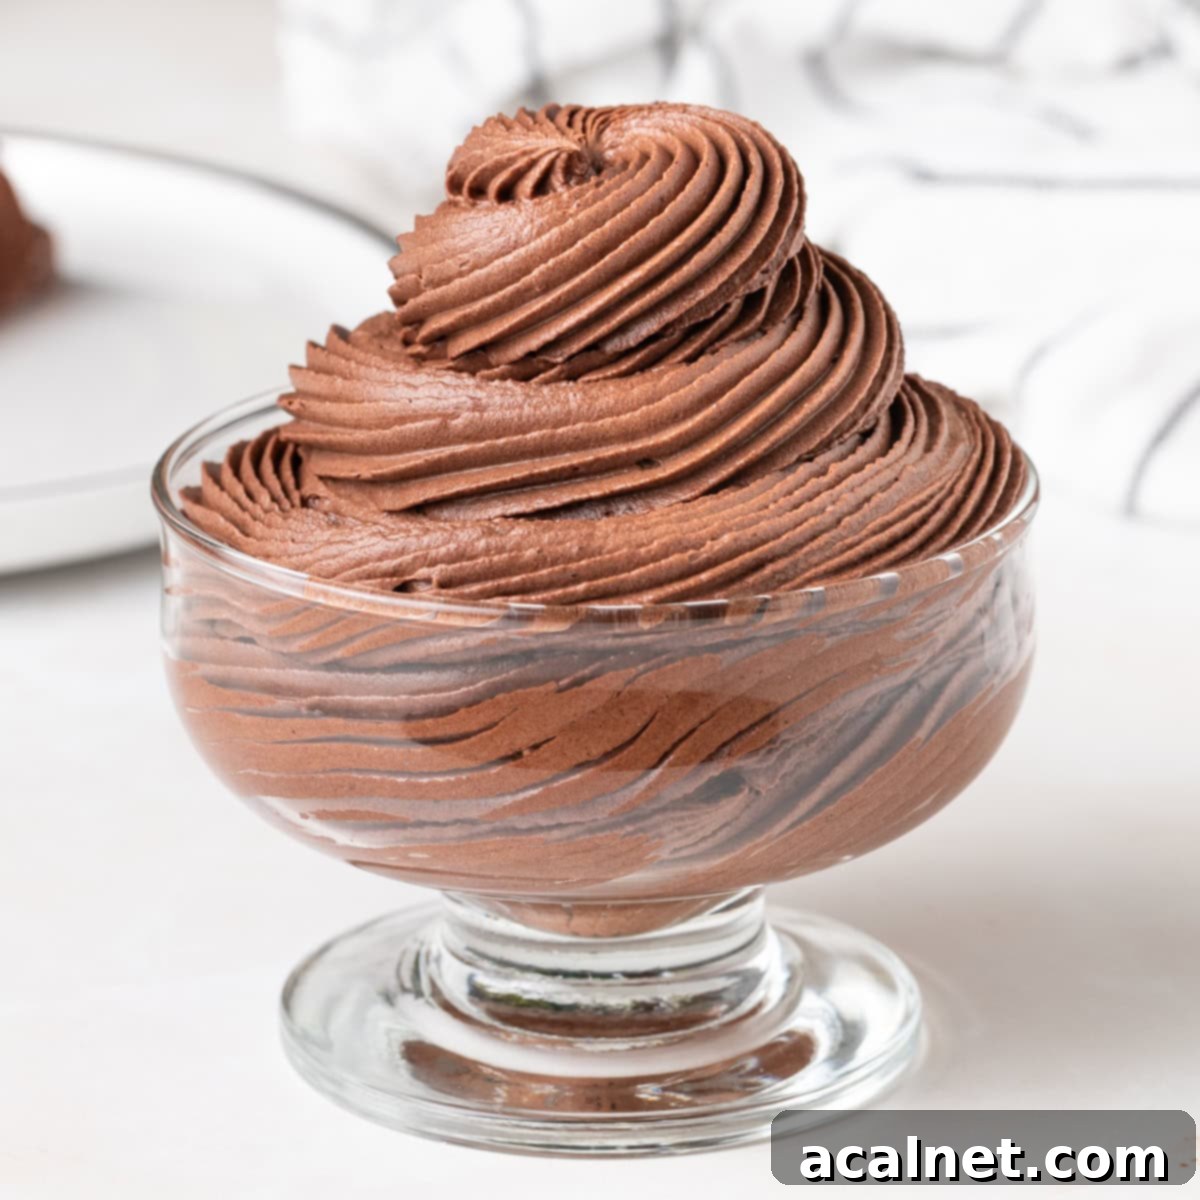
This light and stable chocolate topping is a game-changer for home bakers. Forget heavy, overly sweet frostings; this recipe offers a refined chocolate experience that complements any dessert without overpowering it. Its simplicity makes it ideal for last-minute treats, while its rich flavor ensures a gourmet touch. From a simple dollop on a fruit tart to an elaborate swirl on a birthday cake, this homemade chocolate whipped cream frosting is versatile, quick, and absolutely delicious.
[feast_advanced_jump_to]
Why This Easy Chocolate Whipped Cream Will Be Your New Favorite
If you’re searching for a chocolate frosting or dessert topping that truly stands out, this recipe is designed for you. It’s not just another whipped cream; it’s an elevated experience that combines convenience with gourmet taste. Here’s why this particular chocolate whipped cream recipe is a must-try:
- Lightning Fast & Effortlessly Simple: Say goodbye to complicated recipes and lengthy preparation times. This chocolate whipped cream comes together in less than 10 minutes with minimal effort, making it perfect for busy schedules or spontaneous baking sessions.
- Light, Fluffy Texture with Deep Chocolate Flavor: Unlike dense buttercreams, this frosting boasts an airy, cloud-like texture that melts in your mouth. Yet, it doesn’t compromise on chocolate intensity, delivering a rich, satisfying cocoa punch in every bite.
- Pure & Simple Ingredients: Made with no butter, no eggs, and no gelatine, this recipe focuses on the natural goodness of cream and cocoa. It’s a clean, straightforward frosting that lets the quality of its core ingredients shine through.
- Perfectly Balanced Sweetness: Many frostings can be overwhelmingly sweet. This recipe strikes a beautiful balance, allowing the rich chocolate notes to come forward without being masked by excessive sugar. It’s a sophisticated sweetness that appeals to all palates.
This chocolate whipped cream recipe is your answer to quick, delicious, and versatile dessert decoration. Prepare to impress with its elegant simplicity and irresistible flavor!
Essential Ingredients for Perfect Chocolate Whipped Cream
Crafting this delightful chocolate whipped cream frosting is straightforward, requiring just a few high-quality ingredients. The key to its success lies in understanding the role each component plays in achieving that perfect texture and flavor. Here’s what you’ll need:
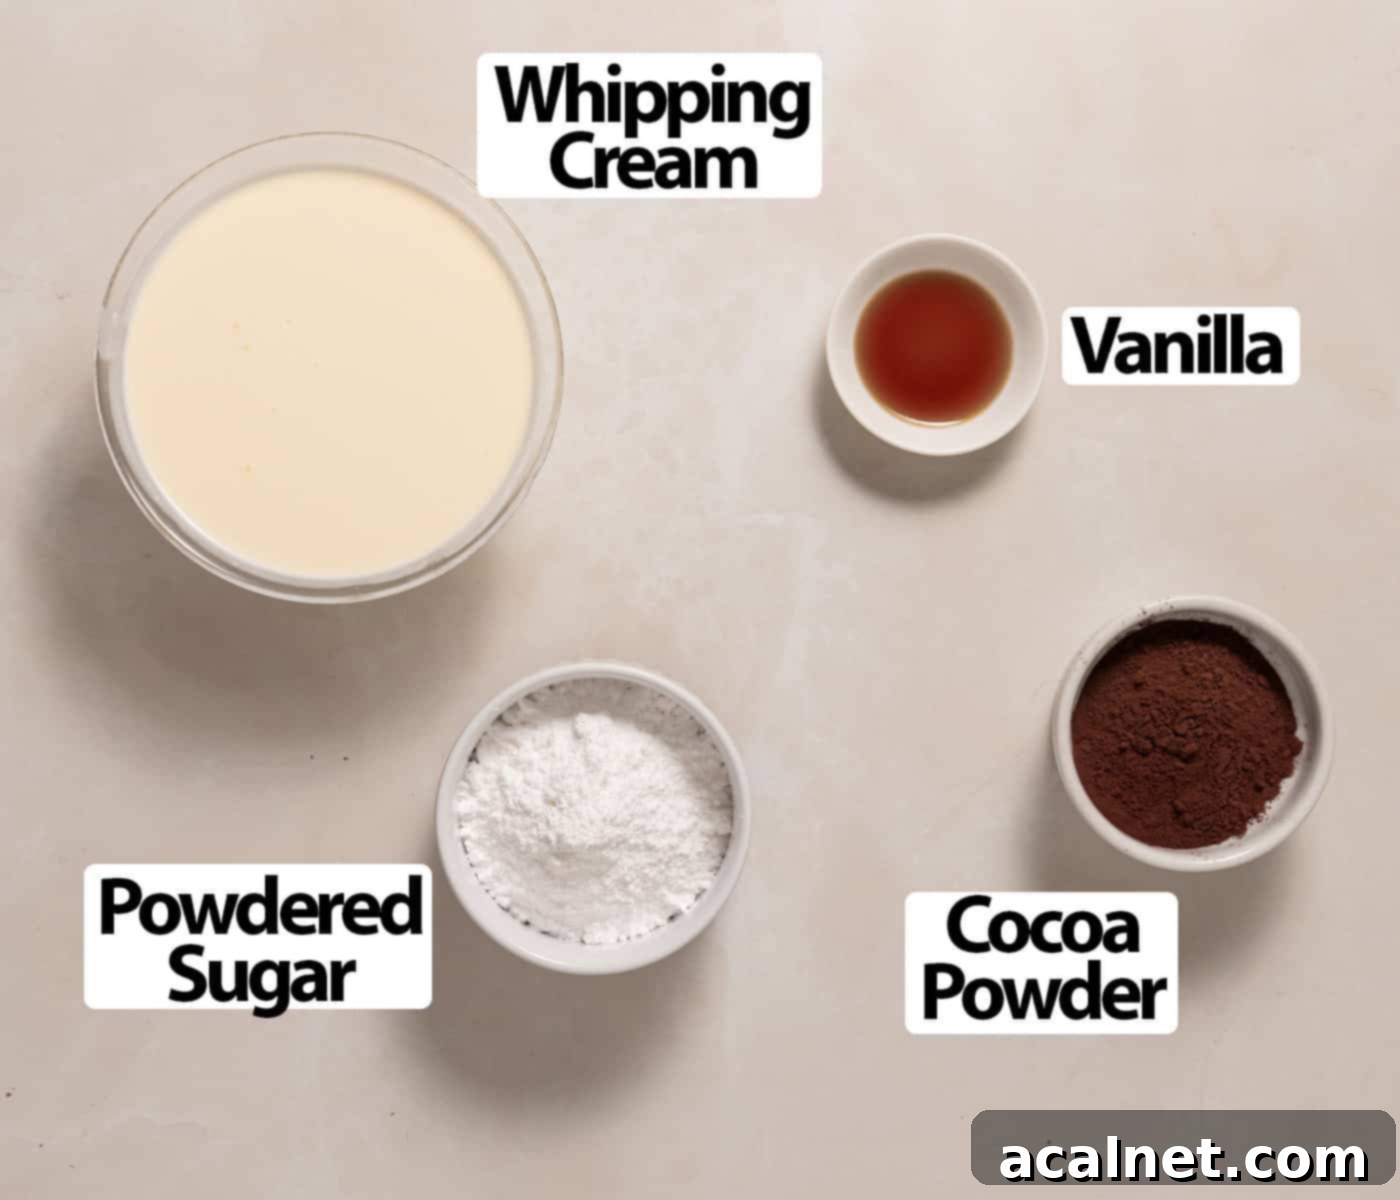
Scroll down to recipe card below for all quantities
Ingredient Notes for Optimal Results:
- Cream: The foundation of any great whipped cream is, of course, the cream itself. You’ll need **Heavy Whipping Cream** or **Thickened Cream** that contains at least 30% fat, with 35% or higher being ideal. The fat content is critical because it’s the fat globules that capture and stabilize the air bubbles during whipping, giving the cream its structure and volume. A cream with a lower fat percentage simply won’t whip properly and will likely deflate quickly, resulting in a runny rather than fluffy frosting. Ensure your cream is very cold, straight from the refrigerator, for best whipping success.
- Sugar: For the perfect smooth texture, **Powdered Sugar** (also known as Confectioners’ Sugar) is your best bet. Its fine consistency allows it to dissolve effortlessly into the cold cream without leaving any gritty texture, which can happen with granulated sugar. You can also use **Icing Sugar**, which often contains a small amount of starch (like cornstarch). This added starch can actually be beneficial, offering a subtle stabilizing effect that helps the whipped cream hold its shape even better.
- Cocoa Powder: This is where the magic of the chocolate flavor comes in! You can use **Raw, Dutch-processed, or Natural cocoa powder**. Since this recipe doesn’t involve baking or any leavening agents that react with acidic ingredients (like baking soda), your choice of cocoa powder primarily impacts the flavor profile and color of your frosting. Experiment to find your personal favorite!
It’s important to note that the type of cocoa powder significantly influences the final taste and appearance of your chocolate whipped cream frosting. You might need to adjust the level of sweetness slightly depending on your choice:
– Natural Cocoa Powder: This is unsweetened and generally lighter in color. It has a slightly acidic, fruity flavor, which can add a bright note to your frosting.
– Dutch-processed Cocoa Powder: This cocoa has been treated with an alkaline solution, neutralizing its acidity. It results in a darker color and a mellower, richer, less bitter chocolate flavor. This is often preferred for a deep, classic chocolate taste.
– Raw Cocoa Powder: Similar to natural cocoa, raw cocoa is unprocessed and retains more of its natural nutrients. It typically has a more intense, sometimes slightly bitter, flavor and a lighter brown color. It offers a very pure chocolate experience.
Optional Flavor Enhancements: Elevate your chocolate whipped cream with a few simple additions. A touch of **vanilla extract** adds warmth and depth to the chocolate notes. A tiny pinch of **sea salt** can surprisingly enhance the overall chocolate flavor, making it more pronounced. For a unique twist, consider adding some finely grated **orange or lemon zest** for a citrusy hint, or pre-infuse your cream with some **coffee beans** or a teaspoon of instant espresso powder to create a mocha-flavored delight.
Crafting Your Perfect Chocolate Whipped Cream: Step-by-Step Guide
Making this chocolate whipped cream is incredibly simple, but a few key techniques will ensure a flawless, stable, and deliciously fluffy result every time. The most crucial tip? Keep everything cold! Cold ingredients and equipment are your best friends in whipped cream making.
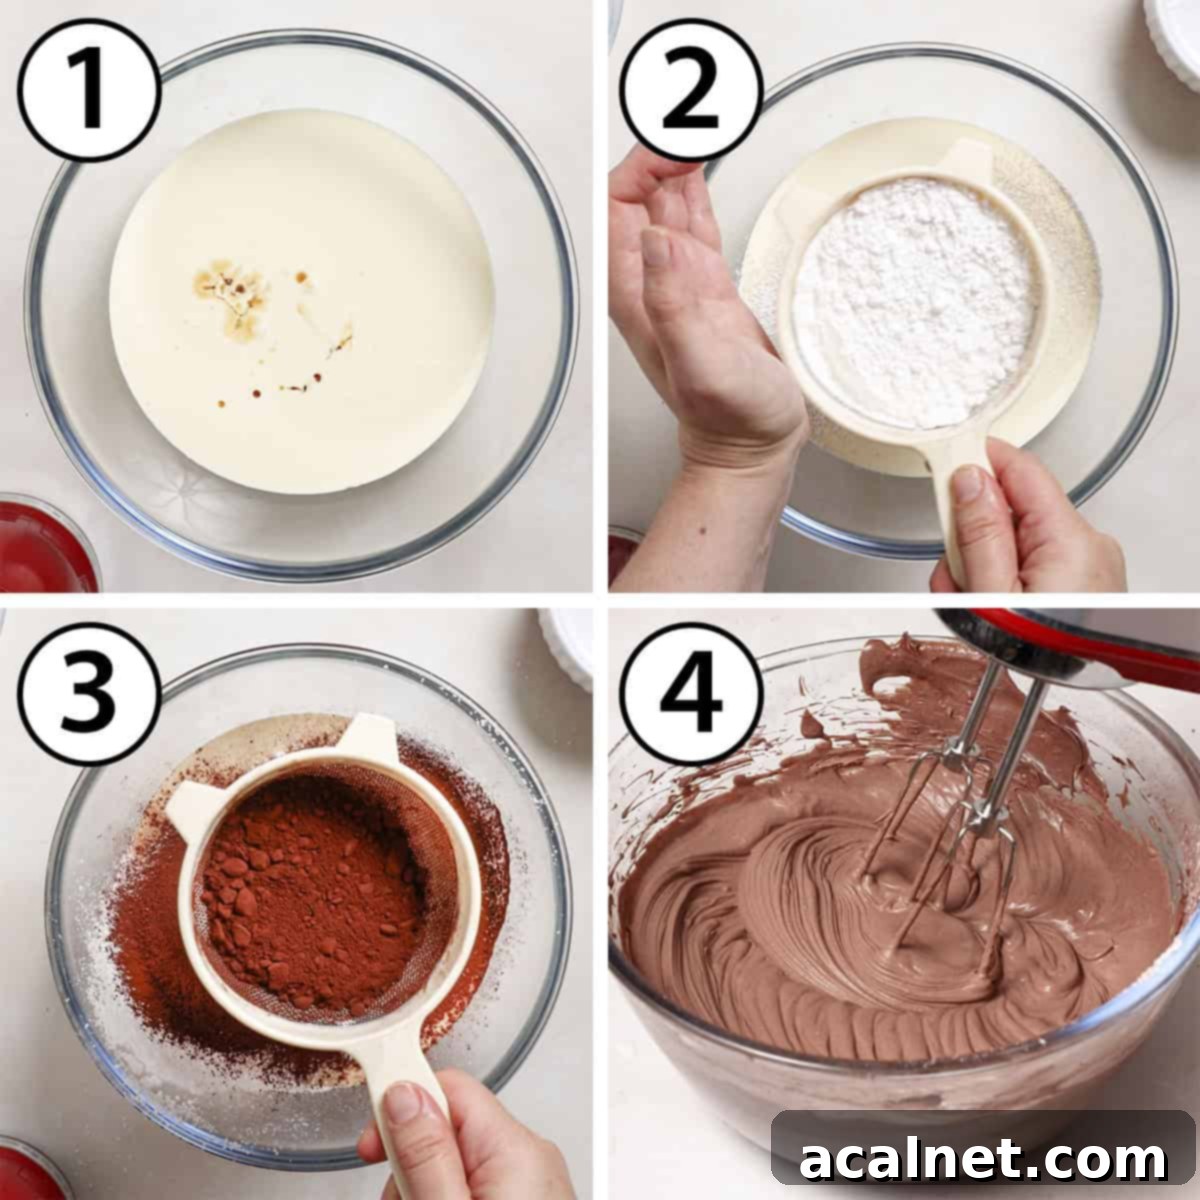
To ensure maximum stability and volume, I highly recommend using cold utensils alongside your chilled ingredients. For instance, if you’re using a metal mixing bowl, pop it in the freezer for about 10 minutes before you begin. A glass bowl can be chilled in the fridge for 20 minutes. Don’t forget to chill your whisk attachment as well!
- Step 1 (Photo 1): Prepare Your Bowl and Cream. Pour your very cold heavy cream into a large mixing bowl (if using a hand mixer) or the bowl of your stand mixer fitted with the whisk attachment. If desired, add your optional vanilla extract or other flavorings at this stage. Ensure the cream is as cold as possible; this is crucial for successful whipping.
- Step 2 (Photo 2 & 3): Incorporate Dry Ingredients. Using a fine-mesh sieve, sift the powdered sugar and cocoa powder directly over the cold cream. Sifting is essential to prevent any lumps of sugar or cocoa from forming in your final frosting, ensuring a silky smooth texture. You can also whisk the sugar and cocoa together in a separate small bowl first, then sift the combined mixture over the cream for even distribution.
- Step 3 (Photo 4): Begin Whipping. Start whipping the cream on a low speed. This initial low speed gently incorporates the powdered ingredients without sending a cloud of cocoa into your kitchen. Continue until the powders are fully mixed into the cream. If necessary, pause and scrape down the sides of the bowl with a spatula to ensure everything is evenly combined.
- Step 4: Increase Speed and Achieve Peaks. Once the dry ingredients are incorporated, increase the mixer speed to medium-high. Continue whipping for approximately 3 minutes. Keep a close eye on the cream; it will thicken relatively quickly due to the cocoa powder acting as a stabilizer. You’re aiming for **medium to medium-stiff peaks**. At this stage, the cream will hold its shape well when the whisk is lifted, forming soft “waves” or peaks that curl slightly at the tip.
Important Note: Be careful not to over-whip the cream! Over-whipping can lead to a slightly grainy texture and may even cause the cream to separate. Because the cocoa powder acts as a natural stabilizer, this chocolate whipped cream doesn’t actually need to be whipped all the way to stiff peaks like regular Chantilly cream. Medium peaks provide the most luxurious and smooth consistency.
- The presence of cocoa powder means this cream will reach your desired consistency much faster than plain whipped cream. Stay attentive and stop whipping as soon as you see the cream thicken and form discernible “waves” or soft peaks. For ultimate control, you can even finish the last few seconds of whipping by hand with a whisk to avoid overdoing it.
- If you’re not planning to use the chocolate whipped cream immediately, cover the bowl tightly with plastic wrap, ensuring the wrap touches the surface of the cream to prevent a skin from forming and keep it from absorbing refrigerator odors. Store it in the refrigerator until you’re ready to use.
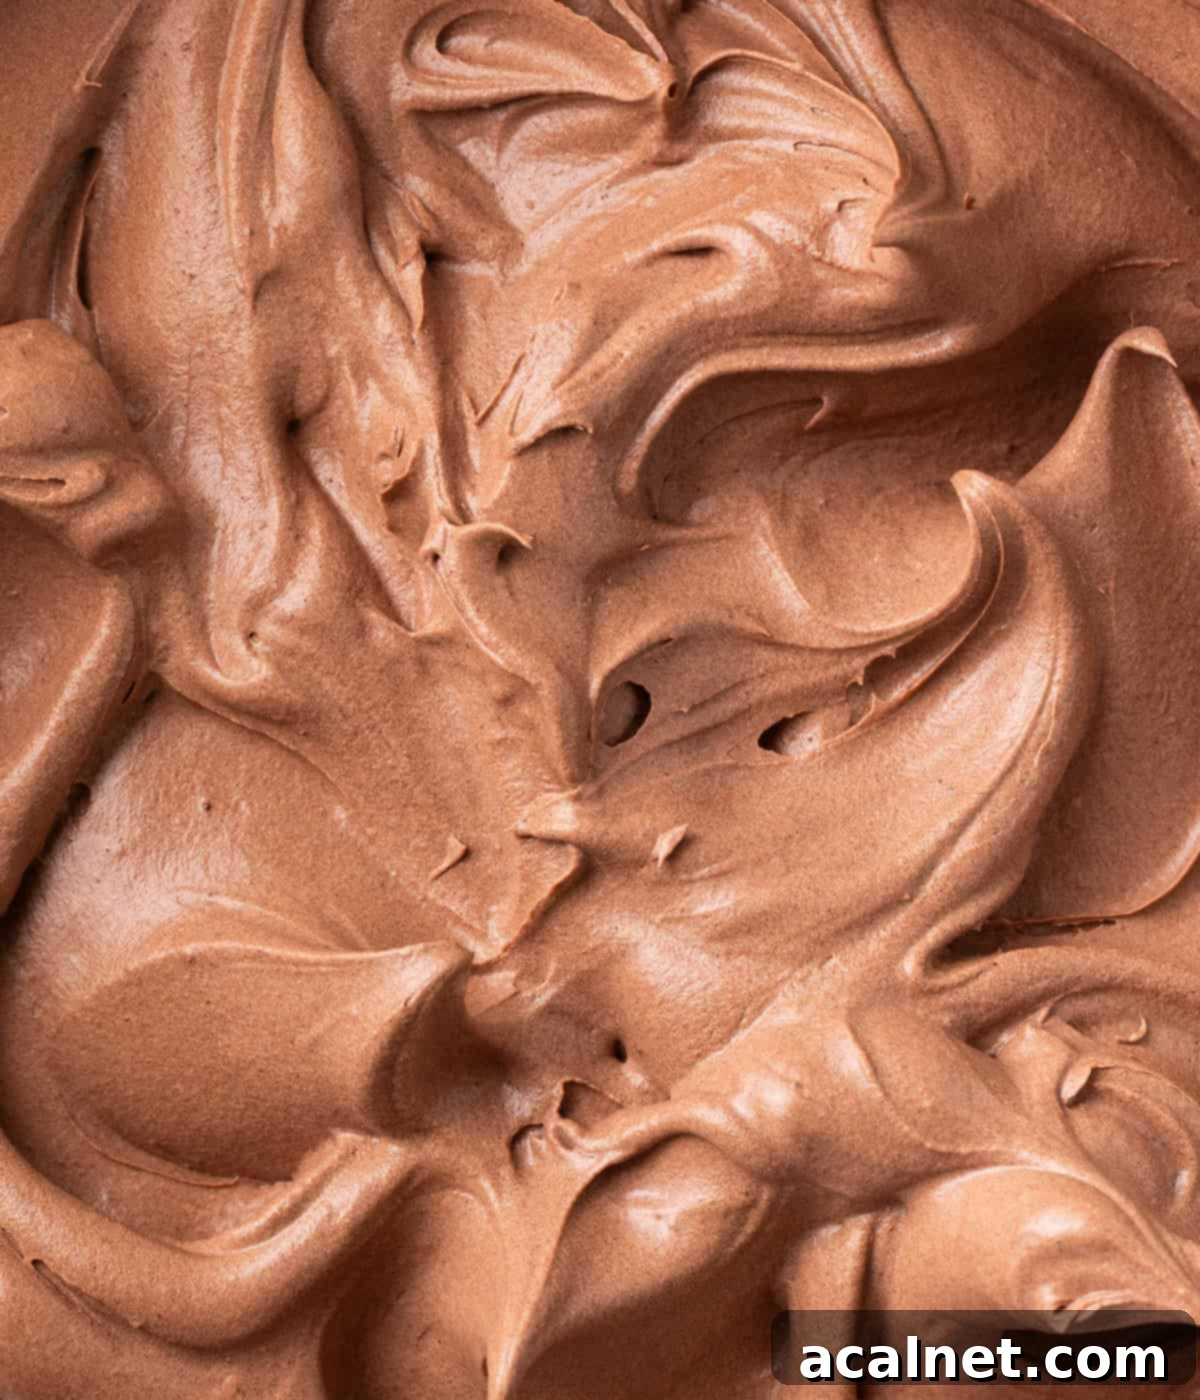
Chocolate Whipped Cream Frosting: Your Questions Answered
Delving deeper into common questions about chocolate whipped cream can help you master this delicious frosting. Here are some frequently asked questions to guide you:
Since the cocoa in this recipe is not used for leavening (as it would be in baked goods reacting with baking soda), your choice of cocoa powder primarily depends on your desired taste and color.
– Raw Cocoa: Offers a slightly more bitter but intense chocolate flavor, generally resulting in a lighter brown frosting.
– Dutch-Processed Cocoa: Treated with an alkaline solution, this cocoa has reduced acidity, leading to a richer, less bitter, and darker chocolate flavor. It will give your frosting a deeper, more pronounced chocolate hue.
– Natural Cocoa: Untreated, it has a slightly acidic taste and a lighter brown color. It can add a subtle brightness to the chocolate flavor.
– Black Cocoa: This is an extra-alkalized Dutch-processed cocoa, known for its striking very dark color (like Oreo cookies) but mild chocolate flavor. It’s generally not recommended for this recipe as it can mute the rich chocolate taste we’re aiming for, making the frosting look dark but taste less intense.
While it’s possible to make chocolate whipped cream with melted chocolate, directly incorporating melted chocolate into cold heavy cream can be tricky. The temperature difference often causes the chocolate to seize (harden into small bits) or can deflate the delicate structure of the whipped cream, resulting in a less smooth and airy texture. For a whipped cream frosting made with melted chocolate that retains stability and creaminess, I highly recommend exploring a Chocolate Whipped Ganache Frosting, which uses a different technique to combine chocolate and cream effectively.
The ideal peak stage for your chocolate whipped cream largely depends on its intended use. However, because cocoa powder inherently adds stability to the cream, achieving **medium peaks** often yields the best results for a balanced texture. Medium peaks will hold their shape beautifully for piping and spreading, yet remain wonderfully light and creamy on the palate. Whipping to stiff peaks can sometimes make the frosting “too stiff” or dense, with a tendency to become grainy. Aim for a consistency where the cream holds its shape when you lift the whisk, but the peak gently curls at the tip.
Thanks to the natural properties of cocoa powder, this frosting is already relatively stable on its own! However, if you’re looking for an extra-stable chocolate whipped cream, especially for warmer environments or intricate piping, you have a couple of options. You could substitute about 20% to 30% of the heavy cream with full-fat mascarpone cheese, similar to my Mascarpone Whipped Cream recipe. The added fat and density of mascarpone significantly boosts stability. Alternatively, a small amount of unflavored gelatin, bloomed and melted, can be incorporated into the cream before whipping to provide robust stabilization.
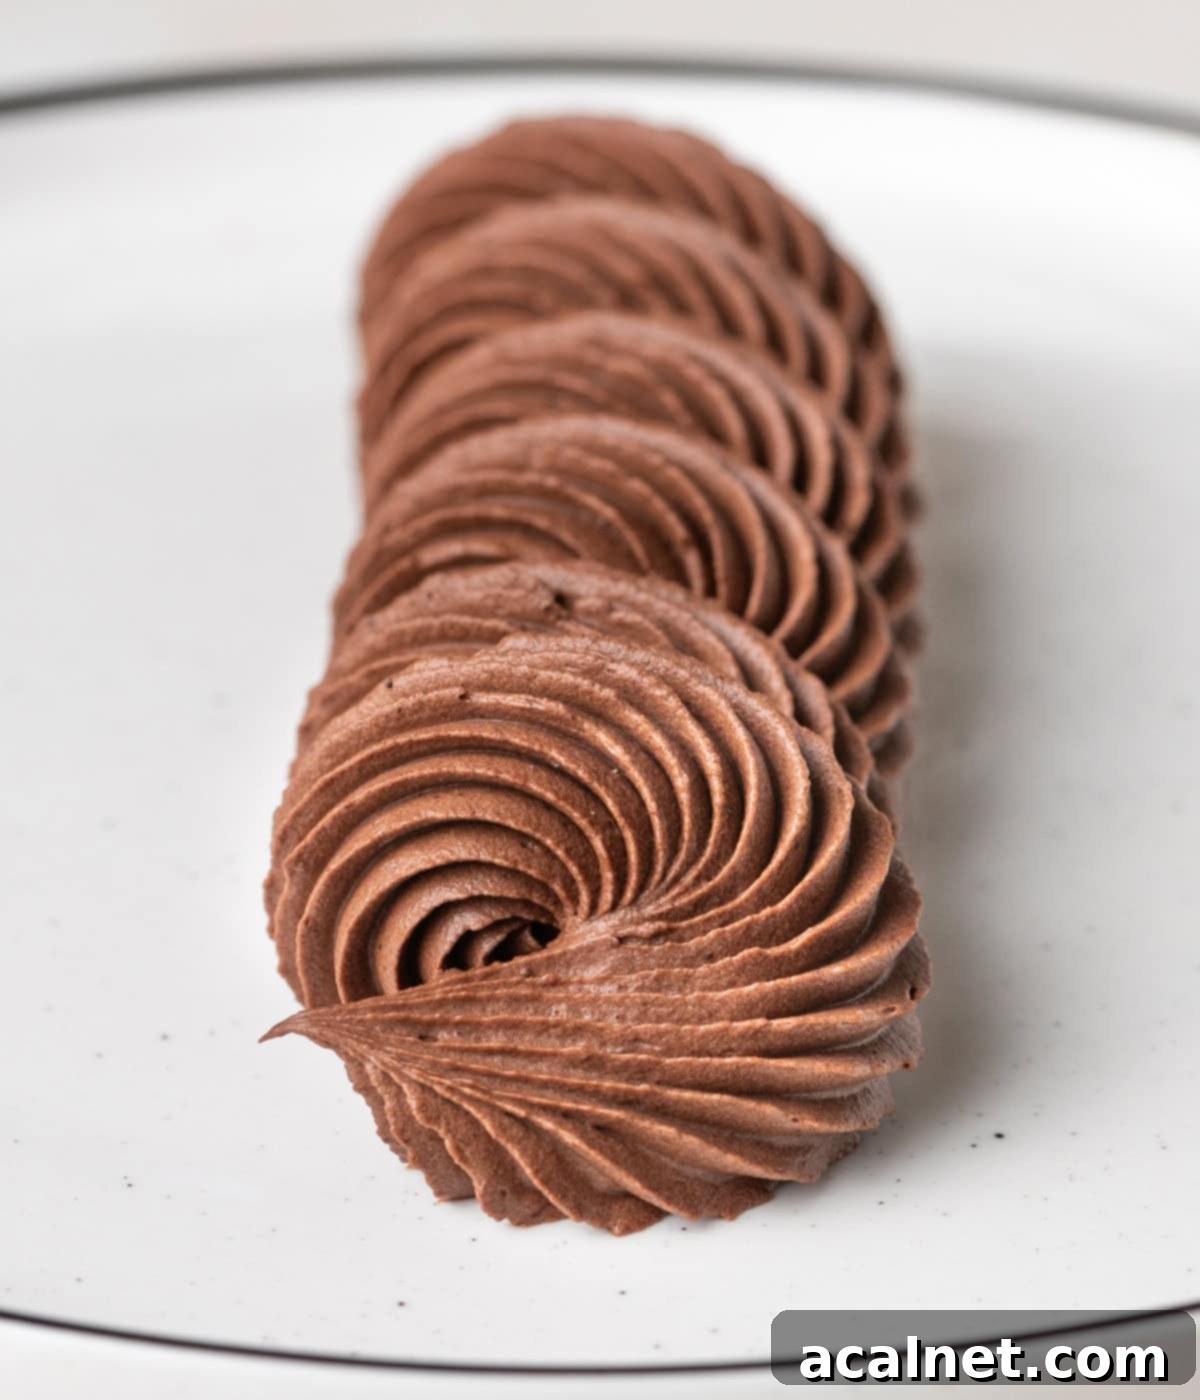
Common Issues & Solutions for Chocolate Whipped Cream
Even with a simple recipe, sometimes things don’t go exactly as planned. Here’s a quick guide to troubleshooting common problems you might encounter while making chocolate whipped cream:
- The cream won’t whip: This is a common issue, usually stemming from two main culprits. First, your cream might not have a high enough fat content (it needs at least 30%, preferably 35% or more). Second, your ingredients or equipment (bowl and whisk) might be too warm. Cold is key for whipped cream; warm fat can’t encapsulate air bubbles effectively. Ensure everything is thoroughly chilled before starting.
- The whipped cream is grainy or lumpy: If your frosting has a grainy texture, it’s often due to the powdered sugar or cocoa powder not being properly sifted. Fine particles can clump together if not sifted, leading to lumps. Another cause for graininess or small lumps is over-whipping. As cream gets over-whipped, the fat and water components begin to separate, creating a curdled, grainy consistency reminiscent of butter starting to form.
- The cream deflates after whipping: A deflated whipped cream means it couldn’t hold its air bubbles. This typically happens if the heavy cream lacks sufficient fat content – the fat is crucial for creating and stabilizing the airy structure. Additionally, warm temperatures are a major enemy of whipped cream. If the ambient temperature is too high, the fat in the cream will melt, causing the trapped air bubbles to escape and the cream to collapse. Always keep whipped cream chilled until serving.
Pro Tips for the Best Chocolate Whipped Cream Frosting
Achieving bakery-quality chocolate whipped cream frosting is easier than you think with these expert tips:
- Chill Everything Thoroughly: This cannot be stressed enough! Place your mixing bowl (metal bowls can go in the freezer for 10-15 minutes, glass bowls in the fridge for 20-30 minutes) and whisk attachments in the refrigerator or freezer before you begin. Cold equipment helps the cream whip faster and maintain its stability for longer. When the equipment is warm, the fat globules in the cream melt, preventing them from properly encapsulating the air bubbles, which results in a loose, deflated whipped cream.
- Avoid Over-Whipping: Be mindful of your whipping time. Chocolate whipped cream generally whips much faster than plain Chantilly cream because cocoa powder acts as a natural stabilizer. Stop whipping as soon as the cream forms medium peaks that hold their shape. Over-whipping can lead to a grainy texture or even cause the cream to split, resembling curdled milk. Medium peaks will give you the perfect light, airy, yet stable texture for frosting.
- Taste and Adjust Sweetness: The flavor of cocoa powder can vary significantly based on its type (natural, Dutch-processed, raw), which can affect the overall sweetness perception of your frosting. I recommend tasting the cream once it has reached soft peaks. If you prefer a sweeter frosting, you can gradually add a bit more sifted powdered sugar at this stage, mixing briefly until just combined.
- Use a Deep, Narrow Bowl: A deep bowl with a narrower bottom helps prevent splattering and ensures the whisk can make consistent contact with all the cream, promoting faster and more even whipping.
- Sift Dry Ingredients Properly: Don’t skip sifting the powdered sugar and cocoa powder. This step is crucial for preventing lumps and ensuring a perfectly smooth, silky frosting. You can even sift them together first before adding them to the cream.
Storing Your Chocolate Whipped Cream Frosting
Proper storage is essential to maintain the delightful texture and freshness of your chocolate whipped cream frosting.
This chocolate whipped cream frosting will remain beautifully stable in an airtight container in the fridge for up to 3 days. Always ensure it’s covered well with plastic wrap directly touching its surface to prevent a skin from forming and to keep it from absorbing any unwanted refrigerator odors. Like all whipped creams, heat is its enemy; it will quickly lose its structure and melt. Therefore, it is always recommended to keep it chilled in the refrigerator until the moment you are ready to use or serve it on your desserts.
It’s important to note that this cream should not be frozen. Freezing and then thawing will cause the fat and water components to separate, resulting in a grainy, watery, and unappetizing texture that will not regain its original fluffiness.
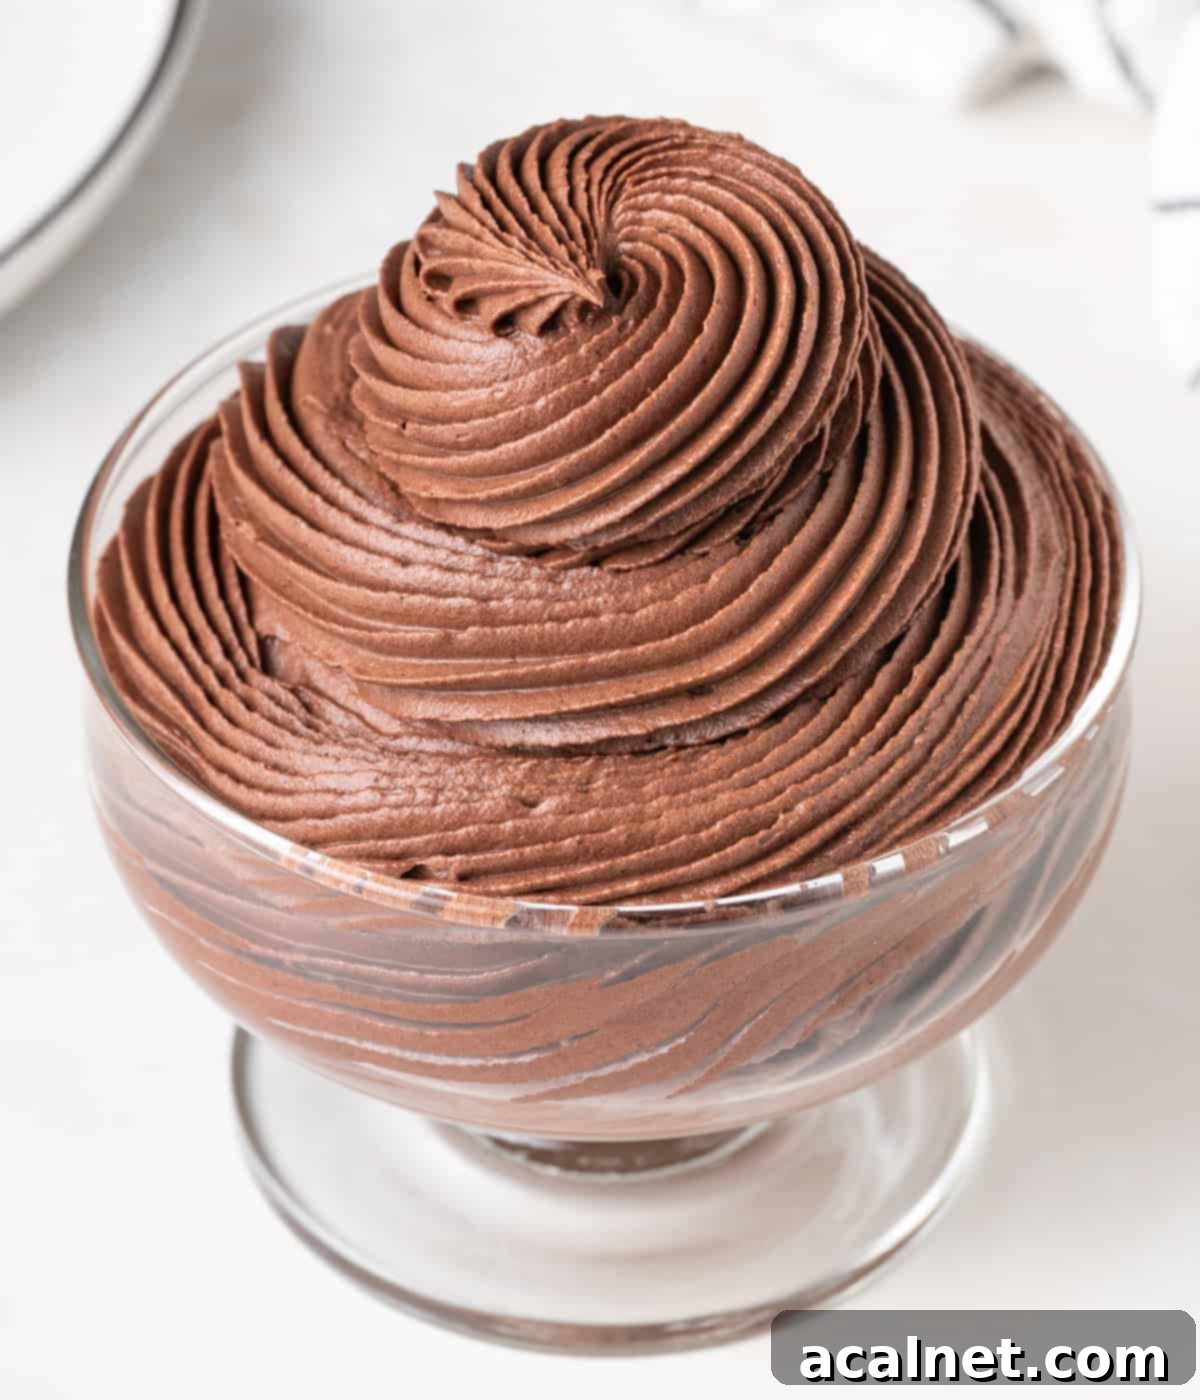
Explore More Decadent Chocolate Cream Frostings
If you’re a chocolate lover, there’s a world of creamy, dreamy chocolate frostings beyond traditional whipped cream. Each offers a unique texture and depth of flavor perfect for different applications. Here are some other delightful chocolate cream frostings to explore on your baking journey:
- Chocolate Pastry Cream (Crème Pâtissière): A rich, thick, and silky custard, perfect for filling tarts, eclairs, and cakes.
- Namelaka: A luxurious, intensely flavored chocolate cream with a unique, firm yet melt-in-your-mouth texture, often used for glazing or elegant piping.
- Chocolate Crémeux (Crèmeux au Chocolat): A velvety smooth, incredibly rich, and spoonable chocolate cream, ideal for sophisticated desserts or as a component in plated dishes.
- Chocolate Whipped Ganache Frosting: For those who love the richness of ganache but desire an airier texture, this frosting offers the best of both worlds – deep chocolate flavor with a light, whipped consistency.
Each of these frostings provides a different culinary experience, expanding your repertoire of chocolate desserts and toppings. Happy baking!
I am so excited to share that my debut cookbook
“Bite-Sized French Pastries for the Beginner Baker”
is now available for purchase!
Recipe Card
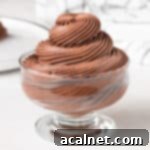
Chocolate Whipped Cream Frosting
Print Recipe
Ingredients
- 75 gr Powdered Sugar
- 1 teaspoon Vanilla Extract (optional),
- 50 gr Unsweetened Cocoa Powder, raw, natural or dutch processed (see note 1)
- 360 ml Heavy / Thickened Cream, min 30% fat
Instructions
- Before you start, make sure the utensils you use are very cold. Place the bowl and whisk attachment in the fridge (with glass bowl) for 20 minutes or freezer (with metal bowl) for 10 minutes.
- Pour the very cold cream and vanilla (optional) in a large mixing bowl if using a hand mixer or the bowl of your stand mixer fitted with the whisk attachment.
- Sift in the powdered sugar and cocoa powder, making sure no lumps remain at all (see note 2).
- Start whipping the cream on low speed until the powders have been incorporated, stopping to scrape the bowl with a spatula if needed.
- Increase to medium high speed and whip for about 3 minutes or until you reach medium / medium-stiff peaks. Stop whipping as soon as the cream gets thicker and you see “waves” on top of the cream. Don’t over-whip the cream or it will turn slightly grainy (see note 3).
- If not used directly, cover the cream with plastic wrap touching its surface and keep in the fridge until ready to use.
Video
Would you like to save this recipe?
We’ll email this post to you, so you can come back to it later!
Notes
- Because we are not baking the recipe (and the cocoa powder does not need to react with another ingredient for leavening purposes), the type of cocoa powder you use is more based on taste preference. You can use either raw, dutch-processed or natural cocoa powder here. You might need to adjust the sweetness level accordingly.
Natural Cocoa Powder: slightly acidic in taste, lighter in colour.
Dutch-processed Cocoa Powder: less acidic flavour, richer in chocolate taste, darker in colour.
Raw Cocoa Powder: slightly bitter but intense taste, lighter in colour. - You can also mix together the cocoa and sugar in a separate bowl first, then sift it over the cream.
- The cocoa acts as a stabiliser so it does not actually need to be whipped all the way to stiff peaks.
Nutrition (per serving)
Made this recipe?
Let us know if you liked it by leaving a comment below, and tag us on Instagram @a.baking.journey with a photo of your creation!
