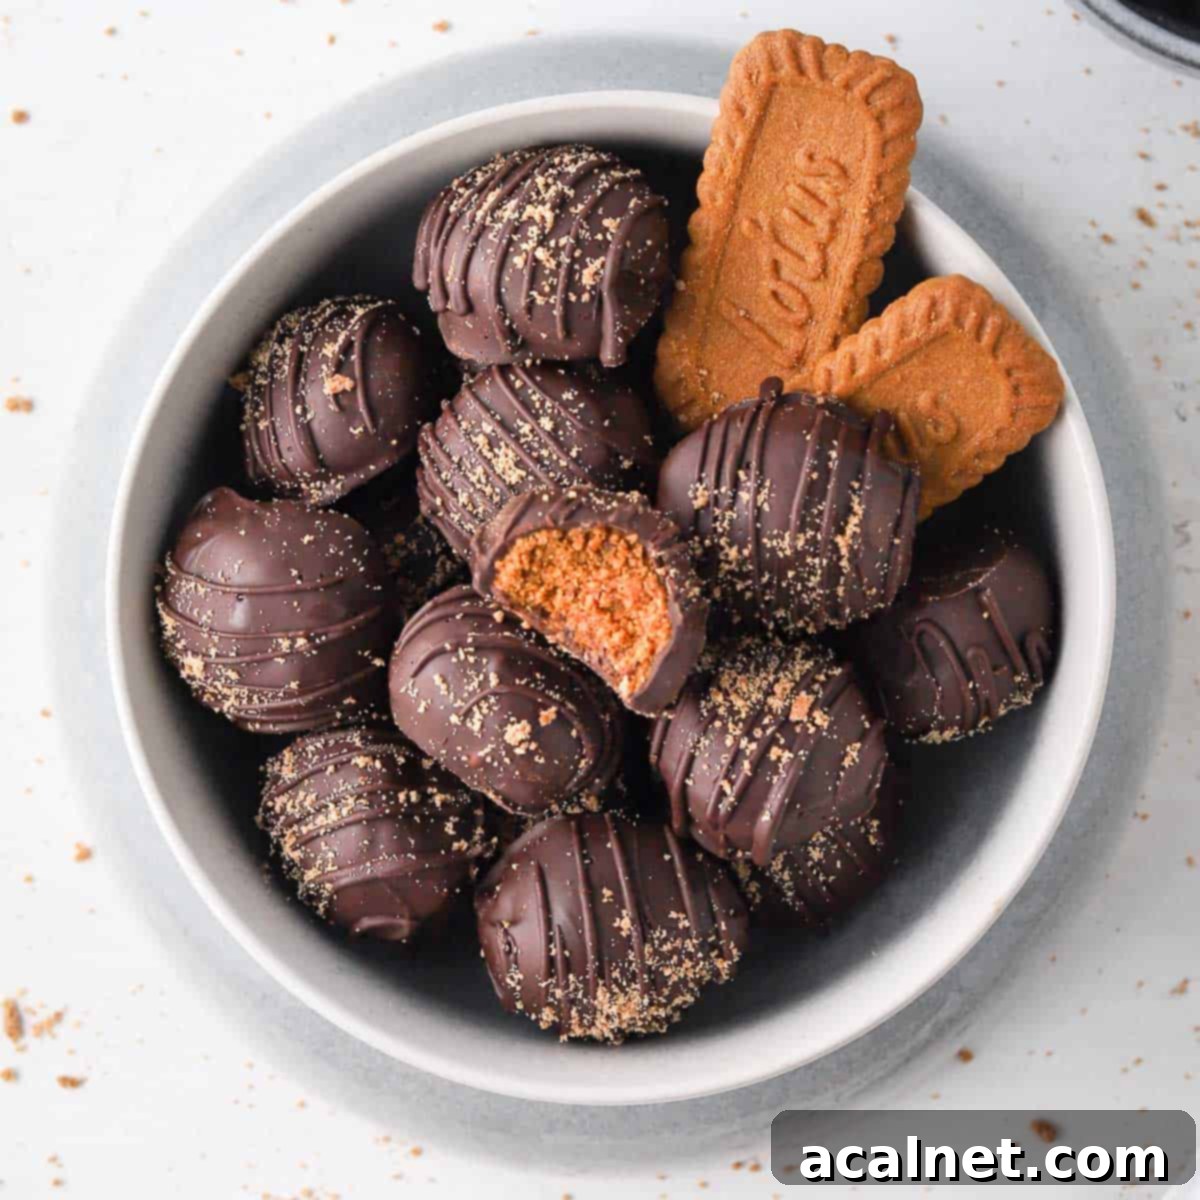
Irresistible 3-Ingredient No-Bake Biscoff Truffles: The Ultimate Easy Dessert Recipe
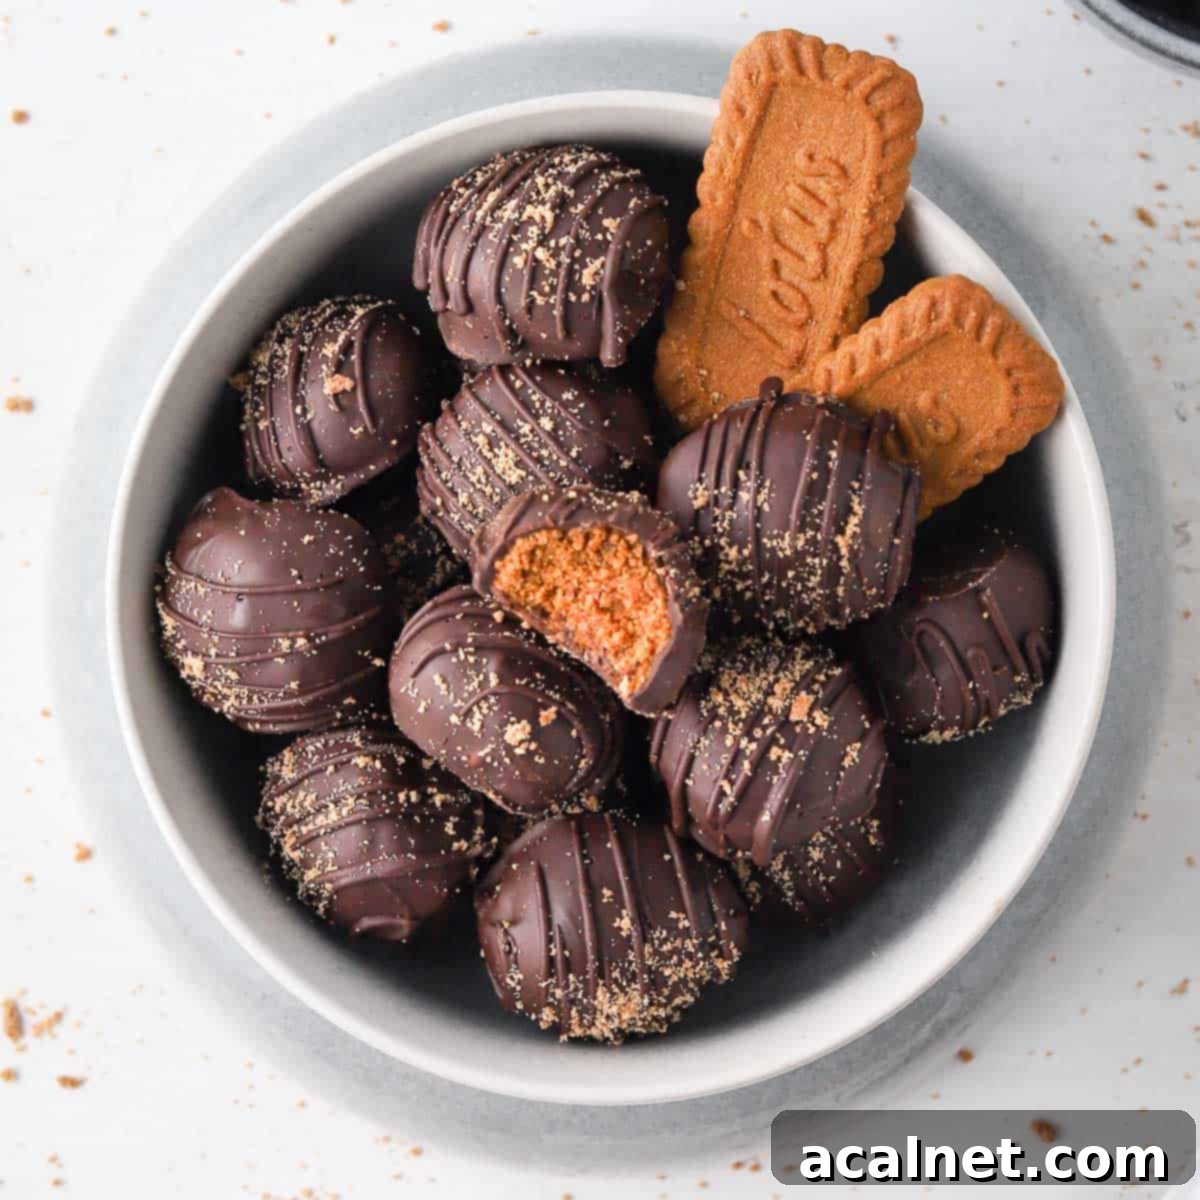
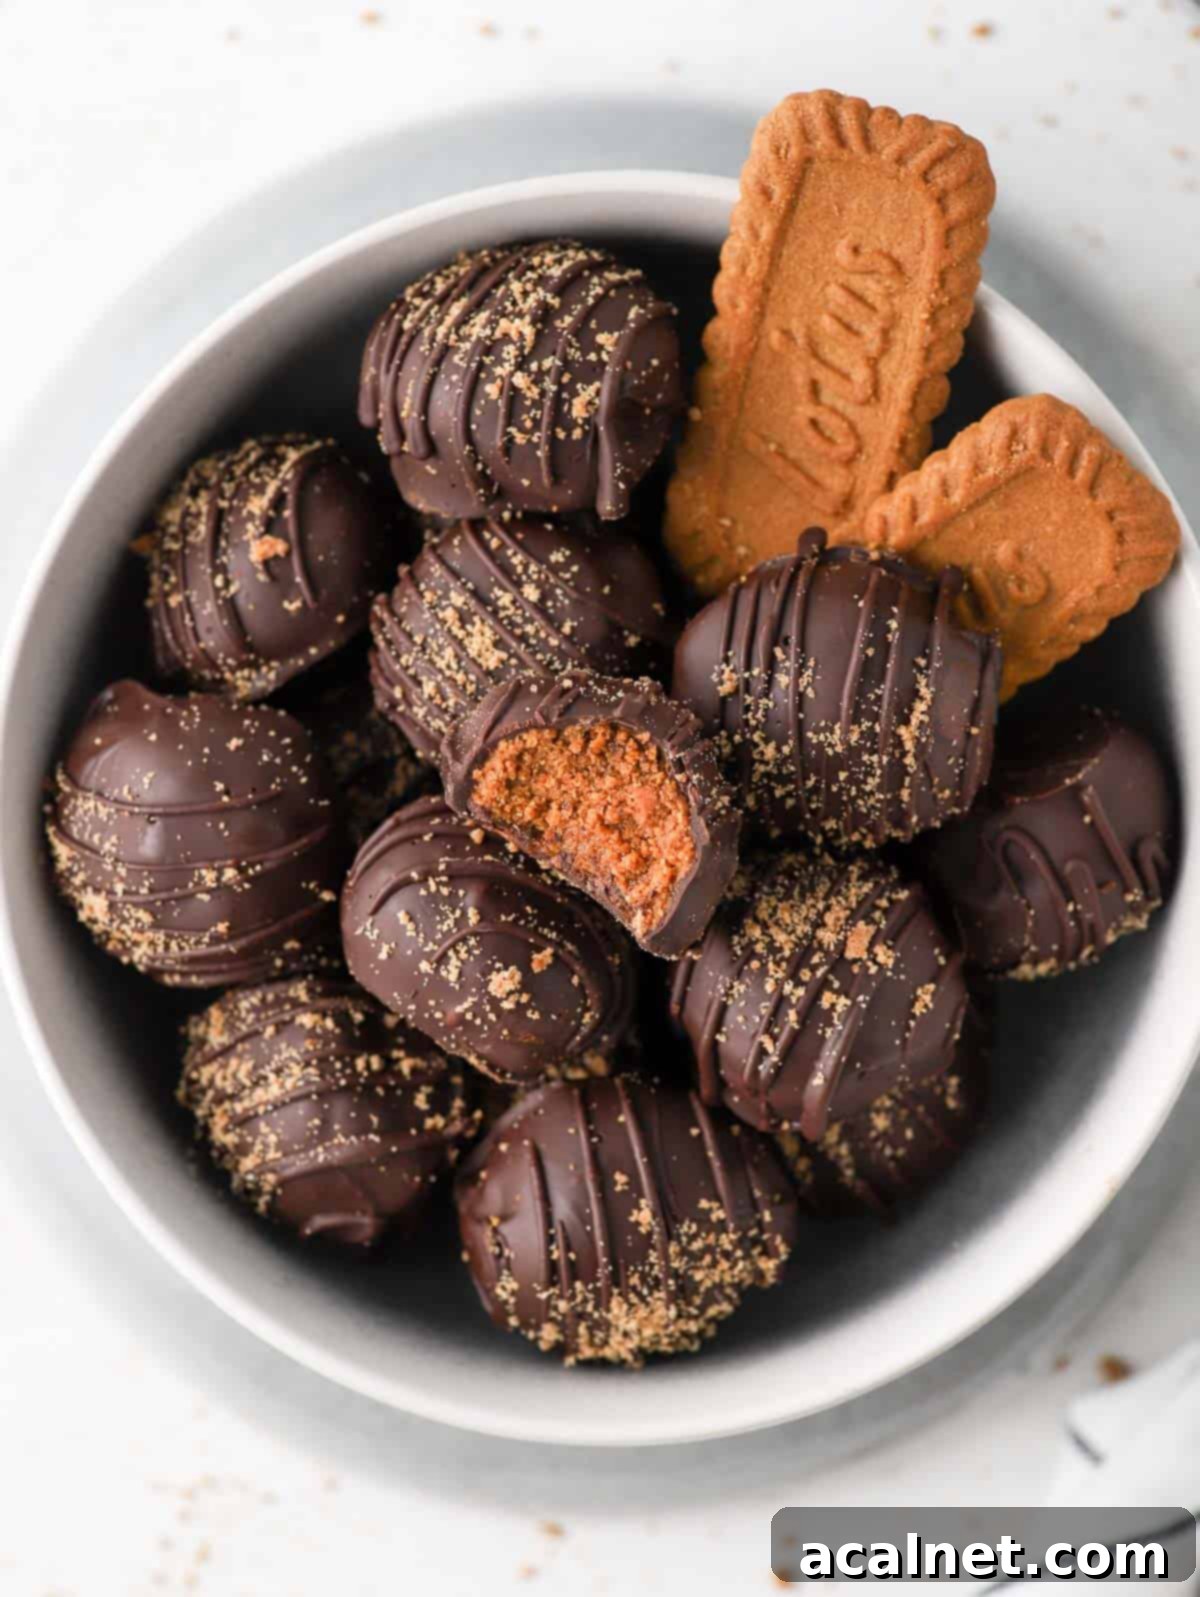
Uncover the secret to these incredibly easy No-Bake 3-Ingredient Biscoff Truffles. They are arguably the most decadent and delightful bite-sized treats you’ll ever make. Crafted from simple ingredients – beloved Biscoff Cookies (also known as Speculoos), creamy Cookie Butter Spread, and rich Dark Chocolate – these Biscoff Balls are not just a perfect everyday sweet snack, but also an exquisite edible gift, especially during the festive Holiday season. Prepare to amaze your taste buds with minimal effort!
[feast_advanced_jump_to]
Why You’ll Adore These Biscoff Truffles
Growing up in Belgium, Biscoff Cookies – or Speculoos Cookies as they are traditionally known – were a comforting staple. These wonderfully spiced cookies possess a unique warmth and a depth of flavor that’s truly irresistible. For me, they perfectly encapsulate the essence of winter with their signature blend of cinnamon, nutmeg, and cloves, making it genuinely hard to stop at just one!
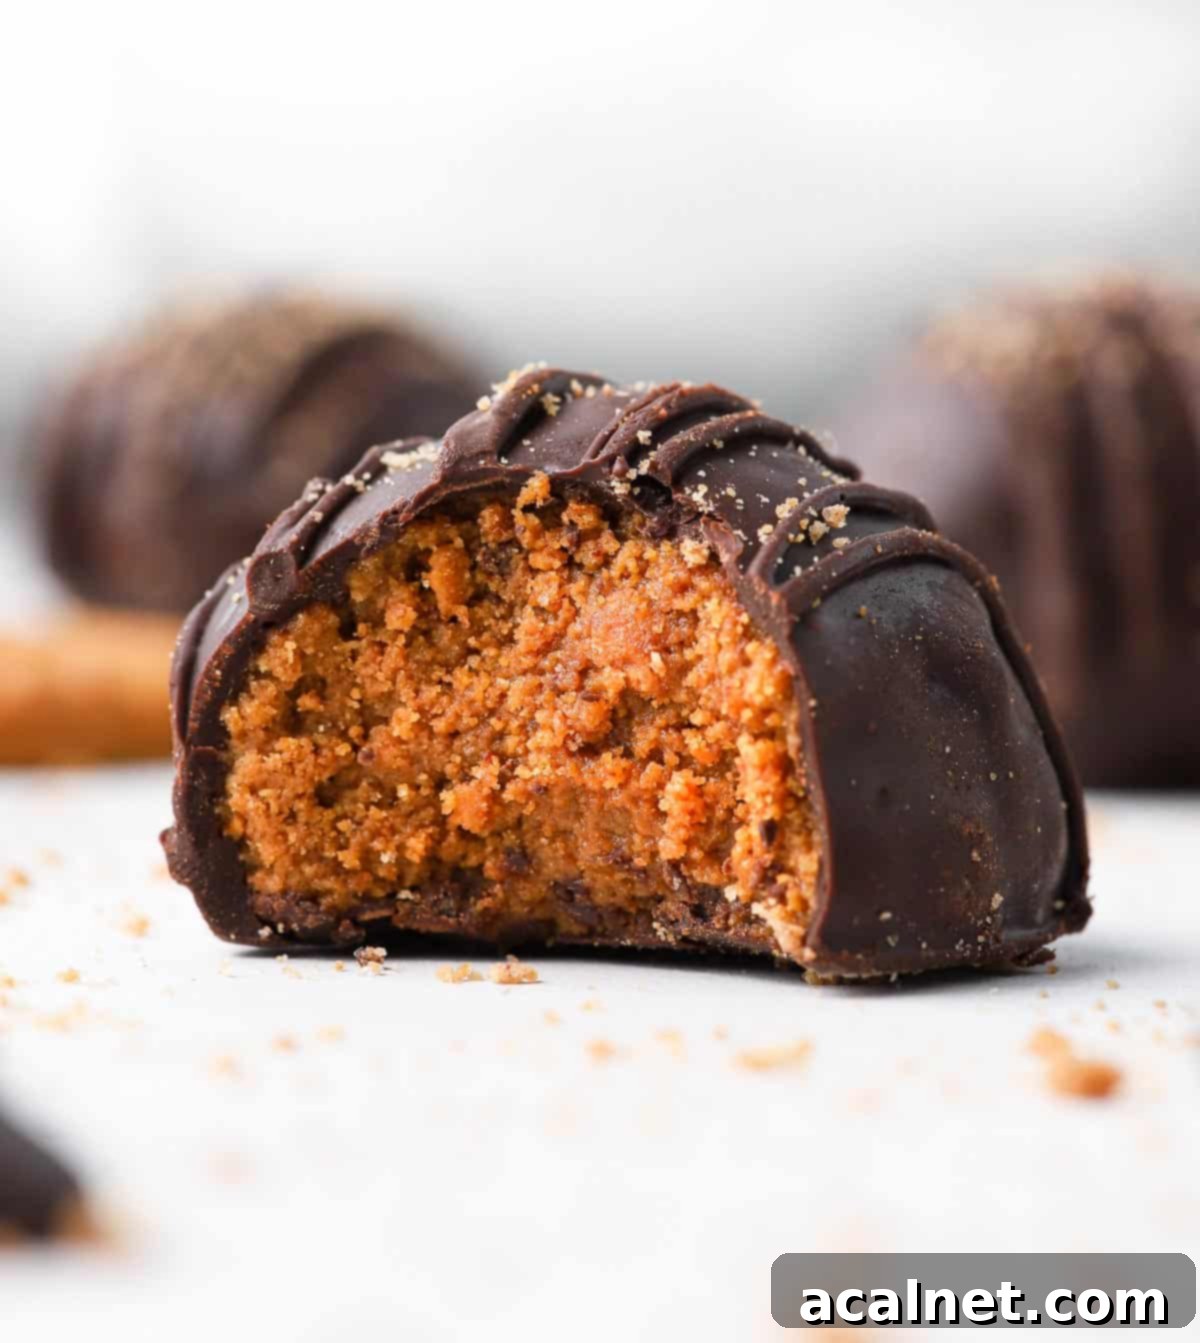
These particular Biscoff Truffles, crafted without cream cheese, deliver an authentic taste experience. Each truffle offers the beloved flavor of your favorite Speculoos cookie, elevated by the luxurious bonus of being enveloped in a rich, smooth dark chocolate shell. It’s a nostalgic treat with an elegant twist.
There are countless reasons why these Speculoos Truffles have become a firm favorite:
- They are astonishingly simple, requiring only 3 main ingredients. Best of all, they are No-Bake and incredibly quick and easy to prepare, making them perfect for busy schedules or impromptu cravings.
- For those with dietary considerations, these truffles are a dream! They are naturally dairy-free and wonderfully vegan-friendly, catering to a wider audience. Plus, with the natural sweetness from the Biscoff cookies and spread, they are made with no added sugar, allowing the rich flavors to shine through.
- Their charming bite-size nature and decadent appeal make them the ideal edible gift for any special occasion, especially during the festive holiday season. They also serve as a delightful and comforting sweet treat to enjoy any day of the week.
If you’re a fan of truffles, you might also enjoy these decadent recipes:
White Chocolate Strawberry Truffles |
Peanut Butter Balls |
Raspberry Truffles |
French Chocolate Truffles
Essential Ingredients for Your Biscoff Truffles
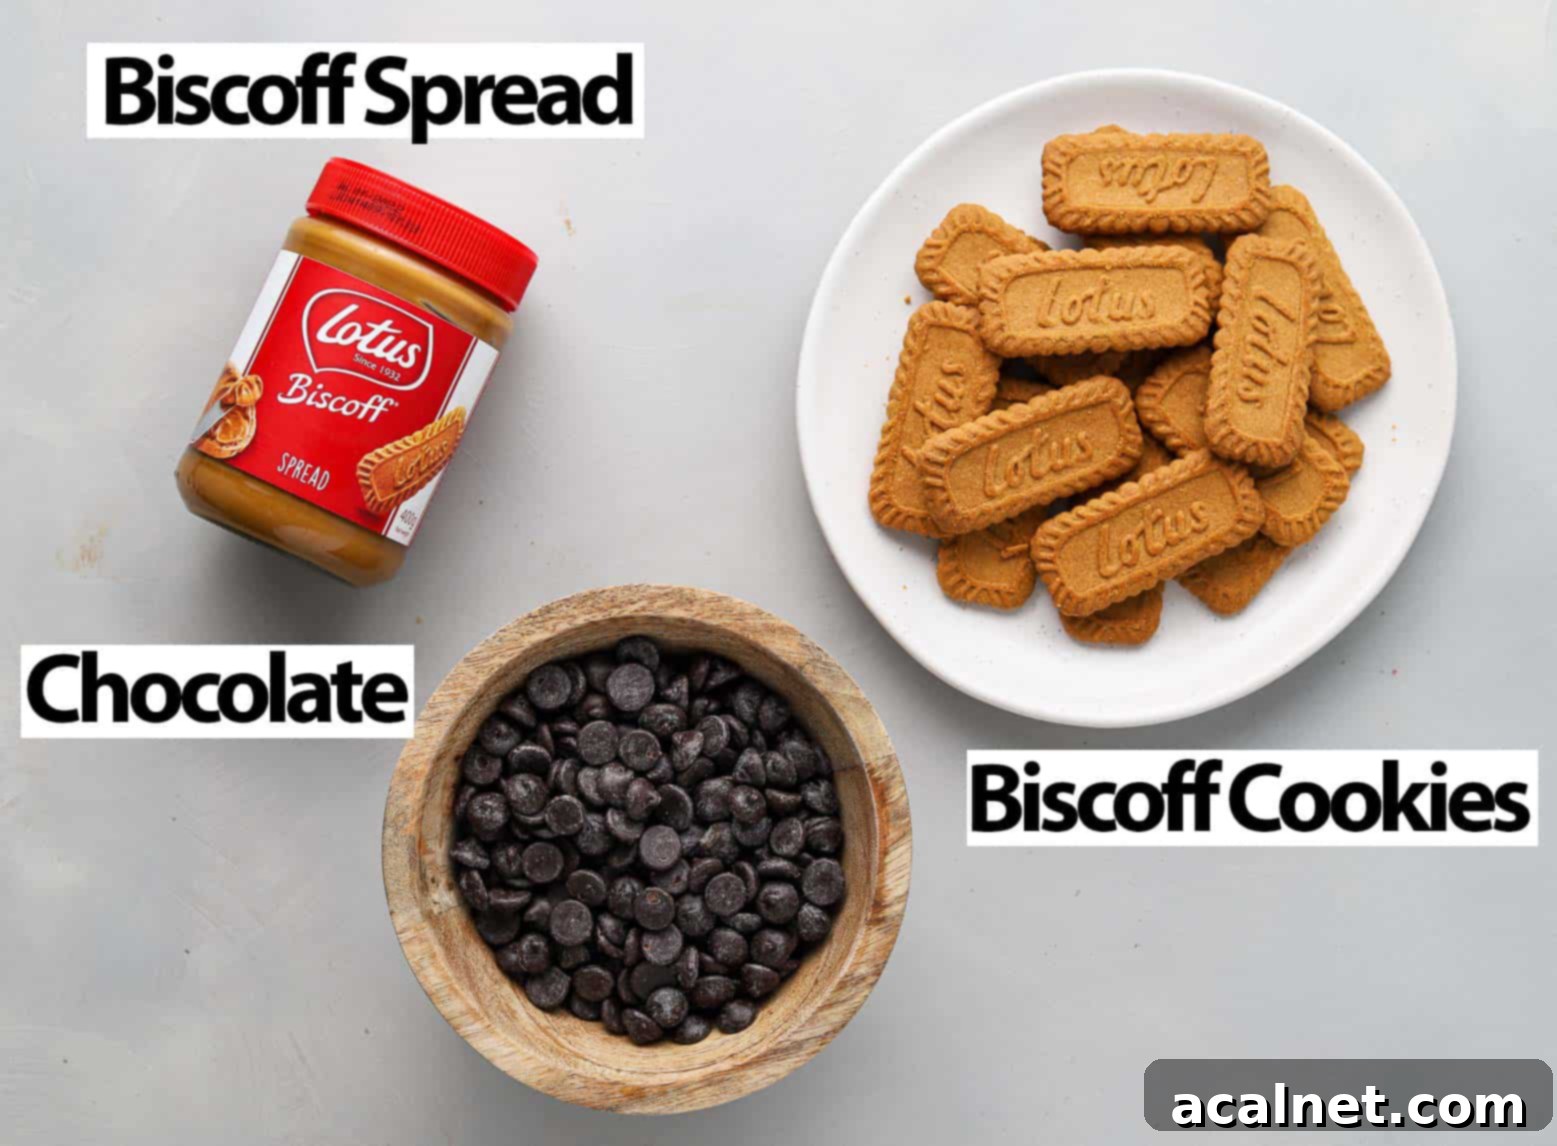
The beauty of this recipe truly lies in its simplicity. The ingredient list couldn’t be more straightforward, focusing on quality and flavor:
- Biscoff Cookies: The star of the show! While the Lotus Biscoff brand is widely available and often the easiest to find globally, any good quality Speculoos cookie (or Speculaas if you’re in the Netherlands) will work perfectly. These spiced shortbread-like cookies provide the distinct flavor and texture base for our truffles.
- Biscoff Spread: This creamy, dreamy spread is essentially Biscoff cookies in butter form. I recommend using the smooth variety for the best texture in these truffles, as it combines more easily with the cookie crumbs to form a cohesive dough. However, if you prefer a slight textural crunch, you could certainly experiment with the crunchy Biscoff spread. Similar to the cookies, the Lotus brand spread is popular, but any ‘cookie butter’ spread will yield delicious results.
- Chocolate: For the ultimate decadent coating, I opted for a rich Dark Chocolate, specifically a 70% Belgian Cooking Chocolate – keeping with our delightful Belgian theme! However, feel free to adjust to your personal preference. A slightly sweeter dark chocolate could be used, or for a different flavor profile, you could even try milk or white chocolate. The most crucial factor here is to use proper Cooking Chocolate or Couverture Chocolate, rather than eating chocolate bars or standard chocolate chips. Cooking chocolate is formulated to melt smoothly and re-harden with a beautiful, glossy finish, creating that irresistible crisp shell around your truffle.
Using the right type of chocolate ensures a superior melt, a seamless coating, and a professional-looking finish for your homemade Biscoff Truffles. This attention to detail, even with just three ingredients, makes all the difference in achieving that gourmet experience.
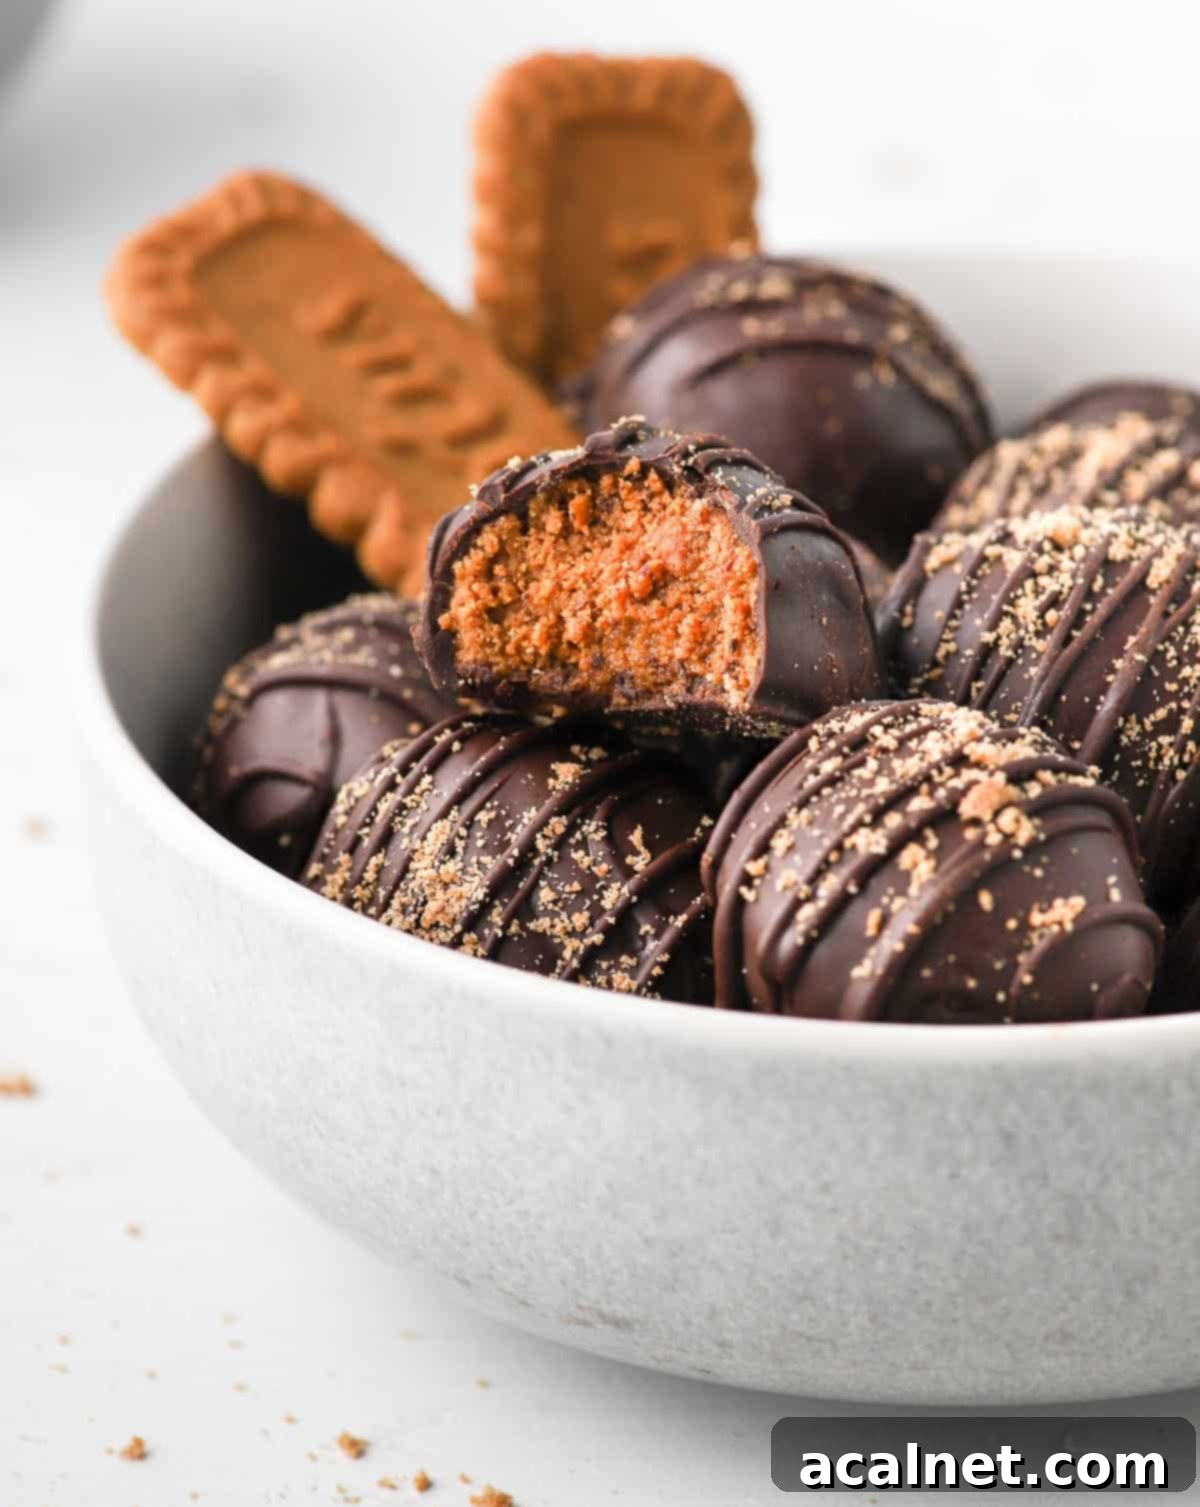
Step-by-Step Guide to Making Biscoff Truffles
Crafting these delectable Biscoff Balls is a straightforward two-part process: first, creating the spiced Biscoff center, and then enveloping it in a glossy dark chocolate coating. Follow these simple steps for perfect truffles every time:
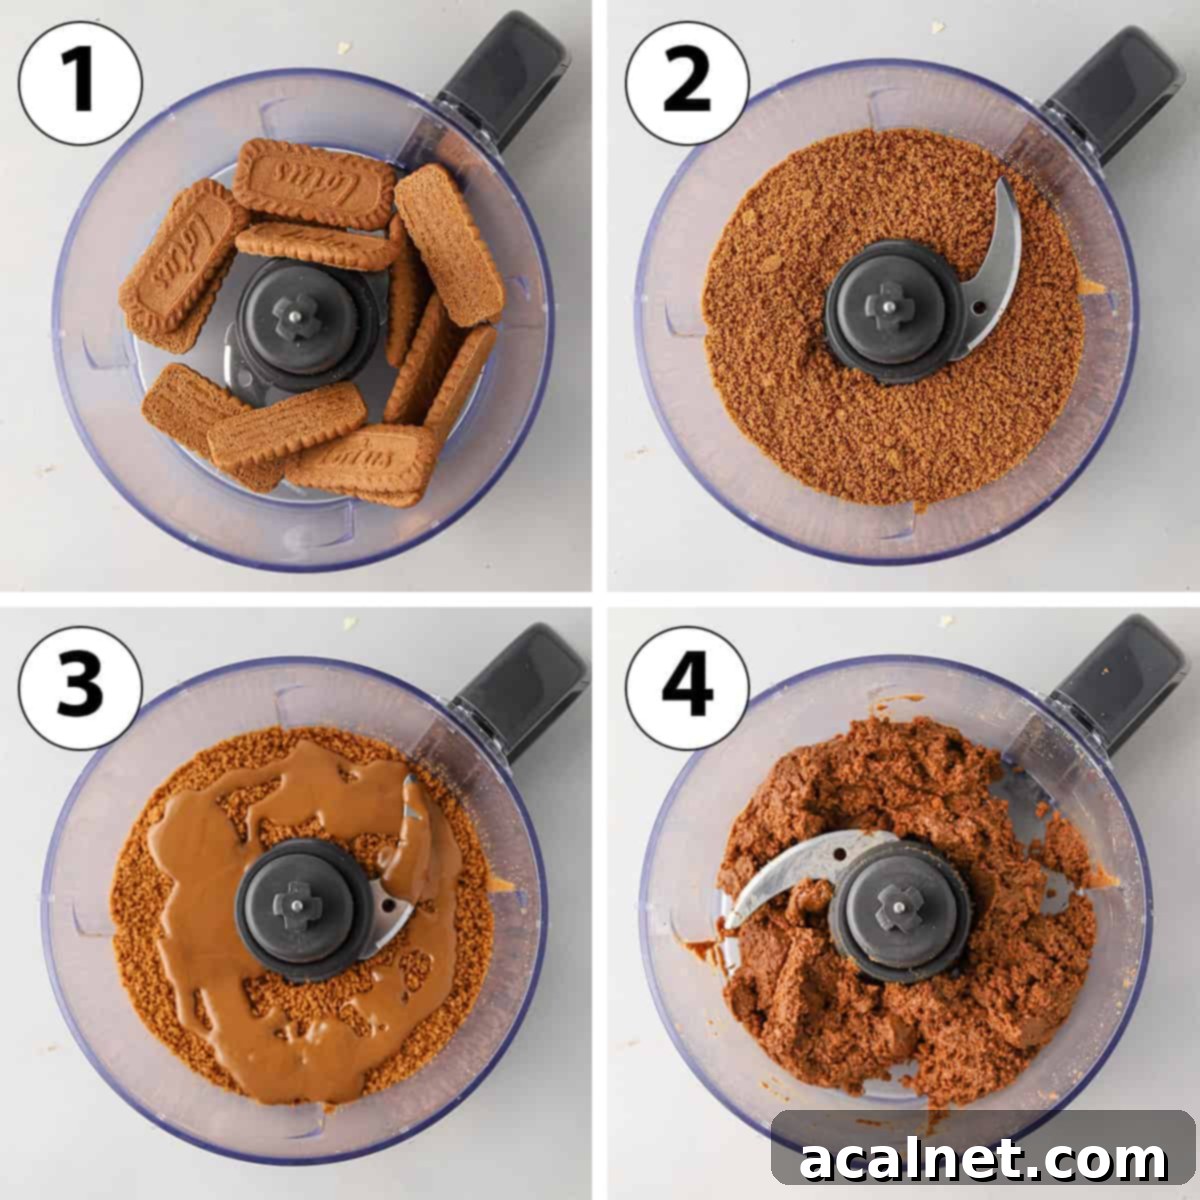
- Step 1 (Photo 1 & 2): Prepare the Cookie Crumbs. Begin by placing your Biscoff Cookies into a food processor. Process them until you achieve very fine, uniform crumbs. The finer the crumbs, the smoother your truffle mixture will be. If you don’t have a food processor, refer to our FAQs section below for an alternative method using a freezer bag and rolling pin.
- Step 2 (Photo 3): Add the Biscoff Spread. Next, add the Biscoff or Cookie Butter Spread to the food processor with the cookie crumbs. If your spread is particularly firm (especially if stored in a cool pantry or fridge), gently warm it in the microwave for a few seconds until it’s more fluid. This ensures it mixes easily and evenly with the cookie crumbs.
- Step 3 (Photo 4): Blend to a Paste. Blend the mixture for several seconds until all ingredients are thoroughly combined, forming a thick, cohesive paste. Scrape down the sides of the processor to ensure there are no dry pockets of unmixed cookie crumbs.
- Step 4: Chill the Dough. Transfer the Biscoff dough from the food processor into a bowl or a container. Place it in the fridge to chill for approximately 10 to 15 minutes. This brief chilling period is crucial; the dough will likely be too soft to roll immediately after mixing, and chilling it slightly will help it firm up to a manageable consistency without becoming too hard.
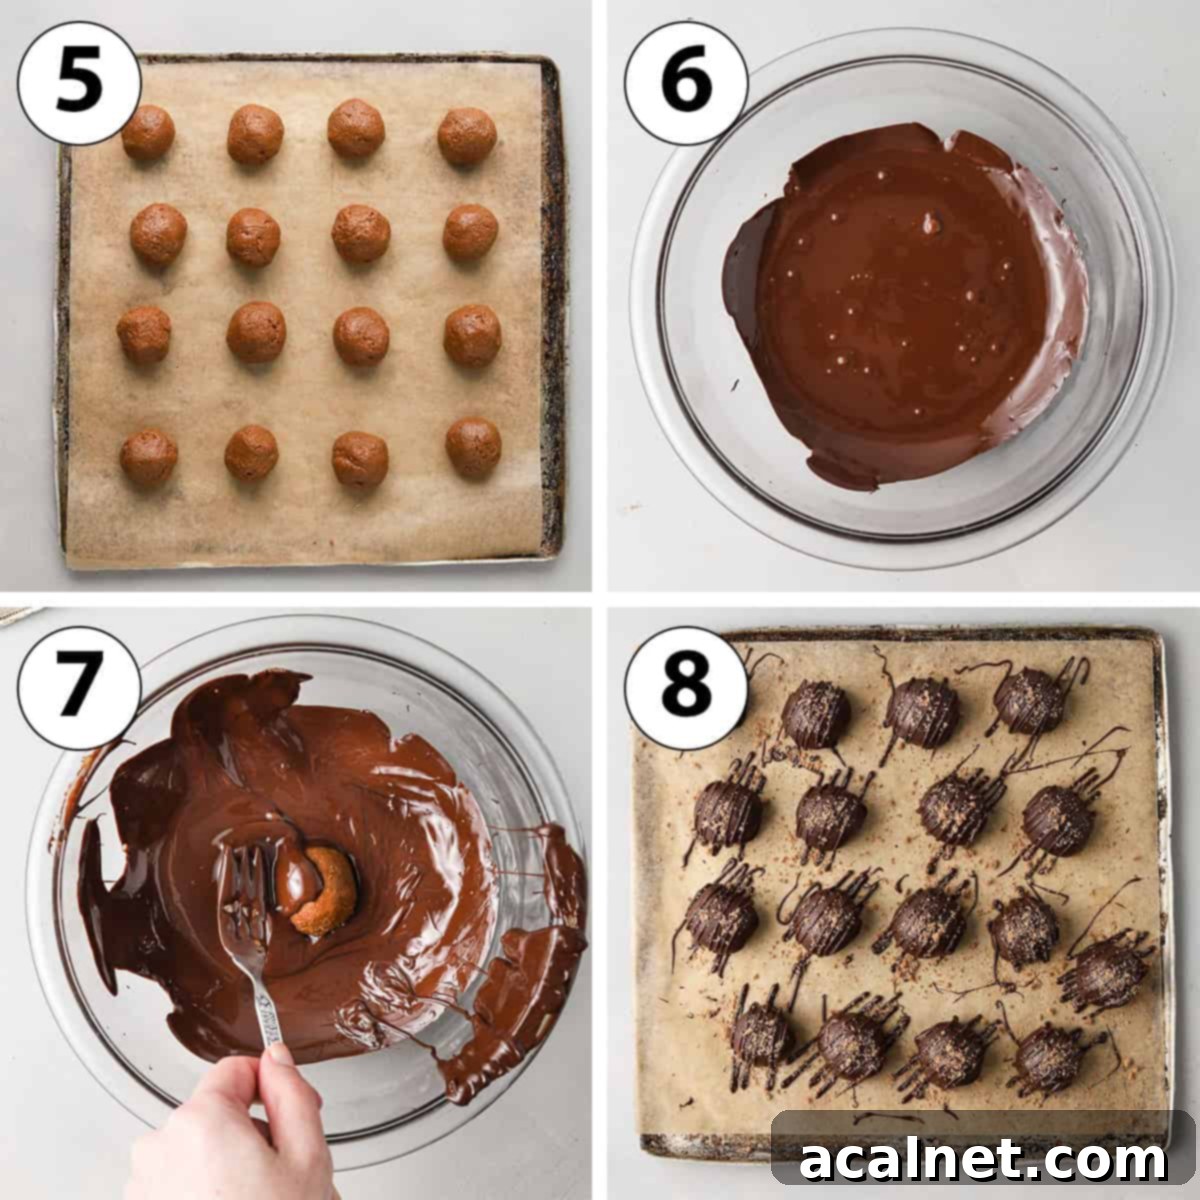
- Step 5 (Photo 5): Shape the Truffle Balls. Once the dough is adequately chilled, use a small ice cream scoop (I recommend a 1.6 inch / 4 cm scoop for consistent sizing) to portion out small pieces of dough. Roll each portion into a smooth, compact ball between your palms. Gently pressing on them as you roll helps to ensure the dough is well-compacted and won’t crumble.
- Step 6: Freeze for Firmness. Arrange the rolled Biscoff balls on a tray lined with parchment paper. Place the tray in the freezer for about 30 minutes, or until the balls are firm and thoroughly cold. This step is essential as it helps the chocolate coating set quickly and evenly without melting the truffle interior.
- Step 7 (Photo 6): Melt the Chocolate. While the Biscoff balls are freezing, prepare your chocolate. Place the dark cooking chocolate in a heat-proof bowl. If using a bar, make sure to finely chop it first for faster, more even melting. Melt the chocolate either over a double boiler until perfectly smooth and fluid, or in the microwave in 30-second intervals, stirring well after each interval to prevent burning.
Learn more about setting up a double boiler here.
- Step 8 (Photo 7): Dip and Coat. Remove the chilled Biscoff balls from the freezer. One by one, immerse each ball into the melted chocolate, ensuring it is fully coated. Use a small fork to lift the truffle out, gently tapping the fork against the side of the bowl to allow any excess chocolate to drip off. This creates a thin, even coating. Immediately place the coated truffle back onto your lined tray. Work quickly, as the cold truffle will make the chocolate set fast. If the chocolate starts to thicken or lose its fluidity, simply remelt it until smooth again.
- Step 9: Chill to Set. Once all truffles are coated, place the tray back into the fridge. Allow them to chill for at least 30 minutes, or until the chocolate coating is completely firm and set.
- Step 10 (Photo 8 – Optional Decoration): Garnish for Extra Flair. For an extra touch of elegance and flavor, you can drizzle the Biscoff truffles with more melted chocolate (I find a pastry bag with a small tip cut off works perfectly for this). Alternatively, sprinkle some additional crushed Biscoff cookies over the wet chocolate drizzle before it sets. This adds both visual appeal and a delightful crunch.
- Step 11: Serve and Store. Keep your finished Biscoff Truffles stored in the fridge until you are ready to serve them. Enjoy these delightful treats at their best!
Frequently Asked Questions (FAQs) About Biscoff Truffles
Biscoff is actually a well-known brand name given to Speculoos Cookies by the Belgian company Lotus. Speculoos Cookies (which might also be called Speculaas in the Netherlands) are traditional spiced shortcrust biscuits originating from Belgium and the Netherlands. Historically, they were a seasonal treat, often enjoyed around Christmas or Saint Nicholas Day in Belgium. However, their unique, comforting flavor has made them a popular everyday accompaniment, frequently served with coffee or tea.
Essentially, Biscoff *are* Speculoos cookies. The term “Biscoff” was coined by the Belgian brand Lotus when they began marketing their beloved Speculoos cookies outside of Europe, becoming a globally recognized name. Cookie Butter, or Biscoff Spread, is a delicious spread made by finely crushing and blending these spiced Speculoos cookies until they reach a creamy, butter-like consistency. So, they all refer to the same delicious flavor profile!
You have the flexibility to use your favorite type of chocolate for the coating; I personally recommend a good quality 70% Dark Chocolate for a rich, balanced flavor. However, the most critical aspect is to ensure you use proper Cooking Chocolate or Couverture Chocolate, not ordinary eating chocolate bars or standard chocolate chips. Cooking chocolate is specifically designed to melt smoothly and set firmly, creating that desirable glossy, crisp shell on your truffles. It’s usually sold in bars (which you’ll need to finely chop) or in small callets (which melt easily).
Absolutely! While a food processor makes the job quicker and ensures very fine crumbs, it’s not strictly necessary. To crush the Biscoff cookies by hand, simply place them in a sturdy freezer bag, seal it, and use a rolling pin to crush them until they are as fine as possible. For the truffle filling, combine these fine cookie crumbs with the Biscoff spread in a bowl and mix thoroughly with a spatula or your hands until a thick, uniform paste forms. The outcome will be just as delicious, though it might require a little more elbow grease!
Yes, you certainly can! While dark chocolate provides a lovely contrast to the sweetness of the Biscoff, milk chocolate will result in a sweeter, creamier truffle, and white chocolate will offer a distinctly different, perhaps even more indulgent, flavor profile. Just remember the crucial rule: always use good quality cooking or couverture chocolate for the best melting and setting results, regardless of the type.
These Biscoff Truffles are best enjoyed within 3 to 4 days for optimal texture and freshness. However, they will remain perfectly safe to eat for up to 1-2 weeks when stored correctly in an airtight container in the refrigerator.
Yes, these truffles are an excellent make-ahead dessert! You can prepare the Biscoff balls and coat them in chocolate a day or two in advance. Store them in an airtight container in the refrigerator until ready to serve. This makes them perfect for entertaining or as thoughtful homemade gifts.
Expert Tips for Perfect Biscoff Truffles
Achieving perfectly smooth, decadent Biscoff truffles is easy, but a few key tips can elevate your results:
- Achieve Fine Cookie Crumbs: The texture of your Biscoff truffle interior largely depends on how finely you crush the cookies. Aim for very small, uniform crumbs in your food processor. Larger pieces can make the dough difficult to roll into smooth balls and may prevent the truffle from holding together firmly. If crushing by hand, be patient and thorough.
- Ensure Optimal Dough Consistency: If, after the initial 10-15 minutes of chilling, your Biscoff dough still feels too soft or overly sticky to roll into neat balls, don’t fret! Simply place the entire bowl of dough into the freezer for an additional 5-10 minutes. This quick chill will help it firm up just enough to become easily manageable without becoming too hard.
- Consistency in Size: For a professional and visually appealing finish, use a small ice cream scoop (like a 1.6 inch / 4 cm scoop) to portion out the Biscoff dough. This ensures that all your truffles are roughly the same size, leading to uniform coating and consistent serving portions.
- Maintain Fluid Chocolate: While coating your truffles, it’s common for melted chocolate to start cooling and thickening, especially if you’re working slowly or in a cool environment. If your chocolate begins to set or solidify, simply remelt it gently over the double boiler or in short bursts in the microwave. The chocolate needs to remain very fluid and smooth to create a beautiful, even, and thin shell around each truffle. Working efficiently and in batches can also help.
- Don’t Overchill Before Dipping: While freezing the Biscoff balls is crucial for a quick chocolate set, avoid freezing them for too long (e.g., overnight). If the balls are excessively cold, they can cause the chocolate to crack once it sets due to temperature shock and expansion/contraction.
Storing & Freezing Your Biscoff Truffles
These delightful Chocolate Biscoff Truffles are best enjoyed when kept in the refrigerator. While they will remain perfectly fine at room temperature for a few hours, storing them in the fridge helps to maintain their firm texture and prevents the chocolate coating from melting too quickly. For the best flavor and texture, aim to consume them within 3 or 4 days. However, they will safely last for a much longer period, typically up to two weeks, when stored in an airtight container in the refrigerator.
I do not recommend freezing these chocolate Biscoff balls for long-term storage. Freezing can alter the delicate texture of the Biscoff center and may cause the chocolate coating to crack upon thawing, compromising the overall quality of the truffle. It’s always best to enjoy them fresh!
More Biscoff Delights to Explore
- Mini Biscoff Cheesecakes
- Biscoff Cheesecake
- Biscoff Butter Cookies
- Easy Biscoff Donuts
- Biscoff Brownies
- Biscoff Cookie Butter Ice Cream
- Easy Biscoff Cake
- Cookie Butter Cream Cheese Frosting
- Biscoff Cupcakes
- No Bake Biscoff Cheesecake
Made this recipe?
Let us know if you liked it by leaving a comment below, and tag us on Instagram @a.baking.journey with a photo of your creation!
Recipe Card

3-Ingredient No-Bake Biscoff Truffles
Print Recipe
Ingredients
- 240 gr (8.5 oz) Biscoff Cookies, (approx. 30 cookies, or any Speculoos brand)
- 240 gr (1 cup) Biscoff Spread, (smooth cookie butter spread recommended)
- 220 gr (7.5 oz) Dark Cooking Chocolate, (or couverture chocolate, 70% dark recommended)
Instructions
- Place your Biscoff Cookies in a food processor and blend until you achieve very fine crumbs (refer to note 1 for a no-food-processor method).240 gr (8.5 oz) Biscoff Cookies
- Add the Biscoff Spread (gently melted in the microwave for a few seconds if it’s too firm) and blend for a few more seconds until the mixture is fully combined into a thick, uniform paste.240 gr (1 cup) Biscoff Spread
- Transfer the dough into a bowl or container and place it in the fridge to set for 10 to 15 minutes (see note 2). This helps the dough firm up slightly for easier rolling.
- Using a small ice cream scoop (approx. 1.6 inch / 4 cm), scoop out portions of the dough. Roll each portion into a small, compact ball with your hands, gently pressing to ensure it’s firm. Arrange the balls on a parchment-lined tray and transfer to the freezer for about 30 minutes, or until they are hard and cold.
- Prepare your Cooking Chocolate (refer to note 3). If using a chocolate bar, finely chop it first. Place the chocolate in a heat-proof bowl and melt it either over a double boiler until perfectly smooth and fluid, or in the microwave in 30-second increments, stirring after each.220 gr (7.5 oz) Dark Cooking Chocolate
- Remove the Biscoff balls from the freezer. Dip each ball into the melted chocolate, ensuring it’s fully coated. Lift with a small fork, gently tapping the fork against the side of the bowl to remove excess chocolate. Place the coated truffle back onto the lined tray. If the chocolate starts to thicken, remelt it to maintain fluidity.
- Place the coated truffles in the fridge to set for at least 30 minutes, or until the chocolate shell is completely firm.
- Optional: Re-melt any leftover chocolate and drizzle it over the set Biscoff truffles (see note 4 for drizzling tips). For an extra touch, sprinkle with some additional crushed Biscoff cookies before the drizzle sets.
- Store your delicious Biscoff Truffles in an airtight container in the fridge until you’re ready to serve and enjoy!
Would you like to save this recipe?
We’ll email this post to you, so you can come back to it later!
Notes
Yield: This recipe, when using a small ice cream scoop (approximately 1.6 inch / 4 cm in diameter) for forming the balls, typically yields about 16 delicious truffles.
Instruction Notes:
- Making Without a Food Processor: If you don’t have a food processor, simply place the Biscoff cookies in a sturdy freezer bag. Use a rolling pin to crush them thoroughly until you achieve very fine crumbs. Transfer these crumbs to a mixing bowl. Then, add the Biscoff spread and mix it in with a spatula or your hands until a thick, uniform paste forms.
- Chilling the Dough: It’s important not to over-chill the dough, as it can become too hard to roll. However, directly after mixing, the dough is usually too soft and sticky to form neat balls. Chilling it in the fridge for 10-15 minutes helps it firm up to the perfect consistency, making it easy to roll without sticking excessively to your hands. If it’s still too soft after this time, a few minutes in the freezer can help.
- Choosing the Right Chocolate: While you can use any chocolate you prefer (I recommend a 70% dark chocolate), ensure it’s a dedicated Cooking Chocolate or Couverture Chocolate, not standard eating chocolate or chocolate chips. Cooking chocolate is formulated to melt smoothly and harden beautifully, giving your truffles a professional, glossy finish. If using a bar, always chop it finely before melting for even heat distribution.
- Drizzling Chocolate: For an easy and elegant chocolate drizzle, take any leftover melted chocolate and transfer it into a small pastry bag (or a sturdy zip-top bag). Snip off a tiny corner of the bag to create a very small hole. Then, simply drizzle the chocolate in fine lines over your set truffles. This creates a lovely decorative touch.
Nutrition (per serving)
