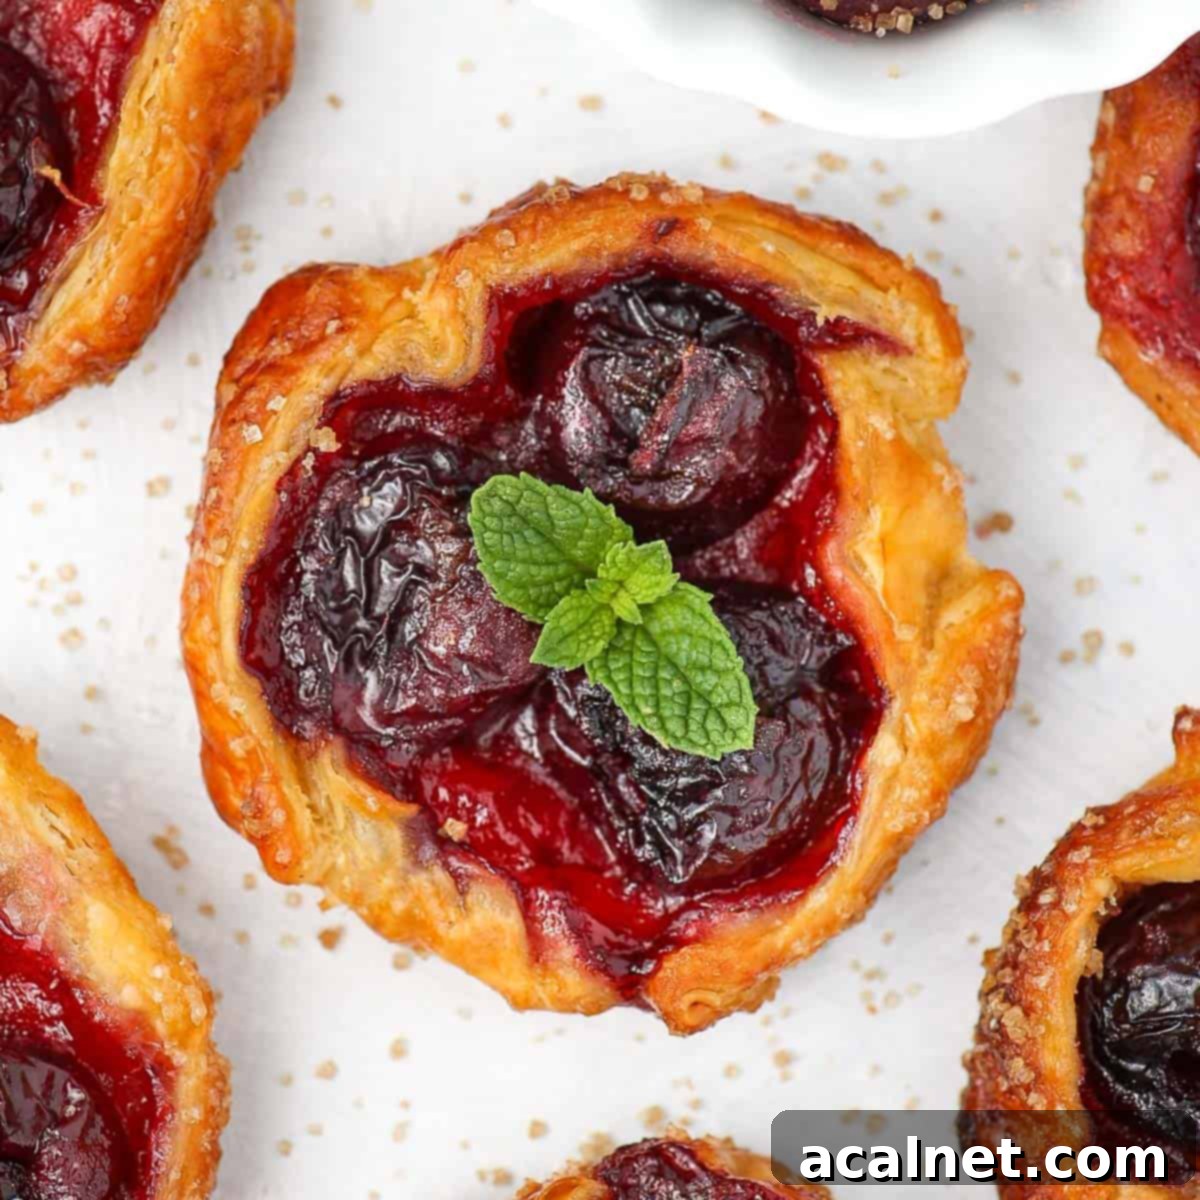
Easy Cherry Tartlets with Puff Pastry: A Quick & Delicious Dessert Recipe
These rustic Cherry Tartlets, crafted with readily available puff pastry, are a truly delightful and incredibly simple dessert. They’re perfect for any occasion, whether it’s an elegant afternoon tea gathering, a lively party, or simply a sweet treat for yourself. Made from just five core ingredients, these charming pastries can be prepared and baked in under 50 minutes, making them an ideal choice for last-minute cravings or busy schedules. Their flaky, golden crust and vibrant, juicy cherry filling offer a harmonious blend of textures and flavors that will impress with minimal effort.
[feast_advanced_jump_to]
Why You’ll Adore These Easy Cherry Tartlets
These mini cherry tarts aren’t just a treat for the taste buds; they’re a dream for any baker looking for a simple yet impressive dessert. Combining a gorgeously buttery and crunchy pastry with a fresh, vibrant cherry filling, they are incredibly easy to prepare. We’ve streamlined the process by pairing a simple homemade cherry filling with convenient frozen puff pastry, making this recipe truly “easy peasy” and perfect for both novice and experienced bakers alike.
Whether you’re hosting a party and need a crowd-pleasing dessert or simply craving a sweet snack, these mini cherry desserts are the perfect solution. They offer a simple yet intensely flavorful way to enjoy fresh cherries during peak season, bursting with natural fruit goodness. Their bite-sized nature also makes them ideal for portion control and easy serving.
Here’s why this cherry tartlet recipe will quickly become a favorite in your kitchen:
- Ultimate Convenience with Frozen Puff Pastry: Say goodbye to time-consuming pastry making! This recipe leverages the ease of frozen puff pastry, delivering a consistently delicious, flaky, and golden-brown crust every time. It’s a game-changer for quick desserts.
- Make-Ahead Cherry Filling: The star of these tartlets, the homemade cherry filling, can be prepared in advance. This flexibility allows you to spread out your prep time, making entertaining or busy weeknights much more manageable. Just assemble and bake when you’re ready!
- No Special Equipment Needed: Forget about searching for tartlet pans or molds. These are wonderfully free-form tartlets, shaped by hand directly on a baking sheet. This rustic approach not only simplifies the process but also adds to their charming homemade appeal.
- No Waiting, No Chilling: Unlike many pastry recipes that require extensive chilling or resting times, these easy cherry tartlets are designed for immediate baking. The cherry filling is also prepared without pre-cooking in a saucepan, streamlining your workflow and getting these delicious treats into the oven faster.
Essential Ingredients for Perfect Cherry Tartlets
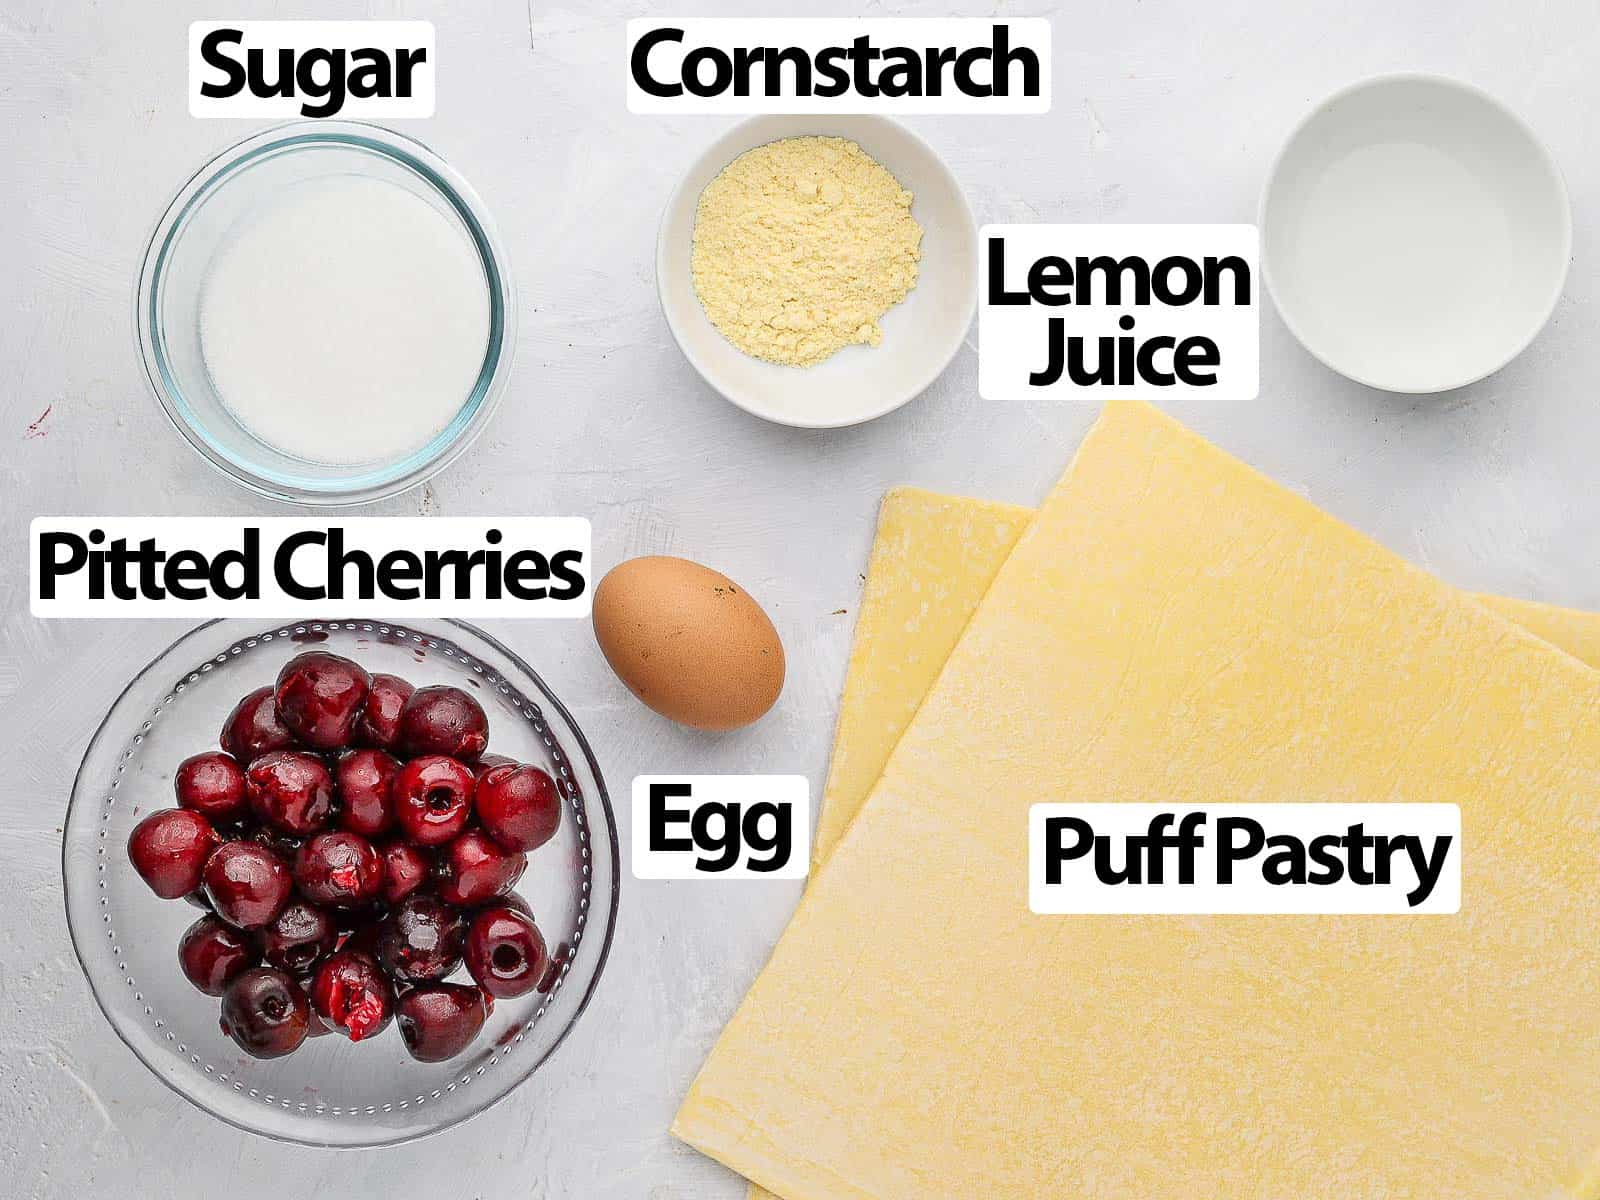
These delightful bite-size cherry tartlets are crafted with just five core ingredients, plus a couple of optional additions to elevate their appearance and texture. You’ll find specific quantities in the recipe card below, but here’s a breakdown of each component and why it’s key:
- Cherries: For the best flavor and texture, fresh, pitted cherries are highly recommended, especially when they’re in season. Their natural sweetness and slight tartness are ideal. If fresh cherries aren’t available, frozen pitted cherries are a fantastic alternative. Just remember to thaw them completely and drain them thoroughly to remove any excess liquid. Too much moisture can make your tartlets soggy, compromising that perfect flaky crust.
- Lemon Juice: A small amount of fresh lemon juice is crucial. It acts as a natural flavor enhancer, brightening the sweet fruit and providing a subtle tang that balances the overall sweetness. Always opt for fresh lemon juice over bottled for superior flavor.
- Sugar: Caster sugar or fine white granulated sugar works beautifully here. These fine sugars dissolve easily into the cherry filling, ensuring even sweetness without a grainy texture. Adjust the amount to your personal preference and the natural sweetness of your cherries.
- Cornstarch: This ingredient is vital for thickening the juices that the cherries release during baking. Without it, your tartlets would be watery. Cornstarch creates a luscious, jam-like filling that holds its shape beautifully. As a substitute, you could use an equal amount of plain/all-purpose flour, or other starches like tapioca starch for a similar effect.
- Puff Pastry: The foundation of these tartlets! For truly exceptional results, I highly recommend investing in good quality, all-butter puff pastry. The difference in flavor and flakiness is significant. You’ll typically need two thawed sheets of frozen puff pastry for this recipe. Ensure it’s fully thawed but still cold enough to handle easily.
Optional Ingredients for Added Flair:
- Egg: Used to create an egg wash, which is brushed over the pastry edges before baking. This simple step gives your cherry tartlets a stunning golden-brown sheen and contributes to a professional, bakery-quality finish.
- Raw Sugar or Demerara Sugar: A sprinkle of coarse sugar over the puff pastry crust just before baking adds a wonderful textural crunch and a hint of extra sweetness. If you’re feeling adventurous, flaked almonds can also provide a delicious, nutty crunch.
For an extra layer of flavor, consider adding a tiny pinch of sea salt to the filling, a touch of orange or lemon zest for a bright citrusy note, or a dash of pure vanilla extract to complement the cherries.
Crafting Your Own Mini Cherry Tarts: Step-by-Step Guide
Making these delightful cherry galettes is a straightforward process, broken down into two main stages: preparing the flavorful cherry filling and then assembling the tartlets with rounds of puff pastry. The beauty of this recipe lies in its simplicity and the rustic charm of free-form pastries.
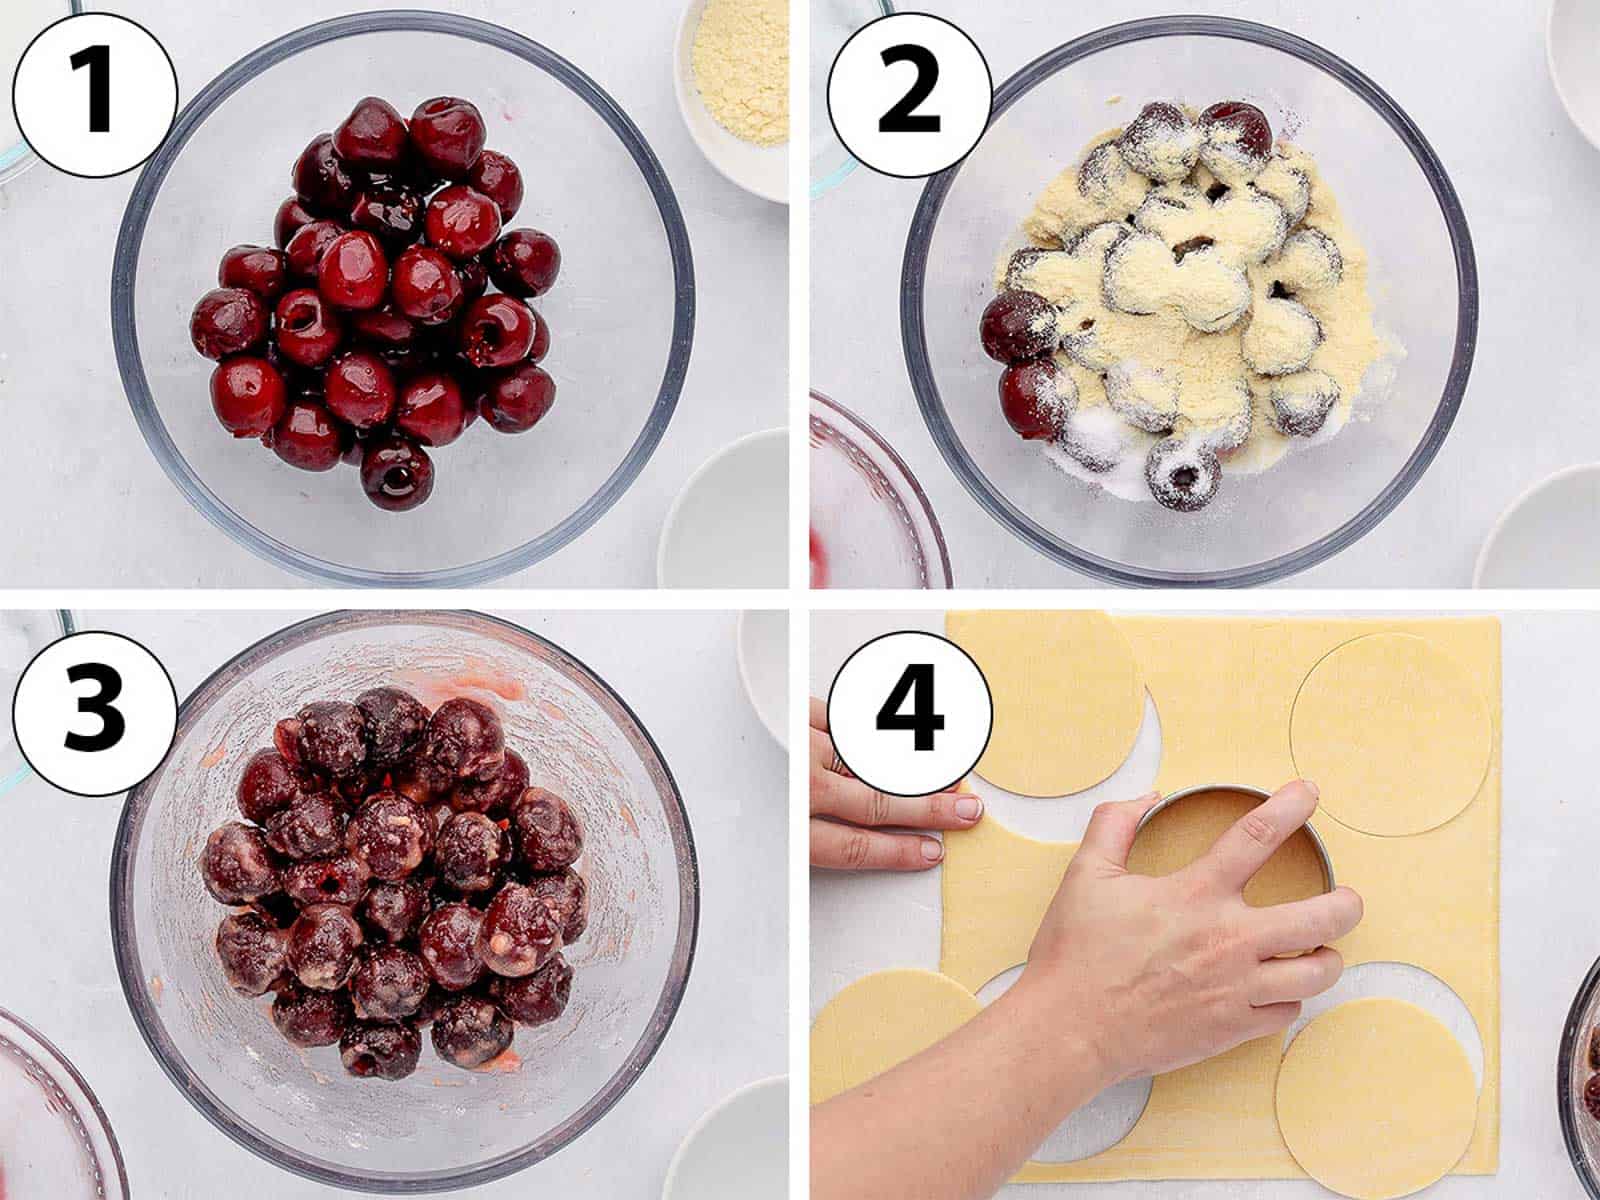
Instructions:
- Step 1: Prepare the Cherries. Begin by washing your fresh cherries thoroughly. The next crucial step is pitting them. If you don’t have a specialized cherry pitter, don’t worry – a sturdy straw can work wonders (see FAQs for a detailed method). Once pitted, place the cherries into a medium-sized mixing bowl. If you’re using frozen cherries, ensure they are completely thawed and, most importantly, very well drained to remove any excess liquid. This step is critical; too much moisture from the fruit can lead to a soggy pastry, and nobody wants that!
- Step 2: Create the Cherry Filling. Into the bowl with the pitted cherries, add the fresh lemon juice, caster sugar, and cornstarch. The lemon juice will brighten the flavors, the sugar will sweeten, and the cornstarch will act as a thickener, ensuring your filling isn’t too runny during baking.
- Step 3: Mix the Filling. Using a spatula, gently mix all the ingredients together until every cherry is evenly coated with the sugar and cornstarch mixture. This ensures consistent flavor and proper thickening. Once mixed, set the bowl aside while you prepare your pastry.
- Step 4: Preheat and Prepare. Preheat your oven to 180°C (350°F). Prepare a large baking tray by lining it with baking paper or a silicone baking mat. For an extra crispy bottom, consider using a perforated baking mat or a perforated baking tray, which allows for better air circulation.
- Step 5: Cut the Puff Pastry. Remove the sheets of puff pastry from the freezer and allow them to thaw at room temperature for about 5 to 10 minutes, or until they are soft enough to work with but still cool. Using a large round cookie cutter, approximately 10 cm (4 inches) wide, cut out individual disks of dough. Most standard 25x25cm (10×10 inch) puff pastry sheets will yield about 5 disks each. It’s important not to cut the disks much smaller than 10 cm, as smaller tartlets can be quite challenging to shape and fill effectively. Gather any leftover pastry scraps and gently press them together to cut out additional disks, minimizing waste.
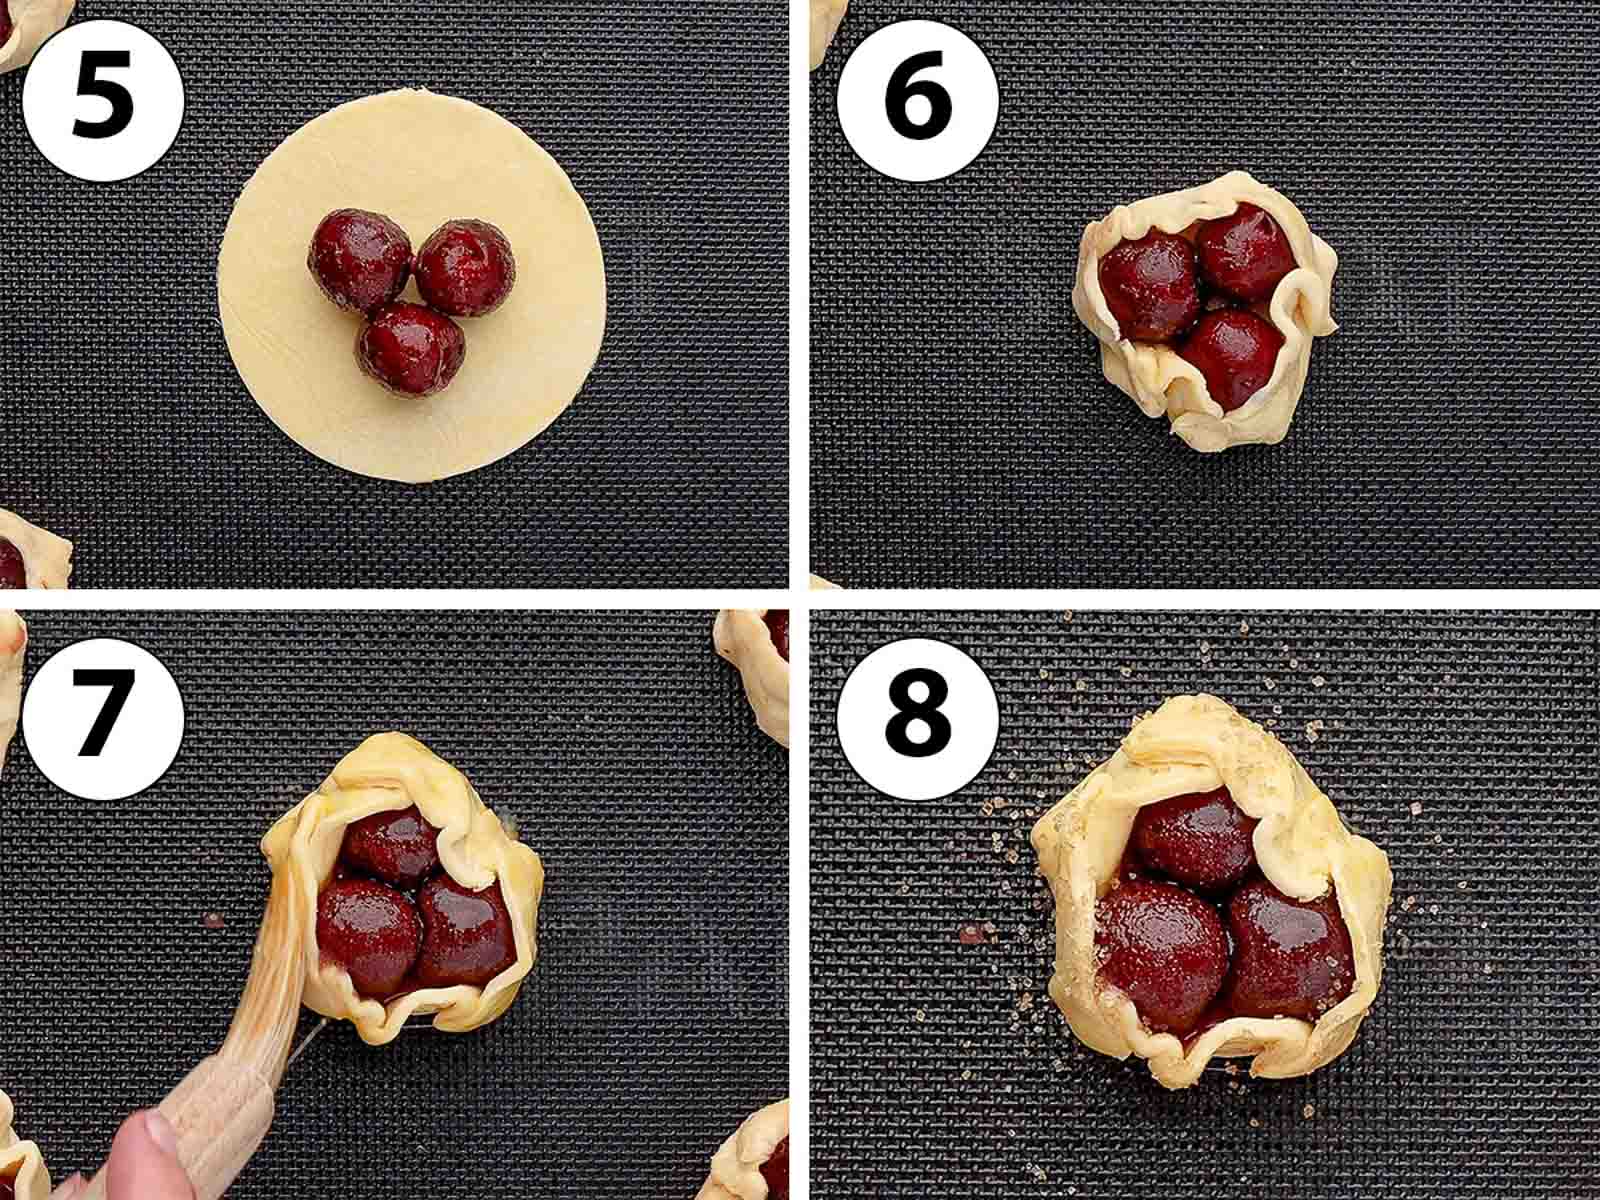
Remember, there’s no need for special tart pans or individual molds here; these tartlets are delightfully free-formed directly on your baking sheet, embracing a more rustic and homemade aesthetic.
- Step 6: Assemble the Tartlets. Carefully place the cut-out puff pastry disks onto your prepared baking tray. Before spooning the filling, quickly re-mix the cherry mixture to ensure that any juices released by the fruit are evenly distributed with the cornstarch. Spoon a modest amount of the cherry filling into the center of each puff pastry disk – typically, about three cherries per tartlet is ideal, allowing space around the edges for folding.
- Step 7: Fold and Seal. Gently fold the edges of the puff pastry over the cherries, creating a sealed border around the filling. You don’t need to be precise; the charm of these tartlets comes from their imperfect, hand-shaped appearance. Lightly press the dough together to ensure the edges stick and contain the filling during baking.
- Step 8 (Optional): Egg Wash. For a beautiful golden finish, lightly beat one egg in a small bowl to create an egg wash. Using a pastry brush, delicately brush the exposed puff pastry edges of each tartlet. This will give them a wonderful shine and a deeper golden color.
- Step 9 (Optional): Sugar Sprinkle. For an extra layer of crunch and a touch more sweetness, sprinkle some raw sugar or demerara sugar over the egg-washed pastry edges. This creates a delightful caramelized texture on the crust.
- Step 10: Bake to Perfection. Transfer the baking tray to your preheated oven and bake for 20 to 25 minutes. Keep an eye on them; the tartlets are ready when the puff pastry crusts are beautifully golden brown and visibly puffed up around the filling.
- Step 11: Cool and Serve. Once baked, carefully transfer the mini cherry pies from the hot baking tray to a wire rack to cool down. They can be enjoyed while still lukewarm, perhaps with a scoop of ice cream, or completely cooled. The contrasting textures of the warm, juicy filling and the crisp pastry are simply irresistible.
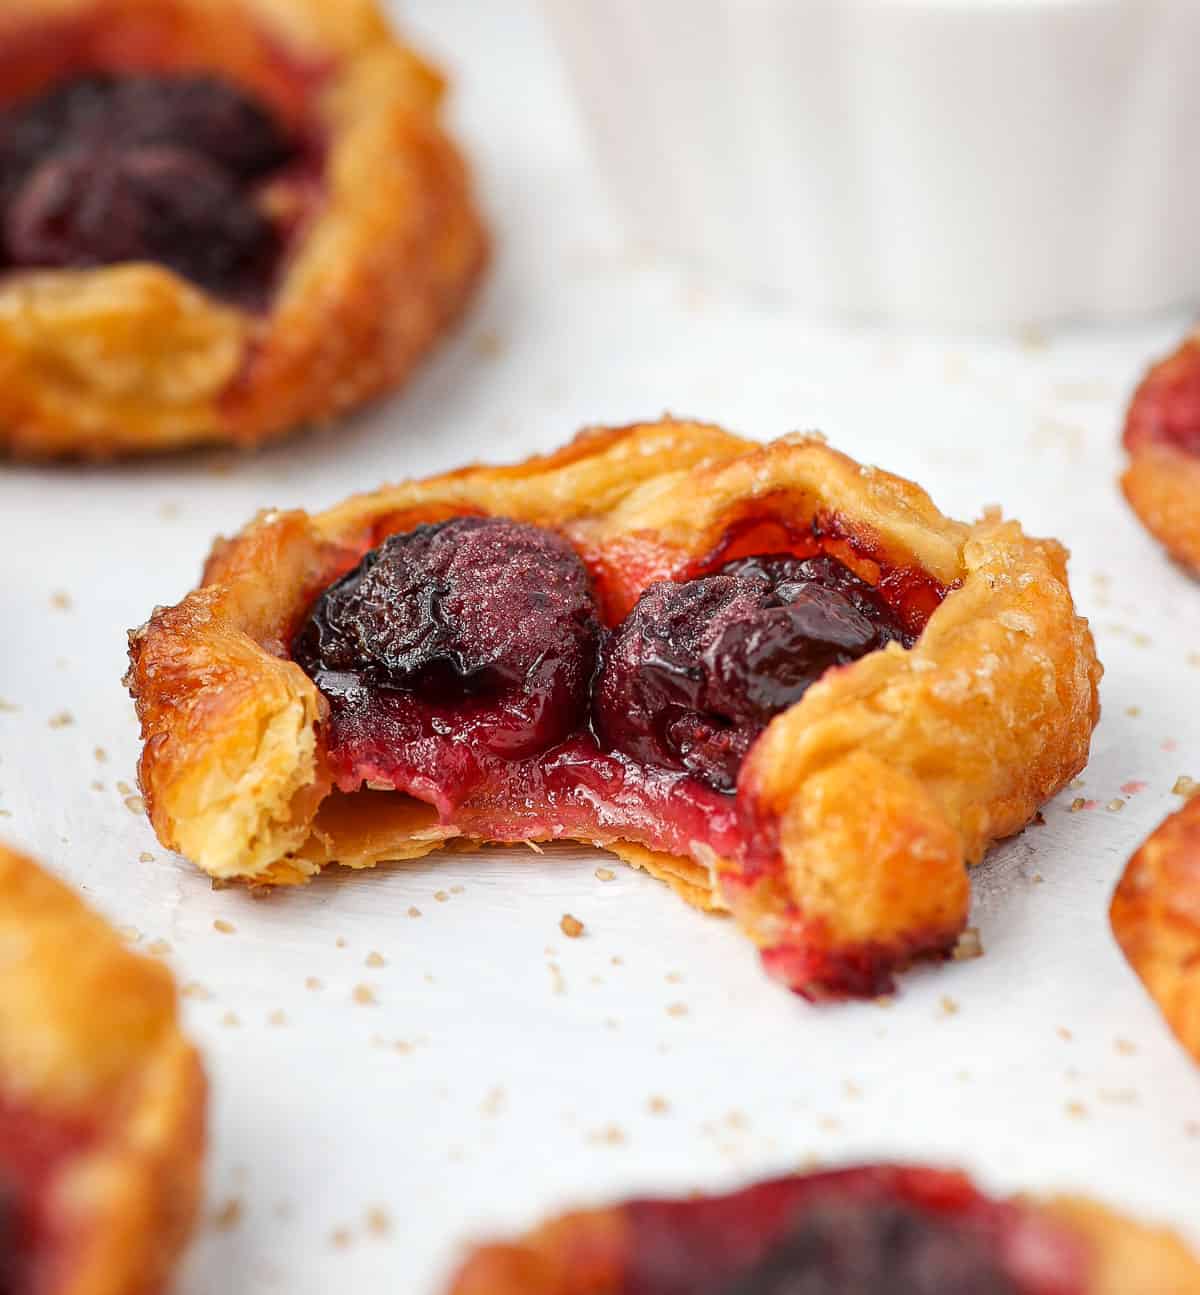
Frequently Asked Questions About Cherry Tartlets
While this recipe was developed using fresh sweet cherries, you can certainly experiment with other types. If opting for sour cherries, you’ll likely want to increase the amount of sugar in the filling to balance their tartness. When using canned cherries, it’s absolutely crucial to drain them exceptionally well, pressing out as much liquid as possible. You might also need to slightly increase the cornstarch to compensate for any residual moisture. The uncooked filling method here is similar to a traditional cherry pie filling but relies on the cornstarch to thicken as it bakes.
No cherry pitter? No problem! A stiff straw, like a reusable plastic or metal straw, can be a surprisingly effective tool. Simply place the cherry stem-side down on a cutting board, then firmly press the straw through the top of the cherry (where the stem was attached) and push the pit right out the bottom. Always be careful to keep your fingers clear to avoid any accidental pokes. For more detailed visual guides and alternative techniques, you can explore resources like this guide on how to pit cherries.
Yes, absolutely! If you prefer a more defined, deeper tart shell, a muffin pan is an excellent alternative. Simply press the puff pastry disks gently into the muffin pan cavities, forming a cup. Then, proceed to fill them with the cherry mixture as directed. With a good quality non-stick muffin pan and all-butter puff pastry, greasing the pan is often unnecessary, as the pastry contains enough fat to prevent sticking. However, if you’re unsure or using an older pan, a light grease is always a safe bet to ensure easy removal.
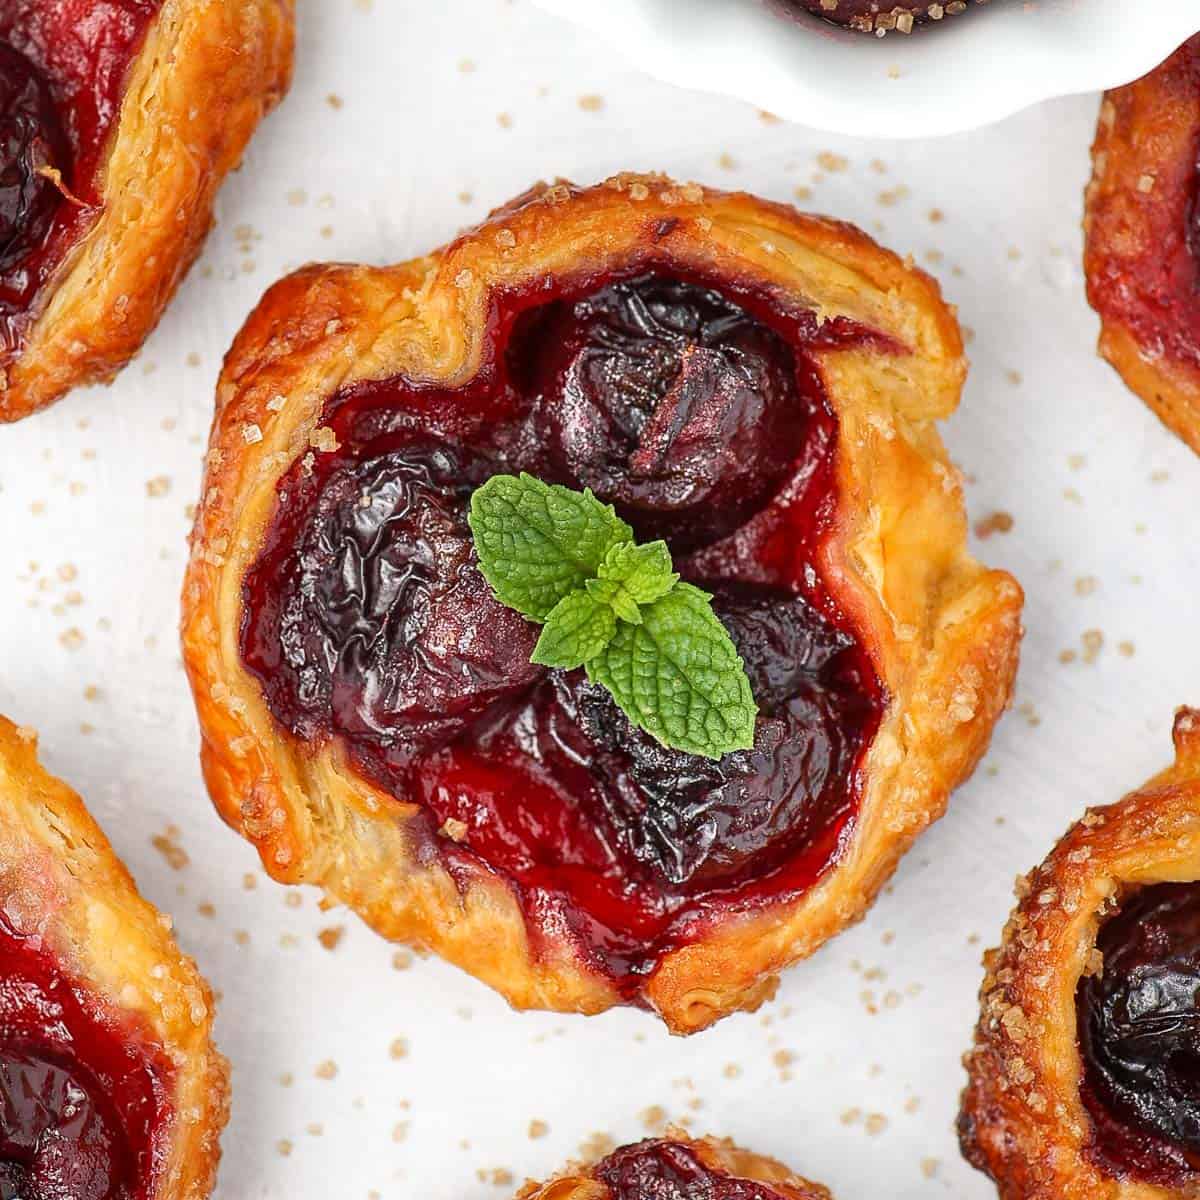
While a simple topping of fresh mint leaves adds a beautiful pop of color and freshness, there are many ways to elevate your mini cherry pies. Consider a dollop of fluffy whipped cream (or rich chantilly cream), a spoonful of homemade vanilla custard, or a scoop of your favorite vanilla ice cream for a warm-cold contrast. A dusting of powdered sugar just before serving also adds an elegant touch. For extra texture, toasted slivered almonds or a drizzle of chocolate sauce could also be delicious.
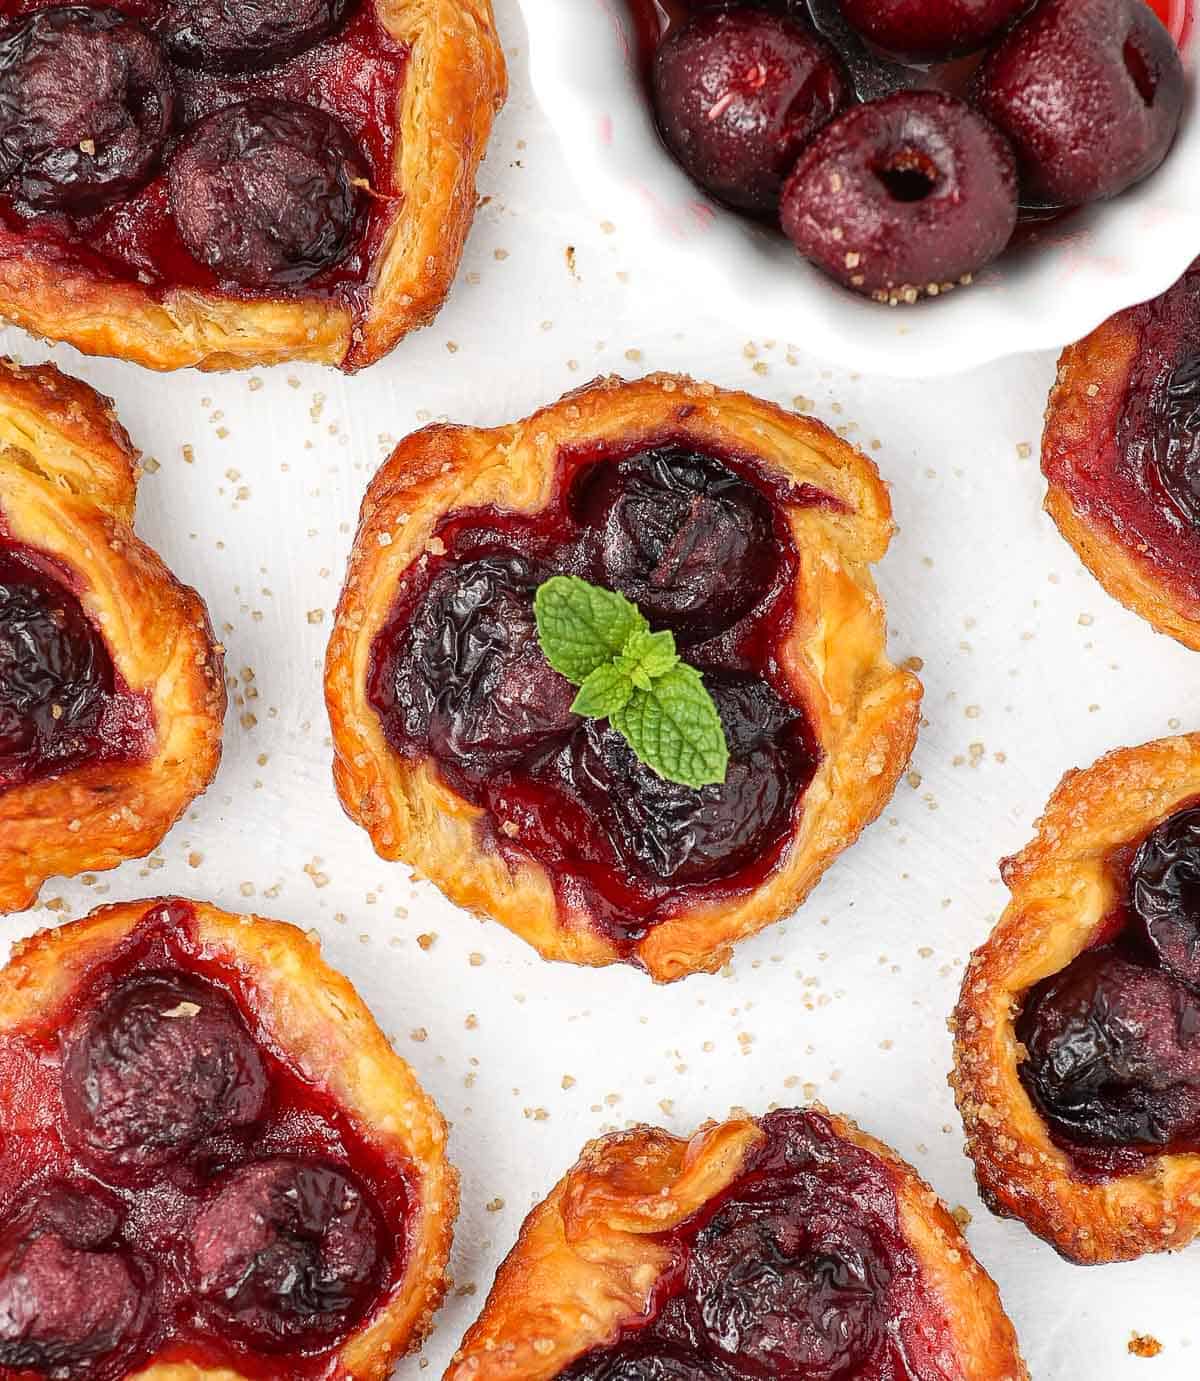
Top Tips for Perfect Cherry Tartlets
Achieving perfectly crisp and flavorful cherry tartlets is easy with a few insider tips:
- Prepare Filling in Advance: If you’re looking to save time on the day of serving, the cherry filling can be prepared up to 24 hours in advance. Simply cover the mixing bowl with plastic wrap and store it in the refrigerator. Before using, give it a good stir. Keep in mind that fruits tend to release more moisture over time, so you might need to add a tiny bit more cornstarch than initially recommended to maintain the perfect thickening consistency. Always taste and adjust as needed!
- Ensure Crispy Bottoms with Perforated Mats: For pastries that are wonderfully puffy, golden-brown, and thoroughly baked – especially on the bottom – a perforated baking mat (or even a perforated baking tray) is your secret weapon. The tiny holes in these mats allow hot air to circulate evenly around and under the tartlets, preventing a soggy bottom and promoting a consistently crisp texture. This small investment can make a big difference in the quality of your baked goods.
- Experiment with Flavor Variations: While cherry is a classic, don’t hesitate to get creative with your fruit filling! You could mix different berries with the cherries, such as blueberries or raspberries, for a multi-faceted flavor profile. A pinch of cinnamon, a dash of almond extract, or a tablespoon of orange liqueur (like Grand Marnier) can also introduce intriguing aromatic notes to the cherry filling. The possibilities are endless!
Storing & Freezing Your Cherry Tartlets
For the ultimate experience, with the puff pastry at its crispiest and flakiest, these tartlets are best enjoyed fresh from the oven, ideally while still slightly warm. If you can’t devour them all immediately, they will still be delicious for up to 24 hours when stored at room temperature in an airtight container. Beyond this timeframe, the natural juices from the cherry filling will gradually begin to soften and soak into the delicate puff pastry, diminishing its crispness. While they remain perfectly safe to eat for a few days, the texture will become less ideal. Therefore, these cherry pastries are not recommended for freezing, as the puff pastry will lose its desirable flaky texture upon thawing.
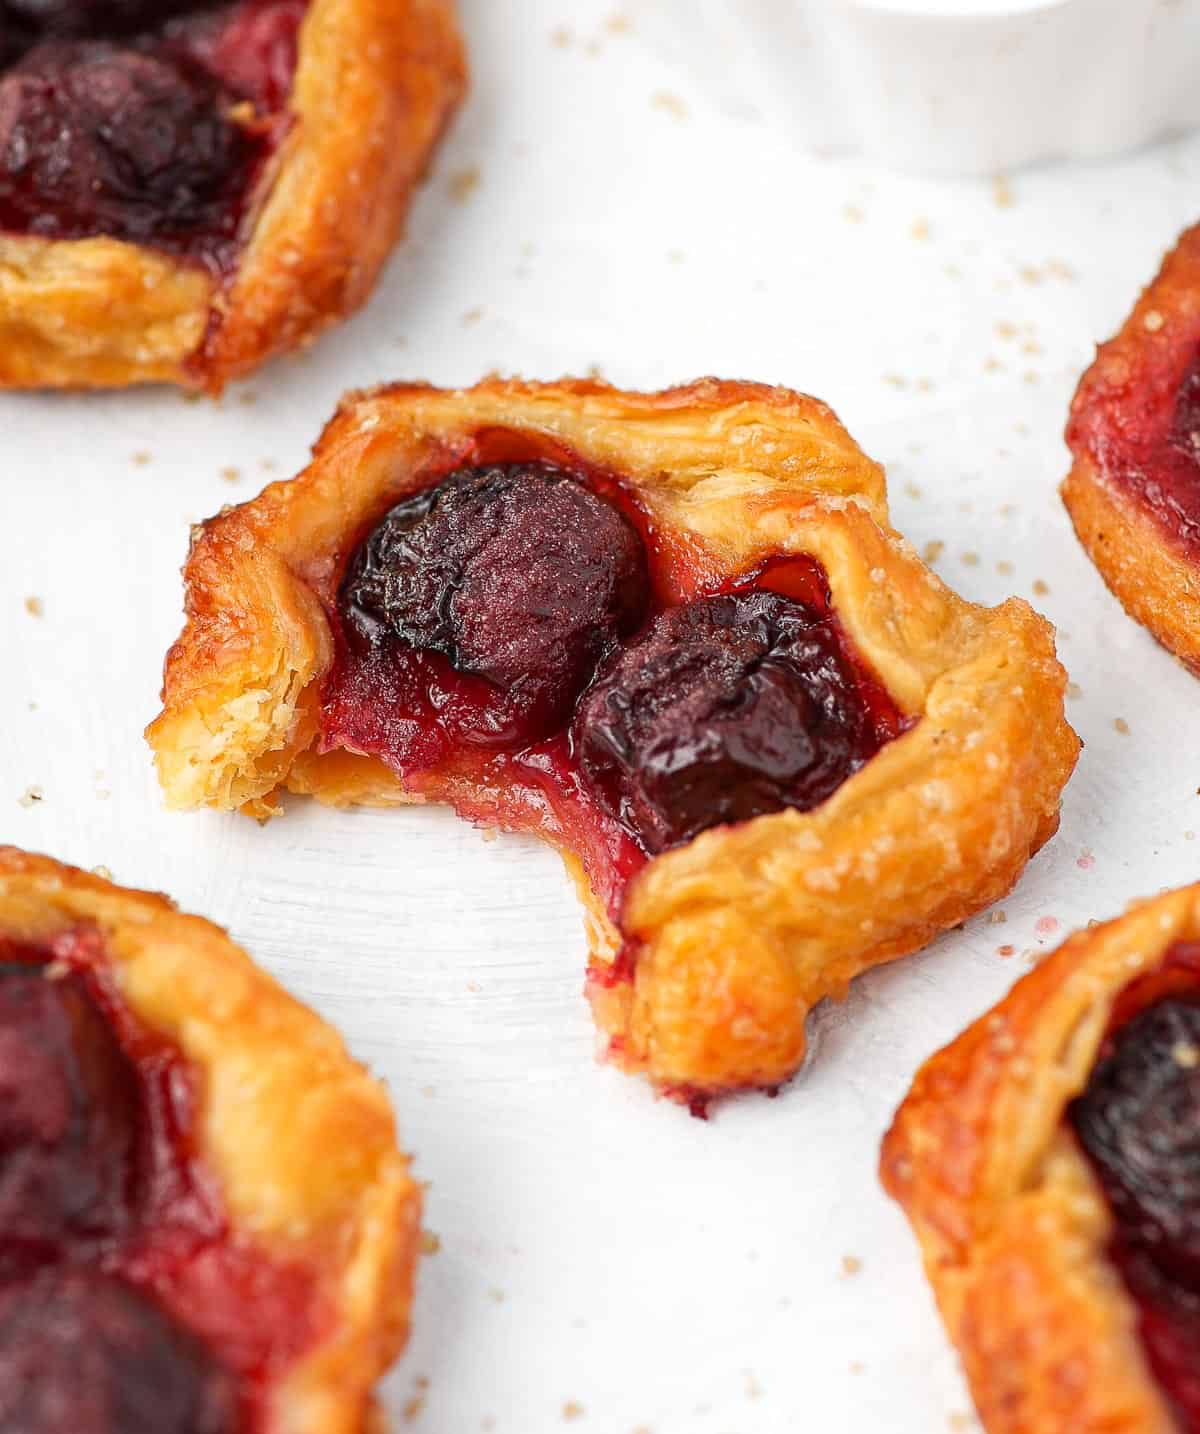
Explore More Delicious Tartlet Recipes
If you’ve fallen in love with these easy cherry tartlets, you’ll be thrilled to discover a world of other delightful tartlet recipes to try. Expand your baking repertoire with these fantastic options:
- Bright and Tangy Lemon Curd Tartlets
- Classic Mini Lemon Meringue Tarts
- Zesty Orange Tartlets for Citrus Lovers
- Elegant Raspberry Frangipane Tartlets
- Rich Chocolate Orange Tartlets
- Indulgent Raspberry Chocolate Tartlets
- Sweet Strawberry Custard Tartlets
- Irresistible Salted Caramel Tartlets
- Creamy Mini Butterscotch Tartlets
Made this recipe?
We’d absolutely love to hear from you! Please let us know if you liked it by leaving a comment below. Don’t forget to tag us on Instagram @a.baking.journey with a photo of your delicious creation!
Recipe Card

Easy Cherry Tartlets with Puff Pastry
Print Recipe
Ingredients
- 200 gr (7 oz) Pitted Cherries, fresh or frozen thawed & drained
- 15 ml (1 tablespoon) Lemon Juice
- 50 gr (1/ 4 cup) Caster Sugar
- 10 gr (1 tablespoon) Cornstarch
- 2 sheets Frozen Puff Pastry, 25x25cm / 10x10inch
- 1 Egg, for egg wash, optional
- Raw Sugar, to taste, optional
Instructions
- Wash then pit the fresh Cherries (see note 1). Place them in a mixing bowl. Add the Lemon Juice, Sugar and Cornstarch and stir with a spatula until all the cherries are evenly covered with the other ingredients. Set aside.
- Preheat your oven on 180’C/350’F. Prepare a large baking tray with baking paper or a baking mat.
- Take the puff pastry sheets out of the freezer and leave at room temperature for 5 to 10 minutes or until thawed / soft. Using a large cookie cutter (about 10 cm / 4 inch wide), cut out 5 disks of dough per sheet (see note 2).
- Place the disks of puff pastry on the baking tray. Spoon out some of the cherry filling at the centre of each puff pastry disks (I used 3 cherries per tartlets) – (see note 3)
- Fold the dough over the cherries, gently pressing on it so that it sticks together and create a sealed edge.
- Optional: lightly beat the egg in a small bowl and brush it over the edges of the tartlets, then sprinkle over some raw sugar.
- Bake for 20 to 25 min or until the puff pastry pie crusts are golden brown and puffed. Transfer over a wire rack to cool down. Serve lukewarm or cooled down.
Video
Would you like to save this recipe?
We’ll email this post to you, so you can come back to it later!
Notes
- If you do not have a cherry pitter, you could simply use a stiff straw (like a reusable plastic or metal straw). Simply press the straw through the top of the cherry (where the stem comes out) and push the pit out. Be careful not to have your finger under the cherry or you might poke yourself.
- I don’t recommend cutting out the puff pastry in smaller disks than 10 cm (4 inch) wide or you will get very small tartlets that are hard to shape.
- Re-mix the filling before placing it over the pastries to make sure all the ingredients are evenly combined. The fruits should have released some juice and you want to insure there is enough cornstarch all around to thicken them.
Nutrition (per serving)
Discover the Visual Guide: Easy Cherry Tartlets Web Story
