Easy Puff Pastry Apple Tart: Your Go-To Recipe for a Flaky, Sweet & Simple Dessert
Craving a delightful dessert that tastes gourmet but is incredibly simple to prepare? Look no further than this Easy Puff Pastry Apple Tart! This recipe is a game-changer for anyone who loves the classic flavors of an apple tart but doesn’t have hours to spend in the kitchen. In less than an hour, you can create a stunning dessert featuring flaky, golden puff pastry, a luscious homemade or store-bought applesauce filling, and tender slices of apple infused with warm cinnamon. It’s the perfect treat for any occasion, from an elegant afternoon tea to a comforting weeknight dessert, proving that deliciousness doesn’t have to be complicated.
[feast_advanced_jump_to]
Why You’ll Fall in Love with This Puff Pastry Apple Tart Recipe
If you adore the rich, comforting flavors of a traditional French Apple Tart but often find yourself short on time or intimidated by complex pastry work, this puff pastry apple tart is your new best friend. It captures all the essence of a classic apple dessert with a fraction of the effort, making it an absolute must-try for busy bakers and dessert enthusiasts alike.
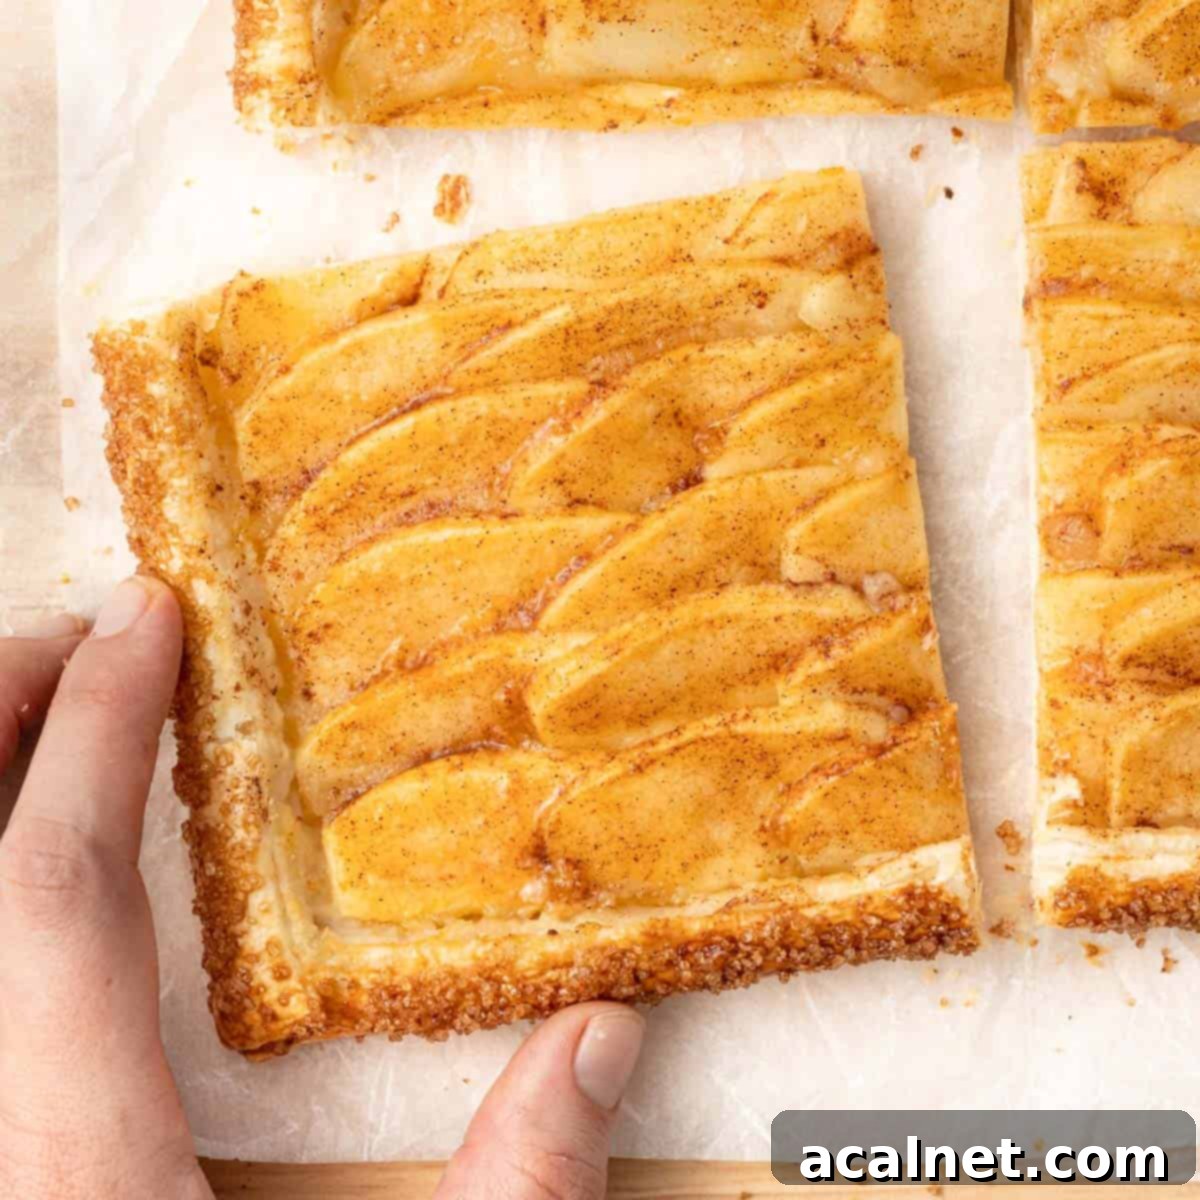
This rustic yet elegant apple tart relies on readily available ingredients, making it incredibly accessible. We’re talking about humble store-bought puff pastry transformed into a flaky, buttery base, complemented by a simple, smooth applesauce filling, and topped with beautifully soft apple slices. The magic lies in the contrast: the crisp, airy layers of the puff pastry provide a delightful crunch, which then gives way to the creamy, slightly tangy applesauce. This is perfectly balanced by the tender, melt-in-your-mouth texture of the baked apples, all subtly spiced with cinnamon. It’s a symphony of textures and flavors that’s both comforting and sophisticated.
Much like its charming cousin, the Mini Apple Tarts, this full-sized dessert is incredibly versatile. It’s ideal for a fancy afternoon tea, a satisfying dessert after dinner, or even a special breakfast treat with a cup of coffee. Its ease of preparation means you can whip it up for unexpected guests or simply when a craving for something sweet and apple-y strikes.
Essential Ingredients for Your Easy Apple Tart
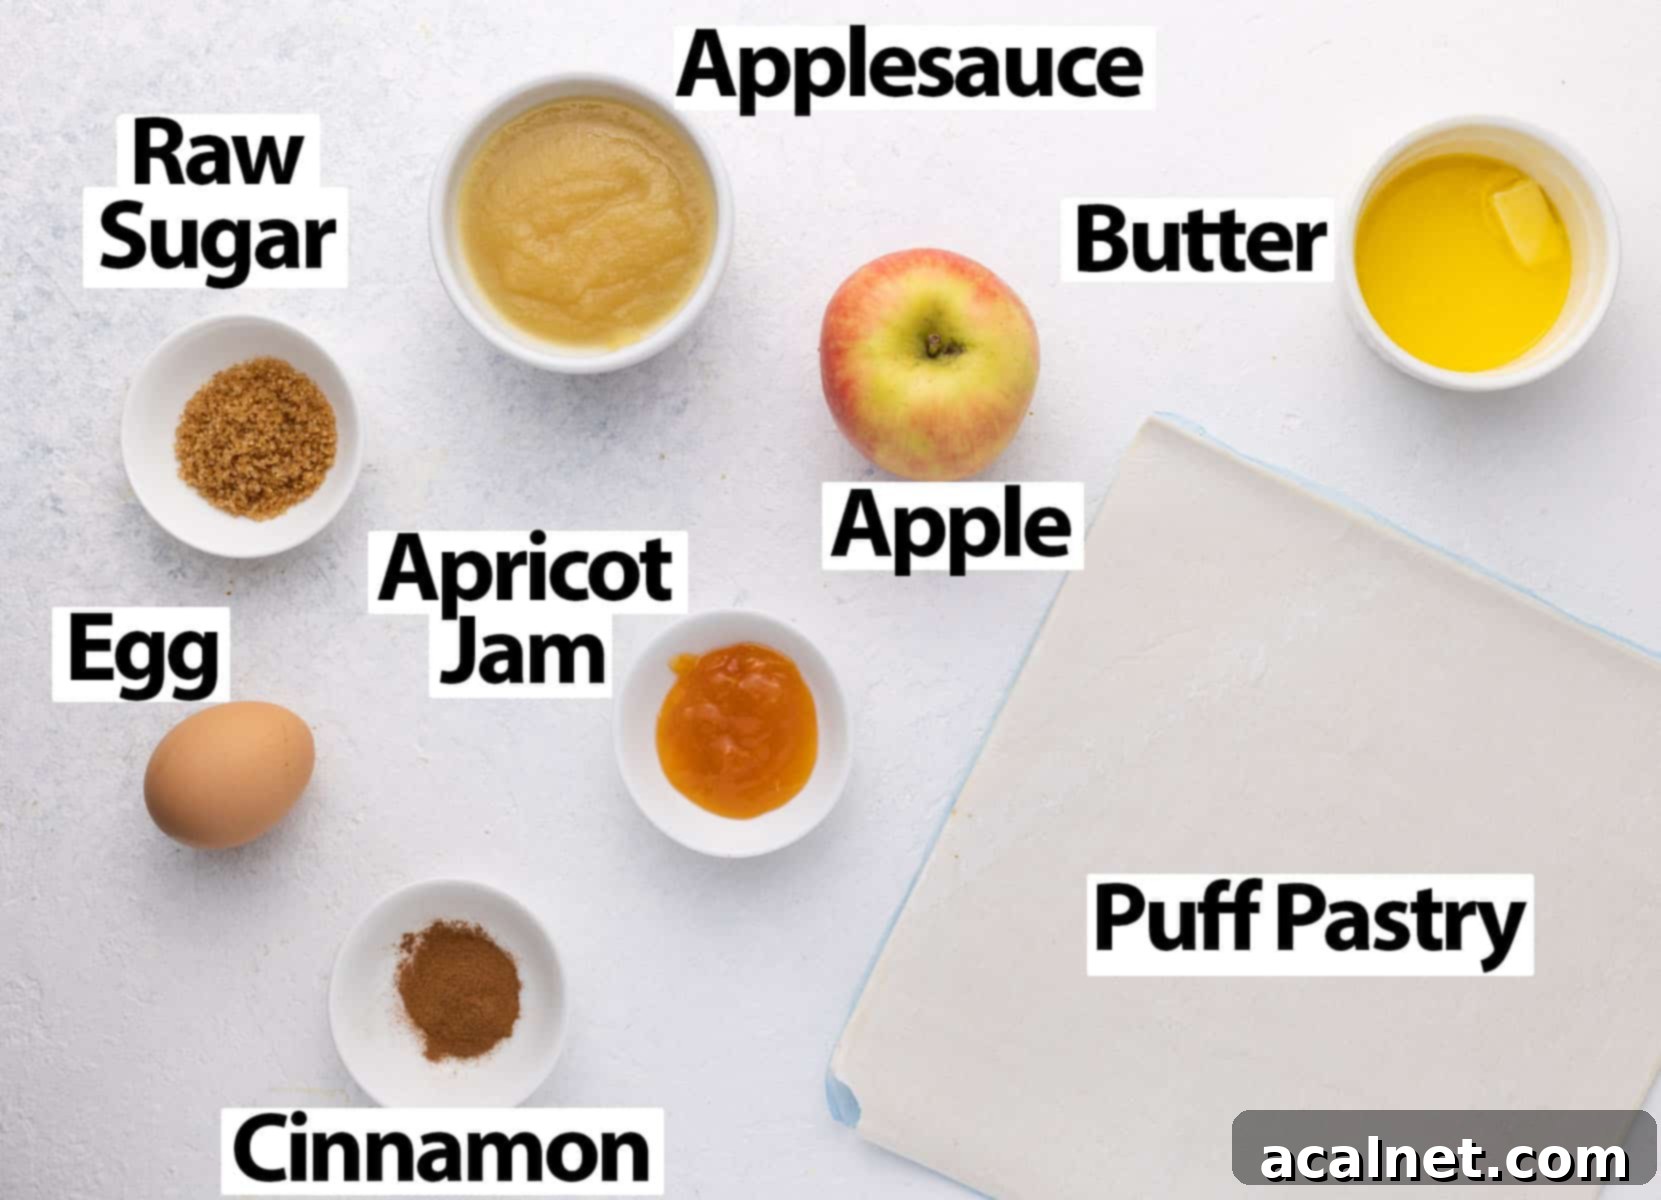
This delightful apple tart comes together with just a few basic, high-quality ingredients. Here’s what you’ll need to create this simple yet elegant dessert:
For precise quantities and detailed instructions, refer to the recipe card below.
- Puff Pastry: The foundation of our tart! I recommend using a high-quality, all-butter frozen puff pastry sheet for the best flavor and flakiness, typically around 25×25 cm (10×10 inches). While frozen works beautifully, fresh puff pastry is also an option. Remember to allow it to thaw completely at room temperature before you begin, as this ensures it’s pliable and easy to work with. Using a pure butter puff pastry elevates the taste significantly, providing that rich, melt-in-your-mouth texture that makes this tart truly special.
- Applesauce: This forms the delicious, smooth base of our tart. You can use either applesauce or apple butter. My homemade smooth applesauce is fantastic, but a good quality store-bought version works perfectly too. If opting for store-bought, always check the sugar content; you want a fresh apple flavor to shine through, not an overly sweet one. This layer adds essential moisture and a lovely tangy-sweet counterpoint to the fresh apples.
- Apple: You’ll need one large apple, peeled, cored, and sliced thinly. The thickness of your slices will impact baking time and texture, so aim for uniform, delicate pieces. While peeling is standard, you can certainly leave the skin on for added rustic charm and fiber, if preferred. Depending on the size of your chosen apple, you might need slightly more or less than one. For the best varieties, check out our FAQs section below!
- Butter + Cinnamon: A simple yet powerful flavor combination. Melted unsalted butter mixed with a hint of ground cinnamon gets brushed over the apples before baking. This not only encourages beautiful browning but also infuses the apples with a warm, inviting spice. Feel free to experiment with other complementary spices like a pinch of nutmeg, allspice, or cardamom. While the recipe is designed to be subtly sweet, if you desire a sweeter or more caramelized finish, a small amount of brown sugar can be whisked into the melted butter mixture.
Optional Enhancements for Your Tart
- Egg: An egg wash (one lightly whisked egg) brushed over the exposed puff pastry edges before baking gives them a gorgeous golden-brown hue and a slight sheen, enhancing the tart’s visual appeal.
- Raw Sugar: Also known as Demerara sugar, sprinkling this coarse sugar over the egg-washed crust adds a delightful sparkle and a textural crunch, contrasting beautifully with the soft fruit.
- Apricot Jam (or Preserve): For a professional-looking, glossy finish and an extra touch of sweetness, brush warmed apricot jam (thinned with a few drops of water) over the baked apples immediately after they come out of the oven. This creates a beautiful glaze that seals in moisture and adds a subtle fruity note.
Step-by-Step: How to Craft Your Easy Puff Pastry Apple Tart
- Begin by preheating your oven to 180 degrees Celsius (350 degrees Fahrenheit). Prepare a baking tray by lining it with a sheet of parchment paper or a silicone baking mat. For an exceptionally crispy bottom crust, I highly recommend using a perforated baking tray paired with a perforated baking mat, as this allows for optimal airflow around the pastry.
- Remove your store-bought puff pastry sheet from the freezer and let it thaw completely at room temperature. This usually takes about 15-20 minutes. Once soft and pliable, carefully unroll it onto your prepared baking sheet.
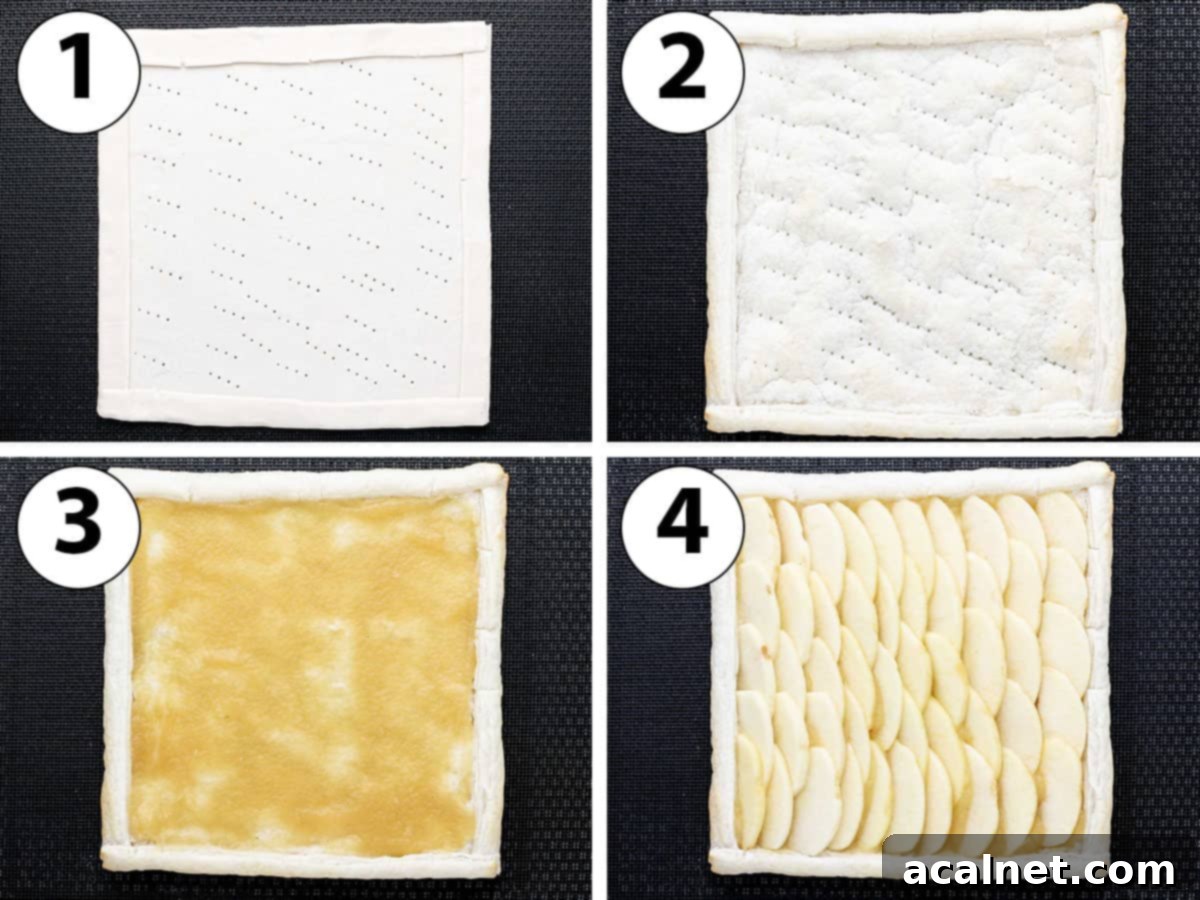
- Photo 1: Create the tart’s border by folding about 1 cm (1/2 inch) of the puff pastry dough inwards on all four sides. Gently press down along the fold to help it stick to the base of the pastry, forming slightly raised edges. This creates a natural crust and prevents the filling from spilling. To ensure the center of the pastry doesn’t puff up too much, lightly dock it all over with the tines of a small fork, creating small holes.
- Photo 2: Transfer the prepared pastry to the oven to par-bake for 15 to 20 minutes. This crucial step helps prevent a soggy bottom crust. The pastry should appear dry to the touch and just begin to take on a very light golden color. Remove it from the oven and let it cool for about 10 minutes. If you notice the center has puffed up excessively, gently press it back down with the back of a fork or spoon while it’s still warm.
- While the pastry is cooling, prepare your apple. Peel, core, and slice the apple into very thin, uniform pieces using a sharp knife. Thin slices are essential for even cooking and a tender texture in the finished tart. For an optional tangy kick and to prevent the apple slices from browning, you can lightly toss them in a small amount of lemon juice.
- Photo 3: Evenly spread the applesauce across the par-baked puff pastry, staying within the folded border you created. Ensure a smooth, consistent layer to provide a delightful base for your apples.
- Photo 4: Artfully arrange the thin apple slices over the applesauce. Start from one side of the tart and place the slices in a neat line, slightly overlapping each one. Continue this pattern, creating rows of overlapping apple slices until the entire surface is covered. This not only looks beautiful but also ensures even distribution of fruit.
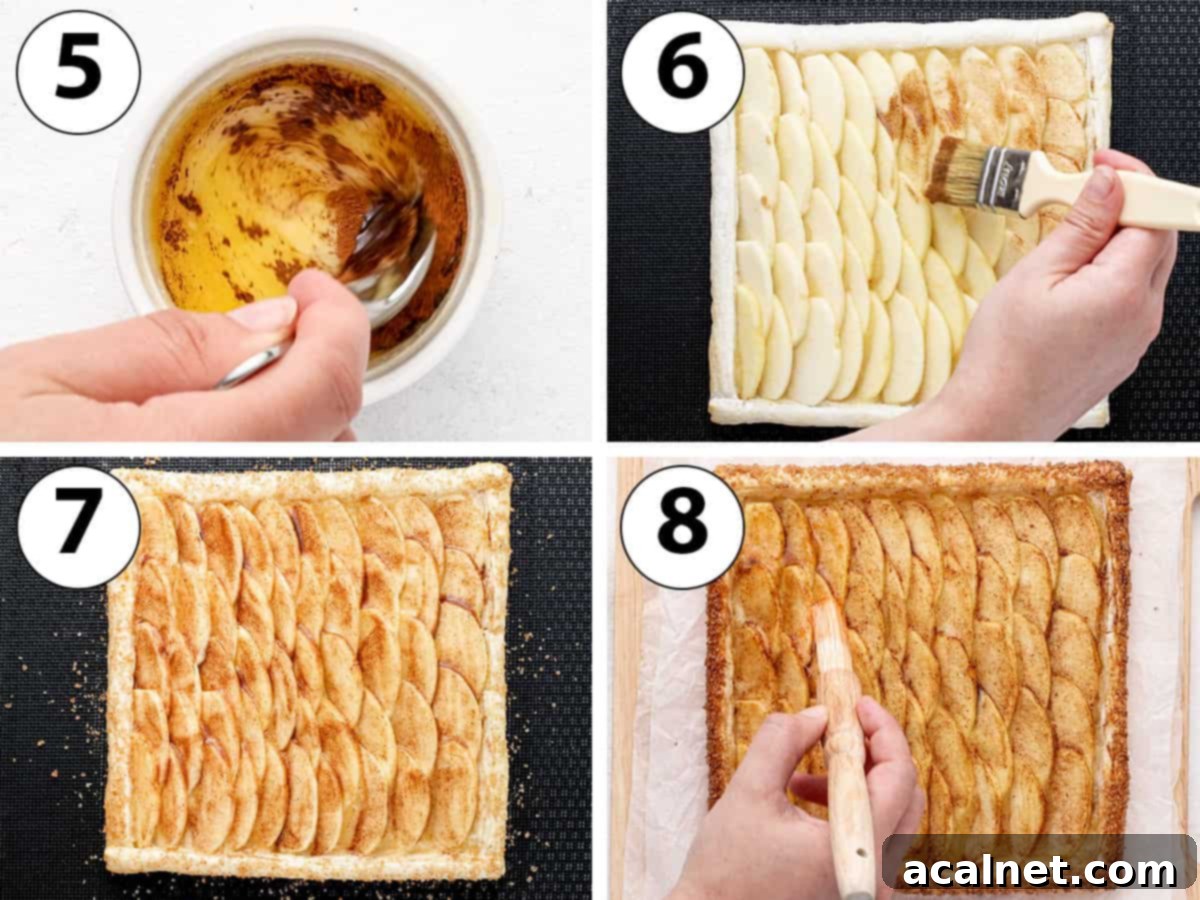
- Photo 5: In a small, microwave-safe bowl, melt the unsalted butter. Once melted, stir in the cinnamon until thoroughly combined. This creates a fragrant butter mixture that will beautifully coat and flavor the apples.
- Photo 6: Using a pastry brush, generously apply the cinnamon-butter mixture over all the arranged apple slices. This step adds moisture, flavor, and helps the apples caramelize slightly as they bake.
- Photo 7: For an extra touch of golden crispness, lightly whisk one egg in a small bowl. Carefully brush this egg wash over the raised edges of the puff pastry. Then, generously sprinkle raw sugar (such as Demerara sugar) over the egg-washed crust. The egg wash will help the sugar adhere and create a lovely crunchy texture.
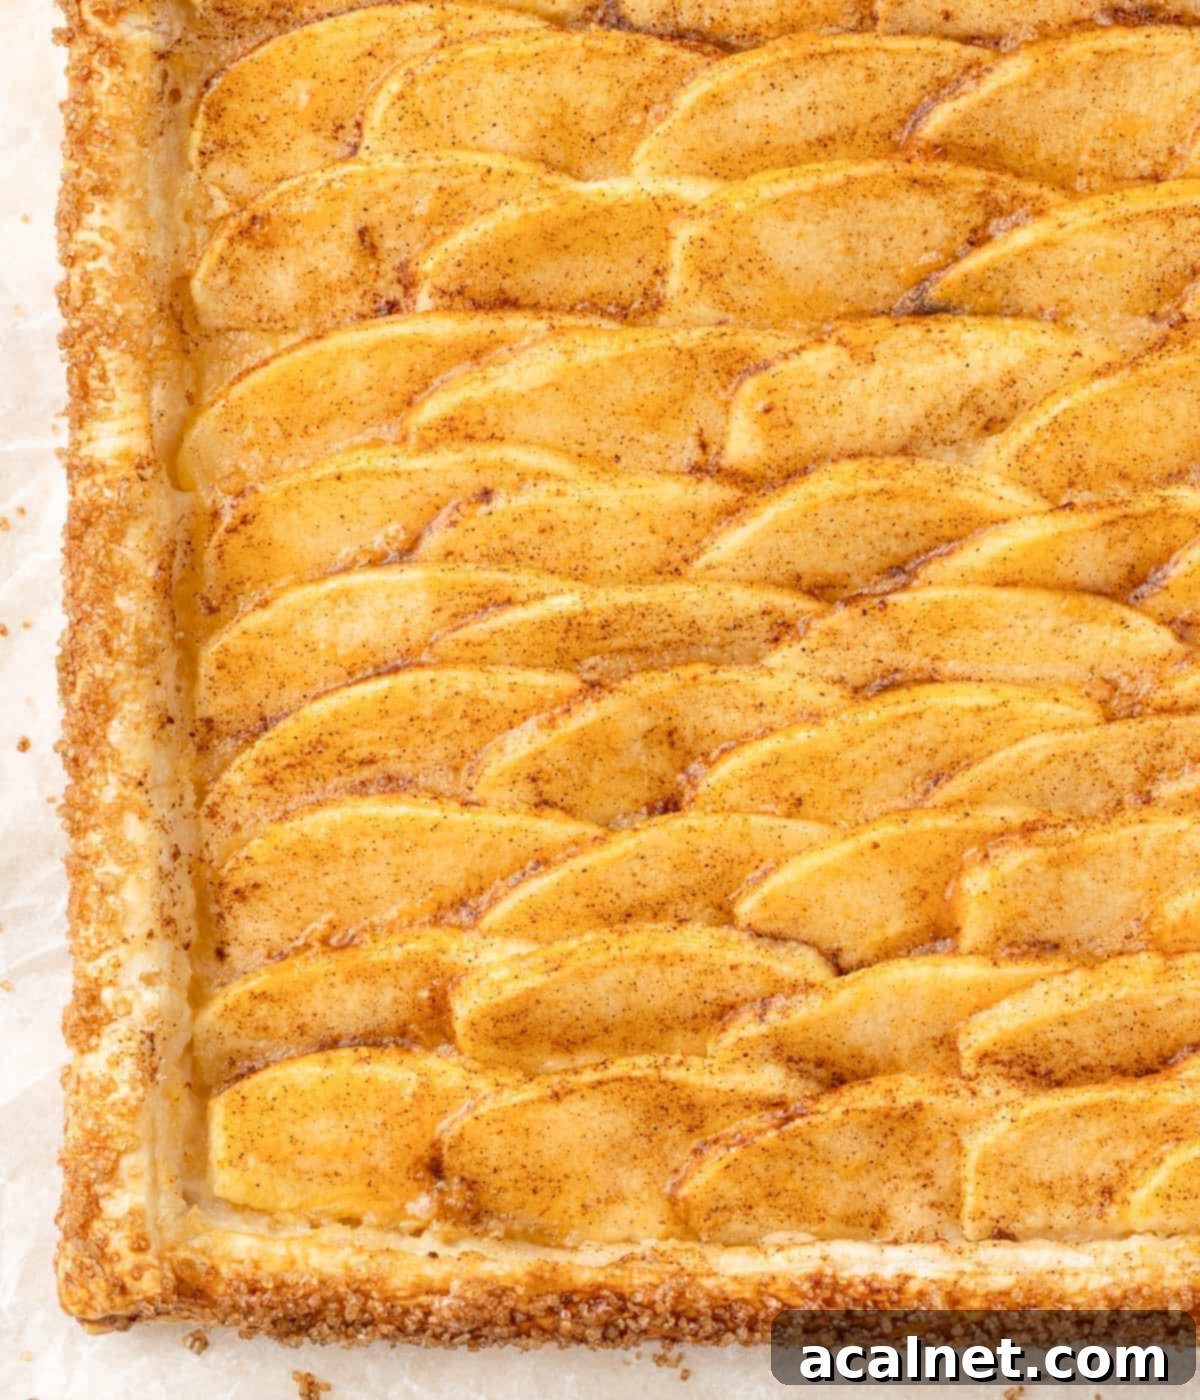
- Return the tart to the oven and bake for an additional 25 to 30 minutes. The tart is ready when the apple slices are wonderfully soft and slightly golden, and the pastry crust is deep golden and perfectly flaky. Keep an eye on it to prevent over-browning.
- Photo 8: For a glossy, bakery-style finish, warm a tablespoon and a half of apricot jam or preserve with a few drops of water in the microwave or a small saucepan. Once warmed and slightly thinned, brush this glaze over the apples while the tart is still slightly warm from the oven. Serve your puff pastry apple tart straight away while lukewarm for the best experience, or allow it to cool completely before serving.
Common Questions About Your Puff Pastry Apple Tart
Choosing the right apple variety is key to a delicious apple tart. You want apples that hold their shape well during baking and offer a good balance of sweetness and tartness. My personal favorites are Pink Lady (for a sweeter profile and beautiful color) and Granny Smith (for a crisp, tangy flavor that cuts through the richness of the pastry). Other excellent choices include Gala, Golden Delicious, Braeburn, Fuji, or Honeycrisp apples. A mix of a sweet and a tart apple can also create a more complex flavor profile!
Absolutely, yes! Par-baking the puff pastry before adding the apple and applesauce filling is a crucial step to prevent a soggy bottom. Puff pastry contains a lot of butter, and moisture from the filling can quickly make it soft. Par-baking creates a slightly drier, more stable base, ensuring your tart remains beautifully crisp and flaky, especially at the bottom.
If your pastry still feels a bit soft or looks pale after the recommended baking times, don’t worry! You can usually bake it for a little longer. Keep a close eye on it. If the apples on top start to brown too quickly or threaten to burn, simply cover the entire tart loosely with a sheet of aluminum foil. This will protect the apples while allowing the pastry underneath to continue baking and achieve that perfect golden crispness.
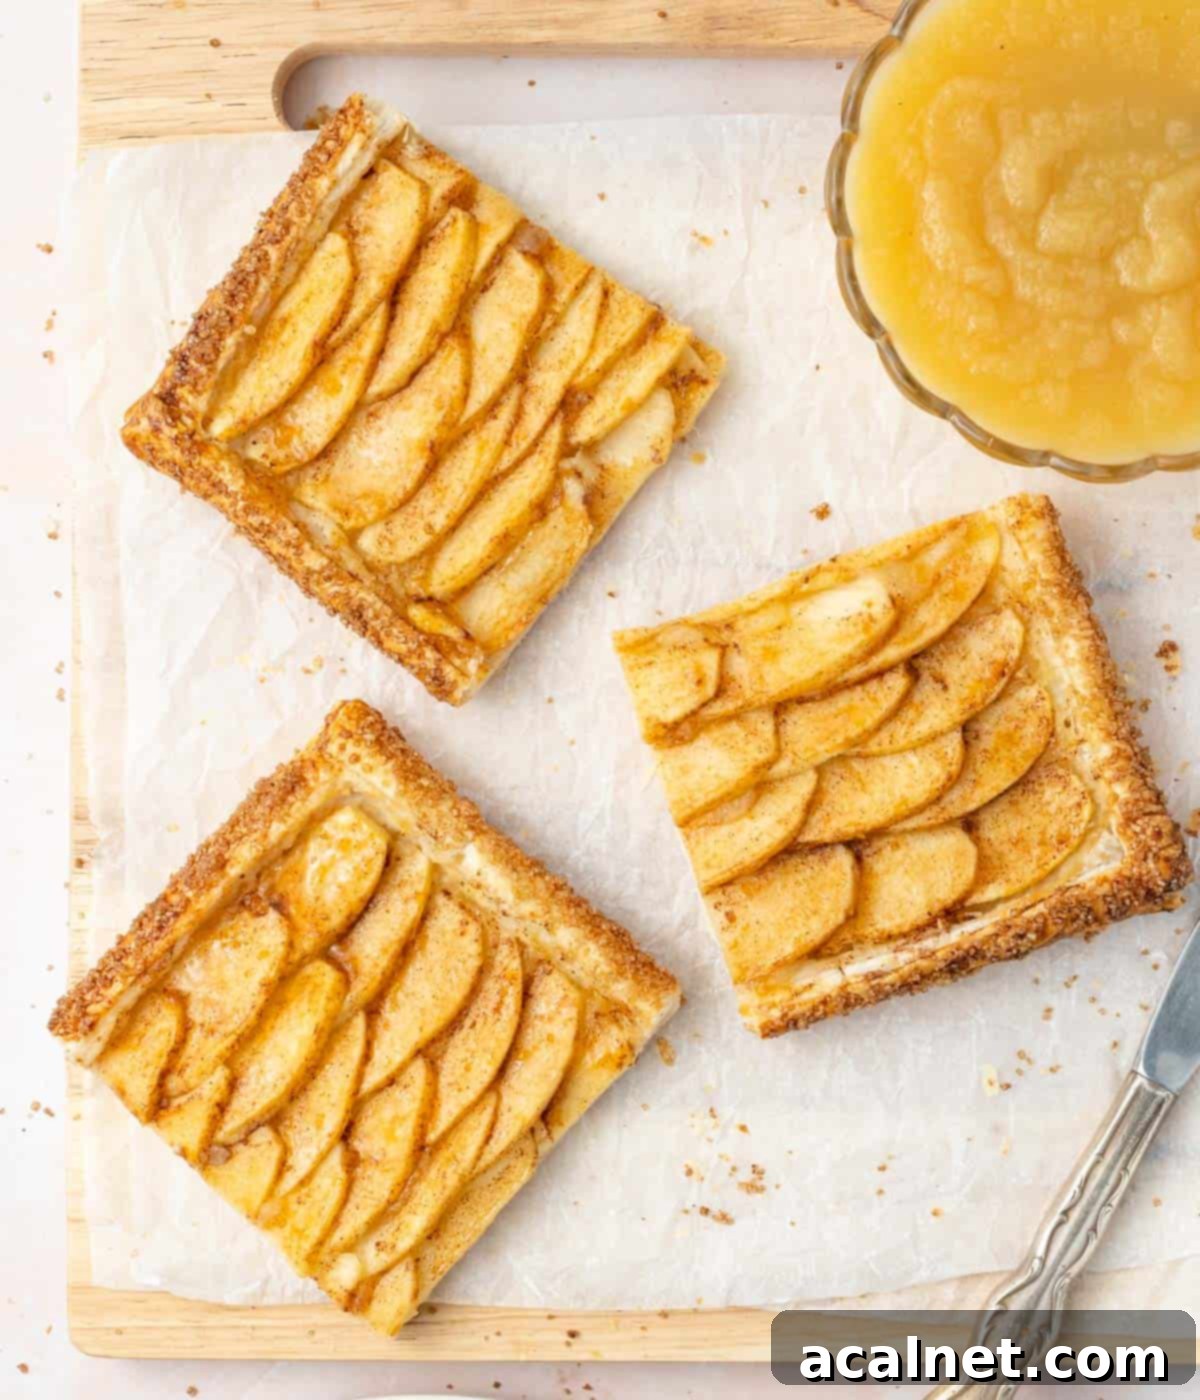
This puff pastry apple tart is wonderfully delicious on its own, especially when served lukewarm. For an extra touch of indulgence, consider dusting it with a light sprinkle of icing sugar for a beautiful finish. It’s also fantastic served with a scoop of creamy vanilla ice cream, a dollop of freshly whipped cream, or a drizzle of warm caramel sauce. For a more sophisticated pairing, try it with a classic Crème Anglaise. Feel free to add a sprinkle of toasted nuts like pecans or walnuts for added texture!
Expert Tips & Tricks for the Perfect Apple Tart
- Choose Quality Puff Pastry: For an unparalleled taste and texture, always opt for a pure butter puff pastry. While slightly more expensive, the rich, flaky results are well worth it, far superior to varieties made with other fats.
- Achieve a Crispy Bottom: To guarantee a consistently crisp bottom crust, bake your tart on a perforated baking tray lined with a perforated baking mat. This setup promotes excellent airflow, ensuring even baking and preventing any soggy spots.
- Experiment with Apple Varieties: Don’t be afraid to customize the flavor of your tart by trying different apple types. Using Granny Smith apples will yield a fresher, tangier taste, which can be delightful for those who prefer less sweetness. Conversely, a Pink Lady or Fuji apple will offer a milder, sweeter flavor. You can even combine a couple of varieties for a more complex and nuanced apple profile.
- Slice Apples Uniformly Thin: Consistency is key for even cooking. Aim for very thin, uniform apple slices so they all soften at the same rate and present beautifully.
- Don’t Overload the Tart: While tempting to pile on the apples, resist the urge to overload your tart. Too much filling can make the pastry heavy and prevent it from baking properly.
- Allow for Proper Thawing: Ensure your puff pastry is fully thawed but still cold before working with it. If it’s too warm, the butter layers can melt, resulting in a less flaky crust. If it starts to get sticky, pop it back in the fridge for a few minutes.
- Cool Slightly Before Slicing: While delicious warm, letting the tart cool for 10-15 minutes after baking allows the filling to set slightly, making it easier to slice cleanly without crumbling.
Storing & Freezing Your Apple Tart
This puff pastry apple tart is truly at its best when served fresh, either lukewarm straight from the oven or within a few hours of baking. The pastry’s crispness is unparalleled at this stage.
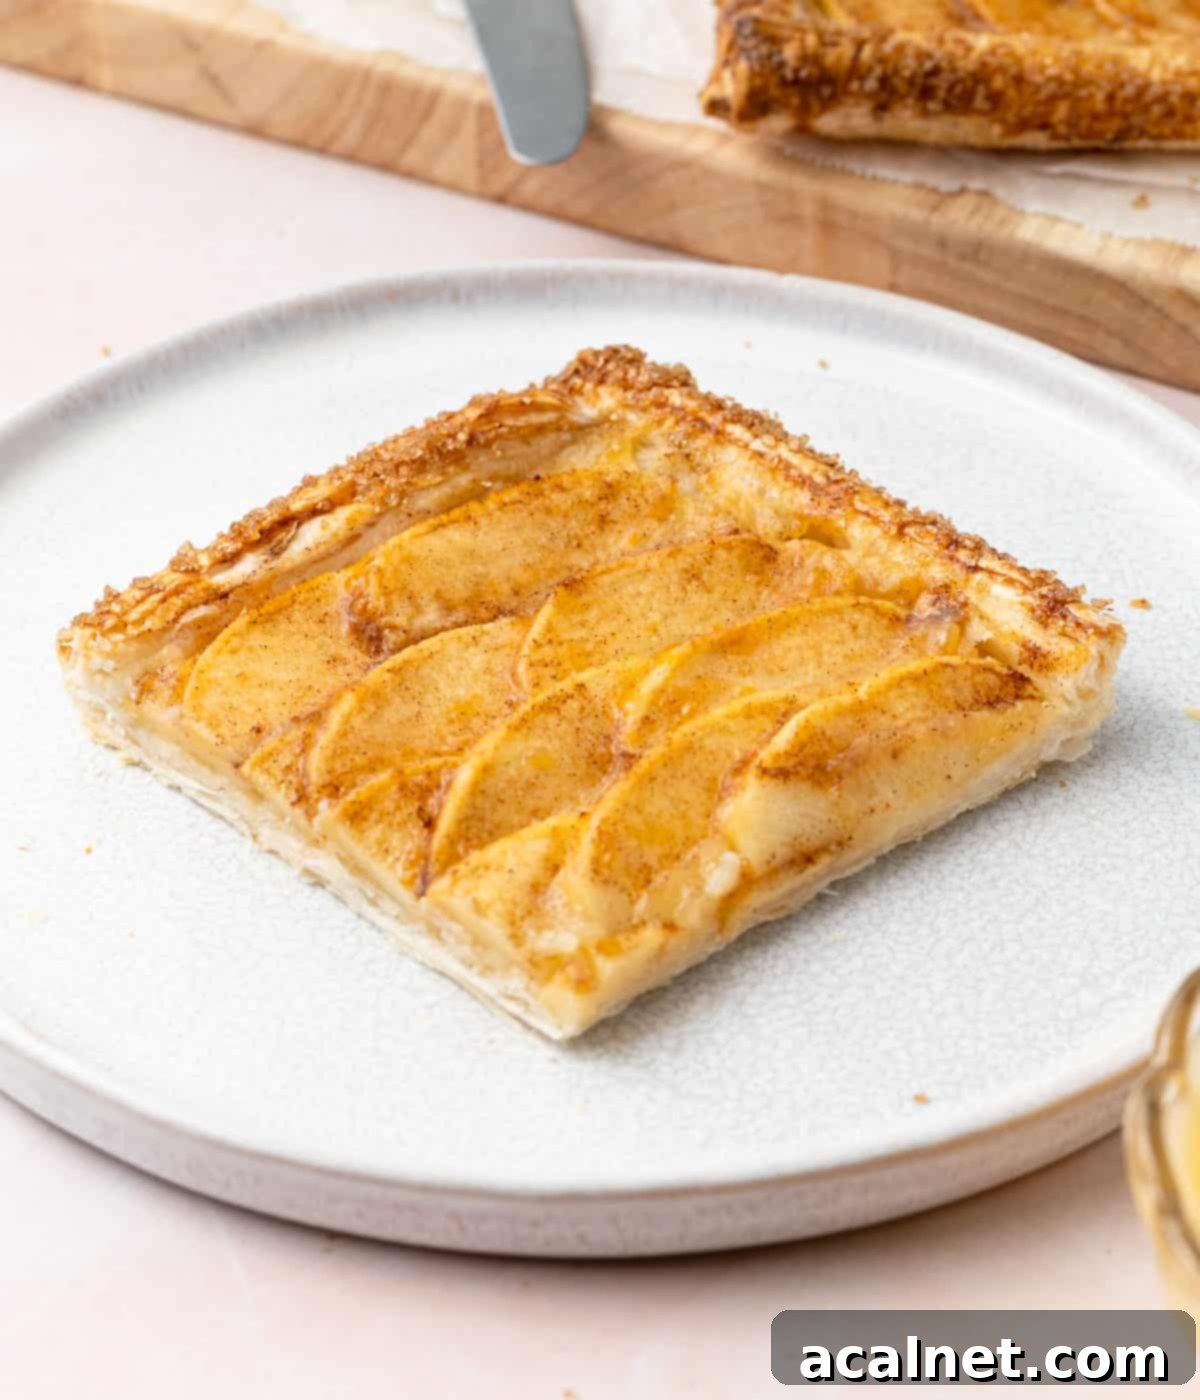
If you have leftovers or need to prepare it a bit in advance, you can keep the tart at room temperature for a few hours. For longer storage, it will last in the fridge for 2-3 days when covered loosely. However, be aware that chilling the tart will cause the puff pastry to gradually lose its signature crunch and become softer over time. To revive some crispness, you can gently reheat individual slices in a toaster oven or a preheated oven for a few minutes.
Because this recipe utilizes pre-frozen puff pastry, it is generally not recommended to refreeze the baked tart. Freezing and thawing puff pastry twice can compromise its delicate structure and flaky texture, resulting in a less enjoyable final product.
More Delightful Puff Pastry Tart Recipes
If you enjoyed the simplicity and deliciousness of this apple tart, you’ll love exploring other variations using puff pastry. It’s an incredibly versatile base for both sweet and savory creations:
- Easy Cherry Tartlets: Bursting with fruity flavor and so simple to make.
- Puff Pastry Pear Tartlets: A sophisticated yet easy dessert featuring tender pears.
- Peach Tarte Tatin: A classic French dessert reimagined for ease with juicy peaches.
- Puff Pastry Apple Tartlets: A mini version of this recipe, perfect for individual servings.
Made this recipe?
Let us know if you liked it by leaving a comment below, and tag us on Instagram @a.baking.journey with a photo of your creation!
Recipe Card

Puff Pastry Apple Tart
Servings:
4
Author:
Sylvie
15 minutes
40 minutes
55 minutes
Print Recipe
Prevent your screen from going dark
Ingredients
- 1 sheet Frozen Puff Pastry, thawed, 25 x 25 cm sheet
- 1 large Apple
- 120 gr (1/2 cup) Applesauce
- 20 gr (1 tablespoon) Unsalted Butter, melted
- 1/4 teaspoon Cinnamon
- 1 Egg, for egg wash, optional
- 1 teaspoon Raw Sugar, optional
- 1 1/2 teaspoon Apricot Jam or Preserve, optional
Instructions
- Preheat your oven on 180 degrees Celsius / 350 degrees Fahrenheit. Prepare a baking tray with sheet of baking paper or baking mat (see note 1).
- Take the puff pastry sheet out of the freezer and allow to thaw at room temperature. Once soft, place on the prepared baking sheet. Fold about 1 cm (1/2 inch) of the puff pastry dough four sides to create slightly raised edges and gently press to make it stick. Dock the pastry with a fork.
- Place in the oven and par-bake for 15 to 20 minutes. The pastry should feel dry to the touch and start to get a very light golden colour (see note 2). Set aside to cool down while you prepare the apple.
- Peel, core and cut the apple into very thin slices with a sharp knife. Set aside.
- Spread the applesauce over the pastry in an even layer.
- Arrange the apple slices over the applesauce: start by layering the apples in a straight line one of the sides of the pastry, slightly overlapping each slices. Continue to create lines of apple that all overlap with each other slightly.
- Place the butter in a small bowl and melt it in the microwave, then mix in the cinnamon. Generously brush the butter mixture over the sliced apples.
- Optional: lightly whisk the egg and brush it over the folded edges of the pastry. Sprinkle the raw sugar over the brushed edges.
- Place back in the oven and bake for 25 to 30 minutes, or until the apples are soft and start to get lightly golden (see note 3).
- Optional: mix the apricot jam with a few drops of water and brush it over the apples while still slightly warm. Serve straight away when still lukewarm.
Video
Would you like to save this recipe?
We’ll email this post to you, so you can come back to it later!
Notes
- For an exceptionally crispy bottom crust, I recommend using a perforated baking tray paired with a perforated baking mat. This setup allows for superior airflow and ensures even baking all around the tart.
- If the puff pastry in the center rises significantly during par-baking, gently press it back down with the back of a fork or spoon while it’s still warm. This creates a flatter base for your filling.
- The baking time for the apples can vary depending on their variety and how thinly they are sliced. Keep an eye on them; if they start to brown or burn before the pastry is fully cooked, cover the tart loosely with a sheet of aluminum foil and continue baking until the pastry is golden and the apples are tender.
Nutrition (per serving)
