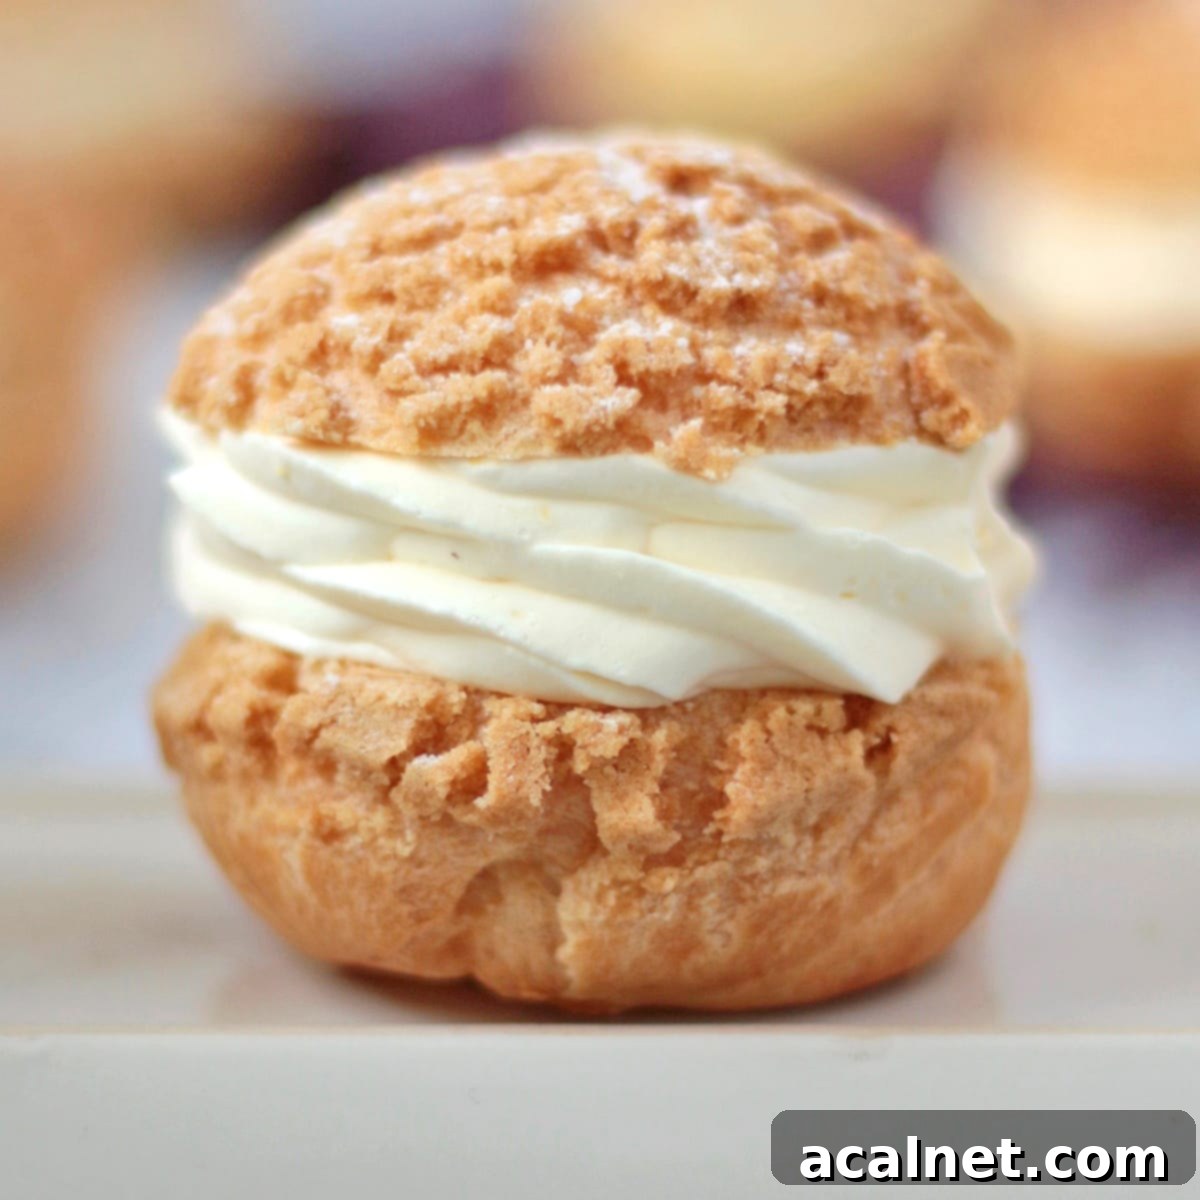
Homemade Choux à la Crème: Your Guide to Perfect French Cream Puffs with Vanilla Pastry Cream & Craquelin
Delicate, airy, and exquisitely creamy, Choux à la Crème – affectionately known as Choux Cream or French Cream Puffs – represent a pinnacle of classic French patisserie. These delightful sweet treats are crafted from light-as-air choux pastry buns, generously filled with a luscious, velvety pastry cream, and often crowned with a crisp craquelin topping for an added textural contrast. Perfect for elevating an afternoon tea, impressing guests at a special occasion, or simply indulging in a moment of pure culinary bliss, these homemade cream puffs are sure to become a cherished recipe in your repertoire.
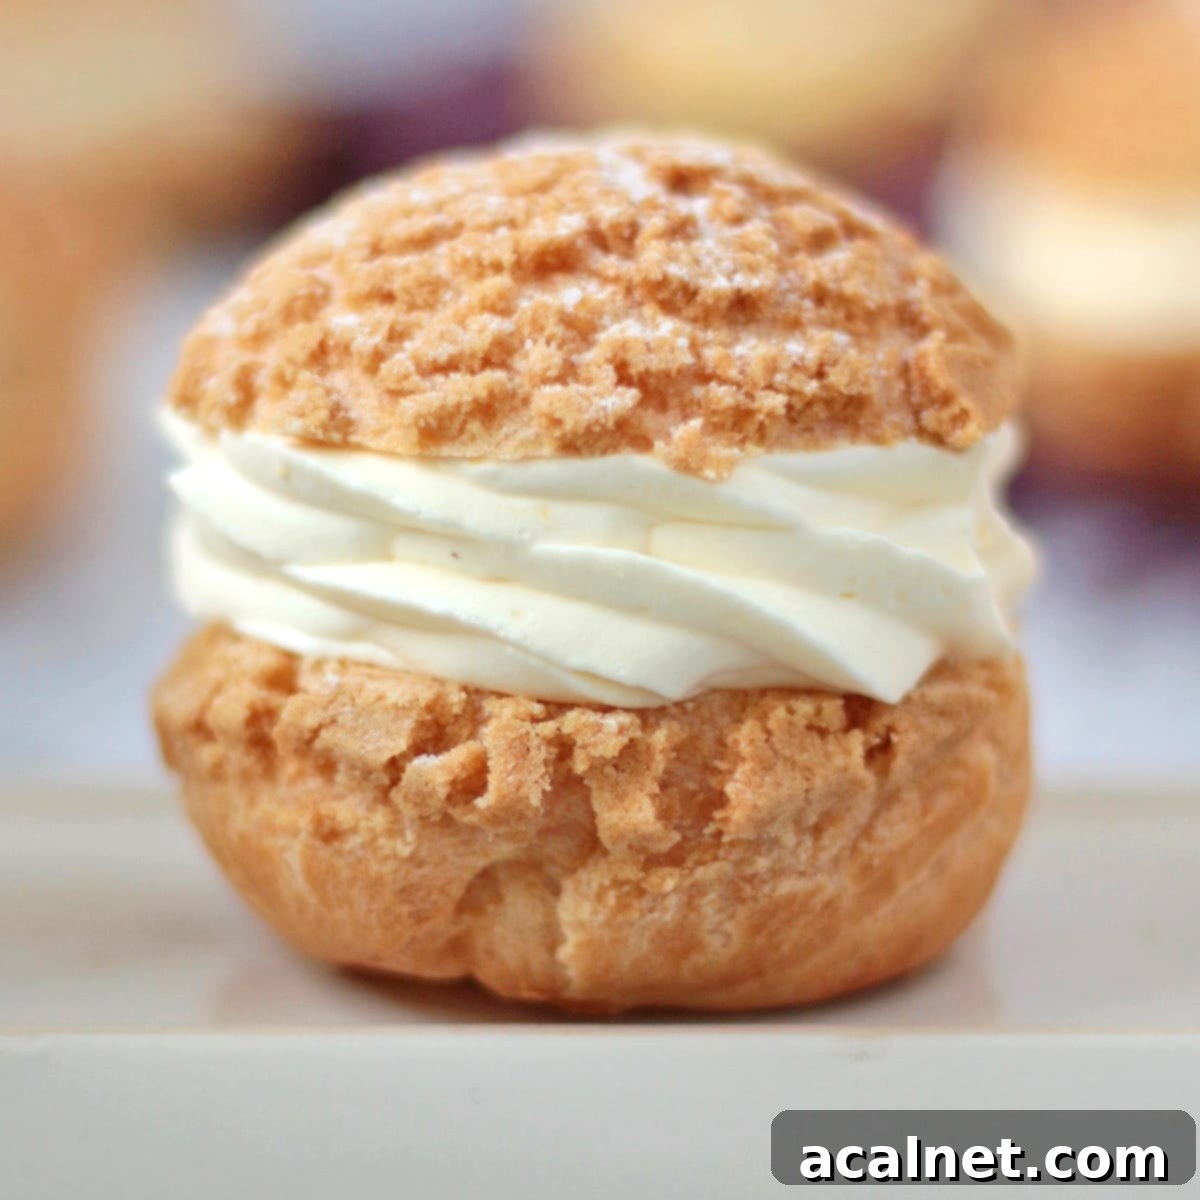
Why You’ll Adore This Classic French Dessert
There’s something inherently captivating about French patisserie, and Choux à la Crème is no exception. This recipe offers an incredibly rewarding baking experience, culminating in a dessert that is both sophisticated and universally loved. Imagine a perfectly golden, hollow choux pastry shell, its delicate exterior giving way to a rich, smooth vanilla pastry cream. When topped with a crispy craquelin, the experience is elevated further with an irresistible textural crunch.
Similar to their delightful cousins, Chouquettes (sugar puffs) and Profiteroles, these individual bites are consistently a crowd-pleaser. They are ideal for an elegant afternoon tea gathering, a festive birthday party, or as a stunning addition to any holiday dessert table. While the thought of making choux pastry might seem intimidating at first, rest assured that with a few fundamental techniques and expert tips, you’ll be crafting these exquisite choux buns like a seasoned French baker in no time. The effort is minimal compared to the impressive results!
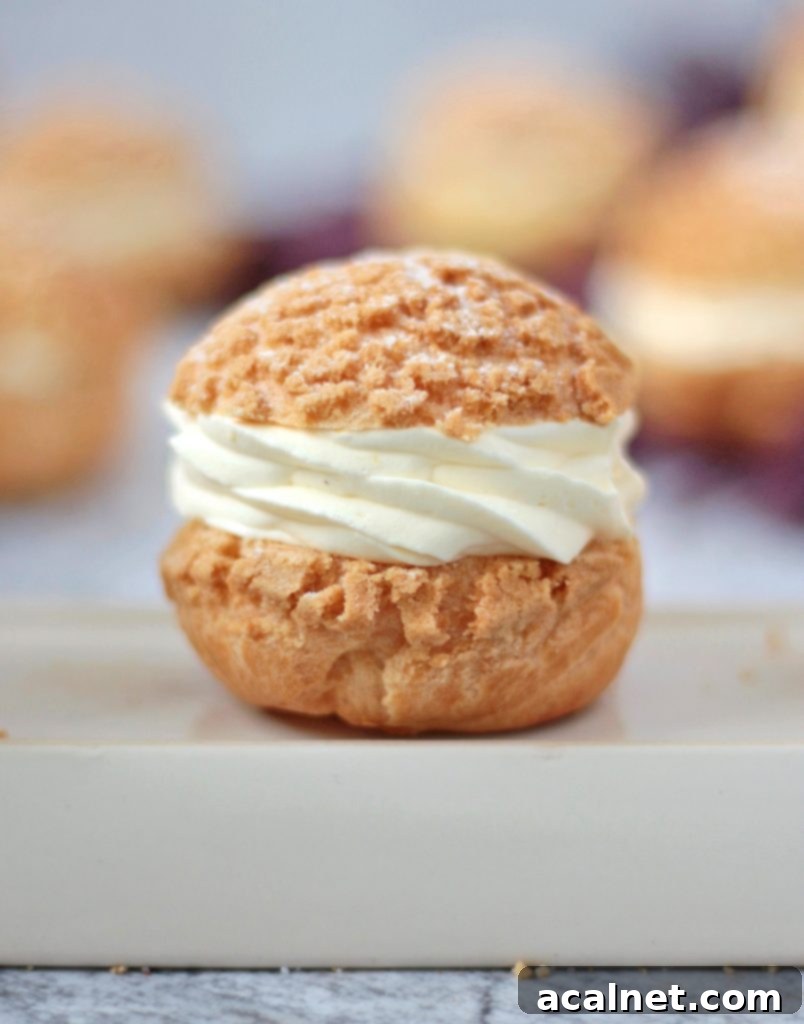
What Exactly is a Choux à la Crème?
At its heart, “Choux à la Crème” translates directly to “cream choux,” and these pastries are precisely that: delicate Choux Pastry Buns, light and hollow, filled with a rich, decadent Cream. Traditionally, this cream is either a fluffy whipped cream or a more structured pastry cream (crème pâtissière). The choux pastry, or pâte à choux, is piped into charming small bun shapes before being baked to perfection in a hot oven, where they dramatically puff up and become wonderfully hollow inside.
Once cooled, the golden shells are either carefully sliced in half or pierced with a small hole at the bottom. They are then generously filled with cream – perhaps a classic vanilla pastry cream, a rich chocolate cream like those used in Chocolate Choux Buns or Mini Chocolate Éclairs. To finish, they can be adorned with a sweet glaze, a smooth chocolate ganache, or a crispy Craquelin – a simple, cookie-like dough made from flour, sugar, and butter – or simply left plain to showcase the beauty of the choux itself.
For this comprehensive recipe, we will focus on three core, harmonious elements to create the ultimate French Cream Puffs:
- A foundational Classic Choux Pastry, also known as “Pâte à Choux.”
- A luscious Vanilla Pastry Cream, or “Crème Pâtissière,” providing the signature creamy filling.
- An optional, yet highly recommended, Brown Sugar Craquelin Topping for that delightful crispy texture.
While numerous variations exist, exploring different fillings, toppings, and even slightly altered choux pastry recipes, the version presented here combines the best of traditional techniques. Our choux buns are filled with a delectable crème pâtissière (which can be lightened with whipped cream for an even airier texture, if desired) and crowned with a beautiful craquelin topping.
Explore other delightful variations with my Coffee Choux Buns Recipe or Chocolate Choux Buns for different takes on the classic Choux à la Crème!
Mastering the Basic Choux Pastry (Pâte à Choux)
The foundation of any great cream puff is the choux pastry itself. This seemingly complex dough is surprisingly simple once you understand the basic principles. Unlike many other pastries, choux pastry doesn’t rely on leavening agents like baking powder or yeast; instead, it uses steam generated during baking to puff up and create its characteristic hollow interior. Getting this right is key to light, airy cream puffs.
Essential Choux Pastry Ingredients

To craft perfect French cream puff pastry, you only need a handful of essential ingredients:
- Water: The primary liquid base, which creates the steam needed for puffing. For a richer flavor and a slightly softer crumb, you can substitute milk or use a 50/50 mix of water and milk.
- Unsalted Butter: This not only adds a delicious richness but also contributes to the tender texture of the choux.
- Caster Sugar: Also known as fine white sugar, it adds a subtle sweetness to the pastry, balancing the flavors.
- Plain / All-Purpose Flour: The structural backbone of the choux, essential for creating the characteristic puff and holding its shape.
- Eggs: Perhaps the most crucial ingredient, eggs provide moisture, richness, and are responsible for generating the steam that causes the choux to rise dramatically in the oven. The quantity can sometimes vary slightly depending on the exact moisture content of your cooked dough.
Did you know that choux pastry isn’t just for sweet treats? You can easily transform it into a savory delight! Check out my recipe for Cheese Gougères for a delicious savory application.
How to Make Choux Pastry: A Detailed Step-by-Step Guide
Choux pastry involves a unique “twice-cooked” method: first on the stovetop to create the panade (the cooked flour mixture), and then a second time in the oven where it truly comes to life. This distinctive process is what allows the buns to become incredibly light, airy, and hollow, ready to be filled. Following the technique closely is vital for success!
- Prepare the Base: Begin by combining the Water, Butter, and Caster Sugar in a medium-sized, heavy-bottomed pot. Bring this mixture to a gentle simmer over medium heat, stirring occasionally until the butter is completely melted and the sugar has dissolved.
- Incorporate the Flour (The Panade): Once the liquid is simmering, remove the pot from the heat and immediately add all the Plain/All-Purpose Flour at once. Using a sturdy wooden spoon or heat-resistant spatula, stir vigorously until the flour is fully incorporated and forms a cohesive ball of dough.
- Dry the Dough: Return the pot to low-medium heat. This is a critical step! Continue to cook and stir the dough, pressing it against the hot sides of the pot. You’ll notice steam escaping, and a thin film forming on the bottom of the pot. Keep stirring for about 2-3 minutes to remove as much moisture as possible from the dough. This drying process is essential for your choux to puff correctly in the oven.
- Cool the Dough: Remove the pot from the heat and transfer the dough into a clean, large mixing bowl (or the bowl of a stand mixer). Spread the dough up the sides of the bowl to help it cool down faster. Let it cool for about 10-15 minutes, or until it’s just warm to the touch. This prevents the eggs from scrambling.
- Add the Eggs: In a separate small bowl, lightly whisk your Eggs. Once the dough has cooled sufficiently, begin adding the beaten eggs to the dough, a little at a time. Mix thoroughly after each addition until the eggs are fully incorporated before adding more. If using a stand mixer, use the paddle attachment. The final consistency should be smooth, glossy, and form a “ribbon” that slowly falls from your spoon or paddle, holding its shape for a moment before melting back into the mass. It should not be too stiff or too runny (see troubleshooting notes in the recipe card).
You can delve deeper into choux pastry techniques, complete with step-by-step photo instructions, in my dedicated Choux au Craquelin recipe.

Elevating Your Cream Puffs with Craquelin Topping
Craquelin (pronounced “krak-uh-lan”) is a fantastic, optional addition that takes your Choux à la Crème to the next level. This thin, crispy layer of sweet pastry is placed over the choux buns before baking, resulting in a beautiful “crack” effect on the surface and a wonderfully crunchy texture. It’s not just for aesthetics; craquelin also helps the choux pastry maintain a consistent, perfectly round shape as it bakes, making for a more uniform and professional-looking cream puff.
While the craquelin is entirely optional – you can certainly enjoy delicious cream puffs without it – it adds a delightful dimension of texture and a touch of caramel sweetness, making the extra step truly worthwhile for those seeking a gourmet touch. If you’re short on time, feel free to skip this part, but if you want to impress, I highly recommend including it!
Craquelin Ingredients
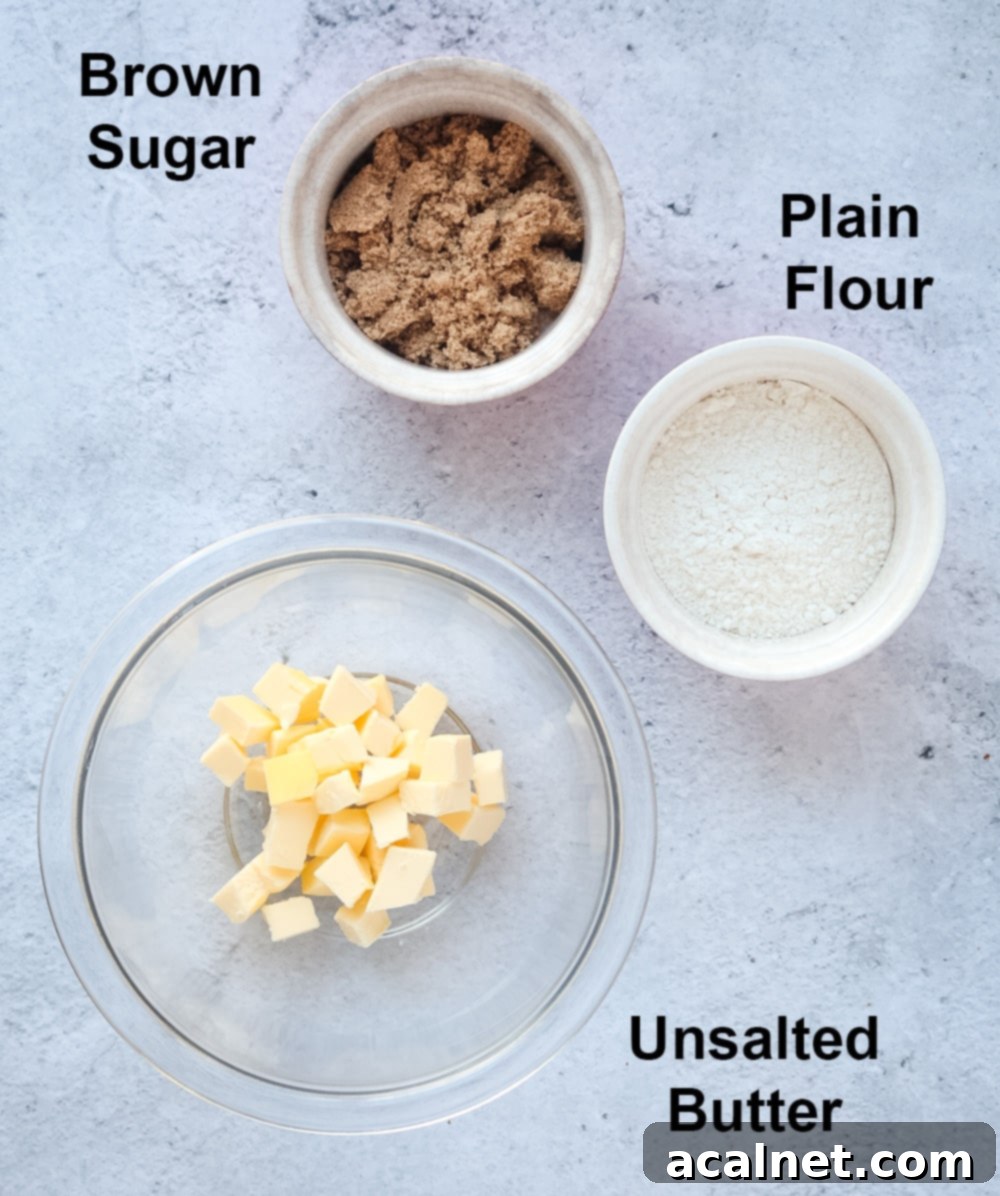
Craquelin is made from just three incredibly simple ingredients, yielding fantastic results:
- Plain / All-Purpose Flour: The primary dry ingredient that provides structure to the thin dough.
- Sugar: I prefer using Brown Sugar for craquelin, as it imparts a wonderful subtle caramel flavor and a beautiful golden-brown color during baking. You could also use raw sugar for a coarser texture. White granulated sugar is generally not recommended as it lacks the depth of flavor and caramelization that brown sugar provides.
- Unsalted Butter: It needs to be very soft and at room temperature (but not melted) to cream easily with the sugar and flour, forming a pliable dough.
How to Make Craquelin
Creating craquelin is a straightforward process. These three basic ingredients are simply mixed together to form a uniform dough. This dough is then thinly rolled out between two sheets of parchment paper and chilled in the freezer until it becomes firm. Once firm, small disks are cut out using a cookie cutter – ideally one that matches the approximate size of your piped choux buns. These disks are then carefully placed on top of each choux pastry mound before baking.
As the choux pastry bakes and expands in the oven, the craquelin topping melts and gracefully drapes over the puff, creating that signature cracked, crunchy, and slightly caramelized exterior. The classic craquelin recipe relies solely on these three ingredients, but you can also experiment with flavoring it with additions like cacao powder for a chocolate craquelin, vanilla bean seeds, matcha powder, or other finely ground spices to add both color and unique taste profiles.
For an in-depth guide to making the perfect craquelin topping, including troubleshooting tips and tricks, refer to my comprehensive Craquelin Topping tutorial here!

Irresistible Choux à la Crème Filling Options
The beauty of Choux à la Crème lies not just in its delicate shell, but also in the myriad of delicious fillings it can embrace. The possibilities for the Choux Cream filling are truly endless, allowing for creative freedom. However, traditionally, French Cream Puffs are most commonly filled with either light and fluffy Whipped Cream or the rich and smooth Crème Pâtissière (Pastry Cream). These classic bases can then be transformed into various delightful derivatives, such as Crème Diplomate (pastry cream folded with whipped cream), Crème Mousseline (pastry cream enriched with butter), and many more.
Flavor-wise, the cream filling can range from the traditional and comforting notes of vanilla, chocolate, or coffee to more adventurous flavors like fruit purees, caramel, or even liqueurs. For this specific recipe, we’ve opted for a simple yet profoundly satisfying Vanilla Crème Pâtissière. This choice offers the most authentic and classic rendition of this beloved French dessert, allowing the pure flavors to shine.
Vanilla Pastry Cream Ingredients

You’ll be amazed that such a luxurious cream requires only a few basic pantry staples:
- Milk: For the richest flavor and most decadent texture, I highly recommend using full cream (whole) milk. While non-dairy milk can be used, the richness may vary.
- Vanilla Bean or Paste: The heart of our vanilla flavor. Using a vanilla bean or high-quality vanilla paste provides an unparalleled depth of flavor. Vanilla extract is a good substitute but might not yield the same intensity.
- Caster Sugar: Fine white sugar that dissolves easily and provides the perfect level of sweetness.
- Egg Yolks: These are crucial for creating the incredibly luscious, smooth, and creamy texture that defines a perfect pastry cream.
- Cornstarch: Our thickening agent. Cornstarch ensures the cream reaches the desired consistency. Plain flour can be used as an alternative, though cornstarch typically yields a silkier texture.
- Unsalted Butter (Optional): A small knob of butter can be whisked in at the end for an even richer, glossier cream, though it’s not strictly necessary.
Once your Crème Pâtissière is prepared, you have the option to use it as is or transform it into an even lighter cream by gently folding in freshly whipped heavy cream. This variation is known as “Crème Légère” or “Crème Princesse.” The addition of whipped cream not only lightens the texture but also makes the pastry cream more stable and easier to pipe into halved choux buns.
How to Make Crème Pâtissière (Pastry Cream)
The magic of crème pâtissière primarily unfolds on the stovetop, requiring attention and consistent whisking:
- Infuse the Milk: In a small pot, gently heat the Milk with your chosen vanilla (bean or paste) over low heat until it just begins to simmer. Do not let it boil vigorously.
- Prepare the Egg Mixture: In a separate bowl, whisk together the Egg Yolks and Caster Sugar until light and creamy. Then, sift in the Cornstarch and whisk again until thoroughly combined and free of lumps.
- Temper the Eggs: Gradually pour about half of the warm milk mixture into the egg yolk mixture while continuously whisking. This crucial step, known as tempering, slowly raises the temperature of the eggs, preventing them from scrambling.
- Cook the Cream: Pour the tempered egg mixture back into the pot with the remaining warm milk. Place the pot back on low heat and, while continuously whisking, cook until the cream thickens considerably and reaches a gentle boil. Continue whisking for another 30 seconds to 1 minute to ensure the cornstarch is fully cooked out and the cream is properly thickened.
- Chill and Set: Immediately remove the pot from the heat and transfer the hot pastry cream into a shallow pan or bowl. Cover the surface directly with plastic wrap (this prevents a skin from forming) and place it in the fridge to cool down completely. This usually takes about 30 minutes to 1 hour, or longer for a firmer set. Once cooled, whisk it vigorously to smooth it out before using.
For a comprehensive guide on making pastry cream, including detailed step-by-step instructions, troubleshooting, and a wealth of tips, explore my dedicated Crème Pâtissière recipe.
Recipe FAQs & Troubleshooting Common Choux Pastry Issues
Even seasoned bakers encounter questions or minor hiccups when working with choux pastry. Here are some common queries and troubleshooting tips to ensure your Choux à la Crème turn out perfectly every time.
Surprisingly, choux pastry relies on a natural leavening process rather than conventional agents! There’s no baking powder, baking soda, or yeast involved. The incredible puff and hollow interior of choux pastries are entirely created by the steam released from the raw eggs within the dough as it bakes in the hot oven. This steam pushes the dough outwards, creating those delightful air pockets.
Choux pastry can be a bit temperamental, and several factors can contribute to deflation or a lack of rise. It’s often a combination of issues:
- Incorrect Egg Quantity/Consistency: The amount of eggs isn’t always exact. Too much egg will make the batter too wet, preventing it from holding its structure. Too little will make it too stiff, hindering expansion. Always check for the “ribbon stage” consistency (the dough should slowly fall from a spoon in a ‘V’ shape).
- Insufficient Drying of the Dough: If the dough (the panade) wasn’t cooked long enough on the stovetop, it will retain too much moisture. This excess moisture prevents the pastry from puffing properly and makes it prone to collapsing.
- Underbaking: This is a very common culprit! Choux pastries need to bake thoroughly until they are deeply golden and crisp, both inside and out. If removed from the oven too soon, the internal structure hasn’t fully set, leading to deflation as they cool.
- Opening the Oven Door Too Soon or Too Long: A sudden drop in oven temperature, especially in the early stages of baking, can shock the delicate choux and cause them to collapse. Try to avoid opening the oven door until at least two-thirds of the baking time has passed.
- Oven Temperature Fluctuations: An oven that isn’t maintaining a consistent temperature can also impact the rise. Ensure your oven is accurately calibrated.
The storage method for cream puffs depends entirely on whether they are filled or not. When plain (unfilled) choux pastry shells, they can be stored at room temperature in an airtight container for up to 3 days. While they might technically last a bit longer, I find they start to lose their crispness and become soggy beyond that point. However, once your Choux à la Crème are filled with any cream, especially those containing dairy and eggs, they absolutely must be kept refrigerated. Filled cream puffs will maintain their best quality in the fridge for up to a day. After that, the pastry will gradually absorb moisture from the cream and become unpleasantly soft.
Optimal Storage and Freezing Tips for Cream Puffs
Proper storage is key to enjoying your homemade Choux à la Crème at their best. The rules vary depending on whether the choux buns are already filled with cream or not.
The plain choux pastry shells, once fully baked and cooled, can be stored at room temperature in an airtight container. This helps them retain their crispness. However, any cream filling, particularly those made with dairy and eggs, must always be refrigerated for food safety and quality.
Once you’ve assembled your Choux à la Crème by combining the pastry shells and their filling, they should always be stored in the refrigerator. For the best taste and texture, consume them as quickly as possible. The delicate pastry will gradually absorb moisture from the cream, causing them to become soggy over time.
Can you fill cream puffs ahead of time? Yes, you can, but it’s best to do so within 24 hours of serving. Beyond this period, the texture of the choux can degrade significantly. For optimal crispness and freshness, I highly recommend filling them only a couple of hours before you plan to serve them.
How Long Can You Keep Unfilled Cream Puffs?
Unfilled choux buns, including those with a craquelin topping, are quite resilient. Once completely cooled, they can be stored in an airtight container at room temperature for up to 3 days. There’s no need to worry about the craquelin topping losing its crunch during this time, provided it’s kept airtight.

Can You Freeze Choux Pastry Shells? Absolutely!
For those who love to plan ahead or batch bake, the good news is that choux pastry shells freeze exceptionally well. This makes Choux à la Crème a fantastic make-ahead dessert! You can prepare a large batch of choux buns and store them in the freezer (unfilled) for up to 3 months, ready to be filled and served whenever the craving strikes or an occasion arises. You can freeze them both baked and unbaked, each method offering its own advantages.
- Freezing Unbaked Choux: Prepare your choux pastry dough as usual. Pipe the individual choux mounds onto a parchment-lined baking tray. Place the entire tray into the freezer until the choux are completely solid. Once frozen, transfer them to a freezer-safe, airtight container or a heavy-duty freezer bag, ensuring they don’t get squashed.
- Freezing Baked Choux: After baking your choux buns, allow them to cool down completely on a wire rack. Once cool, arrange them in a freezer-friendly airtight container, using layers of baking paper between each row to prevent sticking and protect their delicate shape. Try not to press down on them.
How to Defrost and Re-crisp Cream Puffs
Defrosting and refreshing your frozen choux pastry shells is simple:
- For Unbaked Frozen Choux Buns: When you’re ready to bake, transfer the frozen choux directly onto a parchment-lined baking tray. Bake them as you normally would, but increase the baking time by about 5 to 10 minutes to account for them being frozen.
- For Baked Frozen Choux Buns: Remove them from the freezer and let them thaw at room temperature for approximately one hour. If they feel a little soft or soggy after thawing, you can refresh them by placing them in a preheated oven at 180°C (350°F) for about 5 minutes. This quick burst of heat will help dry them out and restore their delightful crispness. Once cooled again, they’re ready to be filled!

More Classic French Desserts to Try
- Authentic French Buckwheat Crêpes
- Simple and Delicious French Apple Cake
- Buttery Sablé Breton Cookies (Salted Butter Cookies)
- Rustic Apple Galette with Applesauce
- Effortless Cherry Clafoutis
- Decadent French Triple Chocolate Tart
- Easy and Elegant French Apple Tart
- Fresh Strawberry Tartlets with Custard
- Traditional Cannelés de Bordeaux
Made this recipe?
Let us know if you liked it by leaving a comment below, and tag us on Instagram @a.baking.journey with a photo of your creation!
Recipe

Choux à la Crème (French Cream Puffs)
Print Recipe
Ingredients
Craquelin Topping (optional)
- 40 gr Unsalted Butter, soft, at room temperature
- 40 gr Brown Sugar
- 40 gr Plain / All-Purpose Flour
Choux Pastry (Pâte à Choux)
- 125 ml Water
- 60 gr Unsalted Butter
- 10 gr Caster Sugar
- 75 gr Plain / All-Purpose Flour
- 2 large Eggs, at room temperature
Vanilla Pastry Cream
- 500 ml Full Cream / Whole Milk
- 1 1/2 teaspoon Vanilla Paste, or 1 Vanilla Bean
- 4 large Egg Yolk, at room temperature
- 30 gr Caster Sugar
- 30 gr Cornstarch, sifted
- 200 ml Heavy / Thicken Cream (Optional)
Instructions
Craquelin Topping (Optional)
- Place the very soft butter in a small bowl and mix it with a stiff spatula to make sure there are no large lumps. Add the Brown Sugar and cream it with the butter until smooth. Mix in the Flour until you get a smooth thick paste.
- Place the craquelin dough between two sheets of baking paper. Gently flatten it with your hands then use a Rolling Pin to roll it into a thin layer about 2mm (1/16 inch) thick. Place in the freezer over a flat tray to chill for at least 30 minutes to 1 hour – or until completely hard.
Choux Pastry (Pâte à Choux)
- Place the Water, Butter and Sugar in a medium size pot on medium heat.
- When the butter has melted, drop in the Flour at once. Using a wooden spoon, stir the dough until combined then keep working the dough to remove as much moisture as possible (see note 1). Keep on stiring until a thin pellicule forms at the bottom of the pot.
- Transfer into a large bowl (or the bowl of your Mixer) and leave to cool down for about 15 minutes.
- Beat the eggs together in a seperate bowl. Slowly start to add the mixed eggs into the rest of the choux batter, a little bit at the time. Mix well until the eggs have been fully incorporated before adding a little bit more (it is easier to do this step with a Stand Mixer). The pastry should be fluid and shiny, not too liquid or too hard (see note 2).
- Preheat your oven on 180’C / 350’F and grease the bottom of a baking tray (wipe any excess of grease with a paper towel).
- Place the Choux Pastry in a piping bag with a large round nozzle. Pipe small mounds of pastry, leaving room between each choux as they will puff in the oven.
- Optional: Take the Craquelin out of the fridge. Use a small cookie cutter, about the size of each choux, to cut out the craquelin and place them over each choux.
- Put in the oven for 20 minutes or until puffed and golden, then open the oven door to let the steam out and directly re-close it. Leave them to bake for another 10 to 15 minutes. If they Choux are not baked enough, they will fall down once cold.
- Transfer the Choux on a cooling rack and leave to cool down completely.
Pastry Cream
- Place the Milk and Vanilla Paste in a small pot and heat up on low heat until it simmers.
- While the milk is heating up, in a separate bowl whisk together the Egg Yolks and Caster Sugar. Add the Cornstarch and mix to combine.
- Pour the warm Milk over the Egg Yolk, Sugar and Cornstarch while whisking, then transfer it all back on the pot. Place back on the stove on low heat while continuously whisking until the cream starts to thicken. Cook for another 30 seconds after the cream reaches a boil, then remove from the stove.
- Tranfer into a shallow pot and cover with plastic wrap touching the surface of the cream. Place in the fridge to cool down completely, about 30 minutes to 1 hour.
- Optional: for a lighter cream, whip the Heavy Cream (see note 3) until it reaches stiff peaks. Gently fold it into the cool Pastry Cream and place back in the fridge to set for 30 minutes before using.
Assembling the Choux
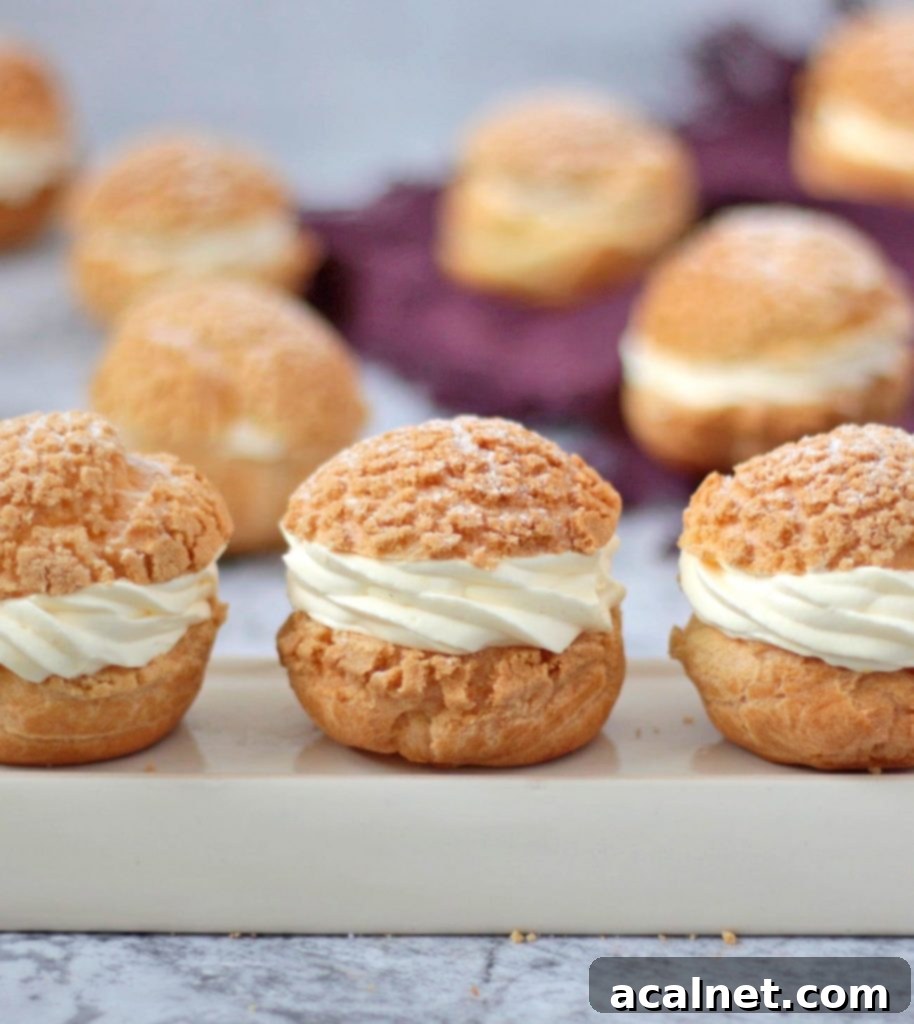
- Carefully slice each Choux Bun in Half. Place the cool Pastry Cream in a piping bag with a star nozzle. Fill each Choux with the Pastry Cream then place the Choux lid back on top of the cream. (see note 4)
- Optional: sprinkle some Icing Sugar over the Choux to finish them.
Video
Would you like to save this recipe?
We’ll email this post to you, so you can come back to it later!
Notes
For more information about the Craquelin Topping, including tips and step by step instructions, read my Choux au Craquelin recipe.
For more information about the Pastry, including tips and step by step instructions, read my Vanilla Pastry Cream recipe.
Instruction Notes:
- Press the dough again the sides of the pot to dry it out as much as possible using the wooden spoon or spatula. If the dough is not dry enough, it will not puff in the oven.
- It is important to check the consistency of the batter before adding all the eggs; sometimes the choux will need a little bit more or a little bit less eggs. To know that the choux batter has the right consistency and you can stop adding more eggs, place a finger against the batter and lift it up. Holding your finger straight (parallel to the ground), the pastry should slightly fall back to form an oval. If the pastry looks too stiff and doesn’t fall back, add a little bit of egg. If the batter look to be super runny, you have added too much eggs.
- You need to use a cream that has at least 30% fat in it to be able to whip it. Any cream with a lower fat content will not whip.
- You can also fill the Choux from the bottom to “hide” the cream: make a small cute on the bottom of the Choux and place the piping bag in it. Gently press to release some cream until you feel a resistance.
Nutrition (per serving)
