Easy & Elegant Charcuterie Cups: The Perfect Individual Appetizers for Any Gathering
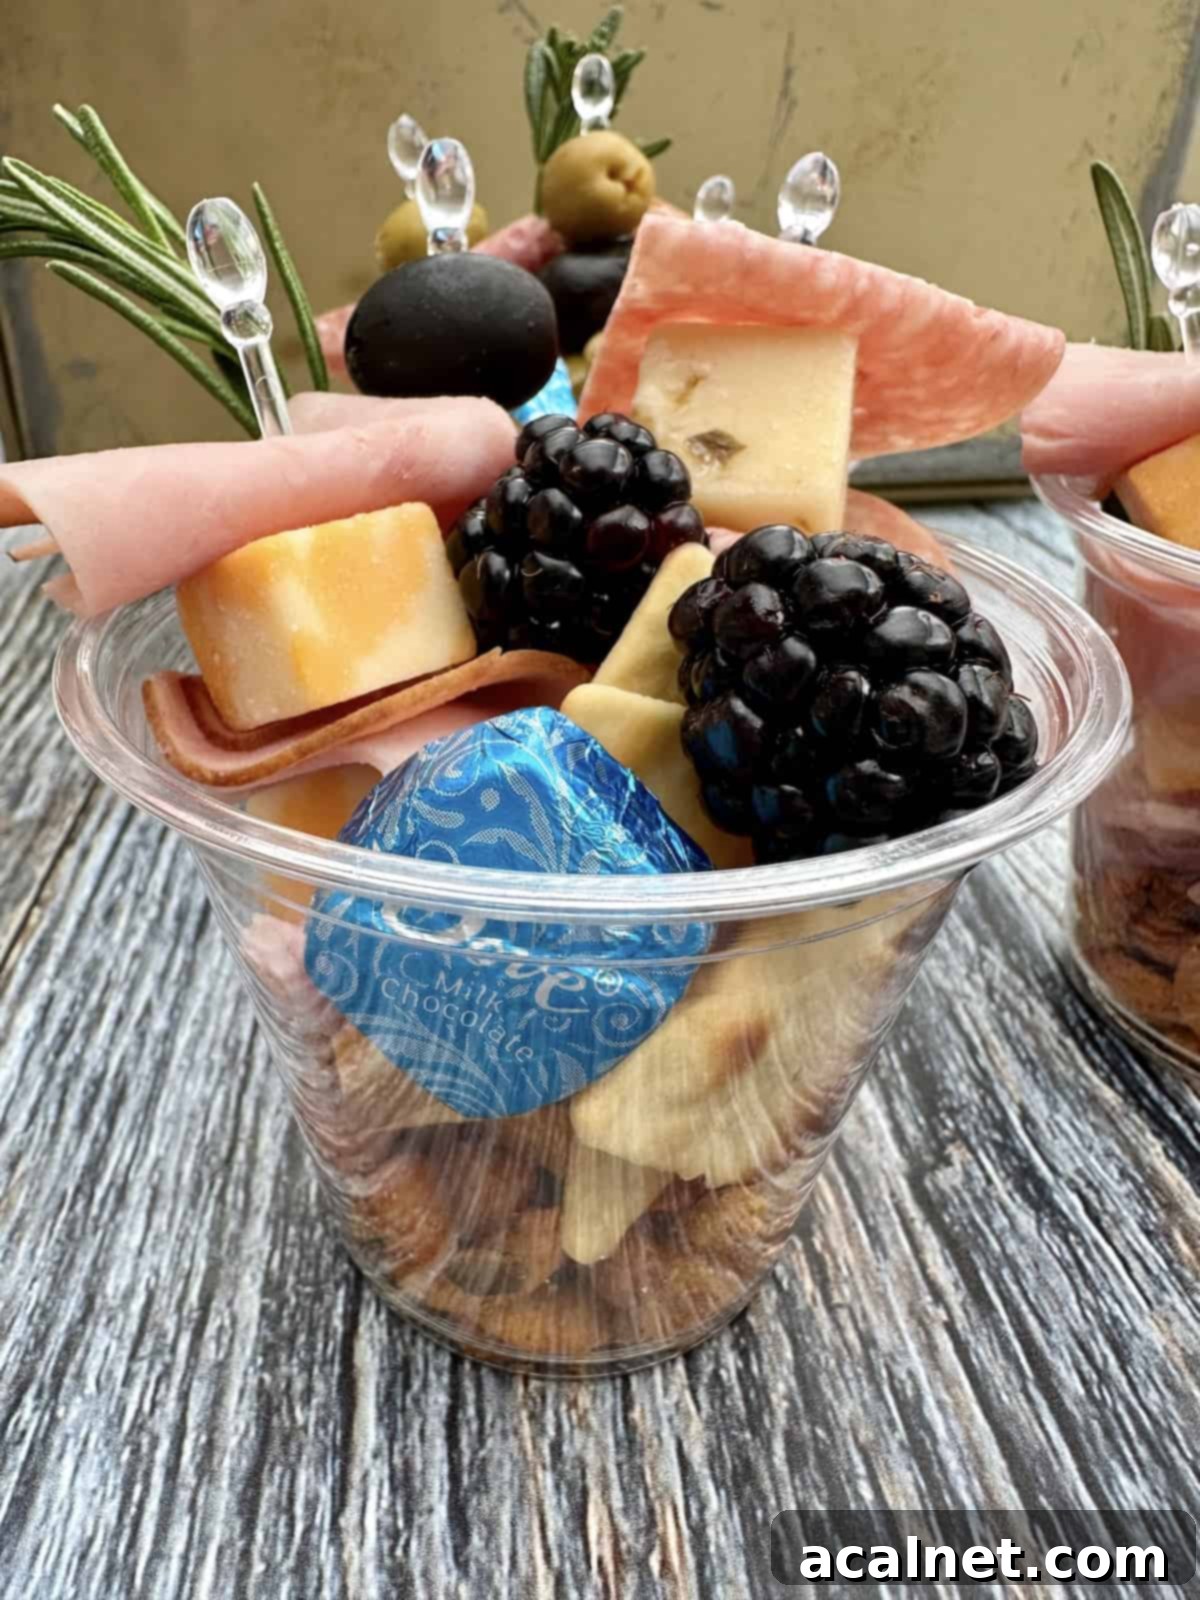
Charcuterie Cups have revolutionized party planning, offering a delightful and innovative way to serve an exquisite selection of meats, cheeses, crispy crackers, and a host of other tempting treats. Forget the traditional charcuterie board; these handheld cups allow your favorite assortment to go mobile, making them an ideal choice for any event where guests are mingling. You’ll never look back once you experience the convenience and charm of individual charcuterie cups. They’re perfect alongside other crowd-pleasing appetizers like a vibrant 5 Layer Bean Dip, savory Cranberry Jalapeno Meatballs, or a creamy Simple Artichoke Parmesan Dip, creating a truly memorable and delicious appetizer spread.
⭐ Why You’ll Love Charcuterie Cups
Individual Charcuterie Cups are more than just a passing trend; they’re a brilliant solution for modern entertaining. They are inherently portable, bursting with fantastic flavors, and incredibly versatile. Much like serving an Easy Edamame Salad in single portions, the convenience of offering food in a small, clear plastic to-go cup (affiliate link) is something guests consistently appreciate. These cups eliminate the need for shared serving utensils, making them a more hygienic option for gatherings.
One of the biggest advantages is the ability to customize your charcuterie cups based on personal preferences, dietary needs, and the ingredients available or in season. This flexibility ensures every guest finds something they love, from meat-lovers to vegetarians, or those avoiding specific ingredients. Each charcuterie cup is designed to be a perfectly balanced, single-serving experience, combining unique flavors and textures in an aesthetically pleasing arrangement.
Beyond their practical benefits, charcuterie cups bring a significant “wow factor” to any event. Their vertical presentation creates an elegant and sophisticated display that is sure to impress. They encourage mingling and make it easy for guests to enjoy delicious bites while holding a drink and socializing. Plus, they significantly reduce mess, as everything is neatly contained within the cup, meaning less cleanup for you!
Pro Tip: Enhance the experience by serving Charcuterie Cups alongside your favorite dipping ingredients, condiments, or sauces. I highly recommend offering an assortment of gourmet mustards, a sweet fig jam, a tangy Blue Cheese Vinaigrette, creamy Cauliflower Hummus, or even a fresh batch of Homemade Guacamole without Tomatoes. Present these in small, separate bowls or ramekins, allowing guests to add as much or as little as they desire without making the cups soggy or messy.
🧀 Essential Ingredients for Your Charcuterie Cups
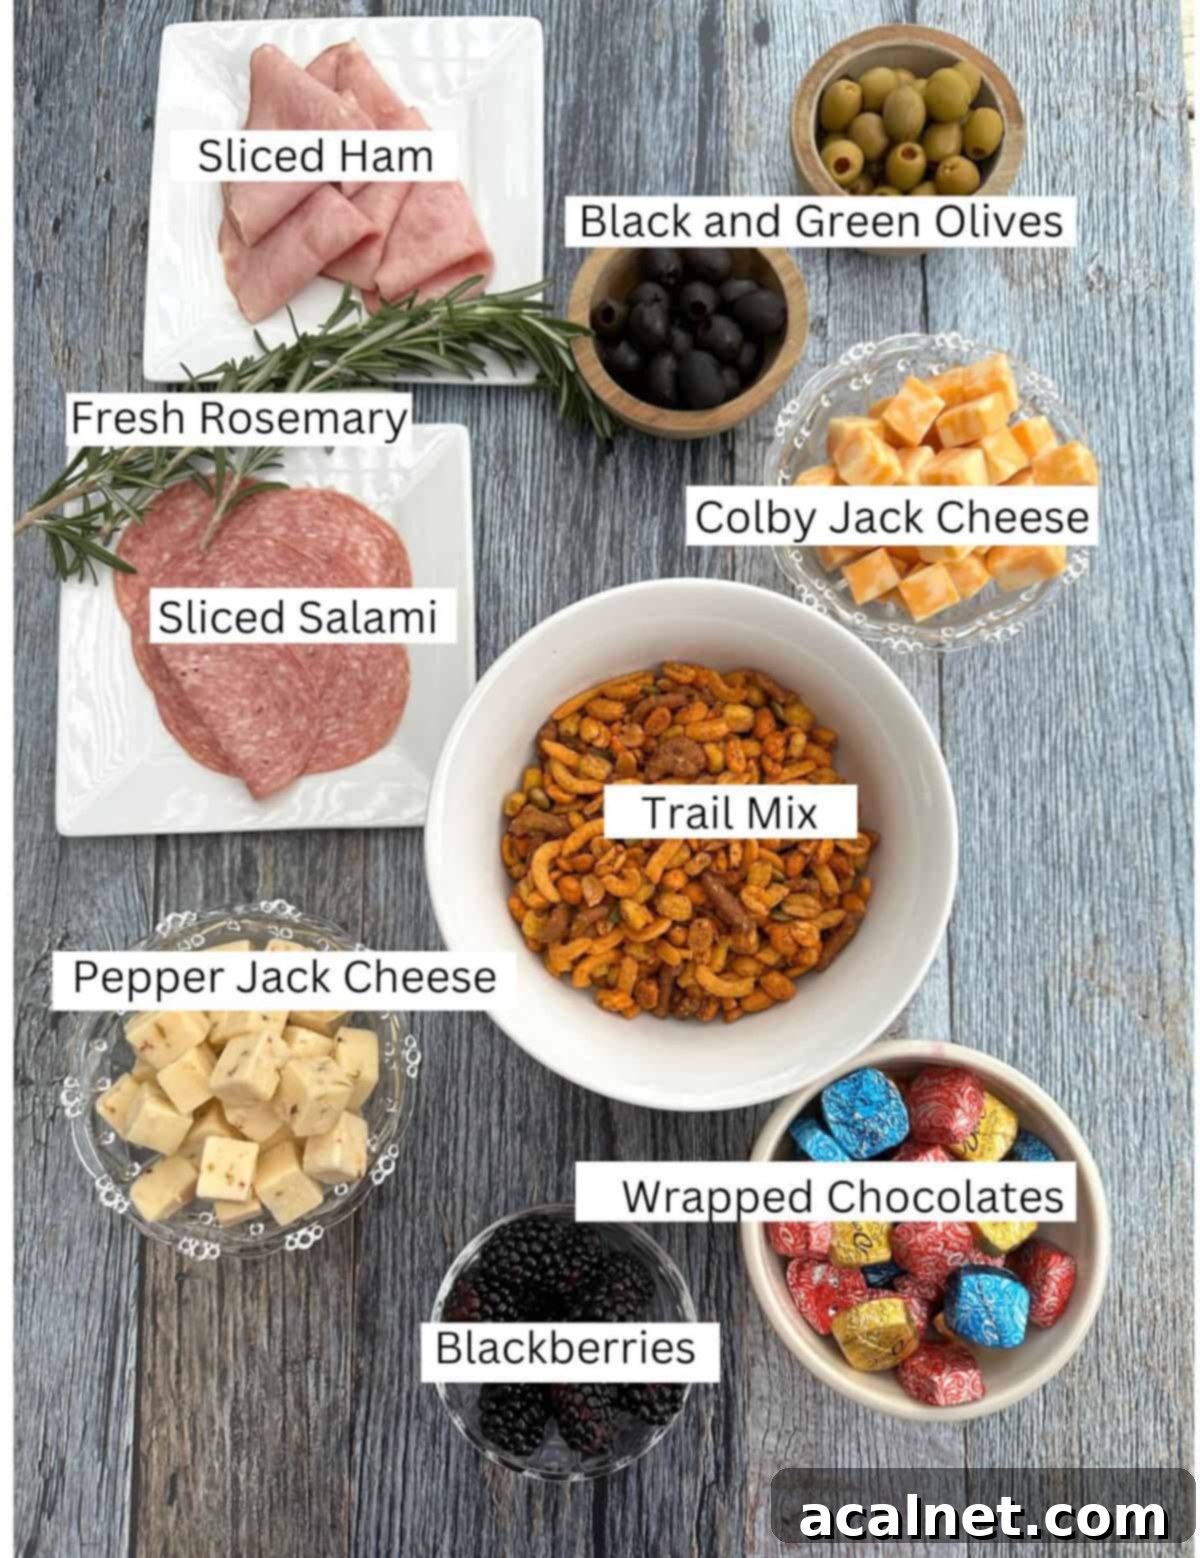
The beauty of charcuterie cups lies in their customizability. While the specific items can vary, a balanced selection ensures a delightful experience. Here’s a detailed look at the types of ingredients you’ll want to have ready:
- Sliced Meats: Charcuterie cups are entirely customizable, so feel free to use any type of deli meat, delicate prosciutto, robust salami (Genoa or hard salami work wonderfully), or spicy pepperoni that your family or guests will enjoy. For a varied profile, choose at least two types of meat. Consider folding the slices creatively (e.g., into quarters or rolling them) before threading them onto skewers to add visual interest and make them easier to eat.
- Cheese: Plan to use two complementary types of cheese. Cubed cheeses like sharp cheddar, colby jack, or pepper jack are excellent choices as they are easy to skewer and provide a satisfying bite. For a softer element, consider small wedges of creamy brie or a crumbly goat cheese, served alongside the cup if it’s too soft for skewering. Monterey jack or even a smoked gouda can also add delicious depth.
- Trail Mix (or other foundation): This serves a dual purpose: it provides a nice, sturdy foundation at the bottom of the charcuterie cup to support the skewers and other ingredients, and it offers another tasty, crunchy snack for your guests. Trail mix adds a variety of textures and flavors that pair wonderfully with smooth cheeses and savory meats. Alternatives include mixed nuts, savory granola, or even a handful of small pretzels.
- Fresh Fruit: Fresh fruit adds a burst of color, sweetness, and freshness, balancing the savory components. Blackberries are ideal for charcuterie cups because they hold their shape well and can be easily nestled between other ingredients or threaded onto skewers. Other great options include juicy grapes (red and green for visual contrast), sliced strawberries, raspberries, or small cubes of melon.
- Wrapped Chocolates: Including a wrapped chocolate is a delightful and unexpected surprise inside each charcuterie cup. I highly recommend wrapped candies to ensure the flavors of the meat or cheese don’t transfer to the chocolate, and to maintain hygiene. A small piece of dark chocolate, milk chocolate truffle, or even a mini caramel square adds a touch of indulgence.
- Assorted Crackers: No charcuterie is complete without crackers! Include a variety of crispy crackers, mini breadsticks, or pretzel sticks in each charcuterie cup. These not only add eye appeal but also offer an essential crunchy starch component. Choose different shapes, textures, and flavors – think plain water crackers, sesame crackers, or even small artisanal bread slices.
- Olives: While not explicitly listed in the intro, both black and green olives are fantastic additions, offering a briny counterpoint to the rich meats and cheeses. They skewer beautifully and add another layer of flavor and color.
- Fresh Herbs: A small sprig of fresh rosemary, dill, or sage not only adds a lovely aroma but also elevates the visual appeal of each cup, making it look more gourmet.
For a complete list of ingredients and precise measurements, please scroll down to the recipe card below.
📖 Endless Possibilities: Customize Your Charcuterie Cups
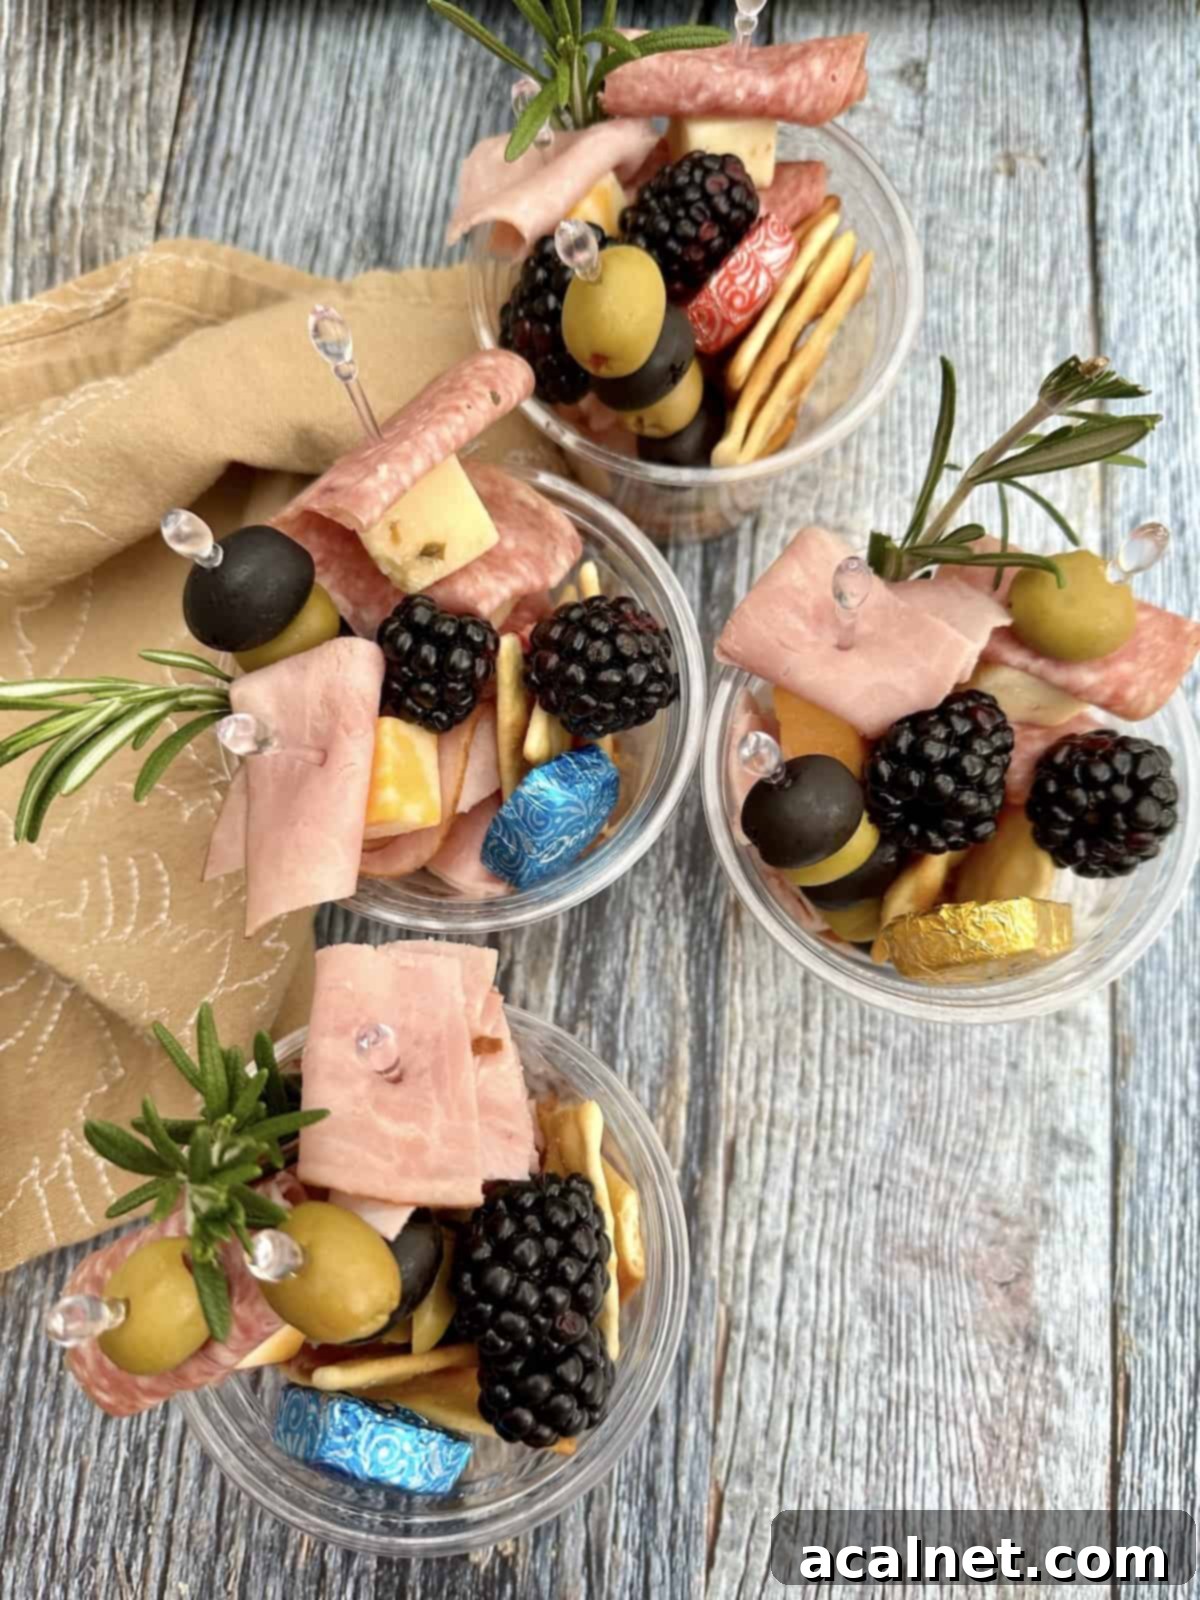
The true magic of charcuterie cups lies in their infinite customization potential. Pretty much any ingredient that you’ll find on a grand charcuterie board can be scaled down and thoughtfully added to a single-serving charcuterie cup.
The key is to create a balanced combination of flavors and textures, alongside a vibrant presentation. Charcuterie cups naturally have a lot of “wow factor” and eye appeal, so make the most of this by using ingredients with a variety of colors and interesting shapes. Think beyond the basic and consider these additions:
- Vegetarian Options: Easily create vegetarian-friendly cups by loading them with various cheeses, an abundance of fresh fruits and vegetables (cucumber slices, cherry tomatoes, baby carrots, bell pepper strips), nuts, and a delicious dip like hummus.
- Pickled Delights: Add a tangy kick with small gherkins (cornichons), pickled onions, or marinated artichoke hearts. Their bright acidity cuts through the richness of meats and cheeses.
- Sweet & Savory Enhancers: Drizzle a tiny bit of honey over a hard cheese or include candied nuts for a sweet crunch. Dried fruits like apricots, figs, or cranberries also add chewiness and natural sweetness.
- Olives, Olives, Olives: Don’t limit yourself to just black or green. Offer a mix of Kalamata, Castelvetrano, or even herb-marinated olives for diverse flavors.
- Themed Cups:
- Mediterranean Theme: Feta cubes, hummus (separate), pita chips, cucumber, cherry tomatoes, Kalamata olives, salami.
- Italian Theme: Prosciutto, fresh mozzarella balls (bocconcini), basil leaves, cherry tomatoes, breadsticks, balsamic glaze (separate).
- Holiday Theme: Use red and green grapes, cranberries, white cheddar, and festive-shaped crackers.
Pro Tip: I strongly recommend serving wet condiments and extremely soft cheeses like hummus, honey, fig jam, or creamy goat cheese separately. Arrange these items in small, elegant bowls or ramekins around the charcuterie cups. This allows guests to add as much or as little as they want, prevents the cups from becoming soggy, and most importantly, helps keep the cups neat and easy to eat from, without making a mess.
Always add a sprig of fresh rosemary or any fresh herb such as dill or sage. This small touch instantly adds visual interest and a sophisticated fresh appeal to each cup. The subtle scent of the fresh herb adds more to the sensory experience than you might think! Plus, it simply looks fantastic and shows attention to detail.
Use a variety of crackers to provide different textures and flavor profiles. Plan to add two or three crackers, or mini breadsticks, around the edges of each cup. Look for crackers that have a variety of shapes, such as round, square, or rectangular, and different textures like crunchy, flaky, or seedy. You can also use thin baguette slices or gluten-free crackers to accommodate various preferences.
Note: Some links below are paid links through Amazon Associates. Your cost is the same, but I make a small commission, which helps support this site.
To make handling easy and elegant, use plastic picks, stylish bamboo skewers, or sturdy toothpicks. Thread the meat, cheese, olives, grapes, or cherry tomatoes onto these sticks. Alternating colors and shapes on the skewers will make them even more enticing.
🥗 Step-by-Step Instructions: Assembling Your Perfect Charcuterie Cups
Creating beautiful charcuterie cups is a straightforward process, especially if you set up an assembly line. Here’s how to do it:
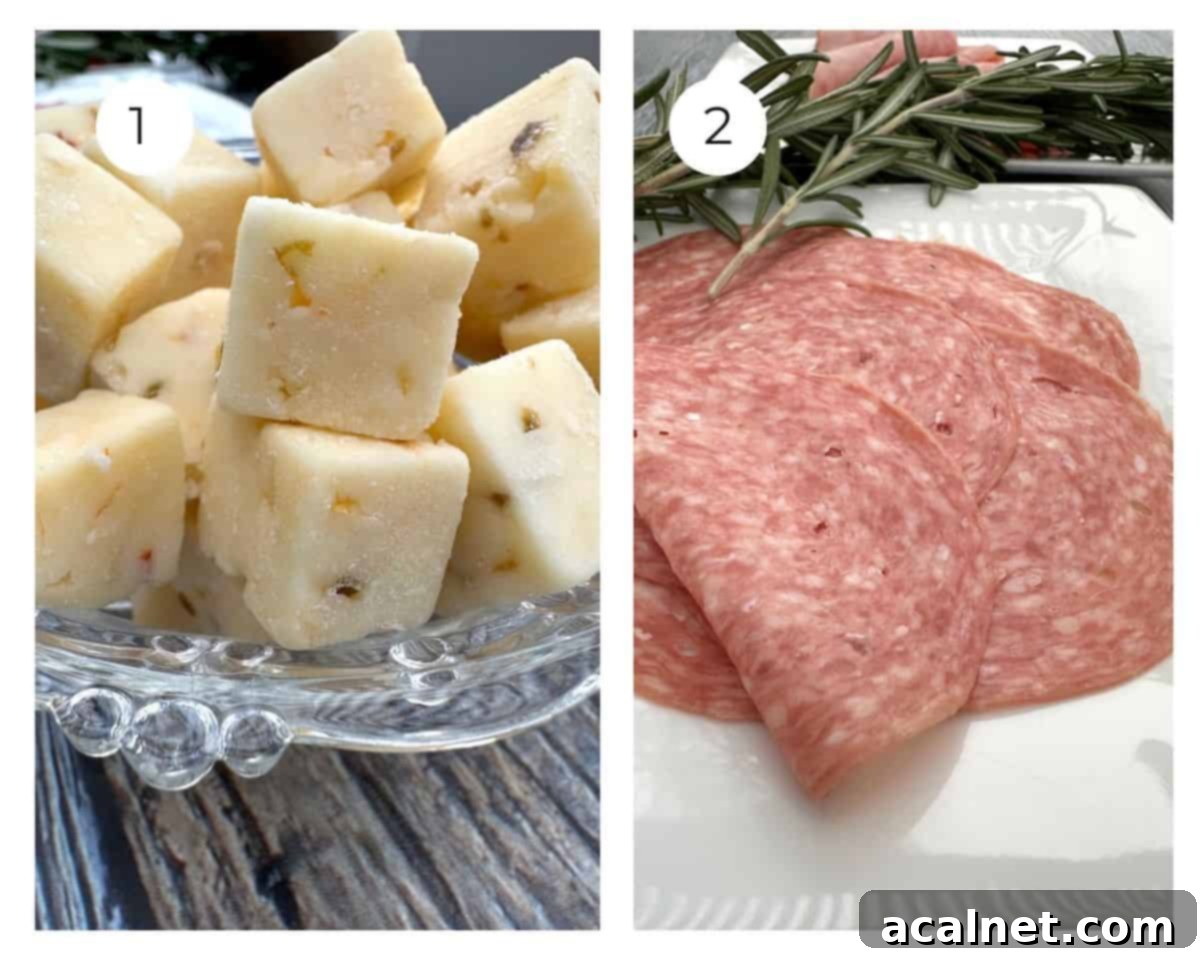
Step 1: Prep Your Ingredients. Dice your chosen cheeses into bite-sized cubes and set them aside. Aim for about ¼ cup of each variety of cheese per cup. (Photo #1) Slice your selected deli meats, such as ham and salami, into halves or thirds, ready for folding and skewering. Ensure all other ingredients – olives drained, fruit rinsed, crackers unwrapped – are easily accessible.
Step 2: Prepare the Meats for Skewering. Gently fold each slice of meat, perhaps into quarters or a small roll, to give it volume and make it easier to thread onto a skewer. You’ll need one folded slice of each meat variety per cup. (Photo #2)
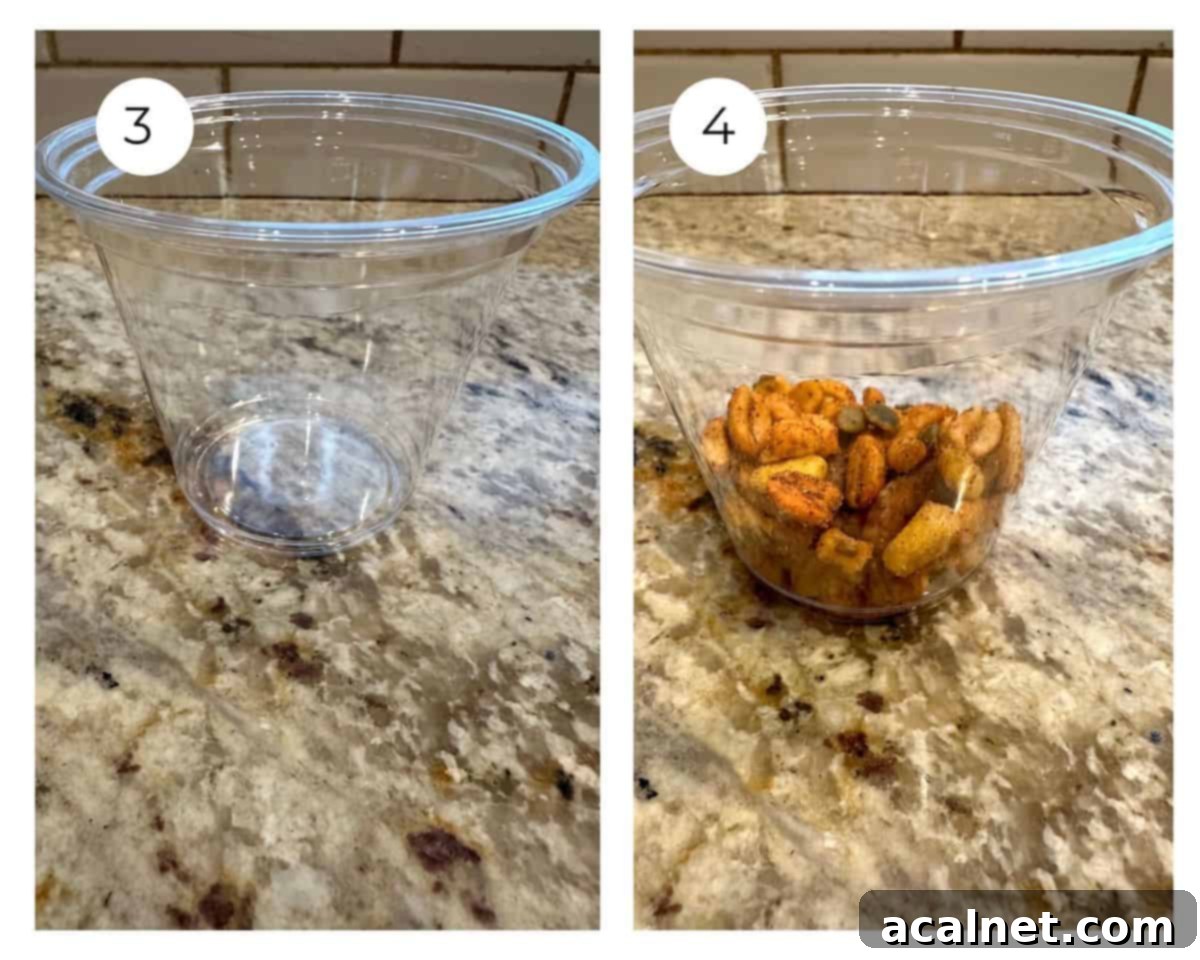
Step 3: Set Up Your Assembly Line. Arrange your clean plastic cups (or desired containers) neatly on a counter or large workspace, ready for assembly. (Photo #3) This method is much faster and more efficient than preparing each cup individually from start to finish.
Step 4: Create the Foundation. Add about two tablespoons of trail mix or mixed nuts to the bottom of each cup. This provides a stable base for the skewers and adds a delightful textural element. (Photo #4)
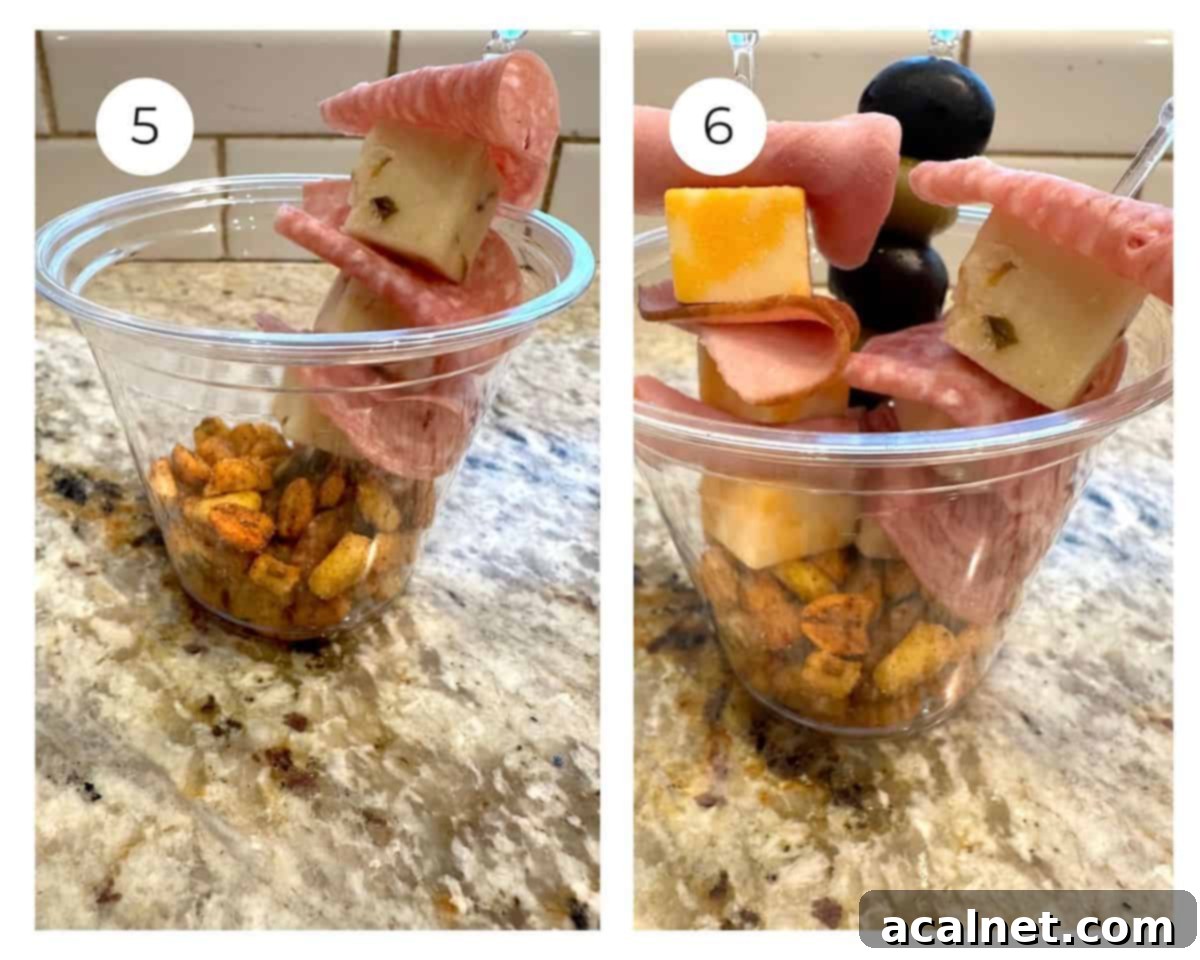
Step 5: Assemble the First Skewer. Carefully thread your first type of meat and diced cheese onto a plastic pick or skewer. Alternate the cheese and meat to create a visually appealing pattern. Gently place this skewer into the cup, ensuring it stands upright in the trail mix. (Photo #5)
Step 6: Add More Skewered Goodness. Now, assemble two additional plastic picks. One can feature your second variety of cheese and meat, and the other can be solely for olives (both black and green). Place these skewers into the cup, distributing them evenly for a balanced look. (Photo #6)
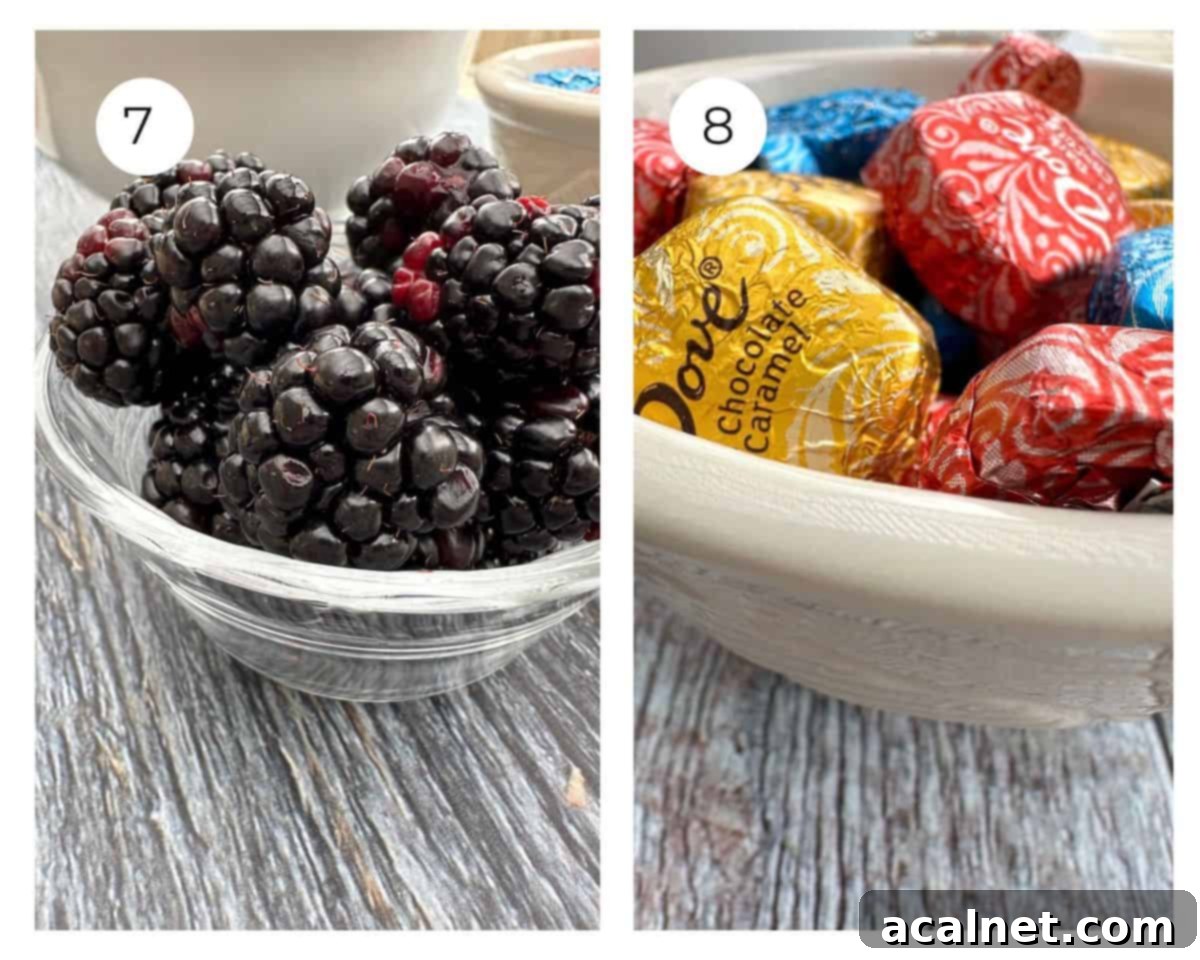
Step 7: Introduce Fresh Fruit. Tuck two or three fresh berries or pieces of fruit of your choice into each cup. Position them strategically to add pops of color and fill any gaps. (Photo #7)
Step 8: Add the Finishing Touches. Place several assorted crackers around the edges of the cup. Finally, drop a wrapped candy or chocolate piece into each cup as a delightful and thoughtful treat. (Photo #8)

Step 9: Garnish for Perfection. For that extra touch of elegance and fresh aroma, tuck a small sprig of fresh rosemary around the edges of each cup. (Photo #9) Your gorgeous and delicious charcuterie cups are now ready to serve!
💭 Recipe FAQs: Your Questions Answered
I prefer to use a solid foundation like trail mix or mixed nuts. These ingredients work exceptionally well because they are sturdy enough to support the skewered meats and cheeses, acting as an anchor for the taller items. They also provide an extra snack and a pleasant textural contrast to the softer components in the cup. Other great options include dried fruit, pretzels, or even a small amount of savory granola.
For the most part, yes, you can definitely prepare your charcuterie cups in advance. The meats, cheeses, olives, and most fruits (like grapes or whole berries) will hold up beautifully overnight. To keep them fresh, cover the assembled cups tightly with plastic wrap and refrigerate them. However, I strongly recommend adding the crackers, any delicate fresh herbs (like rosemary or dill), and extremely soft fruits (like sliced strawberries) on the day you plan to serve them. This prevents the crackers from potentially getting soggy and ensures that the herbs remain vibrant and aromatic for the best presentation and taste.
While this recipe offers a fantastic starting point, the “best” combination is often a matter of personal taste and guest preferences. For a well-rounded and visually appealing cup, here’s a proven plan: aim for at least two types of quality meat, two distinct varieties of cheese (one firm, one slightly softer), and three additional ingredients that add shape, flavor, and texture. Excellent choices for these include a mix of black and green olives, colorful cherry tomatoes, or an assortment of fresh berries or other fruits.
Additionally, include two different types of crackers to offer variety, a sturdy layer for the bottom of the cup (like trail mix or mixed nuts), a small sprig of fresh herb for aroma and garnish, and a delightful treat, such as a wrapped piece of chocolate.
Clear plastic cups are popular because they allow the vibrant colors and layers of the ingredients to shine through, enhancing the visual appeal. Look for cups that hold about 8-12 ounces to ensure enough space for a good assortment without being overcrowded. Small glass jars, sturdy paper cups, or even small, elegant ceramic ramekins can also work beautifully, depending on the formality of your event.
The goal is balance, not overload. You want each cup to feel generous but not impossible to eat from. A good rule of thumb is to include 1-2 skewers (each with 2-3 items), 2-3 fresh fruit pieces, 2-3 crackers, a base layer, and a small treat. This ensures a diverse selection without making the cup too cramped or difficult to handle.
For easy transportation, place your assembled (and perhaps plastic-wrapped) cups into a sturdy box or a catering tray with dividers. If you’re going a long distance or it’s a warm day, a cooler with ice packs will keep everything fresh and chilled. Just be sure the ice packs aren’t directly touching the cups to prevent sogginess. Add crackers and fresh herbs upon arrival for optimal freshness.
🥘 What to Serve with Charcuterie Cups
When we serve charcuterie cups, it’s typically for a festive occasion or a social gathering, meaning these are truly the ultimate party cups! They are fantastic as standalone appetizers, but they also pair wonderfully with a variety of beverages and other light bites.
- Beverage Pairings: Elevate the experience by pairing charcuterie cups with your favorite selection of wines. Offer a mix of red, white, and sparkling options to complement the diverse flavors in the cups. Crisp Sauvignon Blanc or a light Pinot Grigio pairs well with lighter cheeses and fruits, while a robust Cabernet Sauvignon or Merlot complements richer meats. Sparkling wine or champagne adds a touch of elegance. Beyond wine, offer plenty of refreshing sparkling water with citrus slices, a selection of local craft beers, or your best signature cocktails for a complete host experience.
- Complementary Appetizers: While charcuterie cups are substantial, they can be part of a larger appetizer spread. Consider serving them with other dips and spreads that can be eaten with crudités, like a fresh vegetable platter, or lighter, refreshing salads. The goal is to create a diverse buffet that caters to all tastes and preferences.
🍽 Other Tasty Appetizer Recipes
Charcuterie Cups are undeniably a crowd favorite and are sure to become a staple at your next gathering. But don’t stop there! Explore these additional dips, sauces, and appetizers for even more ideas and inspiration to complete your party menu. Each recipe is designed to be as delicious and easy to prepare as these individual charcuterie cups, ensuring your guests leave happy and satisfied.
- Delicious Crab and Shrimp Dip
- Spiced Walnuts
- Shrimp Cocktail Cups
- Pickle de Gallo Recipe
If you tried Charcuterie Cups or any other recipe on my website, please leave a 🌟 star rating and let me know how it goes in the 📝 comments below. Your feedback is greatly appreciated!
Recipe
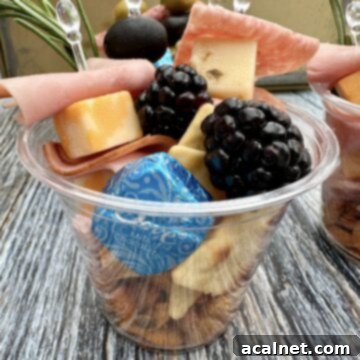
Charcuterie Cups
Print
Rate
Pin Recipe
Equipment
- 8 Clear Plastic Cups or any jar or small container that will hold 8 ounces
Ingredients
- 1 cup trail mix – or mixed nuts
- 8 slices deli ham – sliced thin
- 8-12 slices genoa salami
- 2 cups Colby cheese – cubed
- 2 cups pepper jack cheese – cubed
- 1, 15 ounce can black olives – drained
- 1 cup green olives
- 1 cup blackberries
- 8 chocolate pieces – wrapped
- Crackers – assorted
Instructions
Prep the Ingredients
- Plan to build the charcuterie cups in an assembly line. Arrange the empty cups on the counter and add each ingredient at the same time, this is faster than building each cup one by one.
- Dice the cheese, slice the salami and ham. Drain the olives, rinse the fresh fruit and have everything ready to assemble.
Assemble the Cups
- Cut the sliced meats into halves or thirds and fold each piece before threading it onto the skewer or plastic pick.
Use plastic picks or sturdy toothpicks to thread the diced cheese, sliced meats and olives.
- Add two tablespoons of trail mix to the bottom of each cup.
Place the plastic picks or skewers with the meats, cheeses and olives in the cups on top of the trail mix.
- Add two or three fresh berries to each cup.
Tuck several crackers along the edges and add a sprig of rosemary.
Notes
Please note, the nutrition details are estimated using a food database, so they’re just a rough estimate not an exact science.
