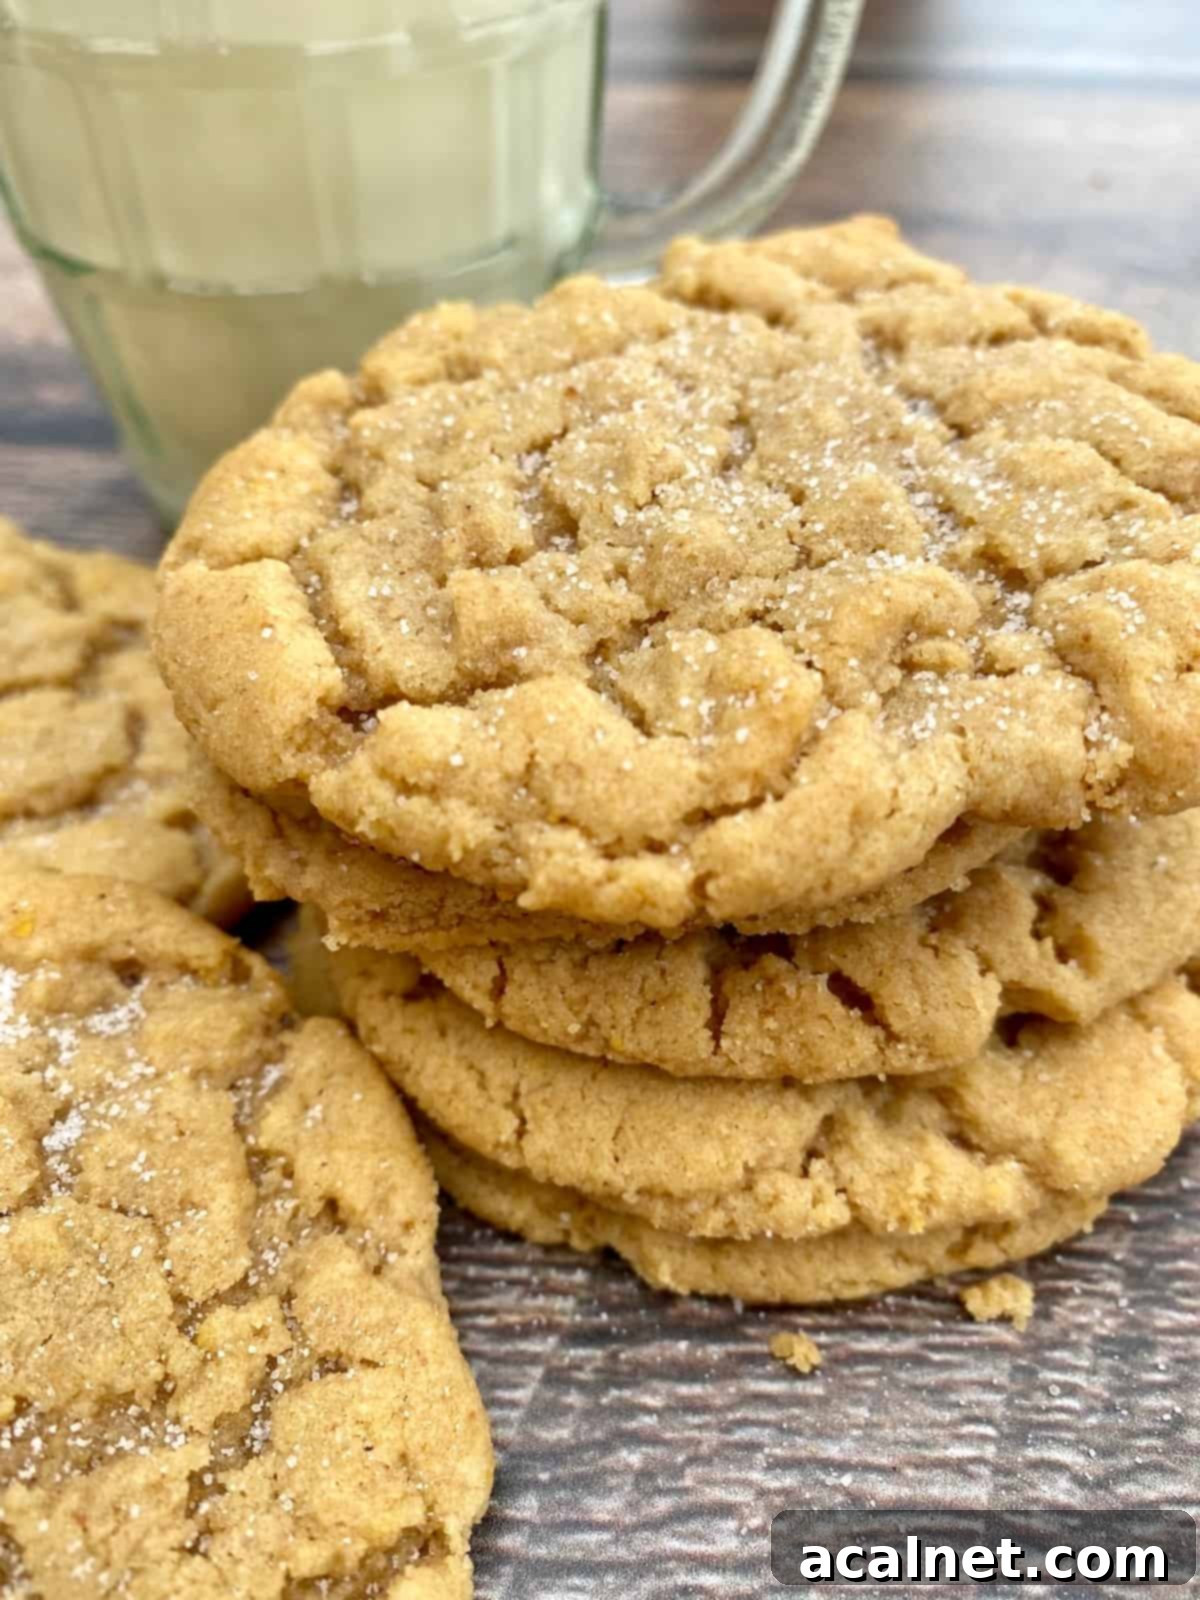
Classic Old-Fashioned Chewy Peanut Butter Cookies: A Timeless Recipe for Soft, Delicious Bites
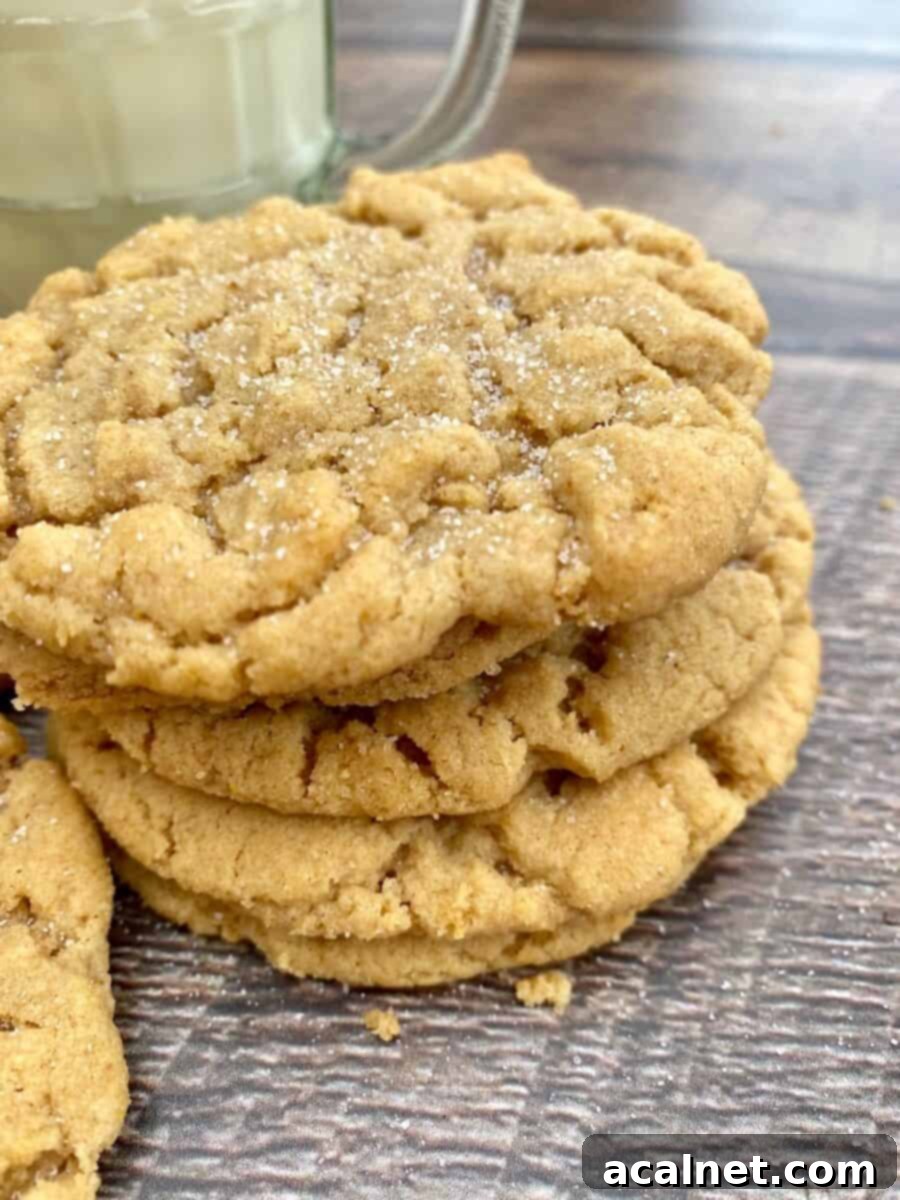
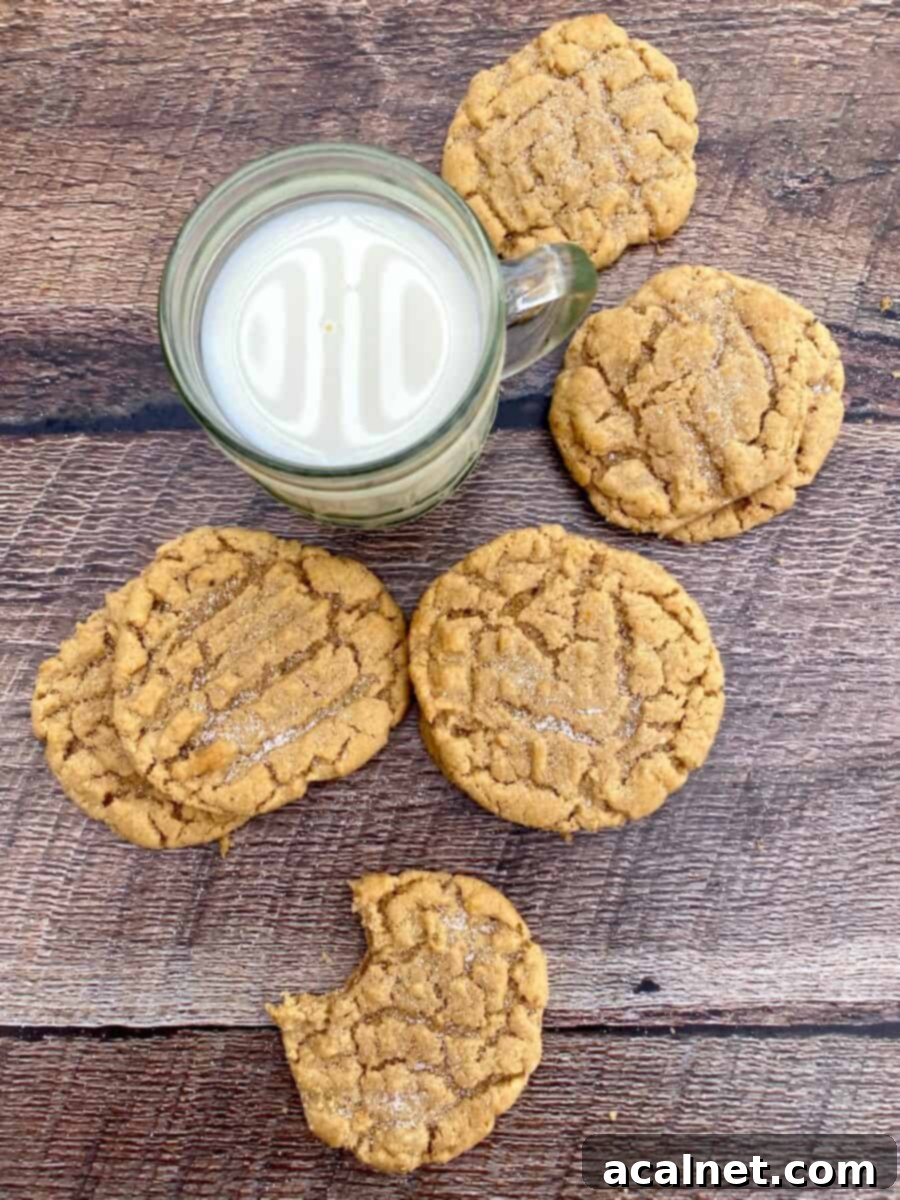
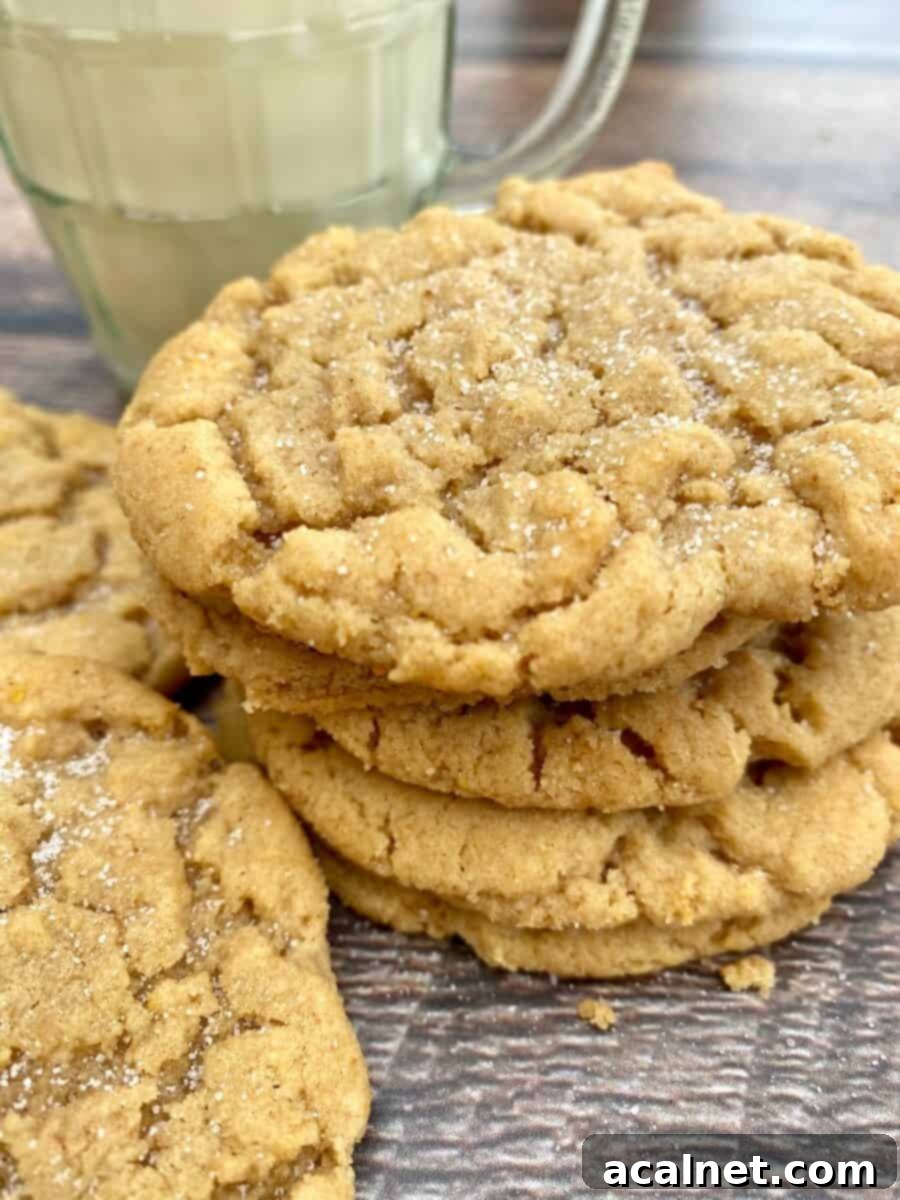
There’s something incredibly comforting about a classic peanut butter cookie, especially one that takes you back to childhood memories of your mom or grandma baking in the kitchen. These Old-Fashioned Chewy Peanut Butter Cookies deliver exactly that nostalgic feeling. They boast a perfectly soft and delightfully chewy center, while the edges offer a pleasant crispness and a hint of crunch. Every bite is a harmonious blend of textures and that unmistakable, rich peanut butter flavor we all adore.
If you find yourself with a jar of creamy peanut butter on hand, you might also love making Easy No-Bake Peanut Butter Pies. These delightful mini pies evoke the beloved flavors of a classic peanut butter and jelly sandwich, offering another quick and satisfying treat that’s perfect for any occasion.
[feast_advanced_jump_to]
🥜 Essential Ingredients for Perfect Peanut Butter Cookies
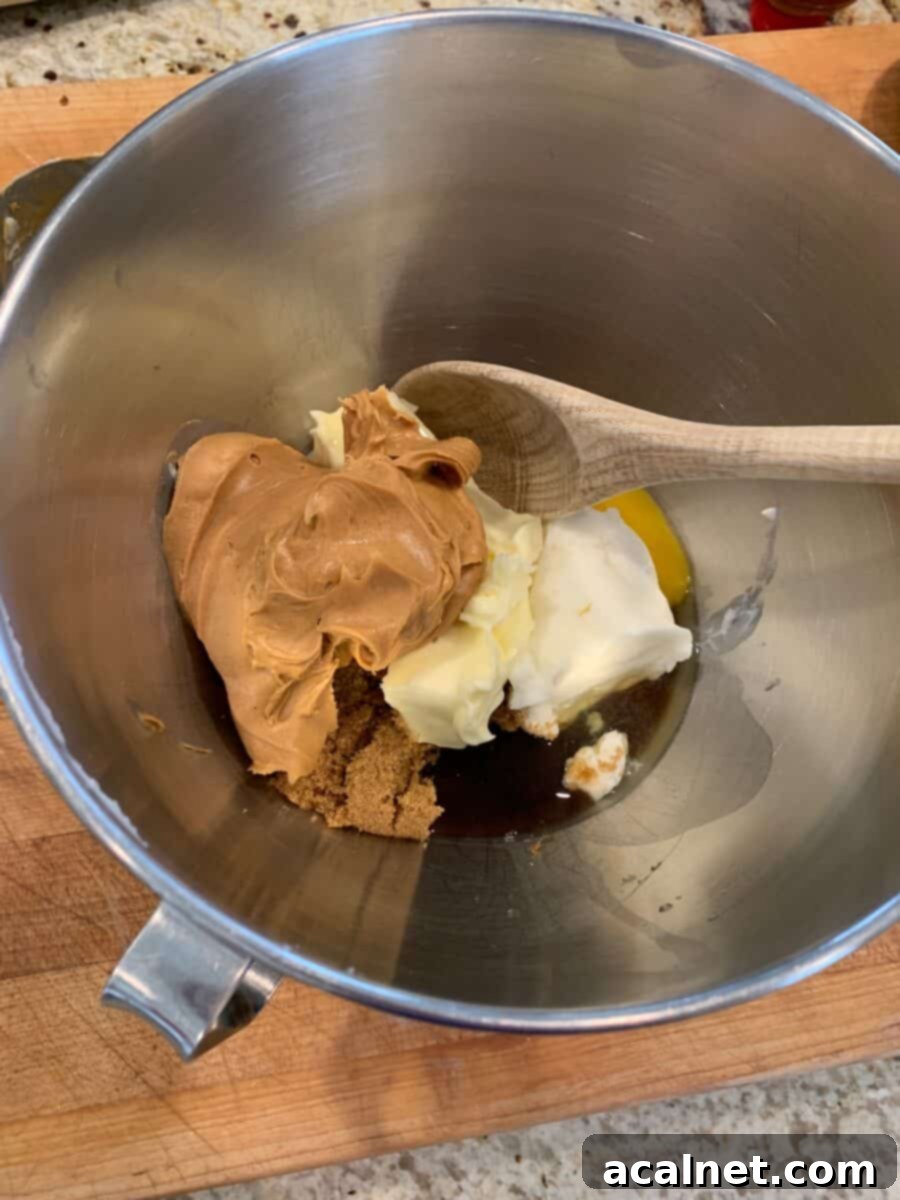
One of the many charms of baking Old-Fashioned Chewy Peanut Butter Cookies is that the ingredients are almost always staples you already have in your pantry. Much like a comforting Strawberry Chocolate Pie, these cookies are a versatile and delicious treat that can be enjoyed any time of year. And just like those beloved Mrs. Fields Chocolate Chip Bars, the texture of these cookies is undeniably chewy! Here’s a closer look at what you’ll need and why each ingredient plays a vital role:
Peanut Butter: The star of the show! I typically reach for creamy peanut butter for its smooth consistency and even flavor distribution. However, if you prefer a little extra texture, my mom often used chunky peanut butter when I was growing up, which adds delightful bits of chopped peanuts. Both options yield fantastic results, so choose according to your preference for a classic or extra-crunchy peanut butter cookie.
Shortening: This unsung hero is key to achieving that wonderfully soft and tender cookie texture. Shortening has a higher melting point than butter, which means it helps the cookies maintain their shape during baking, preventing them from spreading too thin. While it doesn’t contribute much flavor, its textural contribution is invaluable for a truly old-fashioned cookie.
Butter: This is where the rich, buttery flavor comes in! Butter adds depth and richness that shortening alone can’t provide. Whether you use salted or unsalted butter, it will beautifully enhance the overall taste of your cookies. Just ensure it’s softened to room temperature for optimal creaming with the sugars.
Whole Wheat Flour: While we only use a small amount (½ cup) of whole wheat flour in this recipe, it plays a subtle yet significant role. Its slightly nutty flavor perfectly complements the robust taste of peanut butter, adding a complex note that elevates the cookie. Plus, it lends the cookies a tiny “healthy” touch, making them feel a little less indulgent (though still utterly delicious!).
Sugars (Granulated and Brown): The combination of granulated sugar and brown sugar is essential for both flavor and texture. Granulated sugar provides crispness and helps with browning, while brown sugar adds moisture, depth, and contributes significantly to the chewy texture. Using both ensures a balanced and irresistible cookie.
Eggs: Eggs act as a binder, holding all the ingredients together, and also contribute to the cookie’s structure and richness. They help create that desirable chewiness and slight puffiness.
Baking Soda and Baking Powder: These leavening agents work in tandem to give the cookies their rise and tender crumb. Baking soda reacts with the acidic brown sugar, while baking powder provides an extra lift, resulting in a soft and airy texture.
Salt: A pinch of salt is crucial for balancing the sweetness and enhancing the flavors of all the ingredients, especially the peanut butter. Don’t skip it!
For a comprehensive list of all ingredients and precise measurements, please refer to the detailed recipe card located further down on this page.
⭐ Pro Tip: Storing Whole Wheat Flour
Since whole wheat flour contains more natural oils than all-purpose flour, it can go rancid more quickly if not stored properly. To keep your whole wheat flour fresh for longer, I highly recommend storing it in an airtight container in the freezer. This is especially useful if you don’t use it frequently but want to have it readily available for recipes like these chewy peanut butter cookies. You can even stir it into your cookie dough directly from the freezer; no need to bring it to room temperature beforehand, as it won’t affect the final outcome of your delicious cookies.
🥣 Step-by-Step Instructions for Perfect Peanut Butter Cookies
Creating these delightful old-fashioned peanut butter cookies is a straightforward process. Follow these easy steps to achieve that perfect soft, chewy, and slightly crispy treat.
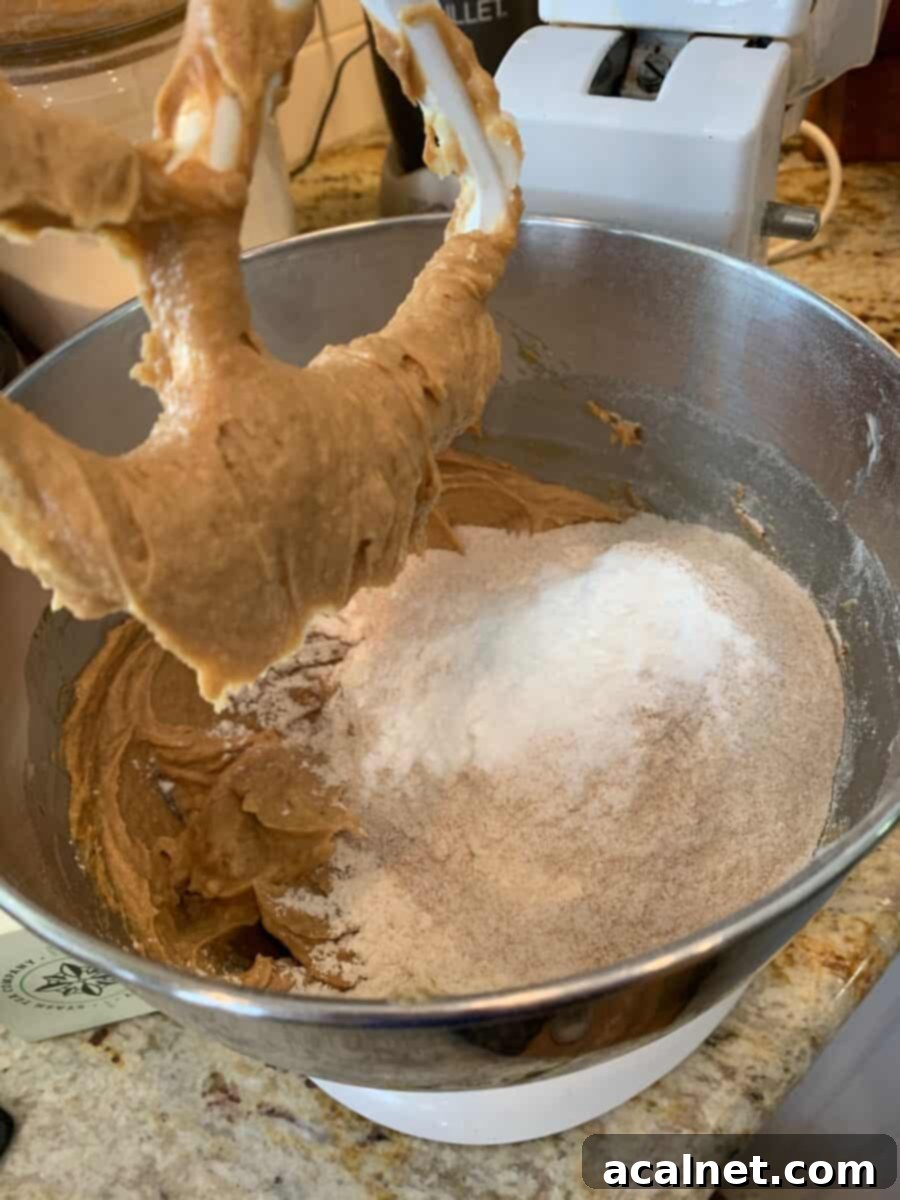
Step 1: Cream the Wet Ingredients. In a large mixing bowl, or the bowl of a stand mixer, combine the eggs, both granulated and brown sugars, creamy peanut butter, shortening, and softened butter. Beat these ingredients together until the mixture is light, fluffy, and perfectly smooth. This creaming process incorporates air, which is crucial for a tender cookie. Once smooth, gradually add the dry ingredients – the all-purpose flour, whole wheat flour, baking soda, baking powder, and salt. (Refer to the photo above for visual guidance on mixing the wet ingredients.)
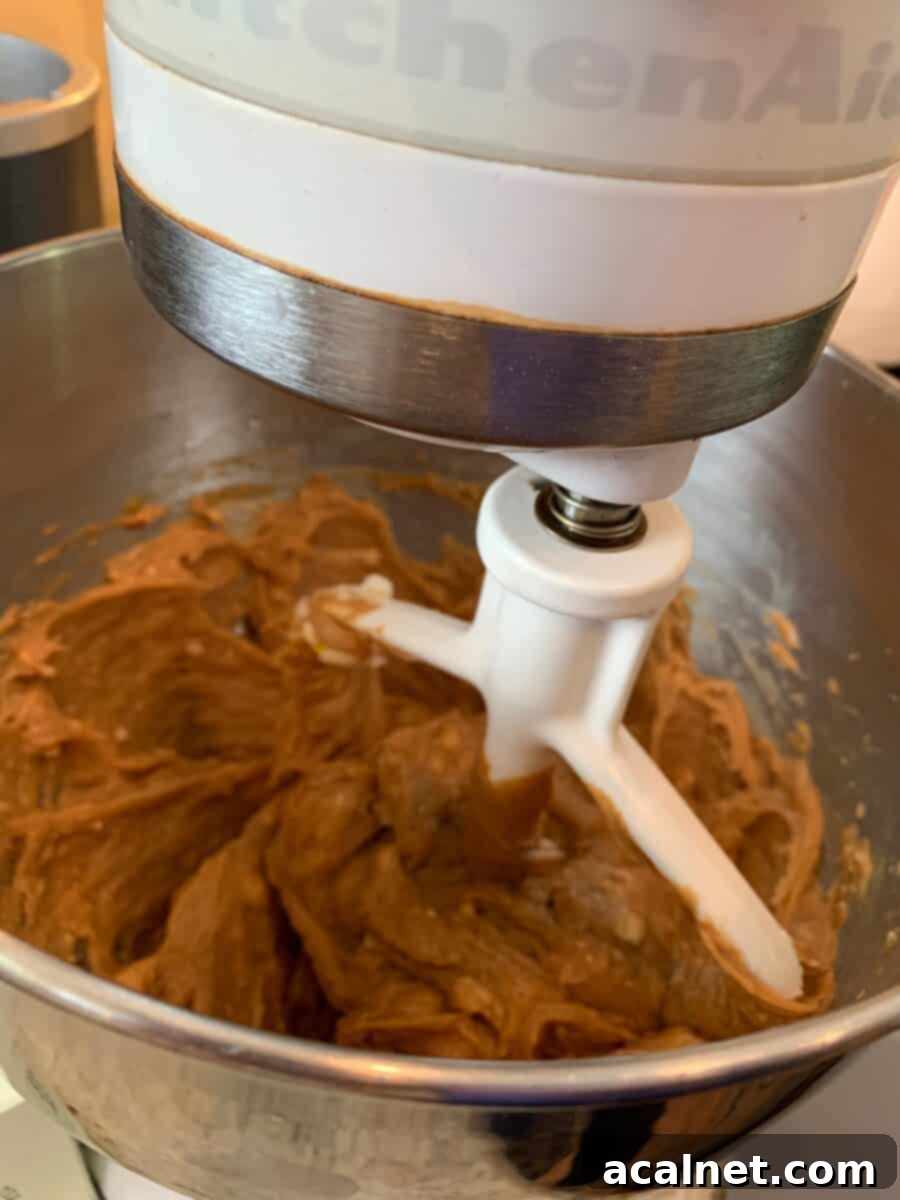
Step 2: Combine Dry and Wet Ingredients. Continue to stir the ingredients until they are thoroughly blended and form a smooth, uniform dough. You can achieve this using either a stand mixer, as pictured above, or a large mixing bowl with a sturdy spoon or spatula for manual mixing. Be careful not to overmix, as this can develop the gluten in the flour too much, leading to tougher cookies. Mix just until no streaks of dry flour remain.
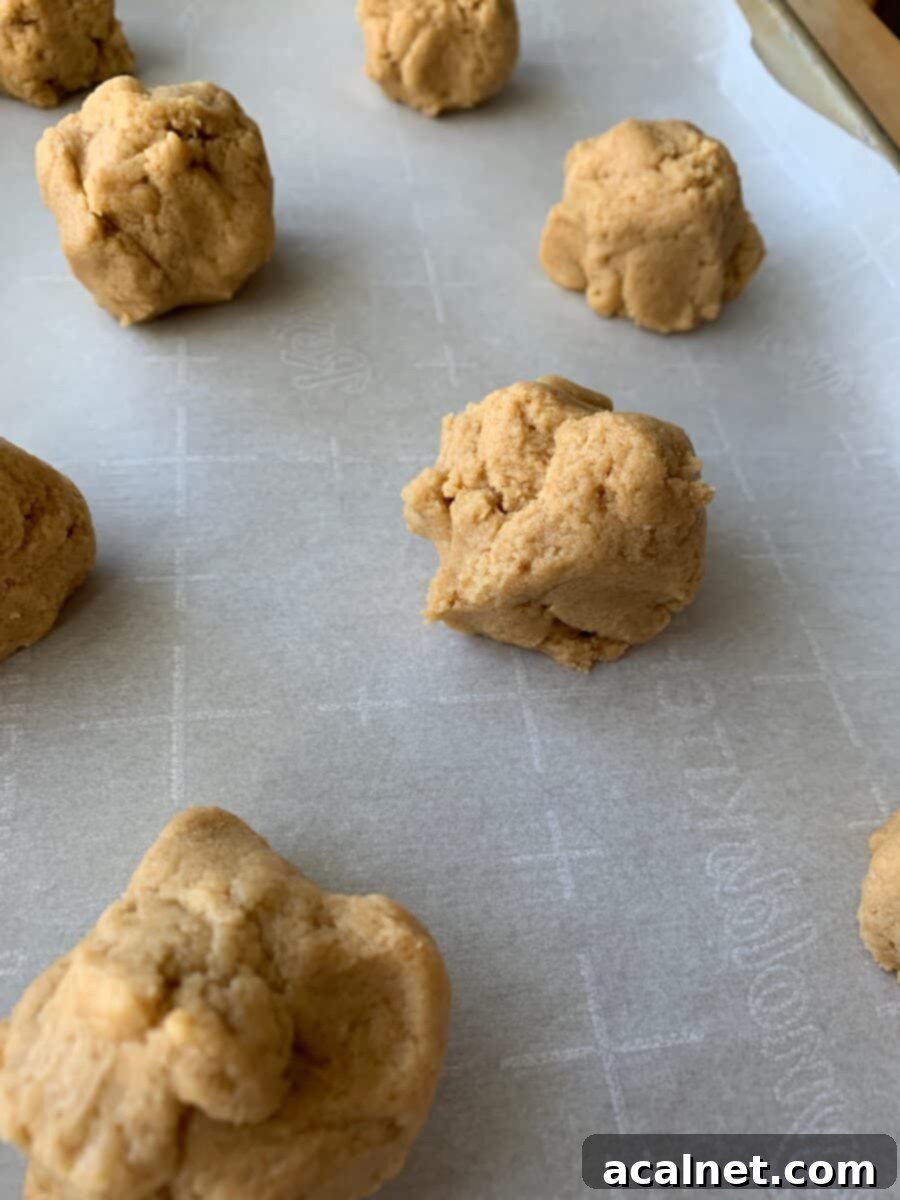
Step 3: Scoop and Shape the Dough. Using a large tablespoon or a cookie scoop, portion the dough into small mounds onto a baking sheet lined with parchment paper. Aim for pieces that are approximately the size of a walnut or a golf ball. It’s important to make each cookie as close to the same size as possible. This consistency is key to ensuring that every single cookie bakes evenly and results in that consistently soft and chewy texture we’re aiming for. (See the photo above for how the scooped dough should look on the baking sheet.)
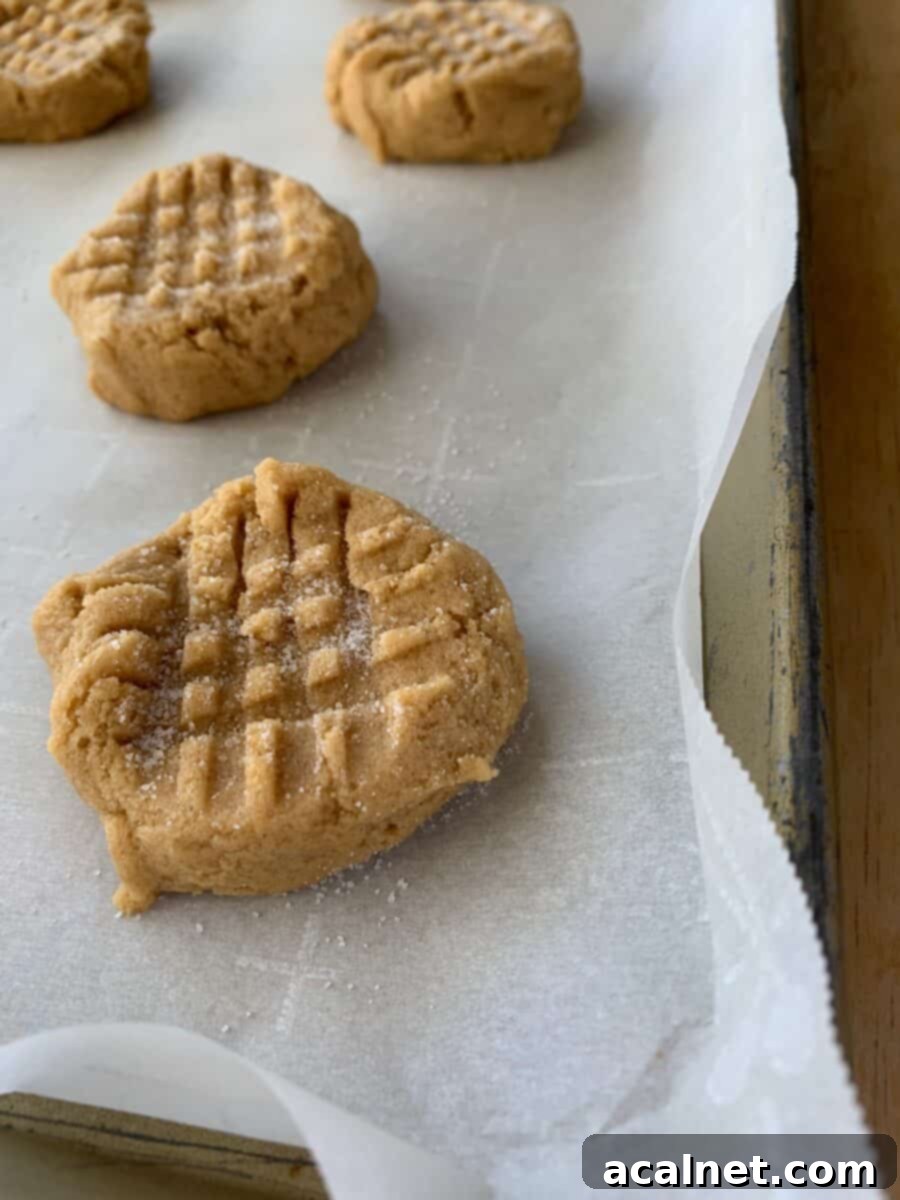
Step 4: Create the Iconic Criss-Cross Pattern. This is the signature step for any peanut butter cookie! Dip the tines of a fork into a small bowl of granulated sugar to prevent sticking, then gently press down on the center of each cookie dough ball, making a criss-cross pattern. This beloved pattern is not just a classic sign of a peanut butter cookie; it also serves a practical purpose. Because peanut butter cookie dough is typically thicker and denser than other cookie doughs, pressing it down helps to flatten the cookies slightly and ensures they bake more evenly throughout, from the edges to the very center. (The photo above illustrates the perfect criss-cross pattern.)
👩🏻🍳 The Secret to Non-Stick Cookies: Parchment Paper
In the past, when my mom baked her wonderful cookies, she would meticulously grease each baking sheet with shortening. This method certainly works to prevent cookies from sticking! However, I’ve found a much easier and cleaner alternative that I swear by: parchment paper. It’s incredibly durable, provides a consistently non-stick surface, and perhaps best of all, makes cleaning up your baking pans an absolute breeze.
Simply line your baking sheets with parchment paper before placing the dough. Once your cookies are baked and cooled, you can easily slide them off the paper. Then, just crinkle up the used parchment paper and dispose of it. While your baking pan might still need a light wash to remove any minor residue, using parchment paper significantly reduces the amount of grease and sticky bits that build up, saving you precious time and effort in the kitchen. It’s a small change that makes a big difference for stress-free baking!
⏲️ The Art of Making Perfectly Chewy Peanut Butter Cookies
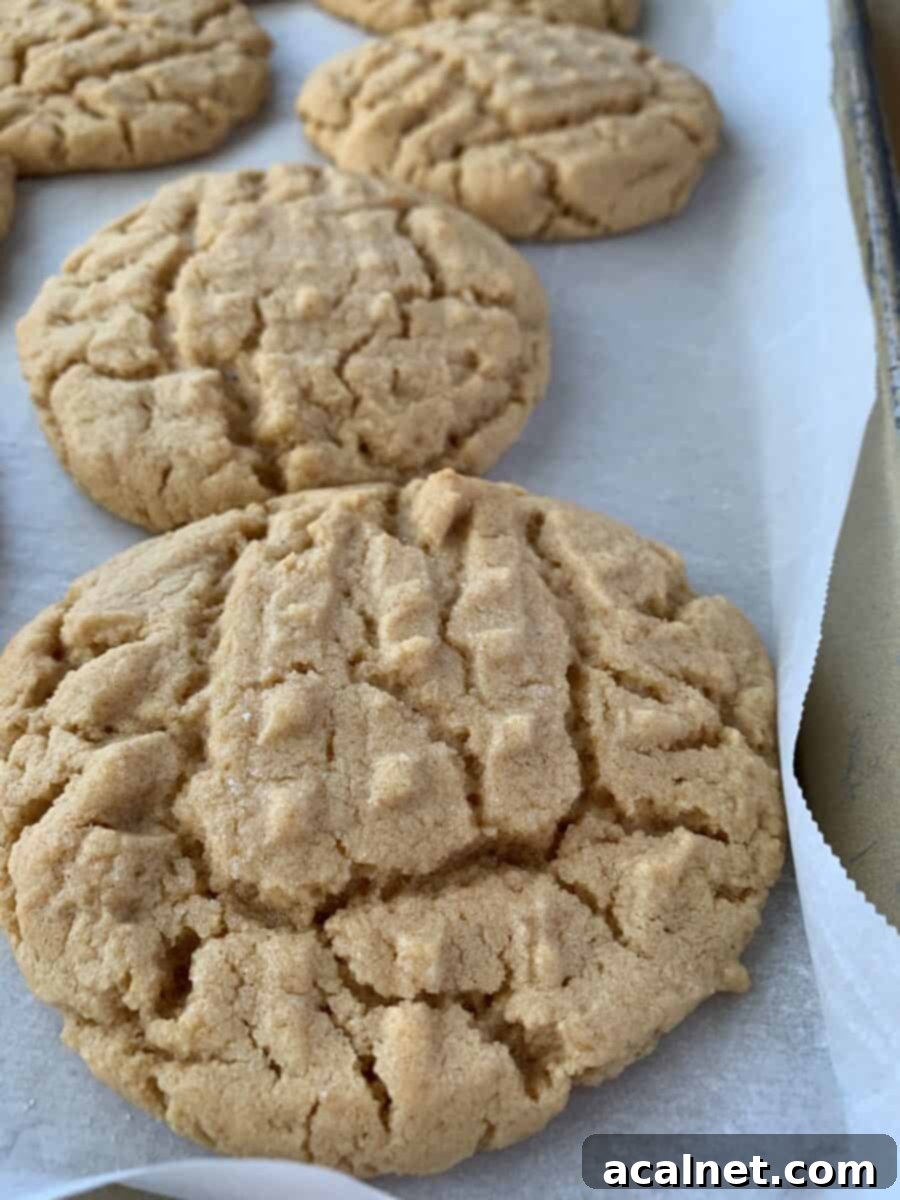
Achieving that coveted soft and chewy texture in your peanut butter cookies is an art, and the single most important secret is to avoid overbaking them. Overbaking is the quickest way to turn a potentially chewy cookie into a dry, crumbly one.
Every oven is a little different, so it’s always a good practice to closely monitor your first batch of cookies. You might find that your oven bakes a bit hotter or faster, meaning you may need to adjust the baking time by a minute or two less than recommended to achieve that ideal, soft-baked texture.
Your delicious peanut butter cookies are perfectly ready when they have spread out nicely, appear puffy, and are set around the edges. Crucially, the center of the cookies will still look very soft, almost underbaked – typically after about 9 to 10 minutes of baking time. This slight underbaking is the key to their incredible chewiness once cooled.
⭐ Pro Tip: The Essential Cooling Step for Chewiness
This pro tip is a game-changer for guaranteeing perfectly chewy cookies: After you remove the baking sheet from the oven, let the cookies rest and set on the parchment paper directly on the hot baking sheet for an additional 5 minutes before transferring them to a wire cooling rack. During this crucial cooling period on the hot sheet, the residual heat will allow the cookies to finish cooking gently and set up without drying out, resulting in an exquisitely soft and chewy texture that holds its shape beautifully. This prevents them from collapsing or becoming brittle when moved too soon.
🌡️ How to Store and Freeze Your Delicious Peanut Butter Cookies
To keep your Old-Fashioned Chewy Peanut Butter Cookies fresh and delicious, proper storage is key. Once the cookies have fully cooled on a wire rack, stack them carefully in an airtight container. They will stay wonderfully soft and chewy at room temperature for up to 3-5 days.
For longer storage, or to enjoy these delightful cookies whenever a craving strikes, freezing is an excellent option. Place the cooled cookies in an airtight container or a heavy-duty plastic freezer bag. Arrange them in a single layer or separate layers with parchment paper to prevent sticking. Store them in the freezer for up to 3-6 months. When you’re ready to enjoy them, simply remove them from the freezer and let them defrost at room temperature for an hour or two. They’ll taste almost as fresh as the day they were baked!
💭 Recipe FAQs for Old-Fashioned Chewy Peanut Butter Cookies
The crisscross pattern is an iconic hallmark of peanut butter cookies, a tradition that dates back to the 1930s when it became a standard part of peanut butter cookie recipes. While the exact historical reason isn’t always clearly explained, we know for sure that peanut butter cookie dough is inherently thick and dense. Pressing the dough down with the tines of a fork helps to flatten the cookies and prevents them from becoming too thick or dome-shaped, which in turn ensures that the center bakes evenly and thoroughly along with the rest of the cookie, guaranteeing a consistent texture throughout. Plus, it’s just so charmingly classic!
It’s a common challenge, as peanut butter cookies are prone to drying out and becoming hard or crunchy if overbaked. The key to keeping them wonderfully soft and chewy lies precisely in the baking and cooling method outlined in this recipe.
The primary strategy is to avoid overbaking at all costs. Remove the cookies from the oven when their centers still look slightly soft. Then, instead of immediately transferring them, they cool for a few minutes directly on the hot baking sheet right out of the oven. This allows them to gently finish cooking and set without losing precious moisture, ensuring they retain their delightful chewiness long after they’ve cooled.
Technically, you could make a substitution, but for the best flavor and texture in this specific recipe, I strongly recommend using both butter and shortening as specified. While shortening contributes to a wonderfully soft and tender crumb and helps the cookies hold their shape, butter is indispensable for adding that rich, irresistible buttery flavor that truly elevates these old-fashioned treats. Using only shortening would result in a less flavorful cookie, while using only butter might make them spread a bit too much. The combination strikes the perfect balance for a truly exceptional peanut butter cookie.
While natural peanut butter can be used, it often has a different consistency and oil separation compared to conventional creamy peanut butter. If you opt for natural peanut butter, ensure it’s well-stirred to integrate the oils. You might find the cookies spread a bit more or have a slightly different texture due to the varying fat content. For the most consistent “old-fashioned” results as intended by this recipe, a conventional, no-stir creamy peanut butter is recommended.
Softened butter should be pliable enough to leave a slight indentation when gently pressed with your finger, but it shouldn’t be melted or greasy. It usually takes about 30-60 minutes for butter to soften at room temperature. If it’s too cold, it won’t cream properly with the sugars; if it’s too warm, your cookies might spread excessively.
📖 The Enduring Inspiration Behind This Classic Recipe
This particular recipe has been my steadfast, go-to peanut butter cookie recipe for years, and it’s precisely why I affectionately call them “old-fashioned” peanut butter cookies. It’s a recipe that has truly stood the test of time in my kitchen.
I originally had the precise ingredients and instructions neatly scribbled down on a worn piece of paper, tucked away safely within one of my well-loved recipe binders. The recipe’s true origin, however, dates back to an old Betty Crocker children’s cookbook. This charming little cookbook was an absolute favorite of my daughter’s when she was a little girl, filled with simple, delightful recipes that sparked a love for baking. Sadly, that cherished cookbook is long gone from our house – how we managed to lose track of it, I’ll never quite understand. But I am eternally grateful that I had the foresight to save this precious recipe. It continues to bring joy to my family, embodying the spirit of homemade goodness and childhood memories.
If you appreciate a peanut butter cookie that is wonderfully tender, boasts a perfectly soft and chewy interior, and offers just the right amount of slightly crispy edges, then you and your loved ones are absolutely going to fall in love with these timeless treats.
🎂 More Delightful Dessert Recipes You’ll Love
If you’ve enjoyed these classic chewy peanut butter cookies, you’re in for a treat! Here are more family-favorite dessert recipes that are sure to satisfy your sweet tooth and become staples in your kitchen:
- Indulgent Chocolate Zucchini Cake
- Elegant Tiramisu Cake for Dessert
- Classic Old Fashioned Sour Cream Cookies
- 15 Best Apple & Pumpkin Desserts for Fall
If you try making these amazing Old-Fashioned Chewy Peanut Butter Cookies at home, I would absolutely love to hear how they turn out for you! Please take a moment to leave a 🌟 star rating and a comment below to share your experience and any tips. Your feedback means a lot, and I’m genuinely looking forward to hearing from you!
Recipe Card: Old-Fashioned Chewy Peanut Butter Cookies
Old-Fashioned Chewy Peanut Butter Cookies
Print
Rate
Pin Recipe
Ingredients
- 2 large eggs
- 1 cup granulated sugar – plus 2-3 tablespoons more for the criss-cross pattern on top of each cookie
- 1 cup packed light brown sugar
- 1 cup creamy peanut butter – or chunky if preferred for extra crunch
- ½ cup vegetable shortening
- ½ cup unsalted butter – softened to room temperature
- 2 cups all-purpose flour
- ½ cup whole wheat flour – for a nutty depth of flavor
- 1 ½ teaspoons baking soda
- 1 teaspoon baking powder
- 1 teaspoon salt
Instructions
Prepare Your Oven and Baking Sheets
- Preheat your oven to 375°F (190°C). Line two large baking sheets with (affiliate link) parchment paper. This will prevent sticking and make cleanup much easier.
Mix the Cookie Dough
- In a large mixing bowl or the bowl of a stand mixer fitted with the paddle attachment, cream together the eggs, granulated sugar, brown sugar, peanut butter, shortening, and softened butter until the mixture is light, fluffy, and well combined. This usually takes about 2-3 minutes on medium speed.
In a separate medium bowl, whisk together the all-purpose flour, whole wheat flour, baking soda, baking powder, and salt. Gradually add the dry ingredients to the wet ingredients, mixing on low speed until just blended and smooth. Be careful not to overmix the dough.
Using a large tablespoon or a 1.5-inch cookie scoop, drop rounded balls of dough – approximately the size of a walnut or a golf ball – onto the prepared parchment-lined baking sheets, spacing them about 2 inches apart.
Note: For that classic, substantial cookie experience, I prefer to make my dough rounds about the size of a golf ball. However, feel free to make smaller mounds if you desire a higher yield of smaller cookies.
Dip the tines of a fork into a small bowl containing the additional granulated sugar. Gently press the sugared fork onto the top of each raw cookie dough ball in a criss-cross fashion. This traditional step not only adds a lovely pattern but also helps flatten the dough for even baking.
Bake and Cool to Perfection
- Bake the cookies for 9-10 minutes. The cookies are ready when their edges are lightly set and golden, but the centers still look slightly soft and puffy. Do not overbake for maximum chewiness!
Remove the baking sheet from the oven and here’s the crucial step for chewy perfection: let the cookies cool and set on the hot baking sheet for about 5 extra minutes. This allows them to finish cooking gently and prevents them from crumbling. After 5 minutes, carefully transfer the cookies to a wire cooling rack to cool completely.
Notes
Please note: The nutrition details provided are estimated using a food database and are intended as a rough guide, not an exact scientific measurement.
