Master the Art of Perfect Pie Crust: The Easy, Flaky, No-Chill Recipe You’ve Been Waiting For
There’s nothing quite like a homemade pie, and at the heart of every truly exceptional pie is a perfect crust. Forget store-bought shortcuts; crafting your own flaky pie crust from scratch is not only incredibly rewarding but surprisingly simple with the right recipe. This particular recipe for Perfect Pie Crust stands out as the absolute best I’ve ever encountered in my decades of baking pies. What makes it a true game-changer? It requires no tedious chilling of the dough, meaning you can go from ingredients to a beautifully rolled crust in a fraction of the time. Plus, this generous recipe yields enough for 4 or 5 standard pies, making it ideal for large family gatherings, holiday baking, or for freezing extra portions to enjoy later.
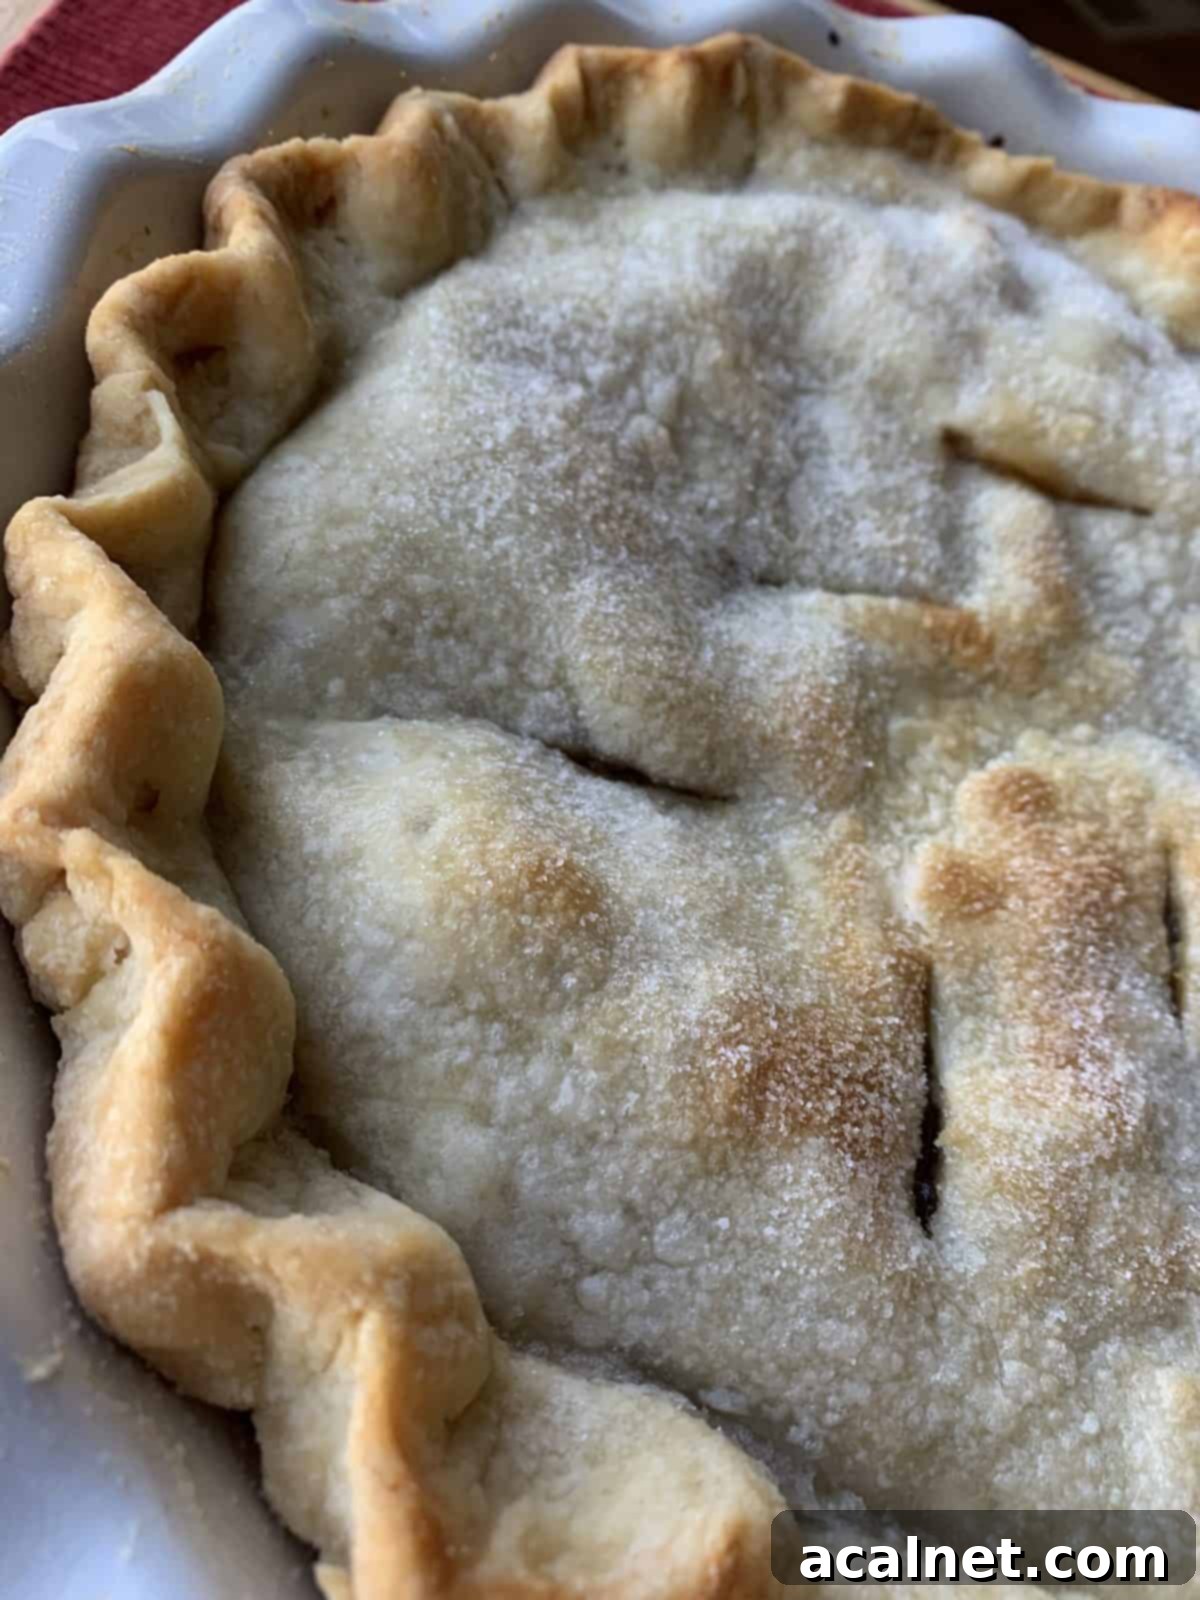
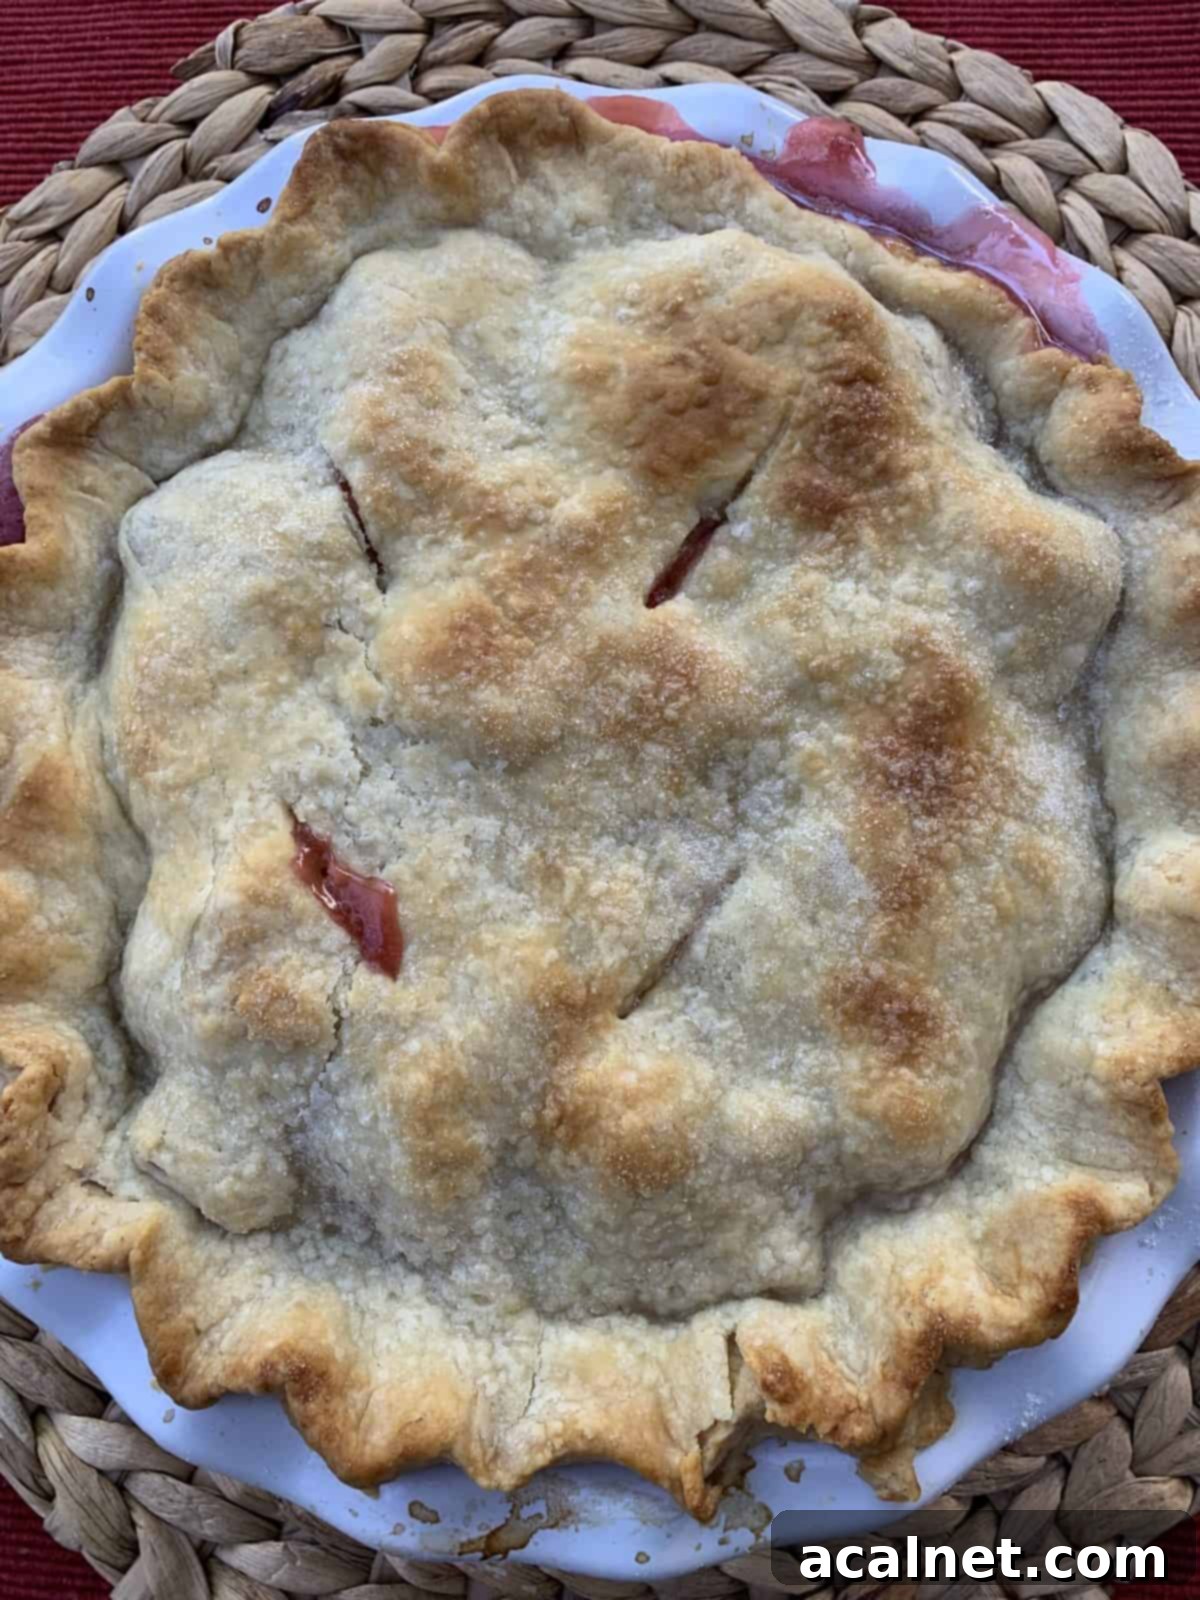
Imagine serving a classic dessert like an Old Fashioned Strawberry Rhubarb Pie, featuring a golden, tender, and incredibly flaky base that melts in your mouth. This versatile pie crust is your secret weapon for creating cherished family favorites and show-stopping desserts that everyone will rave about. Its consistent quality and ease of preparation make it a must-have in any home baker’s repertoire, ensuring delicious results every time.
💭 Essential Ingredients for a Flaky, No-Chill Pie Crust
Many home bakers find making pie crust from scratch a daunting task, often due to the significant time commitment involved in chilling the dough for hours. However, this recipe simplifies the process dramatically, allowing you to roll out your dough within minutes of mixing. The secret lies in a few key ingredients and their specific roles in achieving that perfect, tender, and flaky texture without the frustrating wait. Here’s a closer look at what you’ll need to have on hand for this easy pie crust recipe:
- All-purpose flour: This is the foundational ingredient, providing the necessary structure for your homemade pie crust. All-purpose flour strikes an ideal balance of protein for elasticity, which is crucial for a dough that handles well without becoming overly tough. Always use fresh flour for optimal results in your baking.
- Shortening: The absolute star ingredient for achieving that quintessential, melt-in-your-mouth flakiness! Unlike butter, shortening is 100% fat and has a higher melting point. This property is key: as the shortening melts during baking, it creates distinct steam pockets that separate the layers of dough, resulting in an incredibly light, airy, and truly flaky crust. It also contributes significantly to the tenderness of the crust, making it less prone to toughness compared to all-butter crusts. For a truly perfect pie crust, especially one you want to be exceptionally flaky, shortening is highly recommended.
- Egg: A crucial component for the “no-chill” magic of this easy pie crust recipe. The egg acts as a powerful binder, helping to bring all the ingredients together uniformly and providing additional moisture and richness to the dough. This added moisture and binding power make the dough much more pliable and easier to roll out immediately after mixing, completely eliminating the need for a lengthy refrigeration period. It also contributes to a richer flavor profile and a slightly more golden hue in the baked crust.
- White Vinegar: This might seem like an unusual addition, but white vinegar plays a vital, unsung hero role in stabilizing the dough. Its acidity helps to inhibit excessive gluten development, which can notoriously make pie crust tough and chewy. By adding just a touch of vinegar, the dough becomes remarkably smoother, more elastic, and significantly less likely to tear or fall apart as you roll it. This results in a beautifully manageable dough that’s a pure joy to work with, even for novice bakers.
- Sugar & Salt: Though used in smaller quantities, these ingredients are absolutely essential for flavor balance. Sugar adds a subtle sweetness that complements both sweet and savory pie fillings and crucially aids in promoting beautiful golden-brown browning of the crust. Salt, on the other hand, enhances and brightens all the other flavors, bringing out the best in both the crust itself and whatever delicious filling you choose to pair it with.
- Ice Water: While often overlooked, the temperature of your water is paramount. Keeping the water as cold as possible (ice-cold is best!) is critical. Cold water helps to ensure that the shortening remains solid and doesn’t melt prematurely when mixed with the flour. This separation of fat and flour is what creates those desirable layers and pockets of steam during baking, directly contributing to an incredibly flaky texture.
For precise measurements and detailed quantities of each ingredient, please refer to the complete recipe card below. Always use cold ingredients, especially the shortening and water, to ensure the flakiest results!
Beyond this incredible flaky pie crust, the world of desserts is vast and delightful. While pie is a cherished treat all year round, it truly shines during the holidays and special occasions. If you’re looking to expand your holiday dessert table or simply crave another sweet indulgence, consider these other tempting options: an Easy No Bake Peanut Butter Pie, a creamy delight that requires no oven; a refreshing Fresh Fruit Tart with its vibrant colors and light custard; rich and decadent Marbled Pumpkin Cheesecake Bars perfect for autumn gatherings; and a classic, velvety Vanilla Cheesecake that never goes out of style. Each of these desserts promises to be a hit with family and friends, offering a perfect ending to any meal.
🥧 A Freezer-Friendly Pie Crust Recipe for Ultimate Convenience
One of the many reasons to absolutely adore this perfect pie crust recipe is its fantastic freezer-friendliness. During bustling times like the holidays or when preparing for a large party, having several pie crusts ready to go in the freezer is an immense relief. You can easily use up all four or five portions in one grand baking session, simplifying your holiday meal preparation immensely.
However, for those times when you only need one or two pie crusts for a smaller occasion, a weeknight treat, or just to satisfy a sudden pie craving, the freezer becomes your most valuable ally. Preparing a batch of this no-chill pie dough allows you to always have homemade pastry on hand, saving you precious time and effort down the line while still delivering the quality of fresh, homemade pie.
The process for freezing is incredibly straightforward and ensures your crusts remain in perfect condition:
- Once you’ve prepared the dough according to the recipe, gently divide it into four or five equal portions. The exact number depends on whether you’re making standard or deep-dish pies.
- Carefully pat each individual dough portion into a flat, round disk, approximately 1/2 to 1 inch thick. This shape is ideal as it makes it much easier to roll out evenly once thawed.
- Wrap each individual dough disk tightly in waxed paper or plastic wrap. Ensure there are no air gaps whatsoever to prevent freezer burn, which can affect both texture and flavor.
- For added protection and to prolong freshness, place each individually wrapped dough portion into a sturdy zipped-top freezer bag. Press out as much air as possible before sealing.
- Don’t forget the most important step: label each bag clearly with the date it was frozen. Frozen pie dough is best used within 2-3 months for optimal freshness, flavor, and texture. Beyond this, it may still be safe to eat, but quality can degrade.
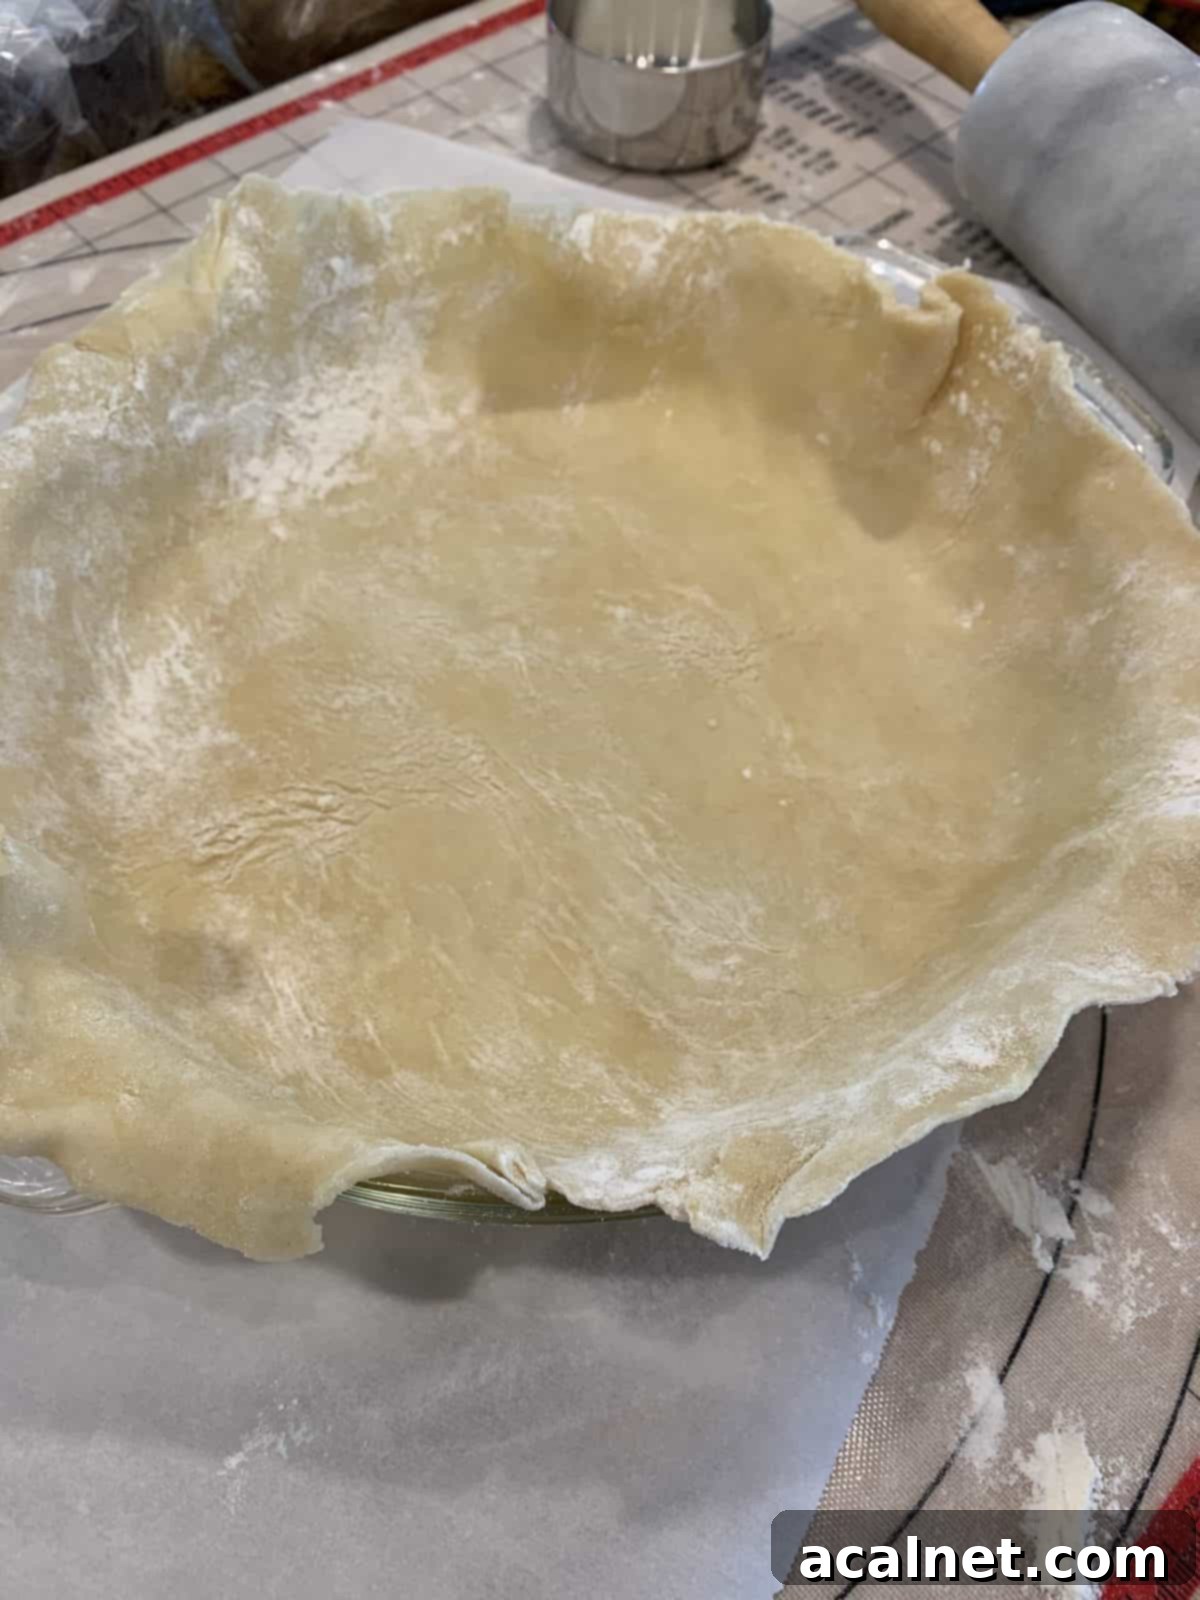
When you’re ready to bake a pie, simply transfer a frozen dough disk from the freezer to the refrigerator. It defrosts perfectly in about 8 hours, or typically overnight, making it easy to plan ahead. Once thawed, it’s ready to be rolled out just like freshly made dough, retaining all its wonderful flaky qualities and making your baking day much smoother.
Pro Tip for Pie Perfection: Remember that practice makes perfect, and this holds especially true for mastering the art of pie crust. This Perfect Pie Crust recipe is designed to be easy and forgiving, and what I’ve consistently found is that the more often you make it and roll out the dough, the more confident and skilled you become. Don’t be afraid to experiment and refine your technique with each batch – every pie you make will only get better!
👩🏻🍳 How to Roll Out Perfect Pie Crust Effortlessly
One of the greatest advantages of this recipe is that it provides you with at least four or five versatile pie crusts, allowing plenty of opportunity to hone your rolling technique and create truly beautiful pies. After successfully combining your ingredients and forming the dough, the next step is to prepare it for rolling. For standard 9-inch pies, divide the dough into five equal portions. If you’re planning on making larger or deep-dish pies (e.g., 9.5 or 10-inch pans), four portions will typically suffice. Each portion will yield one full crust.
Here’s a detailed, step-by-step guide to rolling out your homemade pie crust with remarkable ease, using a technique that minimizes sticking and maximizes success:
- Prepare Your Surface: Begin by spreading a tablespoon or two of all-purpose flour directly onto a clean, dry cutting board, countertop, or other work surface. This initial dusting creates a non-stick base.
- Lay Down Waxed Paper: Place one piece of waxed paper (approximately 12-14 inches square, or large enough to accommodate your rolled dough) on top of the floured surface. Dust the top of this waxed paper with another tablespoon or two of flour, spreading it evenly across the surface. This creates a floured barrier on both sides of your dough.
- Position the Dough: Take one of your prepared pie crust rounds (either freshly made or thawed from the freezer) and gently place it in the center of the floured waxed paper. Dust the top of the dough round with a little more flour to further prevent any sticking.
- Add Another Layer of Waxed Paper: Place a second piece of waxed paper (of the same size) directly on top of the dough round. You now have the dough beautifully sandwiched between two sheets of floured waxed paper. This brilliant technique eliminates the need for excess flour on your counter and keeps your rolling pin clean.
- Roll with Precision: Using a rolling pin, begin rolling the dough from the center outwards, applying even pressure. As you roll, occasionally lift and rotate the entire dough package (waxed paper and all) by a quarter turn. This ensures you’re rolling a consistent circle and helps to prevent the dough from sticking to your counter underneath. Aim to roll the dough into a 9 or 10-inch crust, maintaining an even thickness throughout. The waxed paper will help you achieve a smooth, uniform crust without tearing or cracking.
- Transfer to Pie Dish: Once your pie dough is rolled to the desired size and thickness, gently peel off the top layer of waxed paper. Carefully invert the dough (with the bottom waxed paper still attached) over your pie dish. Center it, then gently peel off the remaining waxed paper. Lightly press the dough into the contours of the dish, trimming any excess dough from the edges and then fluting them decoratively as desired. You’re now ready for your filling!
Pro Tip for Rolling: While some bakers might reach for parchment paper, I’ve found that the thinner, more flexible waxed paper works exceptionally best for rolling out pie crusts, especially with this no-chill method. Its pliability allows for easier manipulation of the dough, making it simpler to achieve an even thickness and a clean, effortless transfer to your pie dish. This technique is particularly helpful for beginners and significantly reduces frustration in the kitchen, leading to beautifully shaped crusts every time.
🥣 How to Make Single-Crust Pies: Blind Baking Techniques
For delectable pie recipes that require a pre-baked crust, such as creamy custards, refreshing fruit tarts, or luscious lemon meringue pies, mastering the art of blind baking a single crust is absolutely essential. Blind baking ensures your pie crust remains crisp, sturdy, and won’t become soggy once filled with a moist filling. Here’s a comprehensive, step-by-step guide to preparing your single flaky pie crust for these delightful desserts:
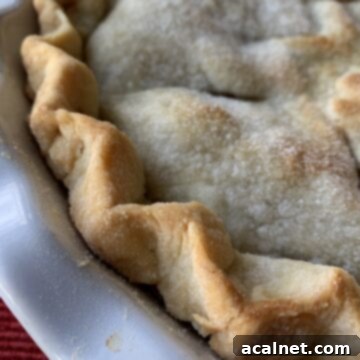
- Roll and Place the Crust: First, take one portion of your prepared pie dough and roll it out as described in the previous section. Carefully transfer the rolled crust into your chosen pie pan. Once in the pan, trim any excess dough from the edges, leaving a slight overhang of about 1/2-inch. Fold this overhang neatly under itself, then decoratively flute the edges using your fingers or the tines of a fork. This not only creates a beautiful presentation but also helps to hold the crust’s shape during baking.
- Prevent Puffing (Docking & Weights): To prevent the crust from puffing up excessively and creating large, unsightly air bubbles on the bottom, use the tines of a fork to create very small, evenly spaced holes all over the bottom and sides of the crust. This process, known as “docking,” allows steam to escape. For an even flatter, more stable base, consider lining the docked dough with parchment paper and filling it completely with pie weights, dried beans, or uncooked rice. These weights provide pressure, preventing the crust from shrinking or bubbling.
- Bake to Golden Perfection: Place your prepared pie crust, with or without pie weights, in a preheated oven at 425°F (220°C). Bake for approximately 10-15 minutes. If using pie weights, remove them along with the parchment paper after about 8-10 minutes of baking, then continue baking for the remaining time. Keep a close eye on your crust; you’re looking for a beautiful light golden-brown color and a firm, cooked-through texture. The exact time may vary slightly depending on your oven and the thickness of your crust.
- Cool Before Filling: Once baked, carefully remove the crust from the oven and allow it to cool completely on a wire rack before adding your prepared pie filling. Filling a warm crust can introduce excess moisture and inevitably lead to a soggy bottom, diminishing all your hard work. Patience during this cooling step is truly key for the best results and a perfectly crisp, stable foundation for your pie.
This blind baking method ensures a perfectly cooked crust that’s ready to hold any delicious filling you’ve prepared, from a rich chocolate cream pie to a tangy key lime pie, guaranteeing a delightful texture in every bite.
More Dessert Recipes to Inspire Your Baking
If this deep dive into creating the perfect pie crust has ignited your passion for baking, you’re in for a treat! Our collection features a variety of delightful dessert recipes perfect for any occasion. Whether you’re looking for comforting classics or something new and exciting to try, these recipes are sure to please your palate and impress your guests. We believe that every meal deserves a sweet ending, and our selection offers something for every taste and skill level.
- Chocolate Zucchini Cake
- Tiramisu Cake for Dessert
- Old Fashioned Sour Cream Cookies
- 15 Best Apple & Pumpkin Desserts
If you baked Perfect Pie Crust or any other recipe on my website, please leave a 🌟 star rating and let me know how it goes in the 📝 comments below. Your feedback is invaluable and helps others discover these wonderful recipes, bringing more joy to kitchens everywhere!
Recipe: The Ultimate No-Chill Flaky Pie Crust
Perfect Pie Crust
Print
Rate
Pin Recipe
Ingredients
- ½ cup ice-cold water
- 1 large egg
- 1 tablespoon white vinegar
- 4 cups all-purpose flour
- 1 tablespoon granulated sugar
- 1 teaspoon salt
- 1 ½ cups cold shortening
Instructions
Combine Ingredients
- In a small bowl or glass measuring cup, combine the ice-cold water, large egg, and white vinegar. Whisk gently until well combined, then set aside. Keeping the liquids very cold is key for a flaky crust.
- In a large mixing bowl, combine the all-purpose flour, granulated sugar, and salt. Add the cold shortening, cut into small pieces, to the dry ingredients. Using either a fork or a pastry blender, cut the shortening into the flour mixture until it resembles coarse crumbs with some pea-sized pieces of shortening remaining. Do not overwork this step, as maintaining distinct shortening pieces is crucial for flakiness.
- Gradually add the liquid mixture from your bowl or measuring cup to the flour-shortening mixture. Mix using your hands, a fork, or a spatula until the ingredients are just moistened and come together to form a soft, cohesive dough. Be careful not to overmix, as this can develop gluten and lead to a tough crust. The dough should still have some texture from the shortening pieces.
Assemble and Bake Crusts
- Divide the freshly prepared dough into five equal portions. If you are making deep-dish or larger-sized pies, you may divide it into four portions instead. For best results, lightly pat each portion into a flat round. Roll out each dough round between two sheets of waxed paper (about 12-14 inches square each), with a light dusting of flour between the dough and each waxed paper layer to prevent sticking. Roll from the center outwards until you achieve a 9 or 10-inch diameter crust of even thickness.
- Carefully transfer the rolled crust to your pie dish by peeling off the top waxed paper, inverting the dough into the pan, and then removing the second sheet. Trim and flute the edges as desired. Then, proceed to assemble your pies and bake them according to the specific directions of your chosen pie recipe.
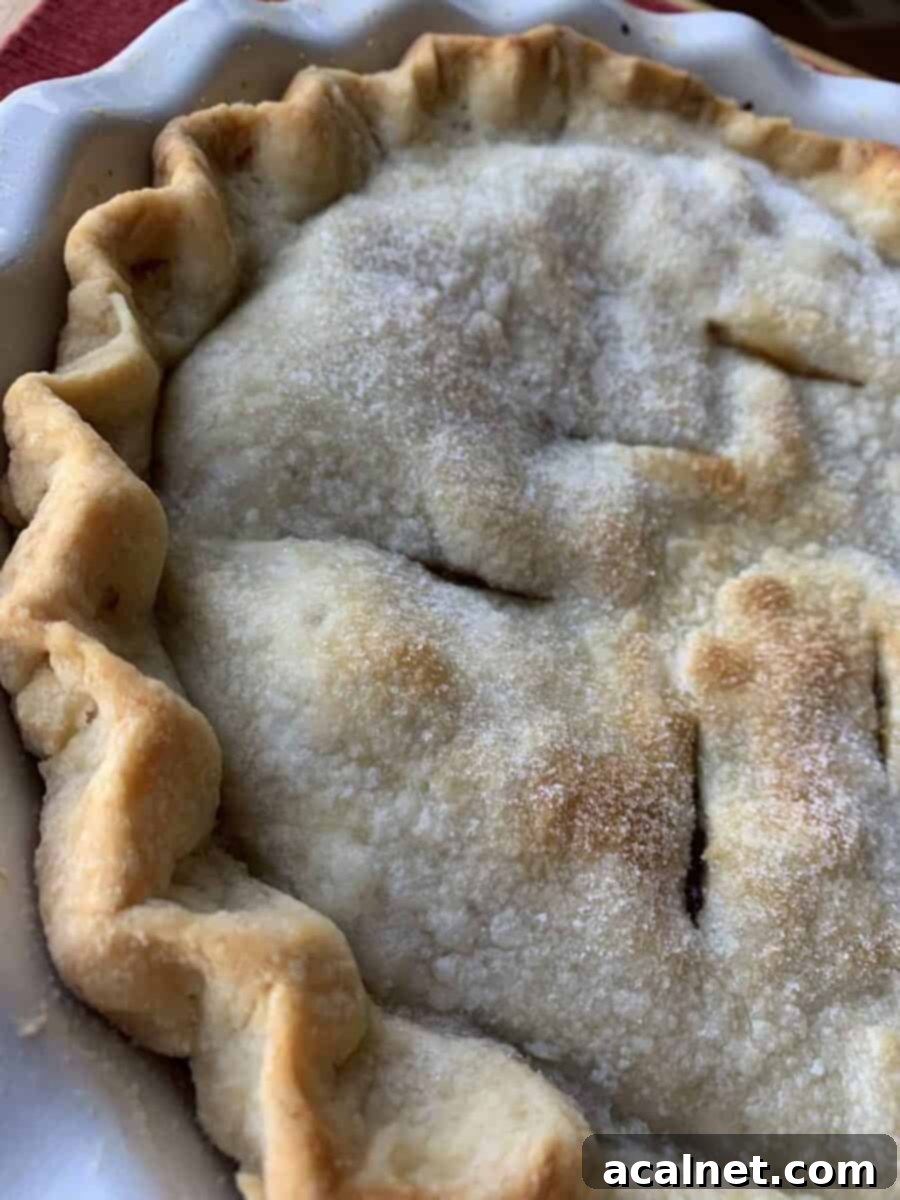
- For Double Crust Pies: If your recipe calls for a double crust, remember to prepare a top crust using another dough portion. Before placing the top crust, use a sharp knife to create about six small slits or decorative cut-outs in the center. These vents are crucial for allowing steam to escape during baking, preventing the crust from bubbling up and ensuring even cooking of your pie filling. Once the top crust is in place, you can brush it lightly with a little milk and sprinkle with about a teaspoon of granulated sugar for a beautiful golden sheen and added crunch.
Bake your double-crust pie at the temperature specified in your pie recipe (often around 400-425°F for the initial phase, then potentially reduced). Typically, it bakes for about 30 minutes, but it’s important to check it after 15-20 minutes. If the crust begins to brown too quickly, loosely cover the edges with aluminum foil to prevent burning. Continue baking until the pie filling is visibly bubbling through the steam vents, indicating it’s thoroughly cooked. Note that some pie fillings may require longer than 30 minutes, so always monitor your pie closely to ensure the crust doesn’t burn while the filling finishes baking.
Important Note on Nutrition: The nutritional information provided below reflects data for one ENTIRE, single layer of this homemade pie crust. This is a robust crust, so adjust accordingly if using for double-crust pies or varying portion sizes.
Notes
Please note, the nutrition details are estimated using a food database, so they’re just a rough estimate not an exact science. Individual results may vary based on specific brands, ingredient variations, and preparation methods. This information should be used as a guide.
