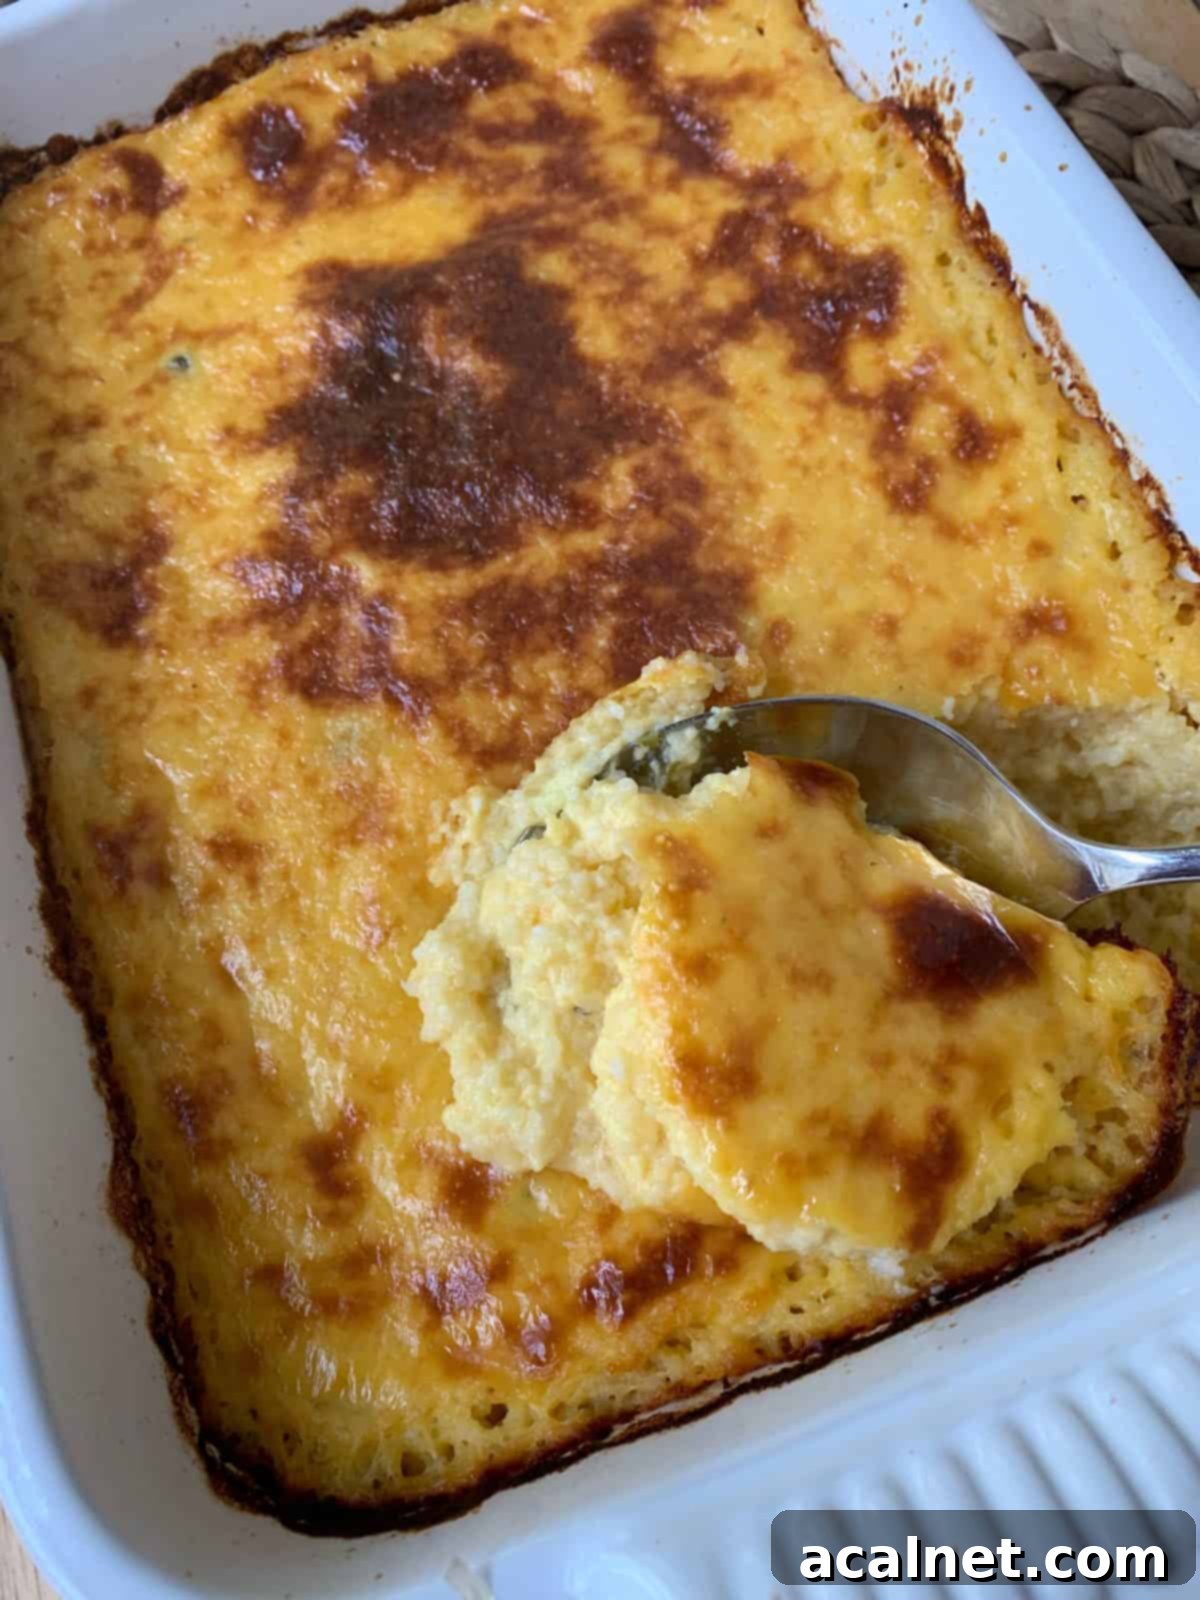
Creamy & Spicy Southern Cheesy Grits: The Ultimate Comfort Food Side Dish
Cheesy Grits is a beloved Southern classic, offering the perfect blend of creamy texture, rich cheese, and a delightful spicy kick. While “grits” might sound simple, this recipe elevates humble corn grits into a decadent and utterly satisfying dish that will quickly become a cherished addition to your family dinner table. Imagine a side dish so comforting and flavorful it could almost steal the show! It pairs wonderfully with a variety of main courses. Serve it alongside a refreshing Mixed Bean Salad and hearty Pinto Bean Chili for a truly delicious and memorable meal that hits all the right notes.
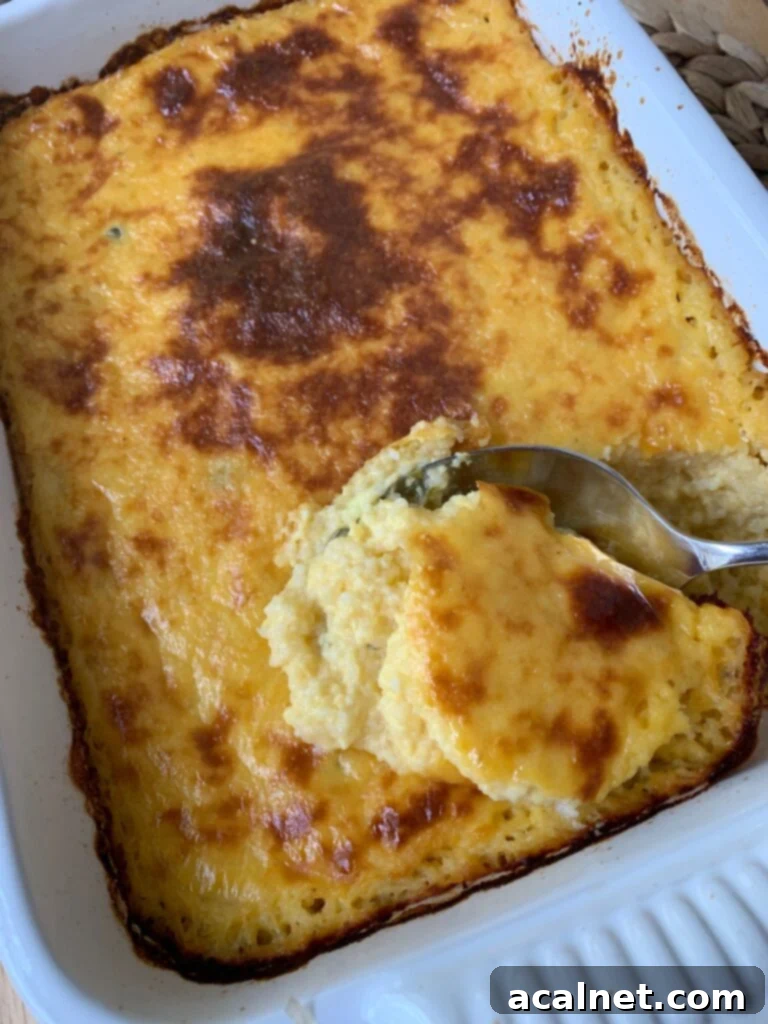
Why You’ll Love Cheesy Grits
Grits, a staple of Southern cuisine, are incredibly versatile, and this cheesy, spicy version is a stellar example of how to transform them into something truly special. There are so many reasons to fall in love with this recipe, making it a perfect choice for any meal, from a casual weeknight to a festive holiday gathering.
Firstly, Cheesy Grits are incredibly easy to make. With straightforward steps and readily available ingredients, even novice cooks can achieve fantastic results. This convenience means you can whip up a comforting, flavorful side dish without spending hours in the kitchen, allowing you more time to enjoy with friends and family. The satisfaction of creating such a delicious dish with minimal effort is truly rewarding.
Secondly, while the base ingredient, grits, is naturally low in fat, this recipe embraces indulgence. It’s true that some of the ingredients we add for that signature creamy, cheesy texture might not fit the “low-fat” description – and that’s perfectly okay! This dish is about enjoying rich, comforting flavors, not about strict dietary restrictions. Sometimes, you just need to savor a truly delightful meal, and these Cheesy Grits deliver on that promise. Embrace the deliciousness!
Finally, Cheesy Grits add a fantastic spicy kick to any meal. The inclusion of jalapeños provides a pleasant warmth that enhances the savory cheese and creamy grits, creating a dynamic flavor profile that is anything but bland. The heat is entirely customizable, allowing you to tailor it to your family’s preferences. If your friends and family are fans of bold flavors and a good amount of spice, consider serving Cranberry Jalapeno Meatballs as a zesty appetizer before diving into this incredible side dish.
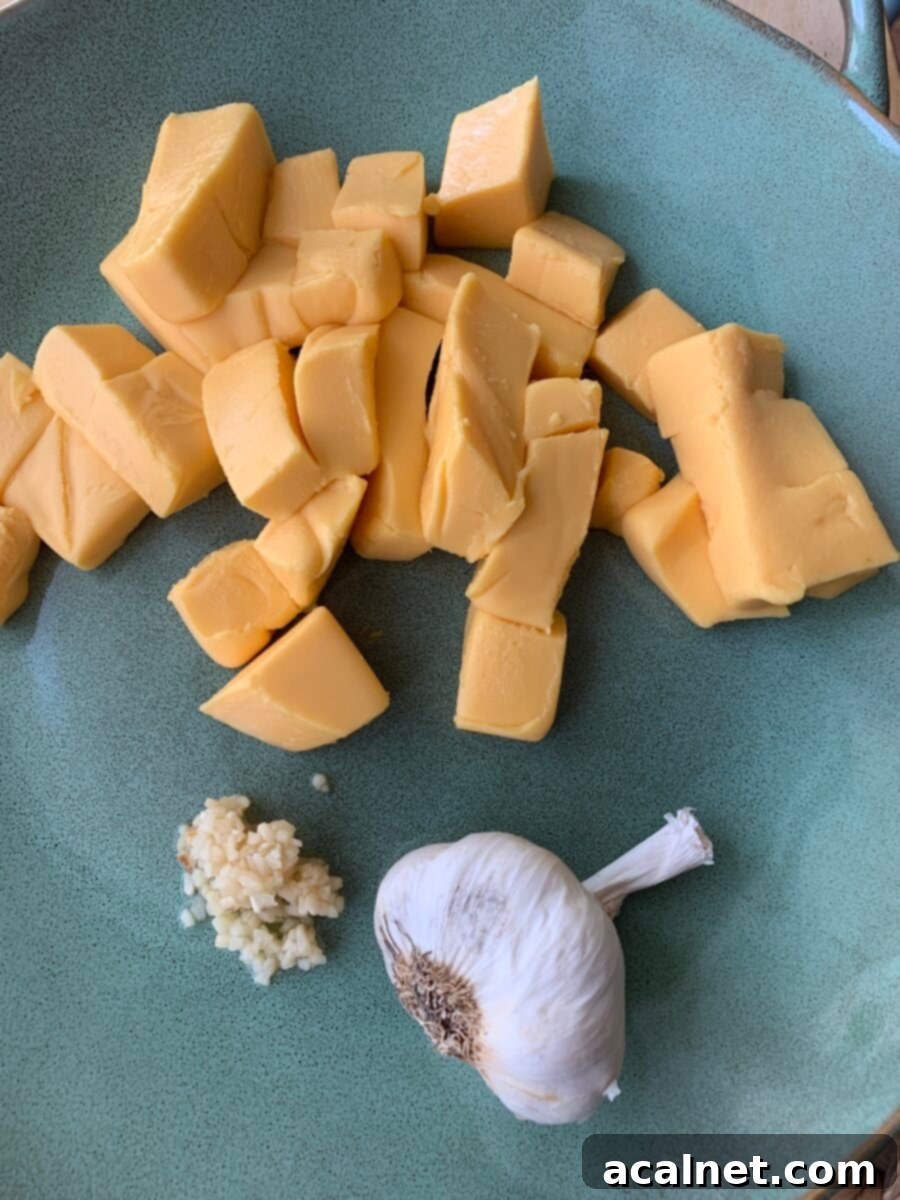
🥘 Essential Ingredients for Your Cheesy Grits
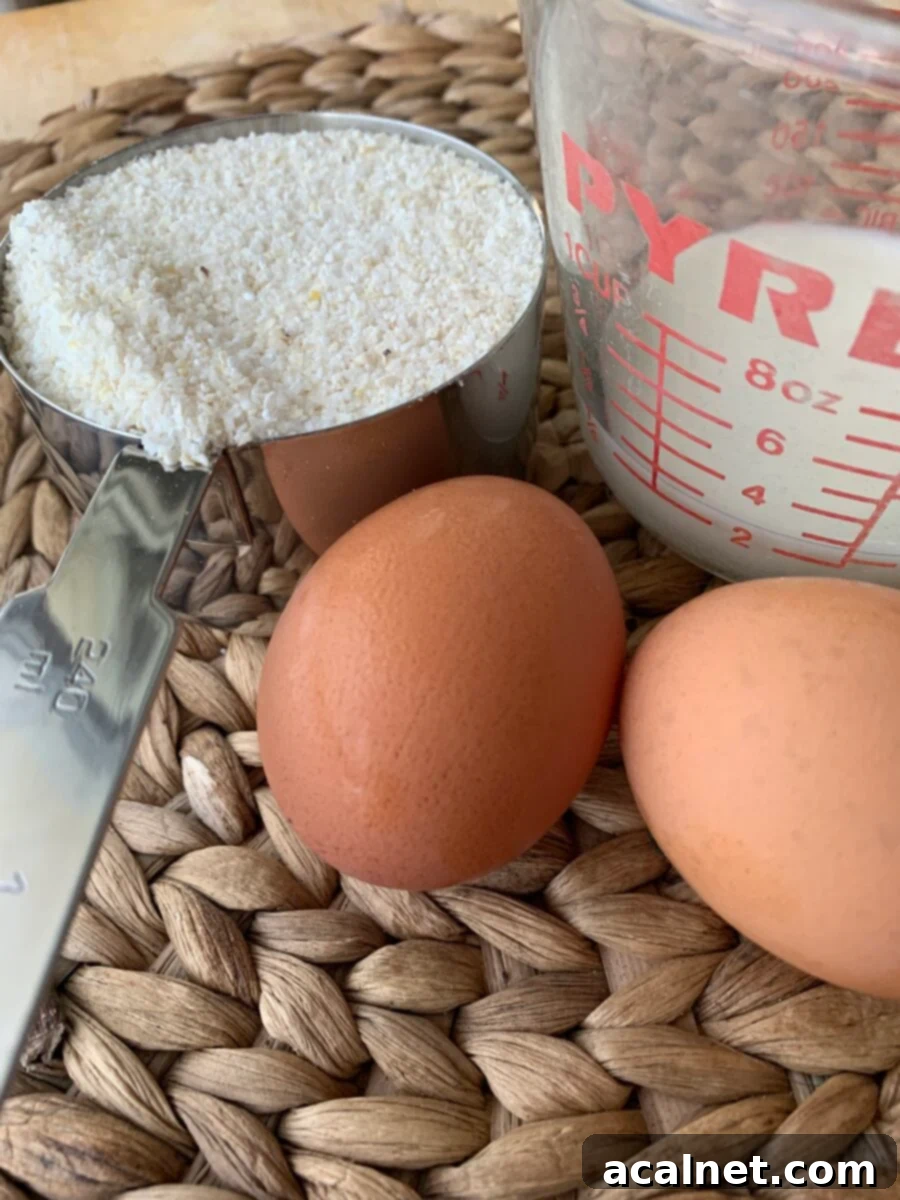
Crafting the perfect batch of Cheesy Grits starts with selecting the right ingredients. Each component plays a crucial role in achieving that desirable creamy texture and spicy flavor. Here’s a closer look at what you’ll need, along with a few tips:
- Quick Cooking Grits: For this recipe, quick-cooking grits are ideal as they cook faster and achieve a smooth consistency without the longer cooking time of stone-ground grits. Avoid instant grits, which tend to be too fine and lack the traditional texture.
- Velveeta Cheese: This is a non-negotiable ingredient for achieving the signature ultra-creamy, smooth, and melty texture that defines these particular Cheesy Grits. Its unique processing ensures it melts flawlessly, creating a luxurious base that other cheeses simply can’t replicate in this context.
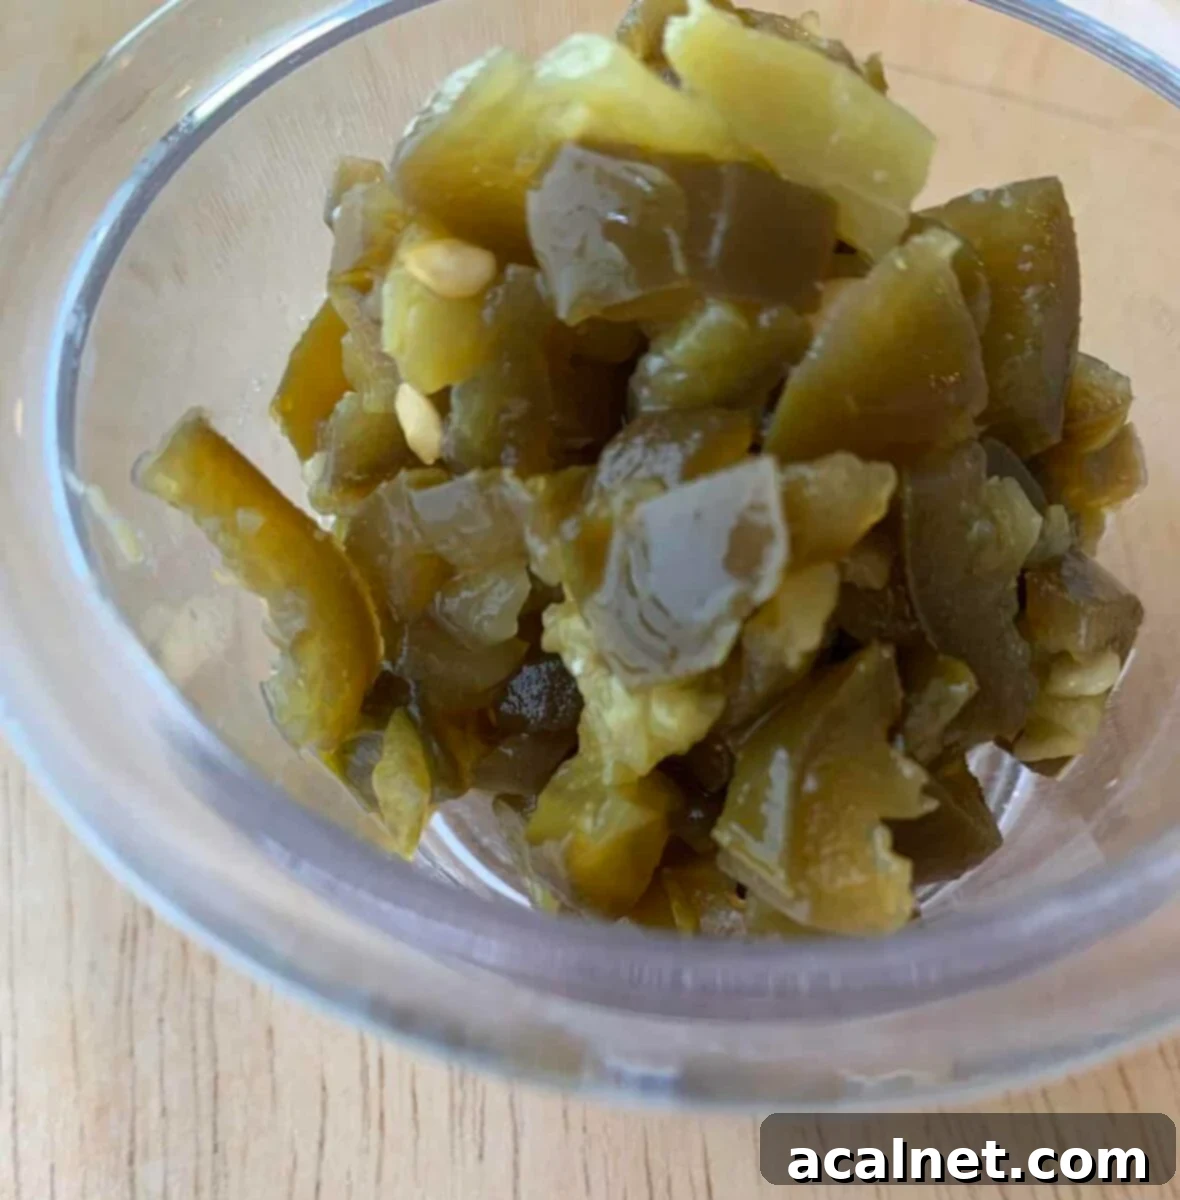
- Canned Jalapeños: These provide the perfect amount of heat and a tangy flavor without being overwhelmingly spicy. You can adjust the quantity based on your desired spice level. Be sure to chop them finely for even distribution.
- Fresh Garlic: Minced garlic adds a crucial layer of aromatic depth and savory flavor that complements the richness of the cheese and grits. Always opt for fresh if possible!
- Eggs: Eggs act as a binder, helping the grits to set into a wonderfully custardy, sliceable dish once baked. They also contribute to the overall richness.
- Milk: Used in combination with eggs, milk helps to create a creamy base and ensures the mixture remains moist and tender during baking.
- Water & Salt: The fundamental liquid for cooking the grits and seasoning to perfection.
For a comprehensive list of all ingredients and precise measurements, please refer to the detailed recipe card located further down on this page.
💭 Common Questions About Cheesy Grits
Before you dive into making this incredible dish, here are some answers to frequently asked questions that might pop up during your cooking adventure:
Absolutely, and it will still be incredibly delicious! Omitting the jalapeños is a great option, especially if you’re serving this dish to little ones or family members who prefer a milder flavor without the heat. The creamy, cheesy goodness stands perfectly well on its own.
For this particular recipe, and to achieve the exact same incredibly creamy, smooth, and perfectly melty results, yes, I highly recommend sticking with Velveeta cheese. Its unique properties are key to the specific texture and consistency of these Cheesy Grits. While other cheeses might work, they will yield a different outcome. If you are adventurous and want to try another cheese, make sure it’s one that melts very well, like a mild cheddar or Monterey Jack, but be prepared for a less uniform, slightly stringier result.
Yes, you absolutely can! You can assemble the entire dish in your baking pan, cover it tightly with plastic wrap or foil, and refrigerate it for up to 24 hours before baking. When you’re ready to serve, simply remove it from the fridge about 30 minutes before baking to allow it to come closer to room temperature, then bake as directed. You might need to add an extra 10-15 minutes to the baking time if it’s going into the oven cold.
Leftover Cheesy Grits should be stored in an airtight container in the refrigerator for up to 3-4 days. To reheat, you can use the microwave for individual portions, or cover and bake in the oven at 300°F (150°C) until warmed through. You might need to add a splash of milk to help restore some of the creaminess if it seems too thick.
If this delightful recipe has sparked your imagination and you’re now dreaming of how many other delicious cheesy entrees you can create, you are in luck! You’ll definitely want to explore Butternut Squash Mac and Cheese for a vibrant twist on a classic, and Chicken Spaghetti with Rotel and Velveeta for another deeply satisfying and cheesy meal. Both are incredibly tasty, packed with flavor, and, as you might guess, very, very cheesy recipes!
📋 How to Make Cheesy Grits: A Step-by-Step Guide
Making Cheesy Grits is remarkably straightforward, which is one of the many reasons why this recipe is a frequent favorite in my kitchen. Follow these simple steps for a perfect, creamy, and spicy dish every time:
- Step 1: Prepare Your Oven and Dish. Begin by preheating your oven to 350°F (175°C). While the oven heats, lightly grease a 9×13-inch (or similar sized) baking dish. This will prevent the grits from sticking and ensure easy serving.
- Step 2: Cook the Grits. In a large, heavy-bottomed saucepan on the stove, combine the specified amount of water, quick-cooking grits, and salt. Bring the mixture to a boil over medium-high heat, then reduce the heat to medium-low and simmer until the grits are thick and creamy. This usually takes about 10-15 minutes. It’s crucial to stir frequently during this process to prevent the grits from sticking to the bottom of the pan and burning. Properly cooked grits should be smooth and have absorbed most of the liquid.
- Step 3: Incorporate Cheese and Spice. Once the grits have thickened, remove the saucepan from the heat. Add the minced garlic, cubed Velveeta cheese, and diced jalapeños directly into the hot grits. Stir continuously until the Velveeta cheese has completely melted and is fully incorporated into the grits, creating a luxuriously smooth and uniform mixture. The residual heat from the grits will be sufficient to melt the cheese perfectly.
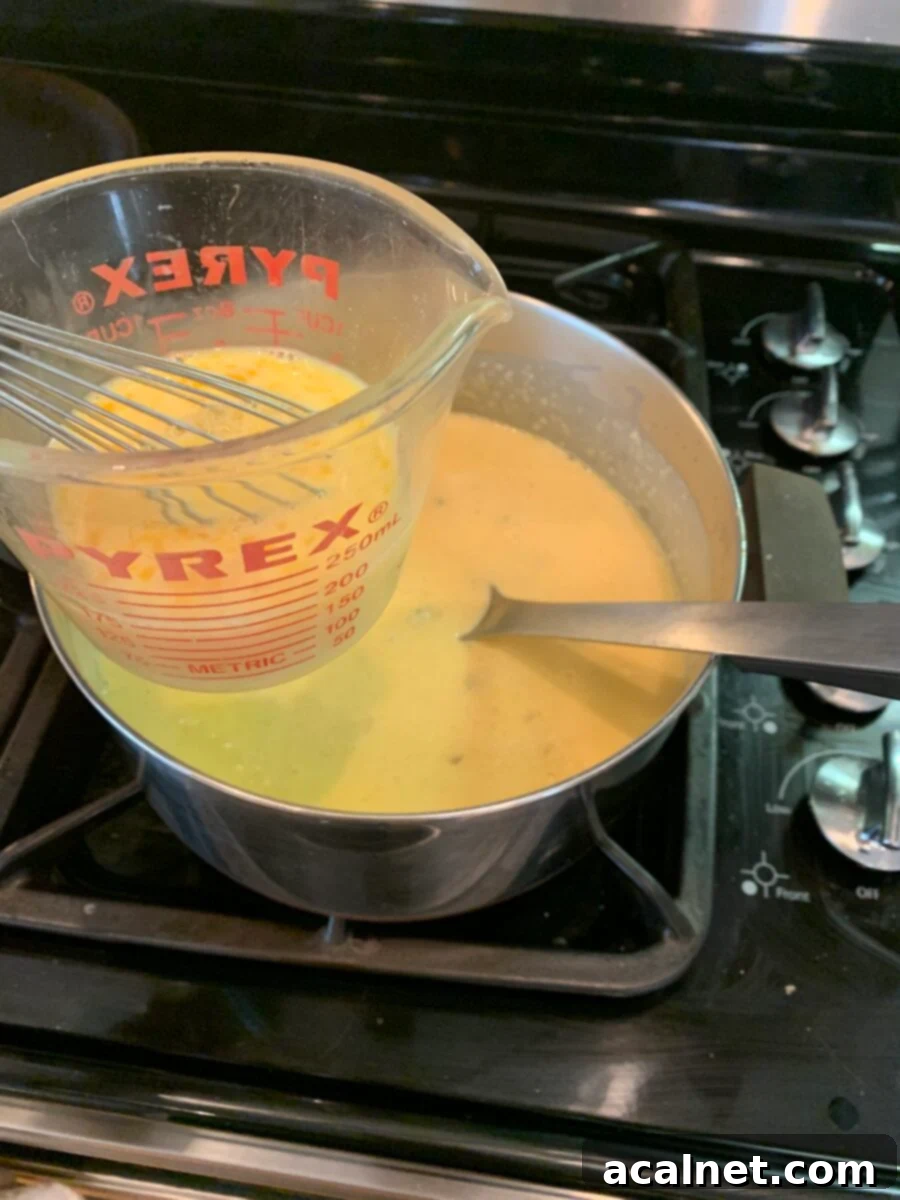
- Step 4: Temper the Eggs. In a separate small bowl or measuring cup, whisk together the eggs and milk until well combined. To prevent the eggs from scrambling when added to the hot grits, you need to “temper” them. Slowly ladle a small amount (about 2-3 tablespoons) of the hot grit and cheese mixture into the egg and milk mixture, whisking constantly. This gradually raises the temperature of the eggs without cooking them too quickly. Repeat this process one or two more times.
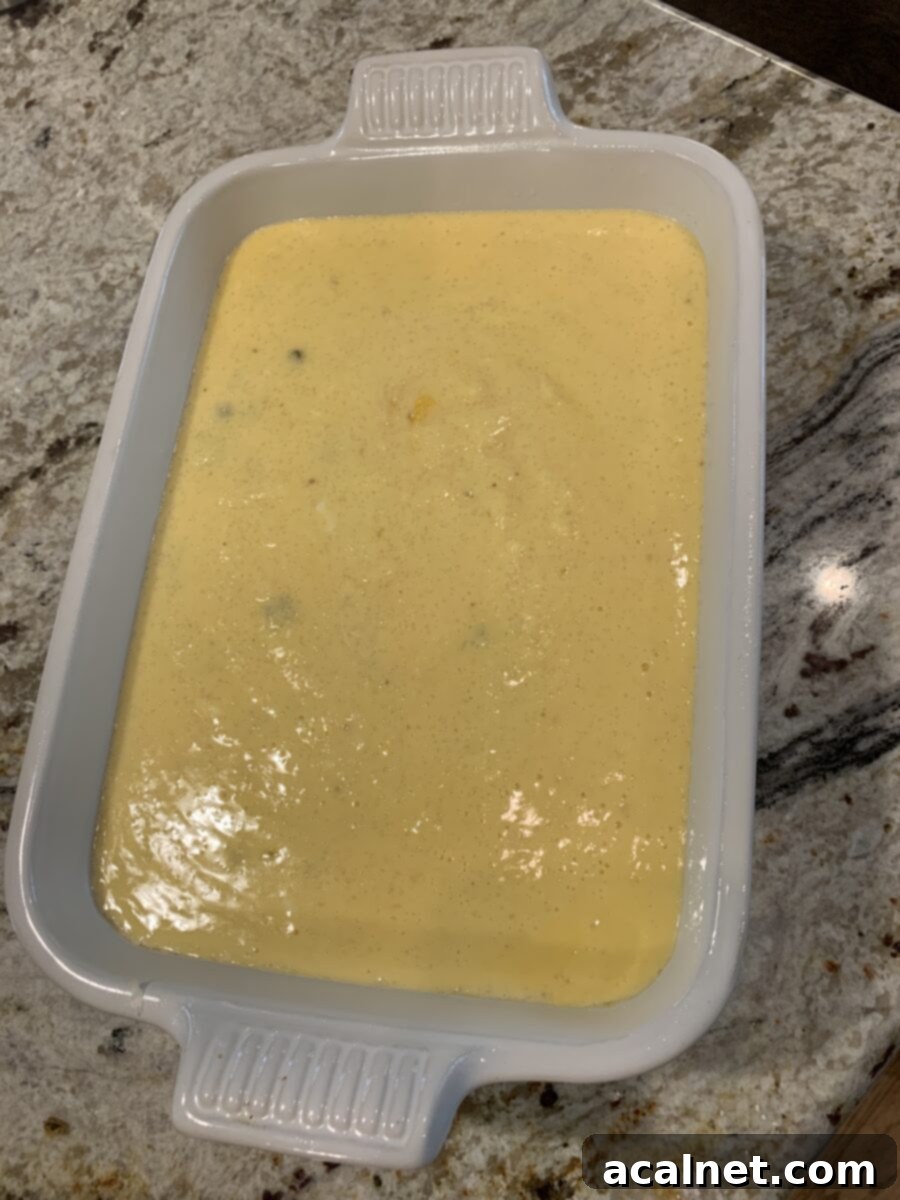
- Step 5: Combine and Bake. Now, pour the tempered egg and milk mixture from the bowl/cup into the saucepan with the remaining cheesy grits. Stir everything together thoroughly to ensure all ingredients are evenly distributed. Pour the entire grit mixture into your prepared baking dish.
- Step 6: Bake to Golden Perfection. Place the baking dish in the preheated oven and bake for approximately one hour, or until the top is beautifully golden brown, and the center appears set and slightly puffed. A knife inserted into the center should come out mostly clean.
Pro Tip: The “tempering” step (whisking a small amount of hot grits into the eggs and milk separately before adding them back to the pan) is key to preventing the eggs from cooking too quickly and unintentionally turning into scrambled eggs within your creamy grits. Don’t skip this!
⭐ The Heartwarming Inspiration Behind This Cheesy Grits Recipe
Every great recipe often comes with a story, and these Cheesy Grits are no exception. This particular recipe holds a special place in my heart, having been lovingly shared by Major General Niles Fulwyler back in 2005. To our family, he was always known affectionately as “Uncle June,” and he also had the honor of being my son’s godfather.
Uncle June was not only a distinguished military man but also a truly magnificent entertainer and host. He had a natural talent for bringing people together and making them feel welcome, often through the joy of food. He lived for many years amidst the vibrant culture and flavors of New Mexico, and later in the serene landscapes of Idaho. This Cheesy Grits recipe was one of his absolute favorites, a testament to his appreciation for comforting, flavorful dishes.
The recipe itself has a fascinating origin, tracing back to the historic San Augustin Ranch. This heritage adds another layer of charm to the dish, connecting it to a legacy of hearty, home-cooked meals designed to nourish and delight. When you make these Cheesy Grits, you’re not just preparing a meal; you’re partaking in a culinary tradition and honoring the memory of a wonderful person who believed in the power of good food and good company.
🥗 More Delicious Sides to Complement Your Meal
Whether you’re planning an elaborate holiday feast or simply looking to elevate a busy weeknight dinner, a made-from-scratch side dish is always appreciated. These Cheesy Grits are a fantastic start, but here are some of my other favorite sides that pair beautifully with a variety of main courses. Dig in and explore new flavors!
- Elegant Green Bean Casserole: This recipe offers a whole new, sophisticated spin on a beloved family favorite, perfect for any special occasion.
- Zucchini Stuffing: A savory, wholesome, and veggie-infused side dish that’s light yet satisfying, offering a wonderful balance of flavors and textures.
- Spiced Walnuts
- Yukon Gold Mashed Potatoes
- Easy Franks and Beans
- Cranberry Apple Stuffing (Baked)
If you tried Cheesy Grits or any other recipe on my website, please take a moment to leave a 🌟 star rating and let me know how it goes in the 📝 comments below. Your feedback is truly appreciated and helps other home cooks!
Recipe
Cheesy Grits
Print
Rate
Pin Recipe
Ingredients
- 4 cups water
- 1 cup quick cooking grits – quick cooking grits work best for this recipe’s texture
- 1 teaspoon salt
- 1 clove fresh garlic – finely minced for best flavor
- 1 lb Velveeta Cheese – cubed into small pieces for quick melting
- 2 tablespoons pickled or canned jalapeño – diced, adjust to your preferred spice level
- 2 large eggs
- ¼ cup milk – whole milk for extra richness is recommended
Instructions
- Preheat your oven to a comforting 350°F (175°C). Lightly grease a 9×13 inch baking dish to ensure your delicious grits don’t stick.
- In a large, sturdy saucepan on your stove, combine the water, quick-cooking grits, and salt. Bring this mixture to a boil over medium-high heat, then reduce the heat to medium-low. Allow it to simmer gently, stirring frequently (this is crucial to prevent burning and lumps!) until the grits are beautifully thickened and creamy, about 10-15 minutes. Once thickened, remove the pan from the heat and stir in the minced garlic, cubed Velveeta cheese, and diced jalapeño. Continue stirring until the cheese is completely melted and smoothly integrated into the grits.
- In a separate small bowl or a measuring cup, whisk together the two eggs and ¼ cup milk until they are well combined. Now, for a crucial step: temper the eggs. Slowly add a few tablespoons of the hot grit mixture into the egg and milk mixture, whisking constantly to gradually warm the eggs. This prevents them from scrambling when added to the main pot. Repeat this tempering process a couple of times. Finally, pour all the contents from the bowl/cup (the tempered egg mixture) back into the pan with the remaining cheesy grits. Stir everything thoroughly to ensure it’s perfectly combined.
- Pour the entire grits mixture into your greased casserole dish. Transfer it carefully to the preheated oven and bake for approximately one hour, or until the top is invitingly golden brown and the center is set and slightly raised. Serve hot and enjoy the creamy, cheesy, spicy goodness!
Notes
Please note: The nutrition details provided are an estimate calculated using a food database and are intended for informational purposes only. They are not an exact science and may vary based on specific ingredients and preparation methods.
