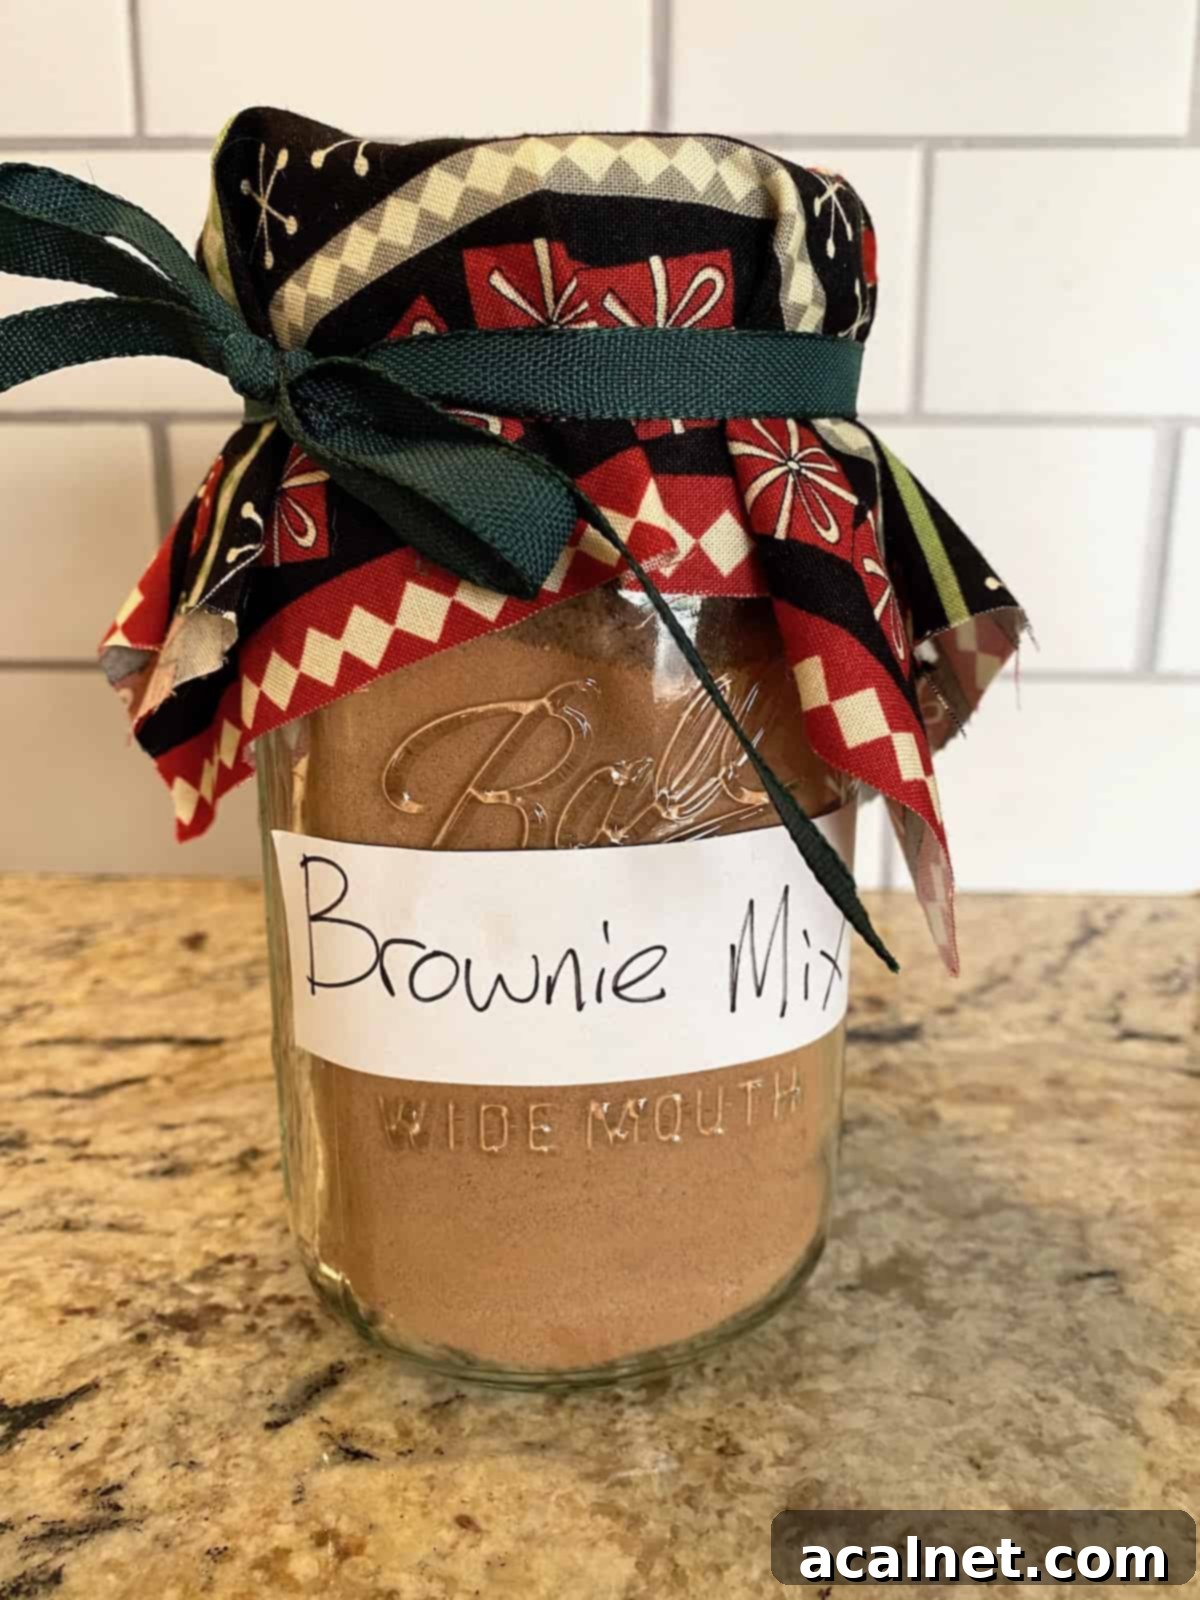
Ultimate Homemade Brownie Mix: Your Secret to Perfect, Fudgy Brownies Anytime
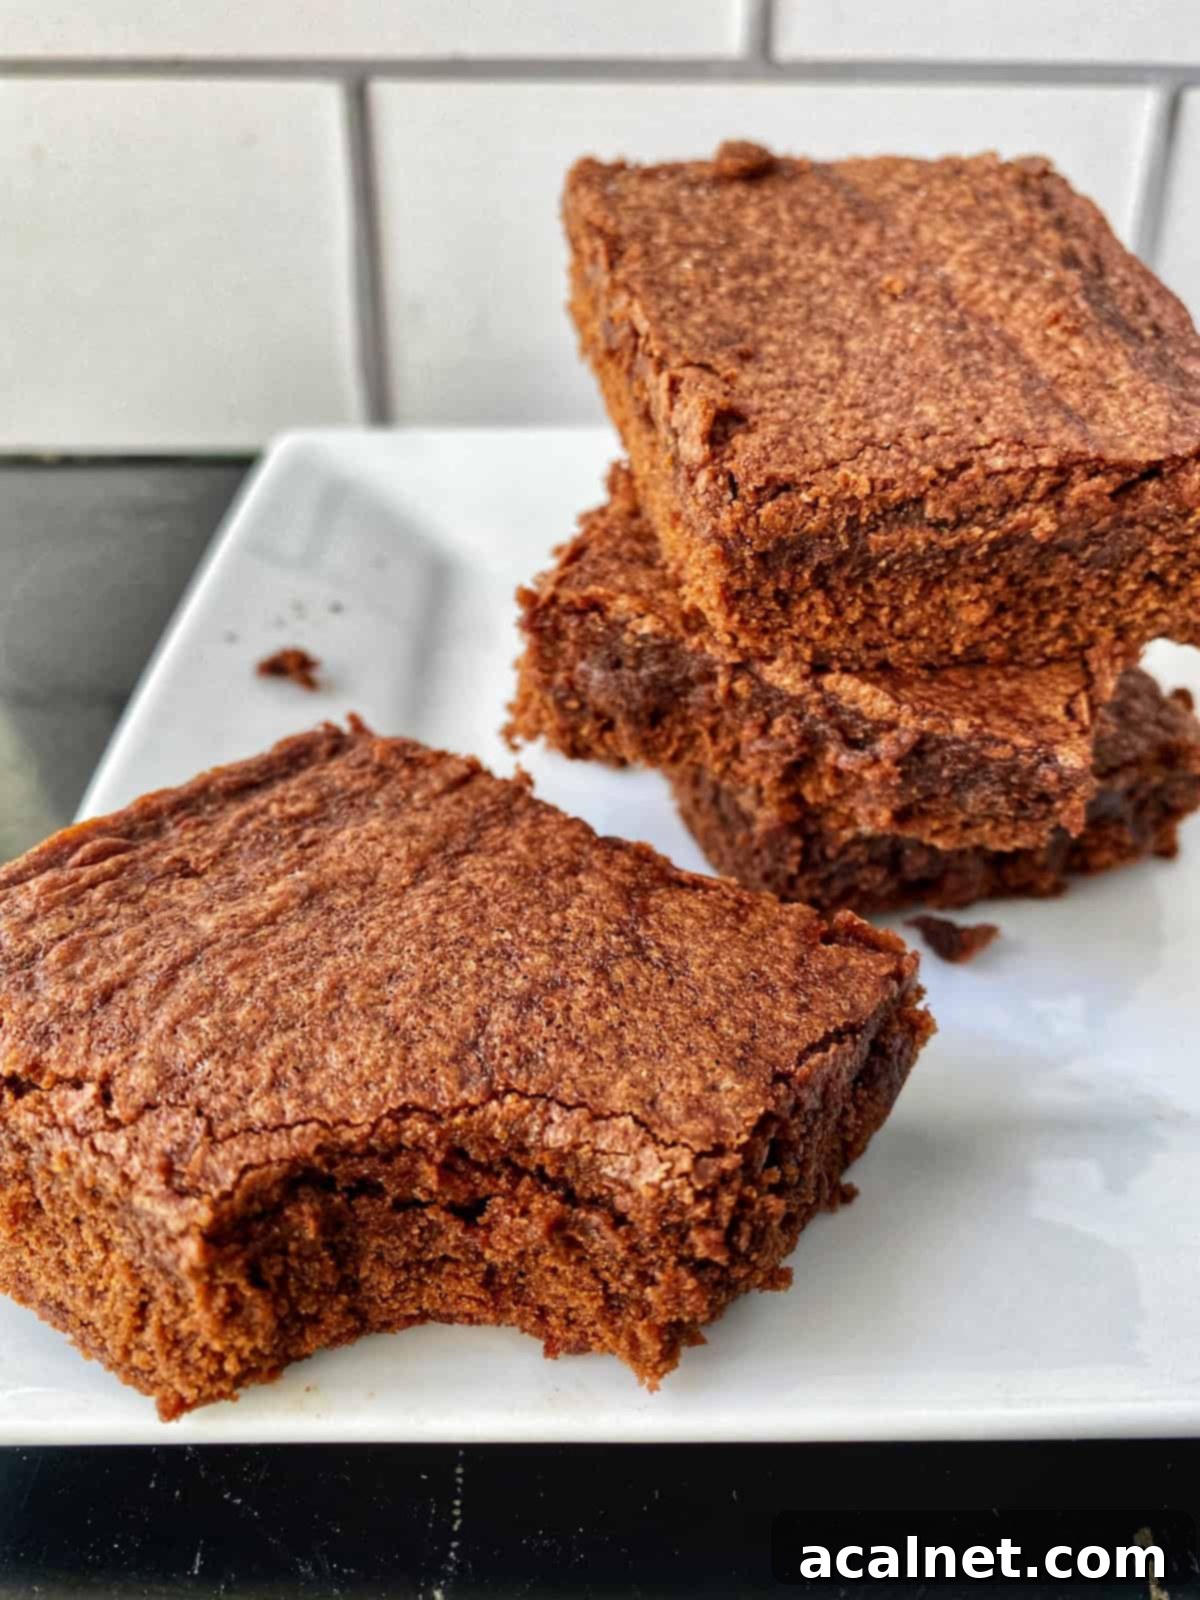
There’s nothing quite like the comforting aroma and rich, decadent taste of brownies, warm and fresh from the oven. Forget those bland, store-bought boxes! Crafting your own Homemade Brownie Mix from scratch elevates your baking experience, giving you complete control over the ingredients and ensuring the most incredibly rich, fudgy, and intensely chocolatey brownies every single time. Imagine having a ready-to-go mix in your pantry, allowing you to whip up a batch of these irresistible treats whenever a craving strikes, or even as a delightful, thoughtful gift.
[feast_advanced_jump_to]
Why Make Your Own Brownie Mix? The Benefits!
While a boxed brownie mix offers convenience, a homemade version takes that convenience to a new level by combining it with superior flavor and ingredient quality. Here’s why making your own mix is a game-changer:
- Unbeatable Flavor: Freshly mixed ingredients, especially high-quality cocoa powder, yield a depth of chocolate flavor that store-bought mixes simply can’t match.
- Control Over Ingredients: Say goodbye to artificial flavors, preservatives, and mystery ingredients. You know exactly what goes into your mix, making it a healthier and more wholesome option.
- Cost-Effective: Buying individual pantry staples is often more economical than repeatedly purchasing pre-made mixes, especially in the long run.
- Always on Hand: No last-minute dash to the grocery store! With your homemade mix prepped, delicious brownies are just minutes away.
- Customization Potential: Your mix is a blank canvas. Easily add chocolate chips, nuts, or even a hint of espresso powder when baking to suit your preferences.
Essential Pantry Staples for Your Brownie Mix
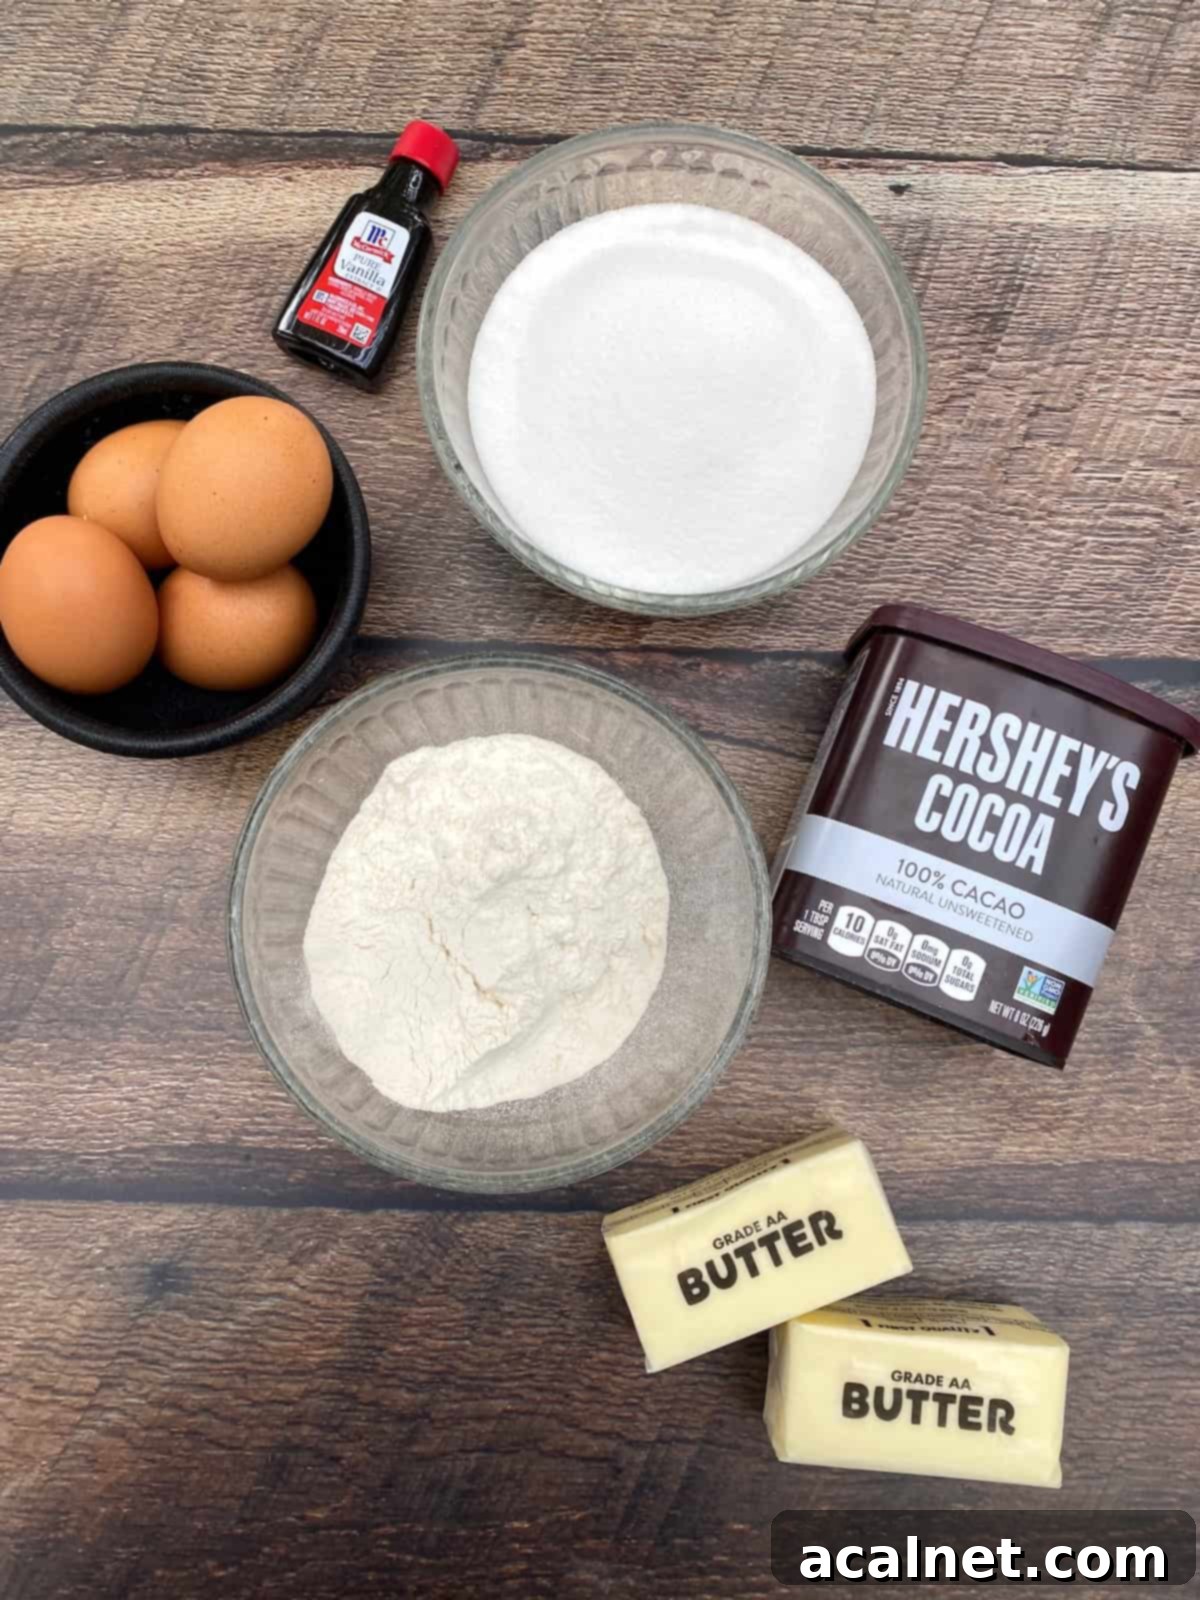
One of the best aspects of this Homemade Brownie Mix recipe is that it relies on common pantry staples. These are ingredients you likely already have, making it incredibly easy to whip up a batch of the mix at a moment’s notice. Chocolate is a star in so many classic desserts, from an Old Fashioned Chocolate Pound Cake to a simple chocolate chip cookie, and the foundation of these brownies is no different.
For the dry mix itself, you’ll need:
- All-Purpose Flour: The structural backbone of your brownies.
- Granulated Sugar: Provides sweetness and helps create that signature crackly top.
- Unsweetened Cocoa Powder: The key to rich chocolate flavor. For an extra dark, intense brownie, consider using Dutch-processed cocoa.
And when it’s time to bake, you’ll add these fresh ingredients:
- Vanilla Extract: A crucial flavor enhancer that brings out the best in chocolate. Don’t skip it!
- Butter: For moisture, richness, and that irresistible fudgy texture. Melted butter is essential here.
- Eggs: Bind the ingredients and contribute to the brownie’s chewiness and rise.
Scroll to the recipe card below for a full list of ingredients and precise measurements for both the mix and the brownies.
Surprisingly Simple: No Salt, No Baking Powder Needed
It might seem counterintuitive for a baking recipe, but this particular homemade brownie mix requires neither salt nor baking powder. Most brownie recipes include a pinch of salt to enhance the chocolate flavor and baking powder for a slight lift, creating a more cake-like texture.
However, this recipe is designed to produce an intensely fudgy, dense brownie. The rich flavor comes directly from the cocoa powder and butter, and the absence of leavening agents like baking powder ensures a wonderfully chewy, rather than cakey, result. You can rest assured that both of those ingredients can stay put in your spice cabinet for other culinary adventures.
Effortlessly Delicious: Easy to Make Brownies from Your Mix
There’s an undeniable difference in taste and texture between scratch-made brownies and their boxed counterparts. This Homemade Brownie Mix bridges that gap beautifully, offering all the convenience of a store-bought mix but with the superior quality that comes from your own pantry. You’re not just baking; you’re creating a truly memorable dessert.
Seriously, this is one of the easiest brownie recipes you’ll ever encounter. The process of making the mix itself is just a few quick stirs, and then preparing the brownies from the mix is even simpler. It truly redefines “easy to make desserts” and “quick treats.” Just like my Fresh Apple Cake recipe, which proves that minimal ingredients can deliver incredible flavor, these brownies champion simplicity without compromising on taste. Once you try them, you’ll wonder why you ever bothered with anything else!
A Thoughtful Treat: Homemade Brownie Mix for Gifts
Beyond being a fantastic pantry staple for your own cravings, this Homemade Brownie Mix transforms into a delightful and thoughtful gift. It’s the perfect sweet gesture for almost any occasion. Think about sharing the joy of homemade baking with:
- Neighbors: A friendly ‘welcome to the neighborhood’ or ‘just because’ treat.
- Teachers: A heartfelt thank you for their hard work and dedication.
- Hostess Gifts: A unique and appreciated alternative to wine or flowers when attending a party.
- Holiday Gifts: Easy to batch prepare and perfect for Christmas, Valentine’s Day, or any festive occasion.
- Housewarming Presents: A lovely way to help friends settle into a new home with the promise of fresh-baked goodness.
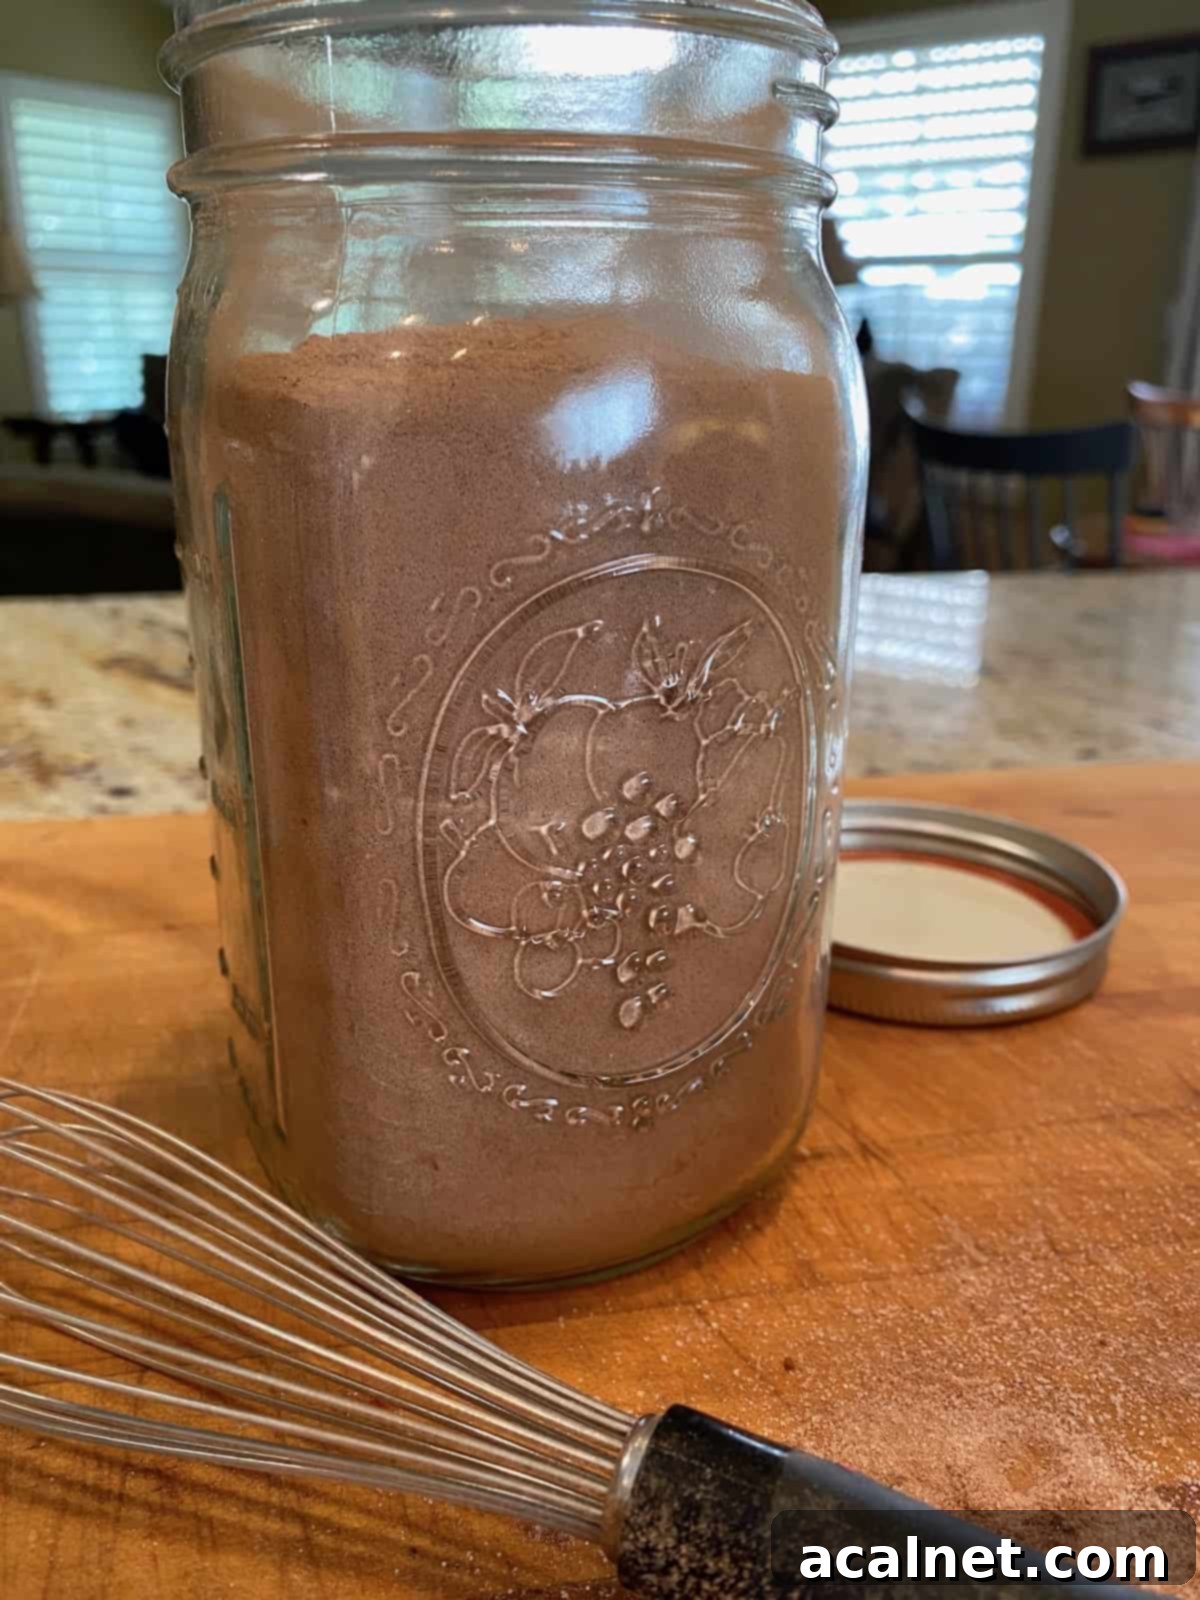
To make your gift even more special, consider adding a small, complementary item. As a bonus, I like to include a small jar of quality vanilla extract with the gift. It’s an especially nice touch if you are giving it to someone who may not normally bake from scratch and might not have vanilla extract readily on hand. You could also include a small bag of chocolate chips, a handful of walnuts, or even a mini spatula!
The Great Debate: Frosting or No Frosting?
These chewy, incredibly fudgy brownies are absolutely fantastic just as they are. Each serving is so rich and packed with sweetness that frosting isn’t a necessity. The dense, moist texture and deep chocolate flavor truly shine on their own.
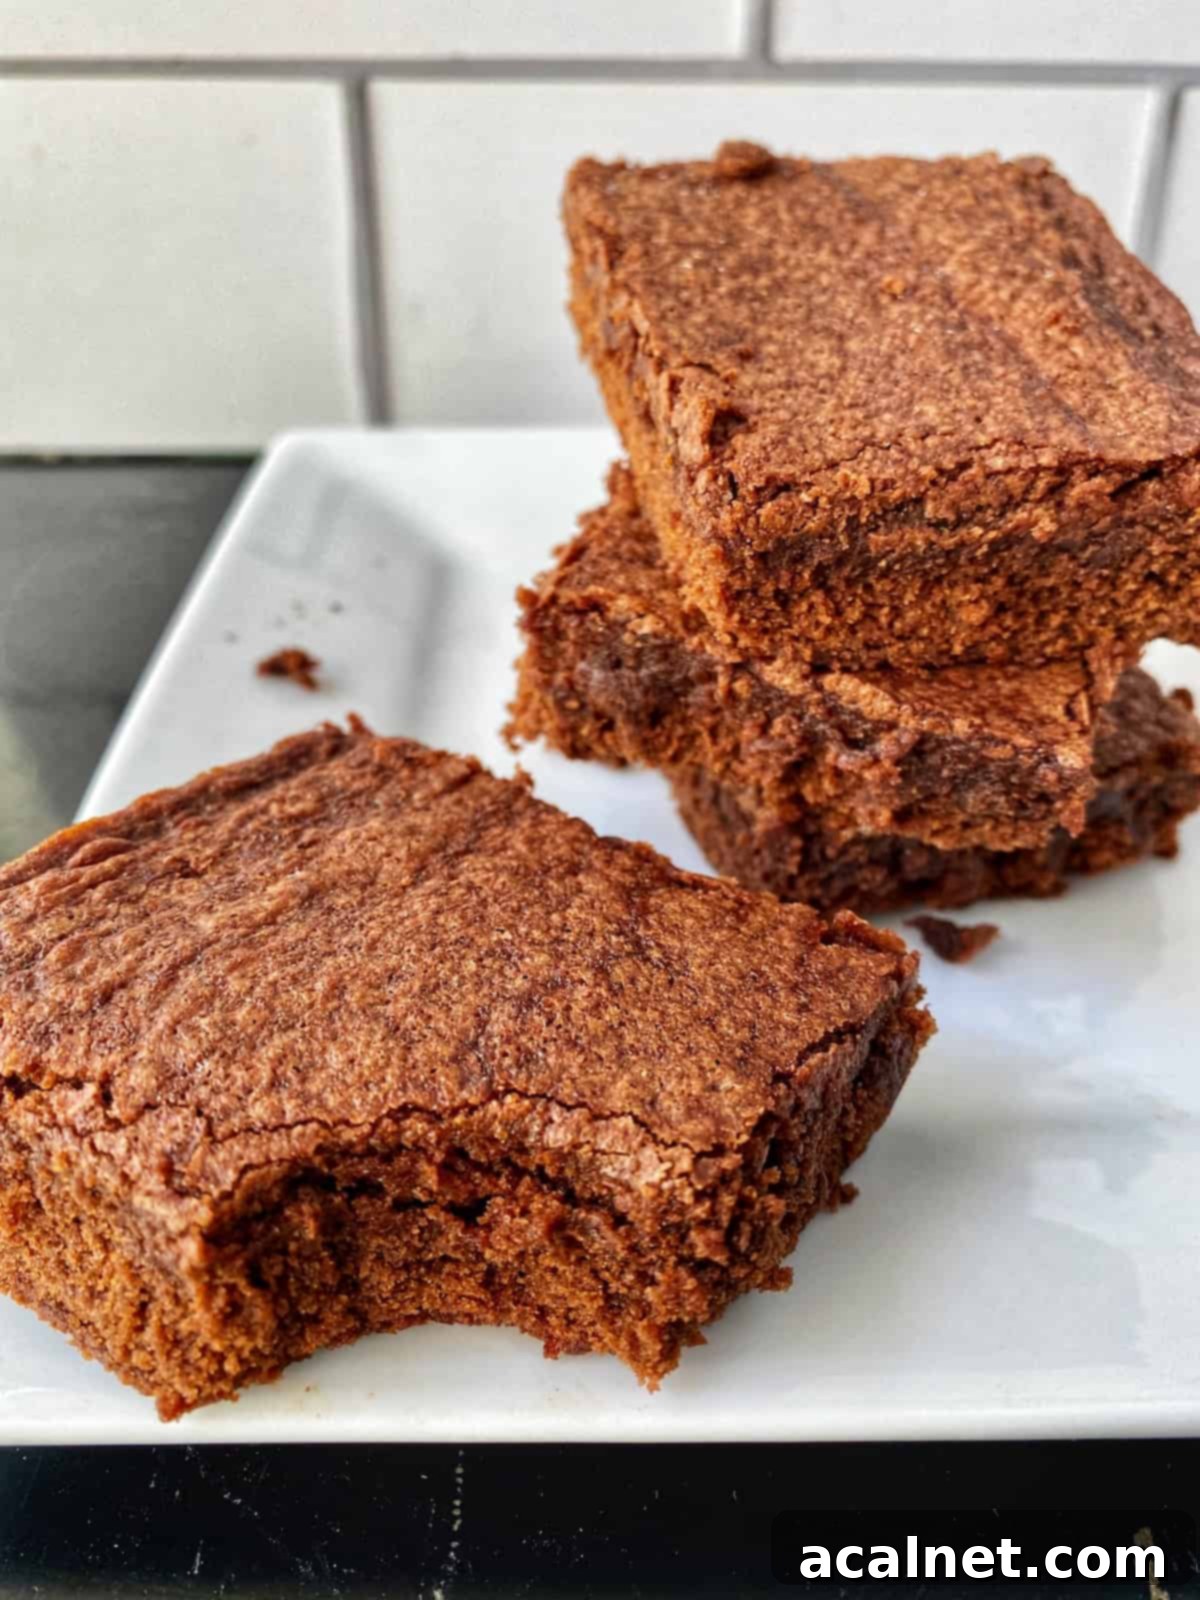
However, if your family has a favorite chocolate, vanilla, or even cream cheese frosting, then by all means, go ahead and layer that on top! A simple dusting of powdered sugar or a drizzle of homemade caramel sauce can also elevate these brownies to a new level of indulgence. Feel free to experiment with your favorite toppings to personalize your perfect brownie experience.
Storing Your Homemade Brownie Mix for Maximum Freshness
Proper storage is key to ensuring your homemade brownie mix remains fresh and ready to bake whenever you desire. Since the mix consists of dry ingredients, its shelf life is quite generous. The dry ingredients will stay fresh and ready to bake for as long as the earliest expiration date on the ingredients you use.
Pro Tip: To guarantee the freshest possible mix, I always recommend buying fresh flour, sugar, and cocoa powder from the grocery store shortly before I plan to prepare the mix. This ensures you’re starting with optimal quality.
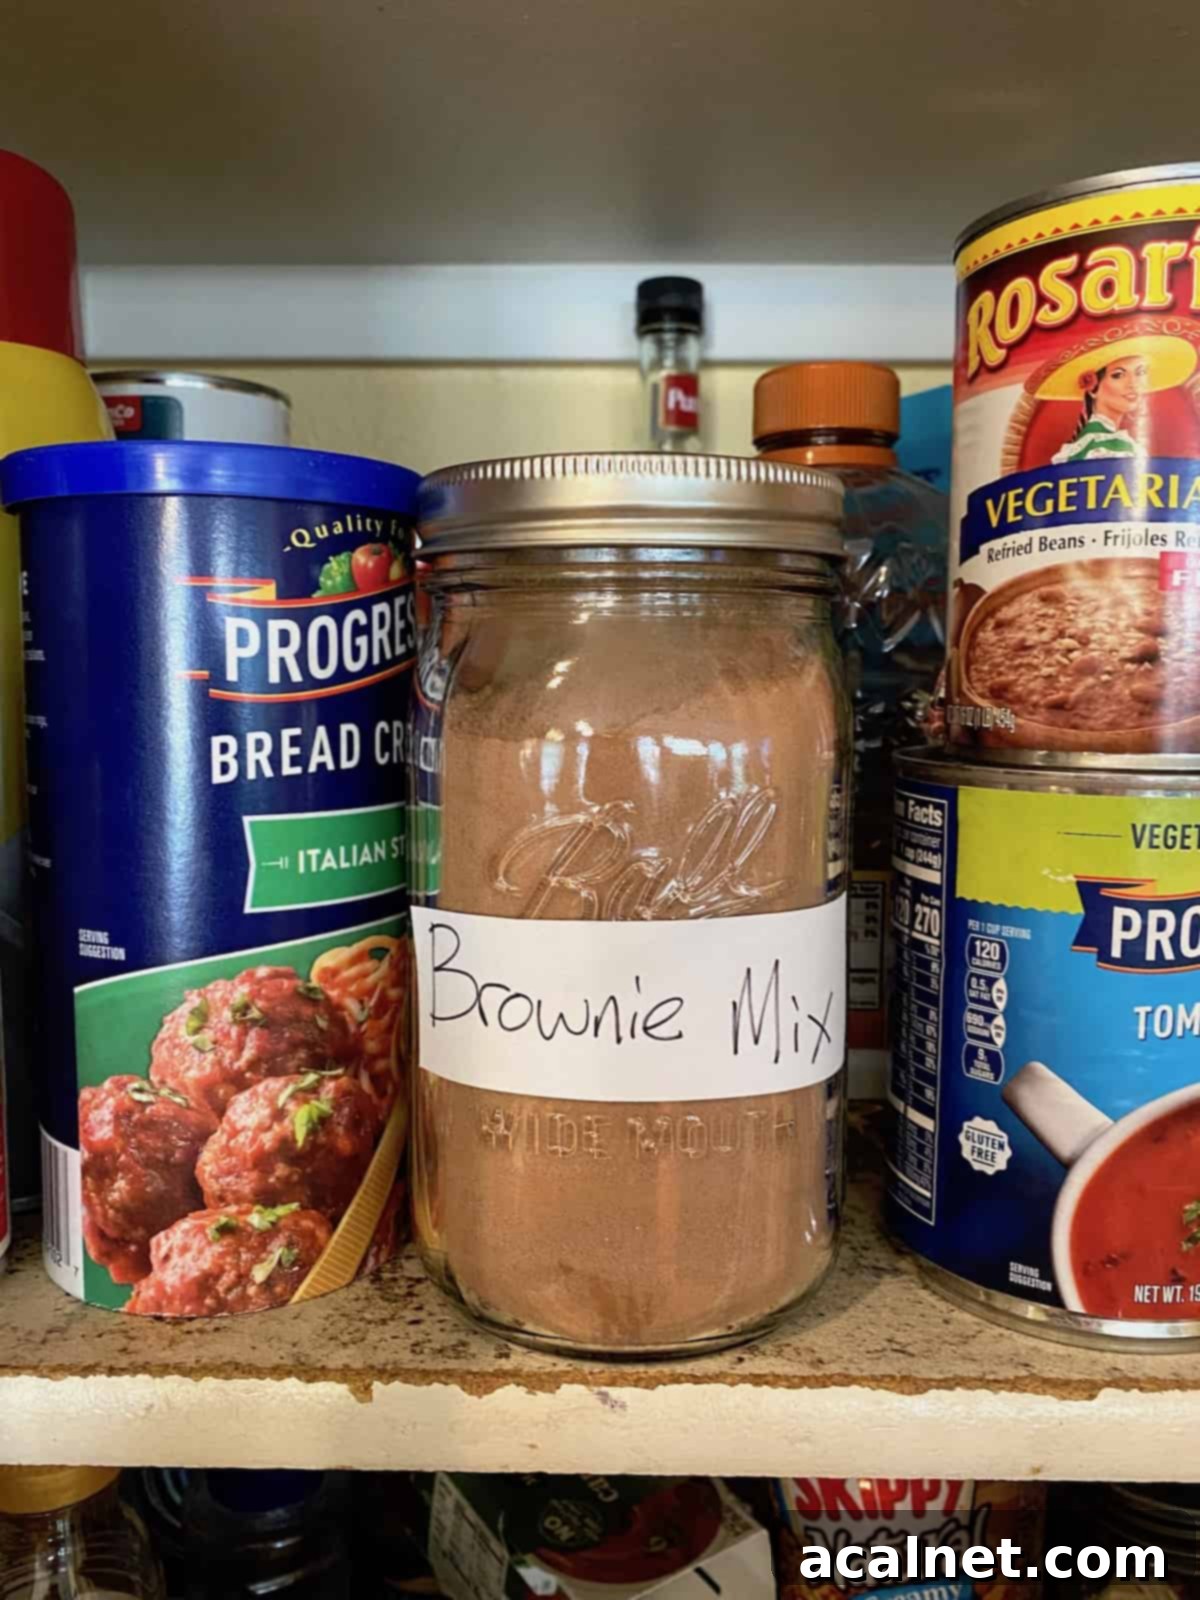
Once assembled, store your brownie mix in an airtight container in a cool, dark place like your pantry. A quart-sized mason jar with a tight-fitting lid is ideal, especially if you plan to gift it. Under these conditions, the mix will stay fresh for an estimated 3-6 months. Always check for any signs of moisture, clumping, or off-odors before using.
Recipe FAQs: Your Questions Answered
While many baking recipes allow for such substitutions, I do not recommend swapping shortening for butter in this brownie recipe. Shortening and butter are two very different ingredients with distinct properties.
Shortening, made from hydrogenated vegetable oil, contains no water and is flavorless. Butter, on the other hand, is about 80% butterfat and 20% naturally occurring water. As we all know, butter imparts a rich, distinct flavor to baked goods that is crucial for these fudgy brownies. It also contributes significantly to the texture. As an alternative, margarine might be a slightly better substitute for butter in this particular recipe, but for the best results, stick with butter.
A quart-sized (32 oz) container or mason jar is the perfect size to hold this brownie mix. However, any covered or sealed bag or jar that can comfortably hold 4 cups of dry ingredients will work great.
Absolutely! While the base mix is wonderful on its own, you can certainly add mix-ins when you’re ready to bake the brownies. We recommend adding about 1 cup of chocolate chips (milk, semi-sweet, or dark) or chopped nuts (walnuts, pecans) along with the wet ingredients to ensure they are evenly distributed. Do not add them to the dry mix if you plan to store it for an extended period, as they can affect the shelf life or clump.
This recipe works well with regular unsweetened natural cocoa powder. However, if you prefer an even darker, richer, and less acidic brownie, you can use Dutch-processed cocoa powder. Dutch-processed cocoa powder has been treated with an alkali to neutralize its acidity, resulting in a smoother, milder chocolate flavor and darker color.
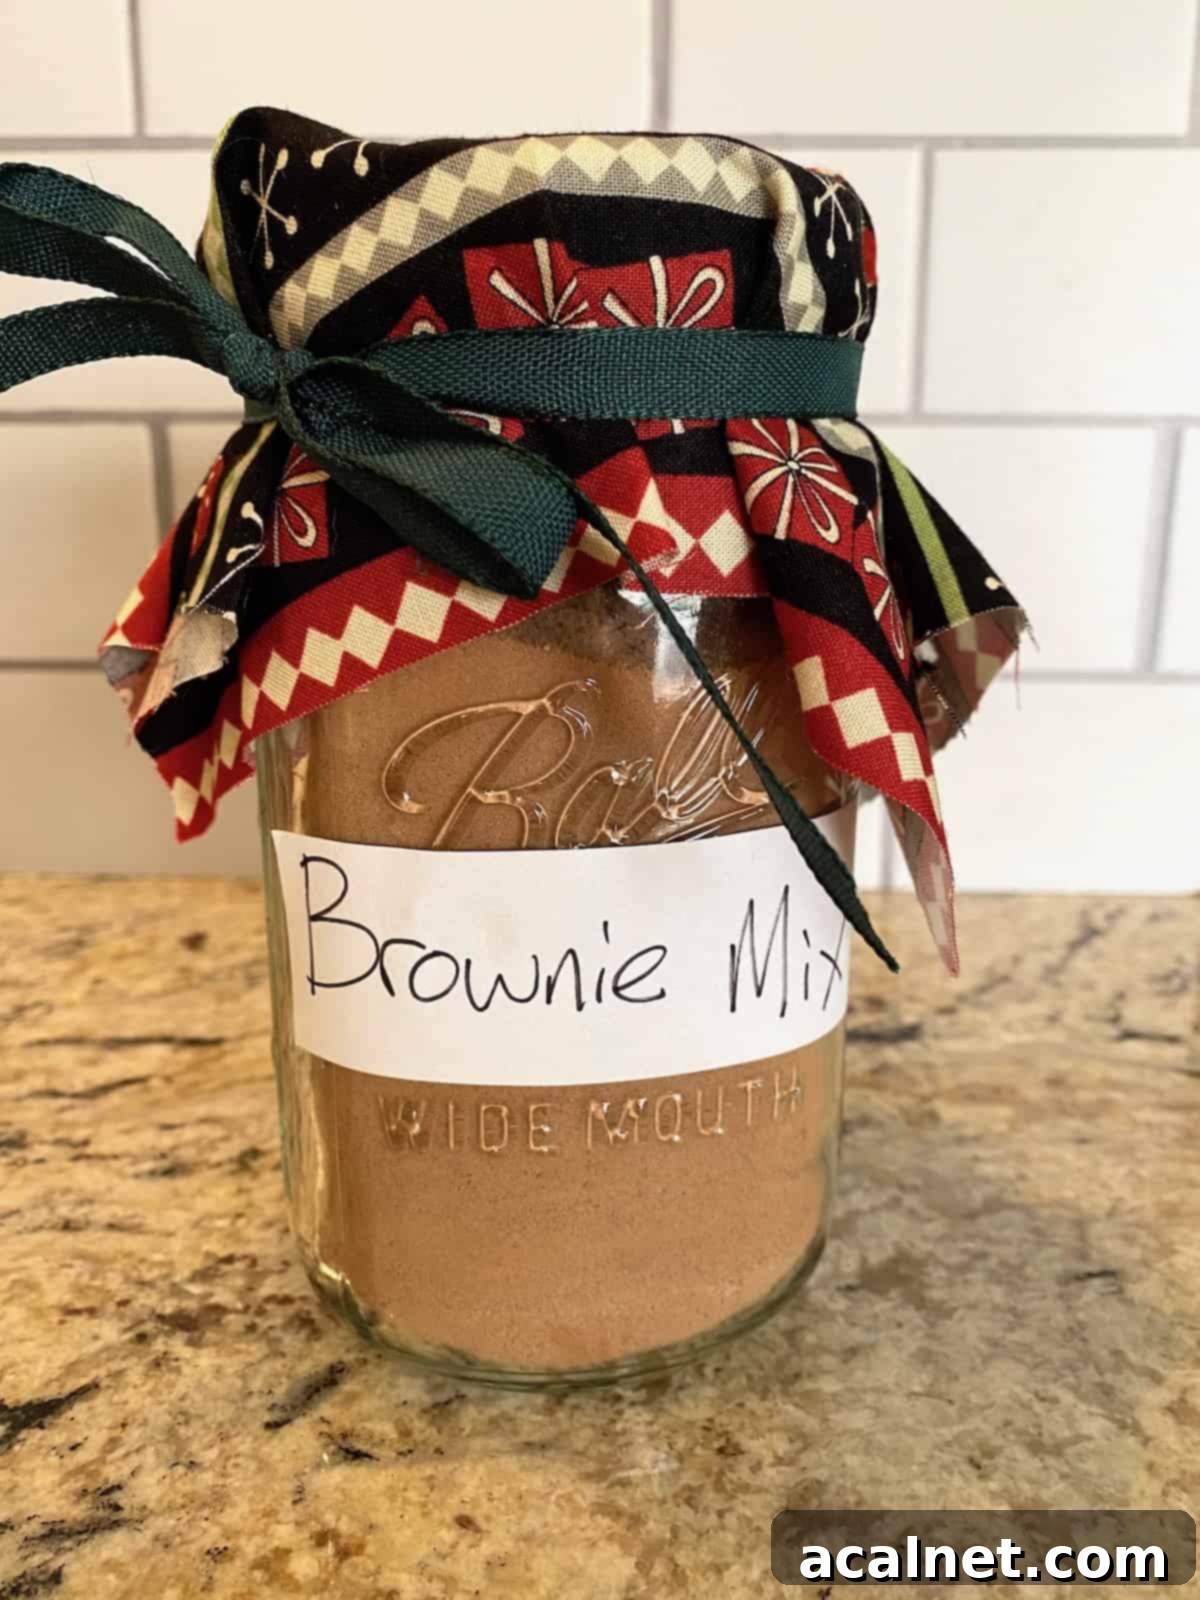
Pro Tip: If you’re giving this brownie mix as an edible gift, remember to include a clear list of the additional wet ingredients and precise baking instructions. Attach them to a tag or sticker (see below for suggestions) so your recipient knows exactly how to transform their mix into fresh, delicious brownies from scratch.
Perfect Presentation: What to Write on a Gift Tag
Making sure your gift recipient knows exactly how to bake their brownies is crucial. You can either copy and paste these detailed instructions onto a printable label or handwrite them beautifully on a recipe card to include with your homemade brownie mix. This small gesture ensures a seamless and enjoyable baking experience for them.
- Preparation: Preheat oven to 350°F (175°C) and generously grease a 13″x9″ baking pan, or spray with a non-stick cooking spray.
- Combine Wet Ingredients: In a large mixing bowl, combine the entire contents of the brownie mix with 1 cup (2 sticks) of melted butter, 1 tablespoon of quality vanilla extract, and four large eggs.
- Mix Well: Stir all ingredients together until just combined. Be careful not to overmix; a few lumps are perfectly fine for fudgy brownies.
- Bake to Perfection: Pour the batter evenly into the prepared baking pan. Bake for 24-30 minutes, or until the edges begin to pull away from the sides of the pan and a toothpick inserted into the center comes out with moist crumbs, not wet batter.
- Cool & Enjoy: Remove from the oven and allow to cool completely in the pan before cutting into bars. This is essential for achieving that perfect fudgy texture and clean cuts.
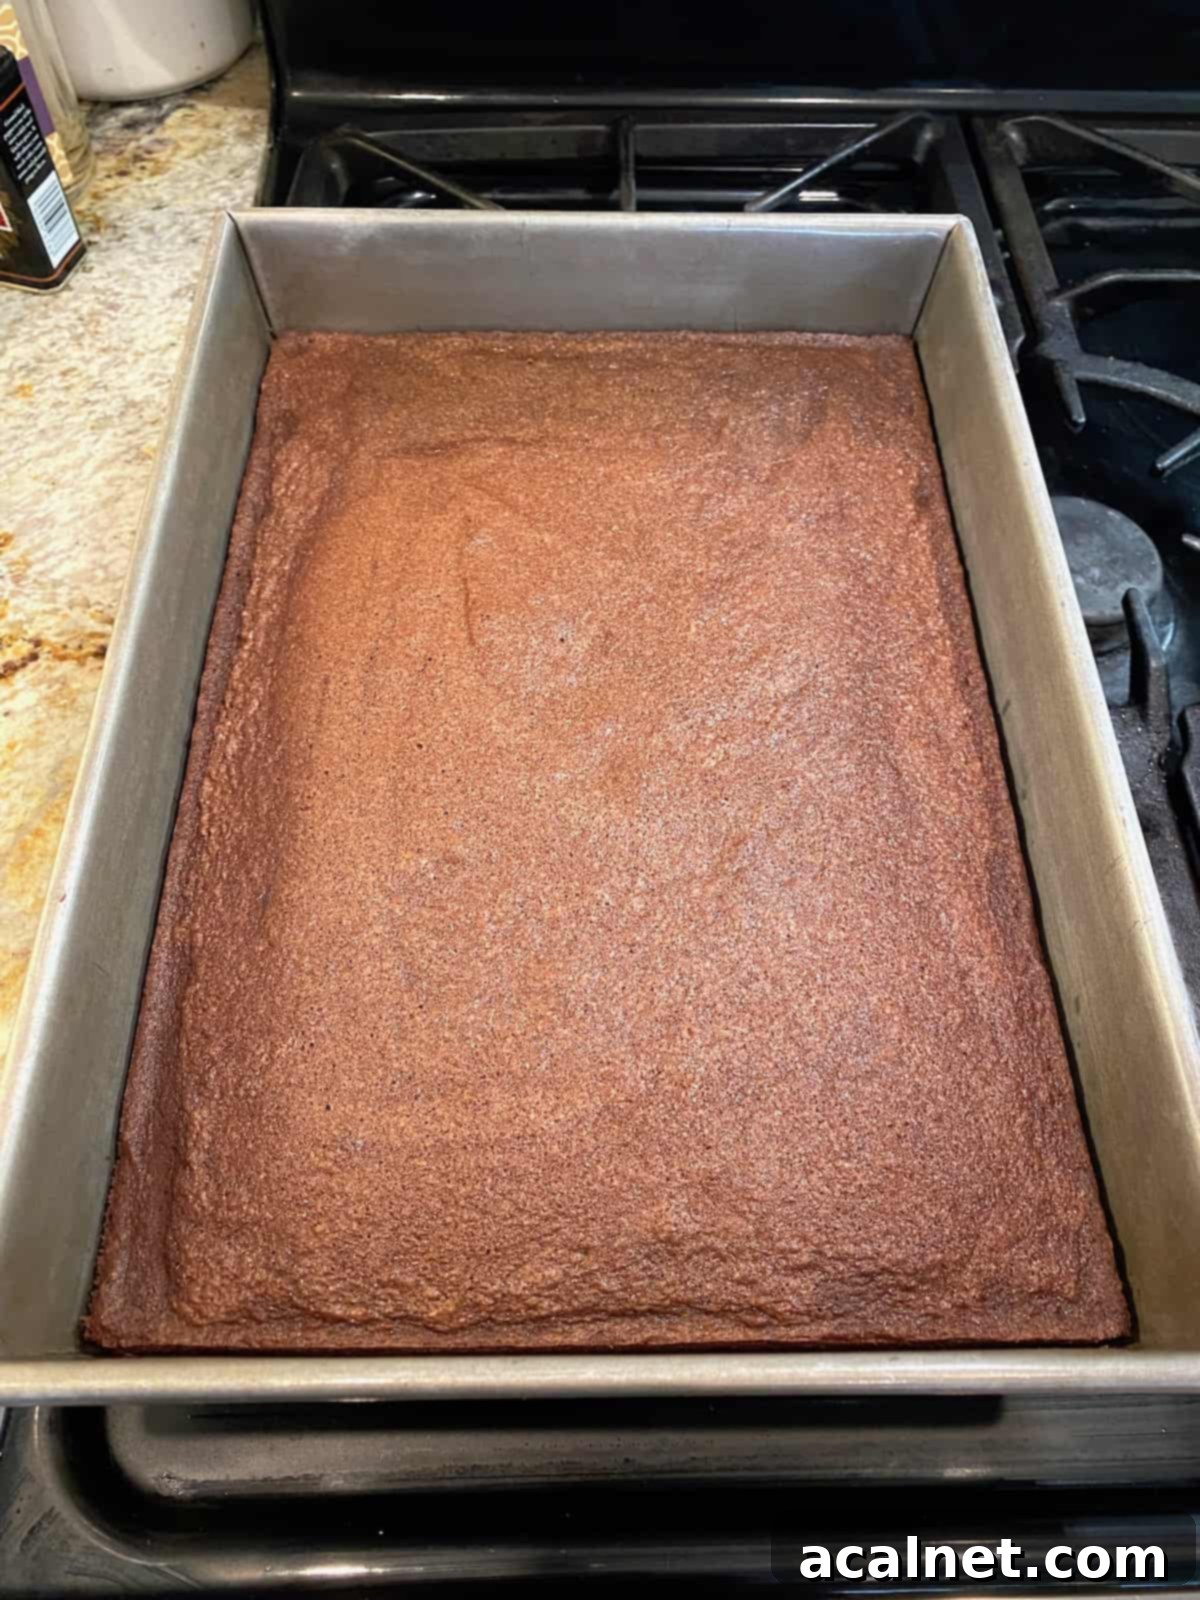
The Heartfelt Inspiration Behind This Homemade Brownie Mix
Every cherished recipe has a story, and this homemade brownie mix is no exception. This truly fantastic brownie recipe was generously shared by Byron Yankey, a dear friend of my husband. Byron is not just a baking enthusiast; he is a man who dedicated an incredible 50 years of his life to public education, serving much of that time as a dedicated teacher and a respected principal.
Byron’s brownies became legendary, a staple at countless meetings and gatherings he attended across the state of Idaho. He once playfully remarked, “They are often more welcome than I am,” a testament to the immense popularity of his delicious creation. He estimates that he bakes about 100 batches of these beloved brownies every single year, a tradition that speaks volumes about their irresistible appeal and his passion for sharing them.
A huge thank you to Byron for sharing his incredible, time-tested recipe with the Crinkled Cookbook community! It’s an honor to pass on such a delicious legacy.
Note: I’ve adapted Byron’s original recipe only to present it as a convenient, ready-to-use mix. The ingredient list and the core baking instructions for the brownies themselves remain exactly as Byron intended.
More Sweet Treats to Savor
If you’ve enjoyed making and tasting these delectable brownies, you’re sure to love these other sweet treats from our collection! Perfect for any occasion or just a cozy night in.
- Mrs. Fields Chocolate Chip Bars
- Old-Fashioned Chewy Peanut Butter Cookies
- Homemade Brownie Mix
- Molasses Snaps (Vegan Cookies)
If you tried Homemade Brownie Mix or any other recipe on my website, please leave a 🌟 star rating and let me know how it goes in the 📝 comments below. Your feedback means the world!
Recipe
Homemade Brownie Mix
Print
Rate
Pin Recipe
Ingredients
Brownie Mix Ingredients
- 2 cups sugar
- 1 cup flour
- ¾ cup cocoa powder
Additional Ingredients (When Baking)
- 1 cup butter – melted, 2 sticks
- 1 tablespoon vanilla extract
- 4 eggs
Instructions
To Make Your Homemade Brownie Mix (for storage or immediate use)
- In a large mixing bowl, combine the sugar, cocoa powder, and flour. Whisk all the dry ingredients together thoroughly until they are well combined and no lumps remain.
- Carefully spoon or pour the prepared brownie mix into a clean, quart-sized (32 oz) jar or any other tightly covered, airtight container. Label the container with the name of the mix and the baking instructions (see below). Store in your pantry, or share as a thoughtful homemade gift!
- If you are planning to enjoy the brownies right away and not store this as a mix, simply whisk the dry ingredients as instructed in step 1, then proceed immediately to add the additional wet ingredients and bake as directed in the “To Make Homemade Brownies with the Mix” section below.
To Make Homemade Brownies with the Mix (Baking Instructions)
NOTE: These are the instructions to share on a label or card if giving the mix as a gift.
- Preheat your oven to 350°F (175°C). Prepare a 13″x9″ baking pan by greasing it thoroughly or spraying it with a non-stick cooking spray.
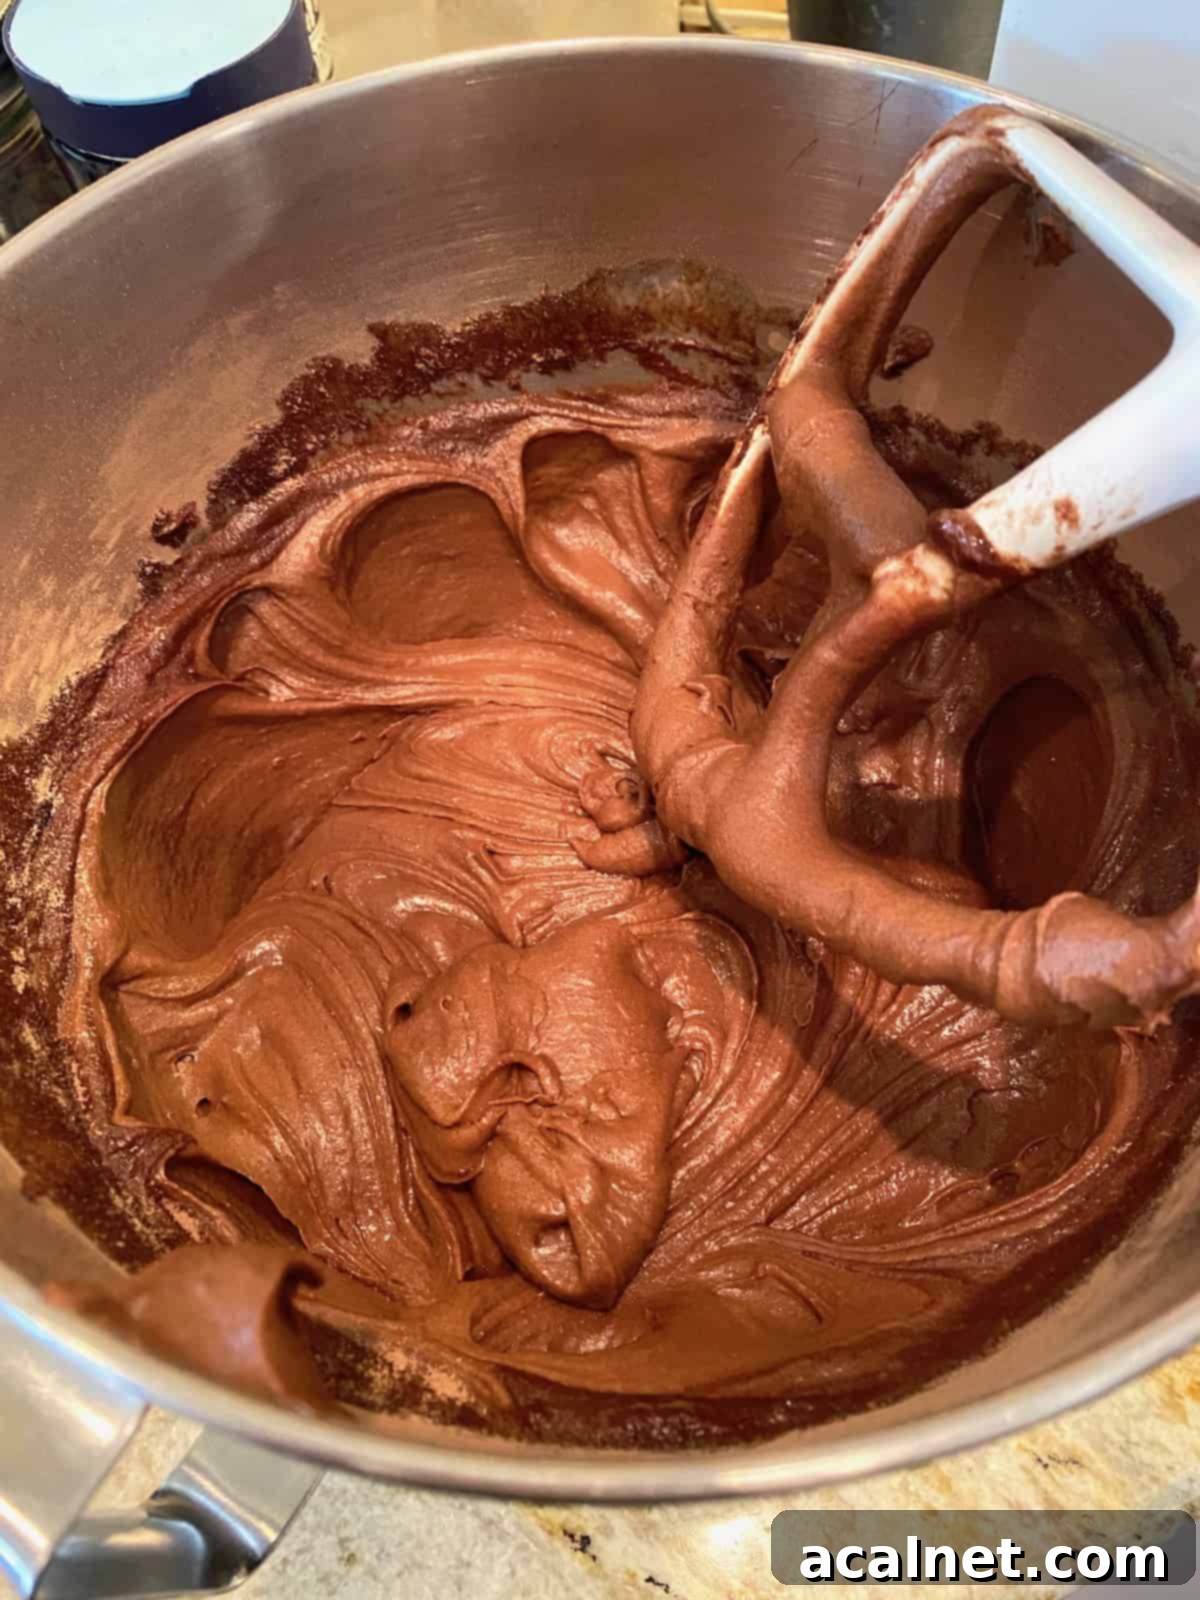
- In a large bowl, combine the entire contents of the brownie mix with 1 cup of melted butter, 1 tablespoon of vanilla extract, and four large eggs. Stir until all ingredients are just combined; avoid overmixing.
- Pour the batter evenly into your prepared baking pan and spread it to the edges. Bake for 24-30 minutes, or until the edges of the brownies begin to pull away from the sides of the pan. The center should still look slightly moist.
- Once baked, remove the pan from the oven and allow the brownies to cool completely on a wire rack before attempting to cut them into bars. Cooling ensures they set properly for that perfect fudgy texture.
Notes
Please note, the nutrition details are estimated using a food database, so they’re just a rough estimate not an exact science.
