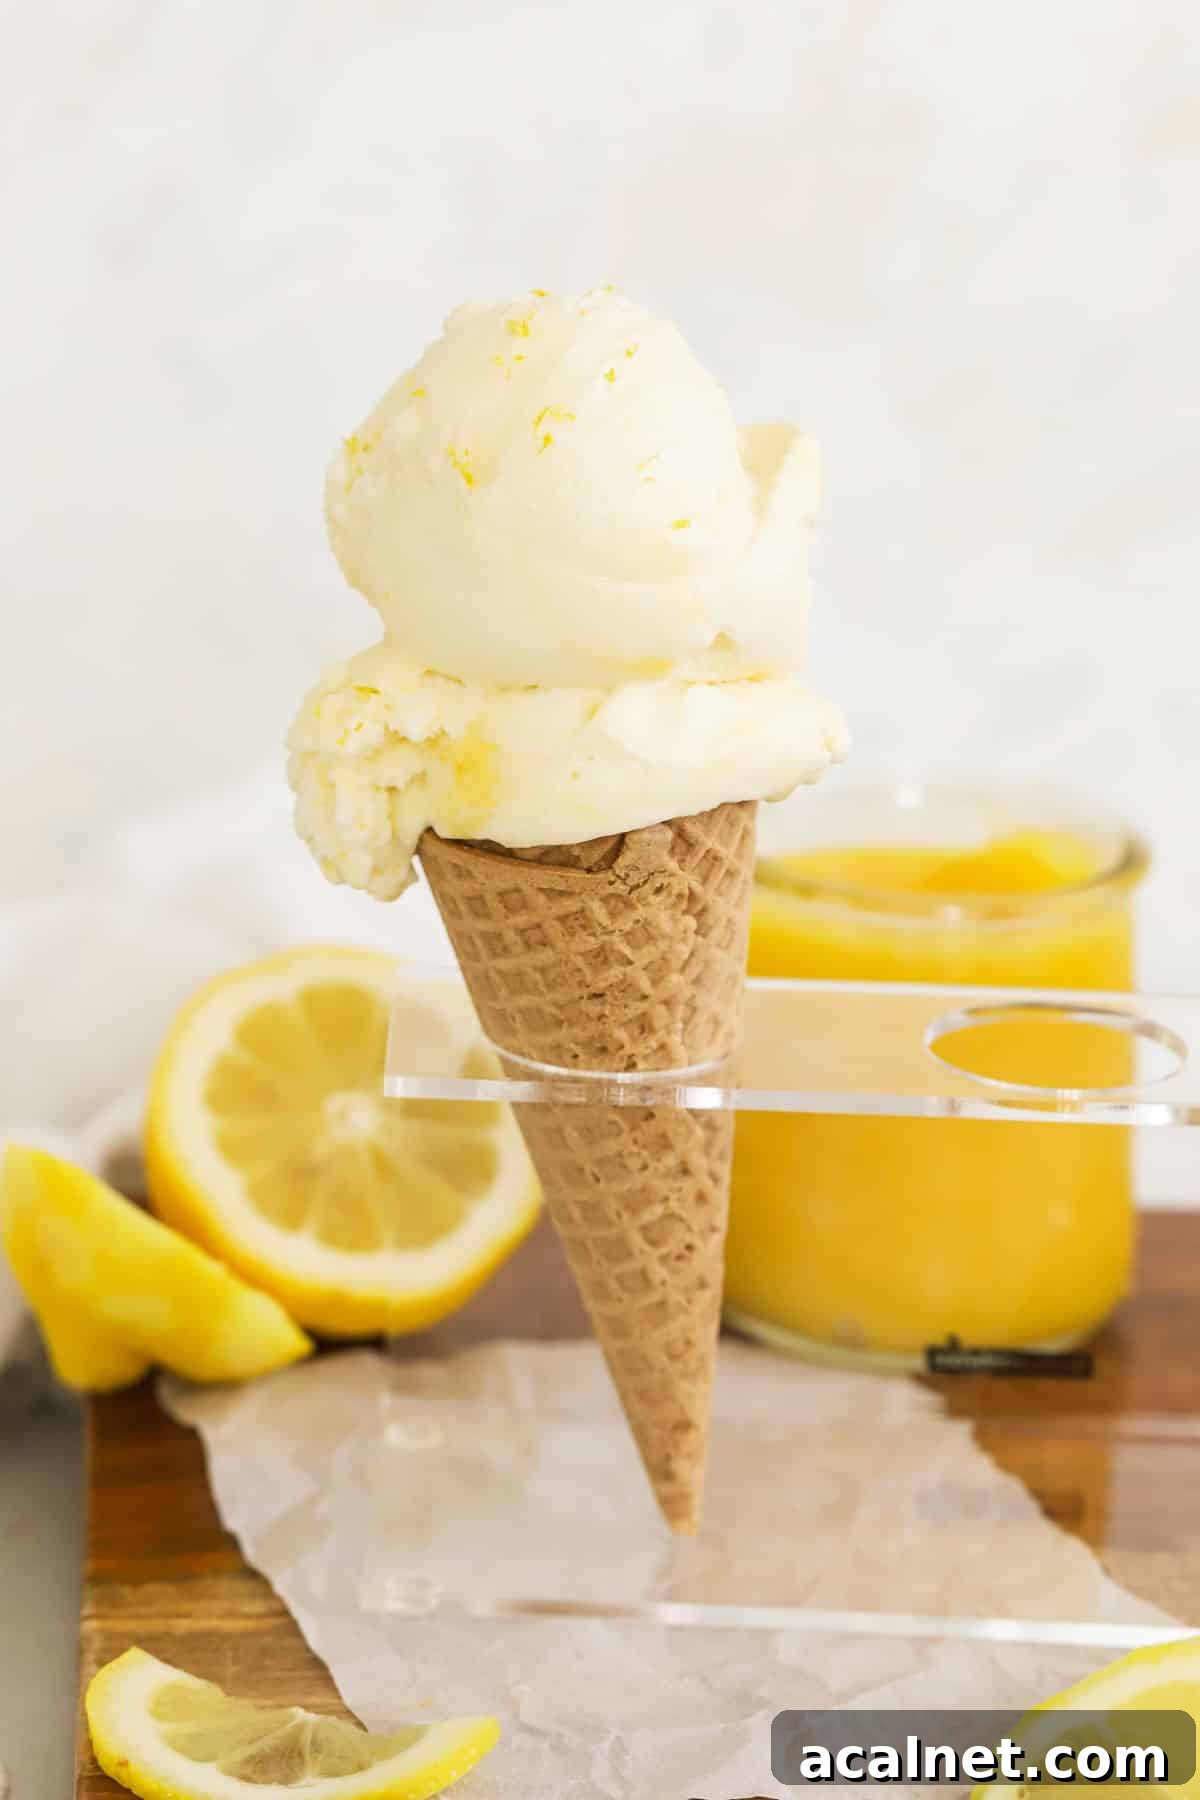
Calling all lemon lovers! This simple lemon ice cream uses a double dose of fresh lemon flavor: a creamy, zesty ice cream base combined with ribbons of bright homemade lemon curd for a sunny, refreshing dessert in every bite.
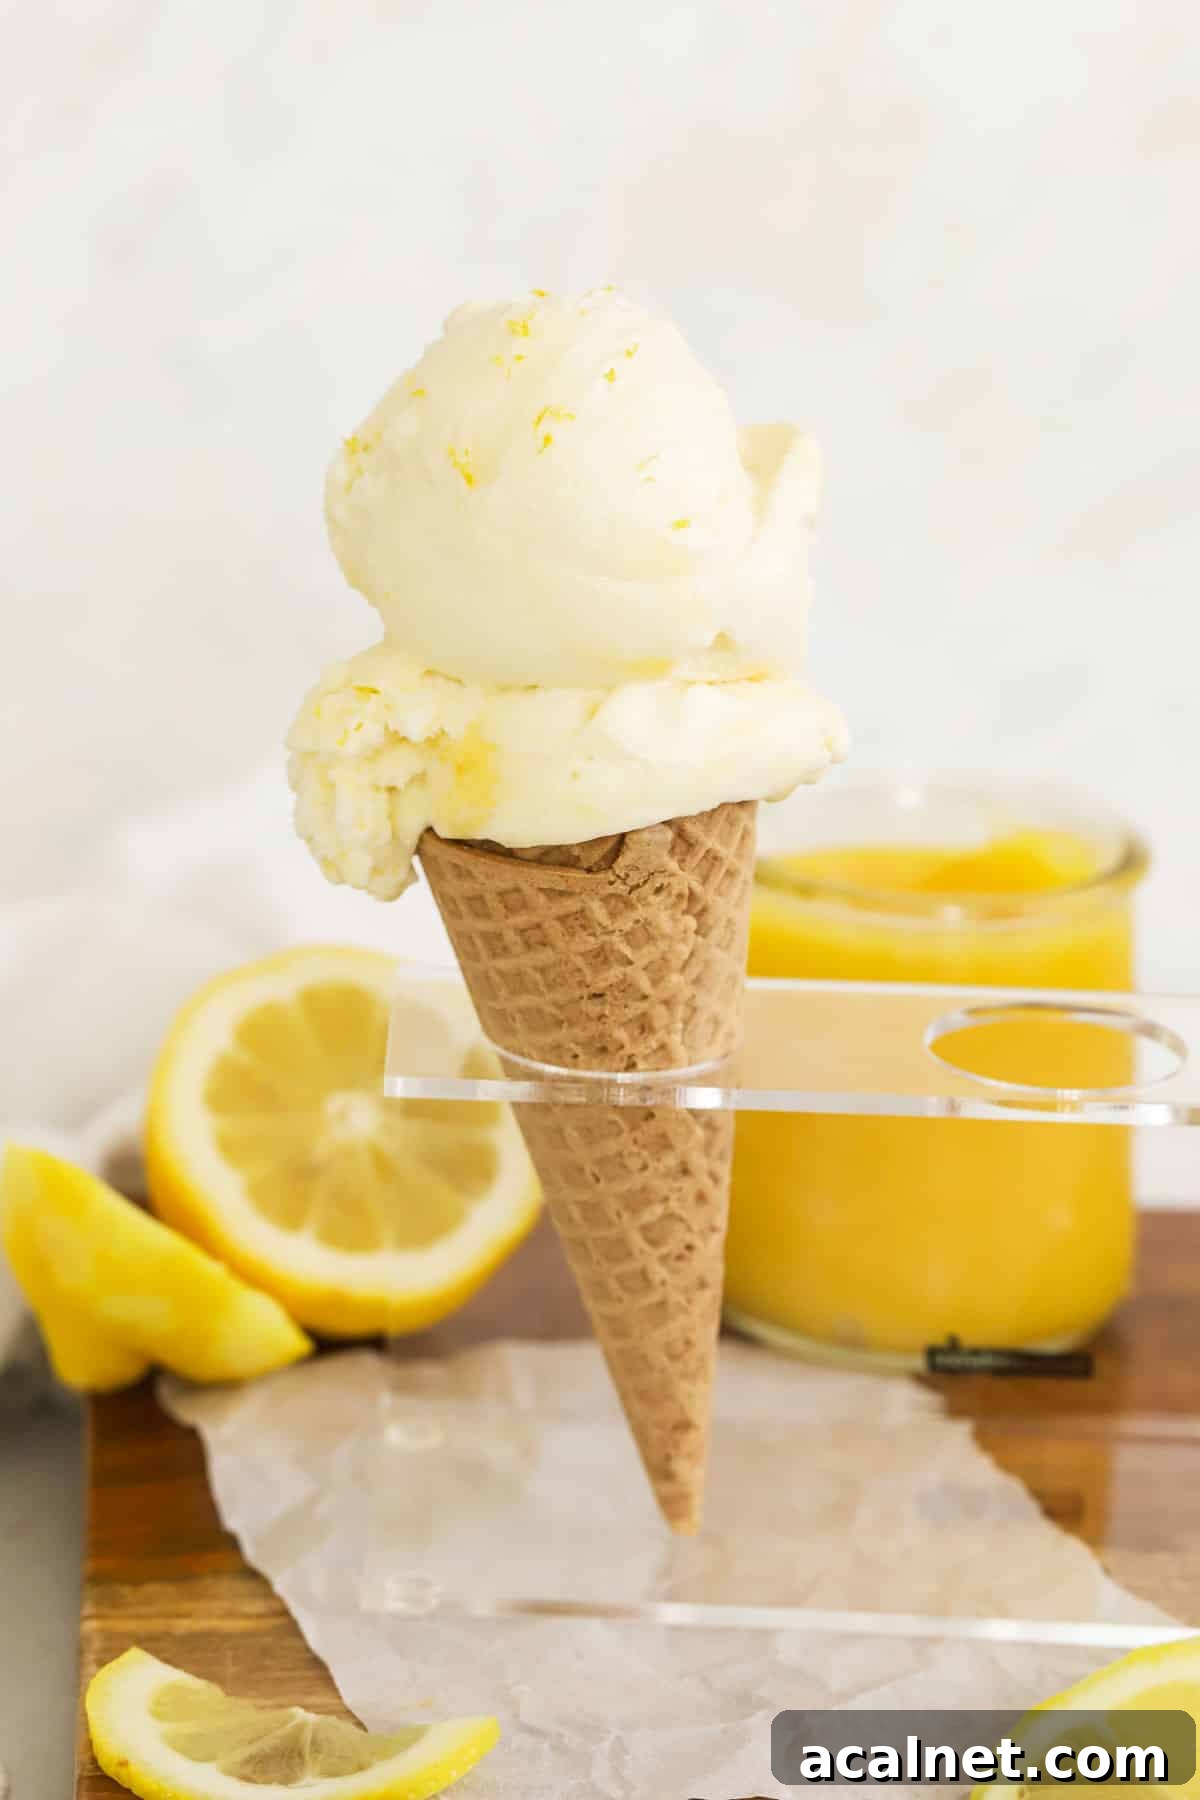

This Easy Ice Cream Packs a Double Dose of Lemon Flavor!
This homemade lemon ice cream is intentionally lemon-forward: bright fresh zest in the base and tangy swirls of lemon curd throughout. It’s light, creamy, and perfect for warm-weather treats.
⏱️ EASE: This is a Philadelphia-style ice cream, so there are no egg yolks to temper. If you can zest a lemon and stir, you can make it—simple technique, big flavor.
🍋 FLAVOR: Fresh lemon zest infuses the base, and the homemade lemon curd gives concentrated citrus bursts. The result is a balanced lemon profile that’s both bright and sweet.
🍨 TEXTURE: The ice cream base is creamy and smooth; the lemon curd adds silkier, tart ribbons for contrast. Use corn or glucose syrup to reduce ice crystals for an extra-scoopable finish.
💡 TOP TIPS: Chill your ice cream base and the ice cream machine’s bowl thoroughly. For the best flavor, make your own lemon curd—it’s quick and much more vibrant than store-bought.
Happy cooking! xo, Emily
Ready to make a batch? Here’s what you need to get started…
Simple Ingredients To Get Started
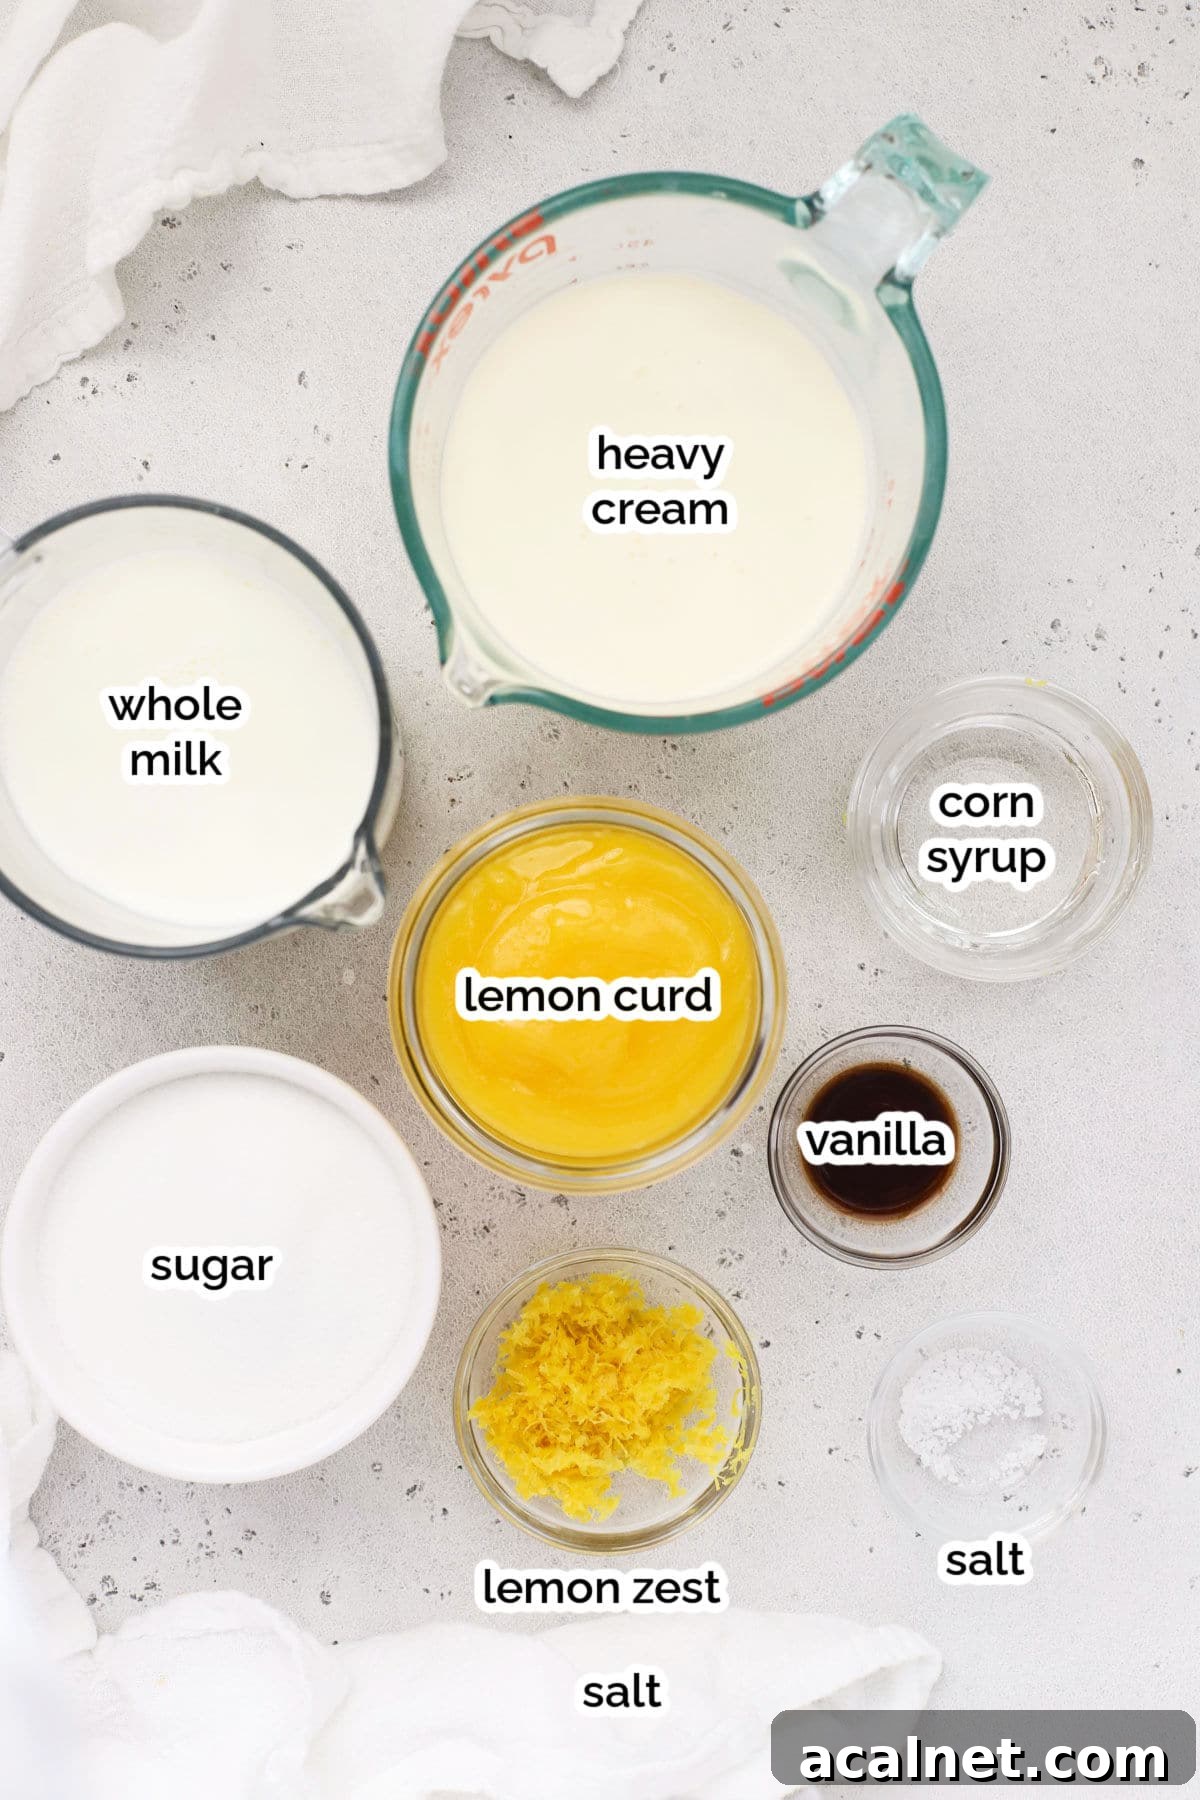
- Heavy Cream: Full-fat cream ensures a rich, creamy mouthfeel. Low-fat or skim will produce icy texture.
- Whole Milk: Balances the richness of the cream and helps achieve a smooth texture.
- Granulated Sugar: Sweetens while allowing the lemon’s bright acidity to shine through.
- Fresh Lemon Zest: Use only the yellow peel (avoid the bitter pith). Pack the zest when measuring for concentrated flavor.
- Corn Syrup: Helps inhibit ice crystals so your ice cream stays soft and scoopable. You can substitute glucose or agave if needed.
- Vanilla Extract & a Pinch of Salt: Small additions that round and enhance the lemon flavor.
- Homemade Lemon Curd: Use your own lemon curd rather than store-bought for brighter color and livelier flavor.
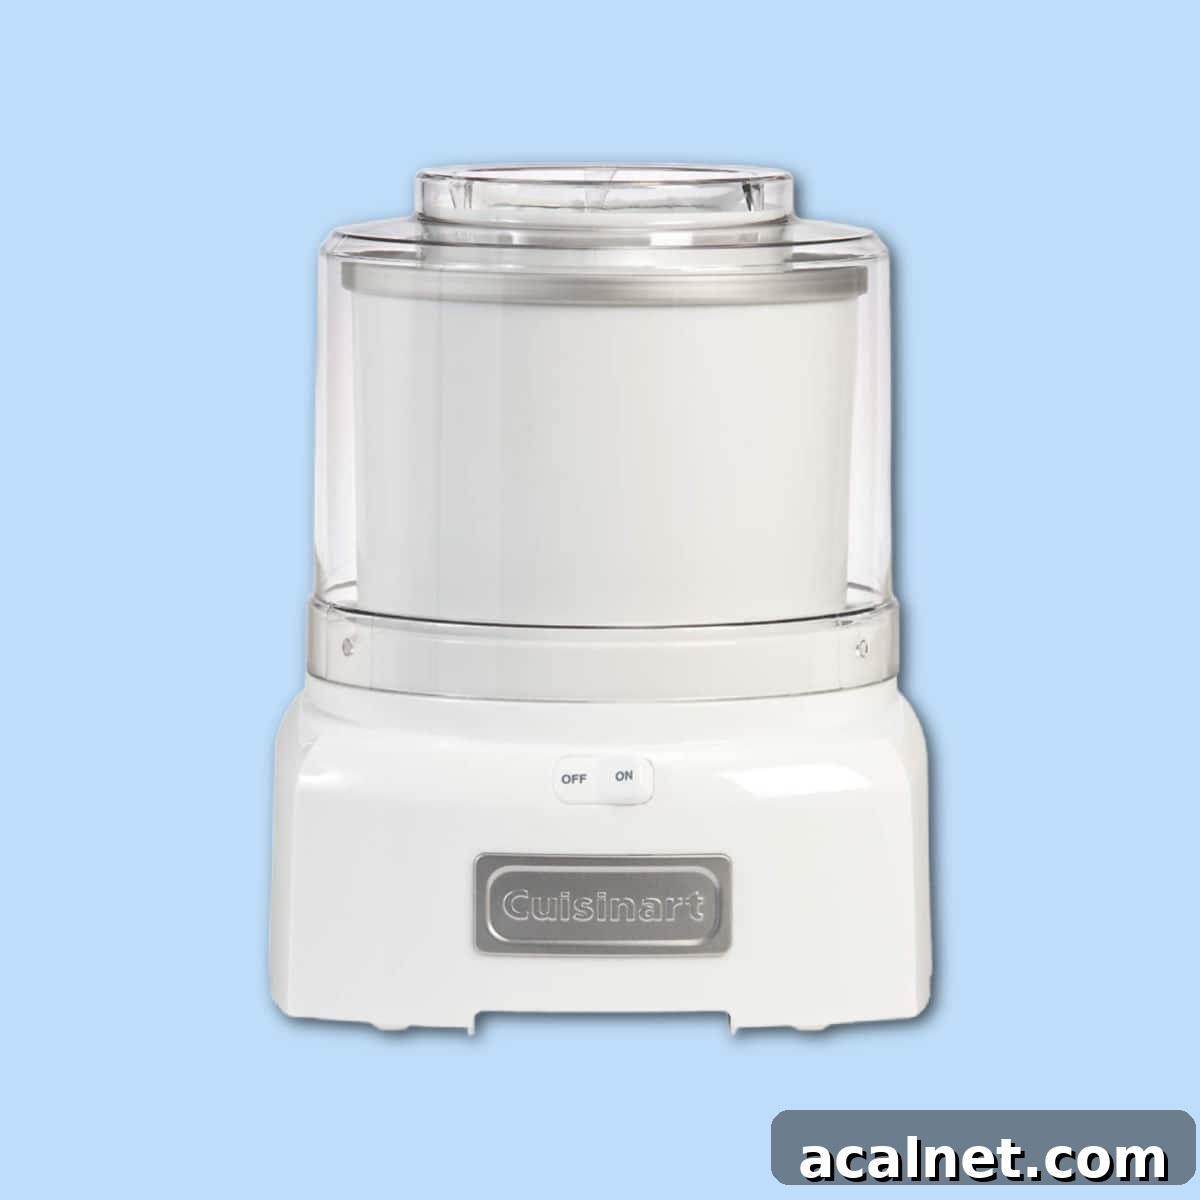
Our Favorite Ice Cream Maker
A reliable Cuisinart model is compact and durable and works well for most home recipes. Be sure to freeze the insert as recommended by the manufacturer before churning.
How To Make Homemade Lemon Ice Cream, Step By Step
The full recipe, with exact ingredient amounts and the printable recipe card, is in the recipe card below.
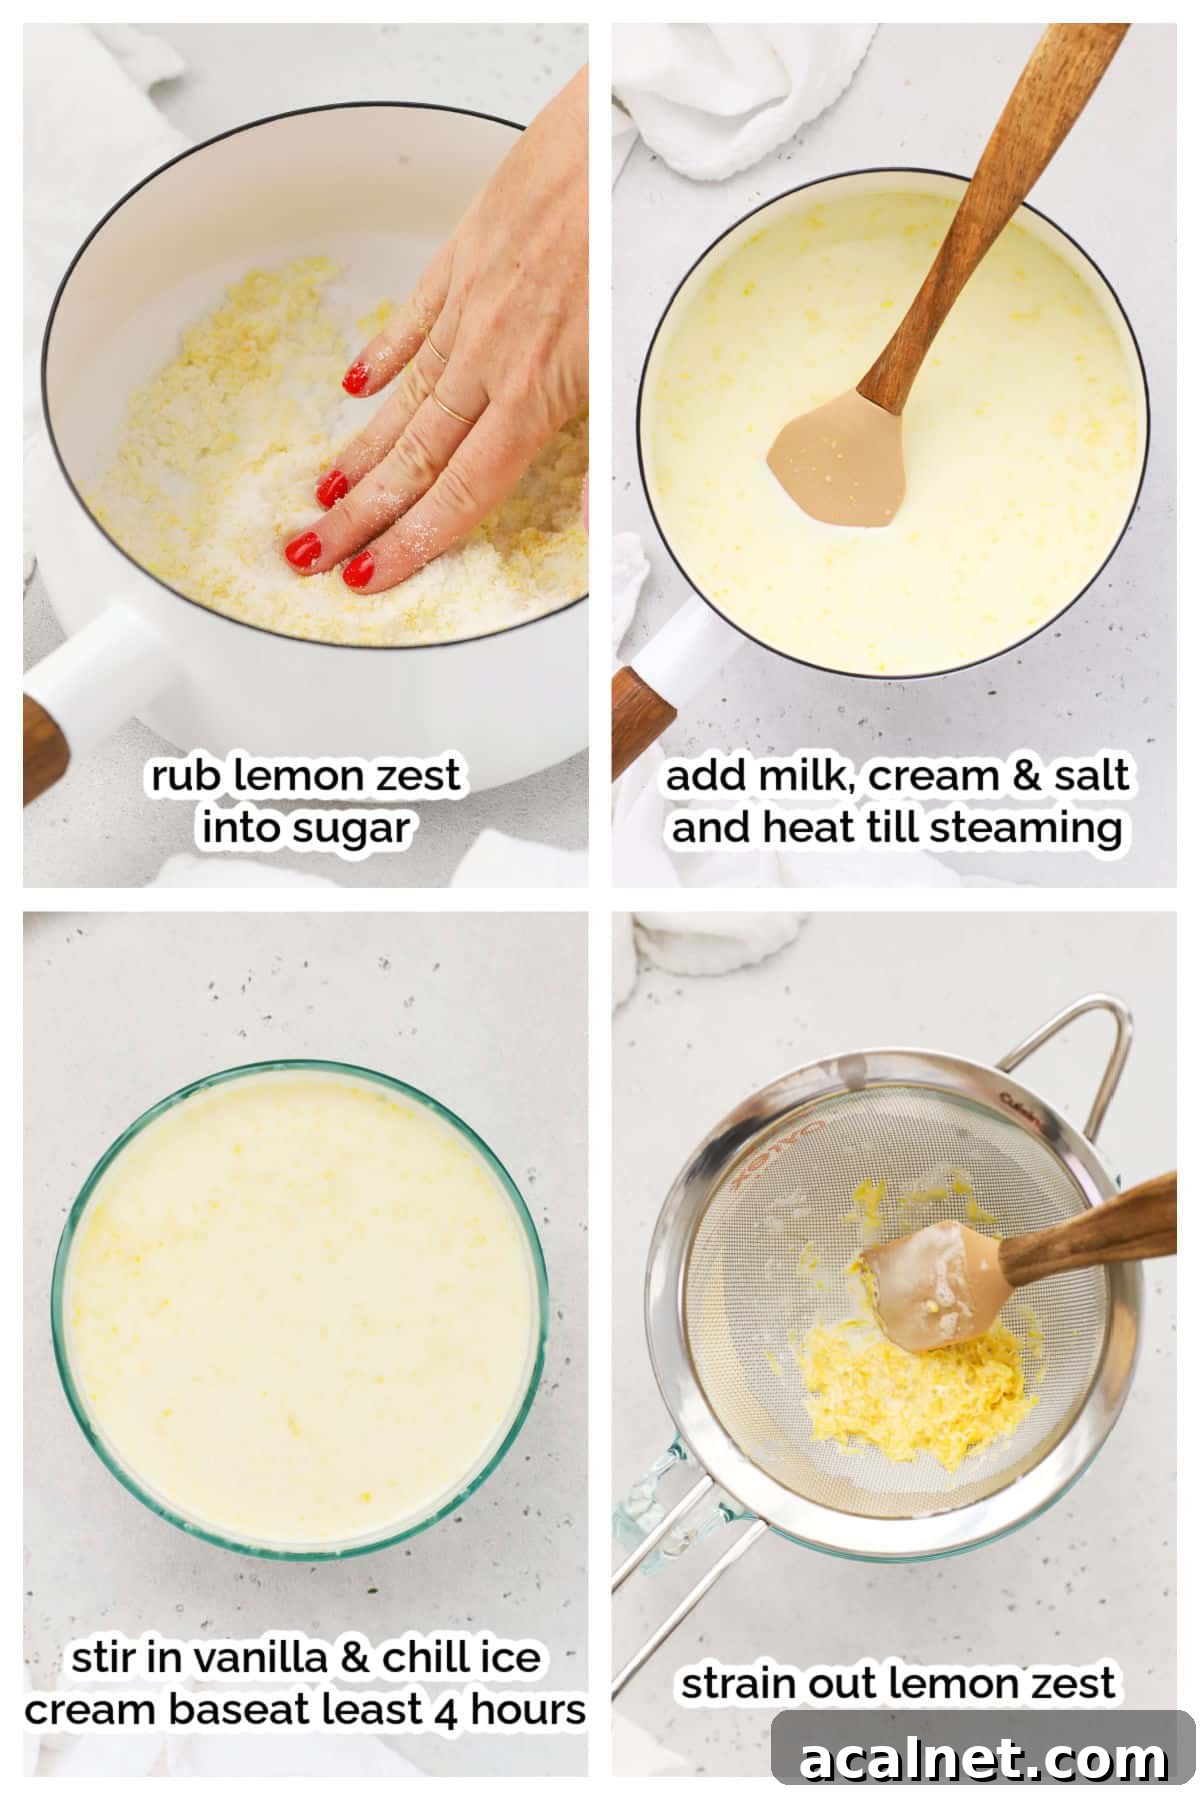
- Freeze the Ice Cream Maker at Least 24-48 Hours Ahead. Make sure the bowl or insert is fully frozen if your machine requires it. Without that, the mixture won’t churn correctly.
- Combine Sugar and Lemon Zest in a medium saucepan. Rub the zest into the sugar with clean fingers until it looks and smells fragrant—this releases the lemon oils and intensifies the flavor.
- Add Cream, Milk, Corn Syrup, and Salt to the lemon-scented sugar and stir to combine.
- Heat and Steep. Warm the mixture until it’s steaming and nearly simmering, making sure the sugar dissolves. Remove from heat, stir in vanilla, and let it steep for at least 30 minutes while cooling. Transfer to a covered container.
- Chill Thoroughly for at least 4 hours, or until very cold. Cold base churns better and the flavor continues to develop while chilling.
- Strain the mixture through a fine mesh sieve to remove lemon zest—this prevents the pieces from collecting in the machine’s churner.
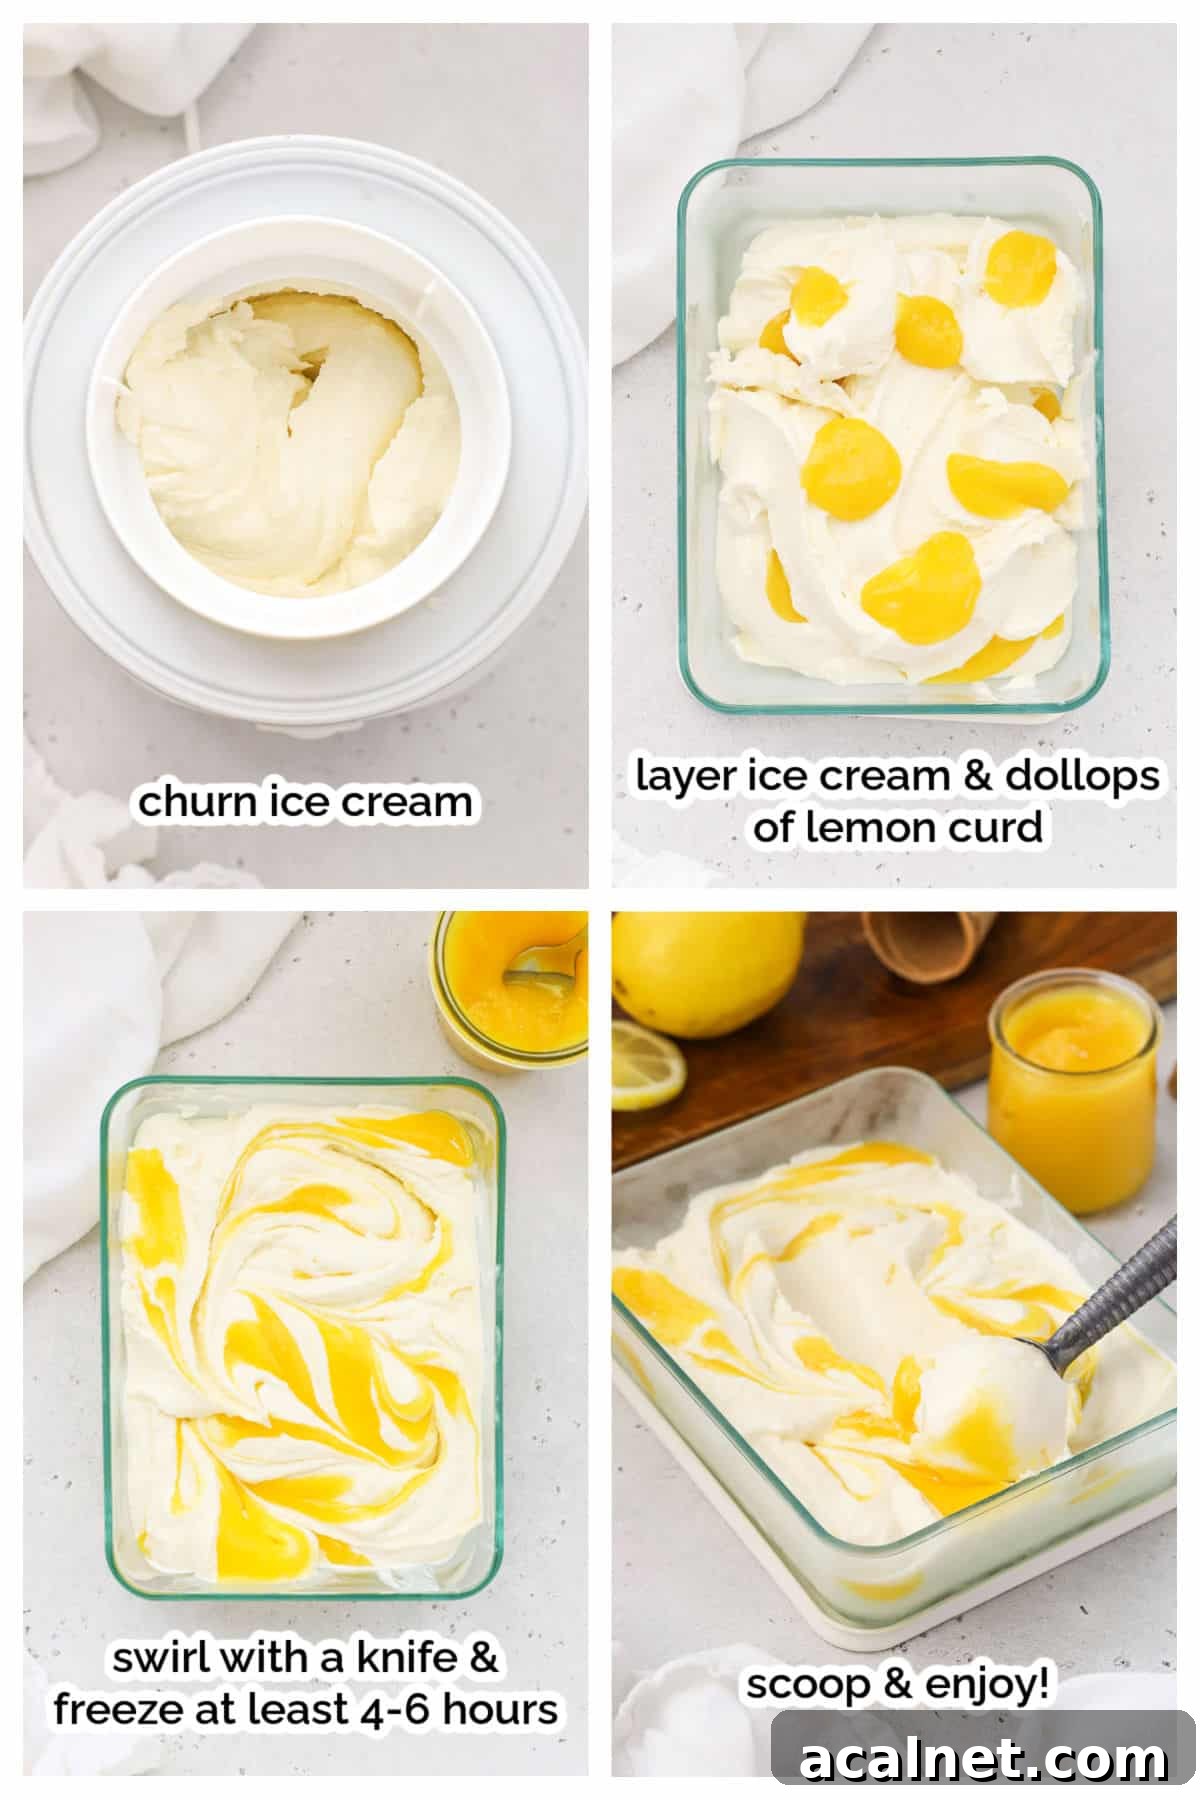
- Churn the cold mixture according to your ice cream maker’s instructions. For most small machines this takes about 20–30 minutes, until it resembles a rich soft-serve.
- Layer and Ripple. Spoon half the churned ice cream into a freezer-safe container. Dollop half the lemon curd across the surface, add the remaining ice cream, then dollop and gently swirl the rest of the curd in a few figure-8 motions—don’t over-swirl.
- Freeze for 4–6 hours, until firm enough to scoop. For best texture, press plastic wrap onto the surface before sealing the container.
- Serve and Store. Scoop and enjoy. Store in non-metal, freezer-safe containers. Ice cream will keep best for about one to two weeks, though it may firm up over time.
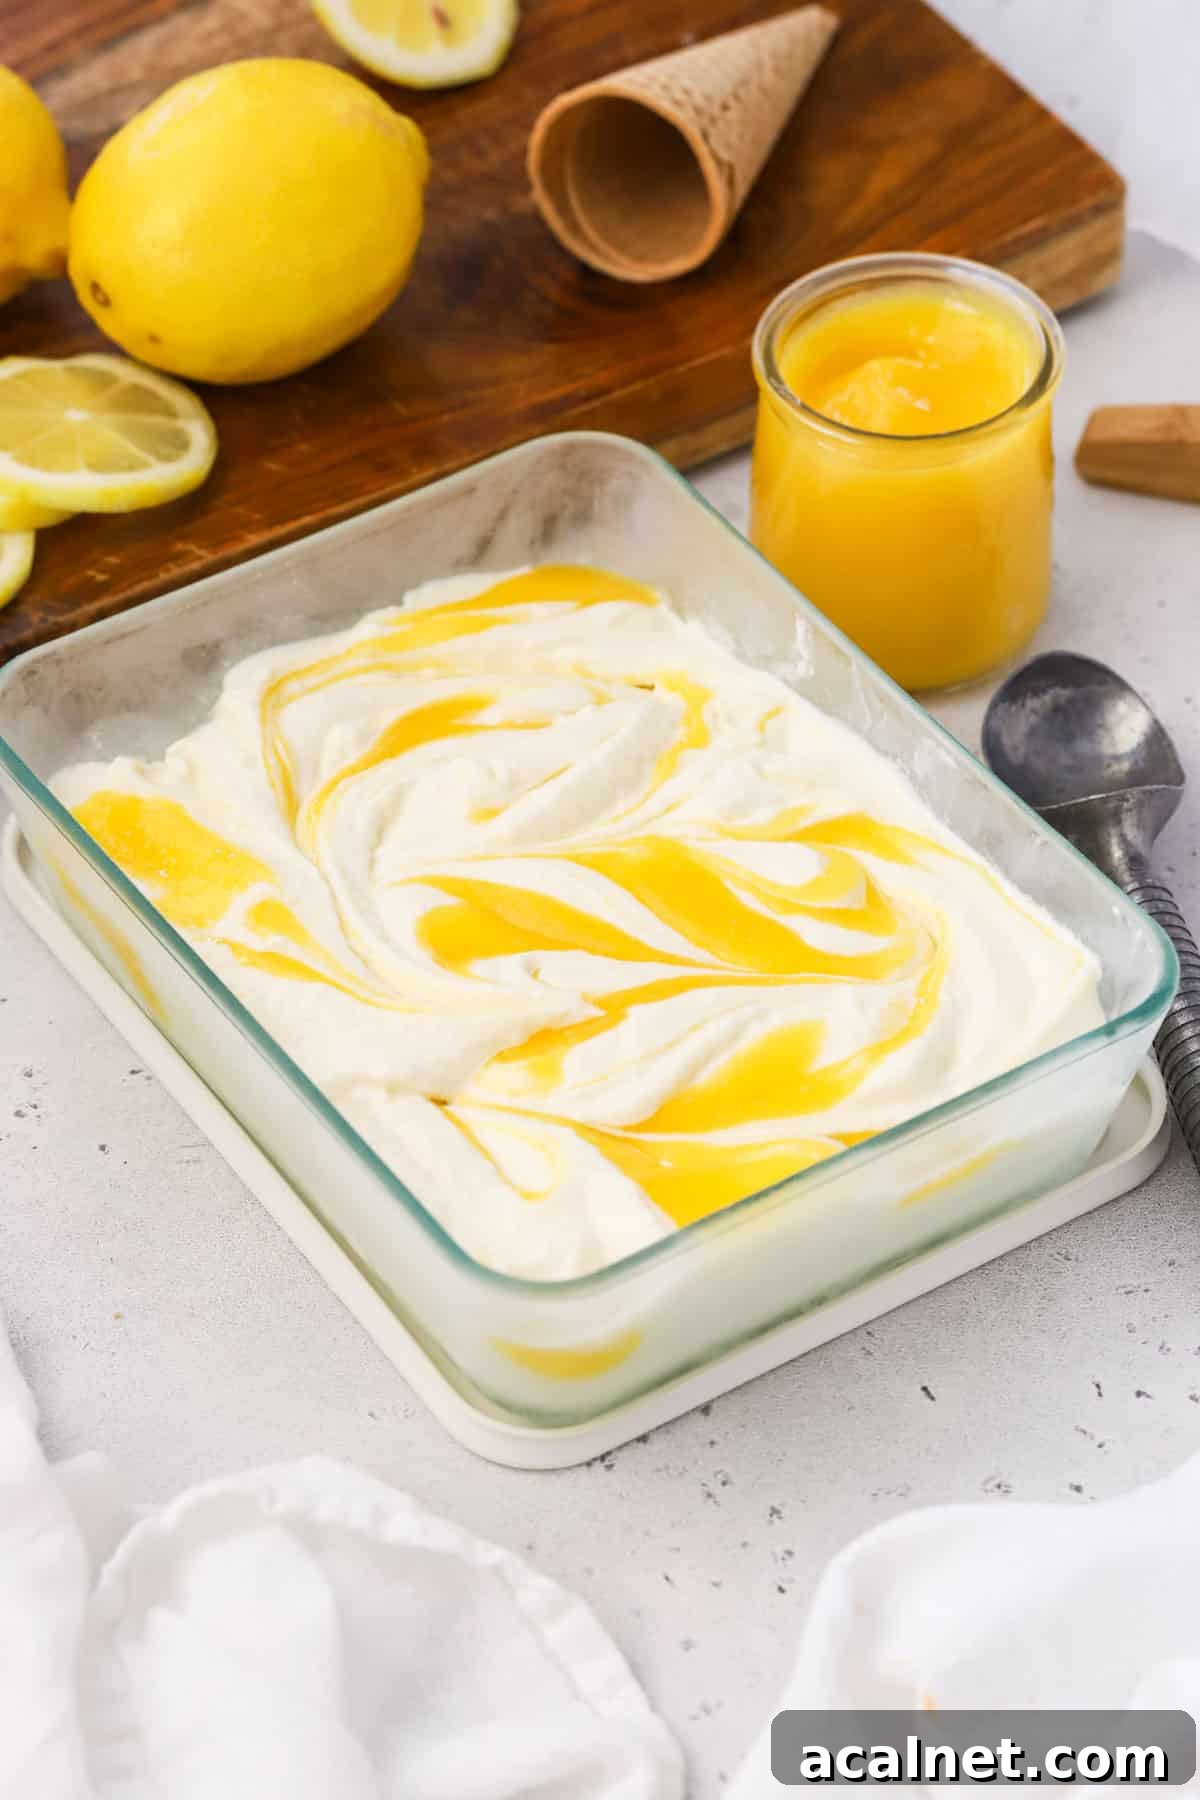
Extra Mix-Ins & Serving Suggestions To Try
This lemon curd ice cream is wonderful on its own, but consider these variations:
- Crushed Meringues & Graham Cracker Crumbs: For a lemon meringue pie impression, sprinkle crushed meringues and gluten-free graham cracker crumbs into the layers or fold them in at the end of churning.
- Fresh Berries: Raspberries or blueberries pair beautifully—use them as a topping or a gentle swirl.
- Meyer Lemons: Swap Meyer lemons for a sweeter, slightly floral citrus note if available.
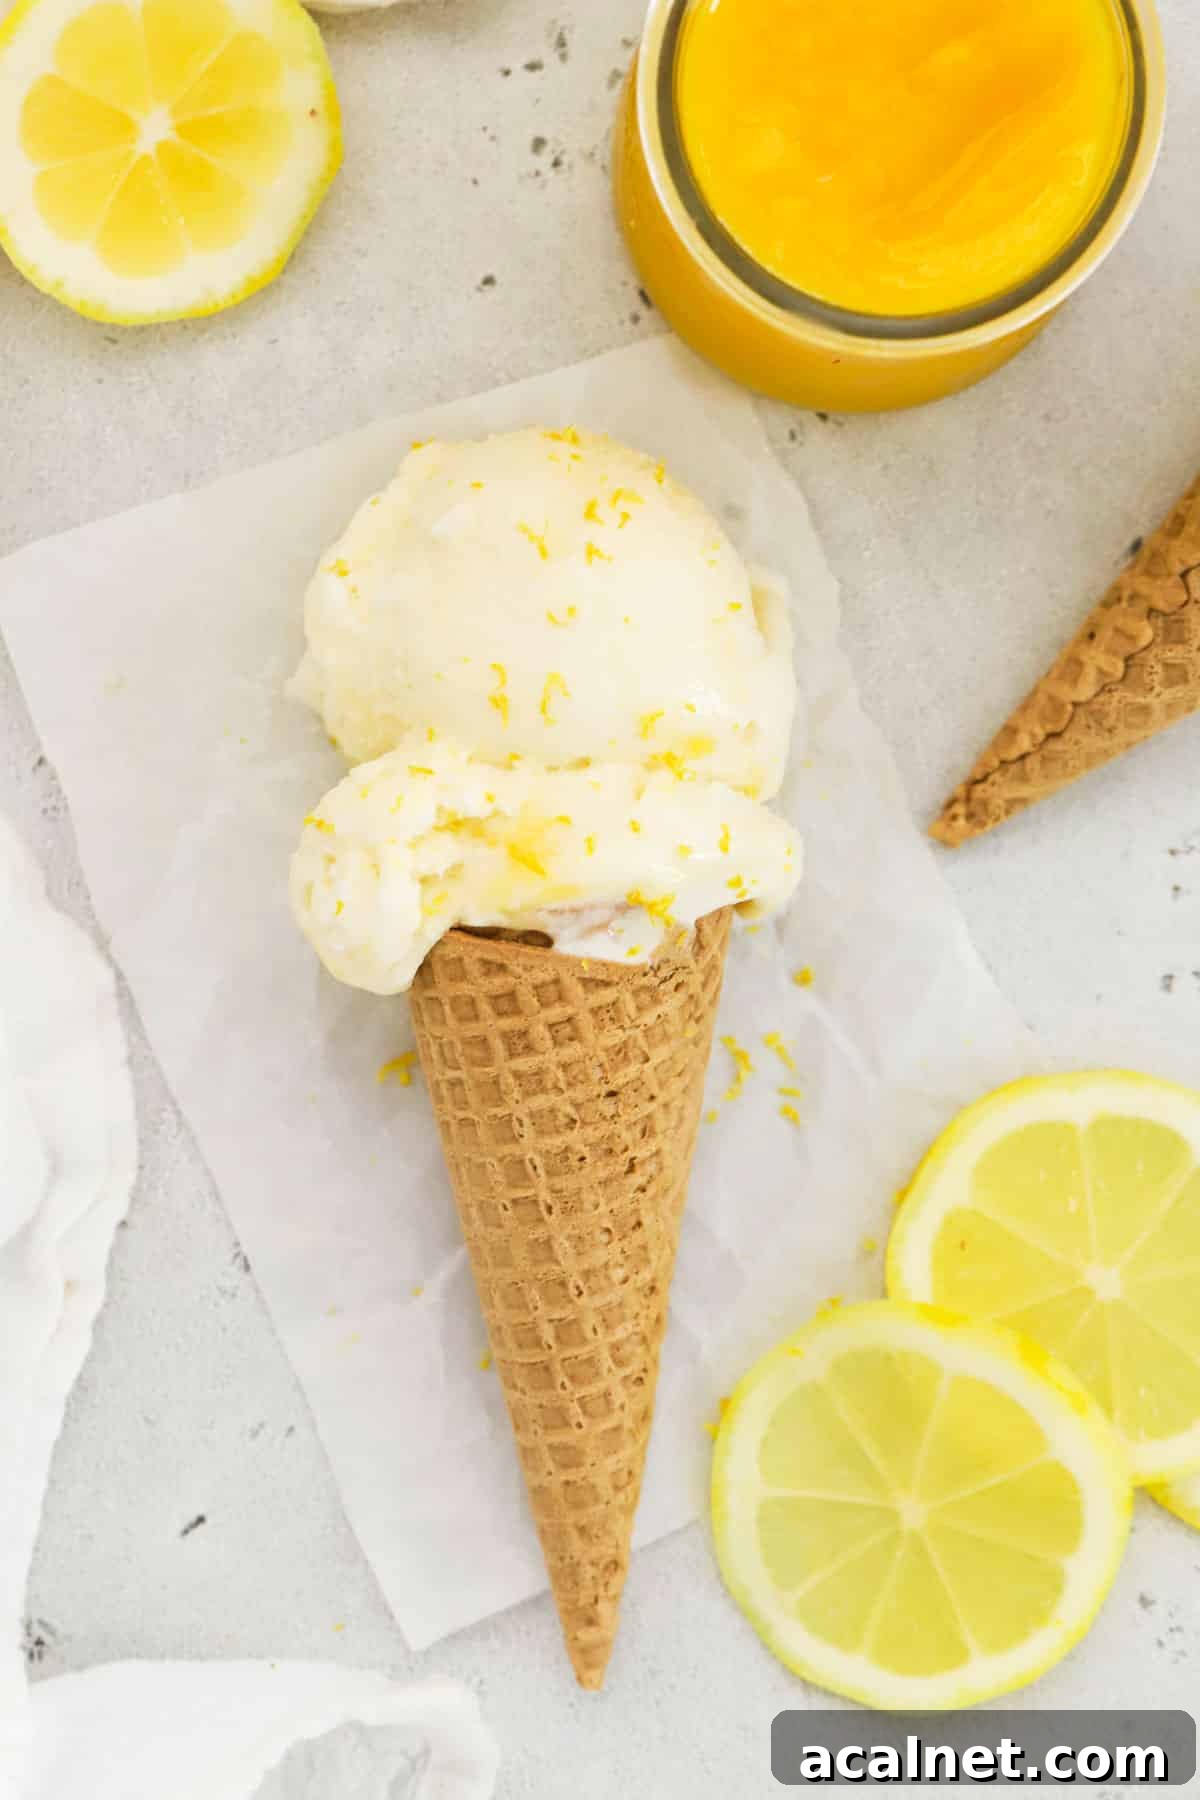
- Serve on a Gluten-Free Cone: For gluten-free options, choose a compatible cone or serve in bowls with fresh fruit and a shortbread crumb.
FAQ + Tricks For The Best Lemon Ice Cream
USE HOMEMADE LEMON CURD: Homemade curd is brighter in color and flavor and takes roughly 20–25 minutes to prepare. It makes a noticeable difference compared to store-bought jars.
AVOID METAL CONTAINERS: Lemon can react with some metals, creating an off taste. Store ice cream in glass or plastic freezer-safe containers instead.
ABOUT ADDING LEMON JUICE: Adding a lot of fresh lemon juice can cause the dairy to separate. If you want a touch of extra acidity, stir in 2–3 tablespoons of juice just before churning.
More Yummy Ice Cream Treats To Try
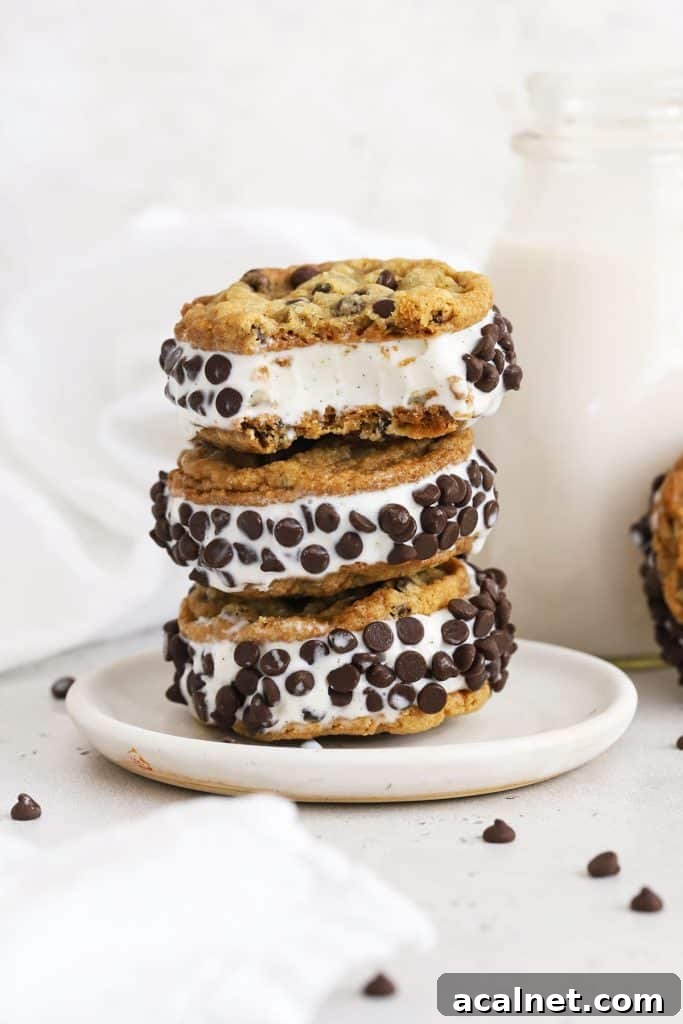
Gluten-Free Cookie Ice Cream Sandwiches
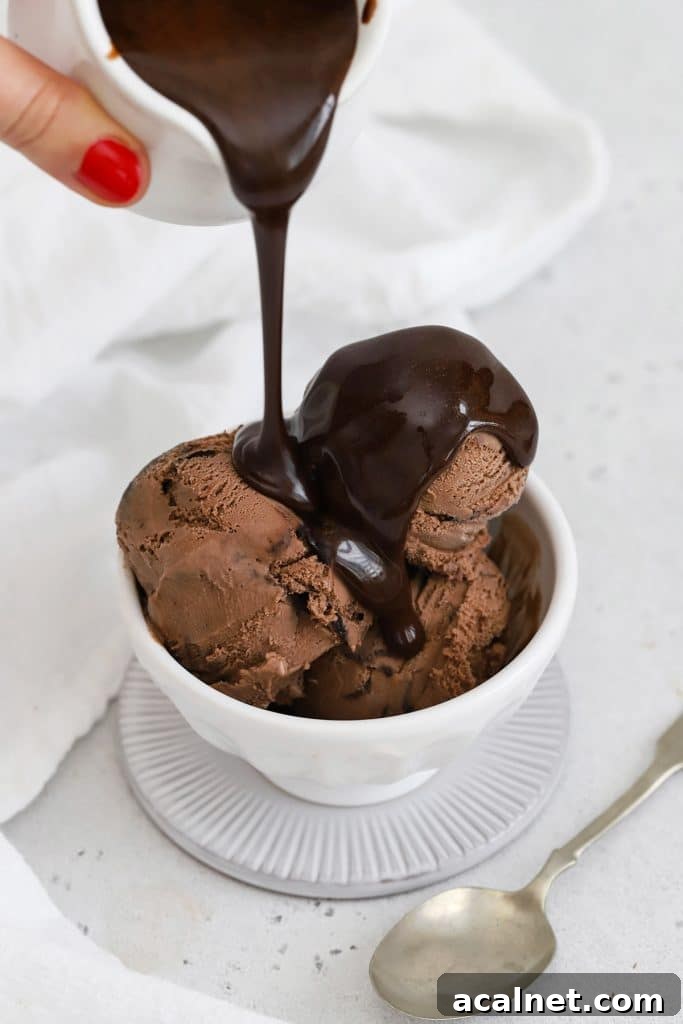
Homemade Chocolate Syrup
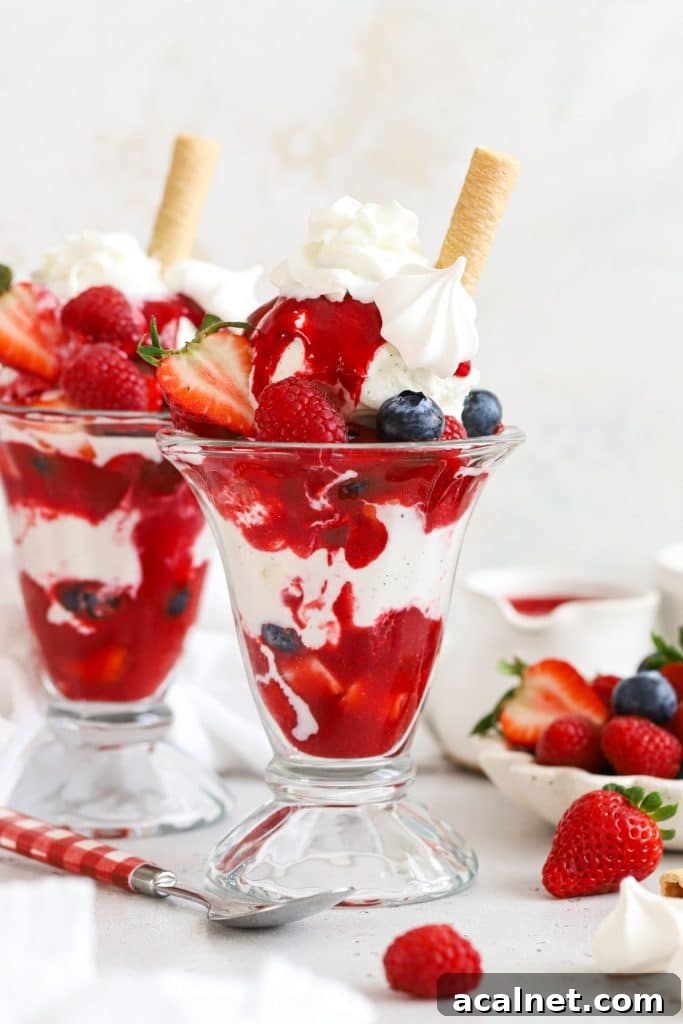
Knickerbocker Glory
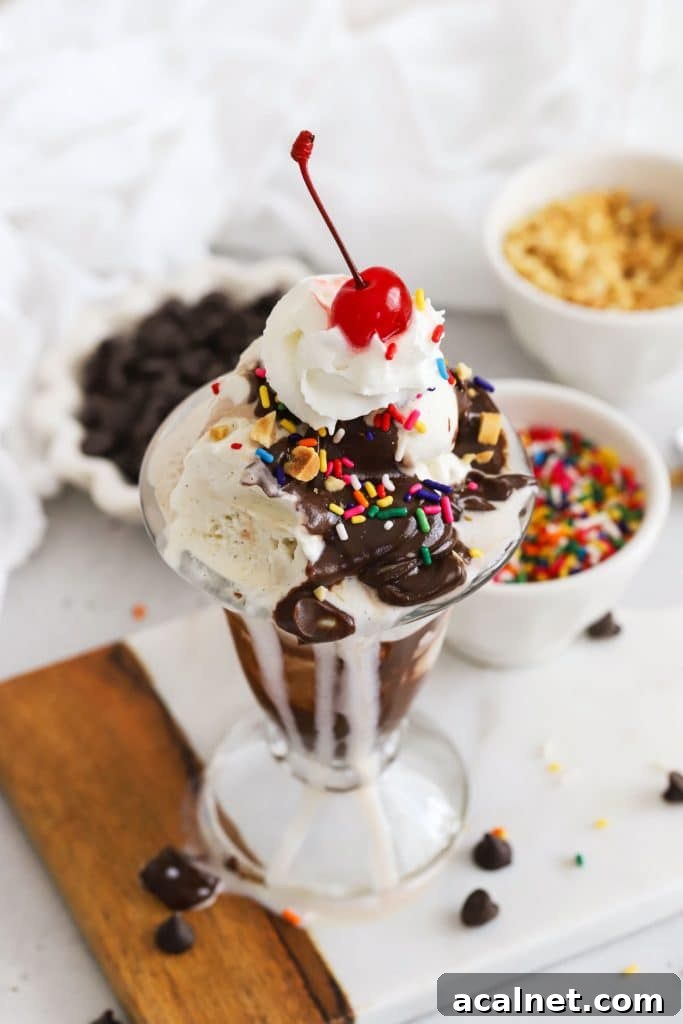
Classic Hot Fudge Sundae
Recipe Card
🌟 Did You Make This Recipe?
Tell me about it! Leave a rating below when you try this Lemon Ice Cream recipe—I’d love to hear how it turned out.
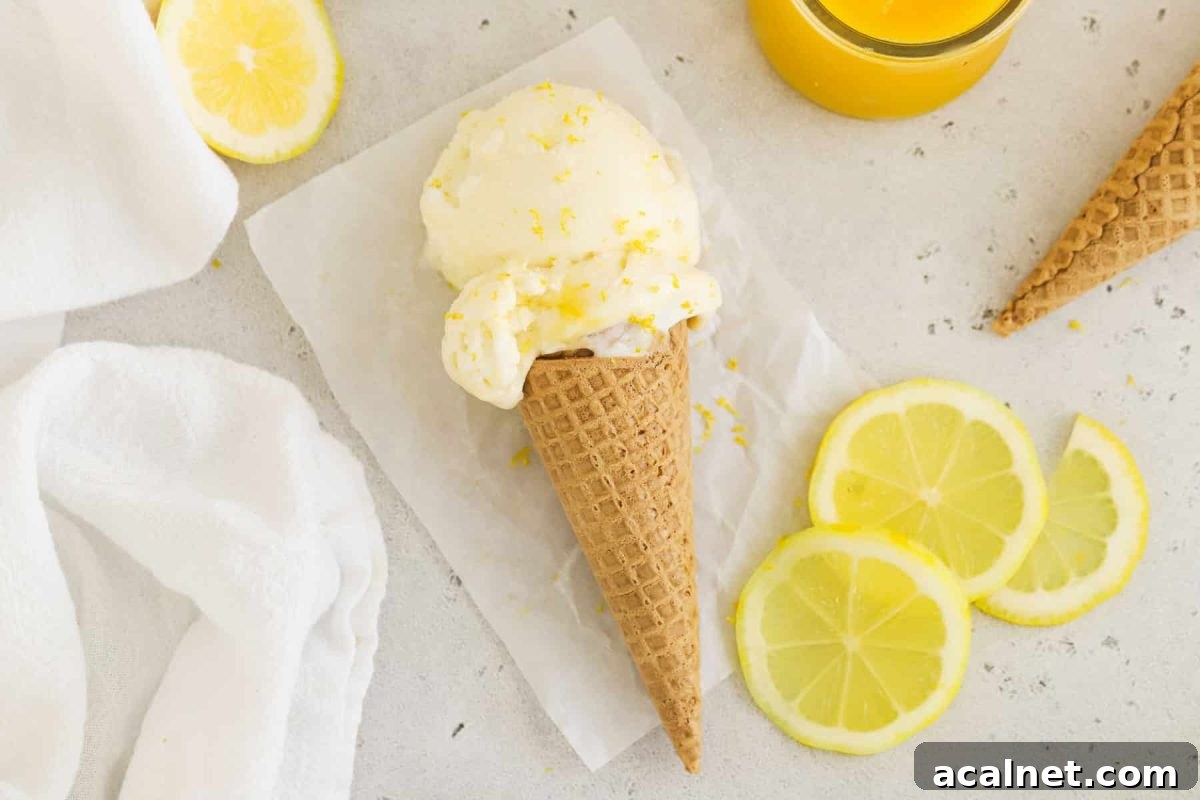
Lemon Ice Cream With Lemon Curd Swirl
Print
Pin
Rate
Equipment
-
1-Quart Ice Cream Maker Freeze the bowl or insert as required by your machine.
Ingredients
- 2 cups heavy whipping cream
- 1 cup whole milk
- ⅔ cup granulated sugar
- 3 Tablespoons fresh lemon zest (from 2–3 lemons)
- 2 Tablespoons corn syrup
- ½ teaspoon vanilla extract
- 1 pinch salt (less than 1/8 tsp)
- ½ cup homemade lemon curd
Instructions
-
Freeze the machine’s bowl at least 24–48 hours in advance if your ice cream maker requires a frozen insert.
-
Rub sugar and lemon zest together in a saucepan until fragrant to extract the lemon oils into the sugar.
-
Add cream, milk, corn syrup, and salt and stir to combine.
-
Heat until steaming (just below a simmer), ensuring the sugar is dissolved. Remove from heat, add vanilla, and let steep 30 minutes while cooling.
-
Chill the mixture at least 4 hours until very cold; this improves texture and flavor development.
-
Strain the base through a fine-mesh sieve to remove zest bits before churning.
-
Churn until the mixture reaches a soft-serve consistency (about 20–30 minutes, machine-dependent).
-
Layer and ripple in lemon curd: half the churned ice cream, dollop half the curd, add remaining ice cream, then dollop and gently swirl the rest of the curd.
-
Freeze 4–6 hours until firm. Store in non-metal containers to preserve flavor.
Notes
- Corn Syrup: Helps prevent large ice crystals for a smoother texture. Glucose or agave can be used in a pinch.
- Strain Before Churning: Removing zest pieces prevents them from collecting in the churner and ensures even texture.
- Make Your Own Lemon Curd: Homemade curd is brighter and more flavorful than store-bought and really elevates the finished ice cream.
- Mix-Ins: Try sprinkling crushed meringues or gluten-free graham crumbs into the layers, or serve with fresh raspberries for contrast.
Video
Find the recipe:
sweetsandthankyou.com/lemon-ice-cream/