
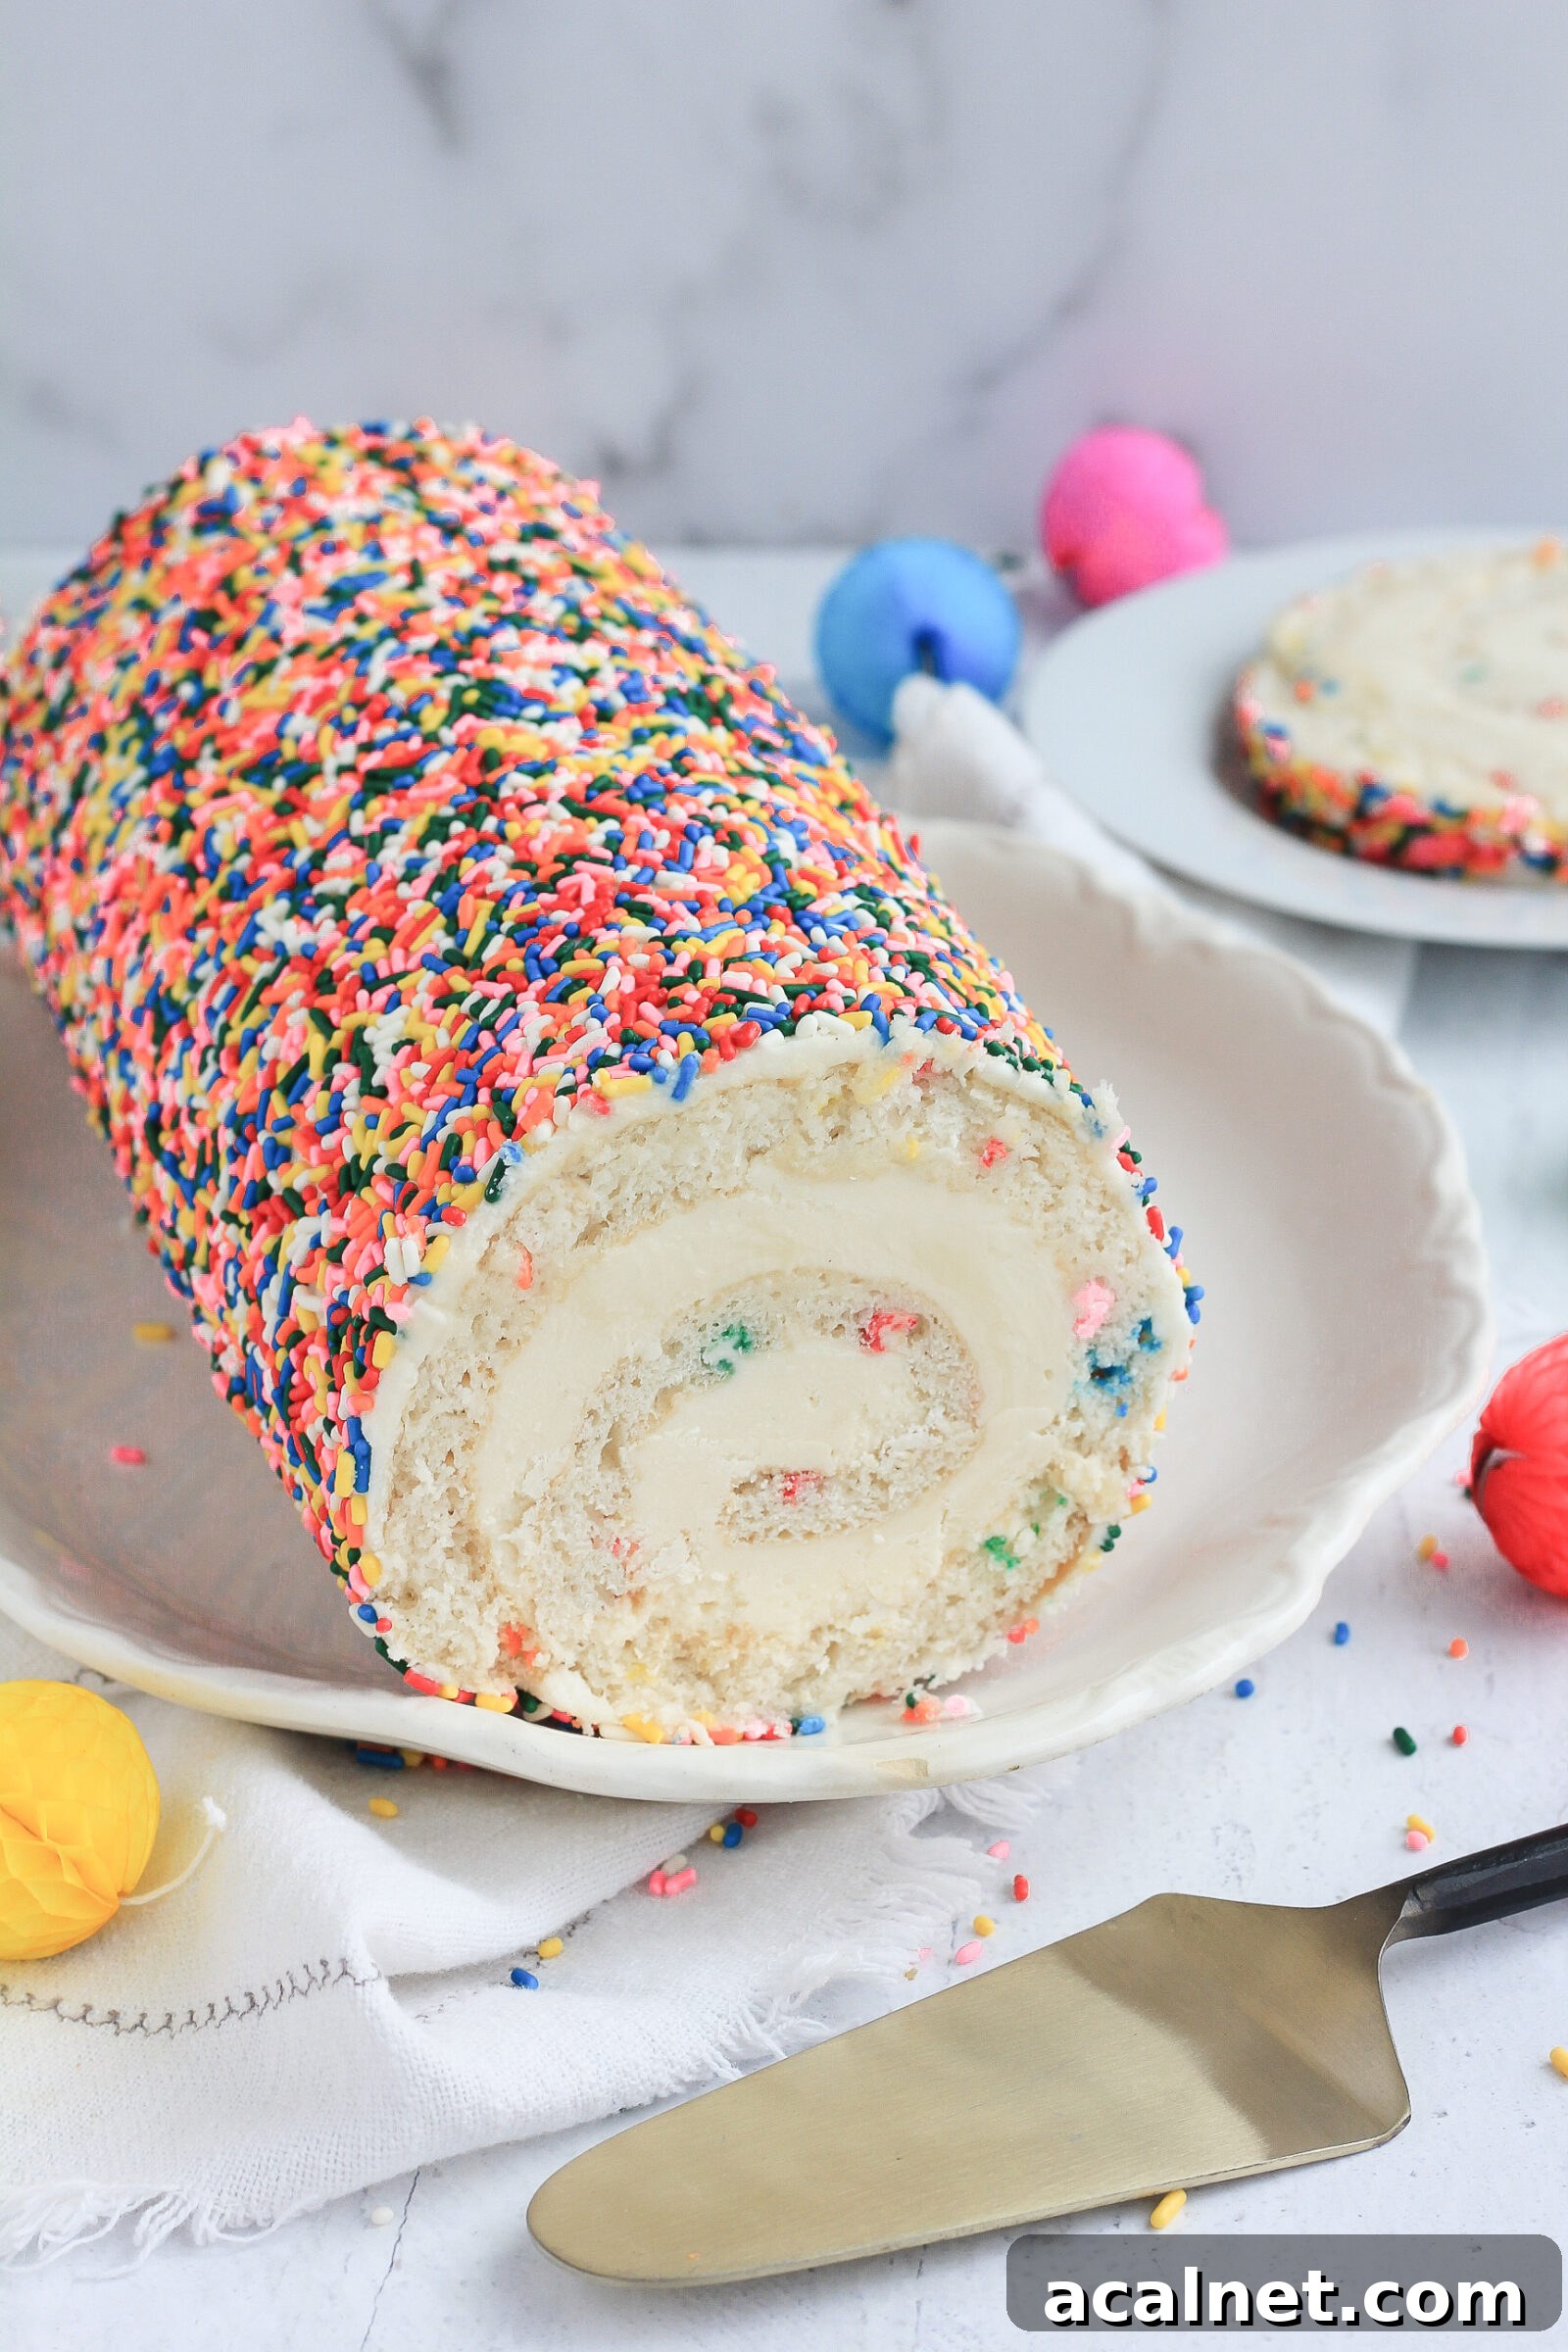
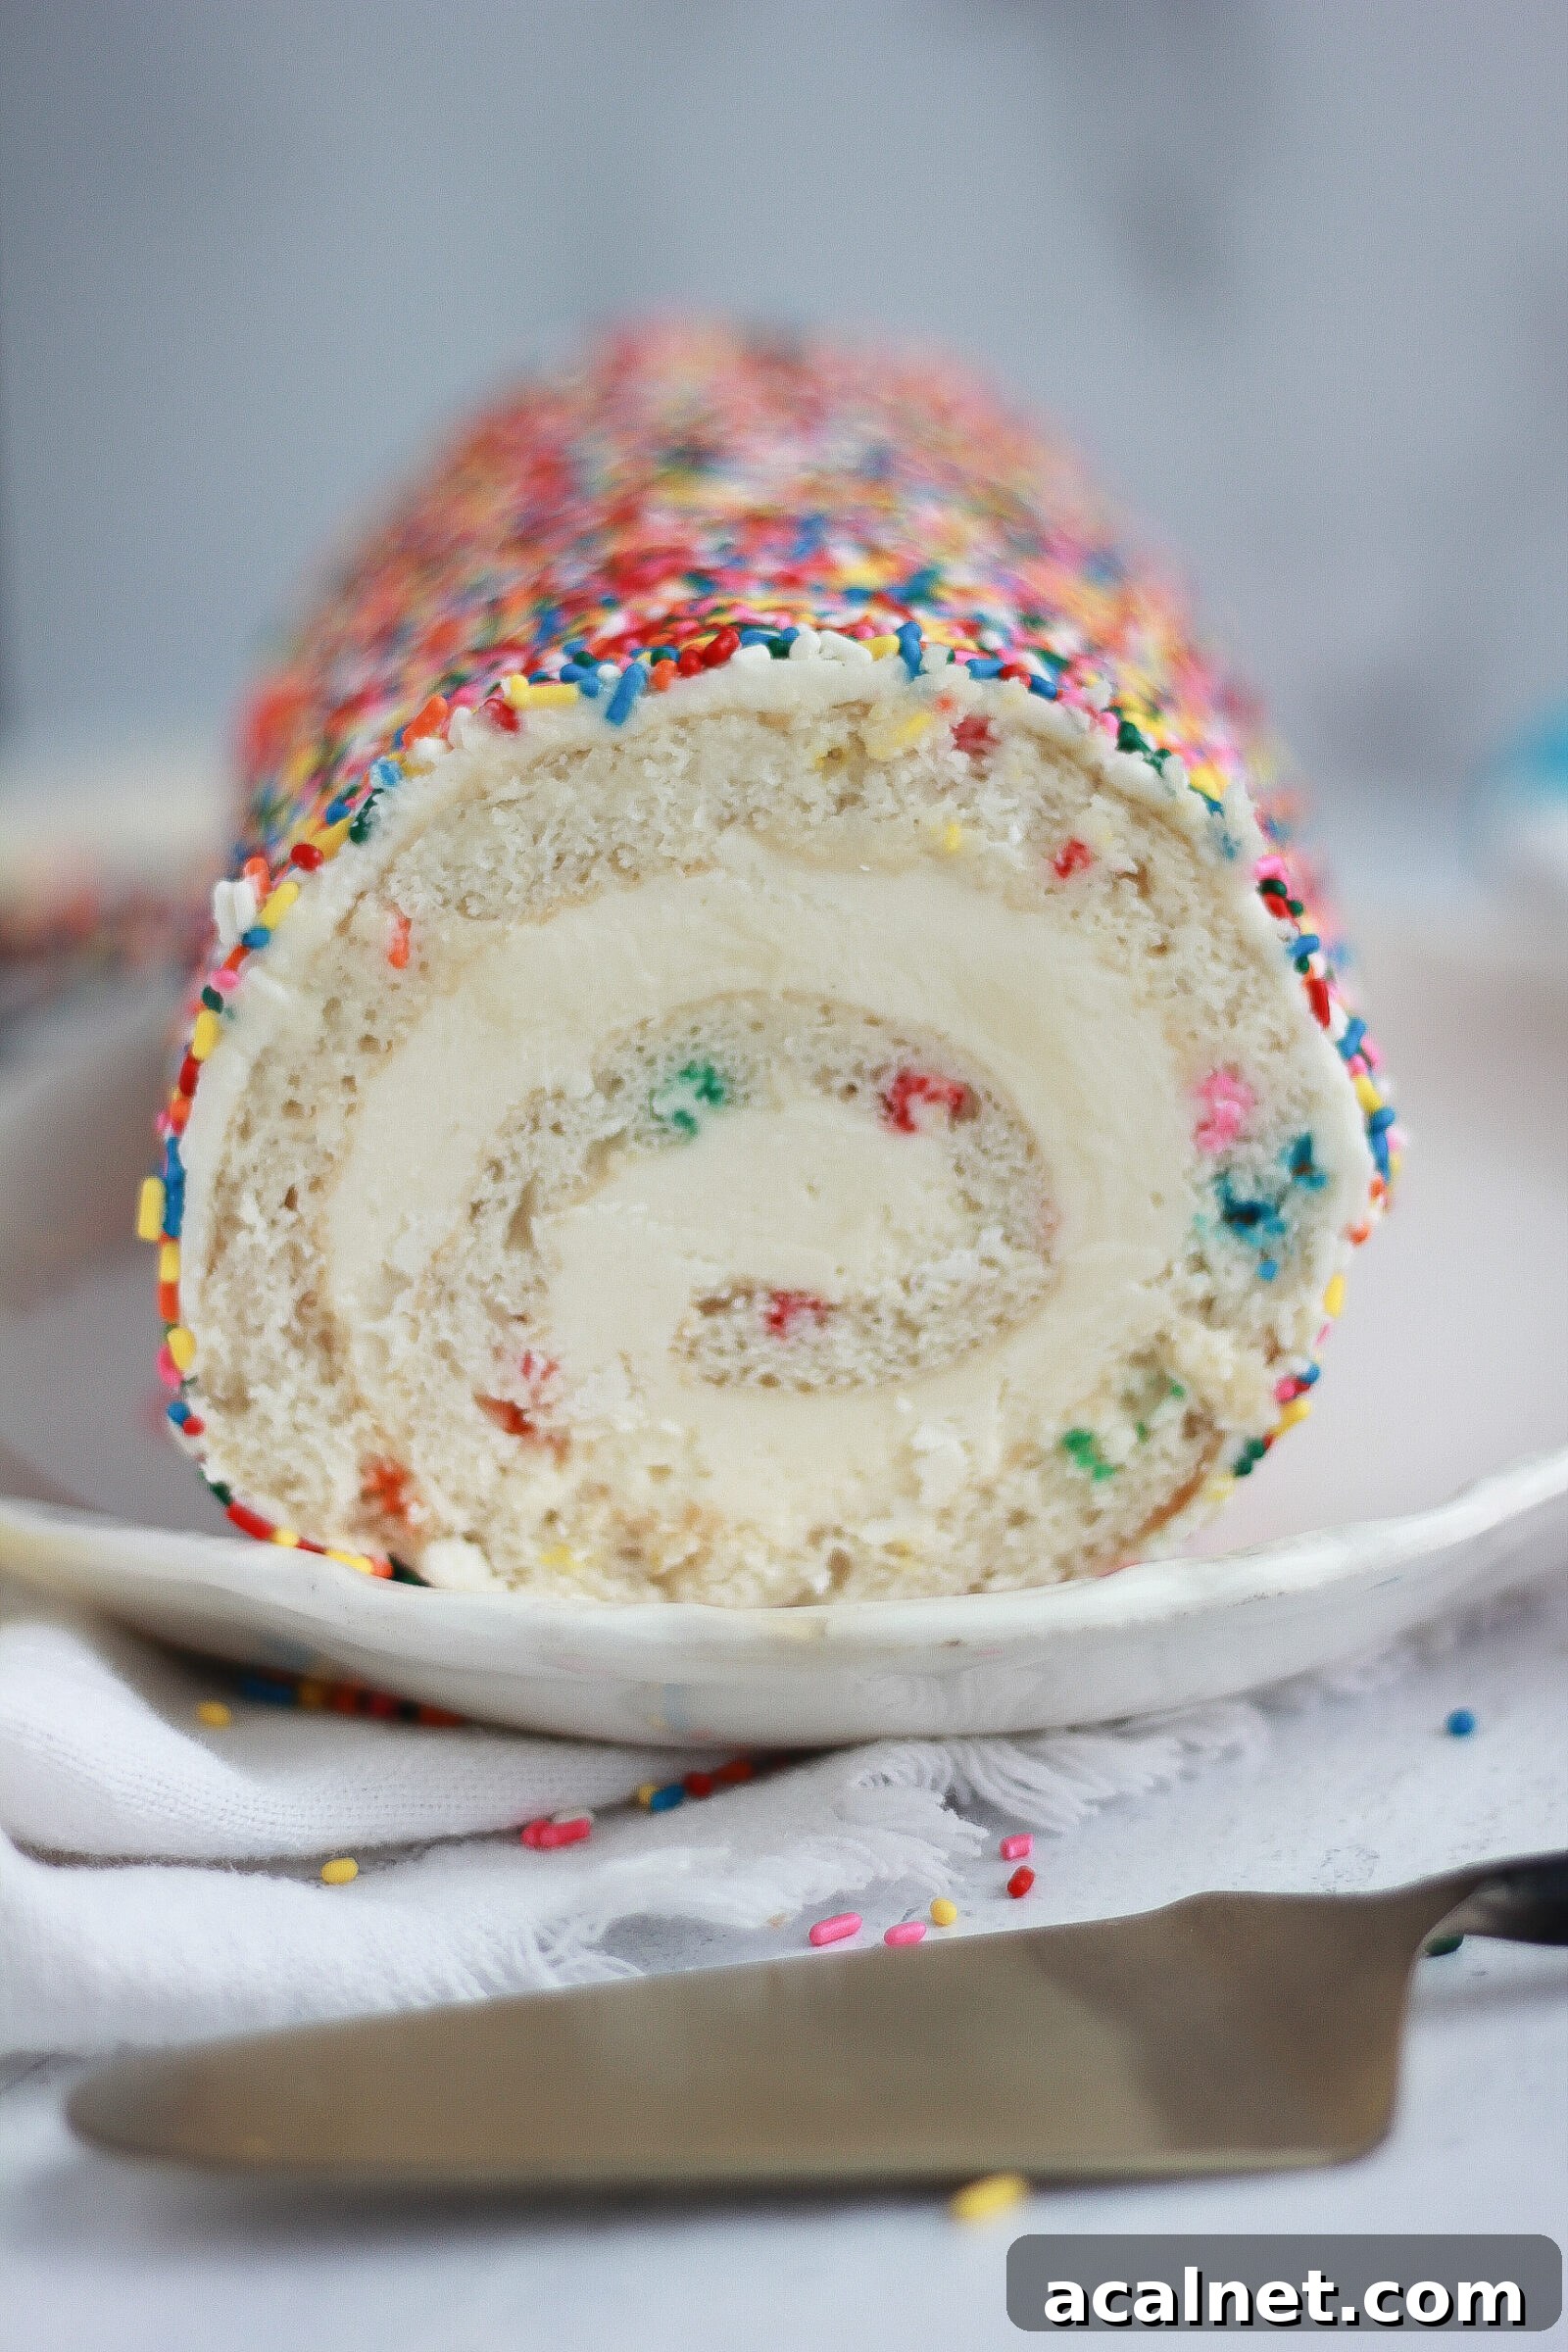
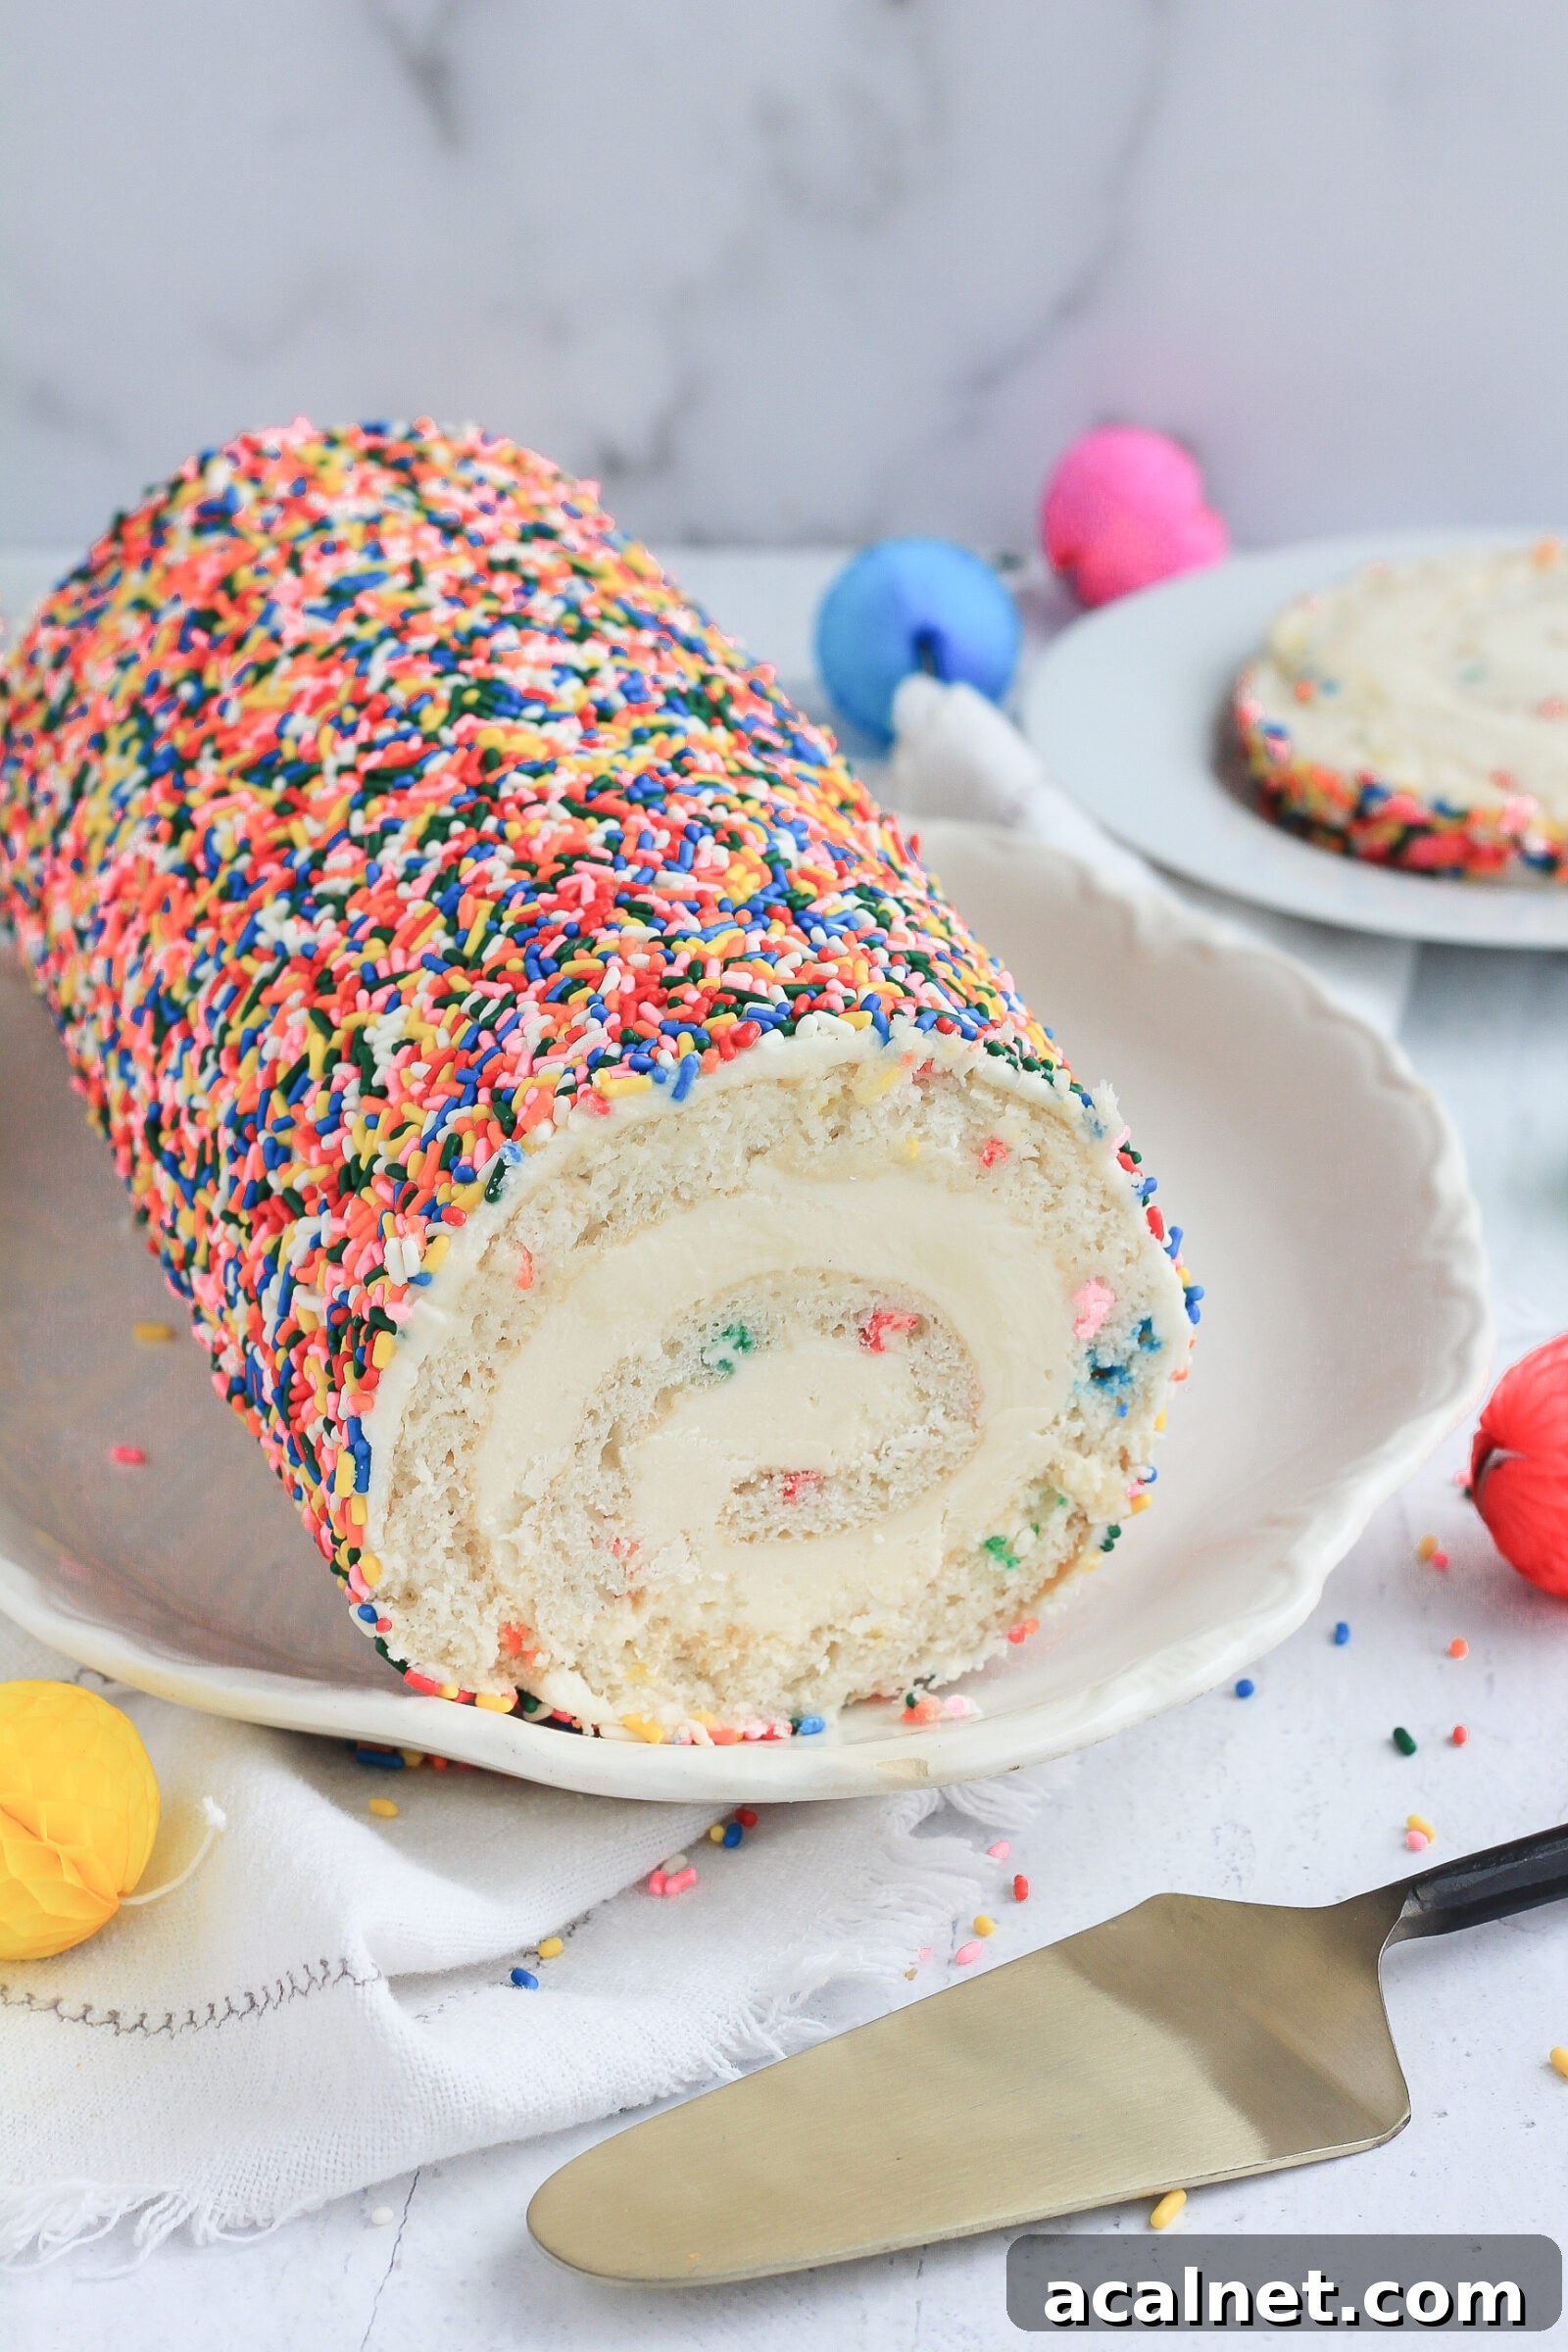
We’re back in rolled-cake territory, and I’m excited to share a reliable method for making a bright, cheerful funfetti roll cake. Decked with rainbow sprinkles, this cake looks festive and serves a crowd—expect about 14 slices from one roll, making it perfect for parties, celebrations, or anytime you want a show-stopping dessert.
Rolled cakes can be a little fussy, especially when rolling and unrolling, so take your time and follow these steps for the best results.
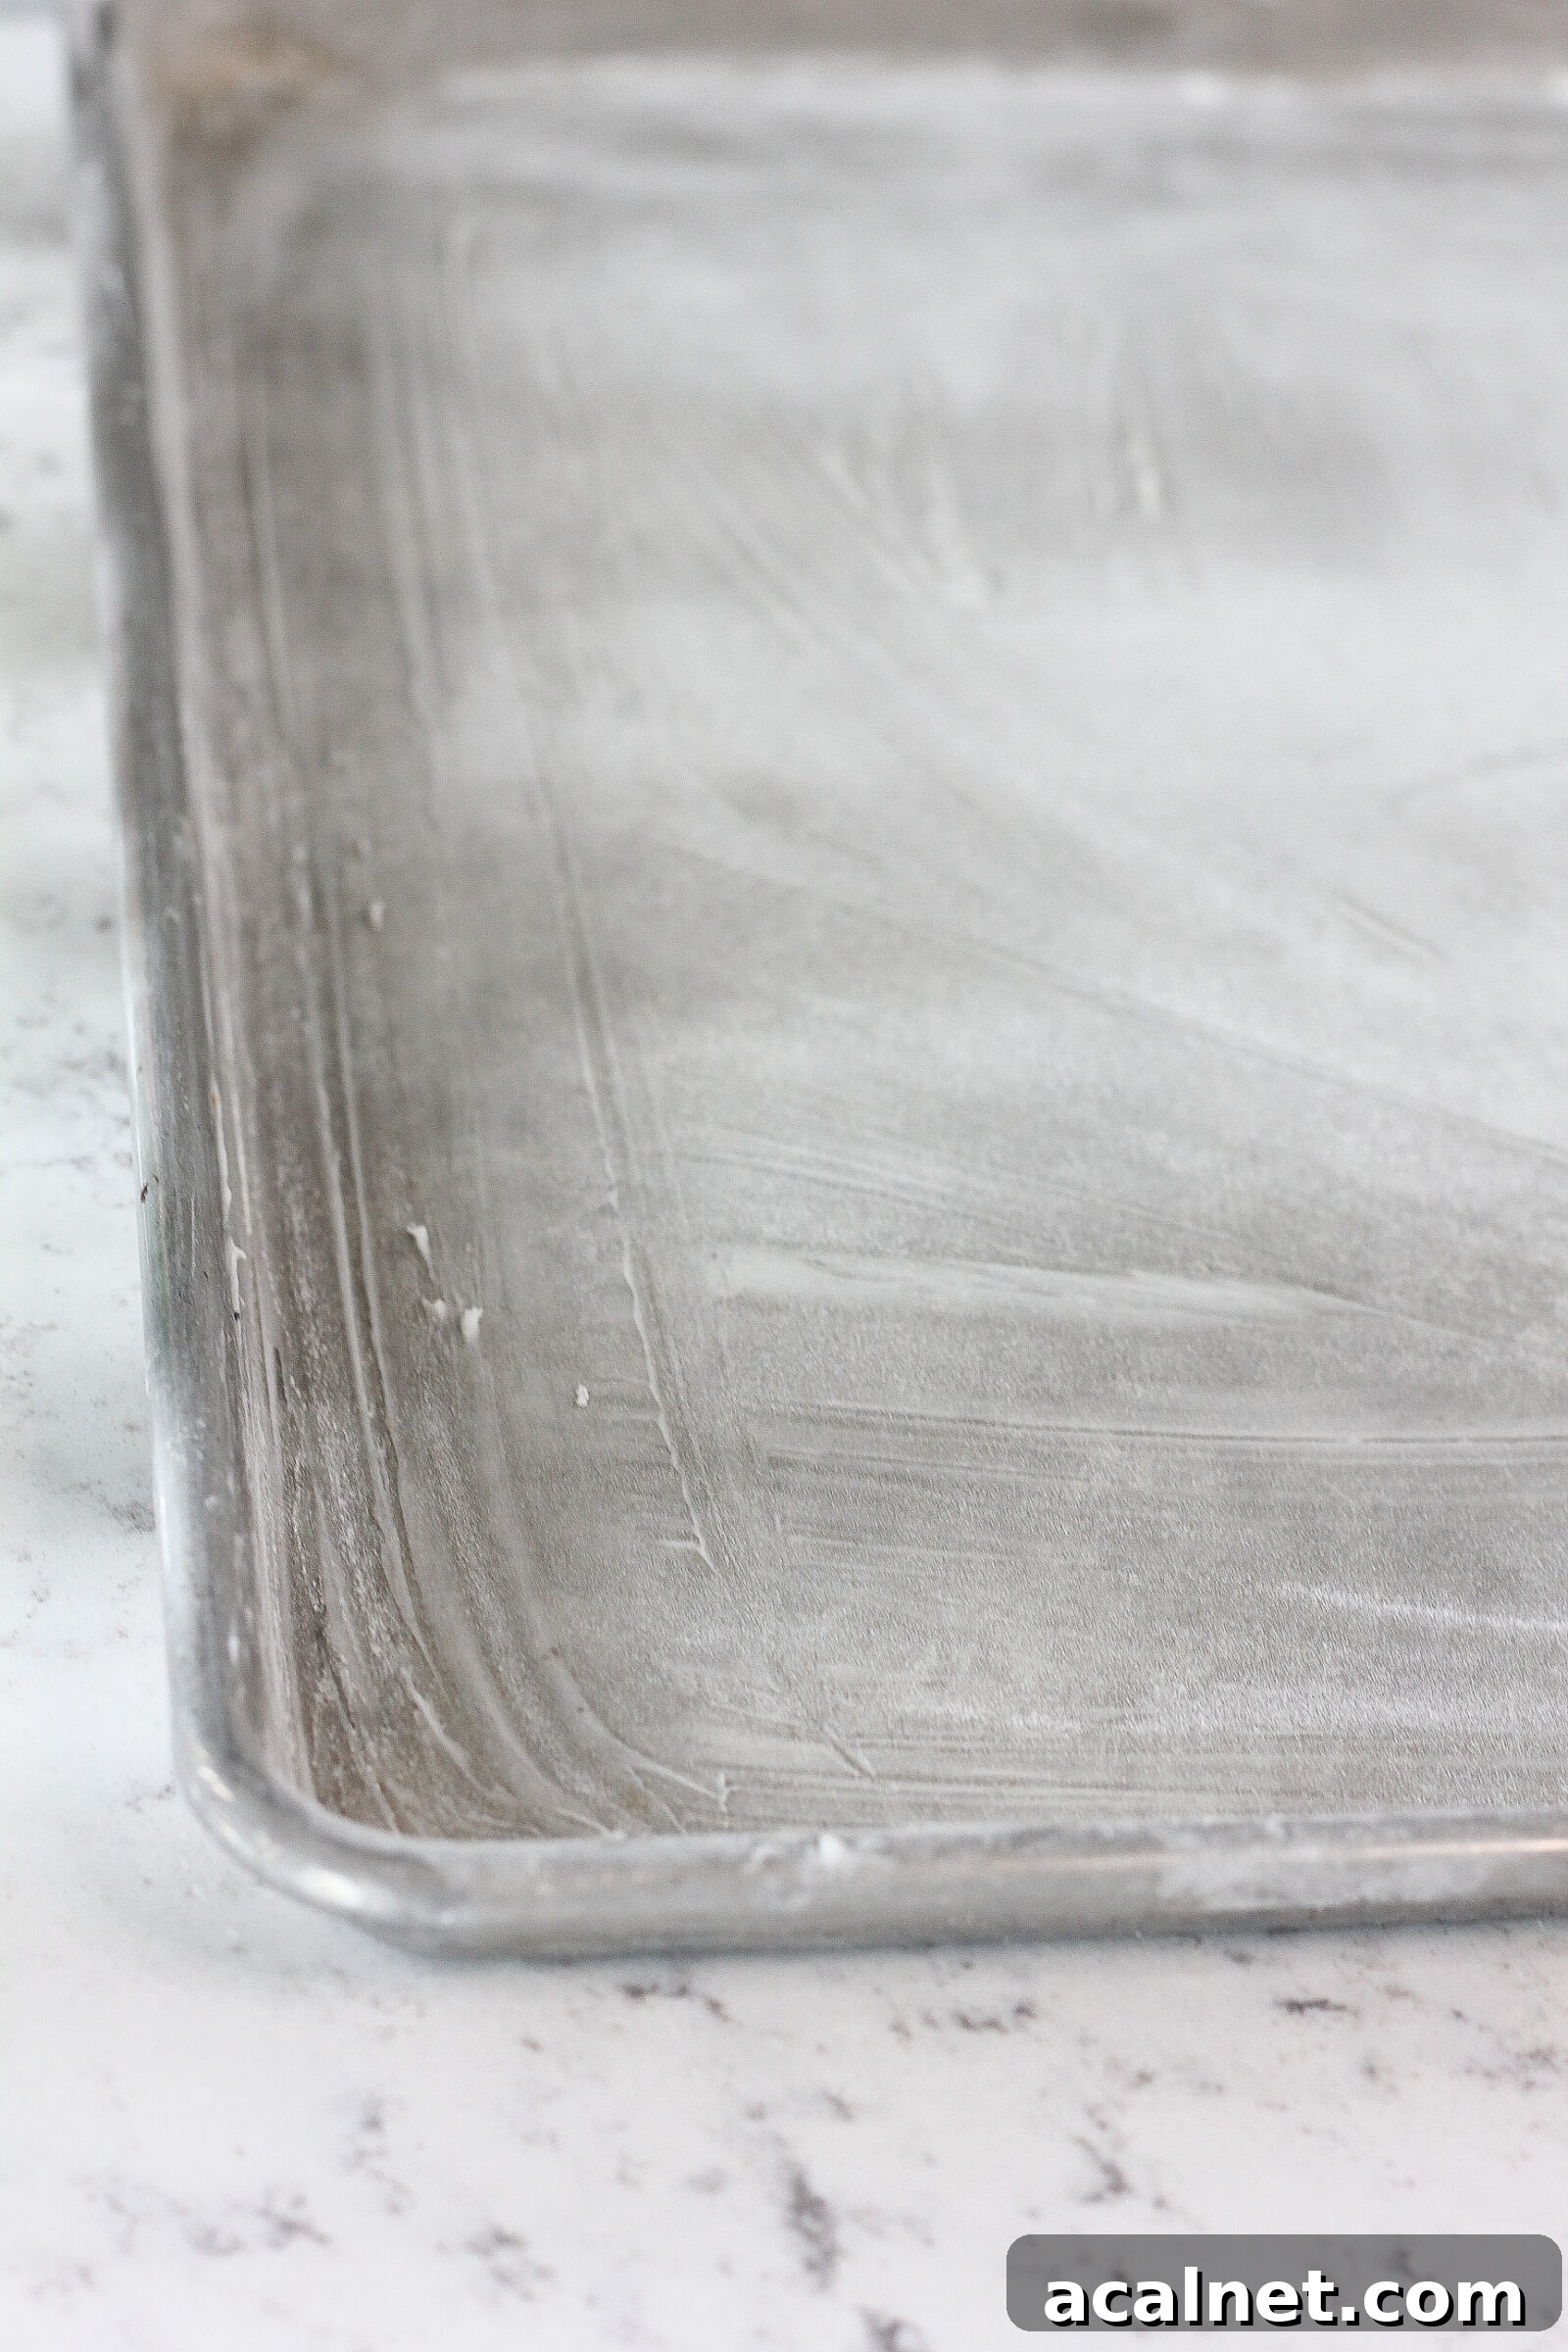
Step 1: Prepare the pan. Grease the entire surface of a jelly-roll or rimmed baking sheet with a thin layer of shortening, applying it with a plastic bag or pastry brush for an even coat. Lightly dust the greased sheet with flour and tap out the excess. Proper pan prep prevents sticking and helps the cake release cleanly. A light aluminum jelly-roll pan bakes evenly and works well for sponge-style cakes.
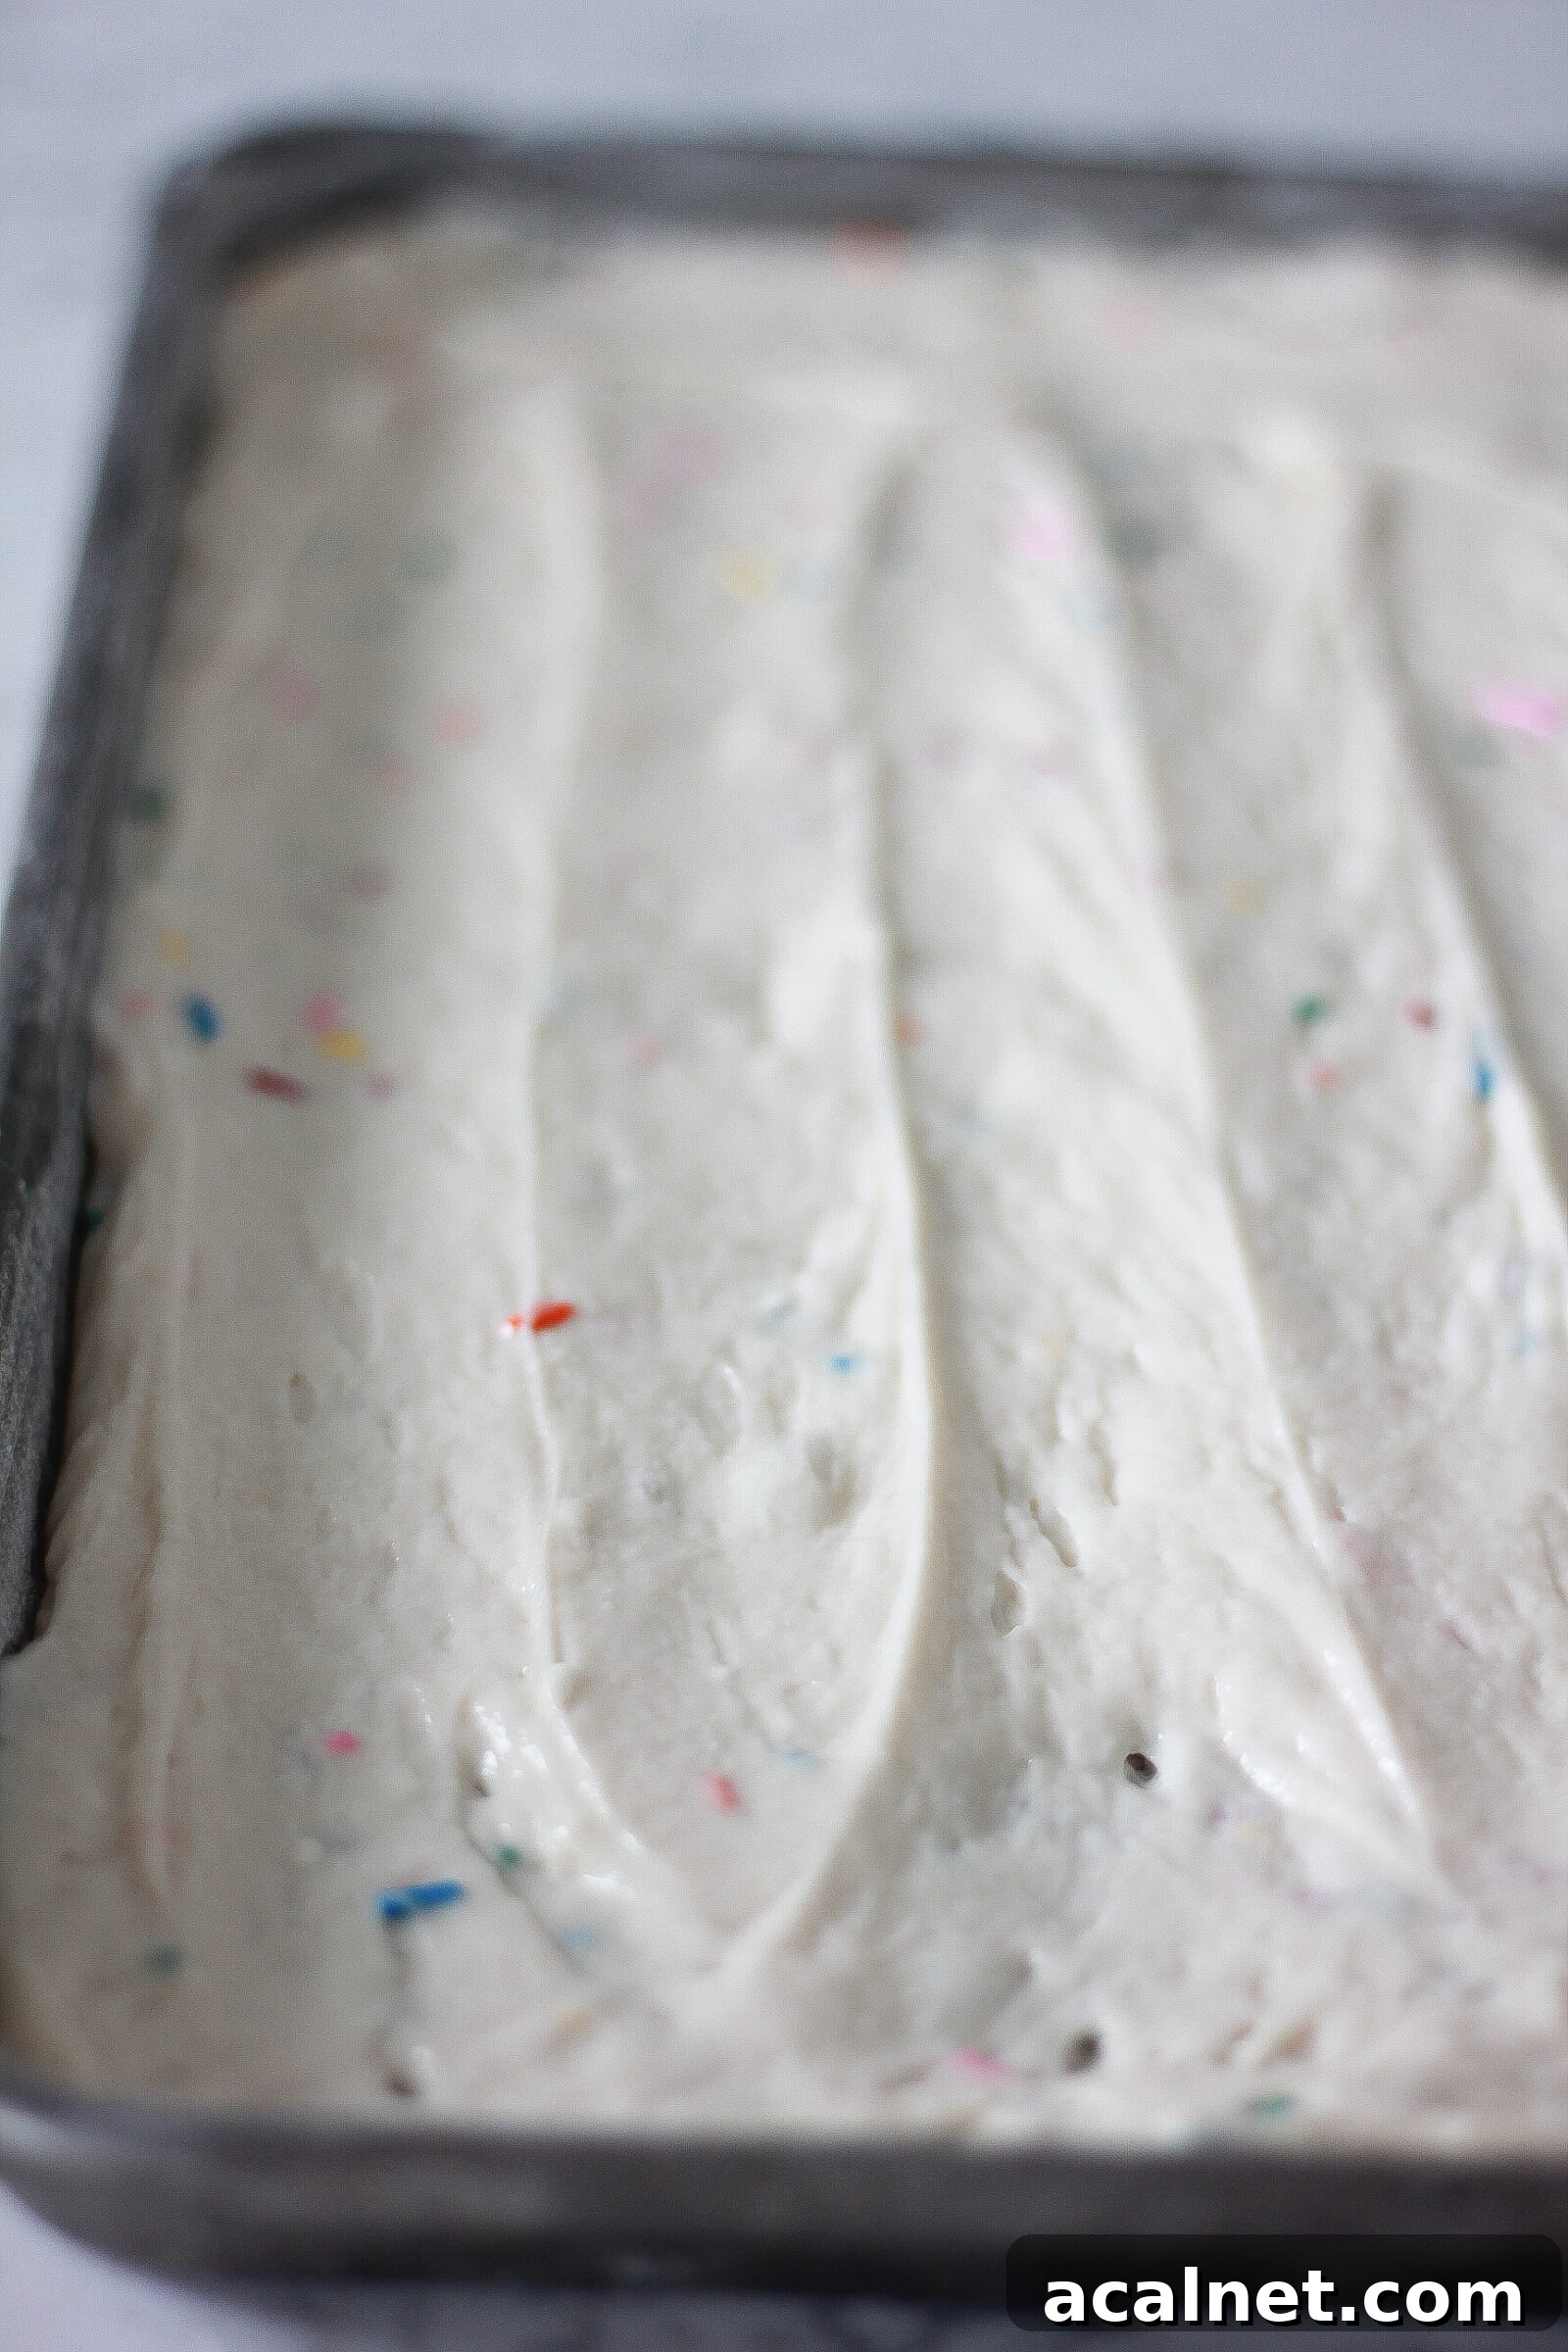
Step 2: Make the batter. I use a white cake batter base and fold in a good handful of rainbow jimmies for that classic funfetti look—non-pareils and sanding sugars can bleed color, so colored jimmies are best. Spread the batter evenly in the prepared pan. For convection ovens bake at 325°F for about 17 minutes; if using a conventional oven, bake at 325°F as well but watch closely and add a few minutes if needed. The cake should be set and spring back gently when touched.
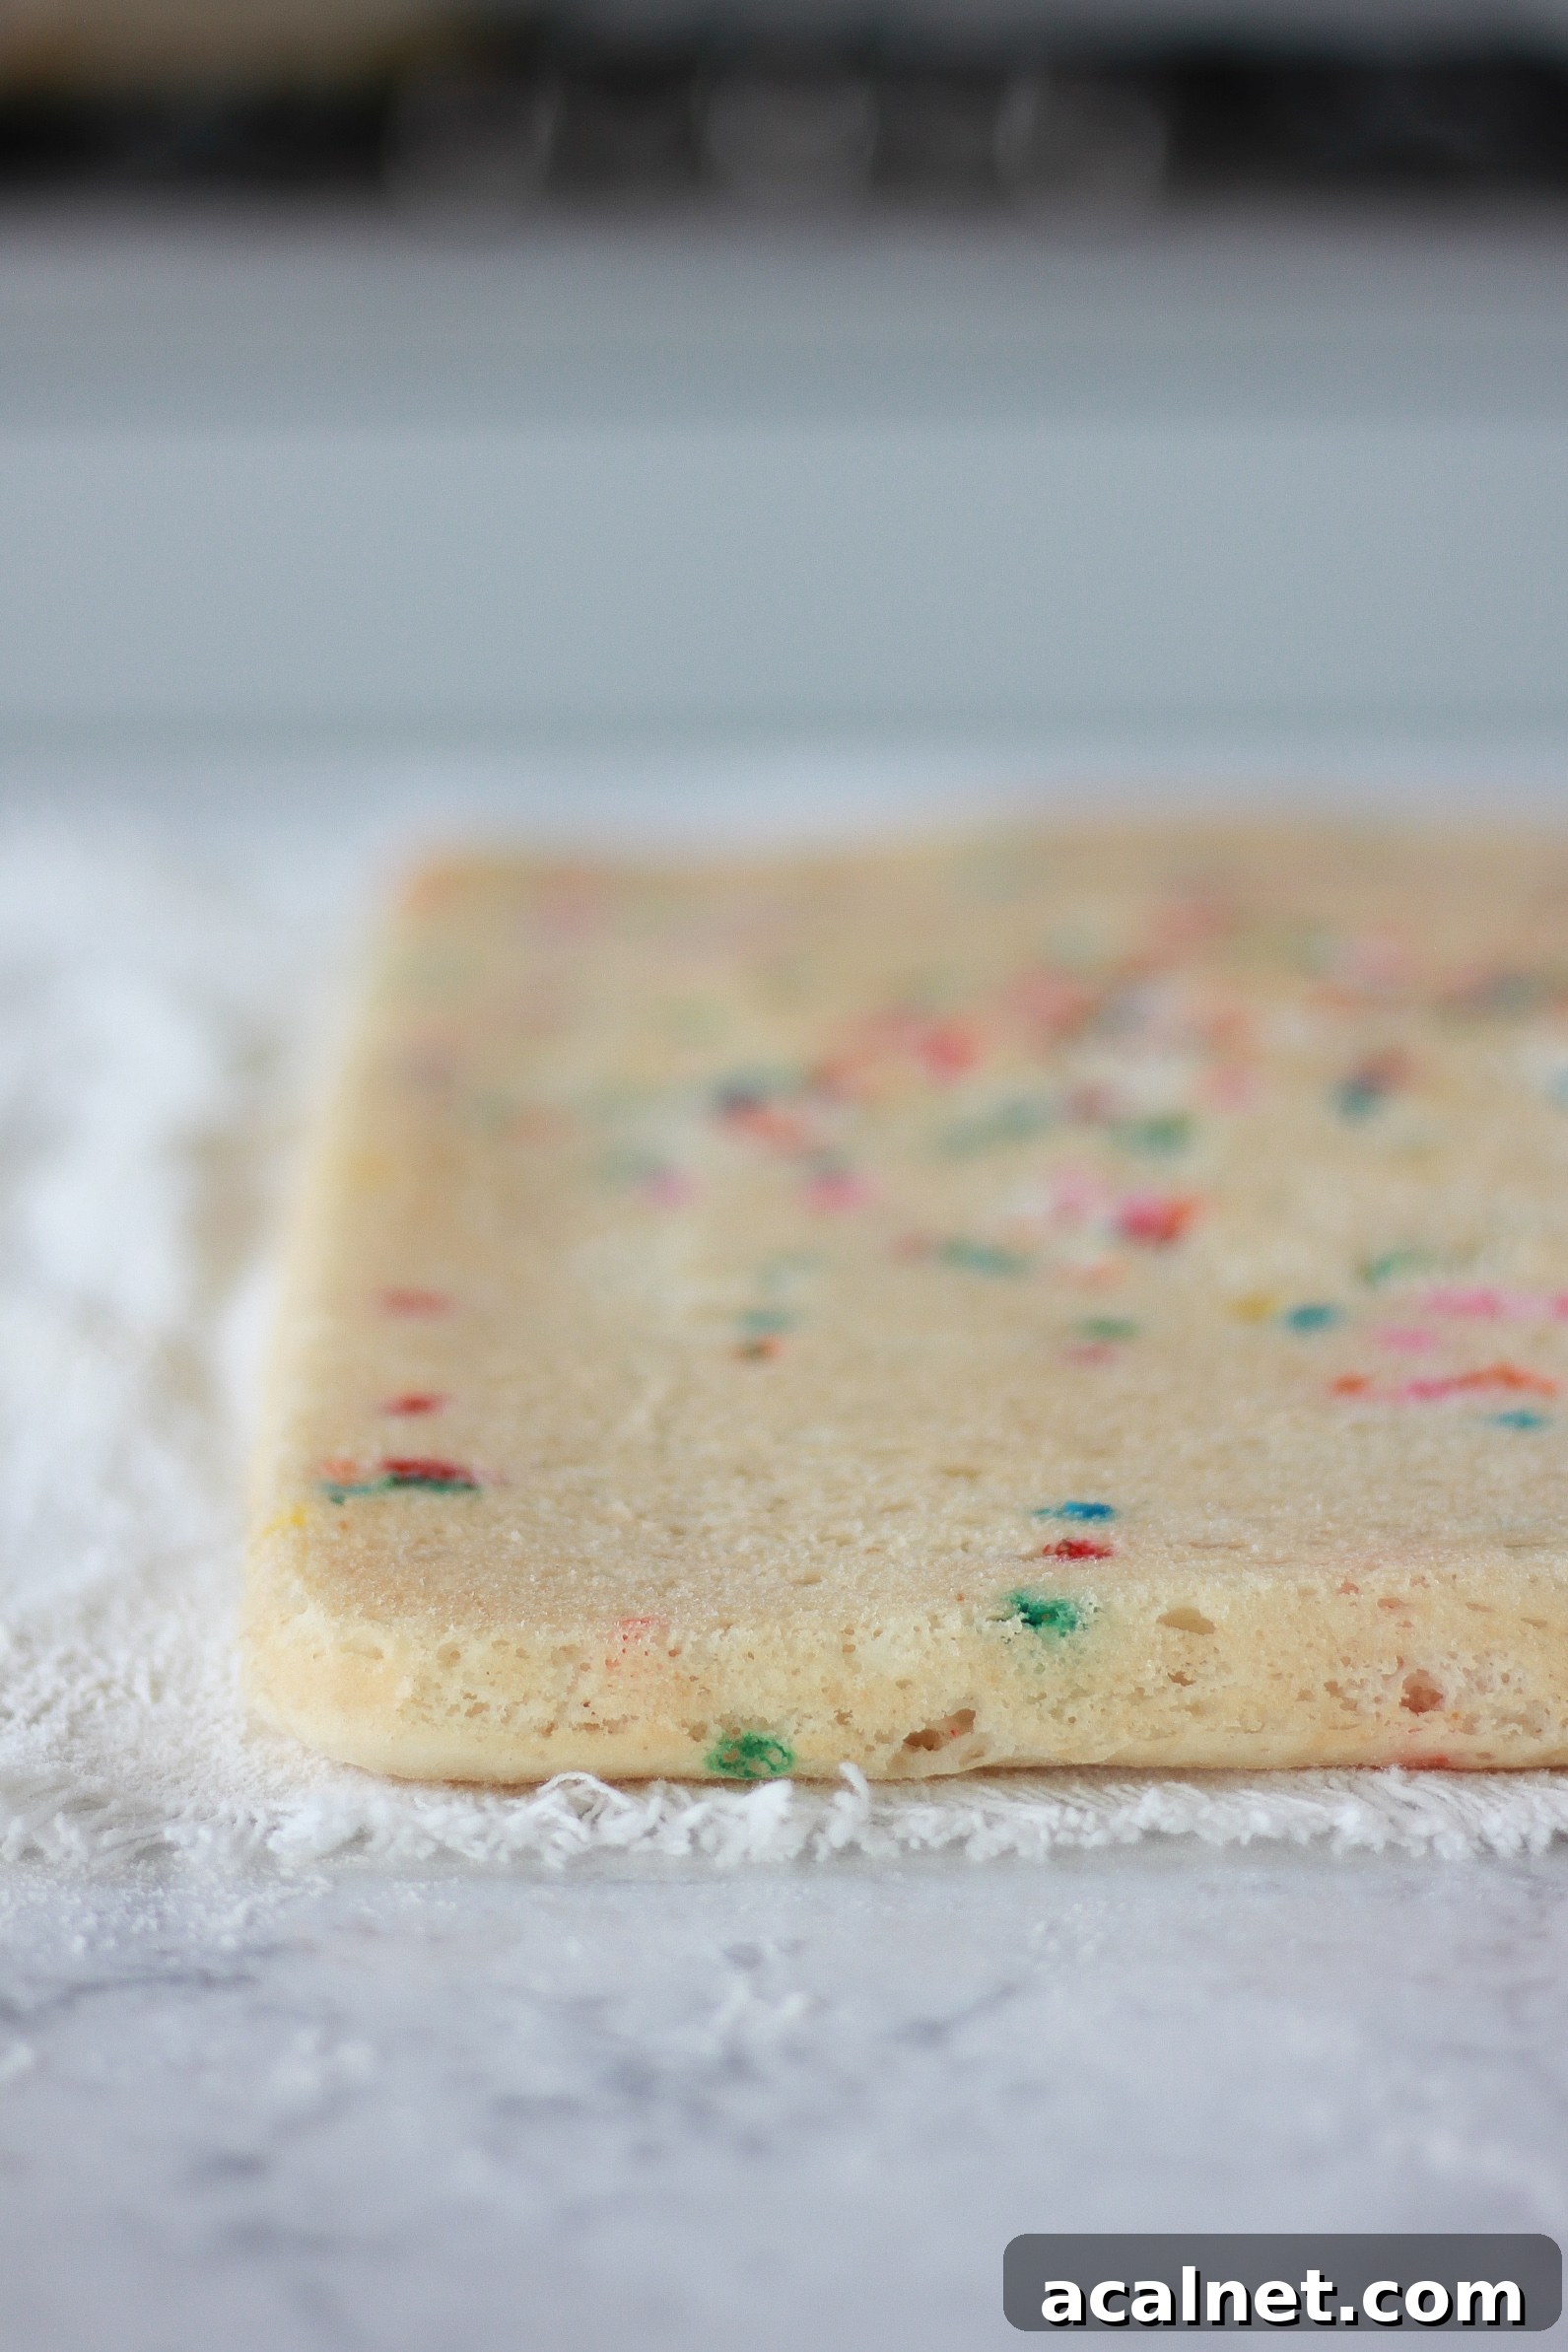
Step 3: Flip onto a floured towel. Right after removing the cake from the oven, invert it onto a clean tea towel or fabric napkin that’s generously dusted with flour. The flour keeps the warm cake from sticking. Let it cool for two to five minutes so it holds its shape but is still pliable for rolling.
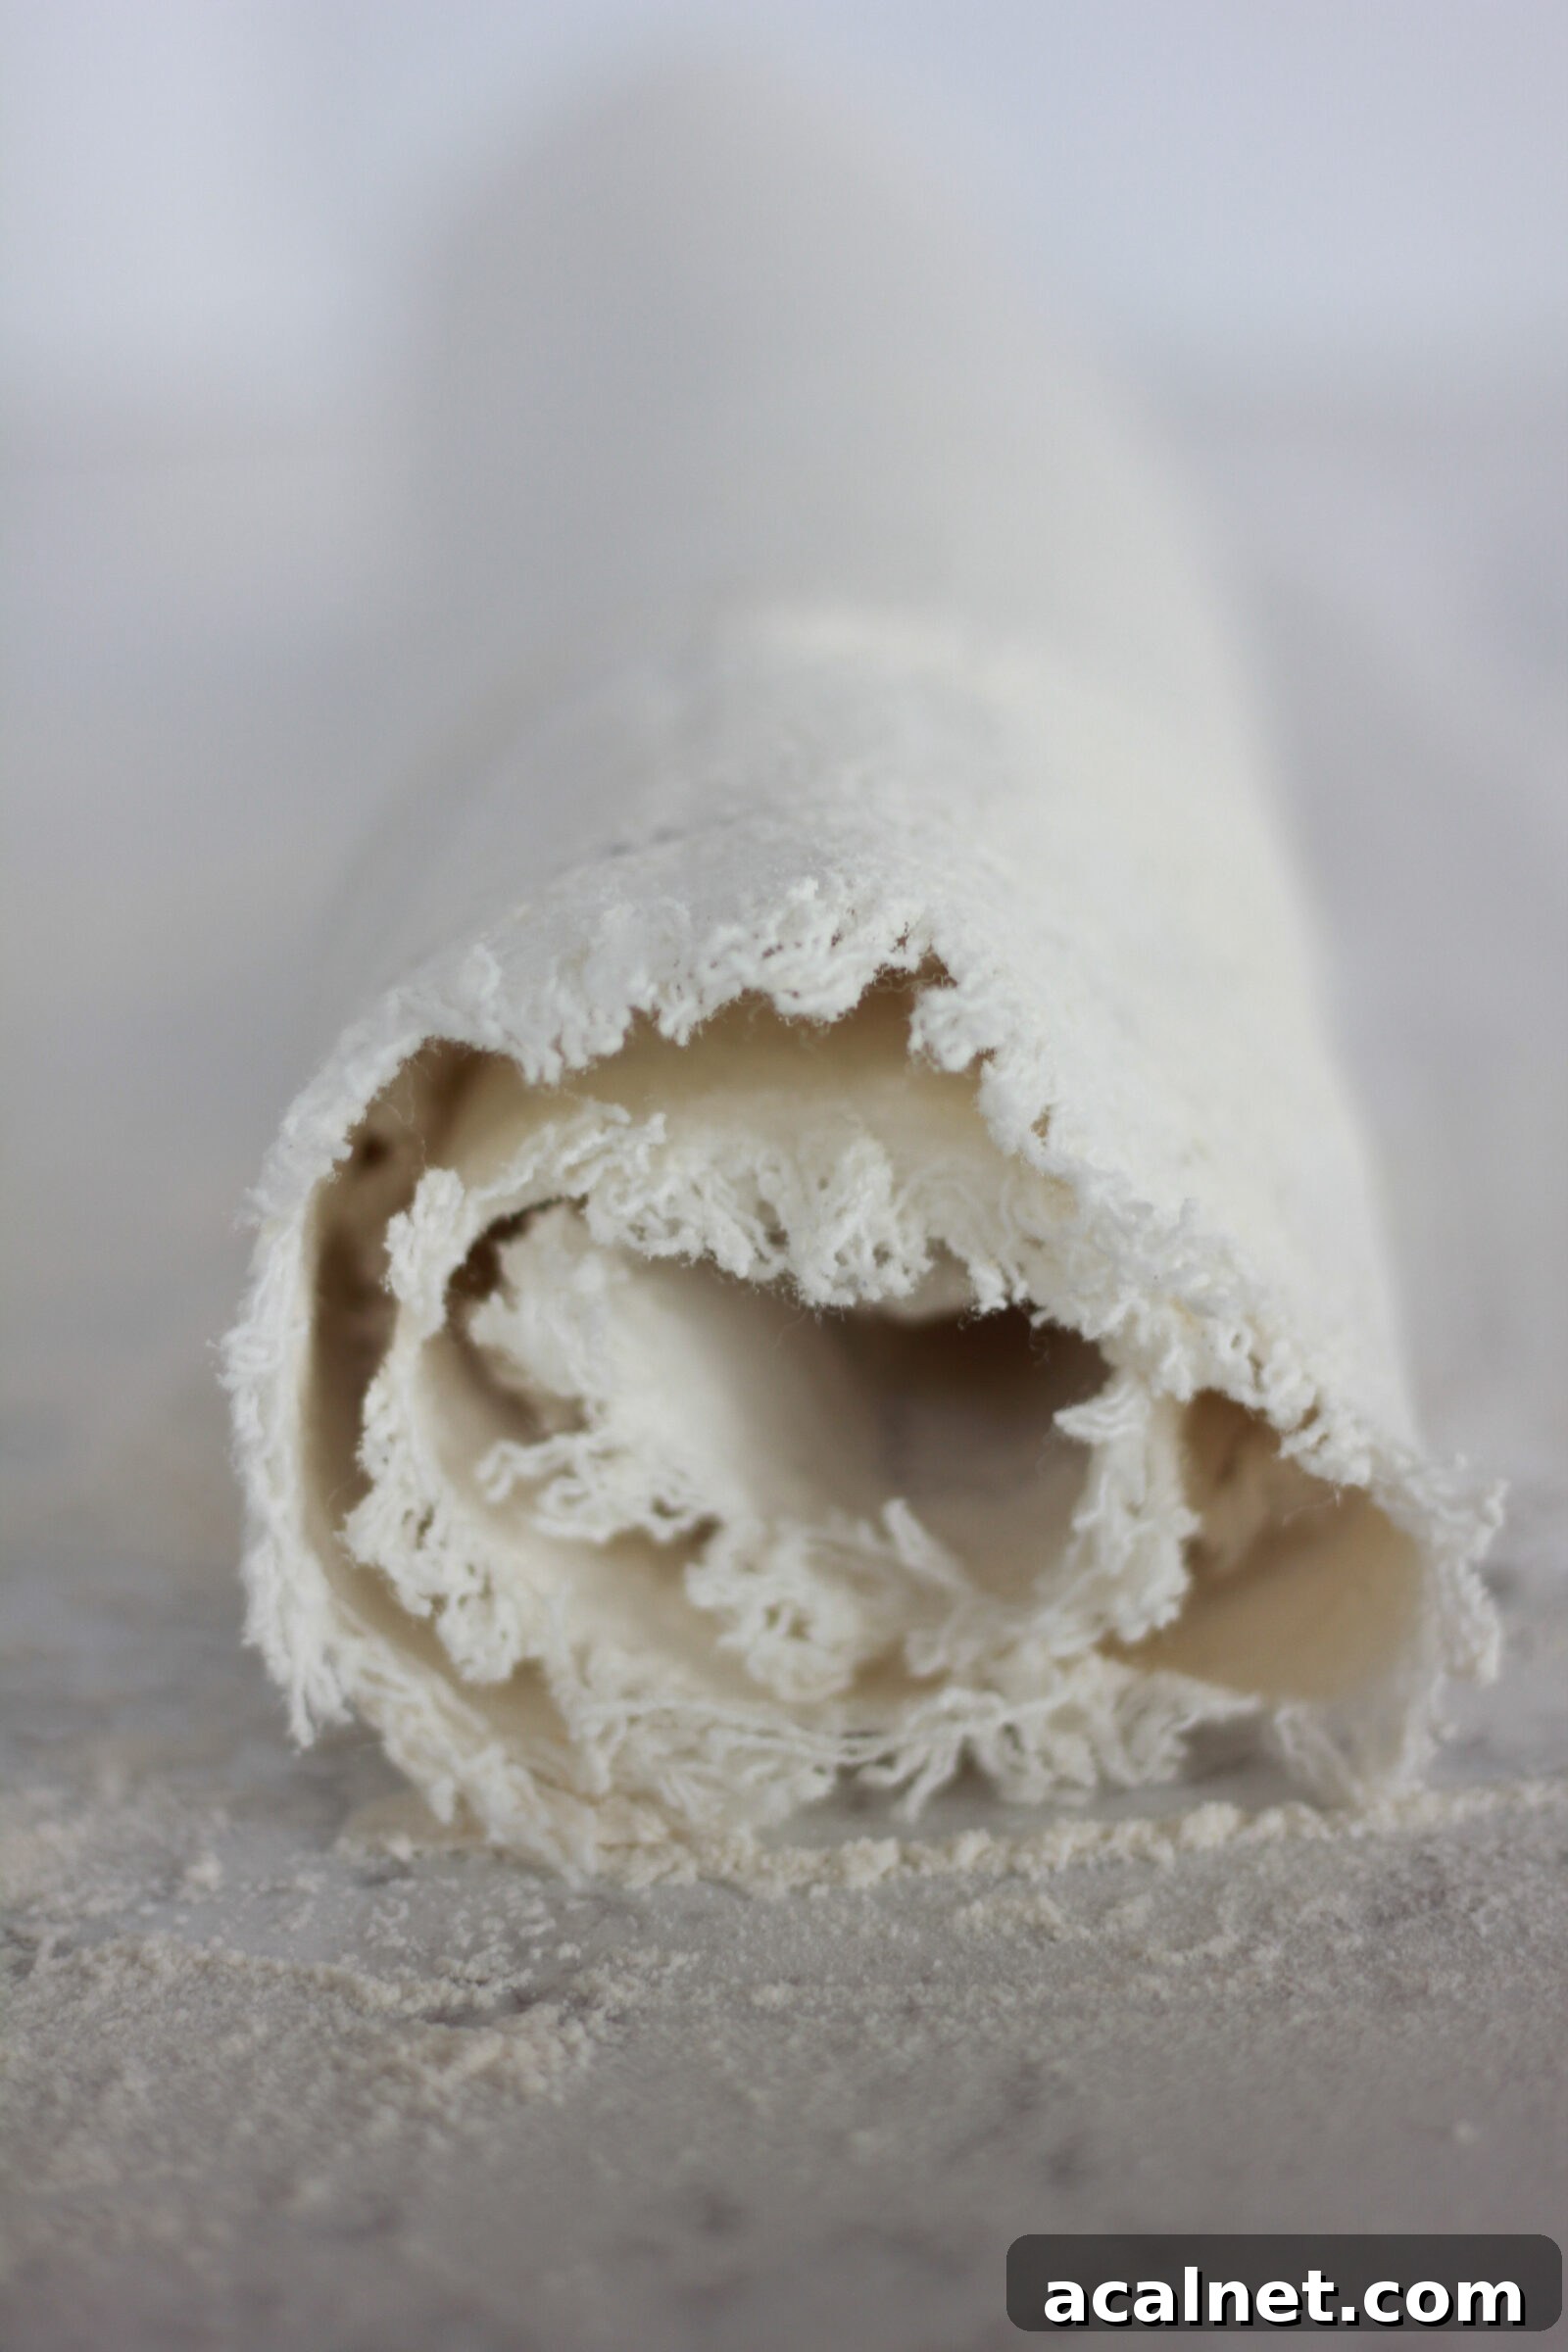
Step 4: Roll while warm. Place another floured towel on top and gently roll the cake lengthwise (along the shorter side of the rectangle). Rolling it warm trains the cake to hold the spiral shape without cracking. Allow the rolled cake to cool completely at room temperature before filling; this helps prevent the filling from softening the cake during the next steps.
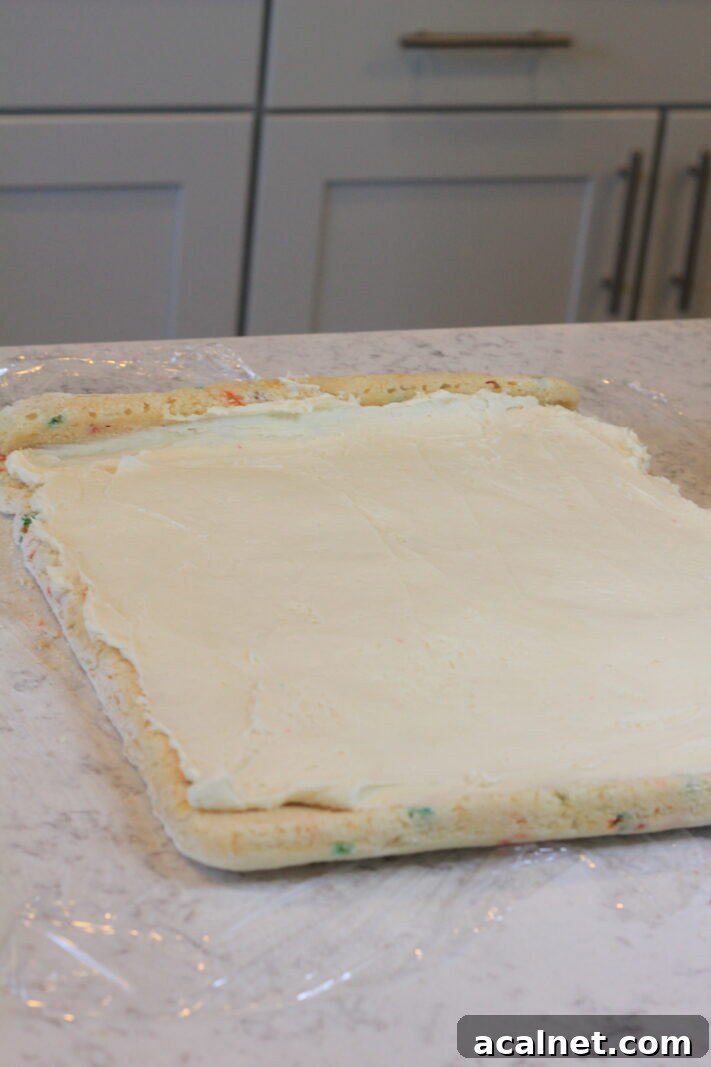
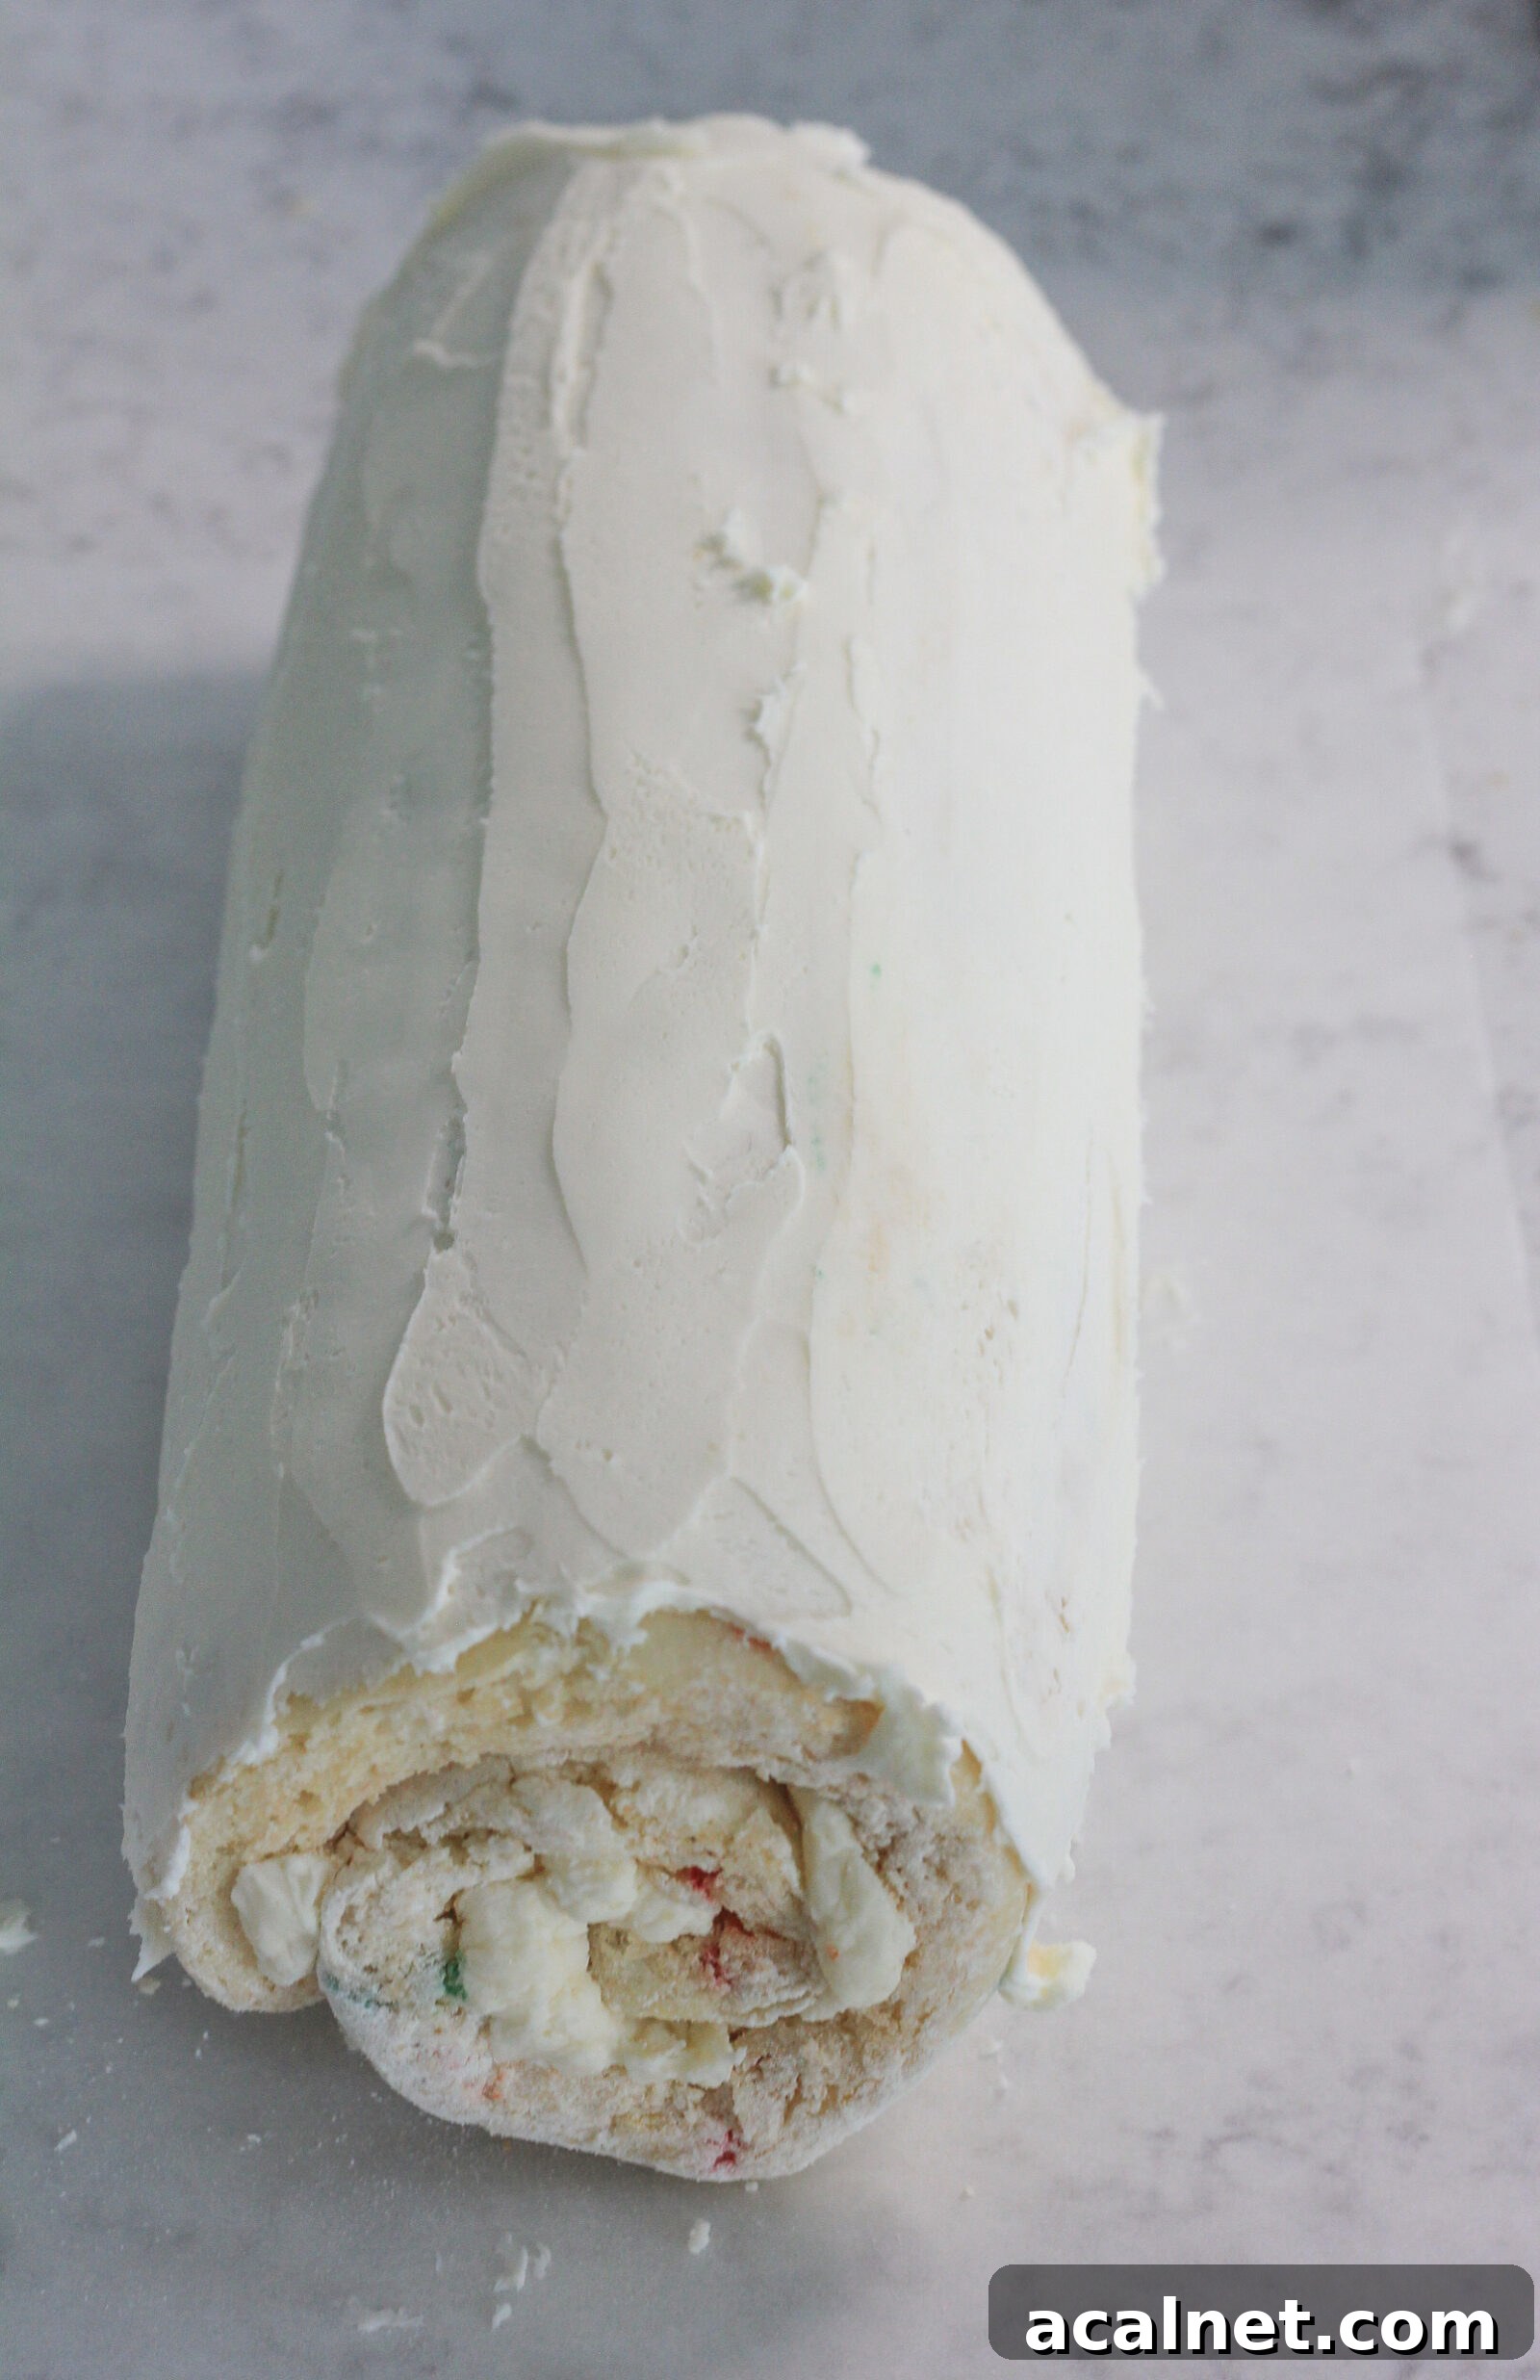
Step 5: Unroll and fill. Carefully unroll the cooled cake and spread an even layer of vanilla buttercream across the surface. Cracks are common and not the end of the world—press broken pieces gently into place and cover with buttercream. A large ice-cream scoop works well to dollop the filling, then smooth with an offset spatula for an even layer. Re-roll the cake snugly, wrap in plastic wrap, and freeze for about an hour to firm up the roll. Freezing makes trimming and decorating much easier.
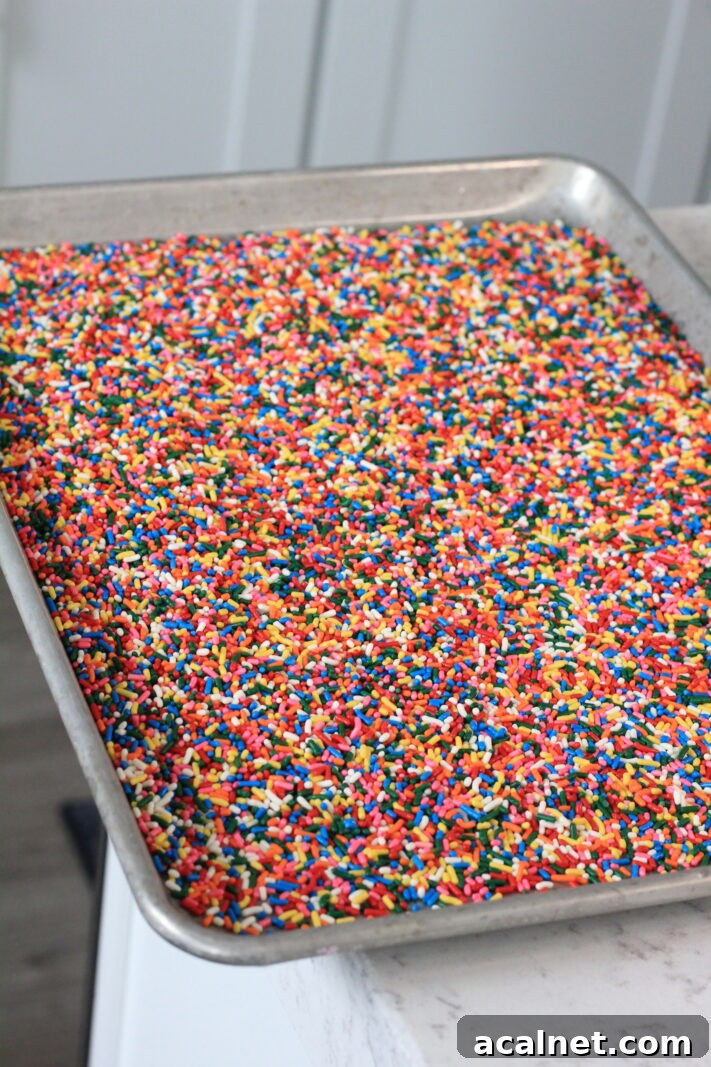
Step 6: Prepare sprinkles. Spread a generous layer of sprinkles across a clean baking sheet. Using many sprinkles ensures full, even coverage when you roll the decorated cake.
Step 7: Frost and coat the roll. Remove the chilled cake from the freezer and spread a thin outer layer of buttercream over the entire roll—including the bottom, which can be the trickiest area to cover. To help with handling, place small cardboard rounds under each end. Roll the cake into the sprinkles so they adhere to the buttercream. Because the roll is frozen, it will keep its shape while you apply the coating.
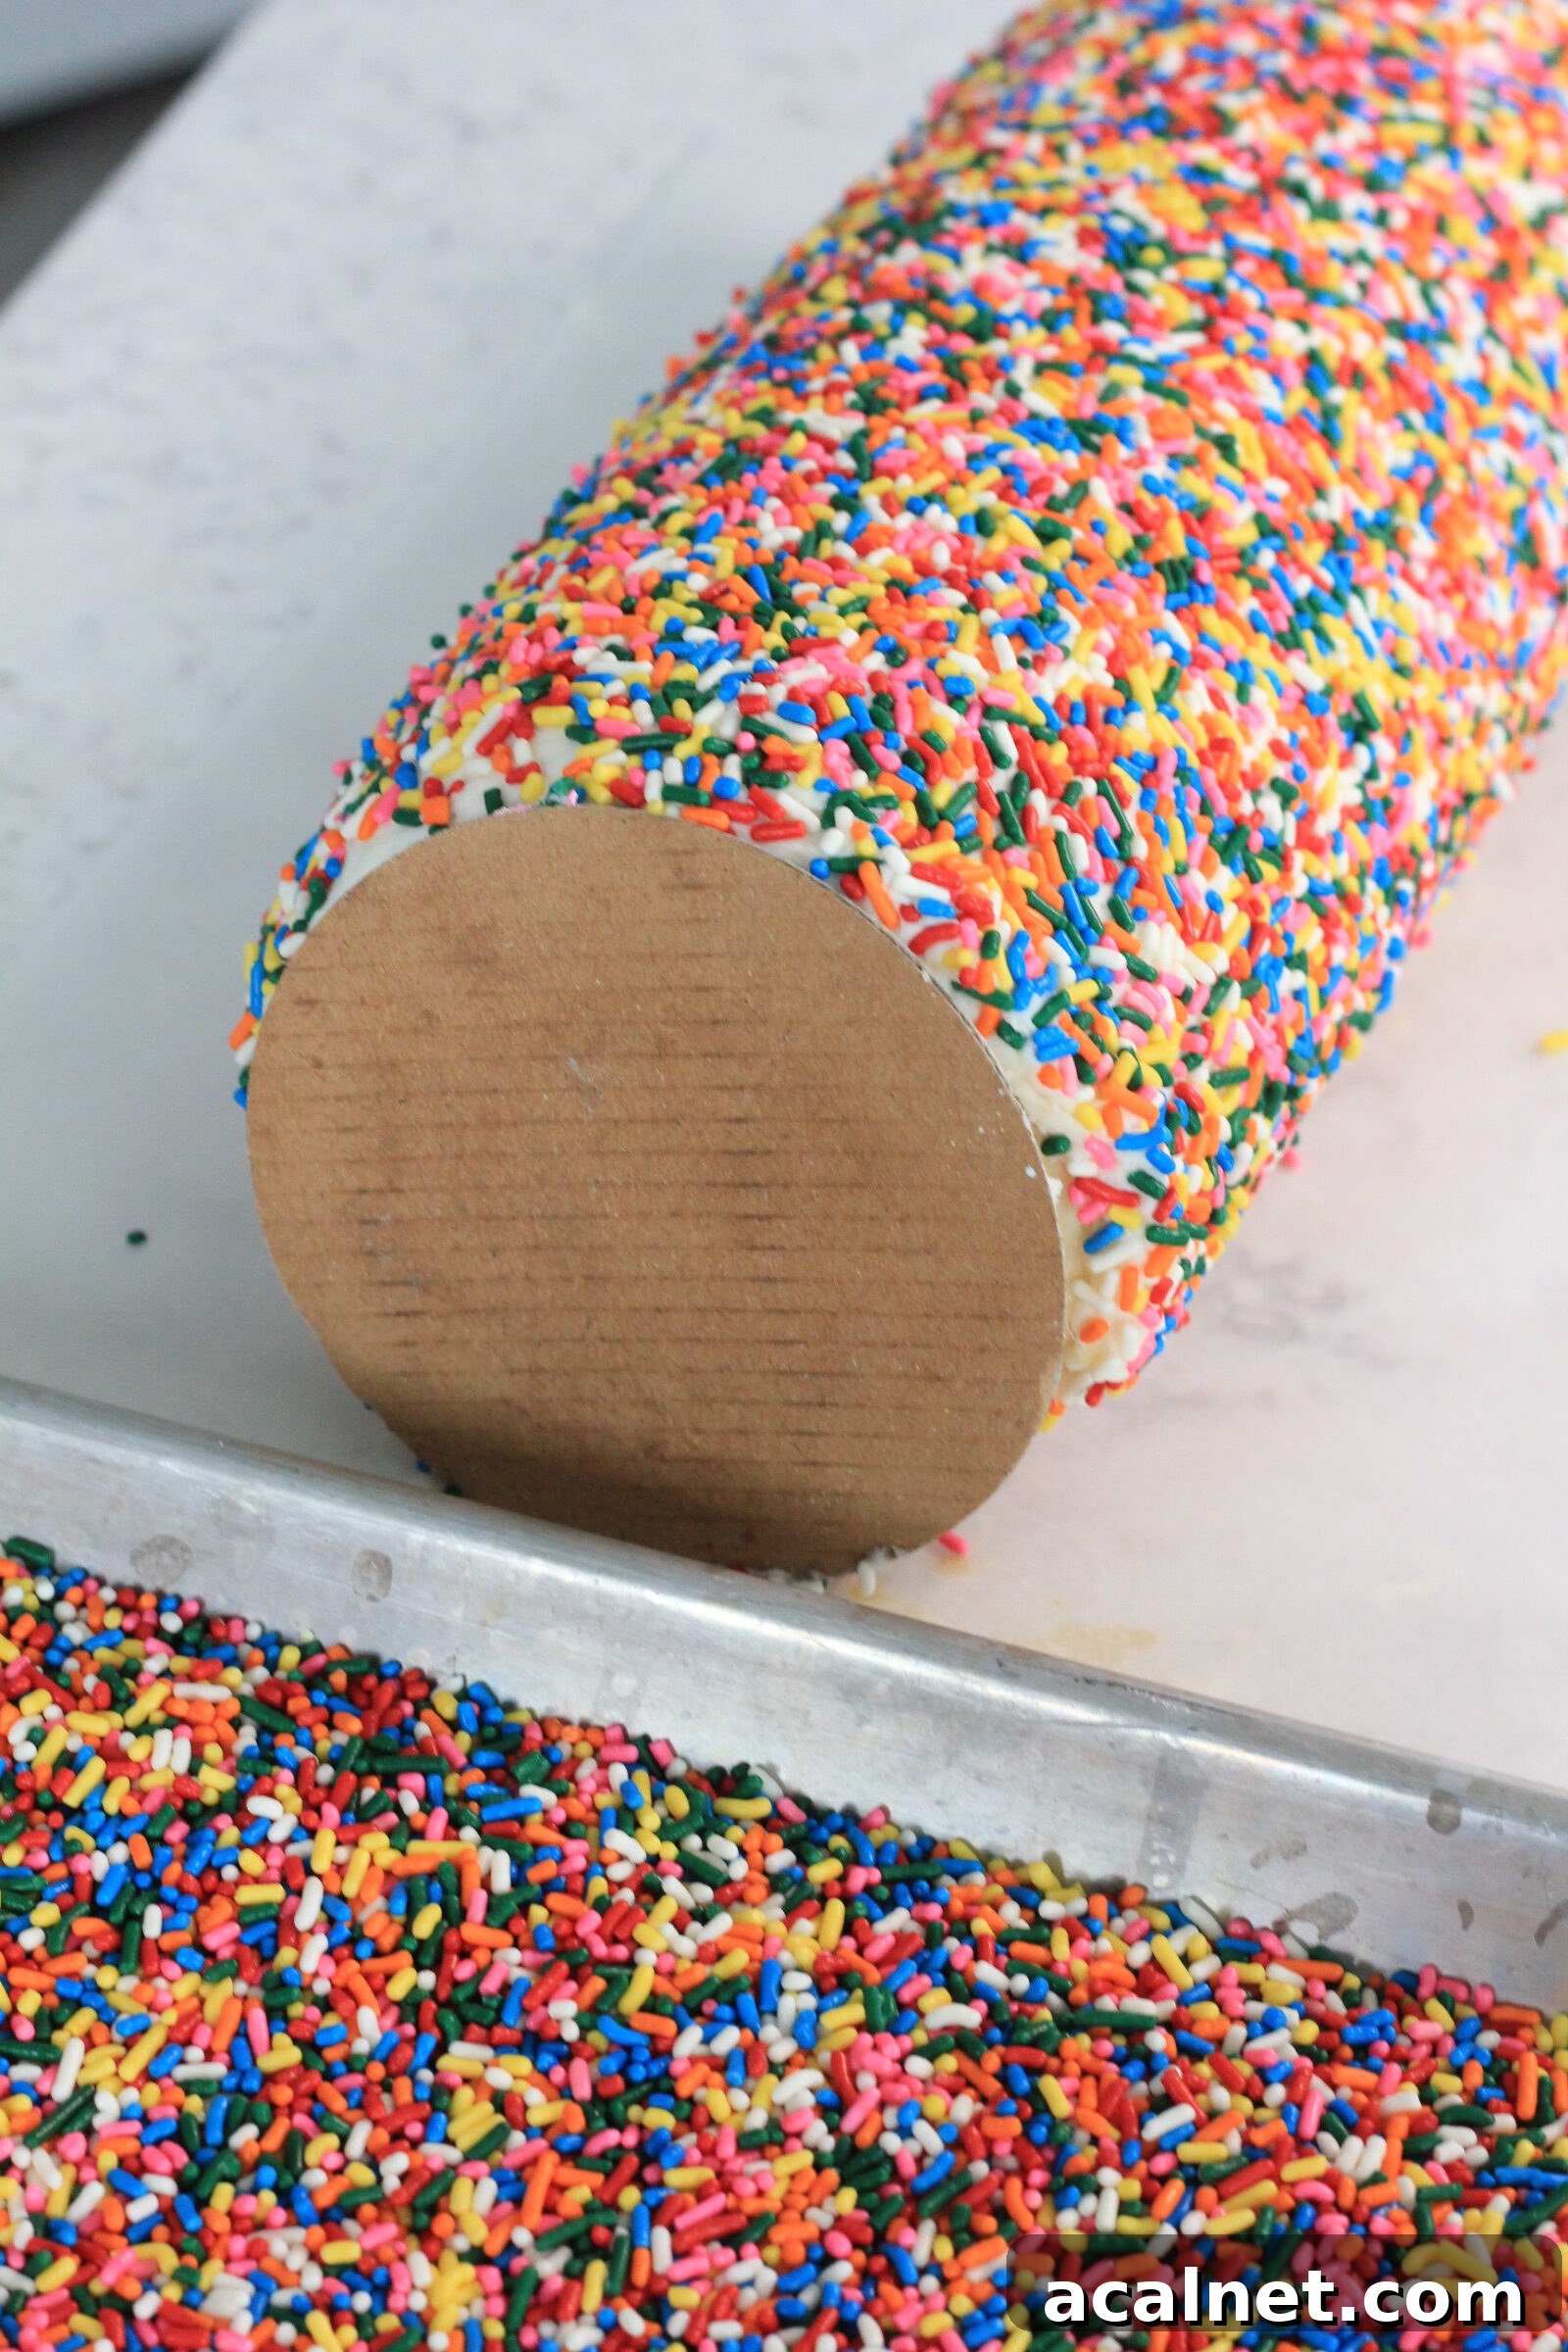
Step 8: Chill and slice. Wrap the decorated roll tightly in plastic wrap and chill until completely set. When ready to slice, warm a sharp chef’s knife under hot water, dry it, and make smooth, decisive cuts—wiping the blade between slices helps keep edges clean and pretty.
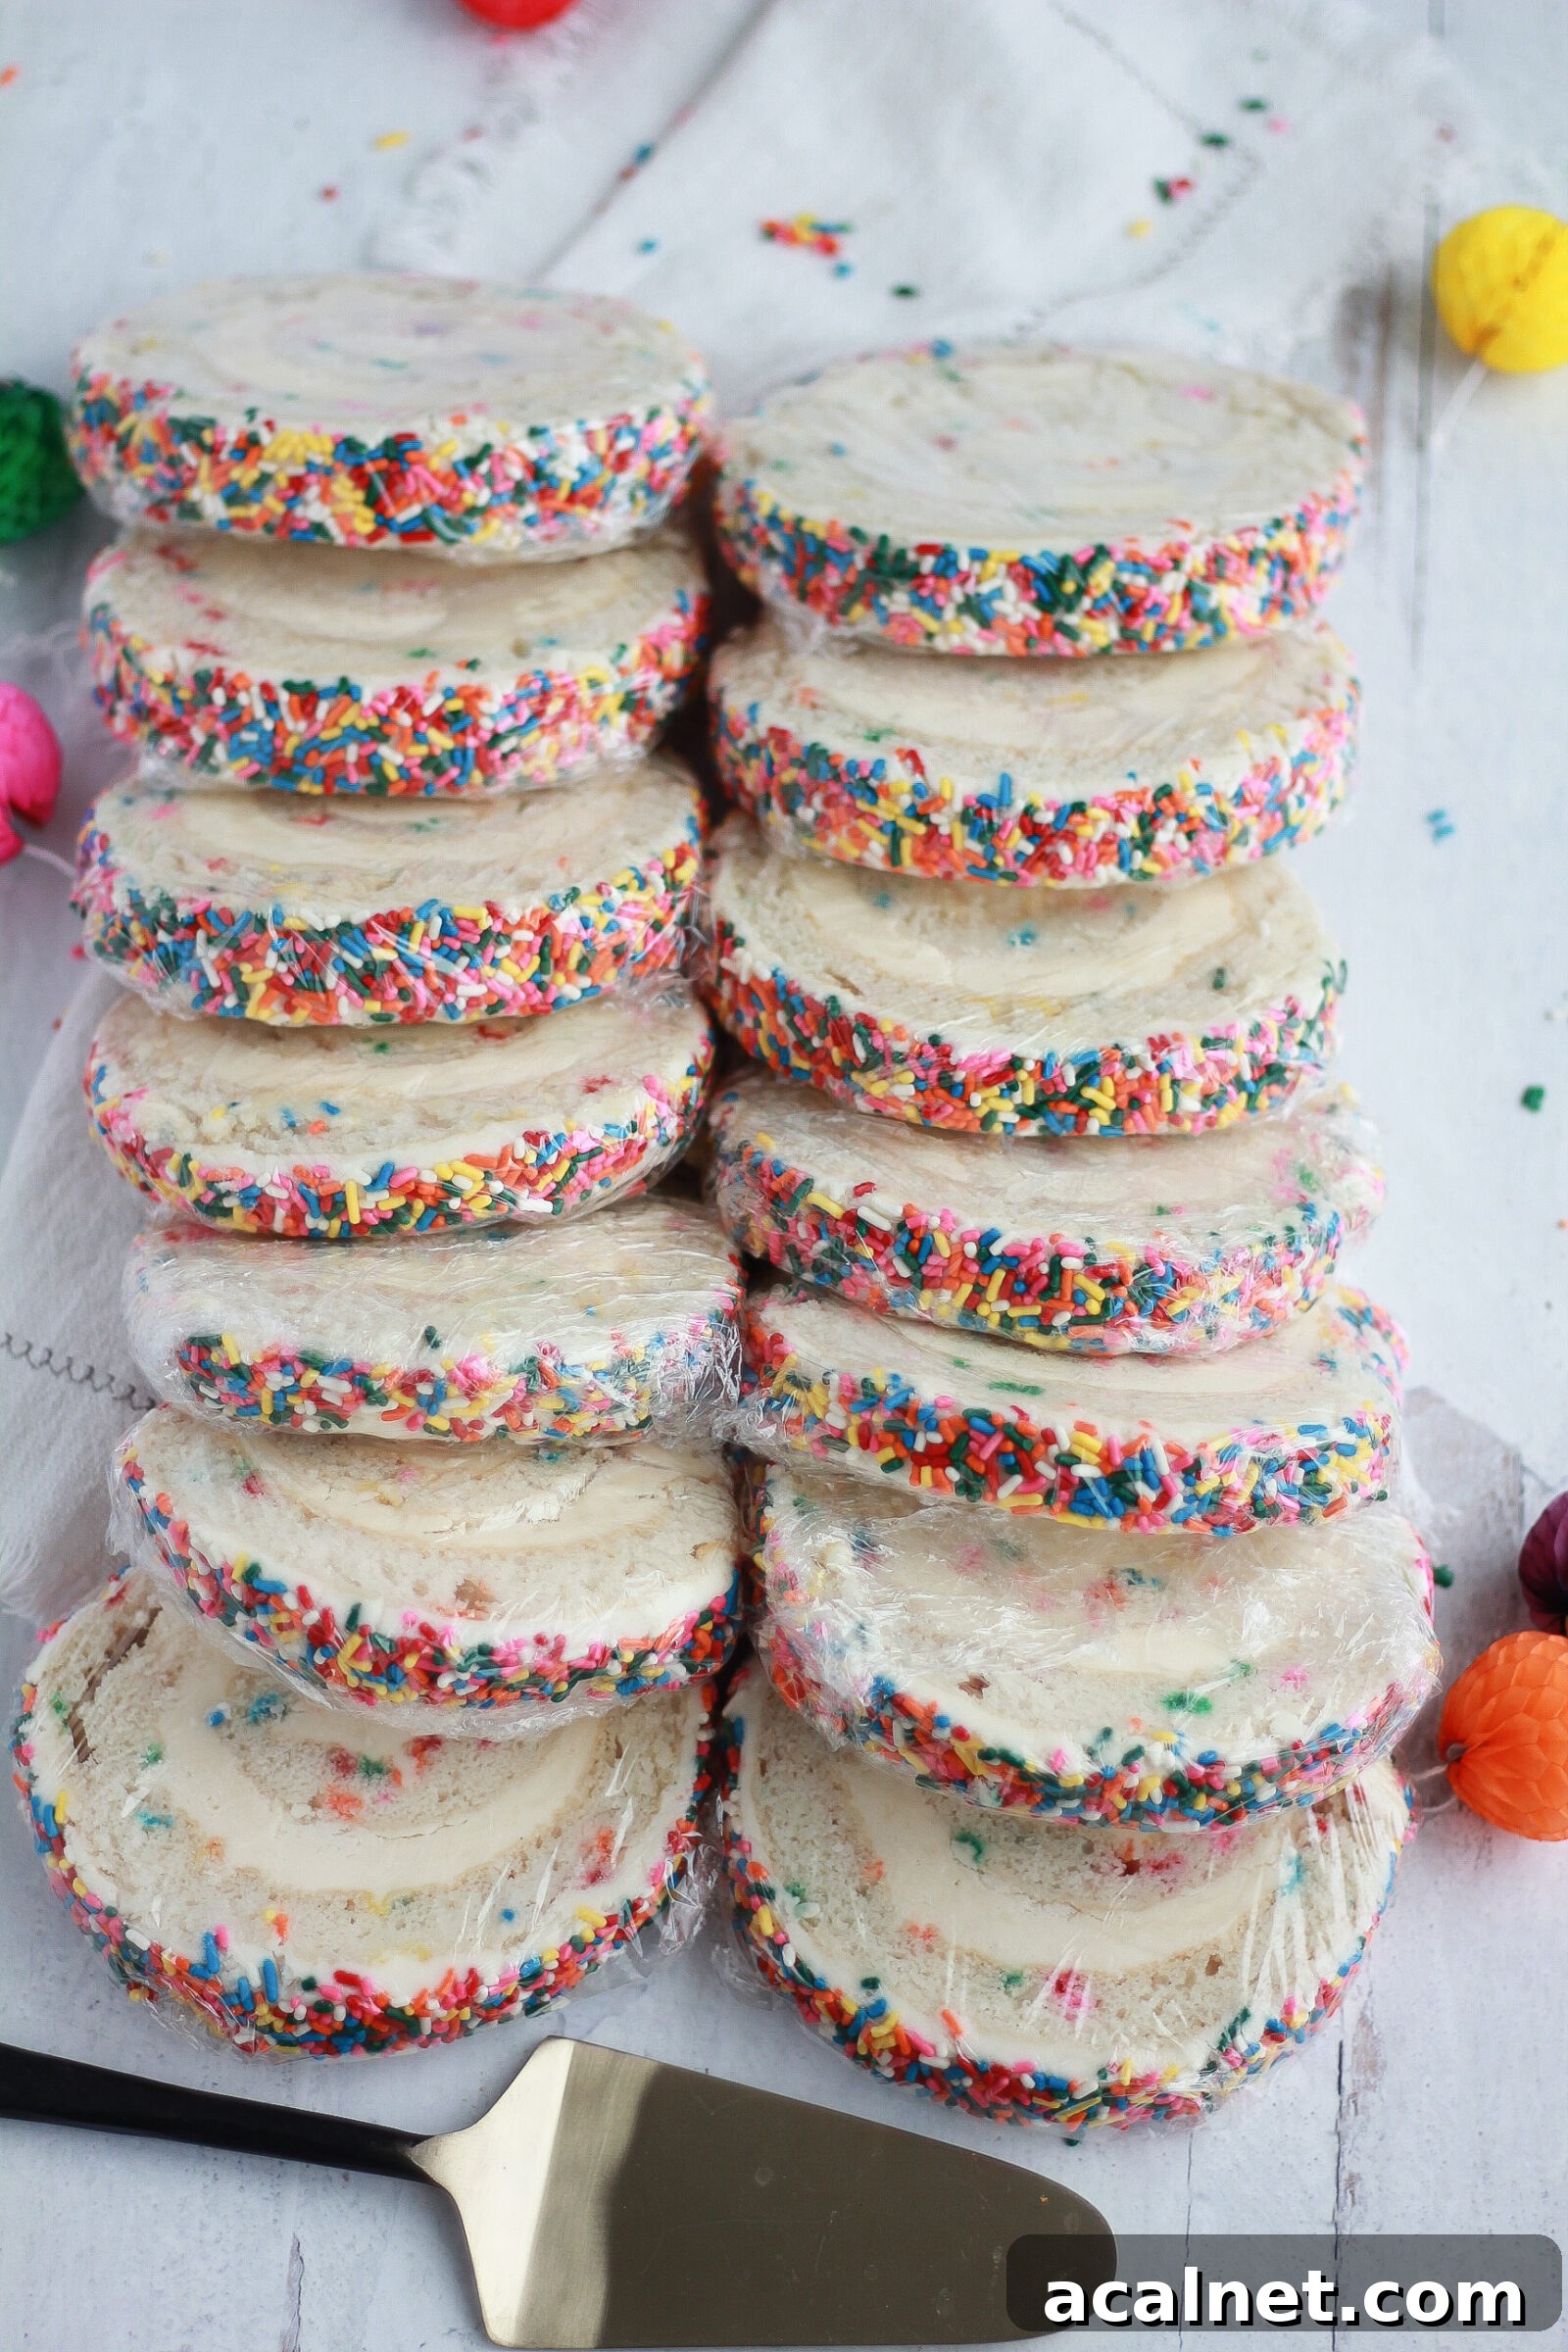
That’s the full process for a frosting-covered funfetti roll cake with sprinkles. Once you get the hang of rolling, you can adapt this method to other cake flavors and fillings—chocolate sponge, lemon curd, or flavored buttercreams all work beautifully. The key tips are proper pan prep, rolling while warm, filling after cooling, and a final freeze to stabilize the cake before decorating.
I’d love to see your creations—tag me on Instagram @bakingwithblondie or use the hashtag #bakingwithblondie so I can enjoy your results and share in the fun.
Happy baking!
xo,
Mandy