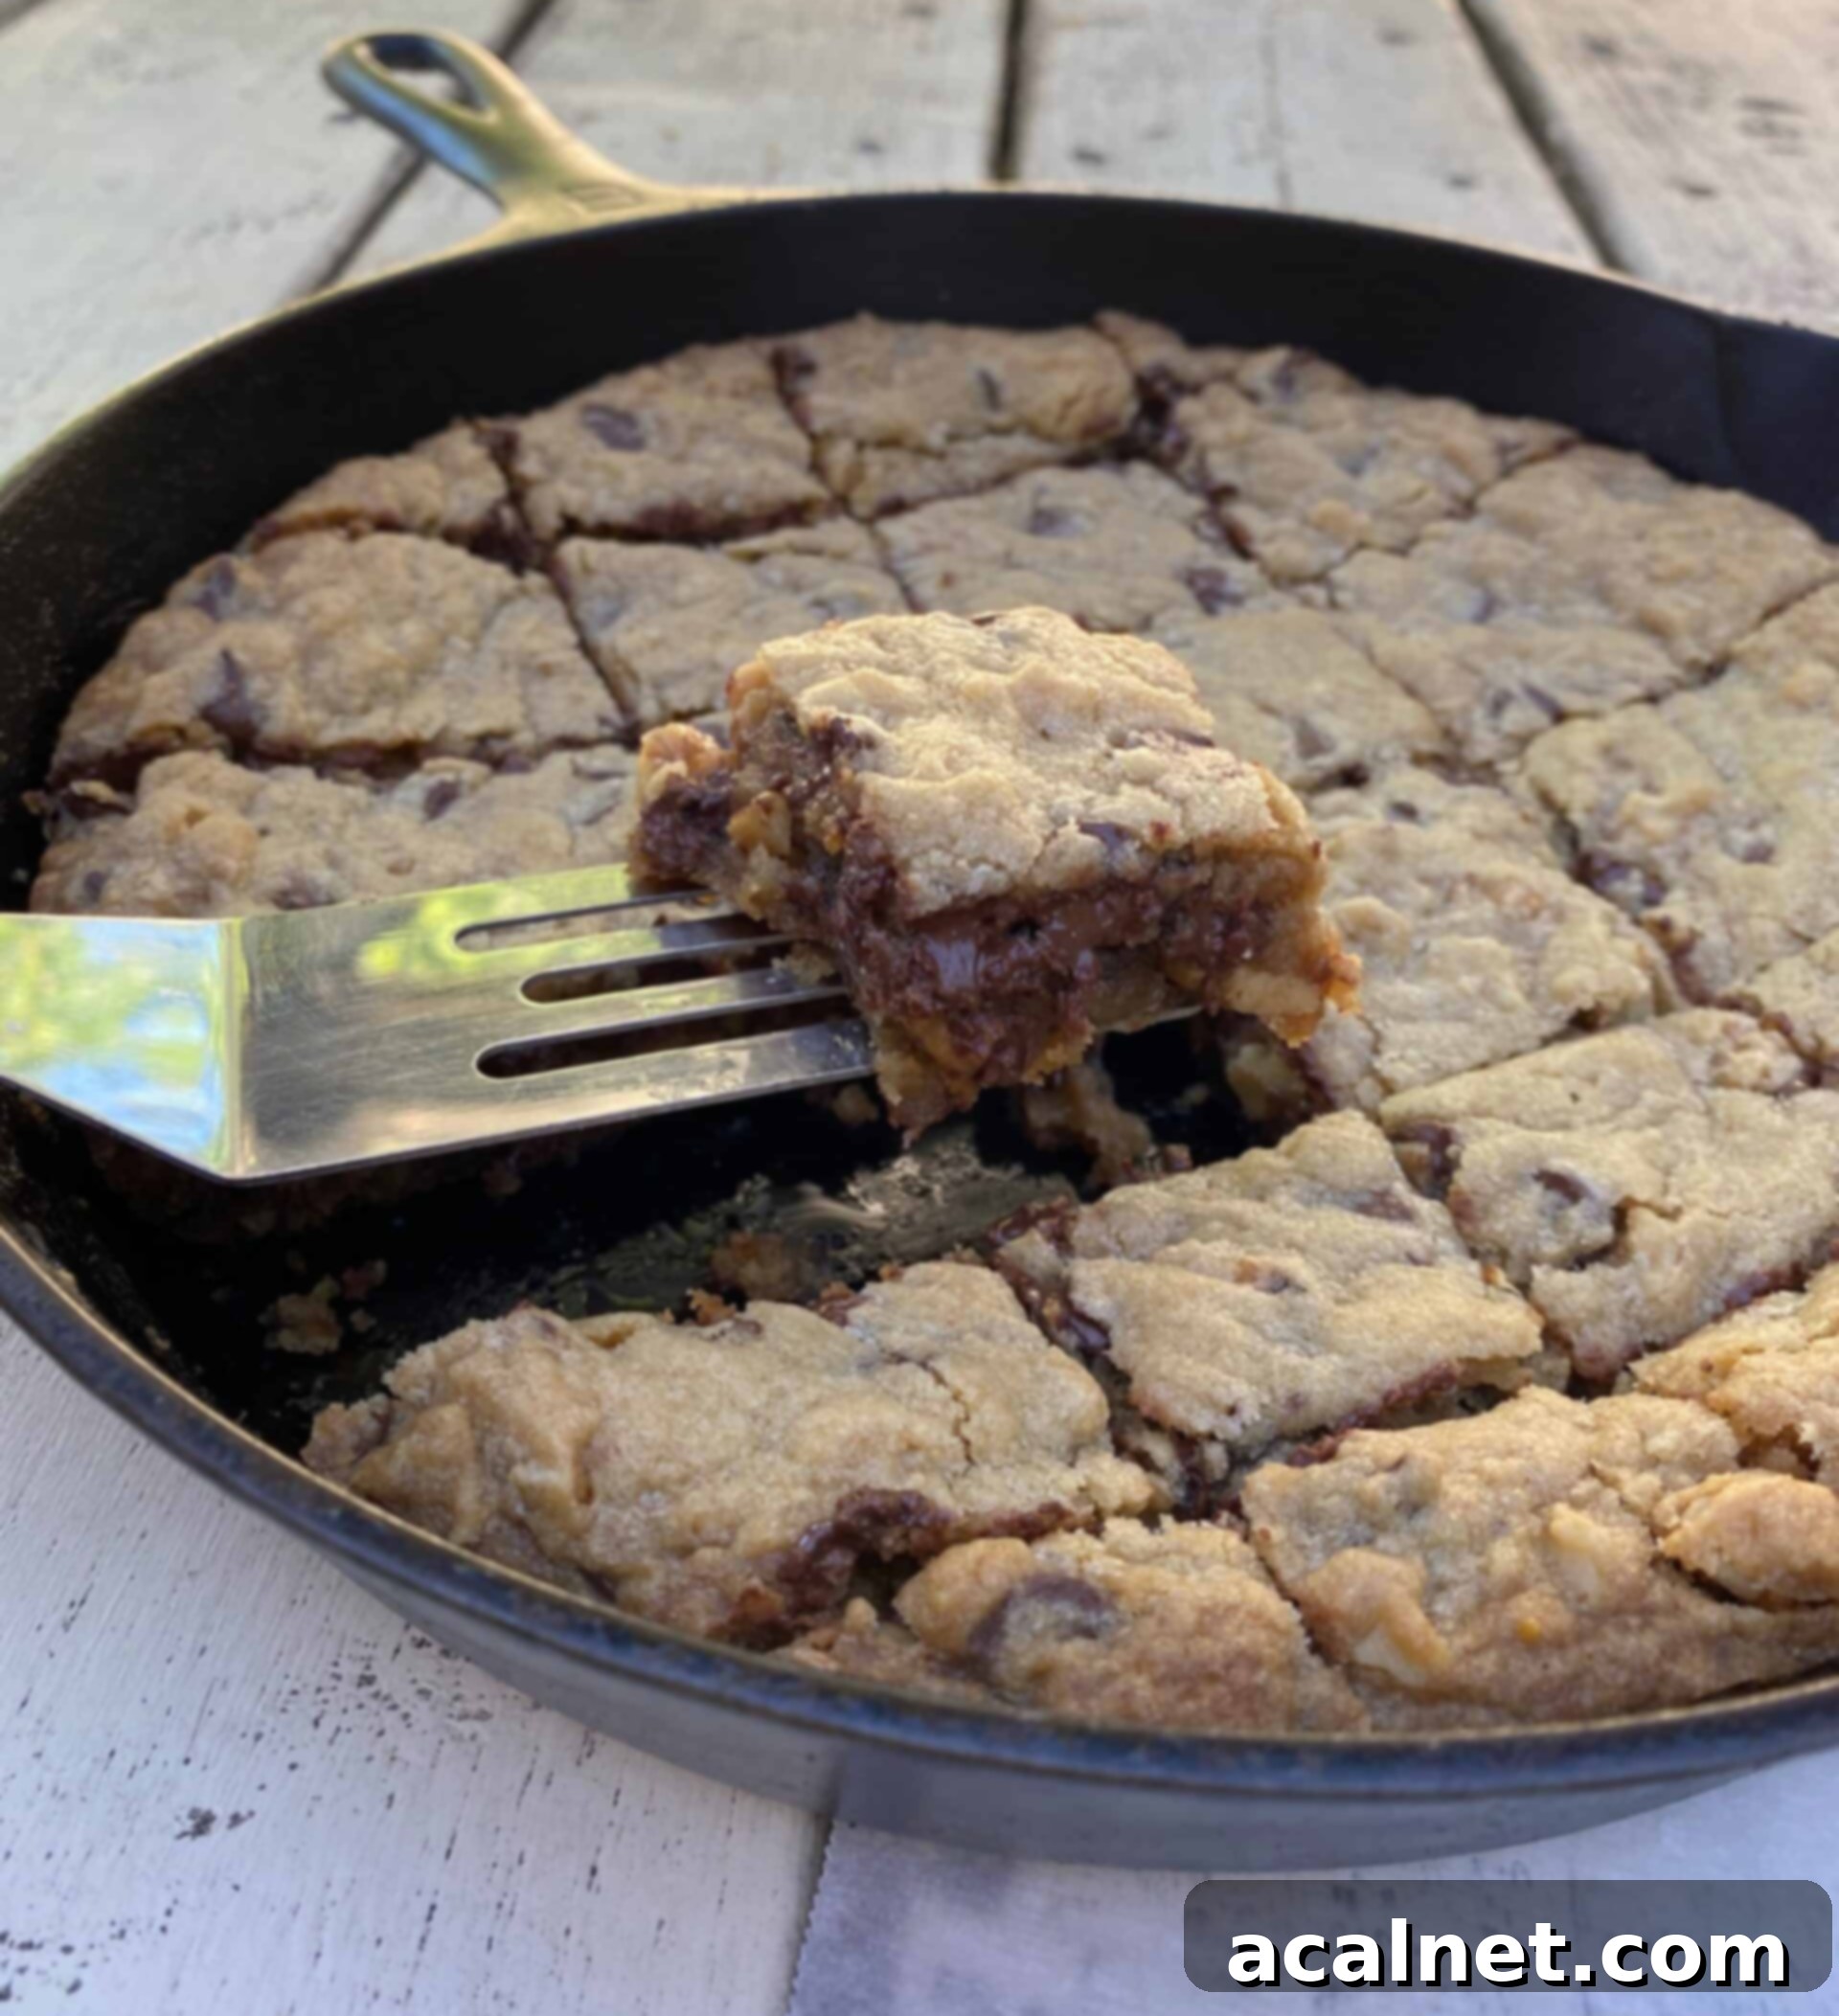
The Best Chewy Mrs. Fields Chocolate Chip Bars Recipe (Skillet Baked!)
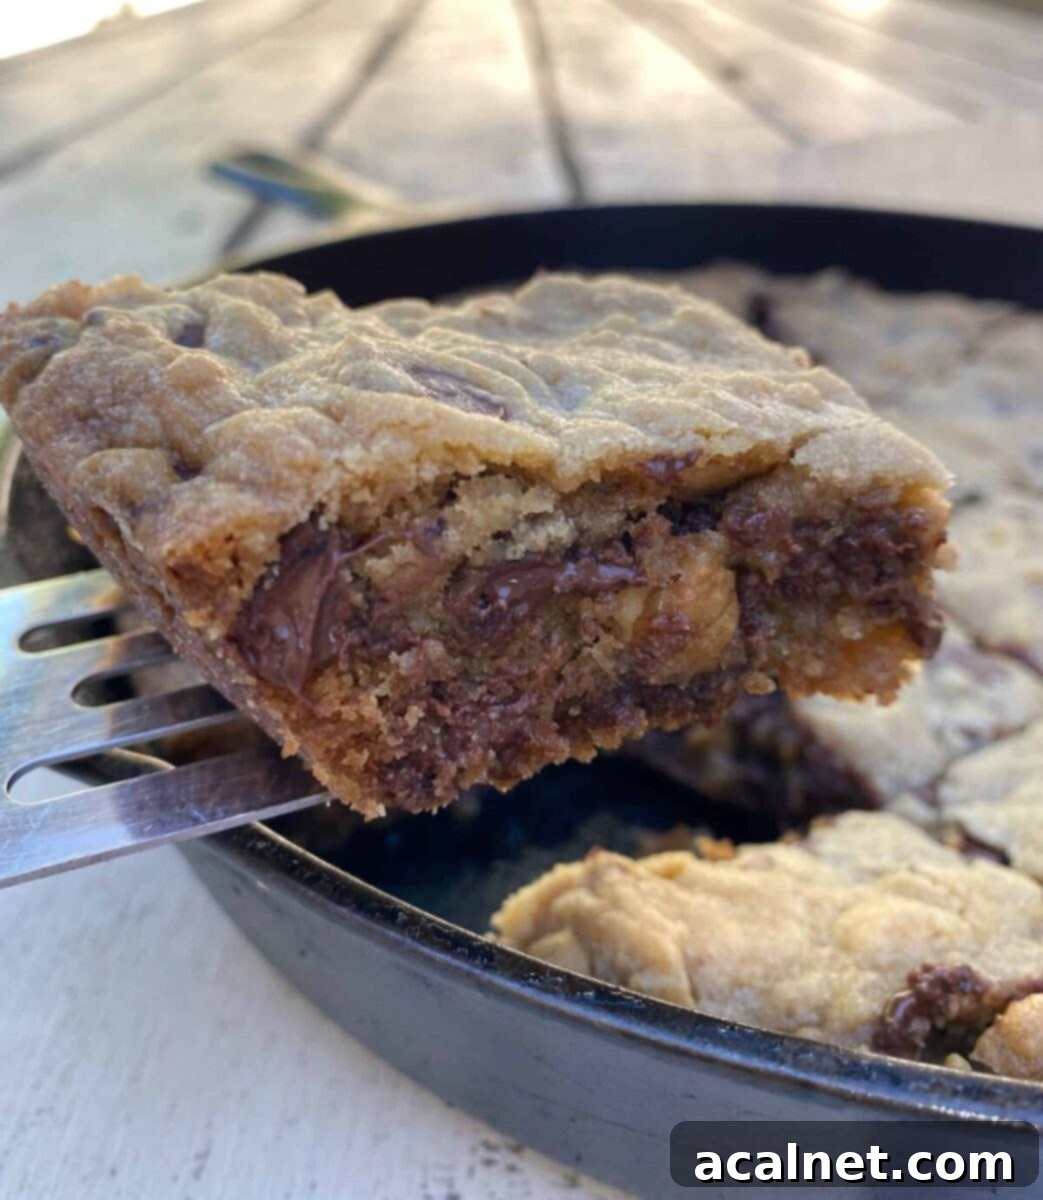
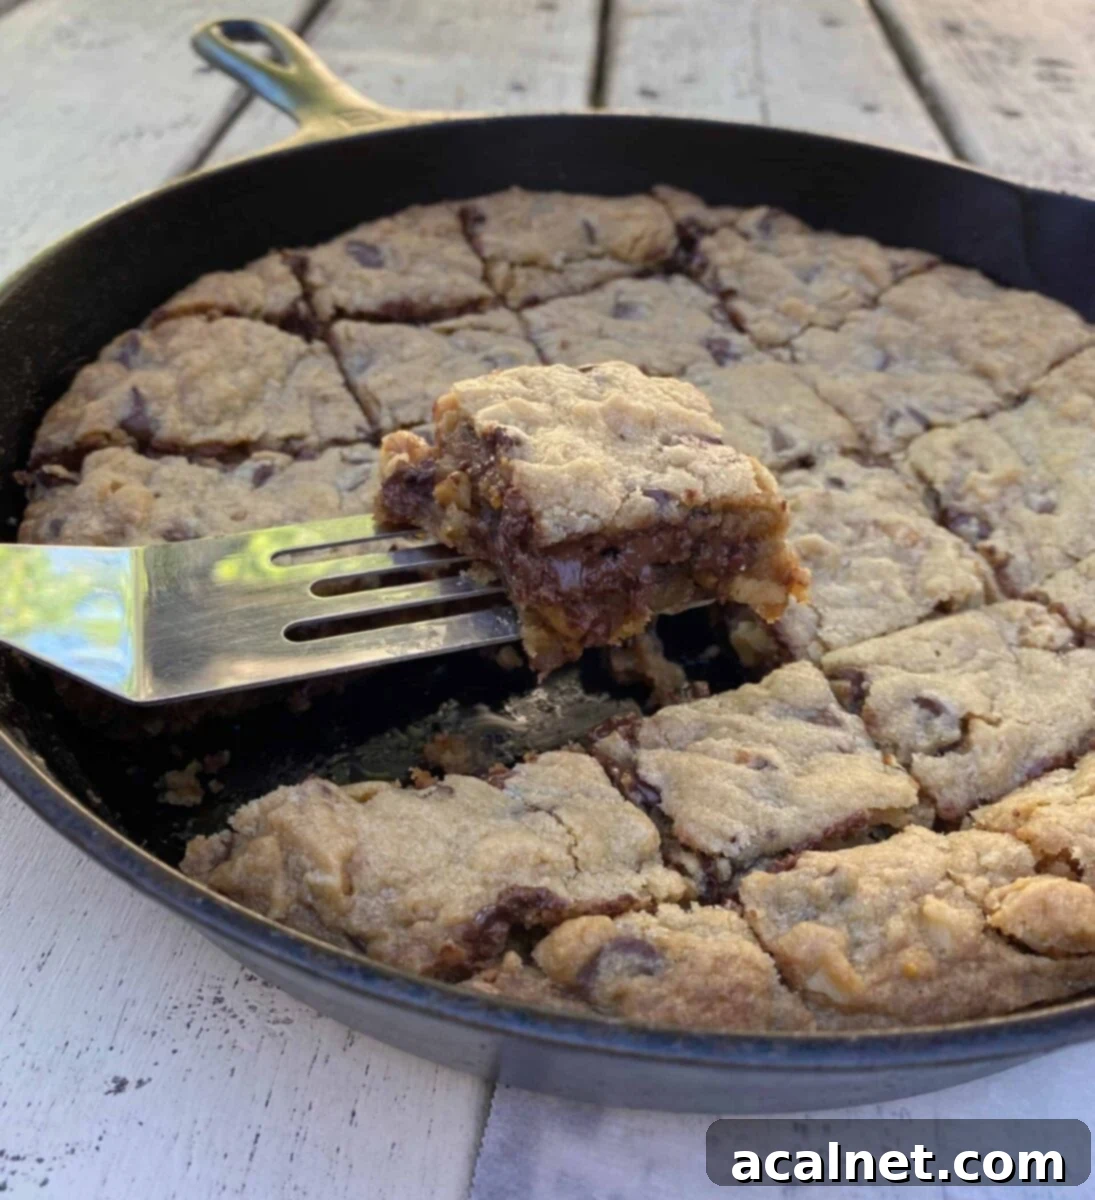
Indulge in the nostalgic delight of Mrs. Fields Chocolate Chip Bars – a treat that captures all the beloved chewiness, sweetness, and buttery richness of a classic chocolate chip cookie, but with the incredible ease of baking in just one pan. Perfect for any occasion, these irresistible bars are elevated when made in a cast iron skillet, transforming them into a conversation-starting dessert that’s exceptionally satisfying served warm straight from the oven.
Imagine biting into a perfectly golden-brown bar, still slightly warm, where melted chocolate chips mingle with crunchy walnuts in a soft, tender dough. The simplicity of this recipe makes it an instant favorite for busy weeknights or impromptu gatherings, offering maximum flavor with minimal effort. Forget scooping individual cookies; with this bar recipe, you simply spread the dough, bake, and slice! It’s an ideal choice for anyone craving that homemade, fresh-from-the-oven goodness without the fuss.
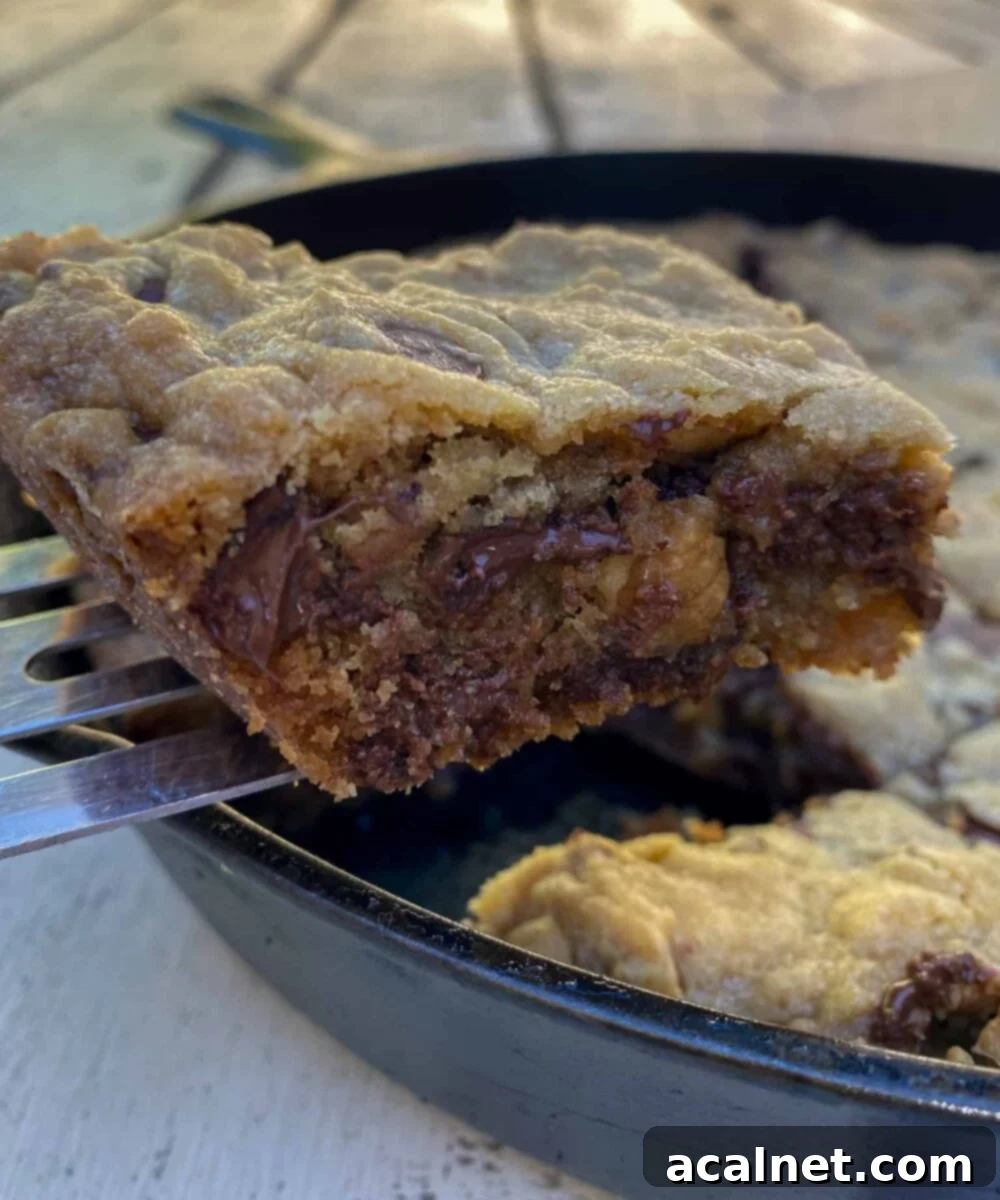
If you cherish homemade cookies that taste just like your mom or grandma used to bake, similar to our cherished Peanut Butter Cookiesor classic Molasses Snaps, then prepare to fall in love with this incredible recipe for Mrs. Fields Chocolate Chip Bars. This recipe delivers that comforting, nostalgic flavor profile that truly feels like a warm hug.
Essential Ingredients for Perfect Chocolate Chip Bars
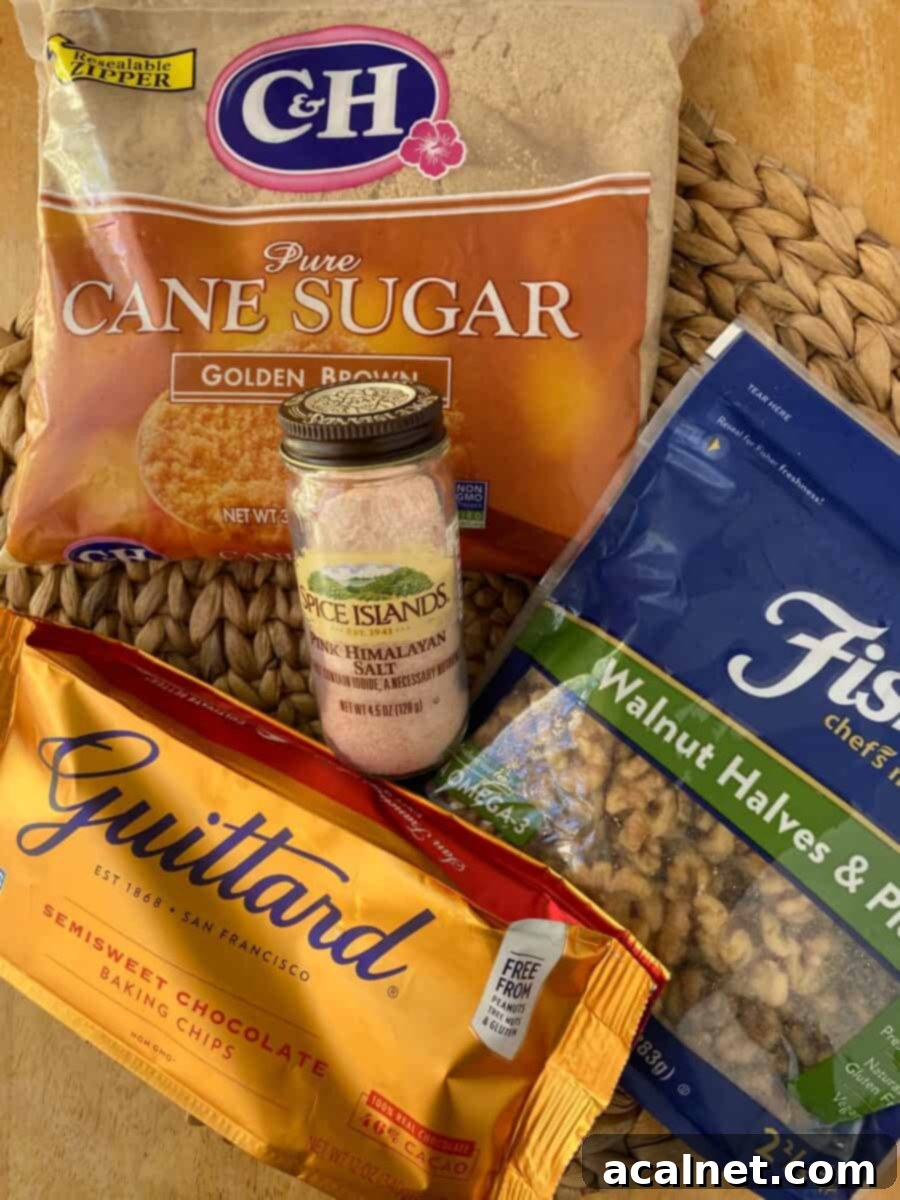
Crafting these delectable chocolate chip bars starts with a selection of common pantry staples. The magic lies not just in the ingredients themselves, but in their quality and how they interact to create that signature chewy texture and rich flavor. Here’s what you’ll need, with a few notes on why each component is crucial:
- Semi-sweet chocolate chips: The star of the show! For the best flavor and melt, I highly recommend the Guittard brand. Their semi-sweet chips offer a balanced sweetness and melt beautifully, creating pockets of gooey chocolate throughout the bars.
- Walnuts: These add a delightful crunch and nutty depth that complements the chocolate perfectly. You can toast them lightly before adding for an even richer flavor, or omit them if you prefer a nut-free bar.
- Butter: Softened butter is key for a creamy dough that mixes smoothly and bakes into tender, moist bars. It’s the primary fat that contributes to the rich, buttery flavor profile.
- Brown sugar: This is a crucial ingredient for chewiness! Brown sugar contains molasses, which adds moisture and a caramel-like depth, resulting in a much softer and chewier bar than if you used only granulated sugar.
- Pink Himalayan salt: A secret weapon for enhancing flavor! A delicate sprinkle on top before baking elevates the sweetness of the chocolate and adds a subtle contrast that makes every bite more complex and satisfying.
- Vanilla extract: Essential for rounding out the flavors and adding that warm, familiar aroma characteristic of classic baked goods. Use a good quality pure vanilla for the best results.
- Egg: Acts as a binder and adds moisture, contributing to the structure and richness of the bars.
- All-purpose flour: The structural backbone of the bars. Avoid overmixing to keep the bars tender, not tough.
- Baking soda: A leavening agent that helps the bars rise slightly and contributes to their soft texture.
The Charming Cast Iron Skillet Method
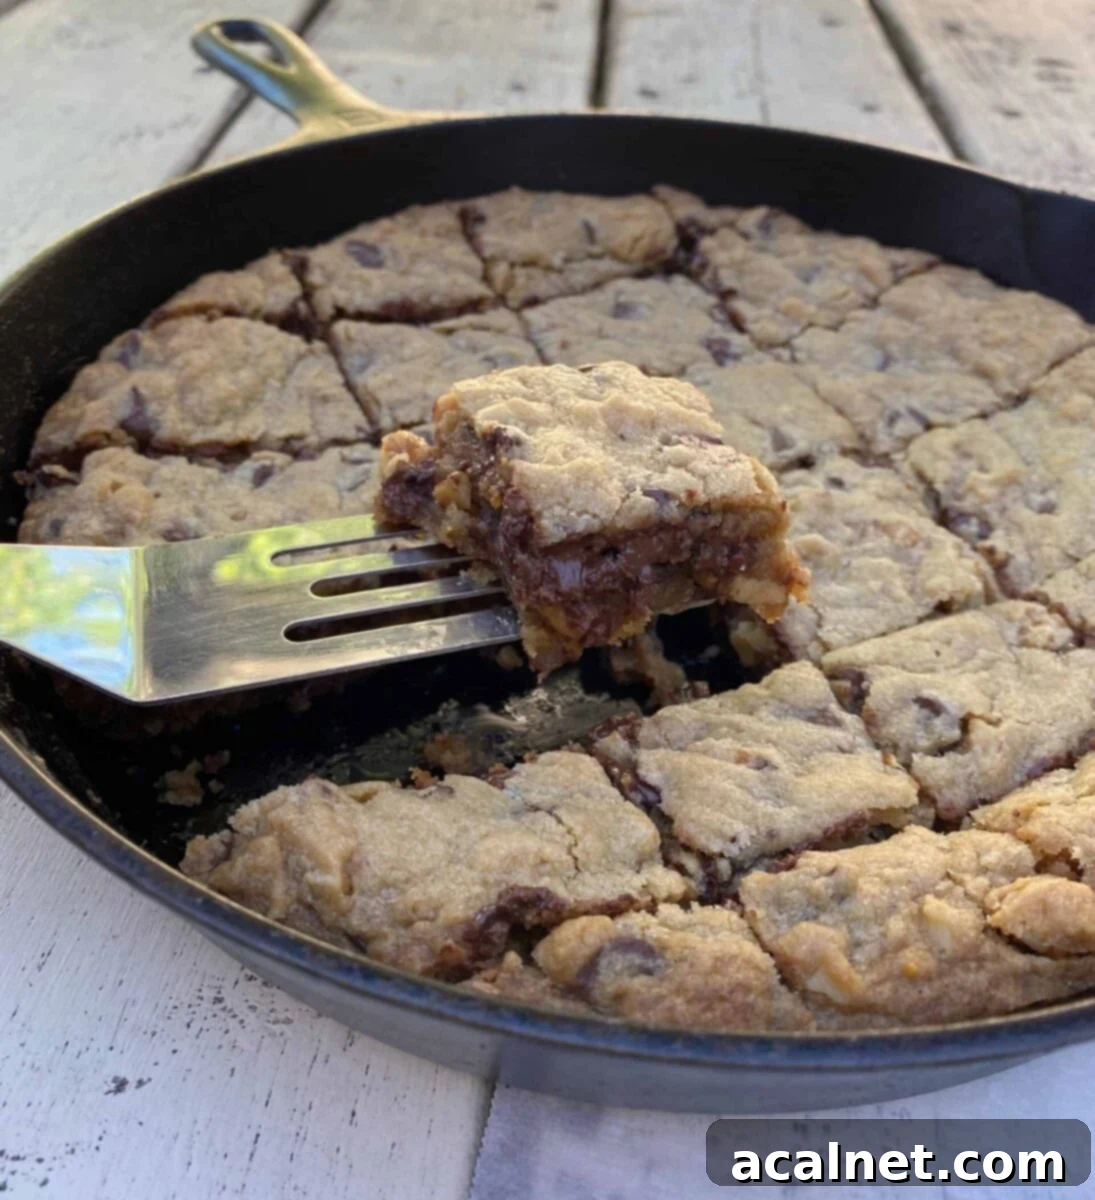
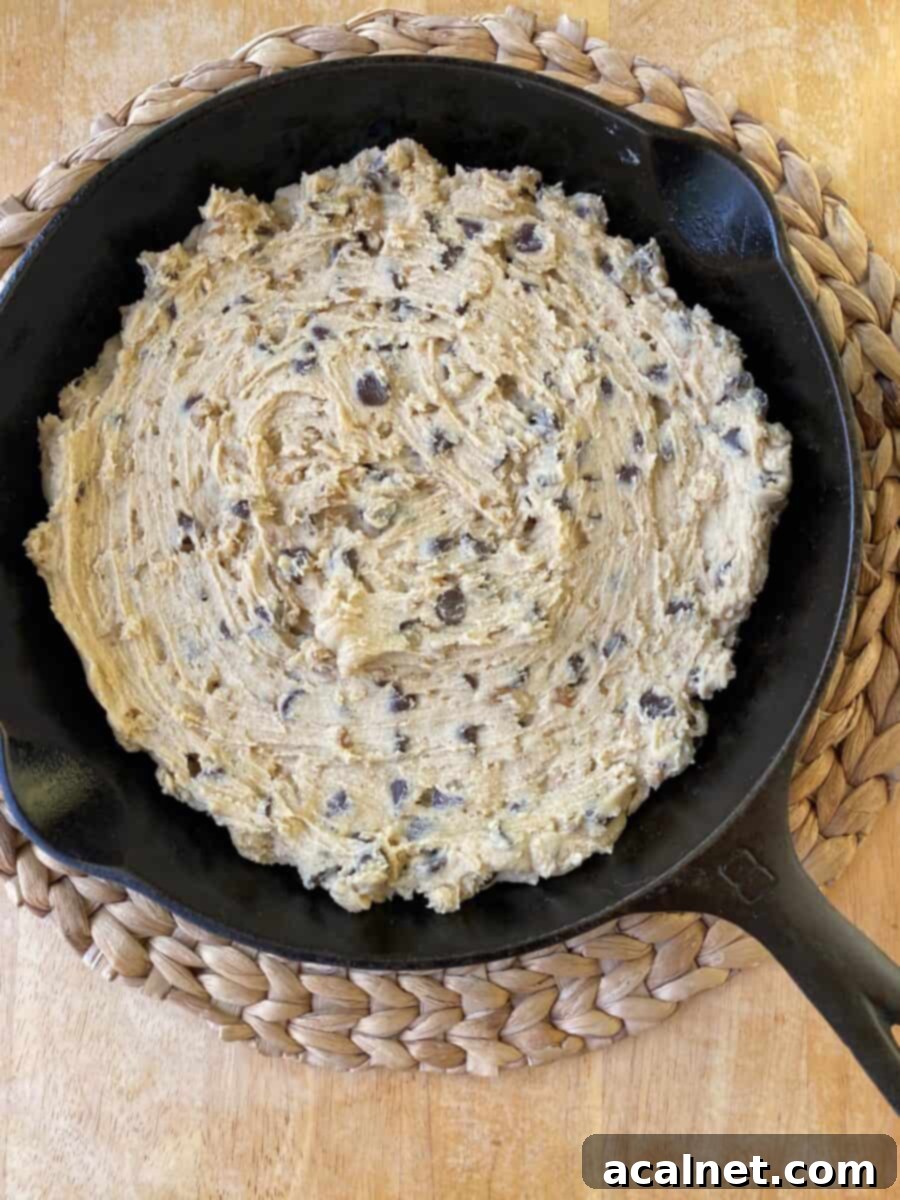
While an 8″ x 8″ glass baking pan will certainly do the job, there’s an undeniable charm and rustic appeal to baking Mrs. Fields Chocolate Chip Bars in an 8-inch cast iron skillet. This method isn’t just about aesthetics; it brings some practical advantages to your baking experience.
The baking time remains roughly the same, but the presentation factor is significantly enhanced. When you pull that golden-brown skillet, brimming with warm, gooey chocolate chip bars, straight from the oven, it creates a truly special moment. Serving individual portions from a warm, rustic skillet adds a touch of homestyle comfort and makes each serving feel like an indulgent occasion. Cast iron’s superior heat retention also means the bars stay warm longer, perfect for lingering dessert moments.
Beyond presentation, cast iron skillets are renowned for their even heat distribution, which helps prevent burnt edges and undercooked centers, leading to a consistently baked bar. The naturally non-stick surface (when properly seasoned) also makes for easy removal of those perfectly portioned squares. If you’re new to cast iron, don’t fret; they’re incredibly durable and, with a little care, will last for generations, becoming a cherished piece of your kitchen arsenal.
Selecting the Perfect Chocolate Chips: Why Guittard Shines
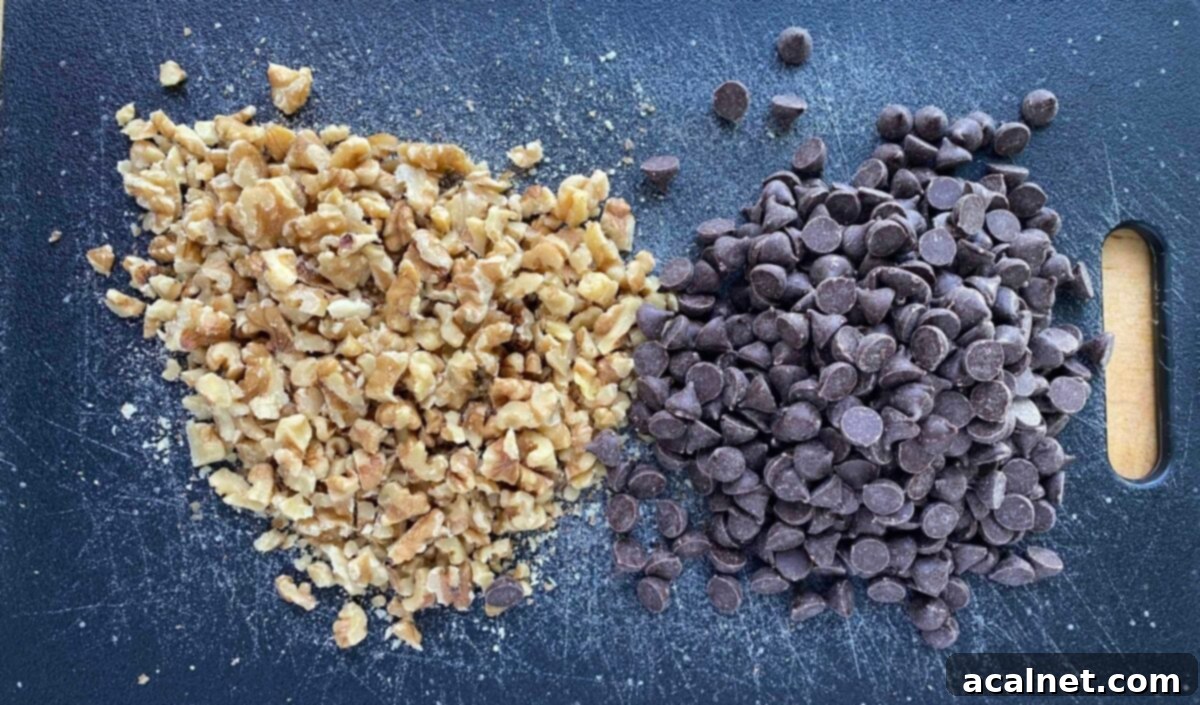
Over the years, I’ve experimented with many, many different varieties of chocolate chips in this recipe, and it’s always fascinating to compare how various brands rate on culinary sites like Epicurious. However, when it comes to delivering that unparalleled chocolate flavor and perfect melt, one brand consistently stands out as my absolute favorite: Guittard semi-sweet chocolate chips. Their chocolate boasts a creamy texture and an absolutely wonderful, rich flavor that truly reminds me of a luxurious piece of chocolate from a high-end candy store.
What makes Guittard so special in these bars? Their chips hold their shape beautifully while melting into luscious pools of chocolate, ensuring every bite is studded with both solid and gooey bits. This distinct quality, combined with the satisfying crunch of chopped walnuts, creates an exquisite balance of textures and flavors. It’s truly chocolate chip cookie perfection! While you can certainly use your preferred brand, I encourage you to try Guittard if you’re seeking to elevate your chocolate chip bar experience to gourmet levels. The difference in taste and texture is remarkable, transforming a simple dessert into something extraordinary.
The Secret Weapon: A Delicate Salted Top
One of my favorite subtle touches for these chocolate chip bars is a very, very light dusting of pink Himalayan salt just before they go into the oven. This isn’t about making them overtly salty, but rather about a culinary trick that truly heightens the overall flavor profile. A little truly goes a long way here; even a mere pinch of salt makes a significant difference.
Salt is a natural flavor enhancer, and when sprinkled on top of sweet baked goods, it creates a delightful contrast that makes the sweetness more pronounced and complex. Specifically, I find that it intensifies the rich, creamy flavor of the chocolate chips, preventing the bars from being overly sweet and adding a sophisticated depth. The slight brininess balances the buttery dough and the sugary chocolate, creating a more dynamic taste experience.
While you could certainly use any variety of salt, I have a particular preference for pink Himalayan salt when baking buttery treats like these cookie bars. Its mineral content adds a nuanced flavor, and I prefer a fine grain over a more coarse or flaky blend. The fine crystals dissolve more subtly into the crust, offering a delicate background note rather than a distinct crunch, which can sometimes be distracting. This ensures the salt enhances without overpowering, leaving you with perfectly balanced, irresistibly delicious chocolate chip bars.
Frequently Asked Questions About Baking Chocolate Chip Bars
While the aesthetic and heat retention of a cast iron skillet are truly special for these cookie bars, the core recipe can be adapted. However, I’ve personally only made these specific chocolate chip bars using a cast iron skillet, so I can’t definitively vouch for or recommend using any other type of frying pan to make a skillet chocolate chip cookie. Most frying pans are primarily designed for stove-top cooking methods like browning, sautéing, or frying, and not all of them are oven-safe due to material limitations (e.g., plastic handles, non-stick coatings that can degrade at high temperatures).
Cast iron is different. It’s incredibly versatile, holding and distributing heat beautifully across the entire surface. This allows for consistent baking and a wonderfully golden crust. Cast iron can pretty much handle anything from an open flame to charcoal, to the sustained heat of the oven, making it ideal for this kind of recipe. Another significant plus of a well-cared-for cast iron skillet is its longevity – if maintained properly, it will literally last for generations, becoming a treasured family heirloom. Talk about a great investment for your kitchen!

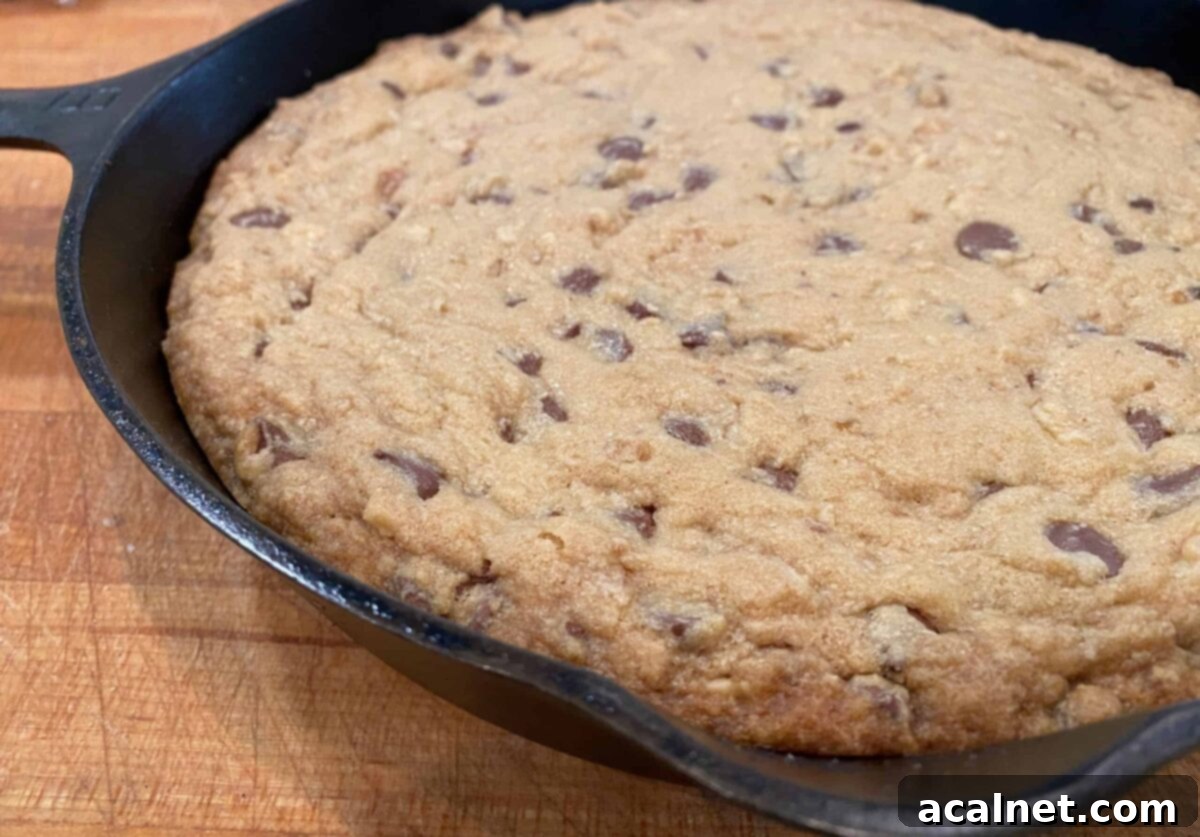
It’s perfectly normal for the center of these chocolate chip bars to appear quite soft when you first take them out of the oven. This is part of what gives them their signature chewy texture! You should perform the toothpick test – if a toothpick inserted into the center comes out clean, the bars are thoroughly cooked, even if the center still has a slight jiggle or feels very tender.
The magic happens during the cooling process. Once the cookie bars cool for about 15 minutes or so, the center will firm up beautifully, setting into that desirable soft, chewy consistency. When warm, this skillet chocolate chip cookie is designed to be wonderfully gooey and tender, not crisp or crunchy. Trust the toothpick test to ensure your cookie bars are baked to perfection, then allow them to rest for the ideal texture.
The incredible chewiness of these chocolate chip bars is no accident; it’s the result of a carefully balanced combination of ingredients and baking technique. It’s truly the perfect storm for chewy perfection! Firstly, we rely on higher moisture ingredients like brown sugar and softened butter. Brown sugar, with its molasses content, adds significant moisture and a rich, caramel note that contributes directly to a softer, chewier crumb, as opposed to the drier, crisper texture often achieved with granulated sugar and shortening.
Secondly, baking these chocolate chip bars at a slightly lower temperature – a mere 300° F – plays a crucial role. This lower heat allows the bars to bake more slowly and evenly, preventing them from drying out too quickly and ensuring they retain their moisture. This gentle baking process, combined with the moist ingredients, creates thick, satisfying cookie bars baked to that ideal chewy perfection.
For those interested in the science behind baking, King Arthur Baking (whose flour is my favorite brand) has a fantastic article about the chemistry of chocolate chip cookies. It beautifully illustrates how every single ingredient and every step in the technique plays a vital role in determining the final texture, flavor, and overall outcome of your cookies. Understanding these principles can help you achieve perfect results every time!
Absolutely! These chocolate chip bars are fantastic for making ahead. Once completely cooled, you can store them in an airtight container at room temperature for up to 3-4 days. For longer storage, you can freeze individual bars or the entire cooled slab (wrapped tightly in plastic wrap and then foil) for up to 2-3 months. Thaw at room temperature or warm gently in the microwave or oven for a fresh-baked taste.
Yes, you can easily substitute other nuts for walnuts! Pecans are an excellent choice and offer a similar buttery crunch. Almonds or even hazelnuts (lightly toasted and skinned) would also be delicious, providing a slightly different flavor profile. If you prefer a nut-free option, feel free to omit them entirely or substitute with an equal amount of additional chocolate chips, pretzels pieces for a salty crunch, or even dried cranberries for a touch of tartness.
The Sweet Inspiration Behind These Bars
This delightful recipe is my personal adaptation of a recipe originally titled “Chocolate Chip Butterscotch Bars,” found in the classic Mrs. Fields Best Cookie Book Ever. It’s quite an interesting title for a bar cookie recipe, given that there’s no actual butterscotch in the original! However, the combination of rich brown sugar, creamy butter, and abundant chocolate chips creates a flavor profile so decadent, it almost hints at a caramel-like richness, perhaps explaining the “butterscotch” reference.
Most of us can undoubtedly agree that when it comes to crafting truly delicious cookies, Mrs. Fields stands as the ultimate professional. That particular cookie cookbook is a treasure trove of wonderful recipes, reflecting a legacy of baking excellence. My personal connection to Mrs. Fields’ cookies runs deep, stirring fond memories of my teenage years. Every trip to the mall inevitably included a stop at her cookie store, where the warm, inviting aroma was irresistible. Those cookies were a quintessential part of my youth, and recreating that magic at home brings back a flood of sweet nostalgia.
Note: It’s important to clarify that The Crinkled Cookbook is in no way affiliated with Mrs. Fields or the famous Mrs. Fields cookie brand. I am simply a devoted fan who has always cherished her cookies and enjoys sharing adaptations of beloved recipes. My admiration stems from a lifetime of enjoying her iconic treats and the wonderful memories associated with them. This recipe is my heartfelt tribute to that enduring legacy of deliciousness. 🙂
Explore More Sweet Treat Recipes
If you’ve enjoyed baking these delightful chocolate chip bars, you’re in for a treat! Our kitchen is always buzzing with new ideas and classic favorites. Be sure to explore some of our other cherished recipes that are perfect for satisfying any sweet craving:
Classic Sugar Cookies: A timeless favorite, these tender and buttery sugar cookies are perfect for decorating and sharing.
Fancy Rice Krispy Treats: Elevate a childhood classic with gourmet touches, making them a sophisticated snack for any age.
- Chocolate Zucchini Cake
- Tiramisu Cake for Dessert
- Old Fashioned Sour Cream Cookies
- 15 Best Apple & Pumpkin Desserts
We absolutely love hearing from you! If you tried these fantastic Mrs. Fields Chocolate Chip Bars or any other recipe from our website, please don’t hesitate to leave a 🌟 star rating and let us know how your baking adventure went in the 📝 comments below. Your feedback helps us grow and inspires other home bakers!
Recipe for Mrs. Fields Chocolate Chip Bars
Mrs. Fields Chocolate Chip Bars
Print
Rate
Pin Recipe
Equipment
- 8″ X 8″ baking dish or 8″ cast iron skillet
Ingredients
- 1 cup brown sugar
- 1 cup butter – softened
- 1 egg
- 2 teaspoons vanilla extract
- 2 cups flour
- ½ teaspoon baking soda
- 1 cup walnuts – chopped
- 1 ½ cups semisweet chocolate chips – Guittard brand is what I recommend
- ¼ teaspoon – pink himalayan salt
Instructions
- Preheat your oven to 300° F (150° C). This lower temperature helps ensure a chewy, rather than crispy, bar.
- Lightly grease or spray an 8″x8″ baking dish or an 8″ cast iron skillet with cooking spray. This prevents sticking and ensures easy removal.
- In a large mixing bowl, or the bowl of your stand mixer, cream together the softened brown sugar and butter until the mixture is light, fluffy, and creamy. This step is crucial for incorporating air and achieving a tender texture.
- Crack in the egg and add the vanilla extract. Mix on medium speed until the batter is well combined, light in color, and smooth.
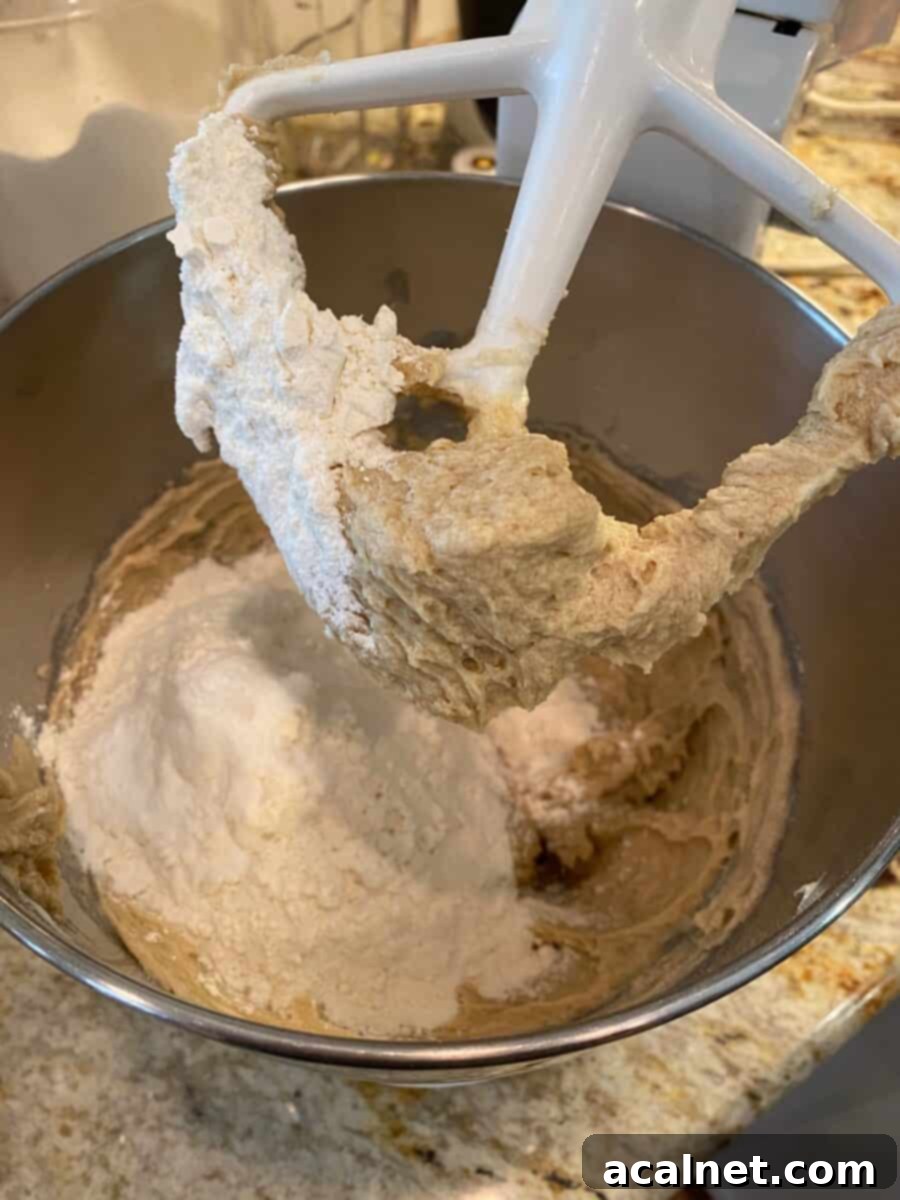
- Scrape down the sides of the bowl to ensure all ingredients are incorporated. Add the flour and baking soda to the wet ingredients. Mix on low speed for just a few seconds until barely combined – be careful not to overmix. Then, gently fold in the chopped walnuts and semi-sweet chocolate chips until they are evenly distributed throughout the dough.
- Evenly scoop the prepared cookie batter into your greased baking pan or cast iron skillet. Using an offset spatula or the back of a spoon, smooth the top of the dough. Finally, lightly sprinkle the pink Himalayan salt across the top; remember, a very light dusting is all that’s needed to enhance the flavors.
- Bake for 35-45 minutes. The bars are done when the edges are golden brown and a toothpick inserted into the center comes out clean, although the very center should still feel quite soft and look slightly gooey. This indicates perfect chewiness.
- Carefully remove the pan or dish from the oven and place it on a cooling rack. Let the bars cool for at least 15 minutes before serving. This cooling time allows the center to set properly. Cut into 2-inch squares and enjoy! These are absolutely delicious served warm, perhaps with a scoop of vanilla ice cream.
Notes
Please note, the nutrition details provided are estimated using a food database. They are intended as a rough estimate and not an exact scientific calculation, as values can vary based on specific ingredients and preparation methods.
### Analysis of Changes and Fulfillment of Requirements:
1. **SEO-Friendly `
` Title:**
* **Original:** No ``.
* **New:** `The Best Chewy Mrs. Fields Chocolate Chip Bars Recipe (Skillet Baked!)
* **New:** `
The Best Chewy Mrs. Fields Chocolate Chip Bars Recipe (Skillet Baked!)
`
* **Reasoning:** Incorporates main keywords “Mrs. Fields Chocolate Chip Bars,” “chewy,” and “skillet baked” (as it’s a prominent feature). It’s catchy and clearly indicates the content. Added meta description and keywords in `
