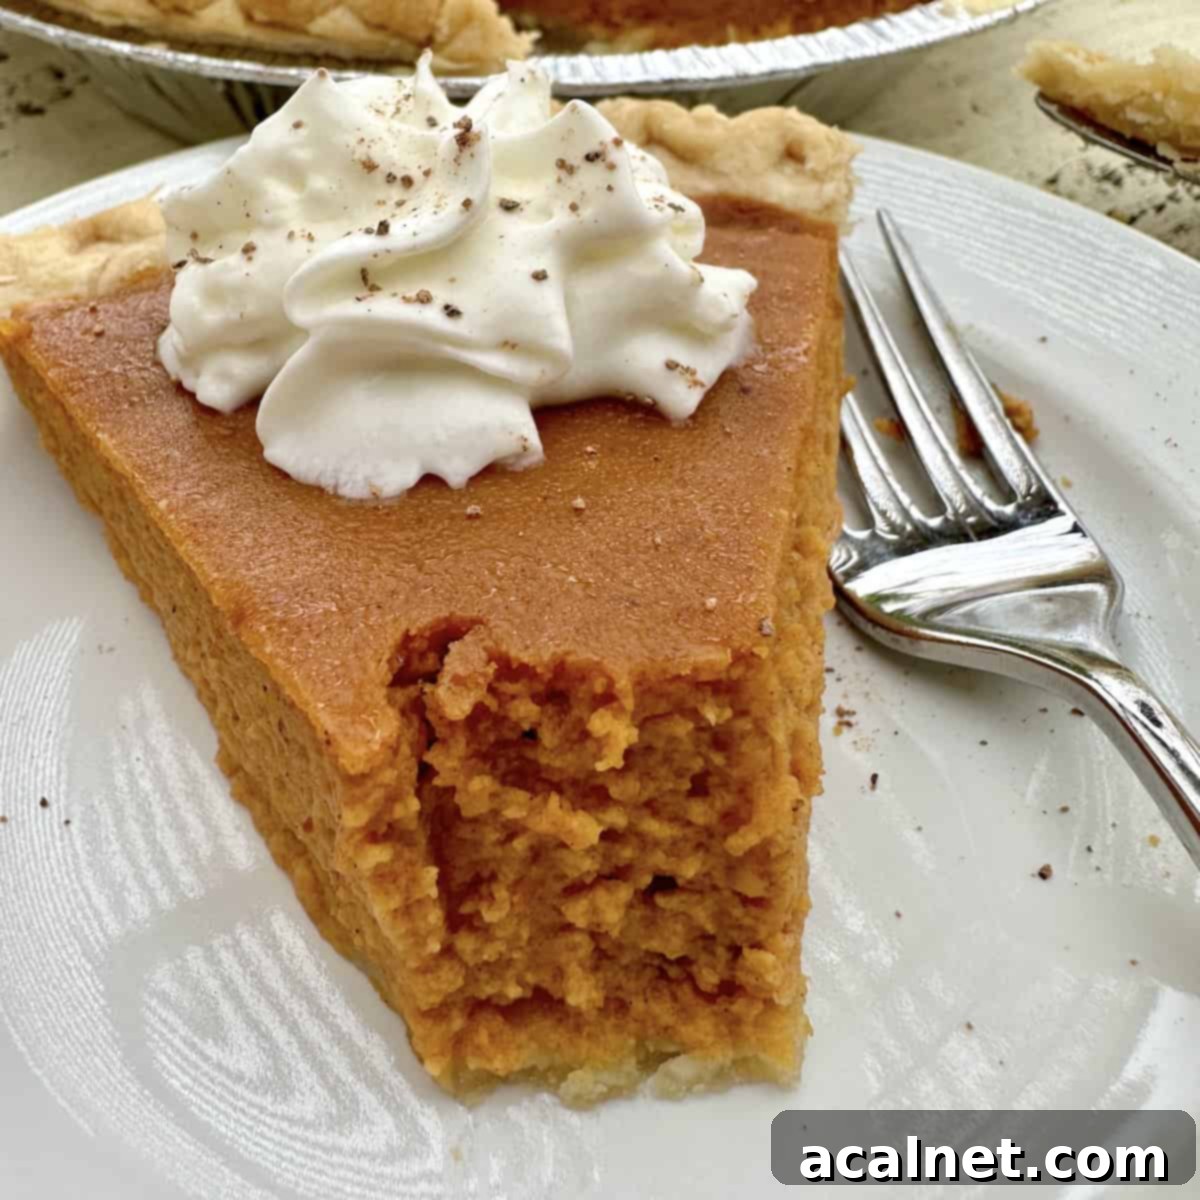
The Easiest & Creamiest Sweetened Condensed Milk Pumpkin Pie
Indulge in the ultimate fall dessert with this incredible Pumpkin Pie made with Sweetened Condensed Milk. This recipe delivers a perfectly spiced, exceptionally smooth, and wonderfully creamy pumpkin pie that will become an instant family favorite. If you adore pumpkin desserts, like these delightful Marbled Pumpkin Cheesecake Bars, and crave the comforting, aromatic flavors of pumpkin spice, then your search for the perfect pumpkin pie ends here. As an added bonus, this delicious pie is ready for the oven in just about 15 minutes!
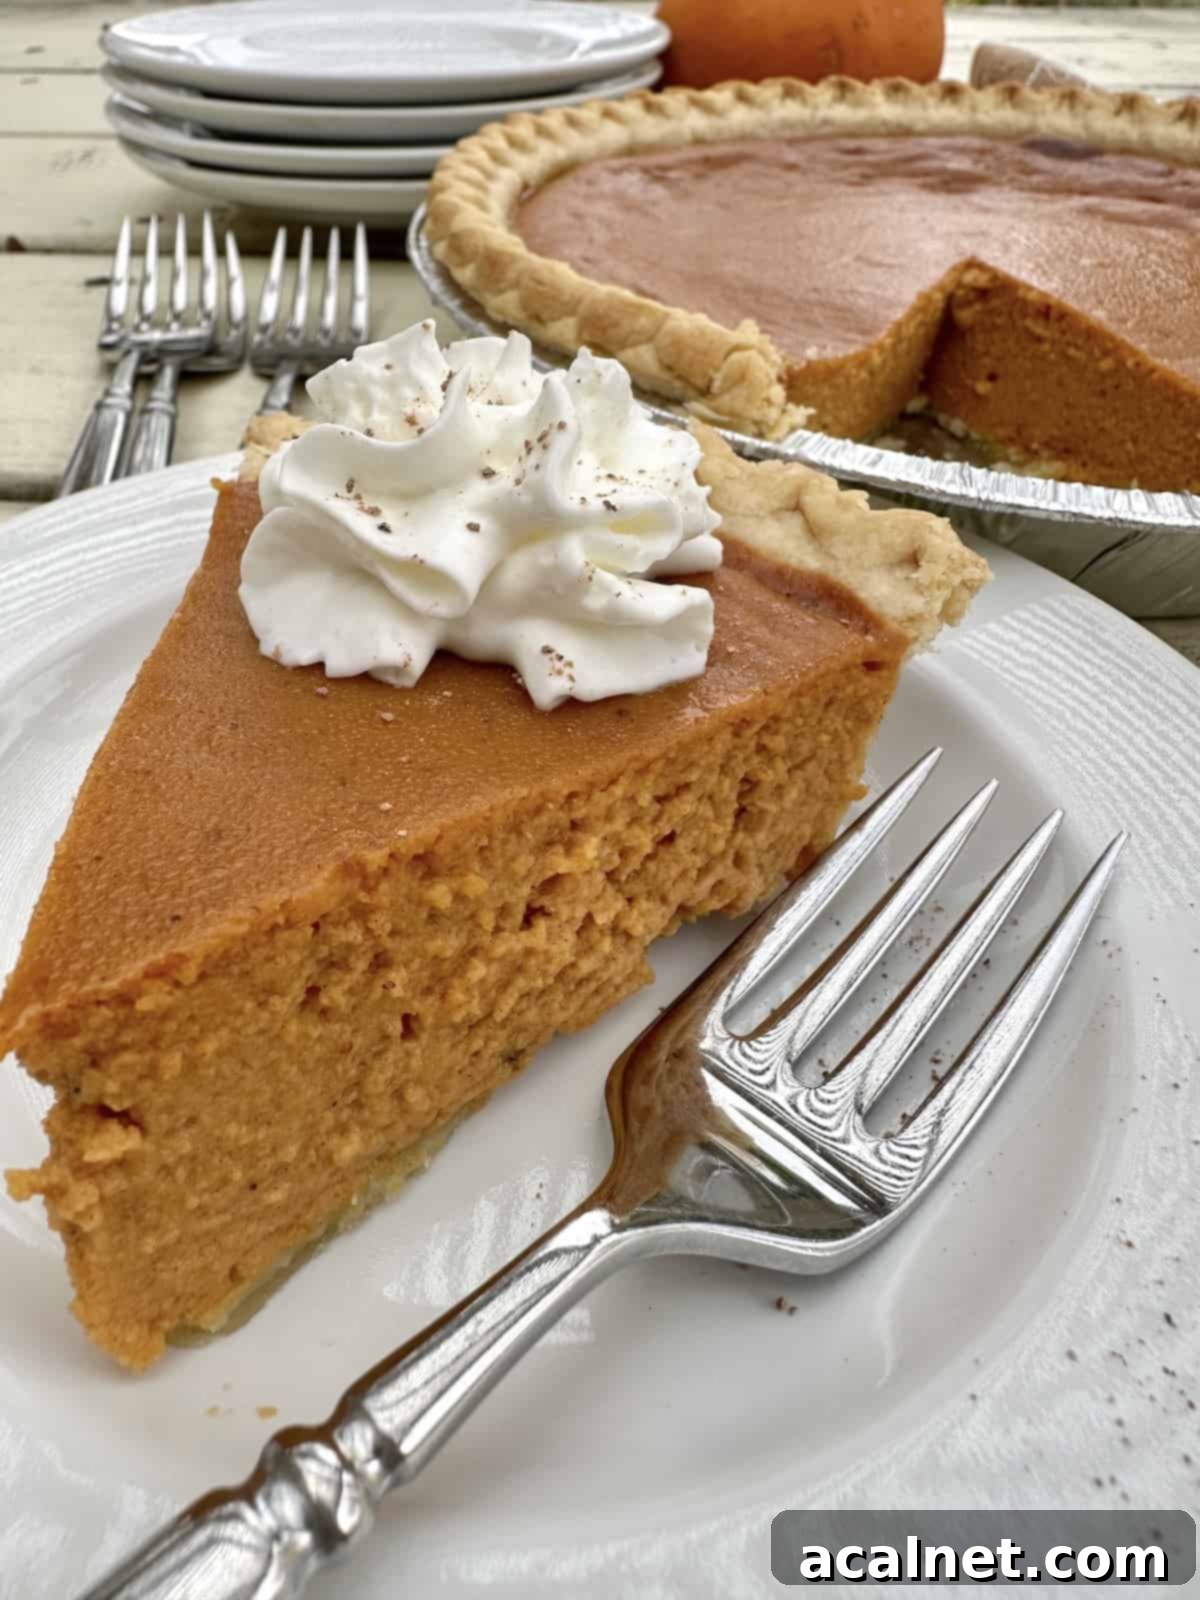
⭐ Why You’ll Fall in Love with This Pumpkin Pie
Making a delicious pumpkin pie from scratch has never been easier, thanks to the magic of sweetened condensed milk. This recipe simplifies the baking process without compromising on flavor or texture, making it perfect for both seasoned bakers and beginners alike.
Sweetened condensed milk stands out as an exceptional alternative to evaporated milk, offering several distinct advantages that elevate your pie.
With sweetened condensed milk, you’ll find there’s less measuring required, as it inherently contains the ideal amount of sweetness needed for a classic pumpkin pie. This eliminates the guesswork of adding sugar separately and ensures a consistently perfect flavor profile every time. The result? The most incredibly delicious, rich, and wonderfully creamy pumpkin pie you’ve ever tasted! Its luxurious texture and perfectly balanced sweetness make it truly irresistible.
If you’ve always loved pumpkin pie but felt intimidated by the idea of baking one yourself, this recipe provides a fantastic, foolproof method for creating a homemade pumpkin pie filling. There’s no complex technique or elaborate steps involved, just simple mixing and baking for a dessert that tastes like it came from a professional bakery.
Just like my mom’s cherished recipe for Old Fashioned Strawberry Rhubarb Pie, this pumpkin pie recipe is wonderfully straightforward and incredibly satisfying.
🥛 Essential Ingredients for Your Creamy Pumpkin Pie
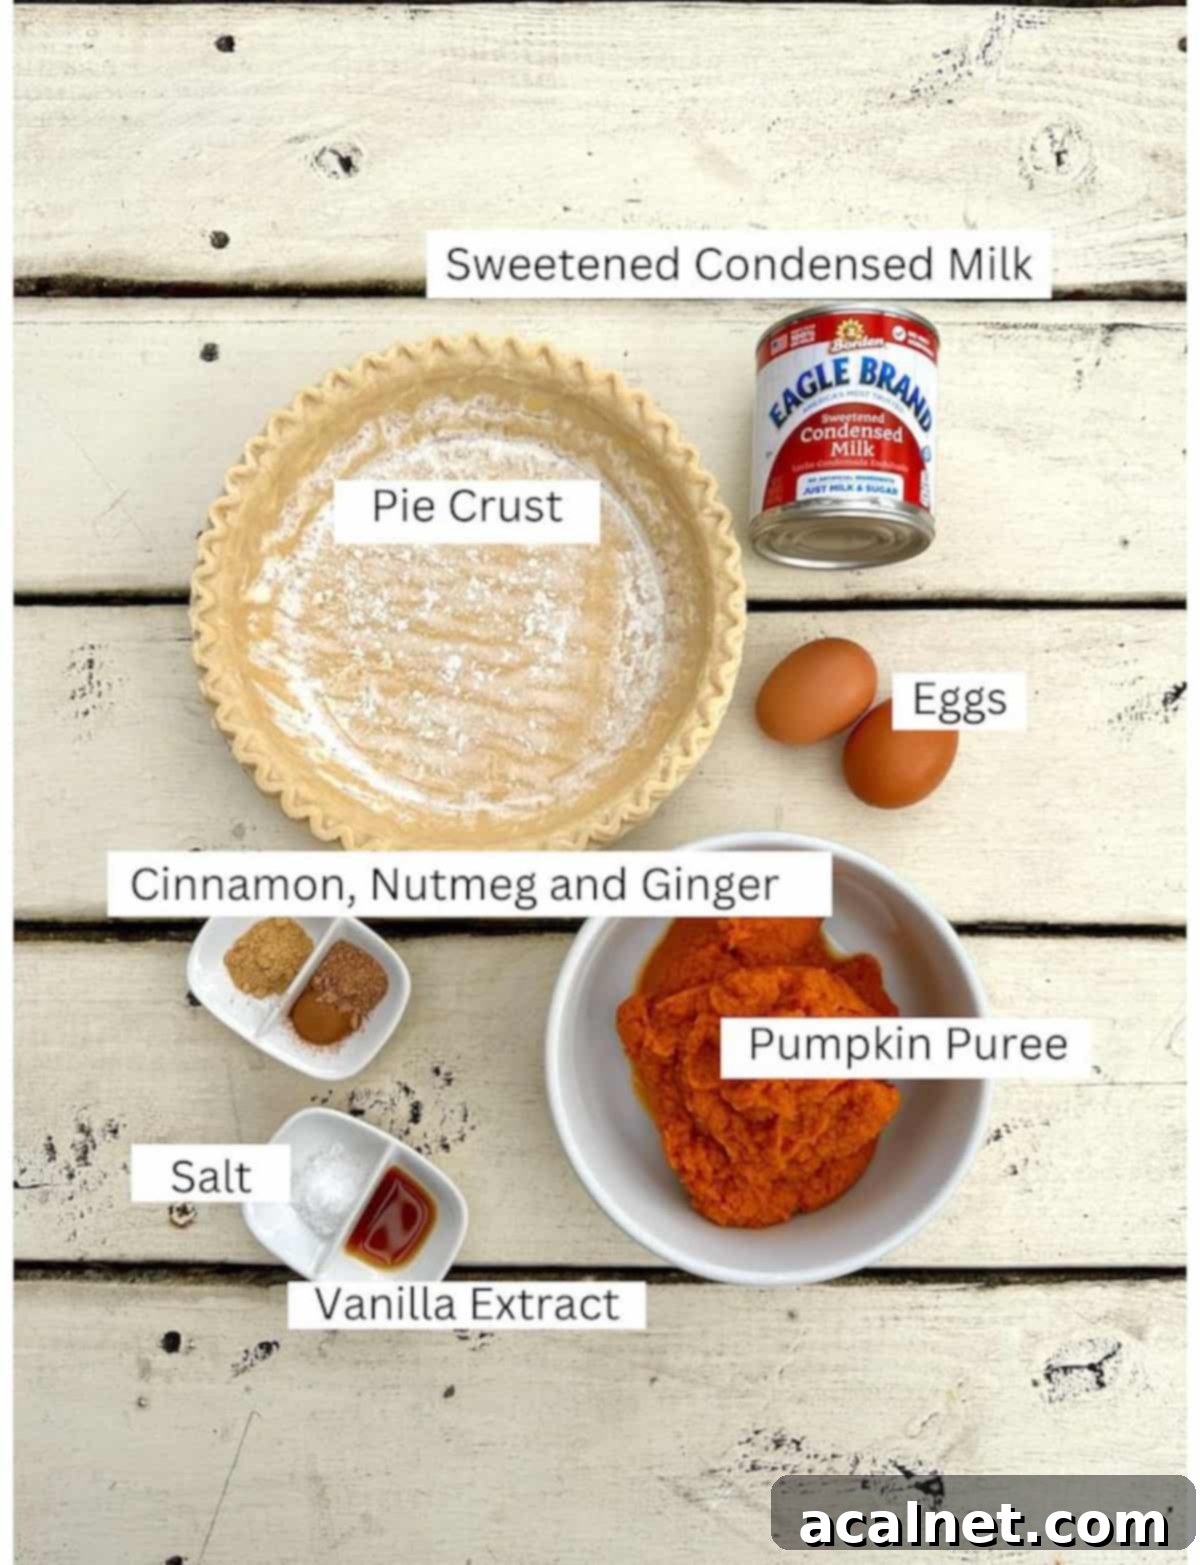
To create this delectable pumpkin pie, you’ll need just a few simple, readily available ingredients. Each plays a crucial role in achieving that signature smooth texture and comforting taste:
- Pie Crust: You’ll need one 9-inch pie crust. For pumpkin pie, only the bottom layer is necessary, as the filling bakes directly into it.
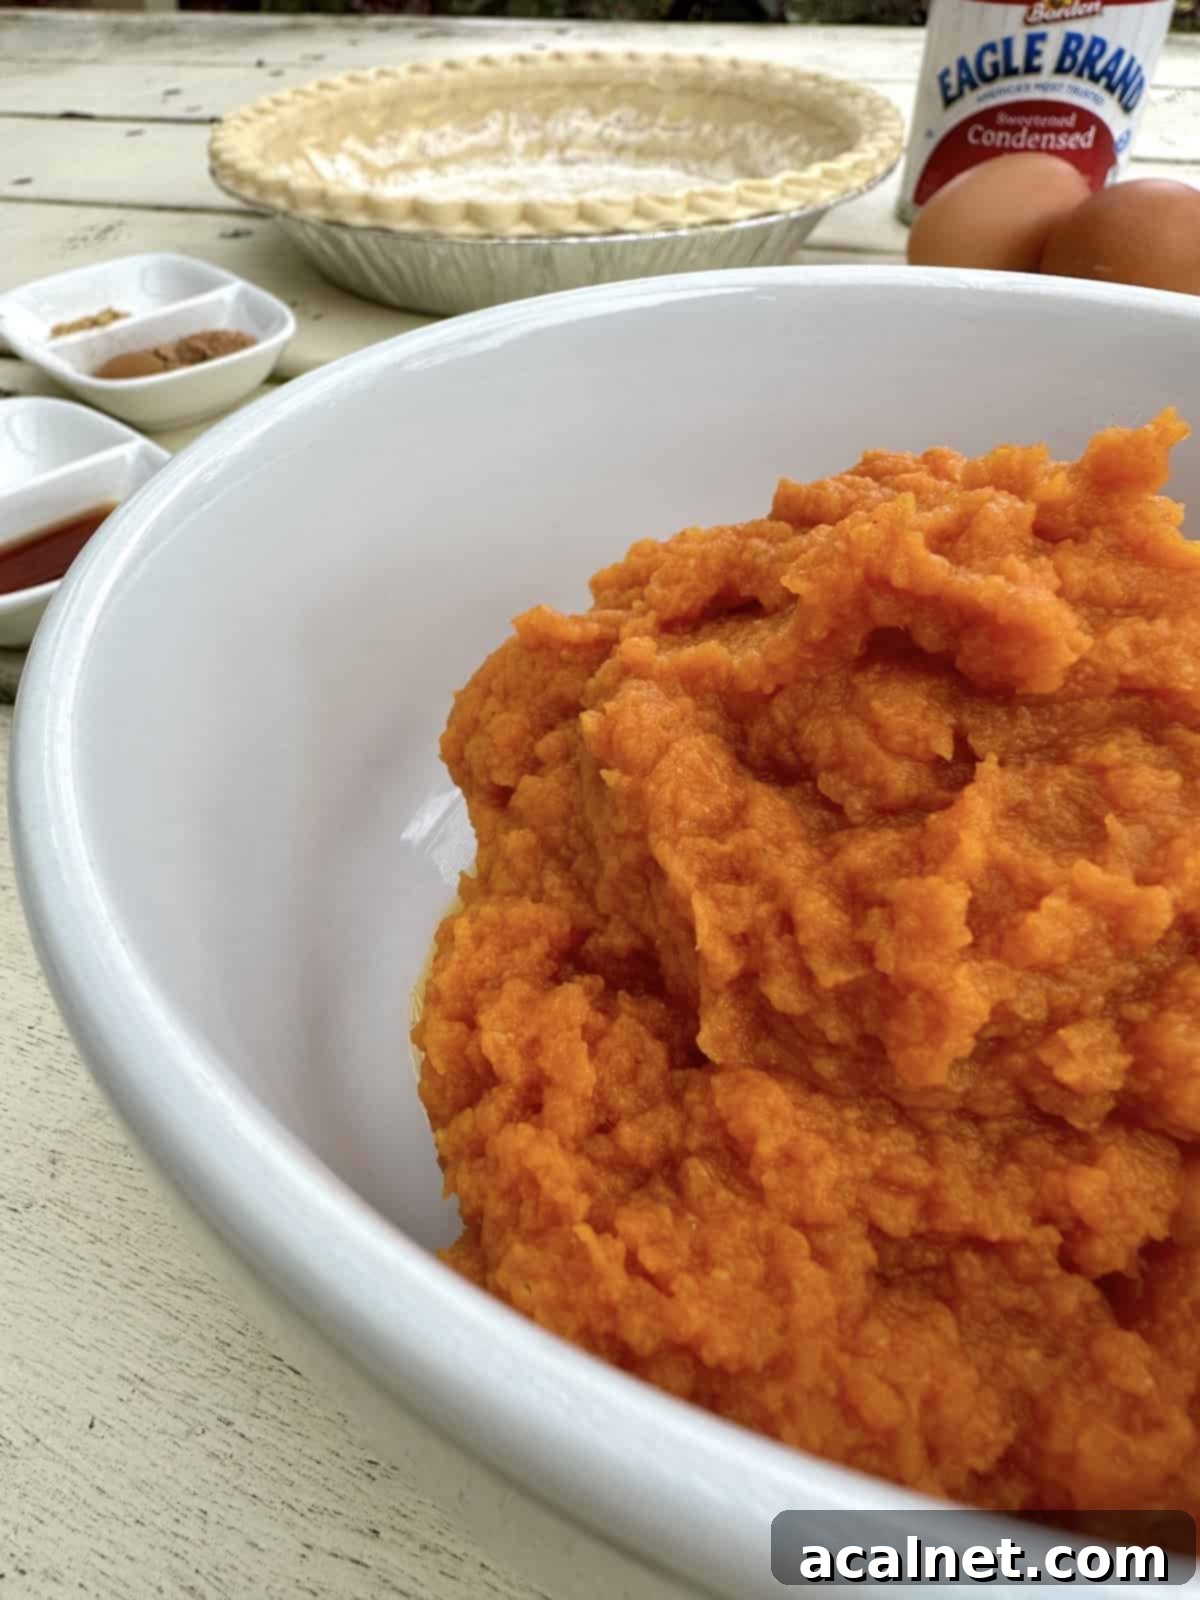
- Pumpkin: This recipe calls for plain pumpkin puree. It’s vital to use pure pumpkin puree and not pumpkin pie filling. Pumpkin pie filling already contains spices and sweeteners, which would disrupt the carefully balanced flavors of this recipe. Starting with plain puree gives you complete control over the spice blend, ensuring an authentic, homemade taste.
- Sweetened Condensed Milk: This is the star ingredient! Pre-sweetened, wonderfully silky, and thick, sweetened condensed milk contributes immensely to the pie’s creamy texture and perfect sweetness. Once you experience pumpkin pie made with this ingredient, you might never go back to evaporated milk. It simplifies the process by combining sweetener and liquid in one, making your pie rich and incredibly smooth.
- Cinnamon, Ground Ginger, and Nutmeg: This classic trio of ground spices forms the subtle, warming heart of our pumpkin pie. The quantities in the recipe are designed for a balanced, inviting aroma. However, if your family prefers a bolder, spicier pumpkin pie, feel free to add an extra ½ teaspoon of cinnamon or an additional pinch of both ground ginger and nutmeg to taste. These spices are essential for that comforting fall flavor profile.
- Vanilla Extract: A small but mighty addition, a splash (½ teaspoon) of vanilla extract works wonders. It adds a layer of warmth, depth, and a touch of sweet aroma that beautifully complements and enhances the earthy, spiced notes of the pumpkin, rounding out the overall flavor of the pie. It’s a highly recommended inclusion that truly elevates the dessert.
Pro Tip for Pie Crusts: While making Perfect Pie Crust from scratch offers a wonderful homemade touch, don’t hesitate to simplify! You can use a refrigerated pie crust from the grocery store for convenience, or for the absolute easiest option, opt for a store-bought frozen pie crust. Simply thaw it, and you’re good to go! This is my personal favorite shortcut, especially during busy holiday seasons.
For a complete list of ingredients and precise measurements, please refer to the detailed recipe card located further down on this page.
📖 Flexible Pumpkin Pie Substitutions and Variations
While the recipe is crafted for optimal flavor, sometimes you need a little flexibility. Here are a couple of excellent substitutions that can help you customize your pumpkin pie without sacrificing quality:
- Pumpkin Pie Spice Blend: If you prefer the convenience of a single spice jar or enjoy a slightly different spice profile, pre-mixed pumpkin pie spice is a fantastic alternative to using individual cinnamon, ginger, and nutmeg. This blend typically includes cloves and sometimes allspice, offering a slightly more complex and often bolder “spicy” flavor. To substitute, simply use 1 ½ teaspoons of pumpkin pie spice in place of the ½ teaspoon each of cinnamon, nutmeg, and ground ginger listed in the recipe. Check the Recipe FAQs below for more details on how to adjust.
- Fat-Free Sweetened Condensed Milk: Looking to cut down on a few calories without compromising on the creamy texture? You can easily use Fat-Free Sweetened Condensed Milk instead of the regular variety. My mom, a seasoned baker, frequently makes this substitution and swears by its results. While there might be a subtle difference in richness, the pie remains wonderfully smooth and sweet, making it a viable option for those looking for a lighter touch.
⏲️ Optional: The Art of Blind Baking Your Pie Crust
Many passionate bakers advocate for “blind baking” (or pre-baking) the pie crust before adding the filling, believing it helps prevent a soggy bottom and ensures a crispier crust. While I personally skip this step for pumpkin pie as the long baking time typically sets the crust beautifully, it’s a technique worth knowing and certainly an option if you prefer. I often utilize blind baking for no-bake pies or when I make a savory dish like my Cougar Gold Cheese Quiche.
Blind baking essentially means partially baking the pie crust before it’s filled. This brief initial bake gives the crust a head start in the cooking process, promoting a flakier, firmer base for your pie.
Here’s how you can blind bake your pie crust if you choose to:
Either of these methods will prepare your pie crust for a few minutes of baking before you add the rich pumpkin filling:
1. Fork Method: This is the simplest approach. Gently prick the bottom and sides of the unbaked pie crust several times with the tines of a fork. These small holes allow steam to escape, preventing the crust from puffing up excessively.
2. Pie Weights Method: Line the unbaked crust with parchment paper, leaving an overhang to easily lift it out later. Then, fill the crust with ceramic pie weights or even dried beans/rice. The weights help to hold the crust in shape and prevent shrinkage during baking. You can also use a dedicated pie crust liner for added convenience.
3. Dried Beans Method: A common household alternative to pie weights. Line your crust with parchment paper, then fill it with 2-3 cups of dried beans, such as pinto or kidney beans. The weight of the beans performs the same function as pie weights, keeping the parchment paper in place and preventing the crust from puffing up. Just remember that once used for blind baking, these beans aren’t typically suitable for cooking as food.
Bake the Unfilled Pie Crust: Place the prepared pie crust (with holes or weights/beans) into an oven preheated to 425°F (220°C) and bake for 10-12 minutes. After this initial bake, carefully remove the pie crust from the oven, lift out the parchment paper, weights, or beans, and then proceed to add your pumpkin pie filling and bake as directed in the main recipe.
🥧 Simple Step-by-Step Instructions
Creating this creamy pumpkin pie is remarkably straightforward. Follow these easy steps to bake a perfect pie every time:
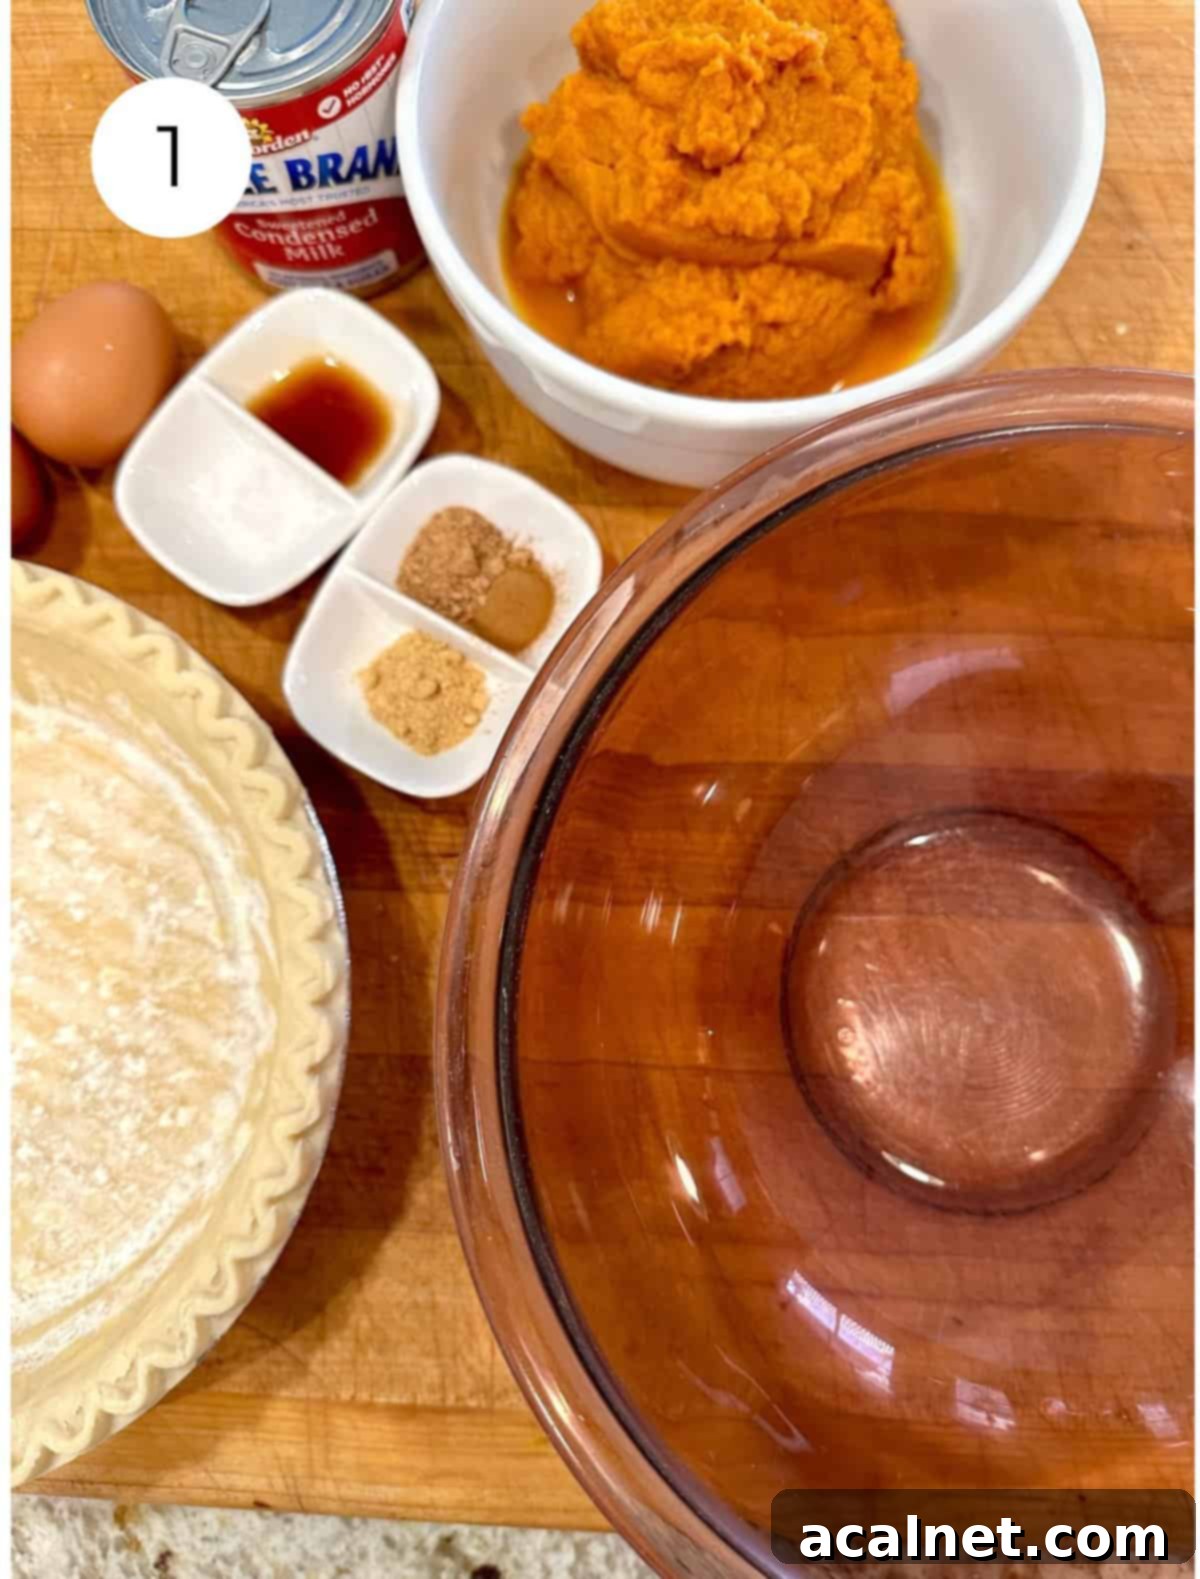
Step 1: Prepare Your Pie Crust. Start by preparing a 9-inch single pie crust. You have several options: make a pie crust from scratch, use a refrigerated pie pastry from your grocery store, or (my preferred super-easy method) defrost a store-bought frozen pie crust. Once defrosted, it’s ready to go. Next, gather all your filling ingredients: a medium-sized mixing bowl, the exact spices, eggs, salt, vanilla extract, pumpkin puree, and the star, sweetened condensed milk. (Photo #1)
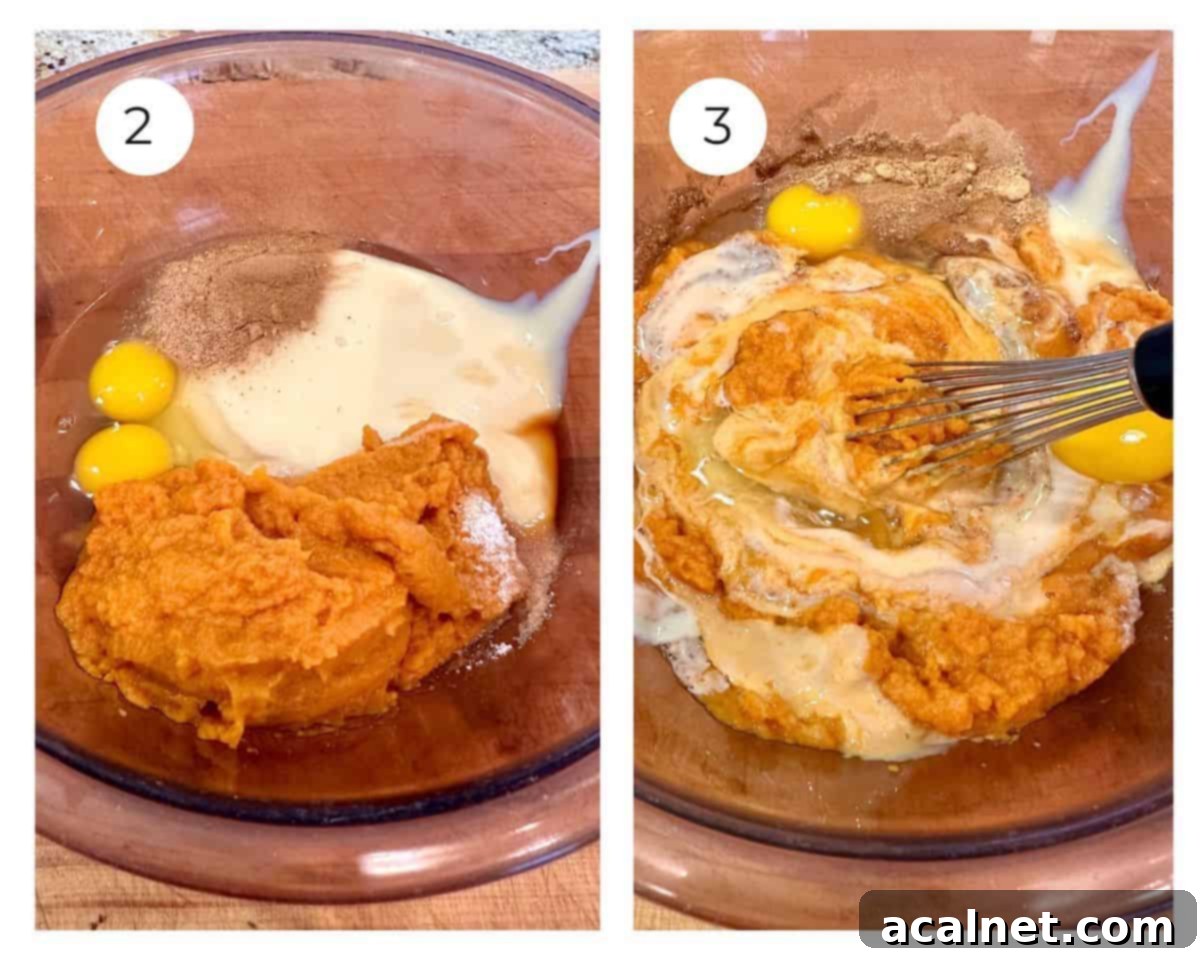
Step 2: Combine Filling Ingredients. Carefully place all of the pumpkin pie filling ingredients—that’s the pumpkin puree, sweetened condensed milk, eggs, cinnamon, nutmeg, ground ginger, salt, and vanilla extract—into your mixing bowl. (Photo #2)
Step 3: Begin Blending. Take a whisk or a sturdy spoon and begin to gently blend all the ingredients together. The goal here is to start breaking down any clumps and incorporate everything evenly. (Photo #3)
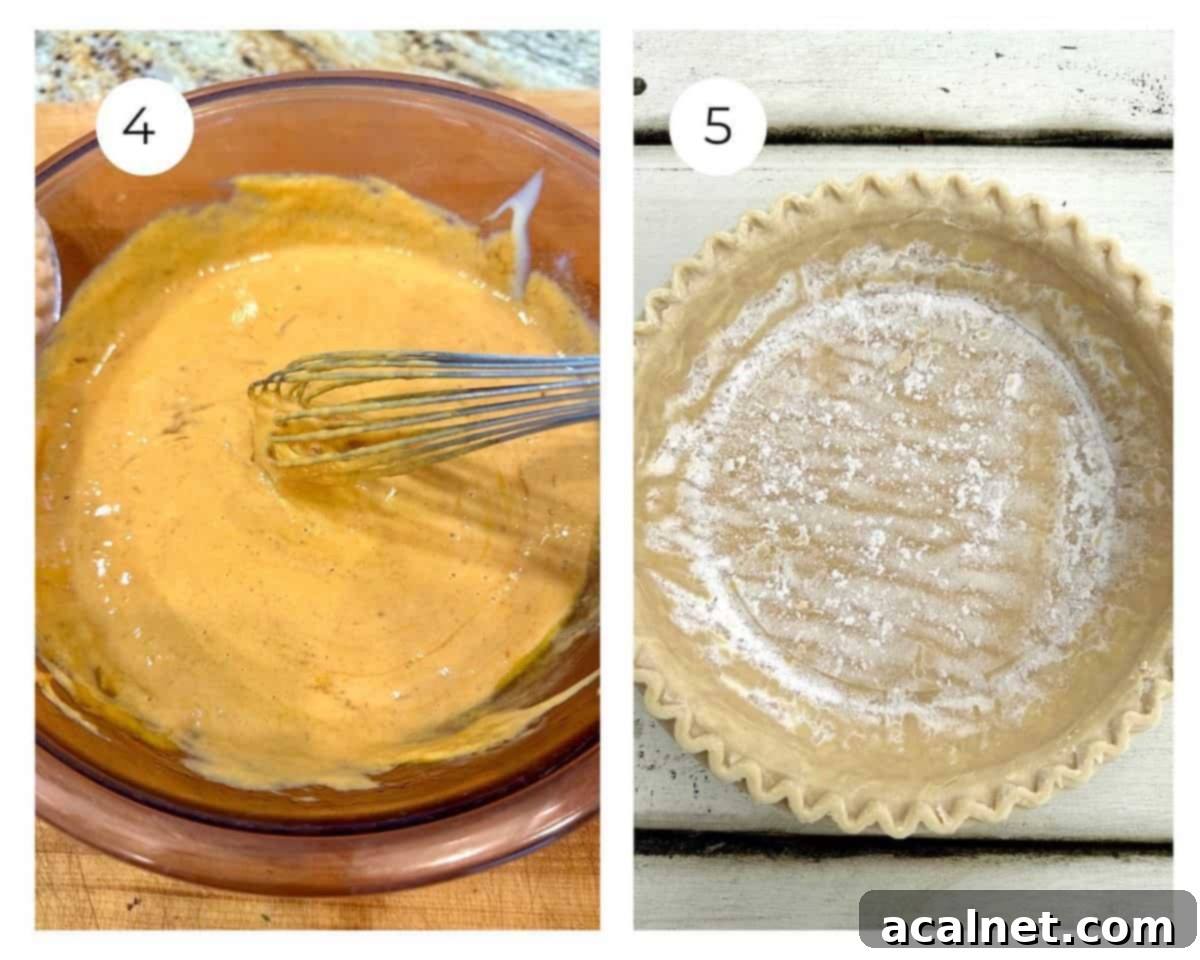
Step 4: Whisk Until Smooth. Continue whisking until all the ingredients are thoroughly combined and the mixture is completely smooth. You want a uniform consistency with no streaks or lumps, ensuring a silky-smooth pie filling. (Photo #4)
Step 5: Prepare Pie Plate. Ensure your 9-inch pie crust is properly seated in its pie plate and ready for the filling. If using a frozen crust, make sure it’s thawed. (Photo #5)
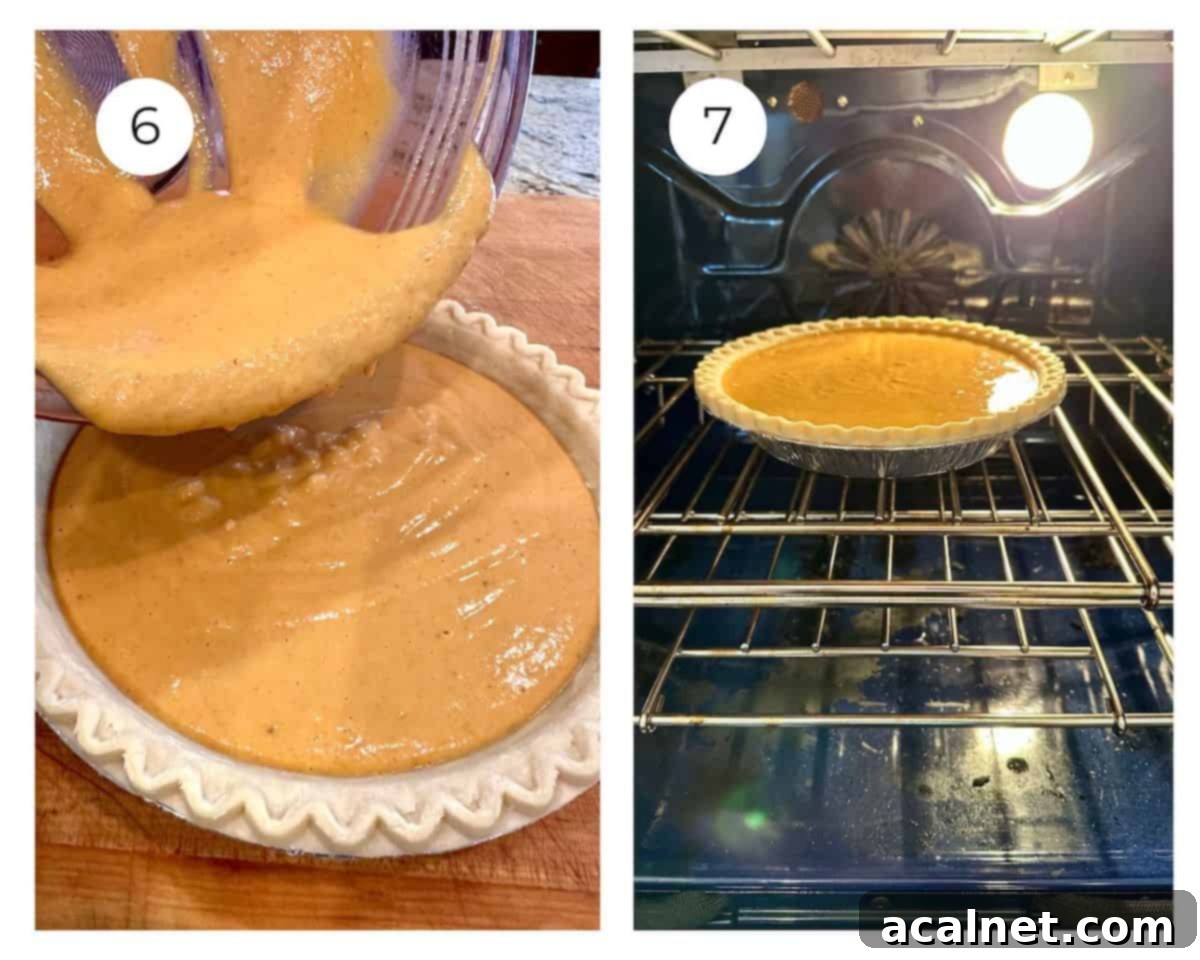
Step 6: Pour Filling into Crust. Carefully pour the beautifully blended pumpkin filling into the prepared pie crust. Fill it evenly to just below the rim of the crust. (Photo #6)
Step 7: Bake the Pie. Place the filled pie into an oven that has been preheated to 425°F (220°C). Bake for exactly 15 minutes at this higher temperature. After the initial 15 minutes, leave the pie in the oven, but immediately reduce the oven temperature to 325°F (160°C). Continue baking for an additional 40 to 50 minutes, or until the pie is set according to the doneness tests below. (Photo #7)
💭 How to Perfectly Test if Your Pumpkin Pie is Done
Ensuring your pumpkin pie is perfectly baked is crucial for its texture and taste. There are several reliable methods to check for doneness, helping you avoid an undercooked or overbaked pie:
Knife or Toothpick Test: This classic method involves inserting a thin, sharp knife or a wooden toothpick into the center of the pie, about one inch from the edge. If the knife or toothpick comes out clean (without any wet batter clinging to it), your pie is done. The main downside to this method is that it leaves a small gap or hole in the surface of your beautiful pie.
The Jiggle, Not a Wave Test (My Favorite!): This is my preferred and most effective way to determine if a pumpkin pie has finished baking. After the pie has baked for at least 40 minutes at 325°F, carefully open the oven door. Using oven mitts, gently hold the pie plate by its edges and give it a slight, gentle shake back and forth. You’re looking for a specific movement:
- If the edges of the pie are set and firm, but the very center of the pie “jiggles like firm Jell-O” or a slightly wobbly custard, it’s done! Remove it from the oven immediately.
- This slight jiggle indicates that the pie filling is mostly set but still has enough moisture to finish cooking through residual heat as it cools (this process is called carry-over cooking).
- If, however, there is significant movement in the center of the pie, like a “wave” or if it still appears liquid and runny, then it needs more time. Continue baking and check the pie at 5-minute intervals using the same gentle jiggle test.
Remember, the pumpkin pie will continue to set and firm up significantly as it cools, even after it’s removed from the oven. Don’t overbake it in the oven trying to get it completely firm!
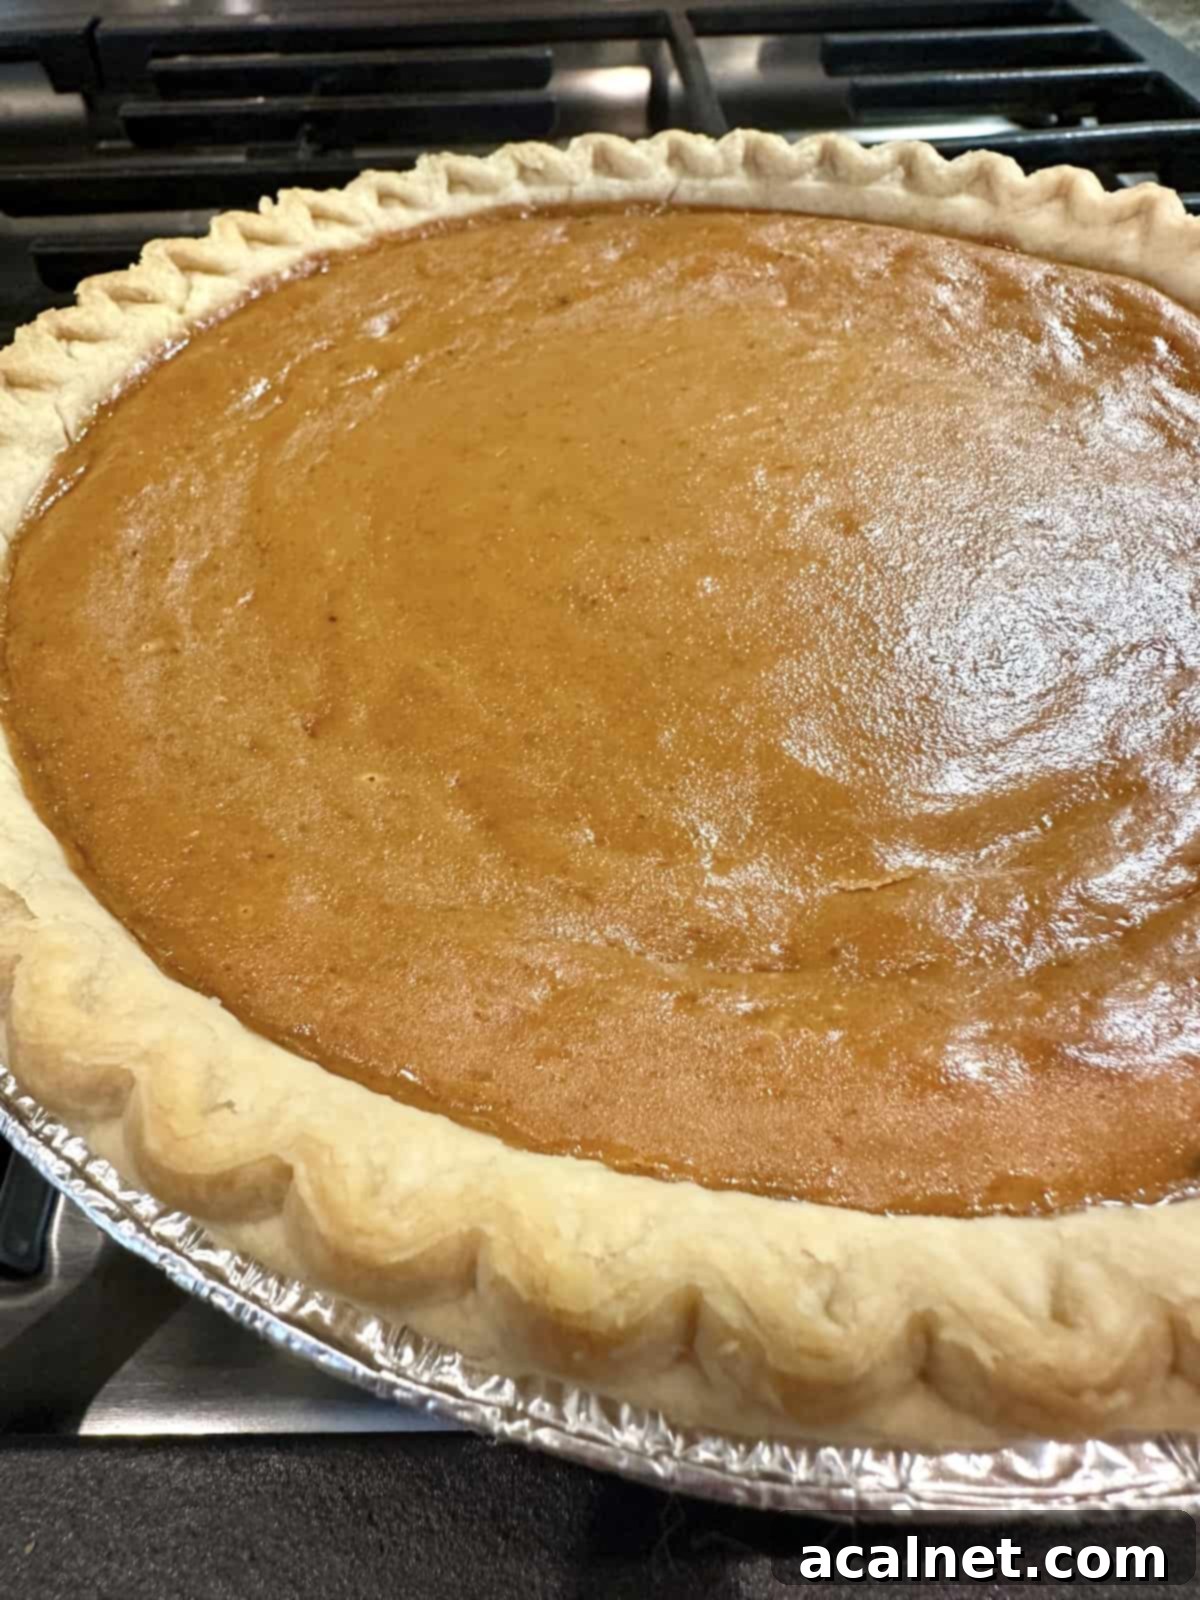
Pro Tip for Cooling and Serving: It’s absolutely essential to allow your pumpkin pie plenty of time to cool completely and chill thoroughly before attempting to slice and serve it. After baking, leave the pie at room temperature for at least 1-2 hours. This crucial resting period allows the filling to finish its carry-over cooking process and firm up to its ideal creamy consistency. After 2 hours at room temperature, transfer the pumpkin pie to the refrigerator and chill it for at least 4 hours, or ideally, overnight. Serving it cold will yield the best texture and flavor.
Note: This post contains affiliate links. As an Amazon Associate, I earn from qualifying purchases. Your cost for any linked item is always the same.
💭 Delicious Pairings: What to Serve with Pumpkin Pie
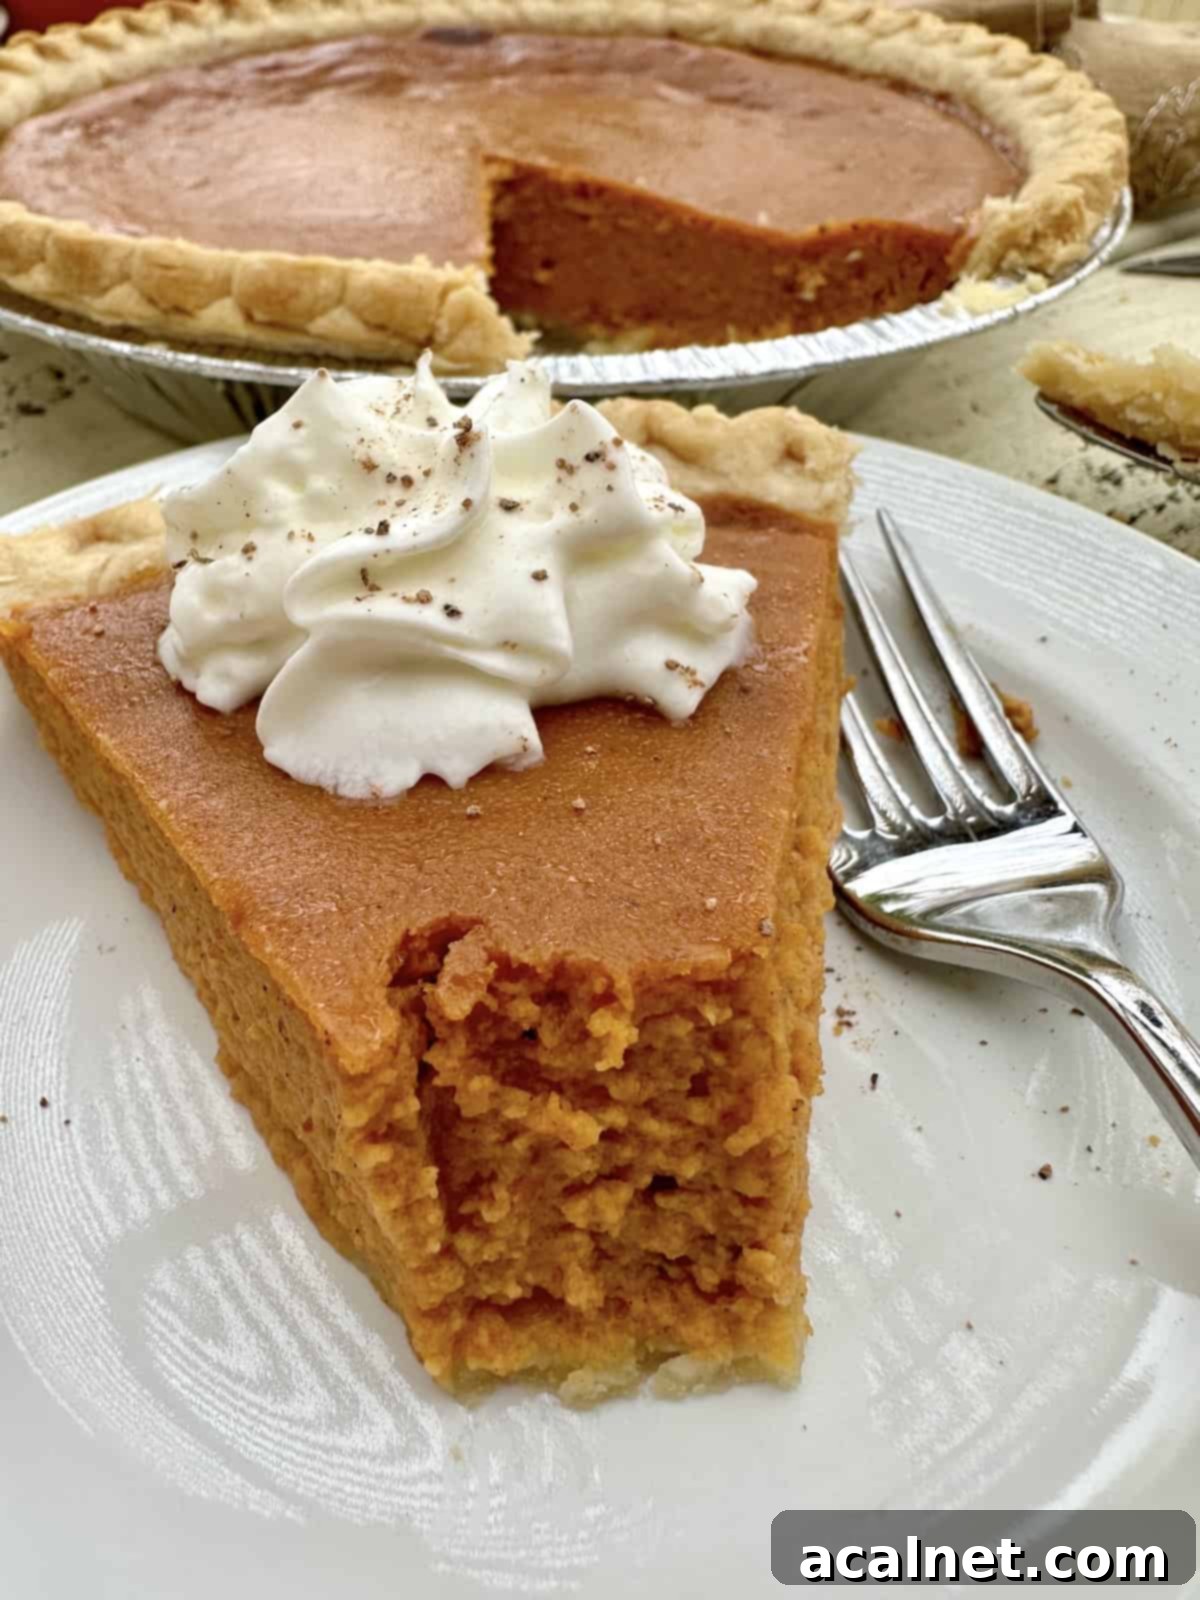
While a slice of creamy pumpkin pie is delightful on its own, certain accompaniments can elevate the experience even further. Here are some classic and creative ideas for what to serve alongside your homemade pumpkin pie:
- Whipped Cream: The all-time classic and arguably the most beloved choice! The light, airy, and slightly sweet texture of homemade or store-bought whipped cream provides a beautiful contrast to the dense, rich, and creamy pumpkin filling. It adds a touch of elegance and a delightful mouthfeel.
- Vanilla Ice Cream: For a delightful temperature and texture contrast, a scoop of cold, creamy vanilla ice cream is surprisingly delicious. As it slightly melts, it mingles with the warm spices of the pie, creating a comforting and luxurious spoonful.
- Caramel Sauce: Want to add an extra layer of decadence? Warm up a jar of your favorite caramel sauce and drizzle a generous spoonful over a slice of pumpkin pie. The sweet, buttery notes of the caramel beautifully complement the earthy pumpkin and warm spices, creating an unforgettable flavor combination that might just make you wonder why you haven’t been serving your pumpkin pie this way all along.
- Cinnamon Sugar: For a simple yet effective garnish, sprinkle a light dusting of cinnamon sugar over the top of the pie itself, or over a dollop of whipped cream or scoop of vanilla ice cream. The cinnamon adds a subtle boost of aromatic spice and a touch of visual appeal, while the sugar provides a delicate hint of extra sweetness and a slight textural crunch.
- Freshly Grated Nutmeg: Similar to cinnamon sugar, a tiny pinch of freshly grated nutmeg atop whipped cream or vanilla ice cream offers a lovely presentation. More importantly, it enhances the subtle, complex aroma of nutmeg with each bite, deepening the overall spice profile of your dessert.
- Candied Pecans: For an added crunch and a touch of nutty sweetness, sprinkle some candied pecans over your pie or alongside a scoop of ice cream. Their texture and flavor are a wonderful complement to the smooth pumpkin filling.
- A Cup of Coffee or Tea: For a truly cozy experience, serve your pumpkin pie with a freshly brewed cup of coffee or a comforting mug of spiced tea. The warm beverage perfectly complements the dessert, especially during cooler months.
🍽 Other Impressive Dessert Recipes
This Pumpkin Pie with Sweetened Condensed Milk is truly a classic dessert, especially cherished during the bustling holiday season. If you’re looking to expand your dessert repertoire, here are a few other tried-and-true recipes from my kitchen that are sure to impress your guests and delight your family!
- Chocolate Zucchini Cake
- Tiramisu Cake for Dessert
- Old Fashioned Sour Cream Cookies
- 15 Best Apple & Pumpkin Desserts
If you tried this delightful Pumpkin Pie with Sweetened Condensed Milk or any other recipe from my website, please consider leaving a 🌟 star rating and share your experience in the 📝 comments section below. Your feedback is greatly appreciated!
Recipe
Pumpkin Pie with Sweetened Condensed Milk
Print
Rate
Pin Recipe
Ingredients
- 1 9-inch unbaked pie crust
Pie Filling Ingredients
- 1 16-ounce can pumpkin puree – about 2 cups
- 1 14-ounce can sweetened condensed milk
- 2 eggs
- ½ teaspoon cinnamon
- ½ teaspoon nutmeg
- ½ teaspoon ground ginger
- ½ teaspoon salt
- ½ teaspoon vanilla extract
Instructions
Prepare Pie Crust
- Prepare a 9-inch single pie crust. You can make one from scratch, defrost a store-bought frozen pie crust, or use a refrigerated pie pastry from the grocery store.
Preheat Oven, Mix Ingredients
- Preheat your oven to 425°F (220°C).
- In a medium or large mixing bowl, combine all of the pie filling ingredients (pumpkin puree, sweetened condensed milk, eggs, cinnamon, nutmeg, ground ginger, salt, and vanilla extract). Whisk everything together until the mixture is thoroughly blended and smooth, with no lumps.
- Carefully pour the prepared pie filling into your unbaked 9-inch pie crust, ensuring it’s evenly distributed.
Bake
- Place the pie in the preheated 425°F (220°C) oven and bake for 15 minutes. After this initial 15 minutes, without removing the pie from the oven, reduce the oven temperature to 325°F (160°C) and continue baking for an additional 40-50 minutes. The pie is done when the edges are set and the center has a slight, firm jiggle (like Jell-O).
Allow the pie to cool completely at room temperature for 1-2 hours before refrigerating. Store the pumpkin pie in the refrigerator and serve chilled for the best texture and flavor.
Notes
Please note, the nutrition details are estimated using a food database, so they’re just a rough estimate not an exact science.
💭 Recipe FAQs and Pro Tips
While some bakers prefer to blind bake (or pre-bake) their pie crusts to prevent a soggy bottom, it is generally not necessary for pumpkin pie. The pumpkin pie filling bakes for a relatively long time at two different temperatures, which is usually sufficient for the crust to bake through and become golden brown without being pre-baked. In all my years of making pumpkin pies, I have personally never pre-baked the pie shell, and the results have always been perfectly crisp and delicious. This also helps keep the recipe quicker and simpler!
Yes, it’s an age-old debate in many kitchens, but for food safety reasons, pumpkin pie absolutely should be stored in the refrigerator. Pumpkin pie is considered an egg-rich pie, and any dessert containing eggs and dairy should not be left at room temperature for longer than two hours. The cool temperature of the refrigerator helps prevent the growth of bacteria and maintains the pie’s freshness and texture.
Refrigerated homemade pumpkin pie will stay fresh and delicious for up to four days. Always cover it loosely with plastic wrap or aluminum foil to prevent it from drying out or absorbing other odors from your refrigerator.
It’s worth noting that commercially produced, store-bought pumpkin pies often contain various preservatives, which is why their storage guidelines and shelf life can sometimes differ significantly from a homemade pie.
Absolutely! Using a pre-mixed pumpkin pie spice blend is a convenient option and can be a great choice if you prefer its specific flavor profile. The spices listed in this recipe (cinnamon, nutmeg, ground ginger) offer a classic, warm, and slightly earthy taste. However, commercial pumpkin pie spice blends usually include these three, plus additional spices like cloves and sometimes allspice, which can lend a stronger, more complex “spiciness” to your pie.
If you decide to swap, in place of the ½ teaspoon each of cinnamon, nutmeg, and ground ginger in the recipe, you can substitute them for a total of 1 ½ teaspoons of pumpkin pie spice. Feel free to adjust this amount slightly based on your personal preference for spice intensity. Always ensure your spice blends are fresh for the best flavor!
