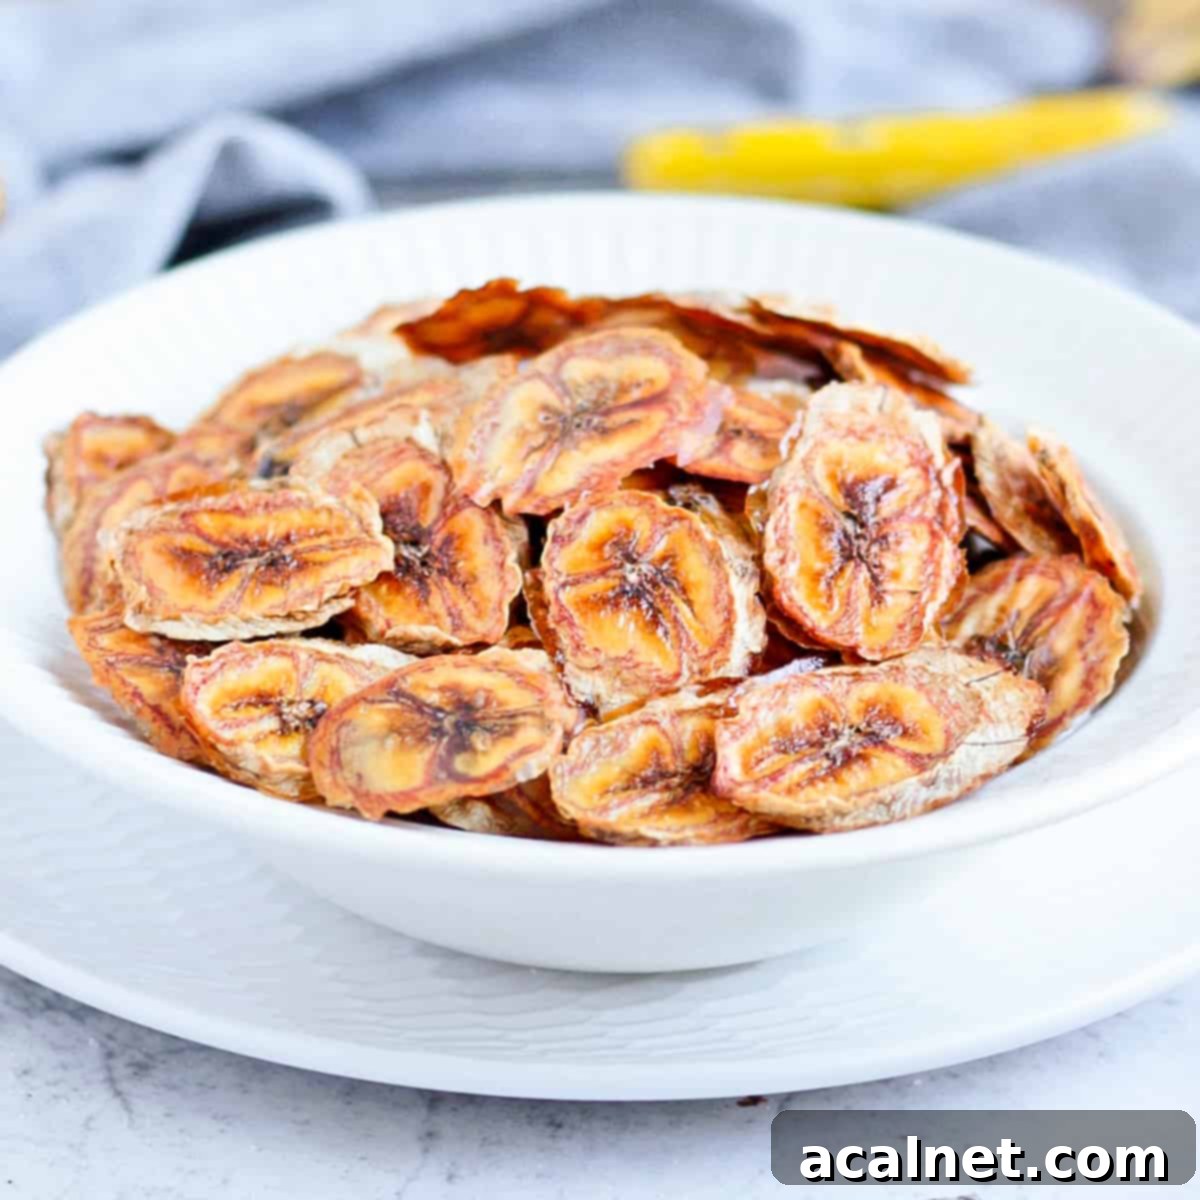
Homemade Baked Banana Chips: 2 Ingredients, No Oil, No Added Sugar | Healthy Oven Recipe
Discover the easiest and healthiest way to make your own crispy, oven-baked Banana Chips at home! This incredible 2-ingredient recipe requires absolutely no oil and no added sugar, making it the perfect guilt-free sweet snack for both kids and adults. These naturally dehydrated banana slices are not only delicious but also incredibly simple to prepare, transforming ripe bananas into a delightful, crunchy treat.
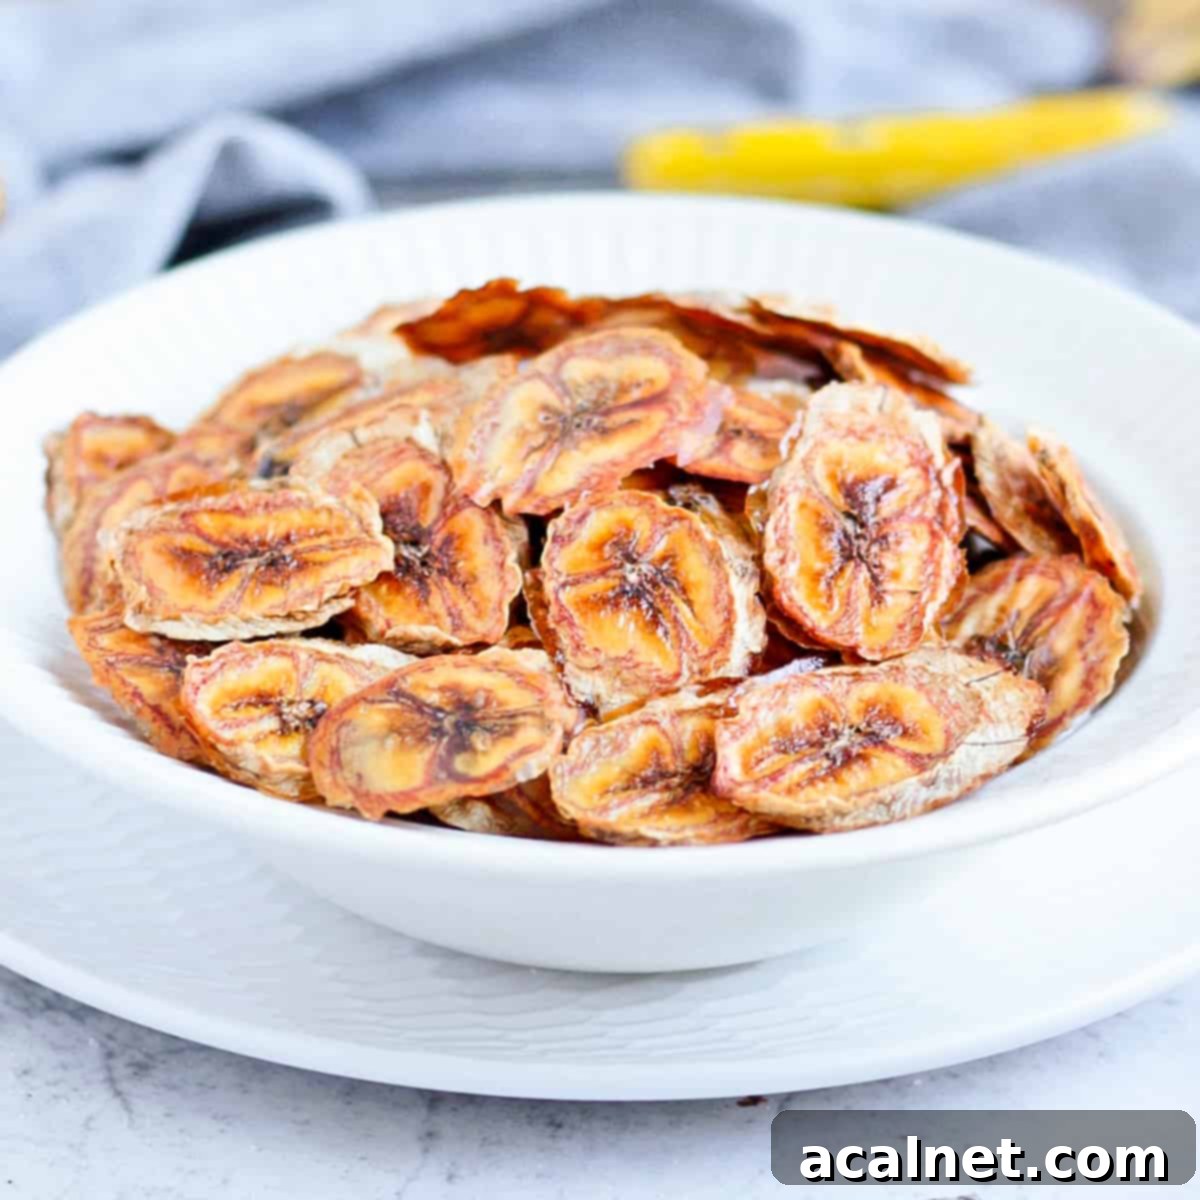
Why Make Your Own Healthy Banana Chips?
Are you a fan of fruit chips but find their store-bought versions shockingly expensive and often loaded with unnecessary additives? You’re not alone! The good news is that creating your own delicious and healthy banana chips is incredibly simple and doesn’t require a fancy dehydrator. All you need is your oven, two basic ingredients, and a little patience.
These homemade oven-dried banana chips are a game-changer. They’re crafted with no added sugar, no frying oil, and absolutely no artificial ingredients or preservatives. Being made purely from fruit, they are naturally Vegan, Gluten-Free, Nut-Free, and Soy-Free, offering a truly wholesome and guilt-free snack option for everyone. Forget about deciphering complex ingredient lists – with this recipe, you know exactly what you’re eating!
Beyond being a smart way to save money, making your own banana chips allows you to control the quality and flavor. It’s a fantastic method for preserving ripe bananas for much longer, preventing food waste, and always having a healthy snack on hand. While there are many wonderful ways to preserve fruits, such as making Applesauce, Raspberry Coulis, or Mixed Berry Compote, there’s something uniquely satisfying about the crisp texture and intense flavor of homemade fruit chips. Their satisfying crunch and concentrated sweetness make them utterly irresistible!
The Simple Ingredients You’ll Need
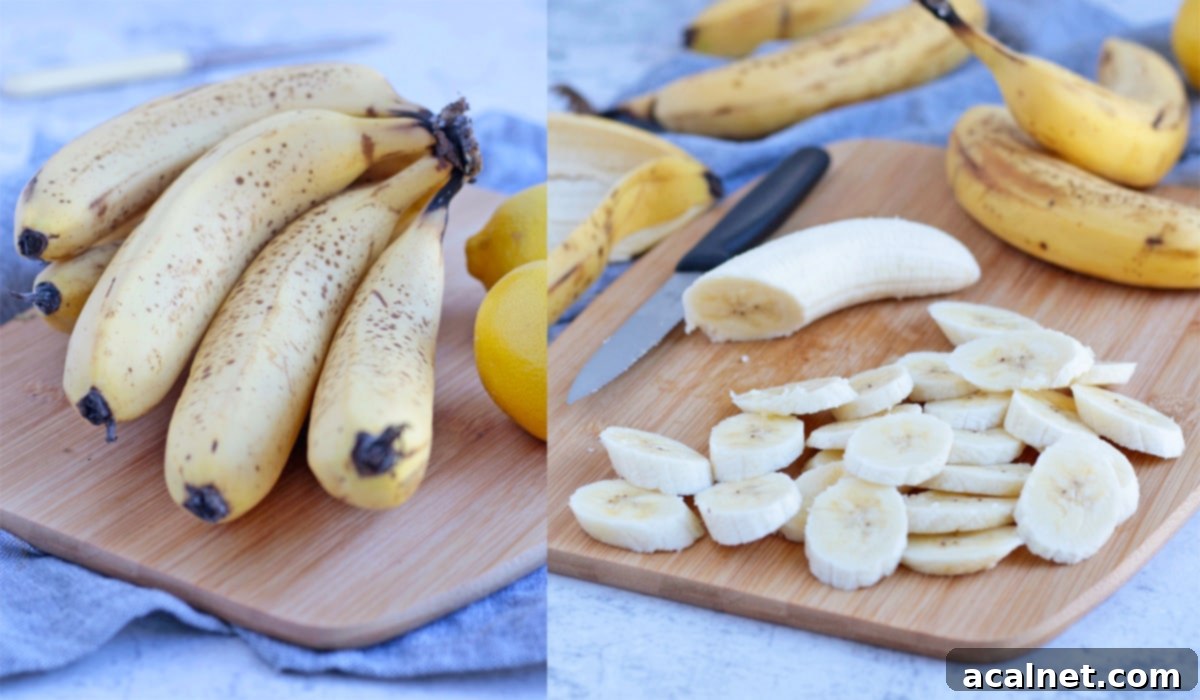
The beauty of this baked banana chips recipe lies in its minimalist ingredient list. You truly only need two core ingredients to create this fantastic snack (full quantities can be found in the recipe card below):
- Bananas: The star of the show! It’s crucial to select bananas that are perfectly ripe but still firm. Look for bananas with a few small brown spots – this indicates optimal sweetness and a texture that will hold up well during slicing and baking. Overripe, mushy bananas will be difficult to slice thinly and may turn into a sticky mess in the oven. Very firm, unripe bananas, on the other hand, won’t develop enough natural sweetness, resulting in bland chips.
- Lemon Juice: This isn’t just for flavor! Lemon juice plays a vital role in preventing the bananas from browning excessively during dehydration, ensuring your chips have an appealing golden color. It also adds a bright, tangy note that beautifully balances the concentrated sweetness of the baked bananas and aids in their preservation.
While these two ingredients are all you need for a delicious batch of plain banana chips, feel free to experiment with your favorite spices or flavorings to customize your snack. A little extra flavor can elevate your banana chips to a new level:
- Sprinkle a touch of Ground Cinnamon over the banana slices before baking for a warm, comforting aroma and taste.
- Add a few drops of pure Vanilla Extract to the lemon juice for a richer, more aromatic flavor profile.
- For an exotic twist, try a pinch of Ginger Powder or even a dash of vibrant Turmeric Powder. These spices offer unique flavors and can also boost the nutritional benefits of your snack.
How to Make Crispy Oven-Baked Banana Chips
The process for making these healthy baked fruit chips is just as straightforward as the ingredient list. It’s largely a hands-off process, making it perfect for busy schedules. Here’s a simple step-by-step guide to achieving perfectly crispy banana chips:
- Prepare Your Oven and Trays: Begin by preheating your oven to a low temperature of 100°C (215°F). This low heat is crucial for dehydrating the bananas slowly and evenly, preventing them from burning before they crisp up. Line one or two large flat baking trays with baking paper (parchment paper) or a silicone baking mat. This prevents sticking and ensures easy removal of your finished chips.
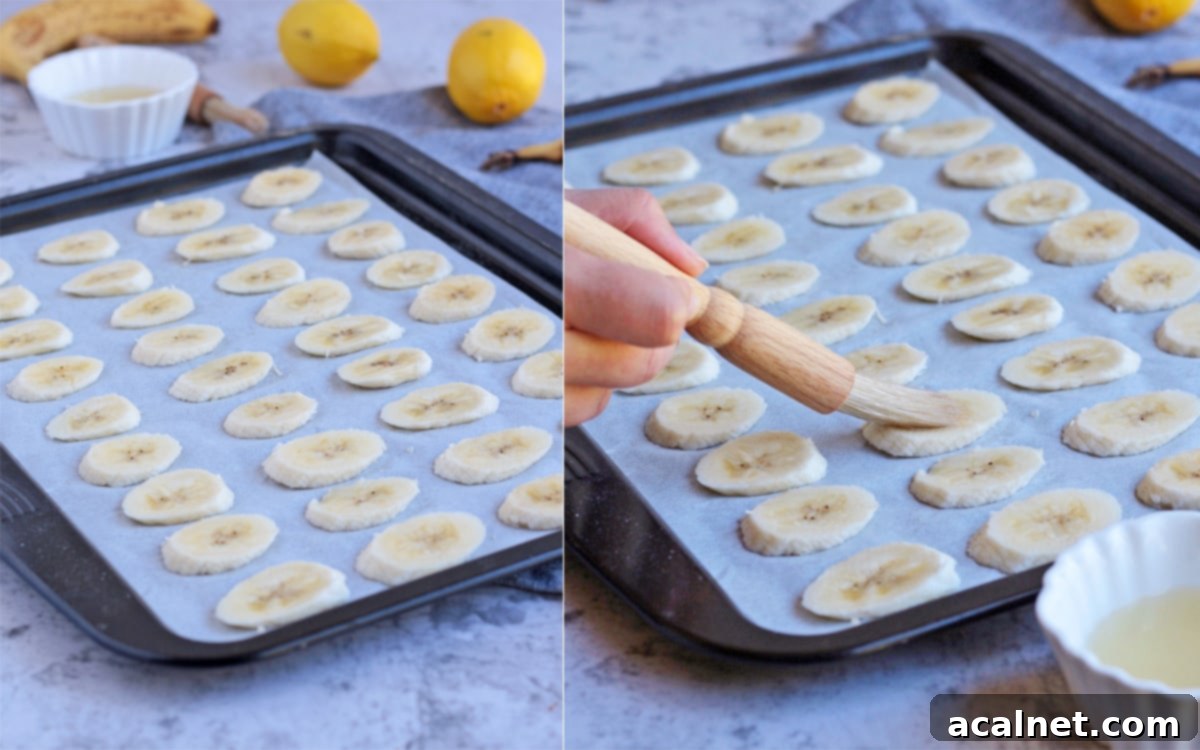
- Slice the Bananas Evenly: Peel your selected bananas and carefully slice them into thin, uniform pieces. Aim for a thickness of about 5mm (0.2 inches). Consistency in thickness is key to even baking; thinner slices will crisp faster, while thicker ones will take longer. You can slice them straight across or on a slight angle for more elongated, chip-like shapes. Arrange the slices on your prepared baking trays, ensuring there’s a little space between each slice for air circulation, which promotes even drying.
- Apply Lemon Juice: Freshly squeeze the lemon juice into a small bowl. Using a pastry brush, gently brush the lemon juice over one side of each banana slice. Flip the slices over and repeat the process on the other side. This step is vital for both preventing browning and enhancing flavor.
- Optional Flavor Boost: If you’re adding spices like ground cinnamon, now is the time! Lightly sprinkle your chosen spice over the lemon-coated banana slices. A small sieve or sifter can help distribute the spice evenly and prevent clumps.
- Bake and Flip: Place the baking trays in your preheated oven. Bake for an initial period of 1 to 1.5 hours. During this phase, the bananas will begin to firm up and release their moisture. After the first bake, gently flip each banana slice. They should be firm enough to handle without falling apart. Return them to the oven and bake for an additional 30 minutes, or until they reach your desired level of crispness. Keep an eye on them, as oven temperatures can vary!
Common Questions & Troubleshooting for Perfect Banana Chips
Picking the Right Bananas
The secret to perfectly crispy, sweet banana chips starts with selecting the right fruit. The ripeness of your bananas will significantly impact the final texture and flavor of your chips:
- Slightly Ripe is Key: Choose bananas that are not overly firm but have started to ripen, indicated by a few small brown spots on their peel. This stage ensures maximum natural sweetness, which will intensify during dehydration. If bananas are too firm and green, they will lack sweetness and have a starchy flavor.
- Avoid Overripe Bananas: Steer clear of bananas that are too soft or heavily bruised. These will be difficult to slice thinly and uniformly, and their high moisture content means they will likely turn into mush in the oven rather than crisping up. They’re better suited for banana bread or smoothies!
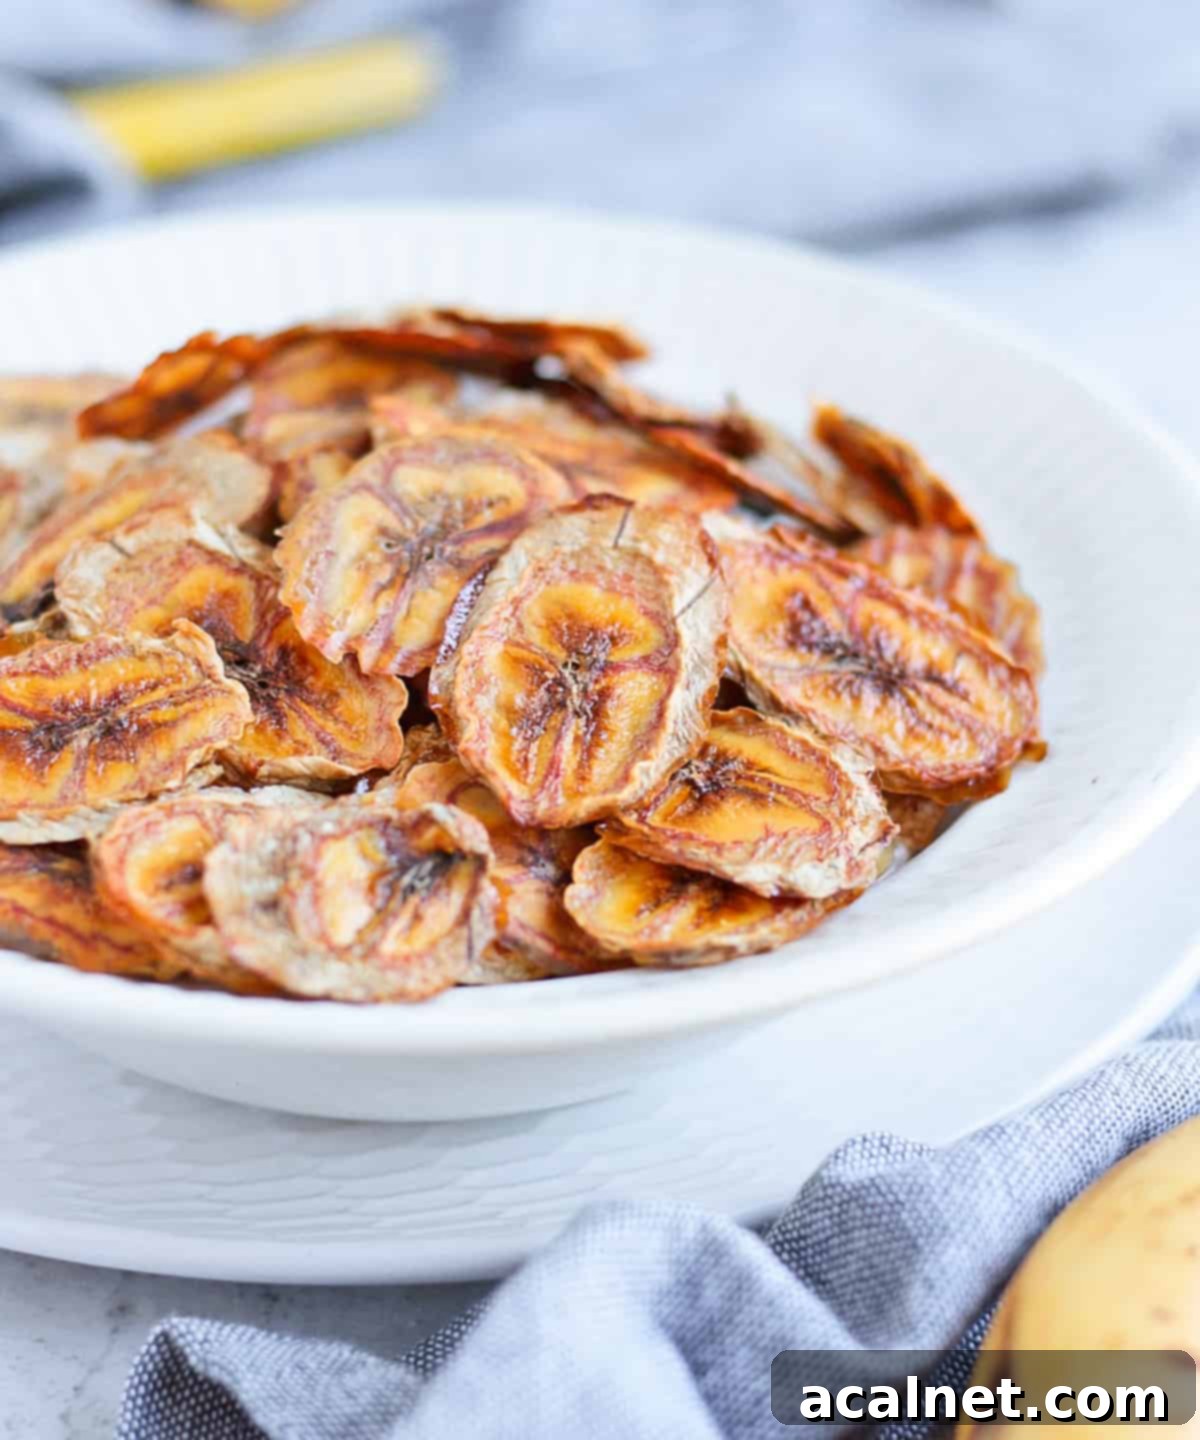
As illustrated in the images, the ideal bananas will have those tell-tale small brown spots, signifying they are sweet and ready for transformation into delicious chips.
How Thick Should I Cut the Bananas?
The thickness of your banana slices directly affects both baking time and the final texture of your chips. As bananas dehydrate, they shrink considerably, so finding the right balance is important:
- The Sweet Spot for Crispiness: For perfectly crisp banana chips that aren’t too fragile, aim for slices approximately 5mm (0.2 inches) thick. This thickness allows them to dry out efficiently without becoming brittle or taking excessively long to bake.
- Tools for Uniform Slices: While you can certainly slice bananas by hand with a sharp knife, a mandoline slicer is an excellent tool for achieving consistently uniform slices. Uniformity is crucial for even dehydration, ensuring all your chips are ready at roughly the same time. Thicker slices will require a longer baking time, while slices that are too thin may become excessively fragile and break easily.
How Long Should I Bake the Fruits For?
Baking time for homemade banana chips can vary significantly due to differences in oven calibration, banana ripeness, and slice thickness. Therefore, it’s essential to stay vigilant and adjust as needed:
- Monitor Closely: In my oven, the initial dehydration took about 1.5 hours before the slices were firm enough to flip, followed by an additional 30 minutes on the other side. However, this is a guideline. Start checking after about an hour.
- Achieving Desired Texture: Your baking time will also depend on whether you prefer your banana chips slightly chewy or super crispy. For a chewier texture, you might reduce the baking time slightly. For maximum crispiness, extend the baking time until they are firm throughout. Remember, they will continue to harden as they cool.
- Troubleshooting Under-baking: A key indicator of under-baked chips is if they fall apart or are difficult to flip after the initial baking period. If this happens, they need more time in the oven to dehydrate further and become firm enough to handle. Don’t rush this step!
Expert Tips for Dehydrating Banana Chips in the Oven
To ensure your homemade banana chips come out perfect every time, here are some comprehensive tips:
- Master Slice Thickness: As discussed, aim for about 5mm (0.2 inches) thick. If slices are too thin, they’ll become brittle and break easily after baking. Too thick, and they’ll take significantly longer to dehydrate and may not get as crispy. Consider using a mandoline for precision.
- Double-Sided Lemon Juice Application: Always brush both sides of your banana slices with lemon juice. This isn’t just to prevent browning; the acidity of the lemon helps to balance the sweetness of the banana and contributes to the dehydration process, resulting in a more flavorful and stable chip.
- Experiment with Flavors: Don’t hesitate to personalize your banana chips! A light dusting of Cinnamon Powder, a sprinkle of warming Ground Ginger, or even an earthy hint of Turmeric Powder can add wonderful depth and complexity. These additions are not only delicious but can also offer additional health benefits.
- Maintain a Low Oven Temperature: The key to successful oven dehydration is low and slow heat. Keeping your oven at 100°C (215°F) ensures that the bananas dry out gradually without cooking or burning. A higher temperature will cook the bananas, making them soft rather than crispy, and can easily lead to burnt edges.
- Regularly Monitor Progress: Since all ovens vary, regular checking is crucial. After about an hour of baking, gently try to lift and flip a slice. If it feels sticky, mushy, or tears easily, it needs more time. If it’s firm and holds its shape, it’s ready to be flipped for the second half of baking. This attentive approach prevents over or under-baking.
- Dealing with Sticky Slices: Occasionally, banana slices might stick to the baking paper, especially if they are slightly under-baked or if the paper wasn’t perfectly flat. If this happens, use a small, sharp knife or a thin spatula to carefully lift one edge of the slice. Often, as the chips cool and firm up, they become much easier to detach.
- Trust the Cooling Process: Don’t be concerned if your banana chips still feel a little soft or flexible immediately after removing them from the oven. They will continue to crisp up and harden significantly as they cool down completely at room temperature. Allow them ample time to cool before assessing their final texture.
- Yield Expectations: Keep in mind that bananas shrink considerably during dehydration. As a general estimate, three small to medium-sized bananas will typically yield about 1 cup of finished banana chips. If you’re planning for a larger batch, feel free to double or triple the quantities accordingly.
Recipe FAQs
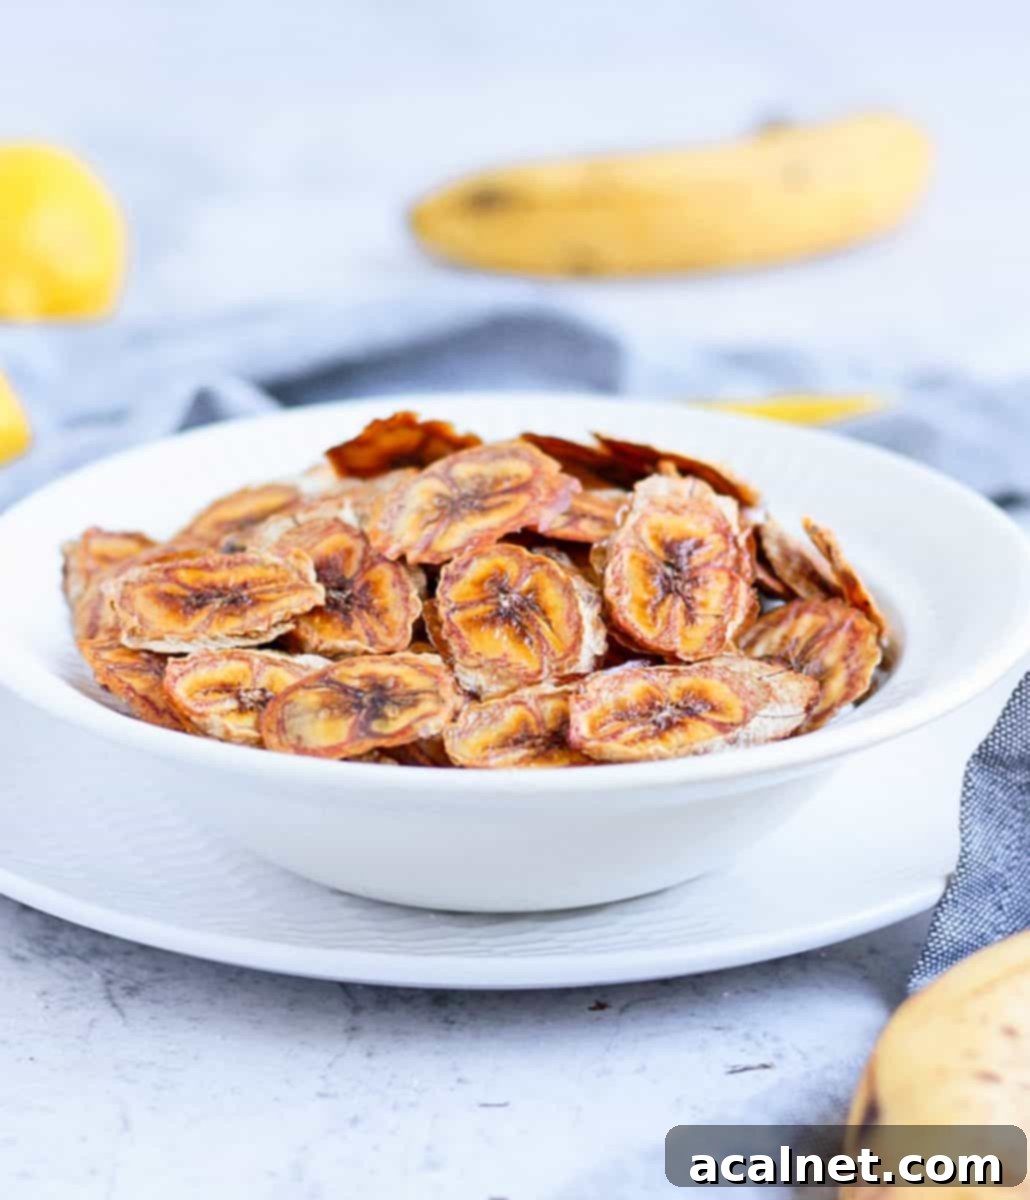
Once your homemade banana chips are completely cool and crispy, transfer them to an airtight container. Store them in a cool, dry, and shaded place at room temperature. Proper storage is key to maintaining their crispness. We do not recommend freezing them as it can alter their texture.
When stored correctly in an airtight container, these delicious oven-baked banana chips can last for up to two weeks, making them a fantastic make-ahead snack. Ensure they are fully dehydrated before storing; any residual moisture can lead to spoilage.
These versatile fruit chips are more than just a snack on their own! Here are some of our favorite ways to enjoy them:
– As a Standalone Snack: Perfect for satisfying sweet cravings anytime, anywhere.
– With Warm Oatmeal: Add a delightful crunch and natural sweetness to your morning bowl.
– In Homemade Granola: Incorporate them into your favorite granola recipe for added texture and fruity flavor.
– Topping for Yogurt Bowls: A vibrant and healthy garnish for yogurt parfaits or smoothie bowls.
– An Original Cake Topping: Elevate your desserts by using them as a unique and delicious decoration.
More Delicious Banana Recipes to Try
If you love bananas as much as we do, you’ll definitely want to check out these other fantastic recipes:
- 3-Ingredient Sugar-Free Banana Pancakes
- Healthy Chocolate Chip Banana Muffins (Sugar-Free)
- Gluten-Free Buckwheat Banana Pancakes
- One-Bowl Chocolate Chip Banana Bread
- Flourless Oatmeal Banana Muffins
Recipe: Homemade Crispy Oven-Baked Banana Chips

How to Make Banana Chips in the Oven
5
servings
Sylvie
10 mins
2 hrs
2 hrs 10 mins
Print Recipe
Ingredients
Baked Banana Chips
- 3 Bananas
- 1/2 Lemon, juiced
Optional Flavorings
- Ground Cinnamon, to taste
- Vanilla Extract, a few drops
- Ginger Powder or Turmeric Powder, a pinch
Instructions
- Preheat your oven to 100°C (215°F). Line one or two flat baking trays with baking paper or a silicone baking mat.
- Peel and cut the bananas into thin, uniform slices (approximately 5mm / 0.2 inches thick). Arrange them on the prepared baking tray, leaving a small gap between each slice.
- Brush the freshly squeezed lemon juice generously over one side of all the banana slices. Flip the slices over and brush the other side as well.
- Optional: If desired, lightly sprinkle ground cinnamon or any other chosen spice over the lemon-coated banana slices using a small sieve.
- Bake in the preheated oven for 1 to 1.5 hours, or until the banana slices are firm enough to be flipped without breaking. Carefully turn each slice over and continue baking for an additional 30 minutes, or until they reach your desired level of crispness.
- Remove from the oven and allow the banana chips to cool completely on the baking tray. They will become crispier as they cool. Once fully cool, transfer them to an airtight container for storage.
Notes
- I recommend cutting the bananas to a thickness of about 5mm (0.2 inches). Cutting them thicker will extend the baking time significantly, while cutting them thinner might make them too fragile and prone to breaking during handling.
- If the banana slices appear to be falling apart, sticking excessively, or turning mushy when you attempt to flip them, it indicates they are under-baked and require more dehydration time. A small, sharp knife or spatula can help gently lift sticky slices. Remember, they tend to become easier to handle and less sticky as they cool and firm up.
- Adjust the second baking period (the additional 30 minutes) based on your preference for texture. Bake slightly less for a chewier chip, or a bit longer for maximum crispiness. Always keep in mind that the chips will continue to harden considerably as they cool down to room temperature.
Please note that Serving Size is an estimate only and actual nutritional values may vary based on ingredients used.
Nutrition (per serving)
Made this recipe?
Let us know if you liked it by leaving a comment below, and tag us on Instagram @a.baking.journey with a photo of your creation!
