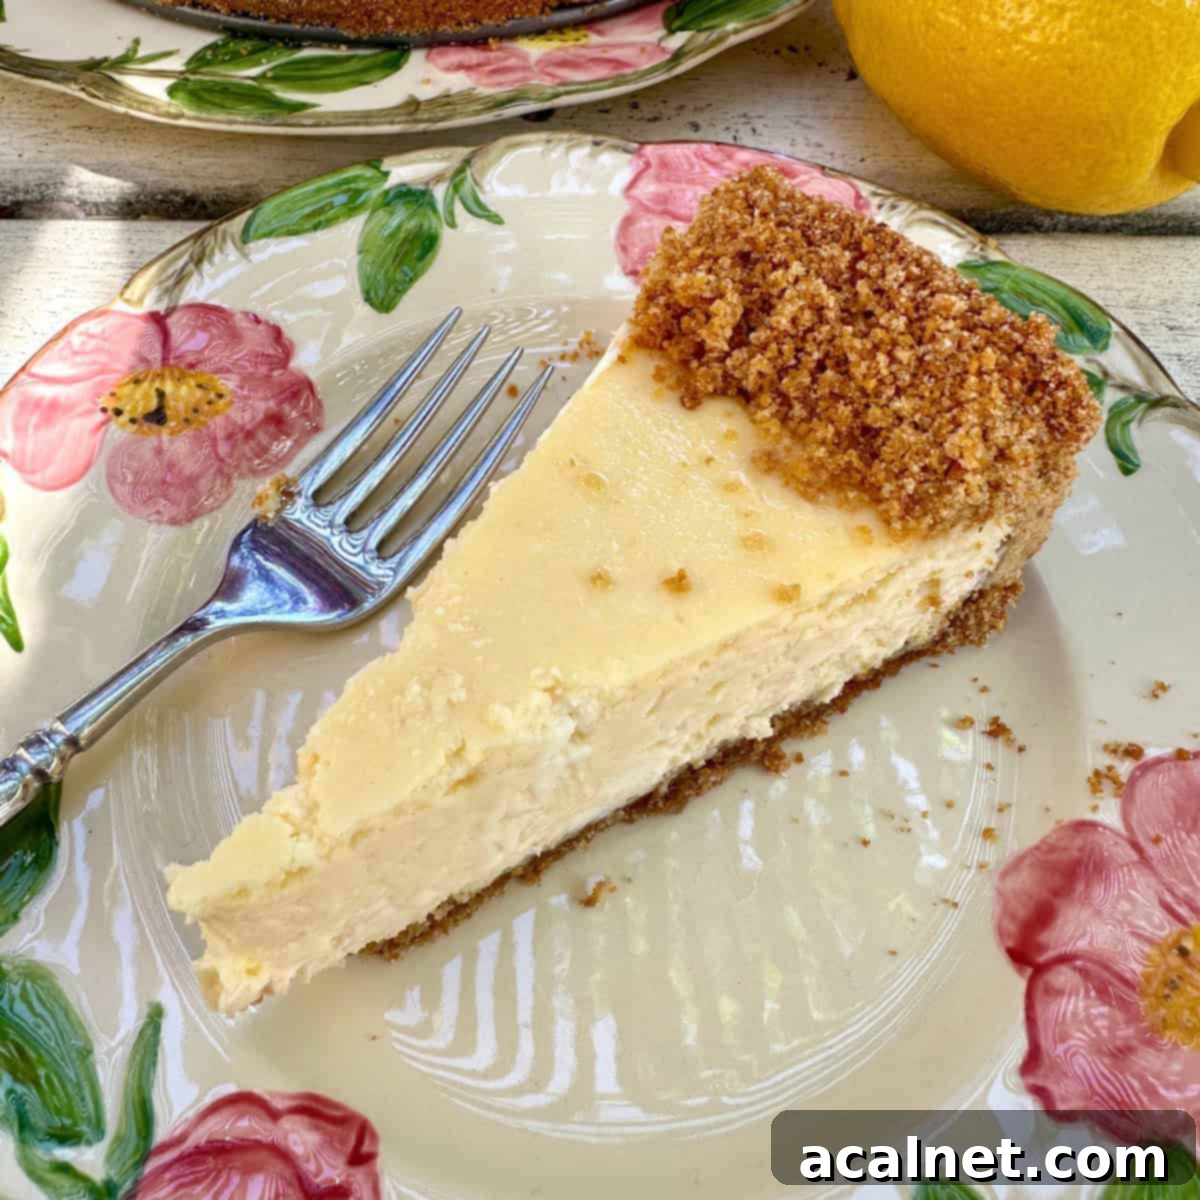
The Ultimate Baked Vanilla Cheesecake Recipe: Silky Smooth & Easy (No Water Bath Needed!)
Indulge in the unparalleled richness of a truly luscious, silky-smooth Baked Vanilla Cheesecake. This recipe is designed to effortlessly elevate any dessert menu, promising a show-stopping finish to any meal. What makes this recipe truly special is its incredible versatility and ease. Imagine a delightful, tangy counterpoint to each creamy bite with a drizzle of Cranberry Orange Sauce. All of this glorious filling is encased in a perfectly sweet graham cracker crust, subtly infused with cinnamon, like a comforting, cookie-flavored blanket that cradles the delicate cheesecake within.
This classic dessert isn’t just for special occasions; it’s a perfect treat to serve all year round. It makes a delightful grand finale to a hearty family dinner, whether it’s comforting Chicken Spaghetti with Rotel or a classic No-Ketchup Meatloaf. It’s equally at home after an elaborate holiday feast, pairing beautifully with a festive Marmalade Glazed Ham or a sophisticated Homemade Smoked Salmon. Whenever you need a dessert that impresses without the fuss, this vanilla cheesecake is your answer.
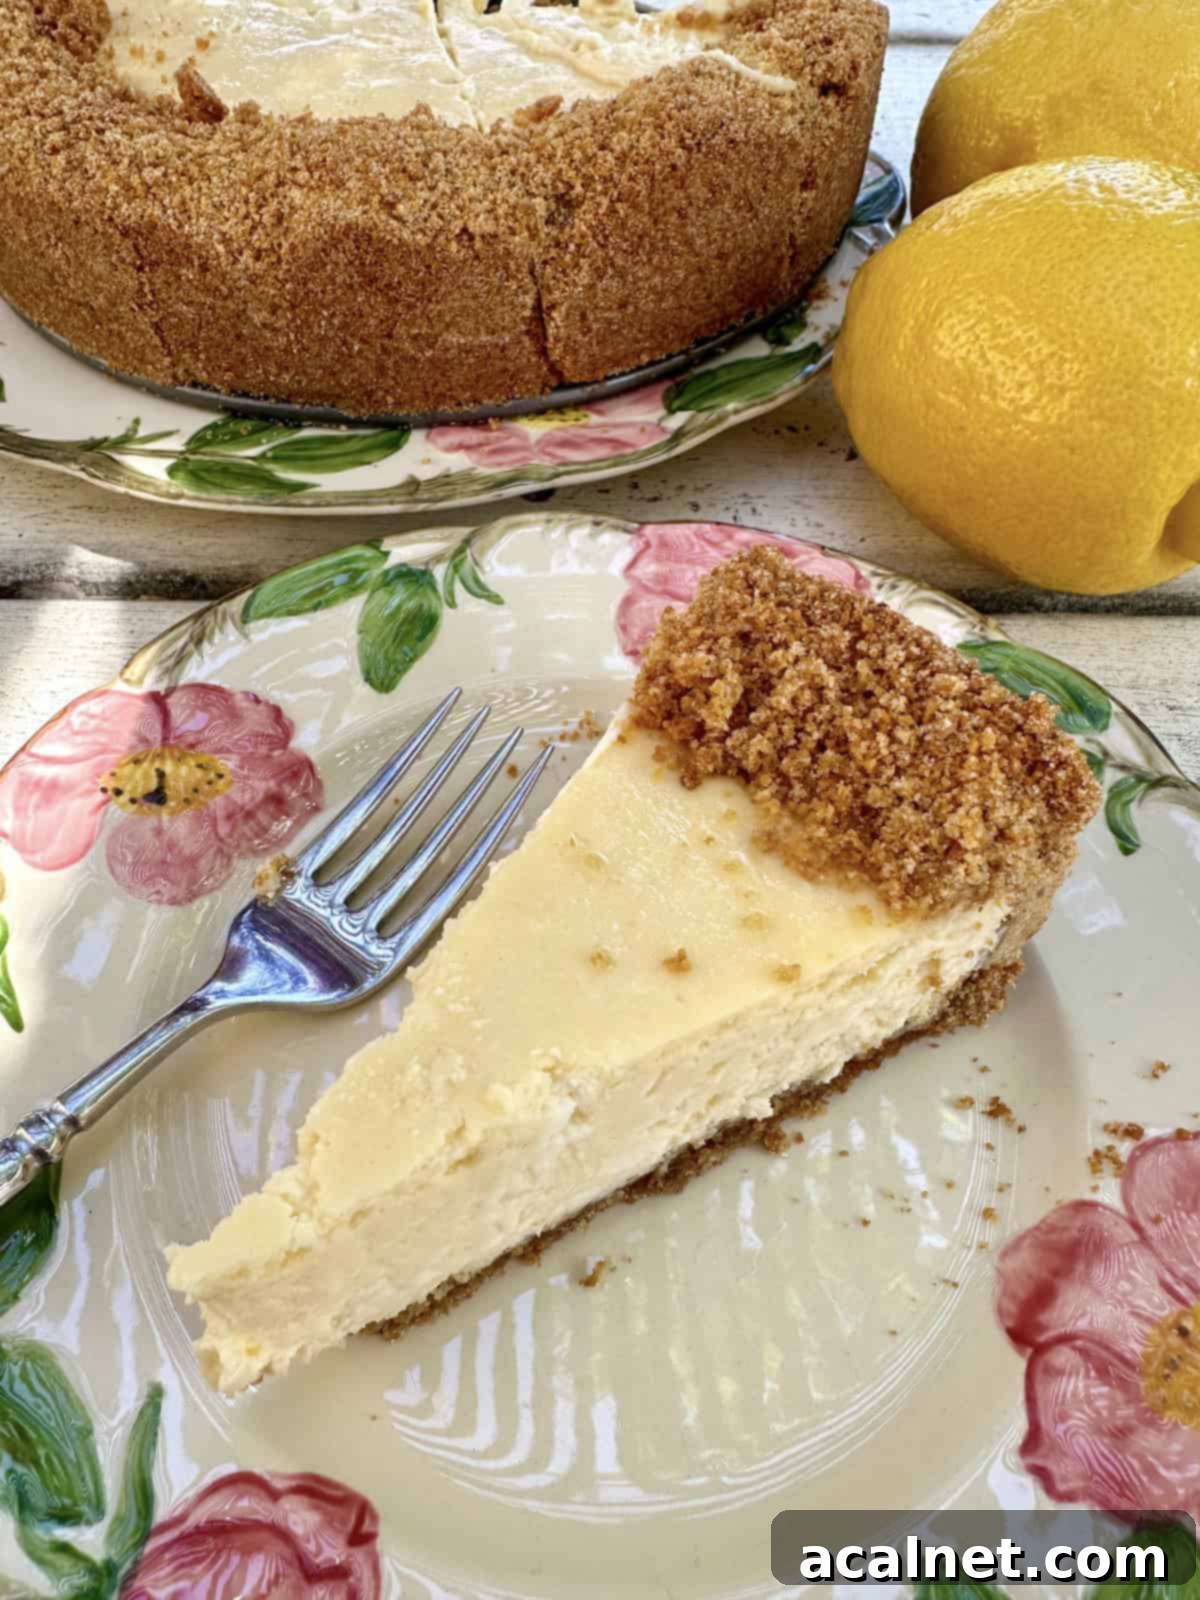
⭐ Why This Baked Vanilla Cheesecake Becomes a Family Favorite

As the author of this recipe, I, Melinda, can tell you this vanilla cheesecake holds a very special place in my heart – and on my dessert table! I’ve been perfecting and making this specific recipe for over two decades, and it has consistently been a crowd-pleaser. From casual family gatherings to the most elegant special occasions and cherished holidays, this cheesecake has graced countless celebrations, always receiving rave reviews.
One of the biggest reasons I adore this recipe is its simplicity and clever shortcuts. The graham cracker crust requires no pre-baking, which saves a significant amount of time and effort. Plus, that hint of cinnamon I add to the crust gives it a uniquely warm, nostalgic flavor that often reminds people of a cozy Snickerdoodle cookie. It’s a delightful surprise that truly sets this crust apart from others. Yum!
And speaking of easy, this recipe is a dream come true for anyone intimidated by traditional cheesecake methods. Just like my popular Pumpkin Cheesecake Bars recipe, there’s absolutely no need to bake the cheesecake in a water bath. This eliminates the common hassle, mess, and worry often associated with baking cheesecakes, making it accessible even for novice bakers. The secret to its smooth, crack-free surface without a water bath is a simple ingredient addition that I’ll reveal further down. (Scroll down for more details on that game-changing tip!)
🍰 Essential Ingredients for Your Perfect Vanilla Cheesecake
Crafting a homemade Baked Vanilla Cheesecake that rivals any restaurant-quality dessert is entirely achievable with the right ingredients and a few simple steps. I’m a firm believer in recipes that deliver that special “wow factor,” and this cheesecake absolutely fits the bill. It’s right up there with my other “restaurant-worthy” dessert favorites like the Best Blueberry Cake and the comforting Old Fashioned Chocolate Pound Cake.
Pro Tip: The foundation of any truly spectacular cheesecake lies in the quality and freshness of your ingredients. Using fresh, high-quality items ensures the best flavor and texture. Avoid reaching for that old, forgotten box of graham cracker crumbs from the back of the pantry (we’ve all been there!). Freshness truly makes a difference in the final product.
Cream Cheese: This is the star of your cheesecake, so choose wisely. Always opt for full-fat “regular” cream cheese. Varieties like reduced-fat cream cheese or whipped cream cheese contain more water and less fat, which can significantly alter the texture of your baked cheesecake, making it less rich and prone to cracking. Similarly, while Neufchâtel cheese is a common cream cheese substitute for dips or bagel spreads due to its lower fat content, it’s not ideal for baked recipes like cheesecake. Its higher moisture content and different fat structure won’t yield the desired creamy, firm consistency.
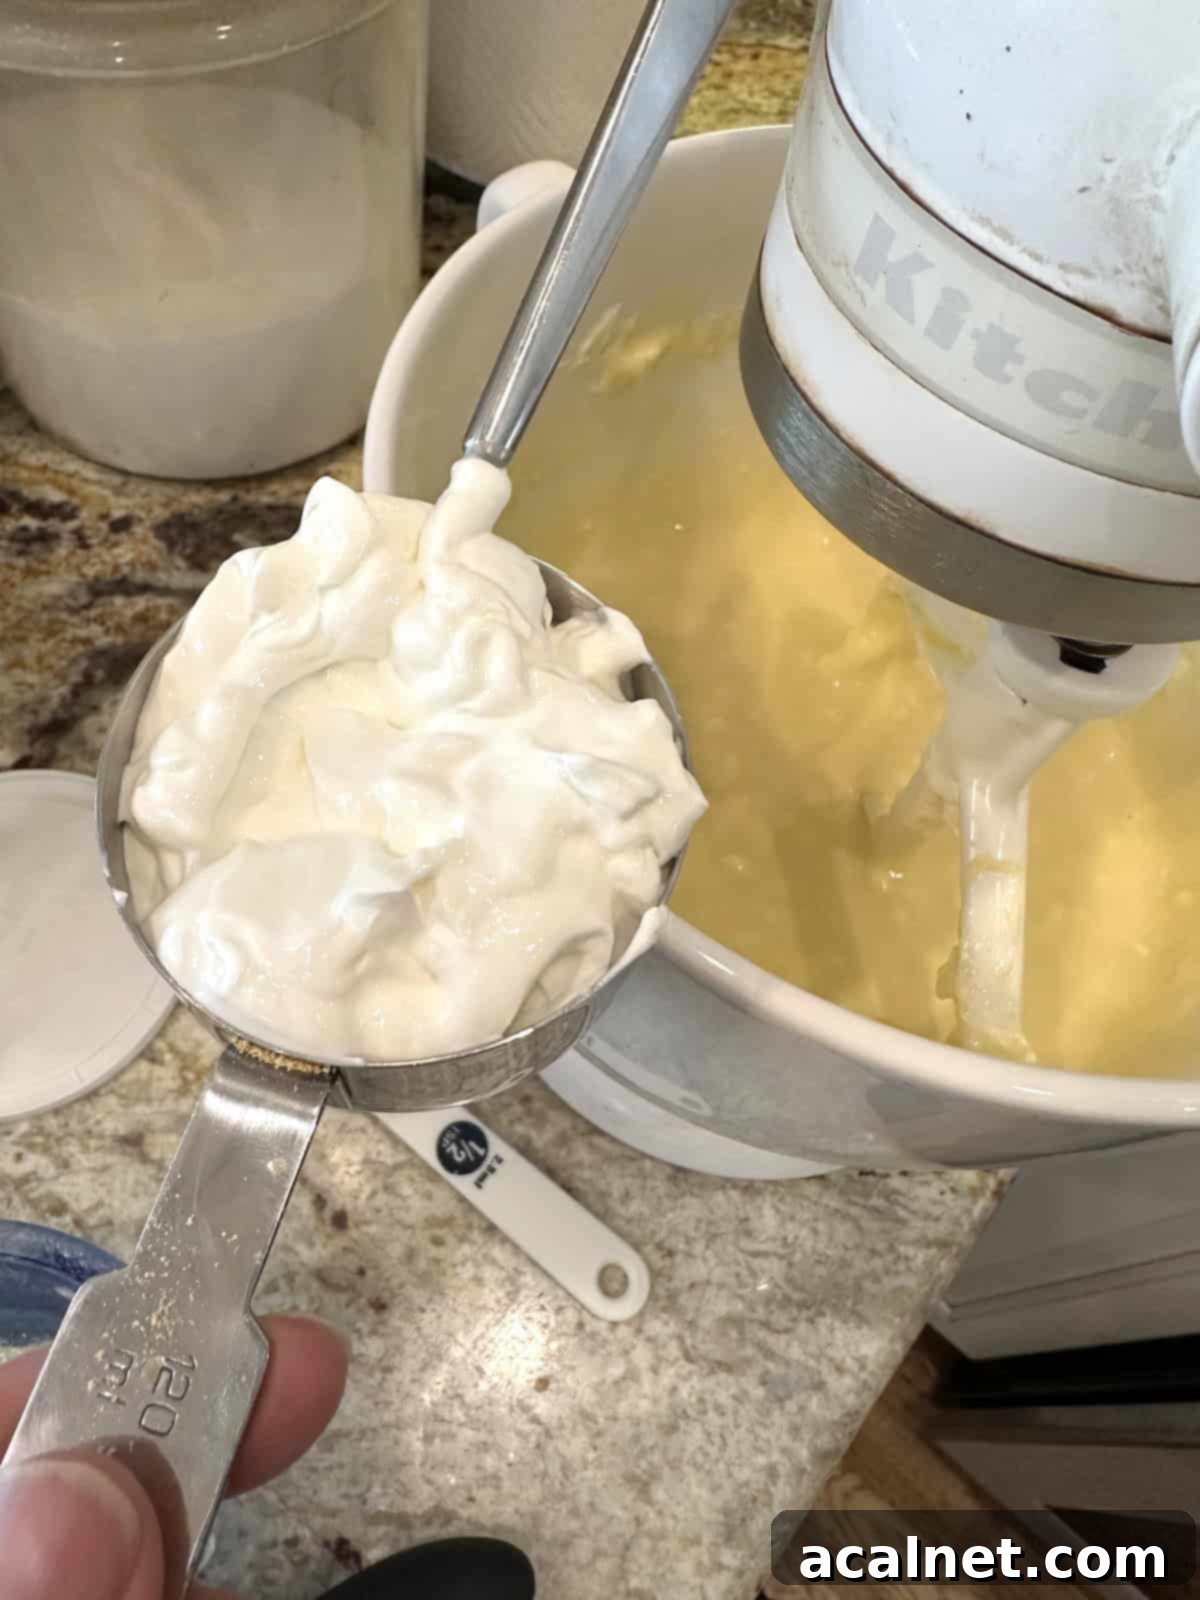
Sour Cream: Although this recipe only calls for ½ cup of sour cream, it’s a powerhouse ingredient. It’s one of the key secrets to achieving that wonderfully velvety, smooth creaminess in the cheesecake filling – all without the need for a water bath! The sour cream adds a subtle tang that balances the sweetness and richness of the cream cheese, contributing to a truly luxurious texture. A definite win for an easy, yet gourmet-tasting cheesecake!
Vanilla Extract: True to its name, this is a vanilla cheesecake, and we don’t hold back on the vanilla! This recipe features a full tablespoon of high-quality vanilla extract to ensure a prominent, aromatic vanilla flavor that shines through every bite. Don’t skimp on this one!
Lemon: Don’t worry, this isn’t a lemon cheesecake! While you’ll use the juice from a whole, fresh lemon (typically 2-3 tablespoons), its role here is not to impart a strong lemon flavor. Instead, a few tablespoons of fresh lemon juice act as a crucial balancing agent, cutting through the richness and heavy flavor of the cream cheese. It brightens the overall profile and adds a subtle complexity without making it taste distinctly lemony.
Graham Cracker Crumbs: For ultimate convenience and consistent results, I prefer to buy boxed graham cracker crumbs. They are finely milled and create a wonderfully uniform crust. However, if you prefer, you can certainly make your own by crushing whole graham crackers into fine crumbs using a food processor or by placing them in a Ziploc bag and crushing them with a rolling pin. Just ensure they are very fine for the best crust texture.
For a comprehensive list of all ingredients and their precise measurements, please refer to the detailed recipe card located further down on this page.
📖 Crafting the Irresistible Graham Cracker Crust in Three Simple Steps
The crust of this Baked Vanilla Cheesecake is truly a highlight, not just for its delicious flavor but also for its incredible ease of preparation. One of the best features, which simplifies the baking process immensely, is that you absolutely do not need to pre-bake the crust. This saves you a step and ensures a perfectly tender, yet firm base for your creamy cheesecake.
If you’re a devoted fan of graham cracker crusts and enjoy their versatile simplicity, you might also delight in trying my other crust-focused recipes, such as the delightful no-bake Peanut Butter Pies, or the wonderfully decadent Strawberry Chocolate Pie. These recipes showcase just how much flavor and texture a simple graham cracker crust can bring!
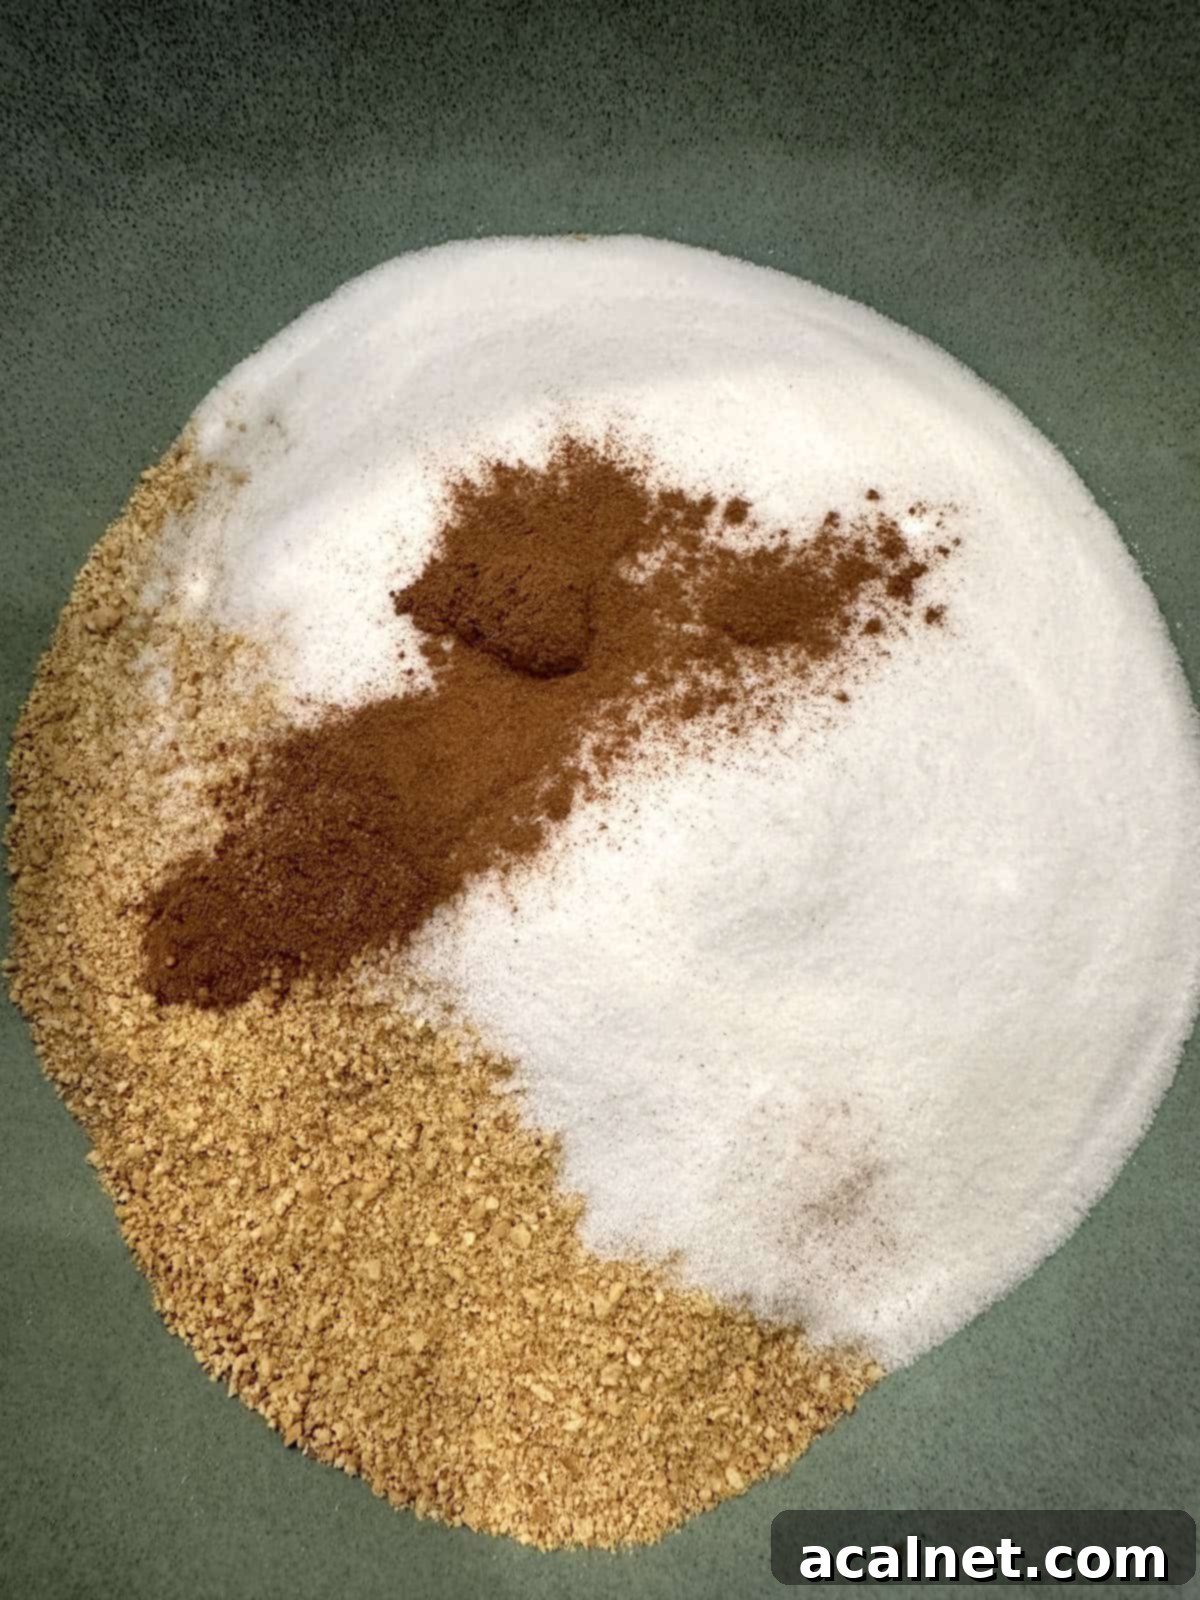
Step 1: Begin by combining the dry crust ingredients: the finely milled graham cracker crumbs, granulated sugar, and aromatic cinnamon. Place them together in a medium-sized mixing bowl, as shown in the photo above. Give them a good stir to ensure they are evenly distributed. Then, pour in the warm melted butter and continue stirring until all the dry ingredients are thoroughly moistened and blended. The mixture should resemble damp sand.
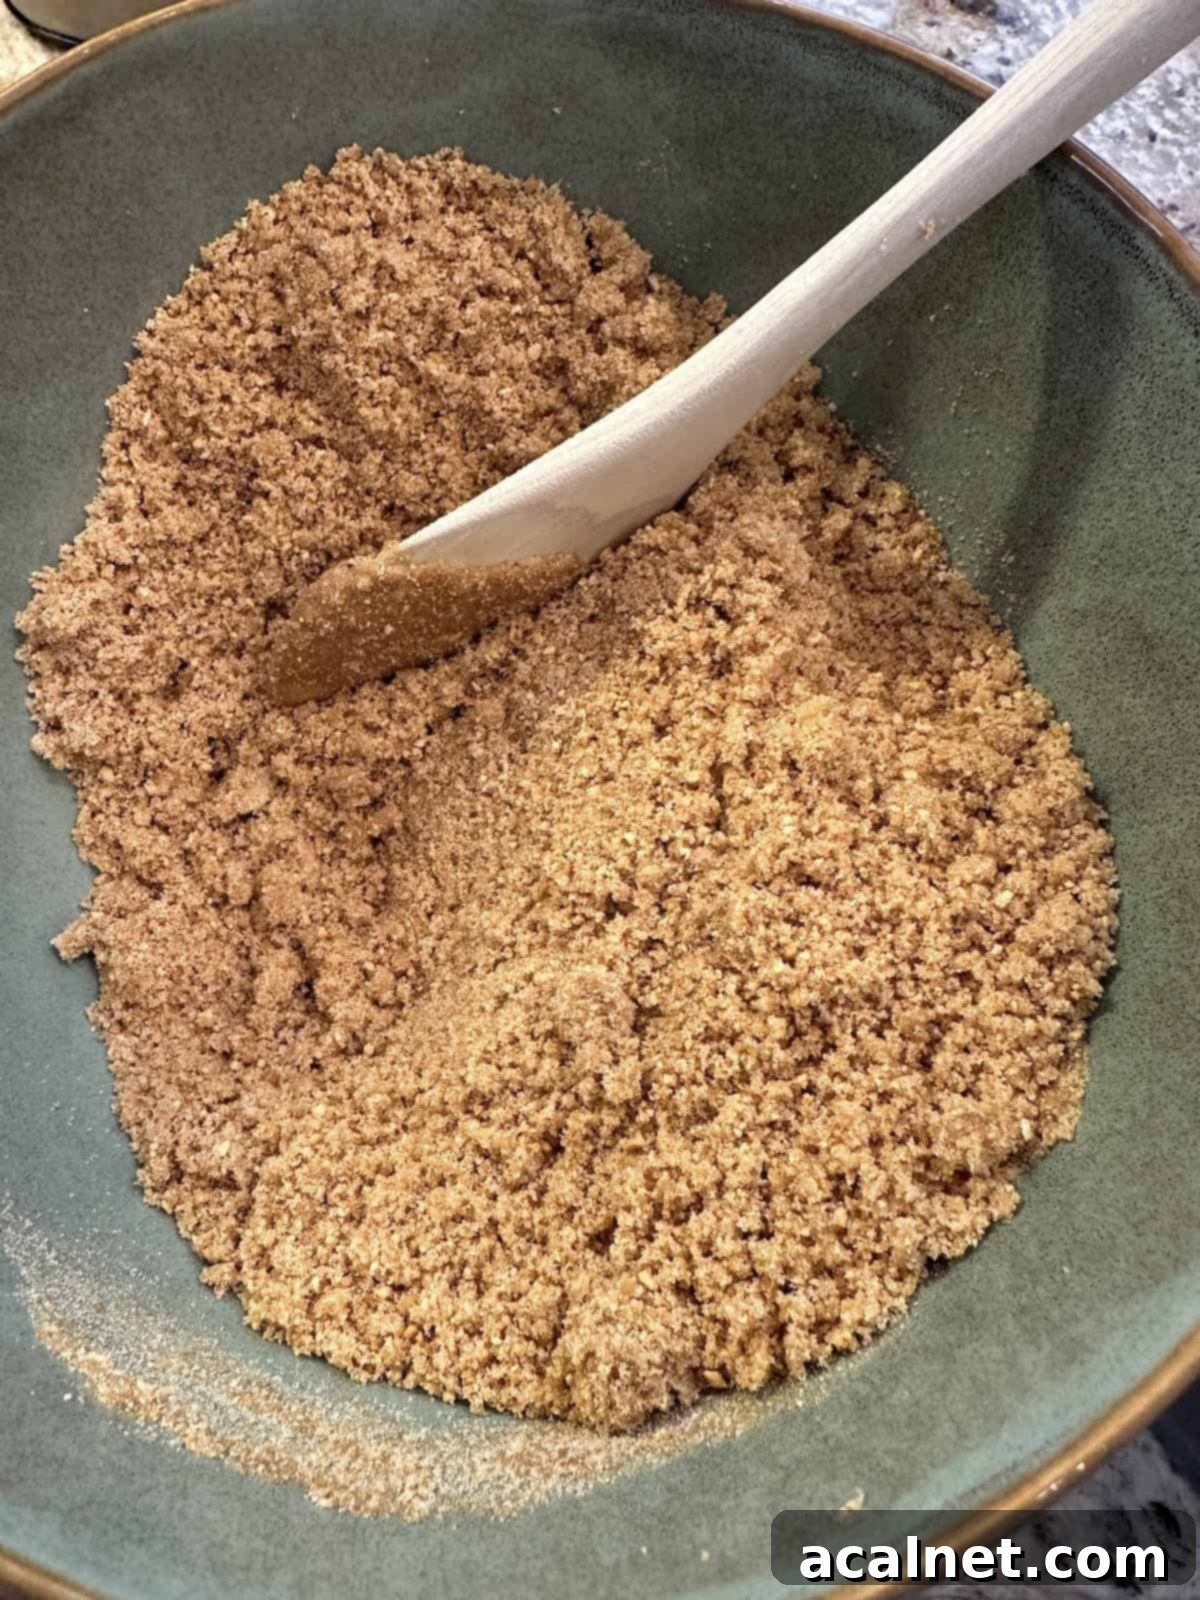
Step 2: Once the melted butter is incorporated, stir the mixture vigorously until it forms a consistent, coarse crumb texture. This consistency is crucial as it allows the crust to hold its shape beautifully after being pressed, creating a solid foundation for your cheesecake. The mixture should be clumpy enough to hold together when pressed lightly between your fingers, as seen in the photo above.
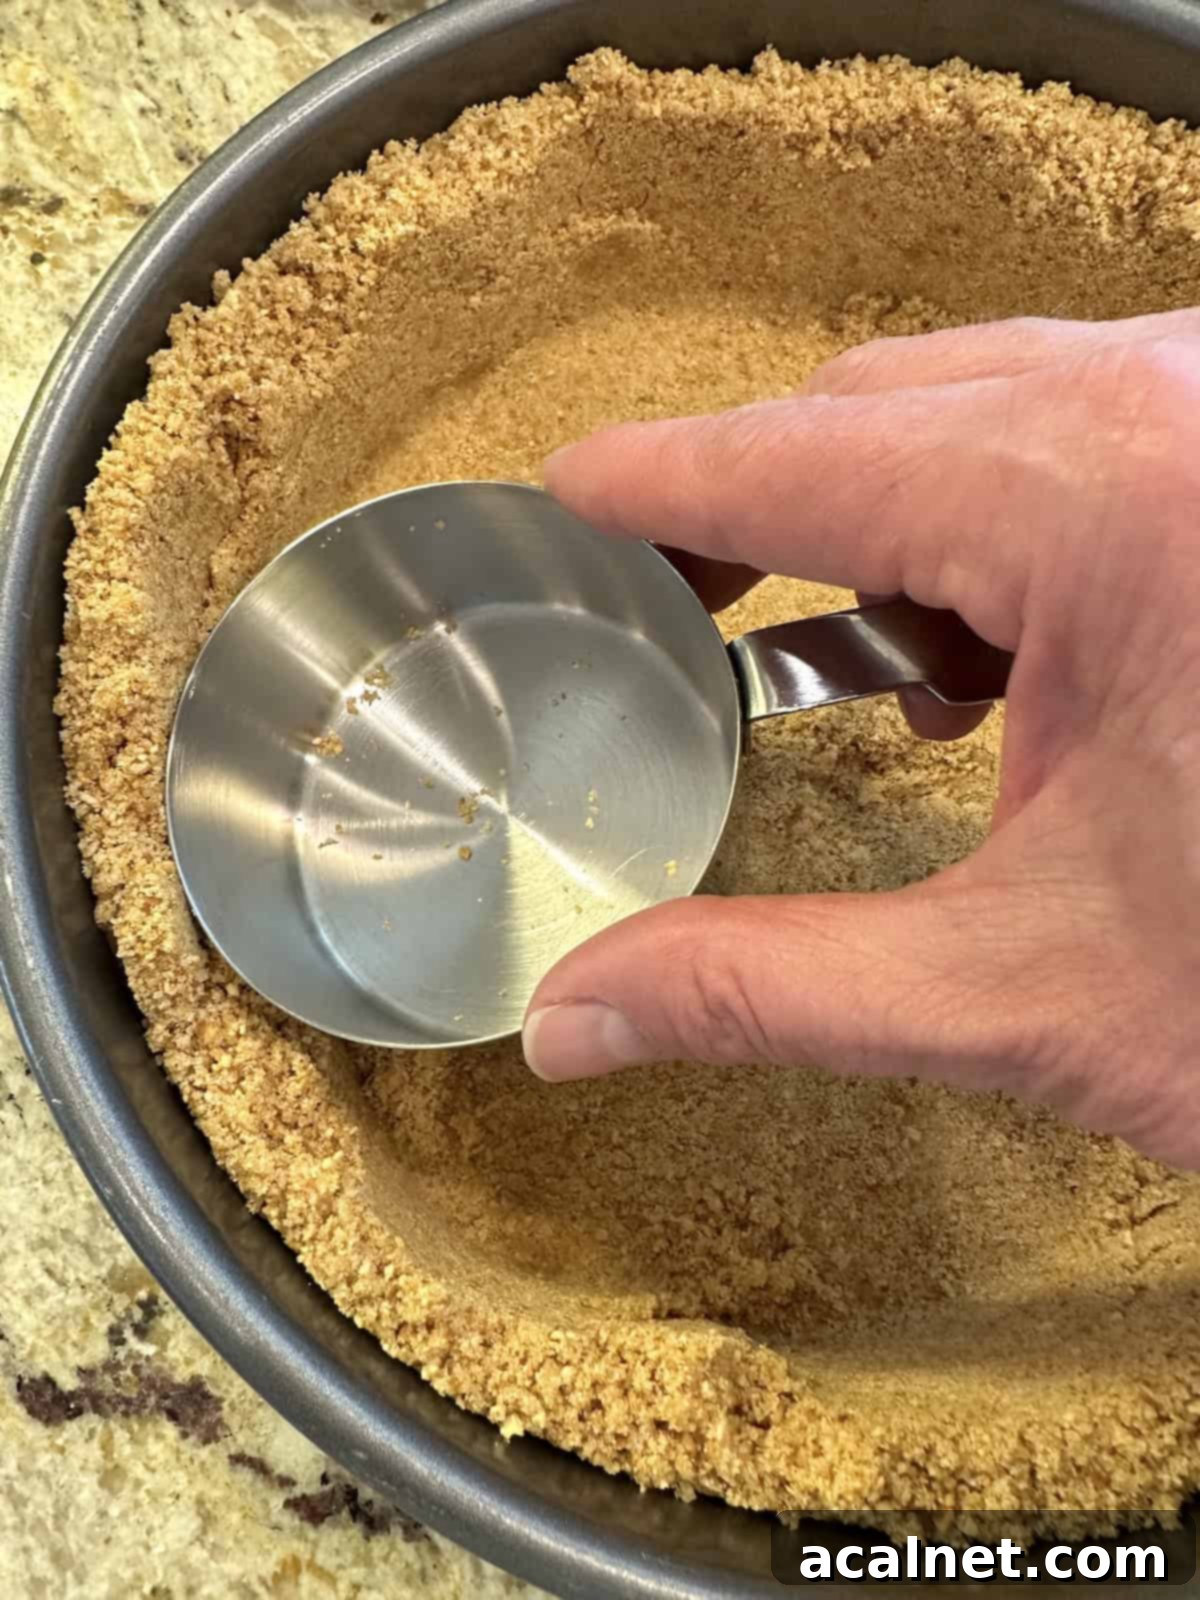
Step 3: Carefully transfer the prepared graham cracker crust mixture into the bottom of a 9-inch springform pan. Distribute the crumbs as evenly as possible. Then, using the flat bottom of a measuring cup, firmly press the ingredients across the entire bottom of the pan. Next, use the side of the measuring cup to push the remaining crumbs up the sides of the pan, creating a tall, uniform edge that completely encircles the pan. This creates a sturdy and attractive crust that will perfectly contain your creamy cheesecake filling, as demonstrated in the photo above.
👩🏻🍳 Crafting the Creamy Vanilla Cheesecake Filling
Once your perfect graham cracker crust is ready, it’s time to prepare the star of the show: the incredibly smooth and luscious vanilla cheesecake filling. This process is straightforward, but each step is vital to achieve that signature creamy texture without the need for a water bath.
Step 1: In a separate 2-cup glass measuring cup (or a small bowl), gently whisk together the eggs, freshly squeezed lemon juice, and the generous tablespoon of vanilla extract. Blending these wet ingredients first ensures they are fully incorporated and evenly distributed throughout the cream cheese mixture later. Set this aside for now.
Step 2: Ensure your cream cheese is properly softened. This is a critical step to prevent lumps and ensure a perfectly smooth filling. If your cream cheese isn’t at room temperature, you can soften it quickly by unwrapping each block and microwaving it on a microwave-safe plate for 15-20 seconds, or until just softened but not melted. Place the softened cream cheese into a large mixing bowl or the bowl of your stand mixer. Using the mixer’s paddle attachment or a sturdy spoon, beat the cream cheese on medium speed until it’s wonderfully creamy and lump-free.
Step 3: Gradually add the granulated sugar to the softened cream cheese. Continue mixing on medium speed until the sugar is fully dissolved and the mixture is completely smooth and airy. Scrape down the sides of the bowl as needed to ensure everything is thoroughly combined.
Step 4: Now, slowly pour the contents of your glass measuring cup – the whisked eggs, lemon juice, and vanilla extract – into the cream cheese and sugar mixture. Mix on low speed until everything is just well blended and smooth. Be careful not to overmix at this stage, as too much air can cause cracks during baking. Next, and this is a crucial step for achieving that signature velvety texture without a water bath, add the ½ cup of sour cream and blend again until it is just combined. The sour cream is your secret weapon, adding an essential richness and delicate tang that ensures the cheesecake remains incredibly smooth and moist. It’s easy to forget this important ingredient in the flurry of baking, but remember, the sour cream is key to that perfect, crack-free texture!
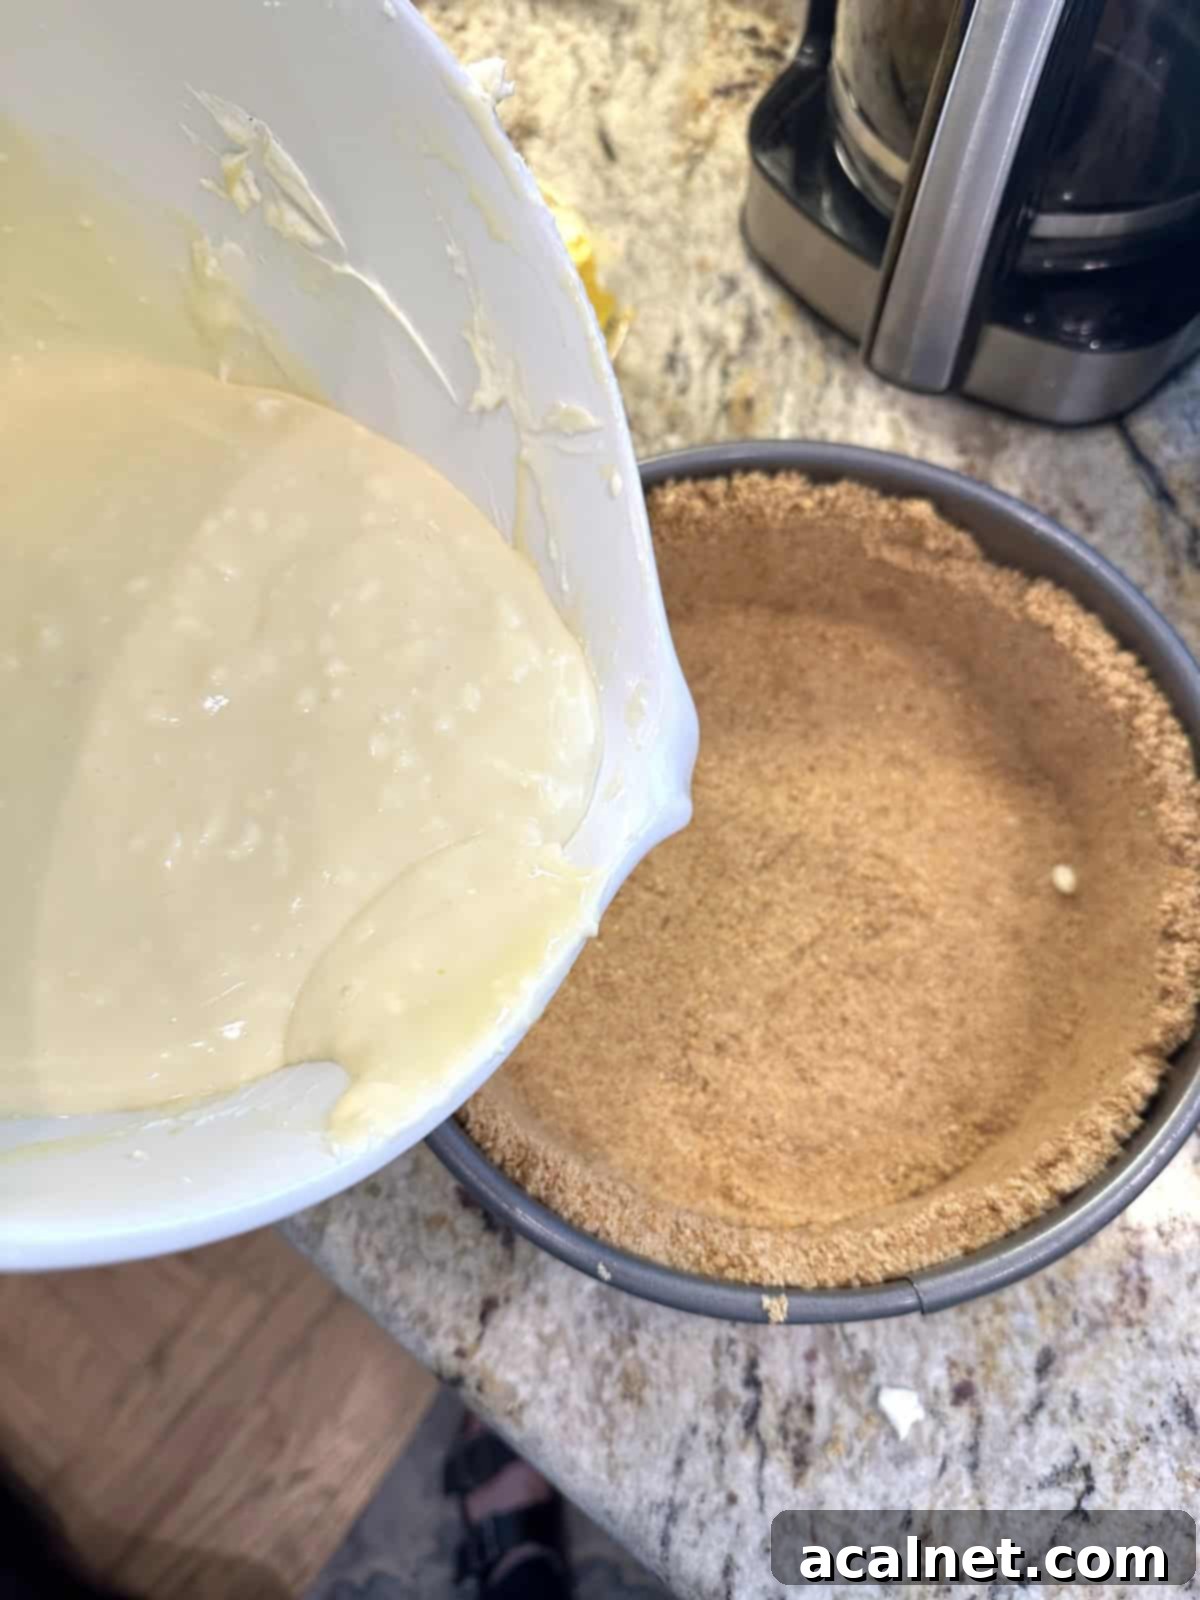
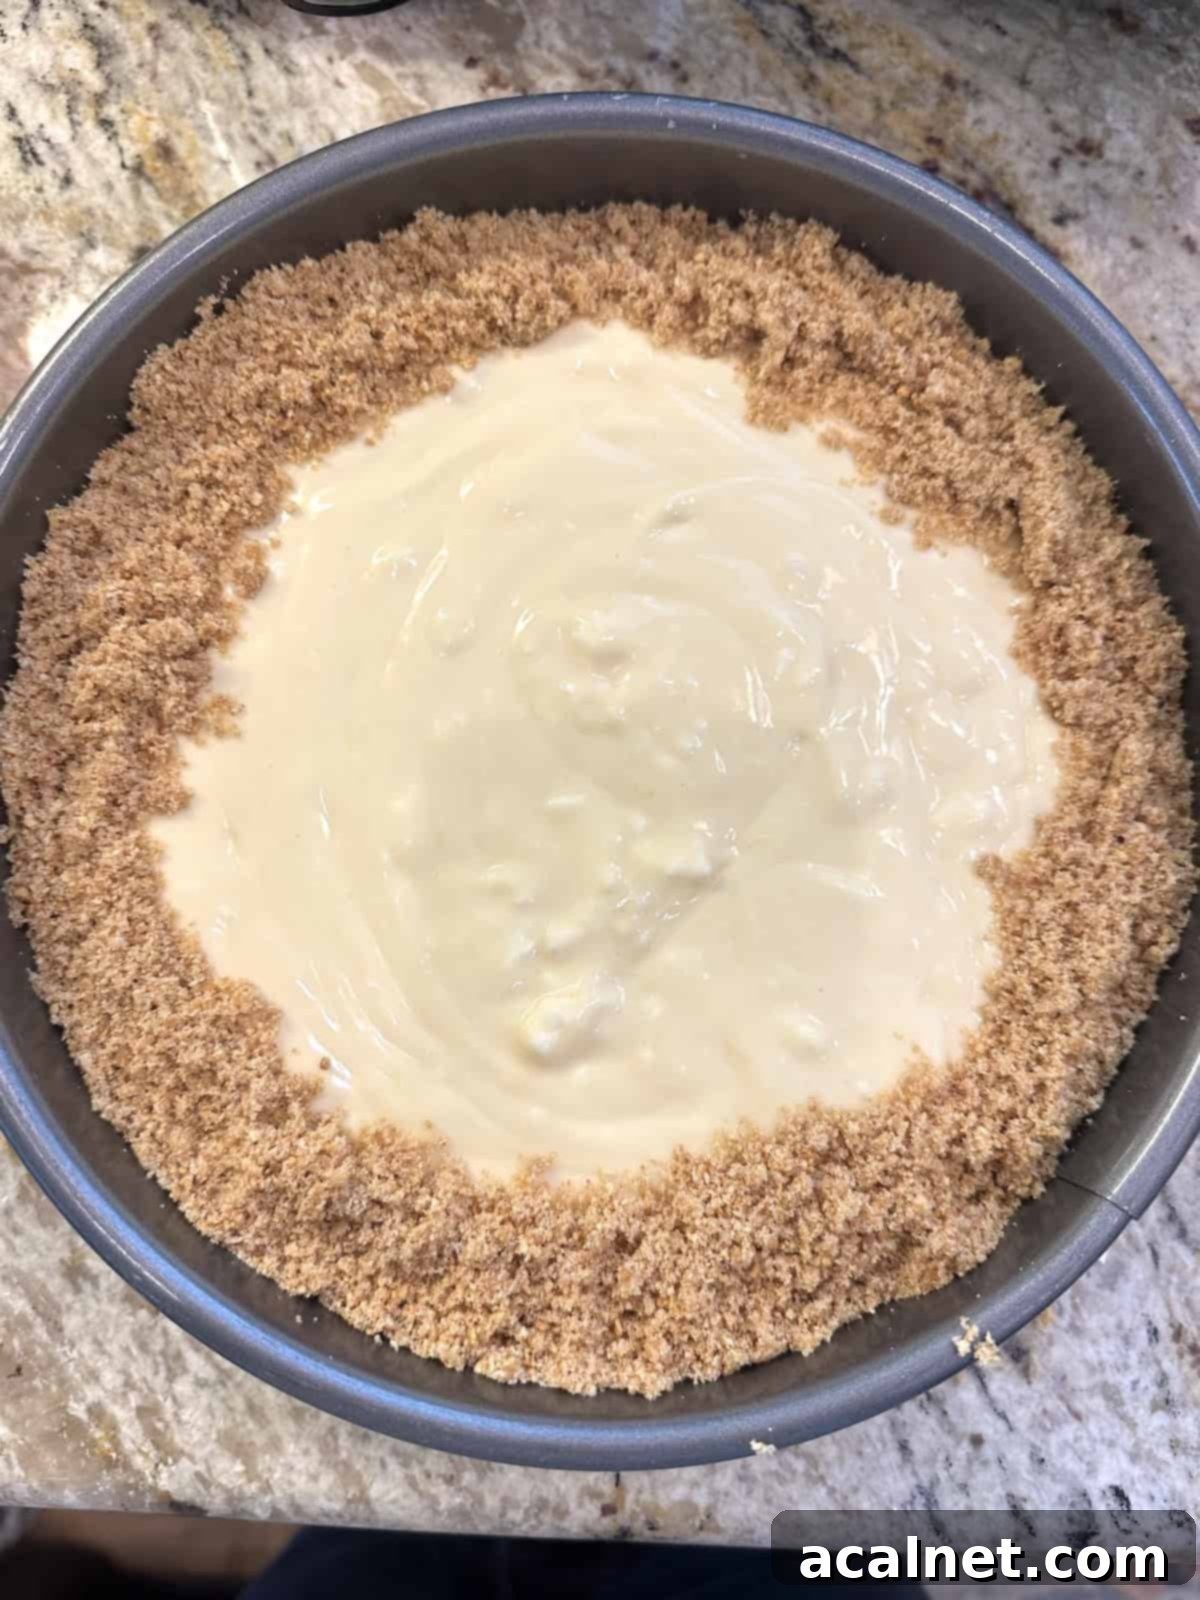
Step 5: Gently pour the prepared vanilla cheesecake filling into the graham cracker crust that you meticulously pressed into your (affiliate link) springform pan. Once the filling is in, take a fork and use its tines to gently push and fold the top edge of the graham cracker crust slightly onto the surface of the cheesecake filling. This creates a charming, slightly rustic rim of delicious graham cracker “crushed-cookie-like” crust around the edge of the cheesecake, adding both visual appeal and a lovely texture contrast to each bite. Now, your cheesecake is perfectly assembled and ready for baking!
💭 Frequently Asked Questions (FAQs) for Perfect Cheesecake Success
For optimal results and to ensure the cheesecake bakes evenly and sets correctly, I strongly recommend using a (affiliate link)9-inch springform pan, as specified in the recipe. Using a pan of a different size will alter the thickness of the cheesecake, which in turn will significantly impact the required baking time and could compromise the overall texture and final result of your delicious dessert.
No, there’s no need to remove the cheesecake from the bottom base of the springform pan. In fact, I always keep the cheesecake on the bottom of the pan. This makes it incredibly easy to transfer it directly onto your chosen serving plate, preventing any potential damage to the crust or the delicate cheesecake itself. Simply release the side ring, and you’re ready to serve!
For the absolute best flavor profile, please make sure to use the juice from a fresh lemon. While bottled lemon juice may claim to be “100% juice,” it often contains preservatives and lacks the bright, vibrant, and nuanced flavor that freshly squeezed lemon juice provides. When you compare the taste side-by-side, the difference in freshness and zest is quite noticeable, and fresh lemon juice will elevate your cheesecake significantly.
This is a crucial preventative measure! Springform pans, by design, don’t always create a perfectly watertight or airtight seal, especially as they age. By placing the springform pan on a baking sheet – or even a pizza pan – you create a safety net. This ensures that if any trace of melted butter from the crust or a tiny bit of the cheesecake filling were to seep out during baking, it would be caught by the baking sheet, preventing a messy spill into your oven and saving you from a tedious cleanup.
Cracks typically form when a cheesecake bakes too quickly, overbakes, or cools too rapidly. To minimize cracking, ensure your cream cheese is fully softened and you don’t overmix the batter (which incorporates too much air). Most importantly, follow the baking and cooling instructions carefully: do not overbake (look for the gentle jiggle), and allow it to cool gradually at room temperature before refrigerating. Sudden temperature changes are a common culprit for cracks!
For beautifully neat slices, always ensure your cheesecake is thoroughly chilled, ideally for at least 4 hours or overnight. Before each cut, dip a sharp, thin knife into hot water, wipe it clean with a towel, and then make your slice. Repeat this process for every single slice. This technique will give you those picture-perfect, clean edges every time.
♨️ Knowing When Your Baked Vanilla Cheesecake is Perfectly Done
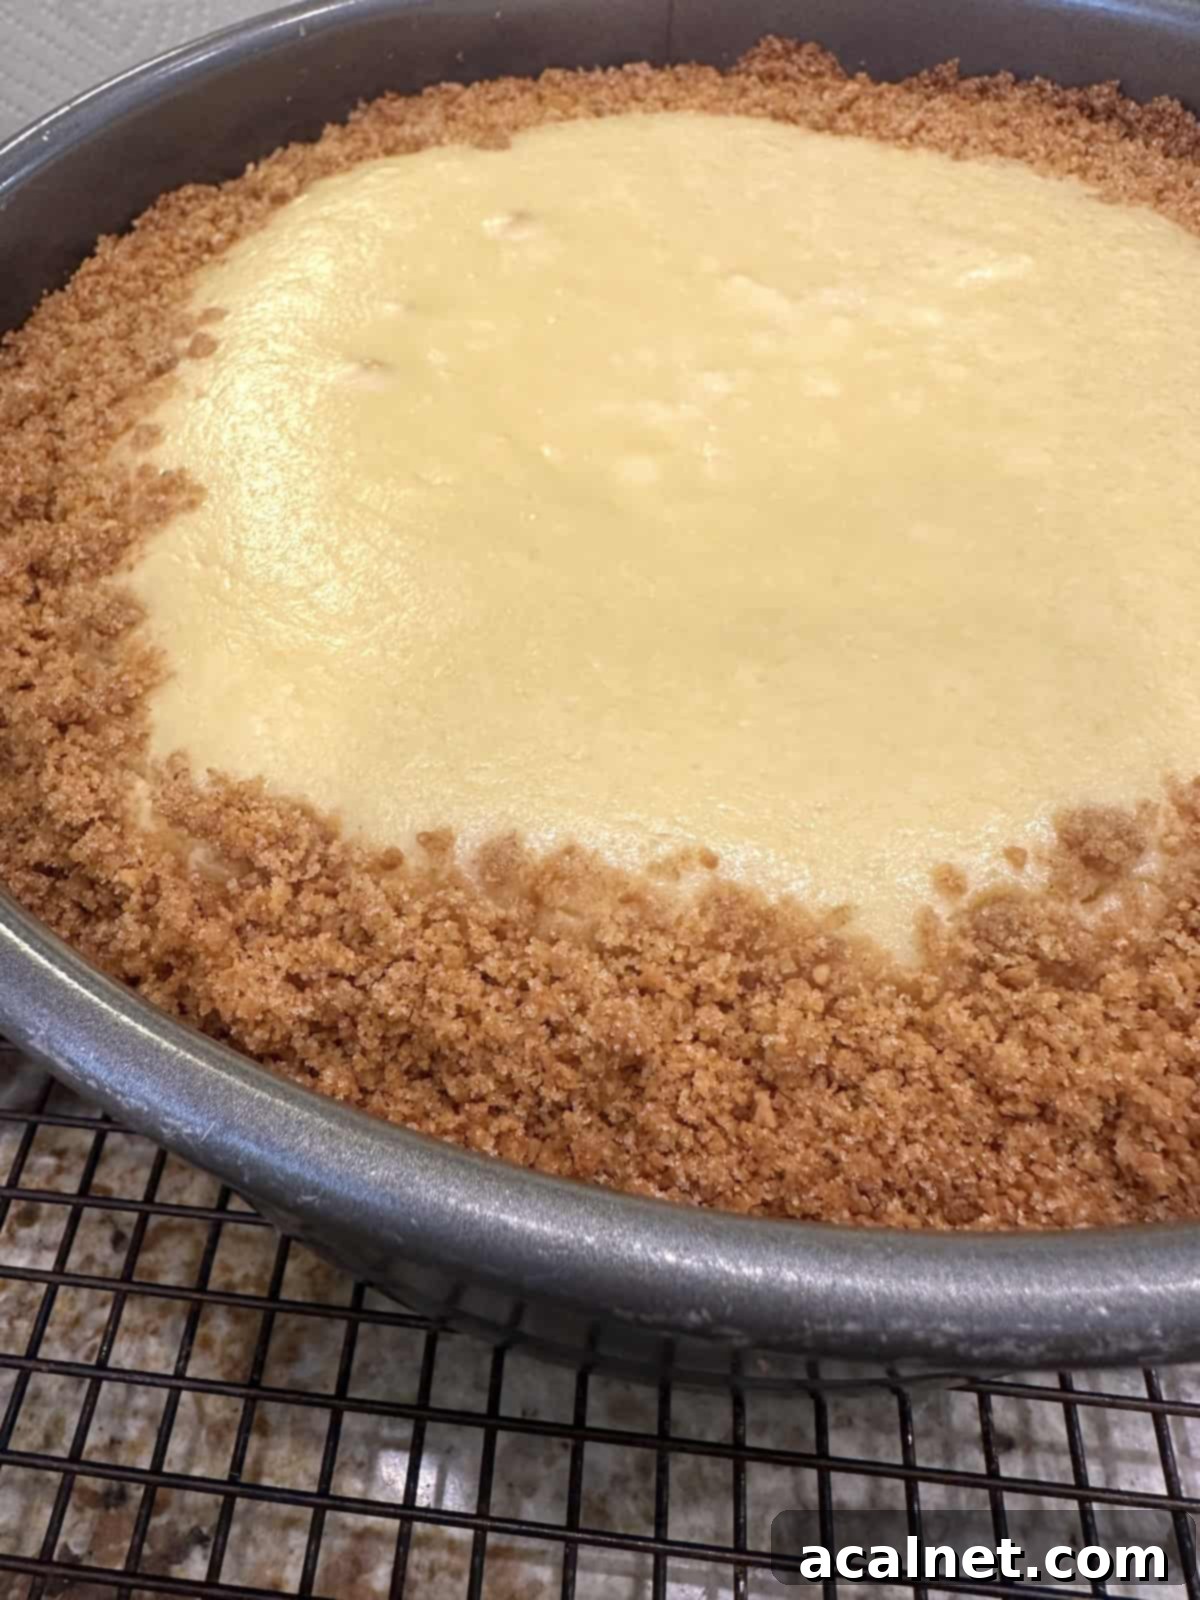
Determining the exact moment your cheesecake is perfectly baked is key to achieving that creamy, smooth texture without any cracks. After approximately 45 minutes in the oven, it’s time to check on your cheesecake to assess its progress. The baking time may vary slightly depending on your oven and the exact temperature of your ingredients, so an additional 5-10 minutes might be needed, but checking at the 45-minute mark gives you a good baseline.
The crucial test for doneness is the “jiggle test.” Gently nudge the springform pan. The center of the cheesecake should wiggle like a firm jello, or a very thick pudding, but it should not appear liquidy or slosh around. The edges should look set and slightly puffed. Remember, the cheesecake will continue to “bake” and set up as it cools, so it’s better to slightly underbake than overbake.
Pro Tip: Another excellent visual indicator that your cheesecake is ready to come out of the oven is the appearance of tiny, subtle cracks forming around the very edges of the cheesecake. This is a tell-tale sign that the edges are set and the cheesecake is almost perfectly done. Watch for these small fissures as a cue!
It’s vital not to overbake a cheesecake. Overbaking can cause the filling to dry out, become rubbery, and most commonly, lead to unattractive cracks forming in the middle or across the surface. Trust the jiggle test and those subtle edge cracks. Once removed from the oven, the residual heat will continue to set the center, ensuring a beautifully smooth and creamy result.
📋 Preparing Your Vanilla Cheesecake for Serving & Long-Term Storage
Proper cooling and storage are just as important as the baking process itself to ensure your Baked Vanilla Cheesecake maintains its exquisite texture and flavor. Once you’ve removed the cheesecake from the oven, place the entire springform pan (still on its baking sheet, if you used one) directly onto a wire cooling rack on your kitchen counter. This allows air to circulate around the pan, facilitating even cooling.
Allow the cheesecake to cool gradually at room temperature for at least 1-2 hours. This slow cooling process is essential as it helps prevent sudden temperature changes that can lead to cracks. Once the cheesecake is no longer warm to the touch and has cooled completely to room temperature, you can gently release the spring mechanism on the side band of the springform pan and carefully remove the ring. If you find the crust is sticking slightly, run a thin knife around the edge before releasing the spring.
After removing the ring, cover the cheesecake with plastic wrap (ensure the wrap doesn’t touch the surface directly if possible, or use toothpicks to create a tent) and refrigerate it. Chilling is paramount for the cheesecake to fully set, firm up, and develop its optimal flavor and creamy texture. I recommend refrigerating it for a minimum of 4 hours, or ideally, overnight, before you are ready to slice and serve. I personally love taking it out of the fridge about 30 minutes before serving to allow it to soften just slightly for the best eating experience.
Your beautifully baked cheesecake will stay fresh and utterly delicious in the refrigerator for 3-4 days when properly covered.
For longer enjoyment, this cheesecake also freezes exceptionally well. To freeze, ensure the cheesecake is completely cooled and chilled. You can freeze the whole cheesecake or individual slices. Double-wrap the cheesecake (or slices) tightly in plastic wrap, pressing it against the surface to prevent freezer burn. Then, wrap it again securely in aluminum foil. Place the well-wrapped cheesecake in an airtight freezer-safe container or a large freezer bag and place it in the freezer.
Pro Tip: To defrost a frozen cheesecake, simply transfer it from the freezer to the refrigerator the day before you plan to serve it. Allow it to thaw slowly overnight in the fridge. This gradual defrosting method helps maintain its creamy texture. For the best flavor and texture, enjoy your defrosted cheesecake within 3 months of freezing.
🌡️ Unlock the Endless Possibilities: The Versatility of Baked Vanilla Cheesecake
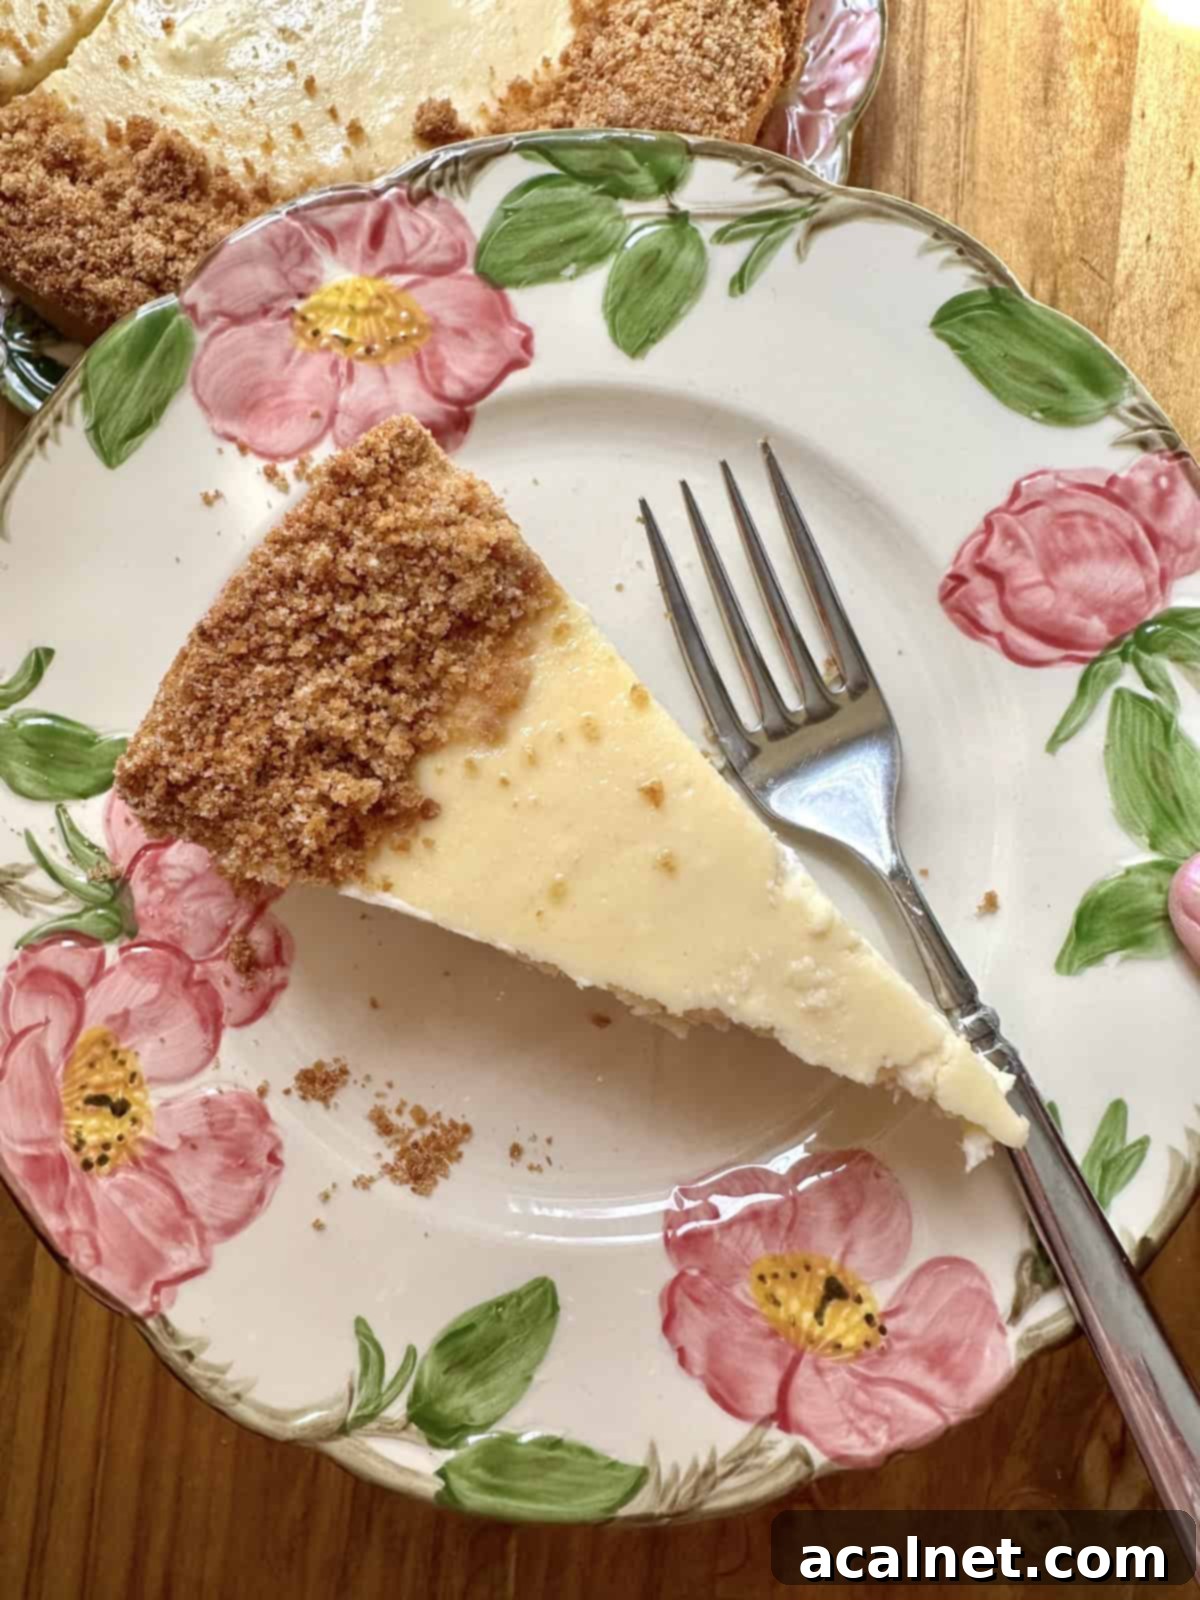
One of the most appealing aspects of this classic Baked Vanilla Cheesecake is its incredible versatility. While it’s utterly divine on its own, it also serves as a perfect canvas for a myriad of delicious toppings and accompaniments, allowing you to customize it for any palate or occasion. Here are some fantastic options to consider:
Slice and serve it plain: There’s an undeniable elegance and satisfaction in enjoying this cheesecake unadorned. The rich, creamy filling, perfectly complemented by the cinnamon-kissed graham cracker crust, creates a quintessential, classic dessert experience. Serve it this way with pride – its pure flavor stands alone beautifully!
Elevate your cheesecake with a luscious layer of toppings: Add a generous layer of fresh, vibrant fresh fruit like berries (strawberries, blueberries, raspberries), sliced peaches, or kiwi for a burst of natural sweetness and color. Or, for a more decadent touch, drizzle with rich chocolate syrup, warm caramel sauce, or even a dollop of your favorite jam or fruit compote. These additions provide an extra special layer of sweet goodness and visual appeal.
Craving a delightful crunch on top of your silky cheesecake? Get creative with textured toppings! Crumble your favorite cookies, such as crispy Peanut Butter Cookies , shortbread, or even Oreos, over each serving. Alternatively, sprinkle finely crushed candy bars (like Heath, Snickers, or Butterfinger), toasted nuts (pecans, walnuts, almonds), or a sprinkle of toasted coconut flakes on top of each slice. These crunchy elements add an exciting textural contrast that makes every bite even more enjoyable.
🍽 More Tasty Dessert Recipes to Sweeten Your Day
This Baked Vanilla Cheesecake has been a cherished family-favorite recipe in my household for years, and I sincerely hope it brings as much joy and deliciousness to your table as it has to ours. If you’re inspired to explore more sweet creations and are on the lookout for a few additional dessert ideas, you’ve come to the right place! Here are more of my tried-and-true, irresistible sweet recipes that are guaranteed to delight your taste buds and earn a spot in your recipe collection.
- Chocolate Zucchini Cake
- No-Chill Sugar Cookie Recipe
- Old Fashioned Sour Cream Cookies
- Tiramisu Cake for Dessert
If you tried this delightful Baked Vanilla Cheesecake recipe or any other recipe from my website, please consider leaving a 🌟 star rating and share your experience in the comments section below. Your feedback means the world to me and helps other home cooks! I always look forward to hearing from you!
Recipe
Baked Vanilla Cheesecake
Equipment
- 1, 9″ spring-form pan
Ingredients
Crust Ingredients
- 2 ½ cups graham cracker crumbs
- 1 cup sugar
- ½ teaspoon cinnamon
- ½ cup butter – melted
Vanilla Cheesecake Filling Ingredients
- 4 eggs
- 1 lemon – juiced, 2-3 tablespoons depending on the size of the lemon
- 1 tablespoon vanilla extract
- 3, 8 oz. packages cream cheese – softened
- 1 cup sugar
- ½ cup sour cream
Instructions
- Preheat oven to 325°F. For best results, place your springform pan on a baking sheet before adding the crust ingredients.
Prepare Graham Cracker Crust
- In a medium-sized bowl, combine the graham cracker crumbs, sugar, and cinnamon. Stir well to mix the dry ingredients. Add the melted butter and continue stirring until all ingredients are thoroughly blended and moistened, creating a coarse crumb mixture that resembles wet sand. Evenly spread the crust ingredients across the bottom of the 9-inch springform pan. Use the flat bottom of a measuring cup to firmly push and flatten the crumbs across the bottom. Then, use the side of the measuring cup to press the ingredients up the sides of the pan, forming a tall, sturdy edge all the way around the pan.
Blend the Vanilla Cheesecake Filling Ingredients
- In a 2-cup glass measuring cup or a small bowl, whisk together the eggs, fresh lemon juice, and vanilla extract until well combined. Set this liquid mixture aside.
- Ensure your cream cheese is softened. You can achieve this by unwrapping each piece, placing them on a microwave-safe plate, and warming in the microwave for 15 seconds. Check for softness, and if needed, microwave for an additional 10-15 seconds until the cream cheese is soft and pliable. Alternatively, leave the cream cheese at room temperature for about 20 minutes. Place the softened cream cheese in a large mixing bowl or the bowl of your stand mixer. Using a mixer with the paddle attachment or a sturdy spoon, beat until the cream cheese is smooth and creamy. Gradually add the sugar to the cream cheese, blending until the mixture is completely smooth and the sugar is dissolved. Next, slowly pour in the contents of the glass measuring cup (the eggs, lemon juice, and vanilla extract). Mix on low speed until everything is just well blended and smooth. Avoid overmixing. Finally, add the ½ cup of sour cream and blend again on low speed until it is just combined. This ingredient is key to the cheesecake’s velvety texture without a water bath.
- Pour the creamy cheesecake filling into the prepared graham cracker crust in the springform pan. Using the tines of a fork, gently fold the top edge of the crust inwards, onto the cheesecake’s surface. This creates a charming, slightly rustic rim of graham cracker crust around the edge of the filling.
- Carefully place the springform pan (which should be sitting on a baking sheet to prevent any potential leaks) into the preheated oven. Bake for 45-55 minutes. Begin checking the cheesecake at the 45-minute mark. The cheesecake is done when the edges are set and slightly puffed, but the center still jiggles gently like a firm jello. It should not appear liquidy. Look for subtle, tiny cracks that may form around the very edges of the cheesecake; this is another indicator that it’s ready. Do not overbake, as this can cause larger cracks. Once baked, remove the springform pan (on its baking sheet) from the oven and place it on a wire cooling rack. Let it cool completely at room temperature. Once cooled and no longer warm to the touch, gently release the springform edge of the baking pan and remove the ring. Cover the baked cheesecake with plastic wrap and refrigerate for at least 4 hours, or preferably overnight, to allow it to fully set. I recommend taking it out of the fridge about 30 minutes before serving for the best texture. Slice with a hot, clean knife (wiped between each slice) and serve plain or with your favorite toppings!
Notes
Please note, the nutrition details provided are estimated using a food database. They are intended to be a rough guide and not an exact, scientifically verified calculation.
