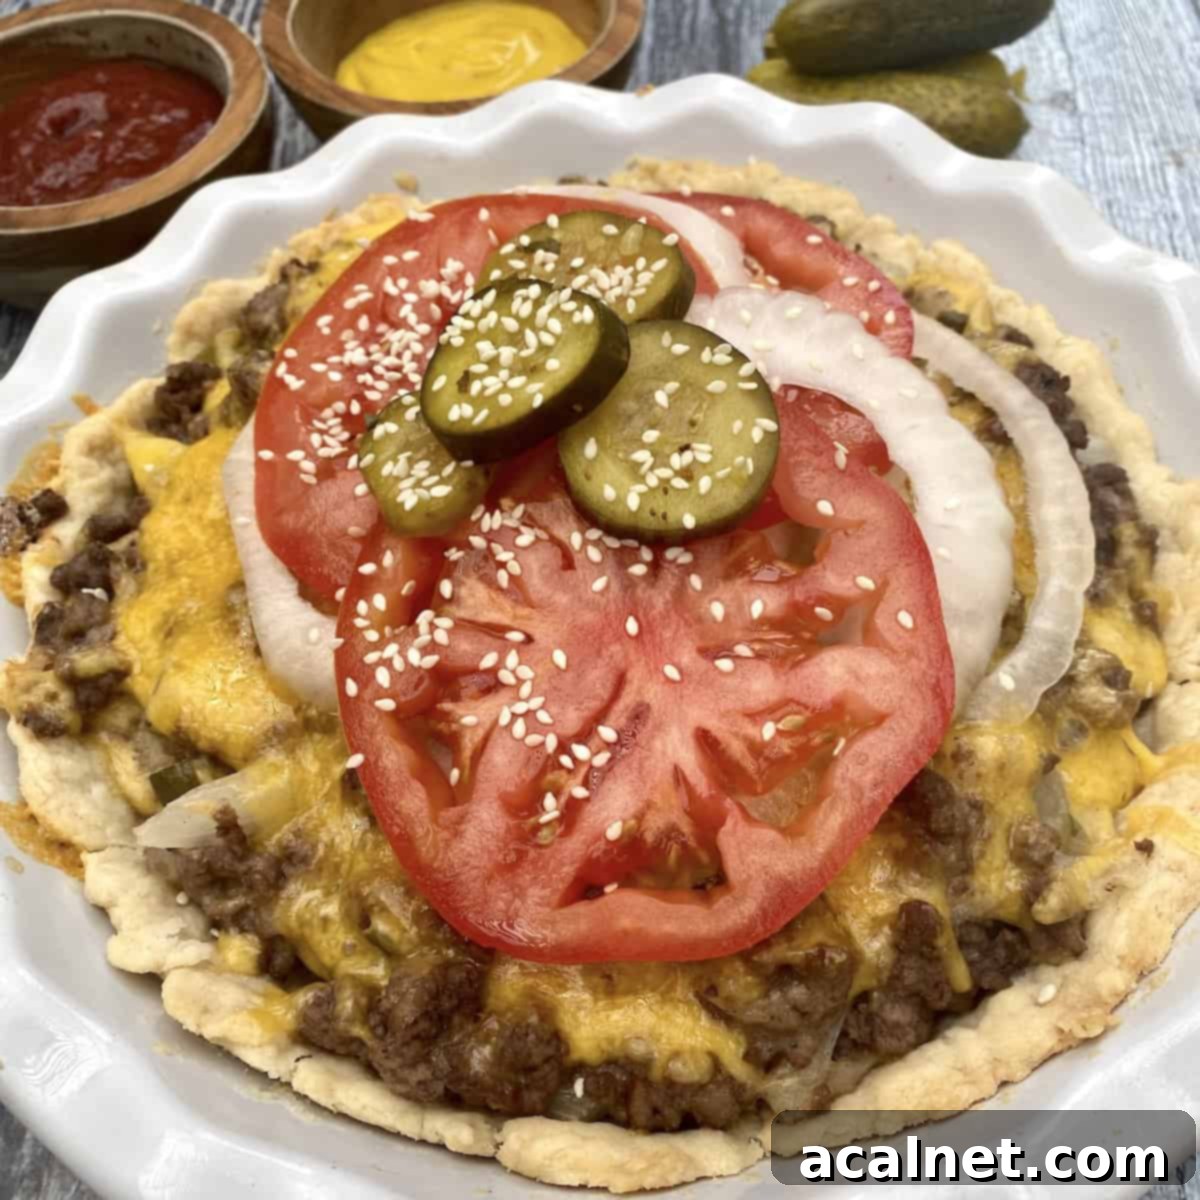
Ultimate Homemade Cheeseburger Pie Without Bisquick: An Easy Family Dinner Recipe
Forget the drive-thru and endless search for quick dinner ideas! This Cheeseburger Pie Without Bisquick brings all the beloved flavors of a classic cheeseburger straight to your dinner table. Imagine juicy ground beef, savory onions, tangy pickles, and melted cheddar cheese, all nestled within a deliciously flaky, easy-to-make crust. You won’t miss the bun one bit, as it’s perfectly replaced by a simple, pat-in-the-pan pastry that comes together in minutes. This recipe isn’t just a meal; it’s a nostalgic journey to comfort food that both kids and adults will absolutely adore, making it a guaranteed family favorite. Serve it alongside crisp French Fry Sauce, a refreshing Cold Green Bean Salad, or a hearty Red Potato Salad for a truly winning and wholesome meal.
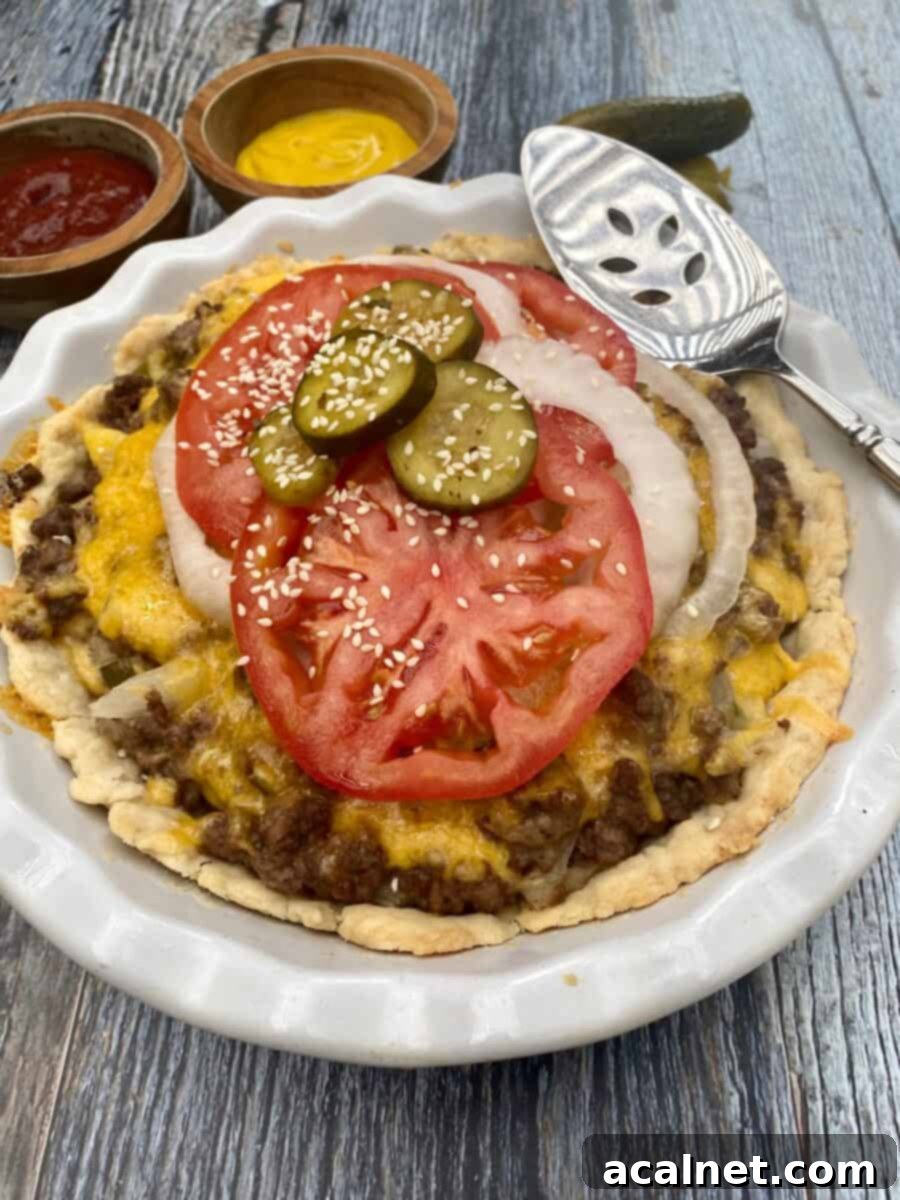
Craving a delicious, hearty meal that’s simple to prepare and packed with flavor? This homemade cheeseburger pie recipe is your answer. It’s a fantastic alternative to traditional burgers, offering all the satisfying tastes without the fuss of grilling or assembling individual sandwiches. The beauty of this dish lies in its simplicity and the use of everyday ingredients, proving that a truly satisfying meal doesn’t require complex techniques or a pantry full of specialty items.
[feast_advanced_jump_to]
Essential Ingredients for Your Cheeseburger Pie
One of the best aspects of this cheeseburger pie is that it relies on basic pantry staples you likely already have. This makes it a perfect last-minute dinner solution when you’re short on time but still want to deliver a comforting, homemade meal. Here’s a closer look at the key ingredients you’ll need to bring this savory pie to life. For precise measurements and detailed instructions, remember to scroll down to the comprehensive recipe card below.
- Ground Beef: The star of our pie, lean ground beef provides that classic burger flavor and hearty texture. Using lean beef helps keep the filling from being too greasy.
- Dill Pickles: Chopped dill pickles and a touch of their liquid add a crucial tangy zest that brightens the rich flavors of the beef and cheese, truly mimicking a cheeseburger experience.
- Cheddar Cheese: Sharp cheddar cheese melts beautifully, creating a creamy, savory binder for the filling and a golden, bubbly topping. Freshly shredded cheese always melts better than pre-shredded.
- Onion & Garlic: These aromatic vegetables are essential for building a robust flavor base. Sautéing them until softened and slightly caramelized adds a depth of sweetness and pungency that elevates the entire dish.
- Flour: Used both in the crust for structure and in the filling as a thickener, ensuring a perfectly cohesive and delicious pie.
- Salt: A fundamental seasoning that enhances all the other flavors, bringing them into harmonious balance.
- Shortening: The secret to our incredibly flaky, tender, and easy-to-handle pat-in-the-pan crust. It provides richness and helps create layers of pastry perfection.
- Milk: Adds a touch of creaminess to the filling, helping to create a smooth, well-integrated mixture that’s rich and flavorful.
These simple yet powerful ingredients combine to create a meal that’s greater than the sum of its parts, offering a delightful twist on a familiar favorite.
Crafting Your Delicious and Easy Cheeseburger Pie from Scratch
This cheeseburger pie recipe is a testament to how incredible meals can be made from scratch without demanding hours in the kitchen. It’s designed for efficiency and maximum flavor, making it an ideal choice for busy weeknights or a relaxed weekend dinner. The entire process, from preparing the crust to assembling the filling and baking, is streamlined so you can enjoy a hearty, homemade meal in under an hour. The filling, bursting with savory ground beef, onion, pickles, and cheese, is effortlessly prepared in a single skillet on the stovetop, minimizing cleanup.
While we champion our simple homemade crust, which comes together with remarkable speed, you certainly have the option to use a store-bought pie crust if you’re looking to save even more time. However, we encourage you to try our pat-in-the-pan crust – it’s so easy, you might just find yourself preferring it every time!
No Bisquick Needed: The Secret to Our Flaky Homemade Crust
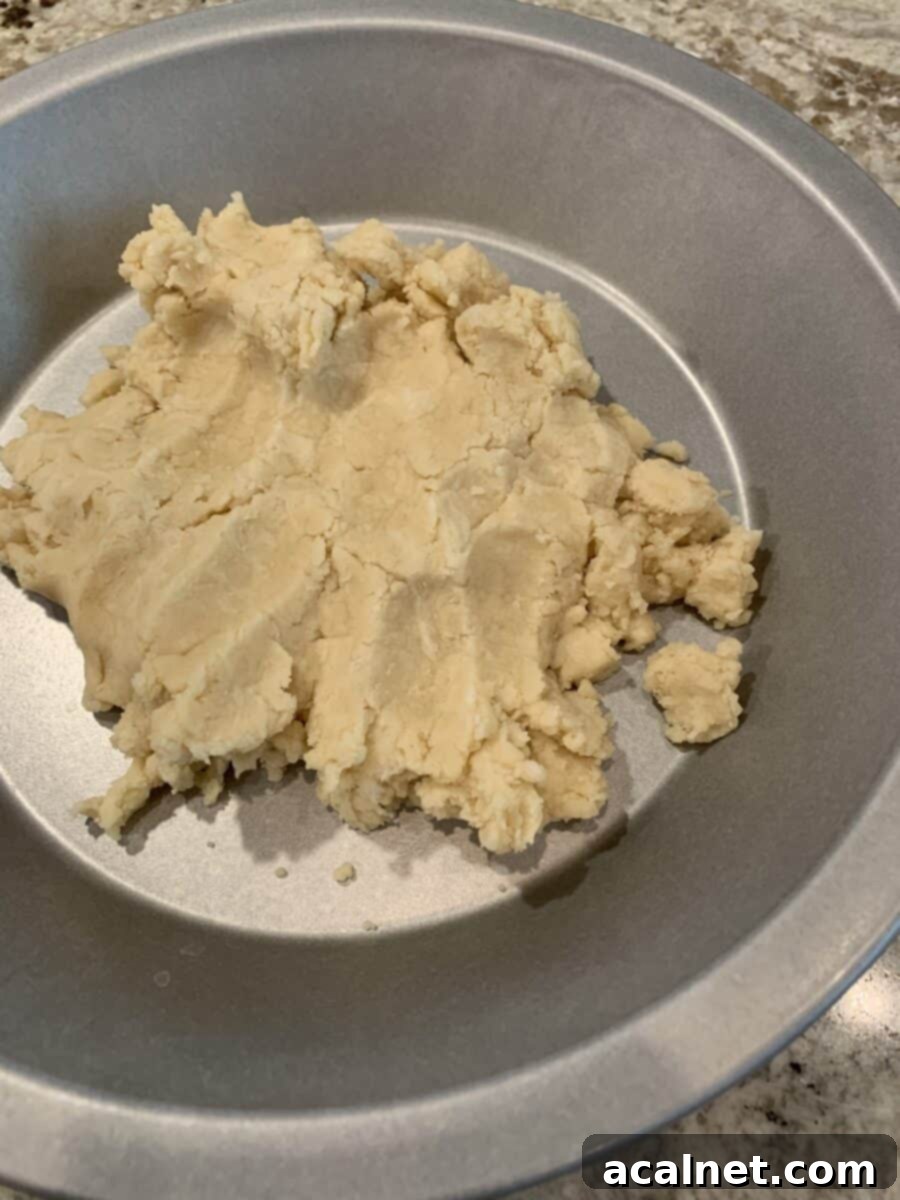
One of the standout features of this cheeseburger pie is its incredible homemade crust, and the best part? There’s absolutely no Bisquick needed! This isn’t just a crust; it’s a game-changer. Forget about the intimidation of rolling out dough or the convenience of a mix – this pat-in-the-pan crust is both simpler and more rewarding, delivering a superior flaky texture that perfectly complements the savory filling.
The magic happens by simply combining flour, salt, and shortening in a bowl. The key to its ease is the “pat-in-the-pan” method. Instead of wrestling with a rolling pin, you’ll use your hands to gently press the dough into your pie plate. While a pastry blender is a handy tool for cutting in the shortening, your fingers can do an equally fantastic job. In fact, using your hands offers a distinct advantage: you can immediately feel the dough’s consistency, knowing precisely when you’ve added enough water for it to come together perfectly. It’s ready when it forms a soft, pliable dough that cleans the sides of the bowl and is easily pressed into place.
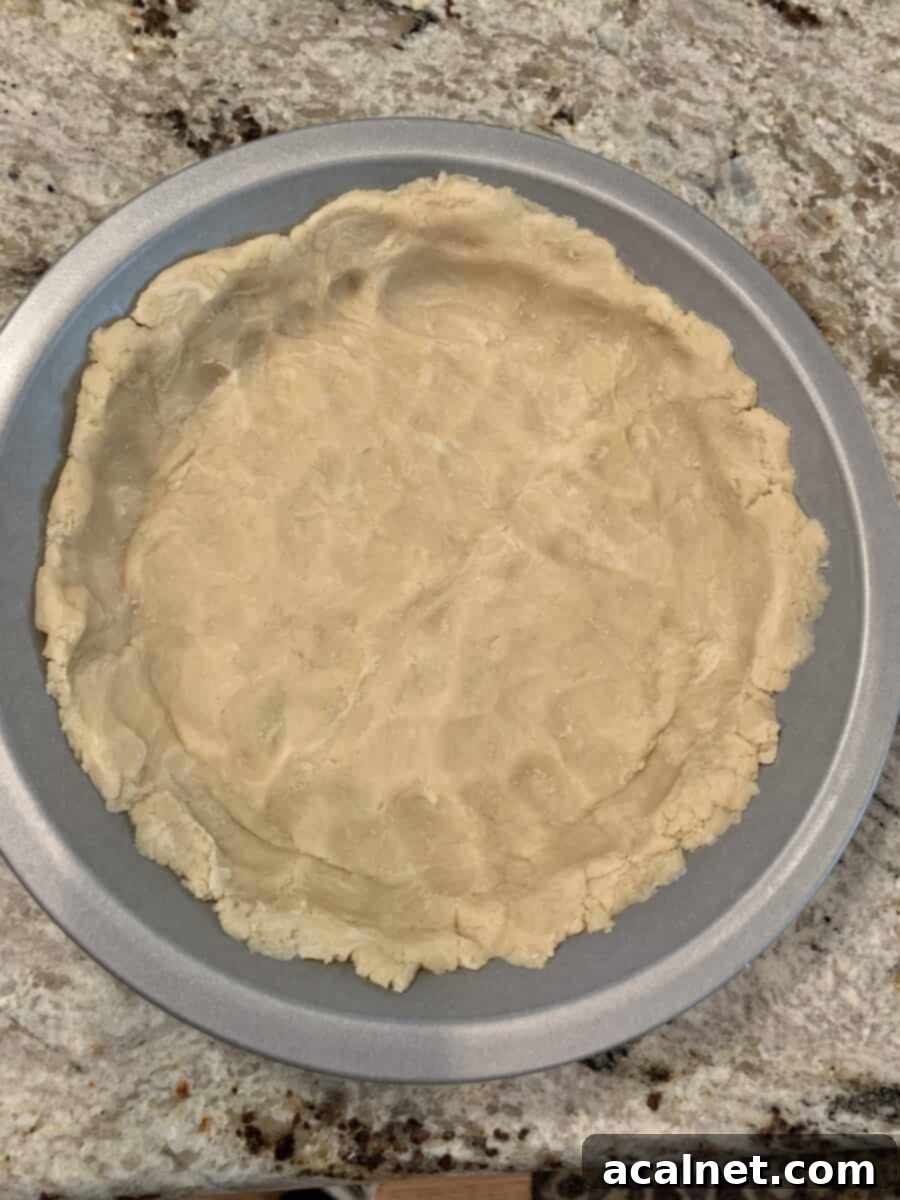
Once your dough is perfectly formed, simply pat it into a 9-inch or 10-inch pie plate, a quiche dish, or even a 9-inch square baking dish. This versatility makes it adaptable to whatever bakeware you have on hand. Pop it into the oven and bake for 15 minutes at 425°F. This crucial pre-bake step, often called blind baking, helps ensure a beautifully crisp, golden crust that won’t become soggy once the savory filling is added. While your crust is transforming in the oven, you’ll have ample time to prepare the delicious cheeseburger filling, making the entire process efficient and coordinated.
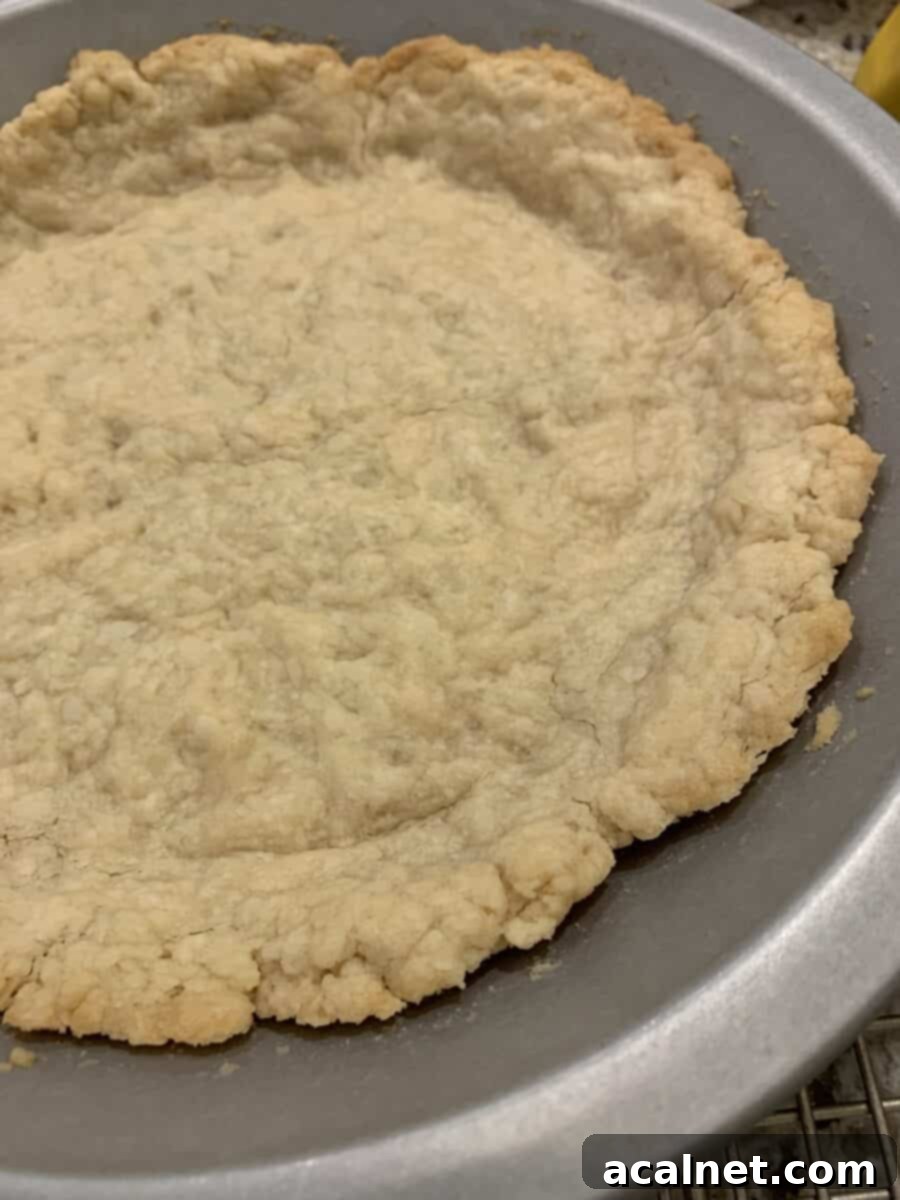
A Robust Crust for a Hearty Filling
Unlike delicate dessert pies where a thin crust is often desired, for our cheeseburger pie, you’ll want the crust to be a bit thicker and more substantial. This isn’t just for structural integrity; it’s essential for balance. The crust needs to be sturdy enough to cradle all those magnificent cheeseburger pie ingredients – the seasoned ground beef, the creamy melted cheese, and the zesty pickles – without collapsing. A thicker crust ensures that each slice holds together beautifully, offering a satisfying bite that combines both the tender filling and the flaky pastry.
But rest assured, a thicker crust doesn’t mean a tough crust. Despite its robust nature, this homemade pastry will remain wonderfully tender and perfectly flaky, providing a delightful contrast to the rich, savory filling. It’s the ideal foundation for a pie that’s designed to be a complete, satisfying meal.
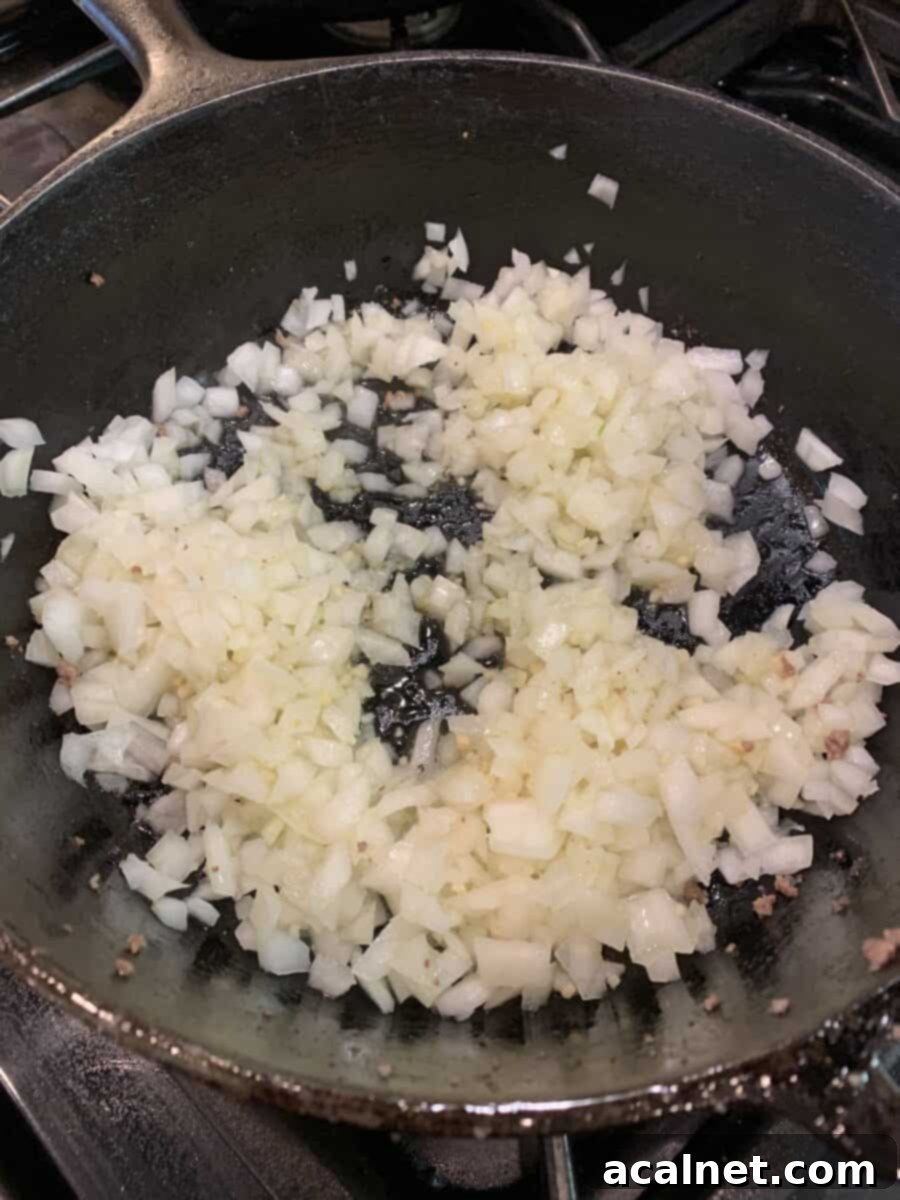
Building the Irresistible Cheeseburger Pie Filling
The heart of our Cheeseburger Pie without Bisquick is its incredibly flavorful filling, which conveniently cooks up in a single skillet on your stovetop. This ease of preparation is what makes this recipe a true winner, especially when you’re craving the satisfying taste of cheeseburgers but the idea of grilling outside isn’t appealing. It’s a quick, straightforward process that guarantees a rich, savory result.
Begin by browning your ground beef in a skillet over medium-high heat. As the beef cooks, break it up into small, even crumbles. Once it’s no longer pink and thoroughly cooked, remove the beef from the skillet and drain any excess fat on paper towels. This step is crucial for preventing a greasy pie. Next, using the very same skillet (this helps retain some of those delicious beef drippings for extra flavor!), add a touch of olive oil if needed, and sauté the finely chopped onions and pressed garlic. Cooking them separately allows the onions to properly soften and caramelize, developing a sweet depth that’s essential to the overall flavor profile.
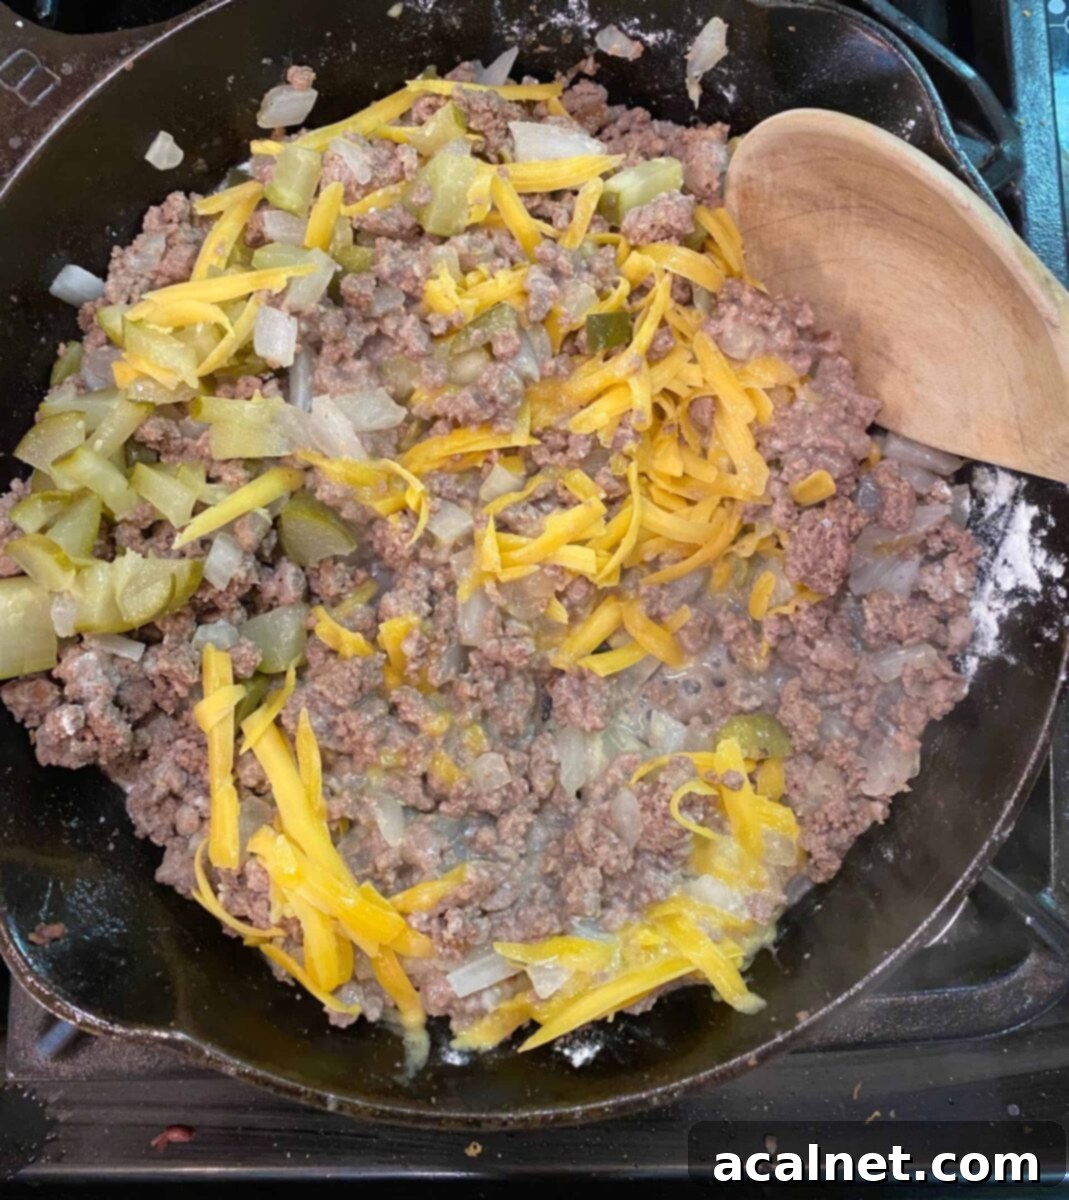
Once the onions are translucent and the garlic is fragrant, return the cooked and drained beef to the pan. Sprinkle the mixture with a bit of flour and salt, stirring to coat the ingredients. This flour will help thicken the filling slightly. Then, stir in the dill pickle liquid – a secret ingredient that provides a wonderful tangy kick – along with the milk, chopped dill pickles, and a generous cup of shredded cheddar cheese. Continue to cook over low to medium heat, stirring gently, until the cheese has completely melted and all the ingredients are beautifully combined into a rich, creamy, and irresistible filling. The aroma alone will have your family eager for dinner!
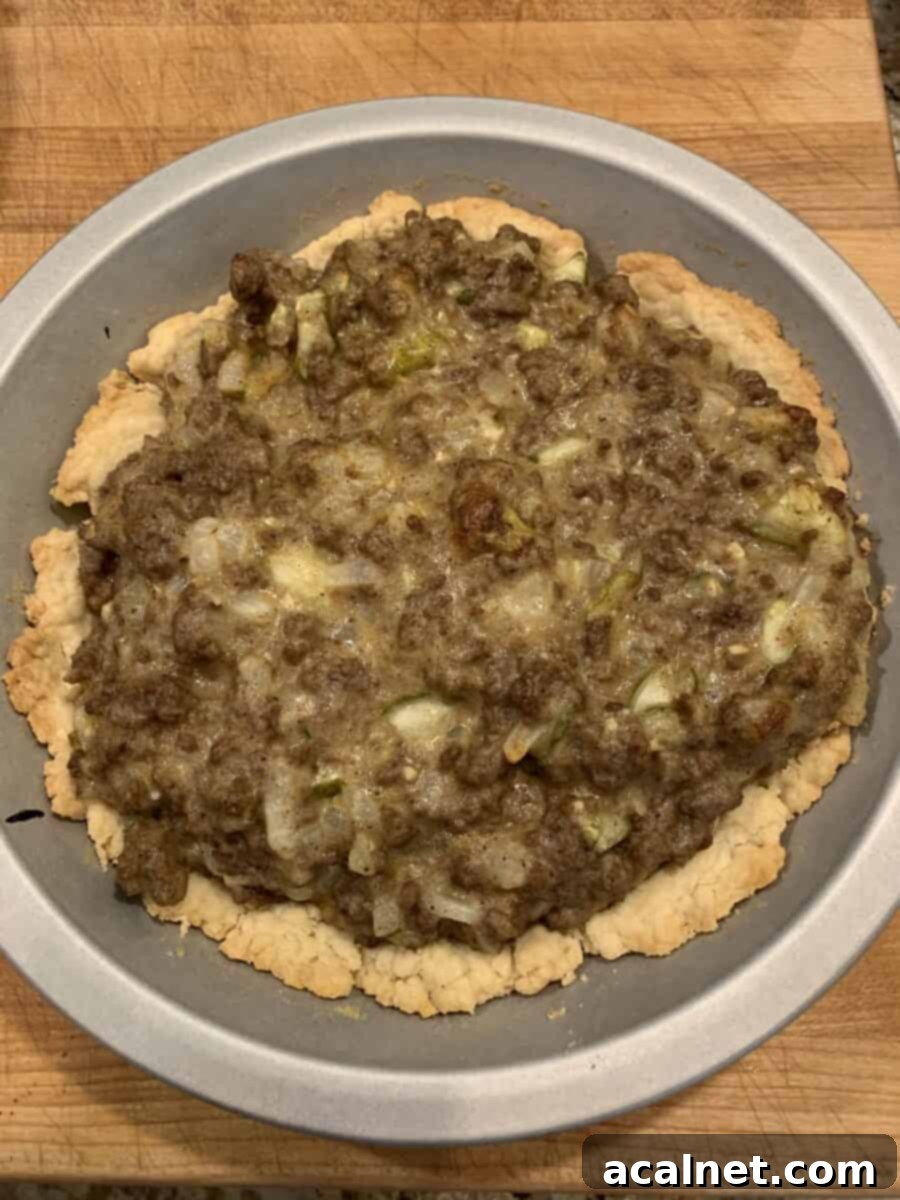
By now, your pre-baked crust should be ready, boasting a golden hue and a firm texture. Carefully remove it from the oven and spoon the warm, savory cheeseburger pie filling evenly into the crust. Return the assembled pie to the oven and bake for another 15 minutes. This allows the flavors to meld beautifully and the pie to heat through. After this initial bake, pull the pie out, sprinkle it with the remaining cup of shredded cheese, and bake for just another 5 minutes, or until the cheese on top is bubbly, golden, and perfectly melted. This final layer of cheese creates that iconic, irresistible cheeseburger aesthetic and flavor.
A Modern Take on a Classic: Your New Favorite Cheeseburger Pie Recipe
When we typically think of “pie,” our minds often drift to sweet desserts filled with fruits or custards. However, this cheeseburger pie gracefully shatters that perception, proving that savory pies can be just as, if not more, satisfying for dinner! By taking all the incredible flavors and ingredients that make a cheeseburger so beloved – the juicy beef, savory onions, tangy pickles, and rich cheddar cheese – and combining them with a homemade, flaky crust, we’ve created a fantastic new spin on a classic. It’s a delicious, comforting meal that sidesteps the need for a bun and, conveniently, doesn’t require Bisquick for its perfectly crafted pastry.

This recipe has quickly become a cherished family favorite in our home, and I am confident that your family will fall in love with it too. It’s a heartwarming dish that’s perfect for a cozy night in, providing all the comfort and flavor you could ask for. Be sure to serve generous portions with plenty of classic condiments like ketchup and mustard on the side – they are essential for that authentic cheeseburger experience!
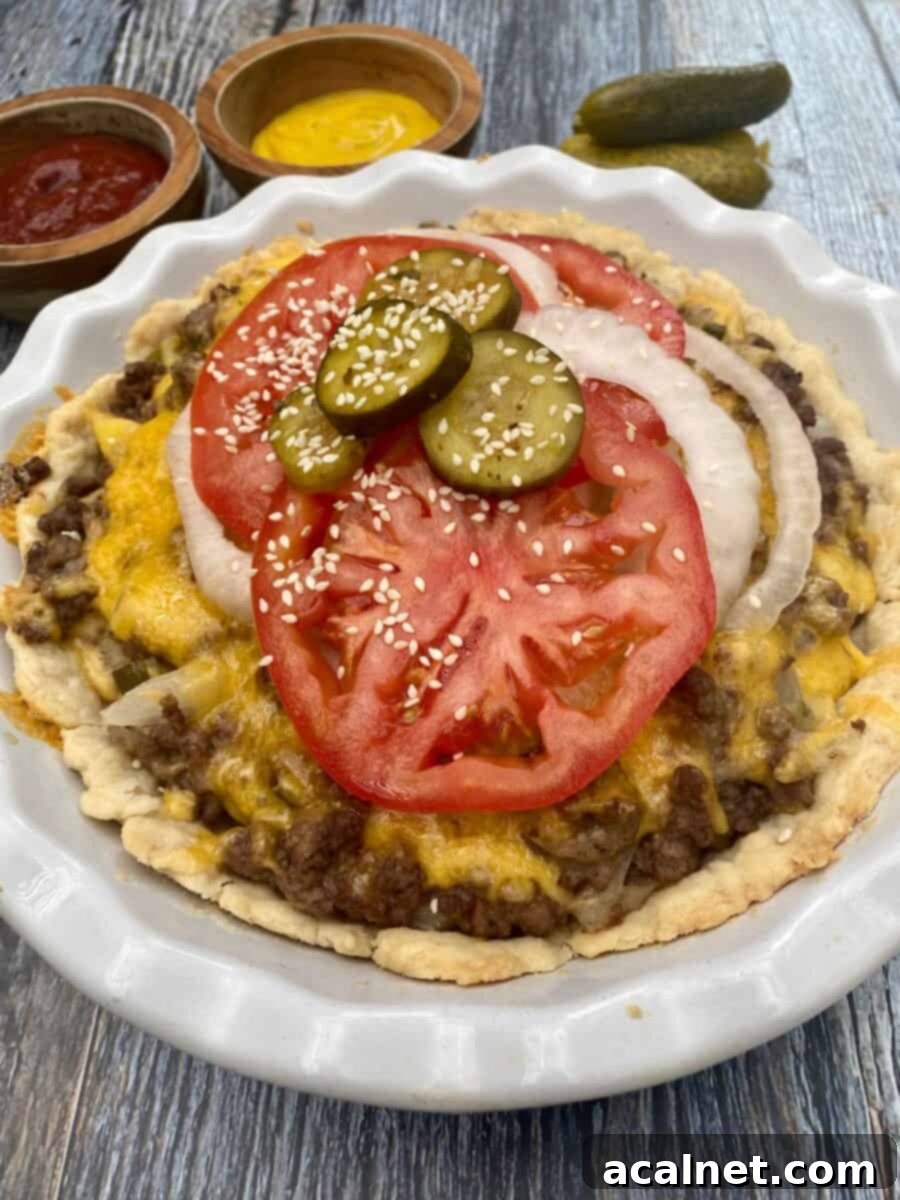
Elevate Your Pie with Delicious Toppings
While the cheeseburger pie itself is a complete and satisfying meal, adding fresh toppings can truly elevate the experience and enhance its authentic burger appeal. Just like you would customize your favorite burger, you can personalize each slice of this pie.
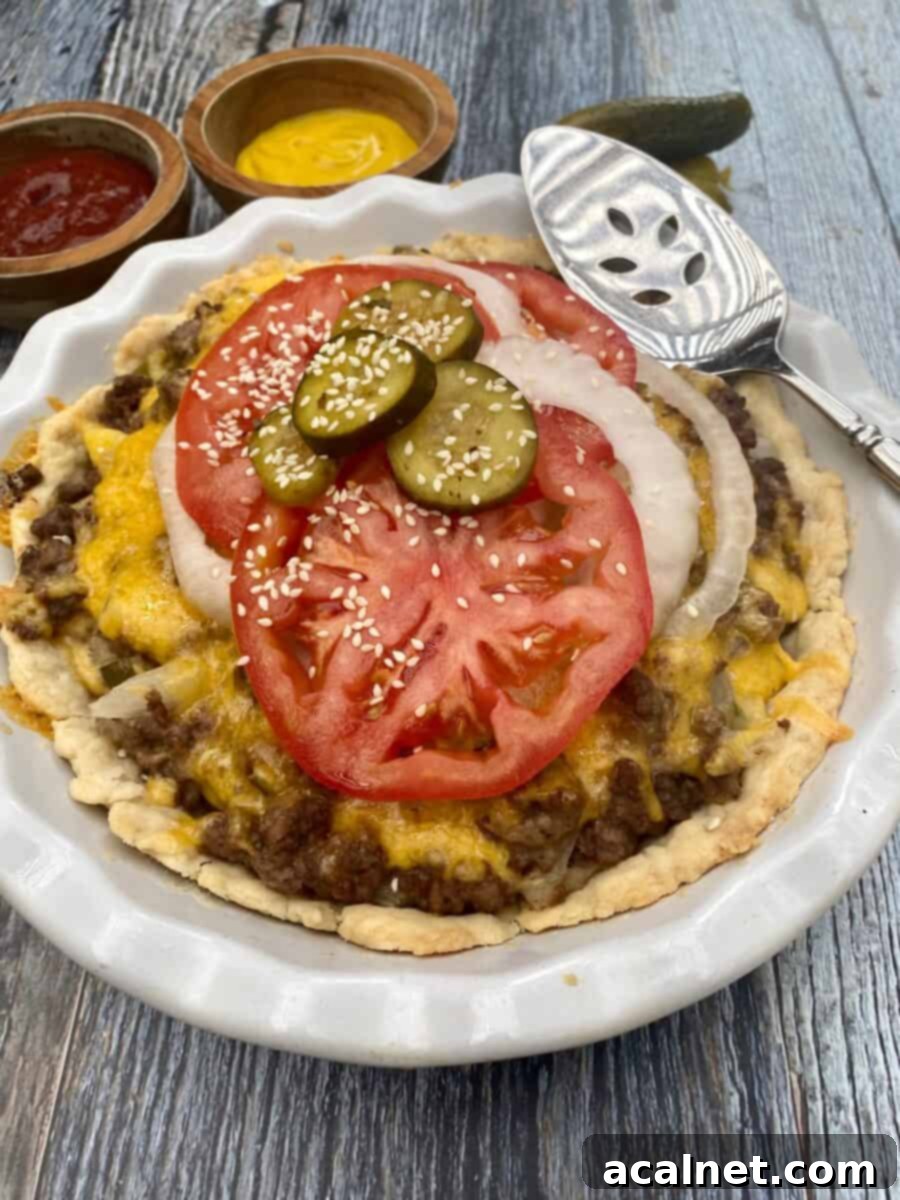
To top off your freshly baked cheeseburger pie, consider thinly slicing ripe tomatoes, sweet onions, and even more dill pickles. Arrange these vibrant fresh ingredients artfully on top of the hot pie immediately after it comes out of the oven. The residual heat will slightly warm the vegetables, enhancing their flavor without cooking them thoroughly. Alternatively, you can serve these fresh garnishes on the side, allowing everyone to customize their own serving. Don’t forget to provide a generous selection of classic condiments like ketchup and mustard, as they are integral to the cheeseburger experience.
For an added touch of authenticity, flavor, and visual appeal, sprinkle a handful of sesame seeds over the top of the pie or individual servings. This simple garnish not only looks great but also subtly nods to the traditional hamburger bun, completing the transformation of pie into a true cheeseburger sensation.
The Heartwarming Inspiration Behind This Recipe
This delightful Cheeseburger Pie recipe holds a special place in our family’s culinary history. It was inspired by a charming recipe I discovered years ago in the Alpha Bakery Children’s Cookbook. This particular cookbook was a thoughtful Christmas gift to my daughter from her loving Grammy (my mother-in-law) way back in 1999. Over the many years of regular use and countless cherished memories made in the kitchen, that cookbook has truly lived up to its name, becoming a beloved “crinkled cookbook” in our family’s collection. It’s a wonderful reminder that the best recipes often come from the most heartwarming places, passed down through generations and adapted to create new family traditions.
More Weeknight Dinner Ideas for Your Family
If this Cheeseburger Pie sparks your interest in easy, comforting, and family-friendly meals, you’re in luck! Here are a few more dinner ideas that are perfect for feeding your family on a busy weeknight, or any night you’re looking for a delicious and satisfying meal. Or, for even more culinary inspiration, feel free to browse all my dinner recipes to find your next savory and tasty meal.
- 10 Dutch Oven Chicken Recipes
- Dutch Oven Pot Roast
- Easy Pork Tenderloin with Orange Sauce
- Lazy Lasagna
Rate the Recipe
We love hearing from you! If you tried this Cheeseburger Pie Without Bisquick recipe, please take a moment to rate it and share your thoughts in the comments section below. Your feedback helps us and other home cooks discover delicious new meals!
Recipe
Cheeseburger Pie Without Bisquick
Print
Rate
Pin Recipe
Ingredients
Crust
- 1 ⅓ cups all-purpose flour
- ½ teaspoon salt
- ½ cup cold shortening
Filling
- 1 tablespoon olive oil
- 1 ⅓ pounds lean ground beef – (or 1 lb for a slightly less meaty pie)
- ¾ cup finely chopped yellow onion
- 1 clove garlic – pressed or minced
- ½ teaspoon salt
- ¼ cup all-purpose flour
- ⅓ cup dill pickle liquid
- ⅓ cup milk
- ½ cup chopped dill pickles
- 2 cups sharp cheddar cheese – freshly shredded (divided)
Optional Garnish
- tomato, sliced
- sweet onion, sliced
- pickle, sliced – dill or bread and butter
- sesame seeds
Instructions
- Preheat your oven to 425°F (220°C).
Make and Blind Bake the Crust
- In a medium bowl, combine the flour and salt. Cut in the ½ cup of cold shortening using a pastry blender, a fork, or your fingertips until the mixture resembles small peas. Gradually sprinkle in 3-4 tablespoons of cold water, adding 1 tablespoon at a time. Mix lightly until all of the flour is combined and the pastry begins to clean the sides of the bowl, forming a soft dough.
- Evenly pat the pastry dough into the bottom and up the sides of a quiche dish, a 10-inch pie plate, or a 9×9-inch baking dish. Ensure the crust is sturdy enough to hold the filling.
Bake the crust in the preheated oven for 15 minutes, then carefully remove it.
Prepare the Cheeseburger Filling
- While the crust is baking, heat the olive oil in a large skillet over medium-high heat until it shimmers. Add the ground beef and cook, breaking it up with a spoon, until the meat is no longer pink and is thoroughly browned.
Remove the cooked beef from the skillet and drain any excess fat on paper towels.
In the same skillet, add the chopped onion and minced garlic. Cook until the onion is softened and slightly caramelized, about 5-7 minutes.
Return the cooked beef to the pan with the softened onions and garlic. Sprinkle with ½ teaspoon salt and ¼ cup flour, stirring to coat. Then, stir in the dill pickle liquid, milk, chopped pickles, and 1 cup of the shredded cheddar cheese. Continue to stir and cook over low/medium heat until the cheese is melted and all the ingredients are well combined and the mixture is slightly thickened.
Spoon the meat and cheese mixture evenly into the pre-baked crust.
Final Bake and Serve
- Place the pie pan, now filled with the cheeseburger mixture, back into the oven. Bake for another 15 minutes. After this, remove the pie from the oven, sprinkle it with the remaining 1 cup of shredded cheese, and bake for an additional 5 minutes, or until the cheese is melted and bubbly.
Remove the finished pie from the oven.
As an optional step, garnish your cheeseburger pie with fresh sliced tomatoes, sweet onion, extra pickles, and a sprinkle of sesame seeds for an authentic burger presentation.
Slice, serve hot, and enjoy this delightful twist on a classic!
Notes
Please note, the nutrition details are estimated using a food database, so they’re just a rough estimate not an exact science.
