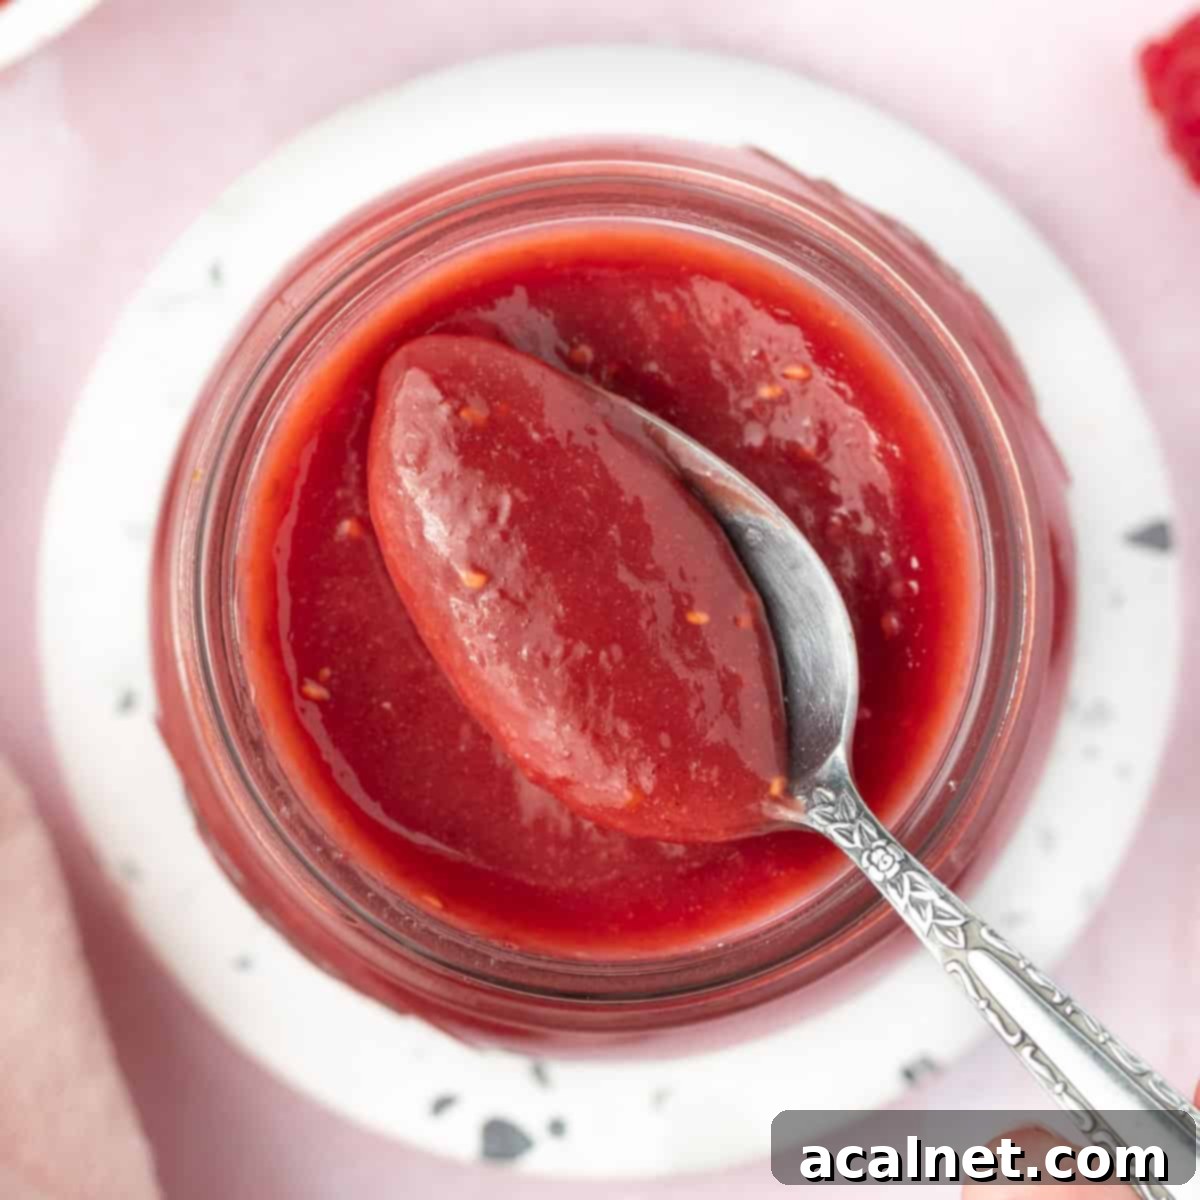
Homemade Raspberry Curd: Your Guide to a Vibrant, Velvety Spread
Imagine a burst of sweet-tart raspberry flavor, coupled with an irresistibly smooth, creamy texture. That’s exactly what this easy homemade Raspberry Curd brings to your table. Far from just a simple spread, this vibrant creation is a versatile delight, perfect for elevating your breakfast, brunch, or dessert offerings. With its bright, bold flavors and luxurious consistency, it’s destined to become a staple in your kitchen, offering a delightful way to capture the essence of fresh raspberries year-round. This recipe transforms humble berries into a rich, tangy, and utterly delicious spread that can be enjoyed in countless ways, from simple toast to elegant cake fillings.
[feast_advanced_jump_to]
Why You’ll Adore This Raspberry Curd Recipe
There are countless reasons why this 5-ingredient raspberry curd recipe stands out as a true kitchen gem. It’s not just a recipe; it’s an invitation to savor the vibrant taste of fresh or frozen raspberries, transforming them into a luxurious, creamy, and irresistibly tangy fruit spread. Here’s why it’s a must-try:
- Effortlessly Simple: With just a handful of common ingredients and straightforward steps, even novice cooks can achieve a professional-quality curd.
- Versatile & Adaptable: Whether you have a bounty of fresh raspberries in summer or rely on frozen ones in winter, this recipe works perfectly, allowing you to enjoy this delightful spread all year round.
- Bursting with Fresh Flavor: Unlike many store-bought options that can taste artificial, homemade raspberry curd delivers an authentic, bright, and bold raspberry flavor that truly shines. The natural tartness of raspberries is beautifully balanced with just the right amount of sweetness.
- Incredibly Versatile: From breakfast to dessert, this curd can do it all. It’s fantastic spread on toast, scones, waffles, crepes, and pancakes, or drizzled over creamy yogurt and ice cream. It also serves as an exquisite filling and topping for delicate macarons, grand cakes, and beautiful tarts like my Raspberry Tart! Its vibrant color and rich taste make it an instant upgrade to any dish.
- Customizable Thickness: We provide an optional step to add cornstarch, allowing you to tailor the consistency of your curd. Want it thicker for a tart filling? Easy! Prefer it a bit looser for a drizzle? No problem!
Discover more fruit curd recipes:
- Orange Curd
- Passionfruit Curd
- Apple Curd
- Mango Curd
- Lemon Curd
Essential Ingredients for Raspberry Curd
Crafting this luscious raspberry curd requires just a few key components. Each ingredient plays a vital role in achieving that perfect balance of flavor and texture. Here’s a closer look at what you’ll need:
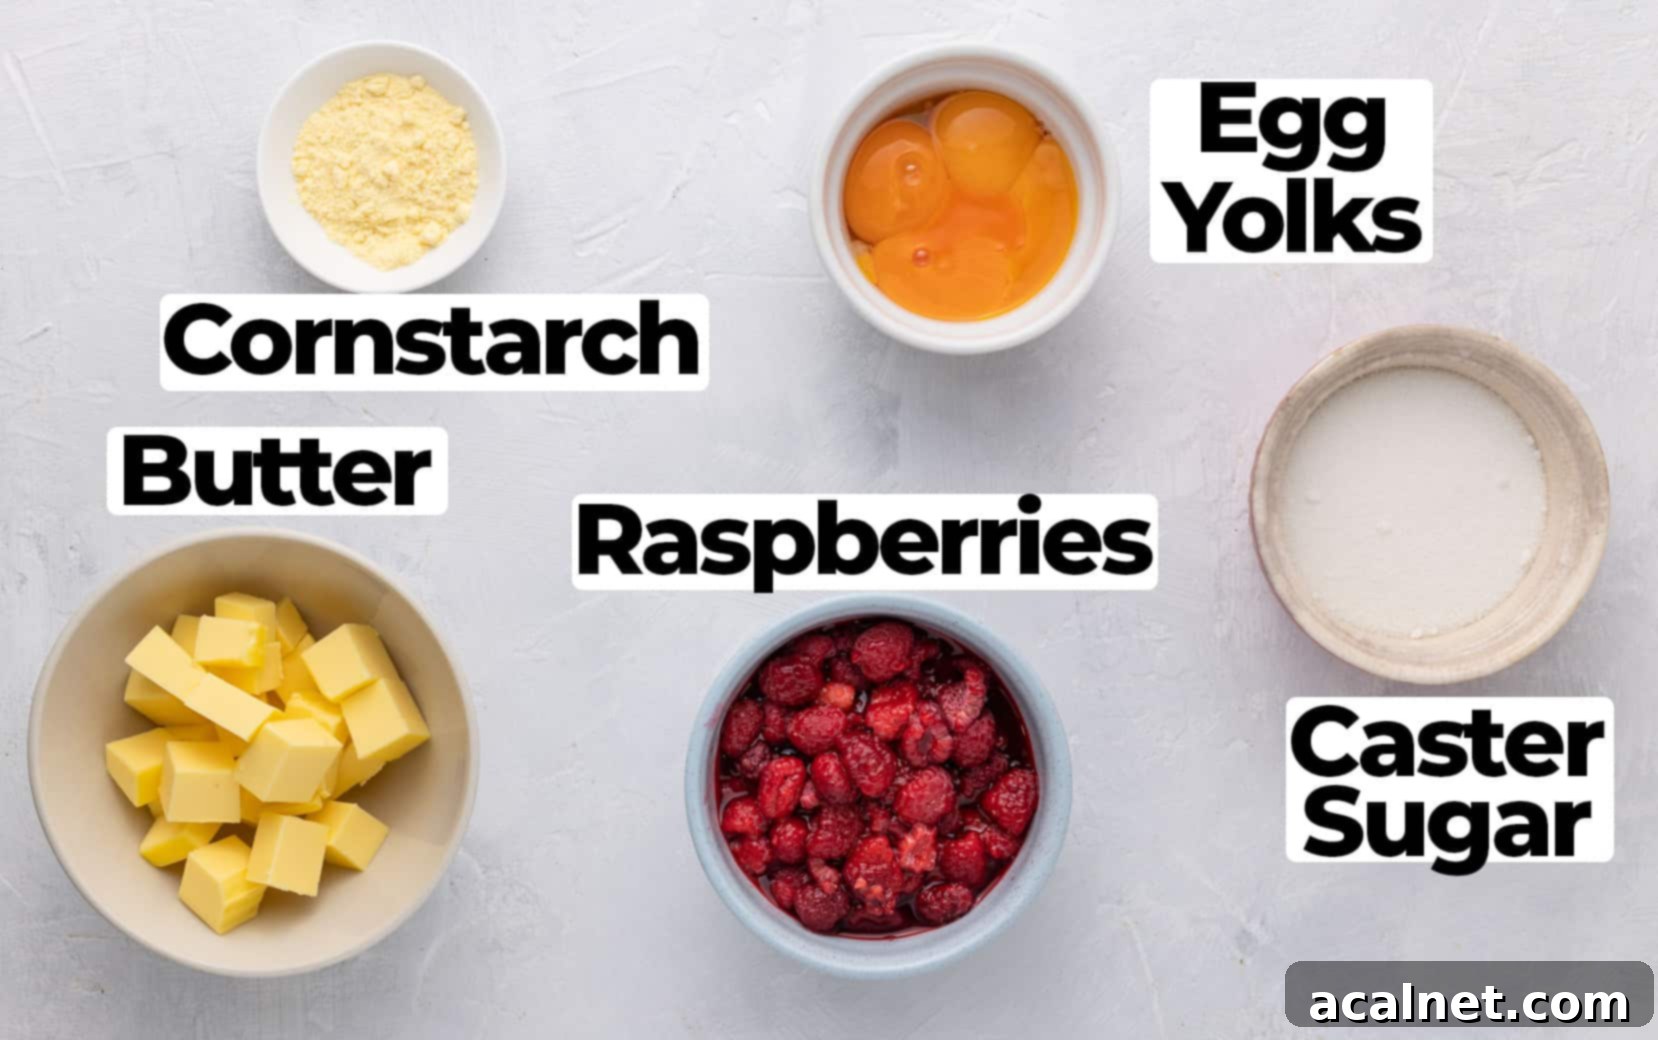
Scroll down to the recipe card below for exact quantities.
Core Ingredients for Raspberry Curd:
- Raspberries: The star of our show! You can use either fresh, ripe raspberries for the most intense seasonal flavor, or thawed frozen raspberries. For frozen berries, ensure they are fully thawed and drained to avoid excess water in your curd. We’ll blend them into a smooth puree, utilizing both the flesh and the juices. If you’re short on time, store-bought raspberry puree can work, provided it’s 100% raspberries with no added sugar.
- Eggs (Yolks): We specifically use large egg yolks, and it’s crucial that they are at room temperature. Cold eggs can seize or curdle when they hit the warm fruit mixture, leading to a lumpy curd. Separating eggs can be done easily, and you can save the leftover egg whites for other delicious recipes, such as Financiers or meringues. The yolks are essential for thickening and enriching the curd, giving it its signature creamy texture.
- Sugar: Caster sugar or fine granulated sugar is ideal for this recipe. Its fine texture dissolves quickly and evenly, preventing a grainy curd. The sugar not only sweetens the tart raspberries but also contributes to the smooth consistency and acts as a preservative.
- Butter: Unsalted butter, cut into small cubes and at room temperature (but not overly soft), will be folded into the curd at the end. The butter adds a luxurious richness, a silky mouthfeel, and helps to stabilize the emulsion, making the curd incredibly smooth and glossy. Cutting it into small cubes ensures it melts quickly and incorporates seamlessly without cooling down the mixture too much.
Optional Ingredients for Enhanced Flavor & Texture
- Cornstarch: If you desire a thicker, more stable curd, particularly for use as a tart filling or a dense cake layer, a small amount of cornstarch can be added. It acts as a thickening agent, ensuring your curd holds its shape beautifully. Be aware that cornstarch will cause the curd to thicken more rapidly during cooking.
- Salt and / or Vanilla Extract: These are fantastic flavor enhancers. A tiny pinch of salt can boost the sweetness and complexity of the raspberries, while a splash of vanilla extract (or a scraping from a vanilla bean) adds a warm, aromatic depth that complements the fruit beautifully.
While many fruit curd recipes benefit from lemon juice and zest, I find them unnecessary in this raspberry curd. Fresh raspberries naturally possess a lovely tartness, and the sugar quantity is perfectly balanced to highlight their inherent tang without needing an extra acidic boost from lemons.
How to Make Homemade Raspberry Curd: A Step-by-Step Guide
Making this vibrant raspberry curd is a straightforward process that yields incredibly rewarding results. Follow these steps carefully to achieve a perfectly smooth and flavorful curd every time.
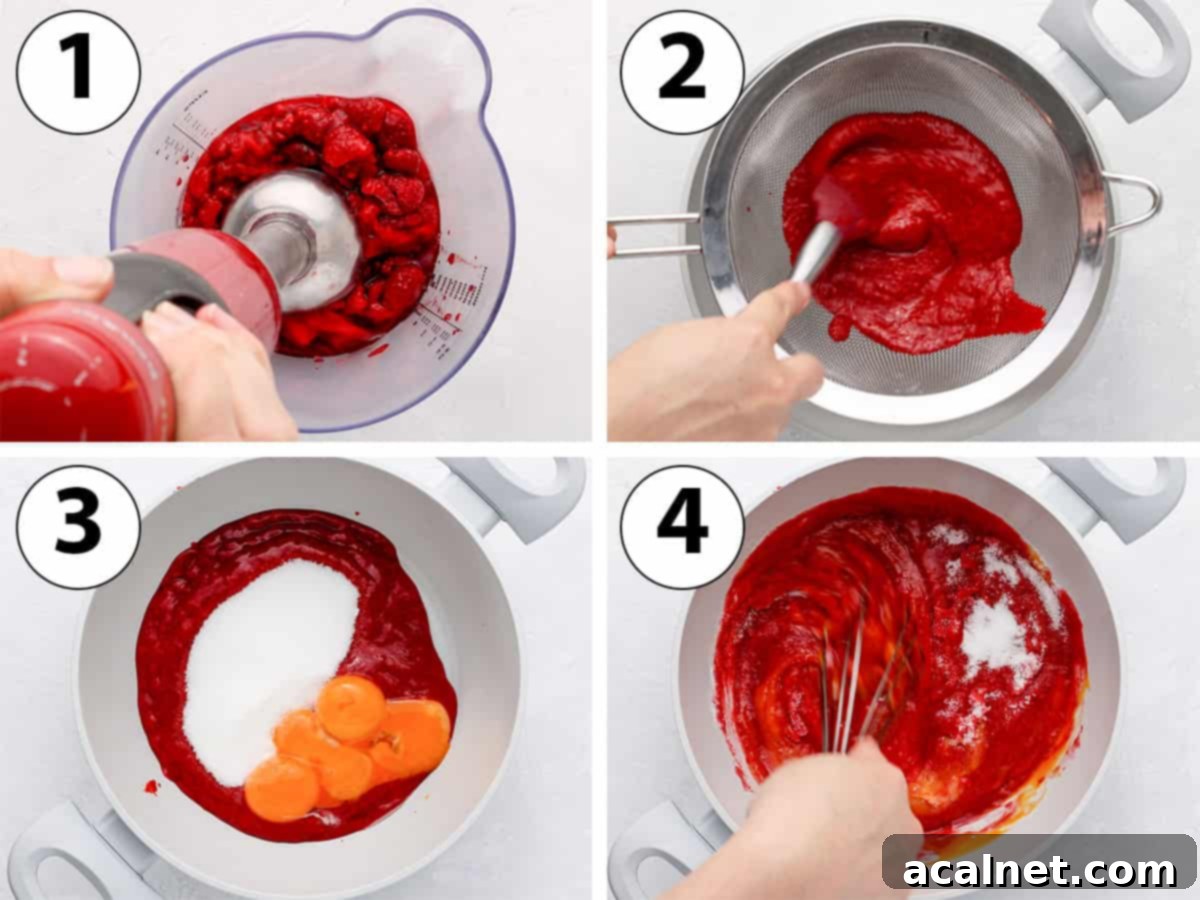
- Photo 1: Prepare the Raspberry Puree
Place your fresh raspberries – or thawed and thoroughly drained frozen raspberries – into a small jug or bowl. Using an immersion blender (or a regular blender), blend them until they are completely smooth. This ensures all the vibrant color and flavor are extracted. - Photo 2: Strain for Smoothness
Position a fine-mesh strainer over a non-reactive medium saucepan. Pour the blended raspberry puree through the strainer. Use a spatula to press the puree firmly through the sieve, extracting as much liquid and pulp as possible. Discard the leftover seeds and solids. This step is crucial for achieving a super smooth and luscious curd texture. - Photo 3: Combine with Egg Yolks and Sugar
To the strained raspberry puree in the saucepan, add the caster sugar and the room-temperature egg yolks. - Photo 4: Whisk Until Combined
Whisk these ingredients vigorously until they are thoroughly combined and the sugar begins to dissolve. The mixture should look smooth and uniform before you begin cooking.
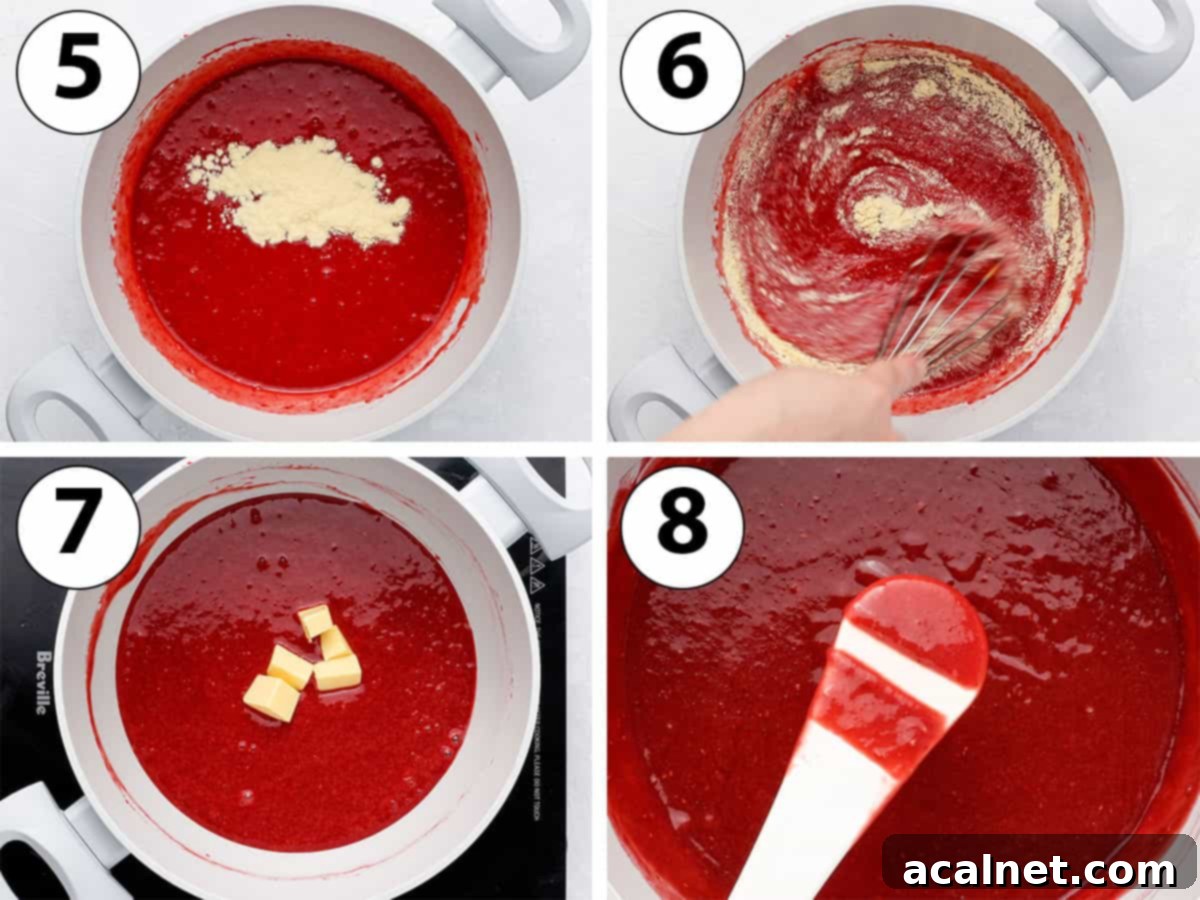
- Photo 5 & 6: Add Cornstarch (Optional)
If you prefer a thicker curd, now is the time to whisk in the cornstarch. Ensure it’s fully dissolved into the mixture before proceeding to prevent lumps. - Begin Cooking on Low Heat:
Place the saucepan on your stove and turn the heat to low. Cook for approximately 3 to 4 minutes, stirring constantly with a heat-proof spatula or wooden spoon. During this initial phase, the sugar should fully dissolve, and the mixture will begin to very slightly thicken. It’s crucial to maintain low heat; avoid medium or high heat, as this can cause the eggs to cook too quickly and scramble, resulting in a lumpy, curdled texture. The mixture should only ever simmer gently, never boil. - Photo 7: Incorporate the Butter
Once the mixture has slightly thickened, begin adding the cubed butter, a few pieces at a time. Stir continuously until each batch of butter is completely melted and incorporated into the mixture before adding more. This gradual addition ensures a smooth emulsion and prevents the butter from separating. - Photo 8: Continue Cooking Until Thickened
After all the butter has been incorporated, continue to cook and stir constantly for another 5 to 8 minutes. The exact cooking time can vary based on your stove’s heat and the size of your saucepan. The curd is ready when it has thickened significantly and coats the back of a spoon or spatula. When you draw a line with your finger on the coated spoon, the line should remain clear.
Ideally, use a kitchen thermometer to verify doneness. The curd is perfectly cooked when it reaches around 82 degrees Celsius (180 degrees Fahrenheit). If you added cornstarch, you’ll notice it thickens more quickly. - Optional Second Strain:
For an exceptionally silky-smooth curd, you can pour it through a fine-mesh sieve one more time after cooking. This step will catch any tiny leftover raspberry seeds or any minute bits of cooked egg, ensuring a perfectly pristine texture. Personally, I enjoy the slight texture that a few seeds add, but it’s entirely up to your preference! - Cool and Chill:
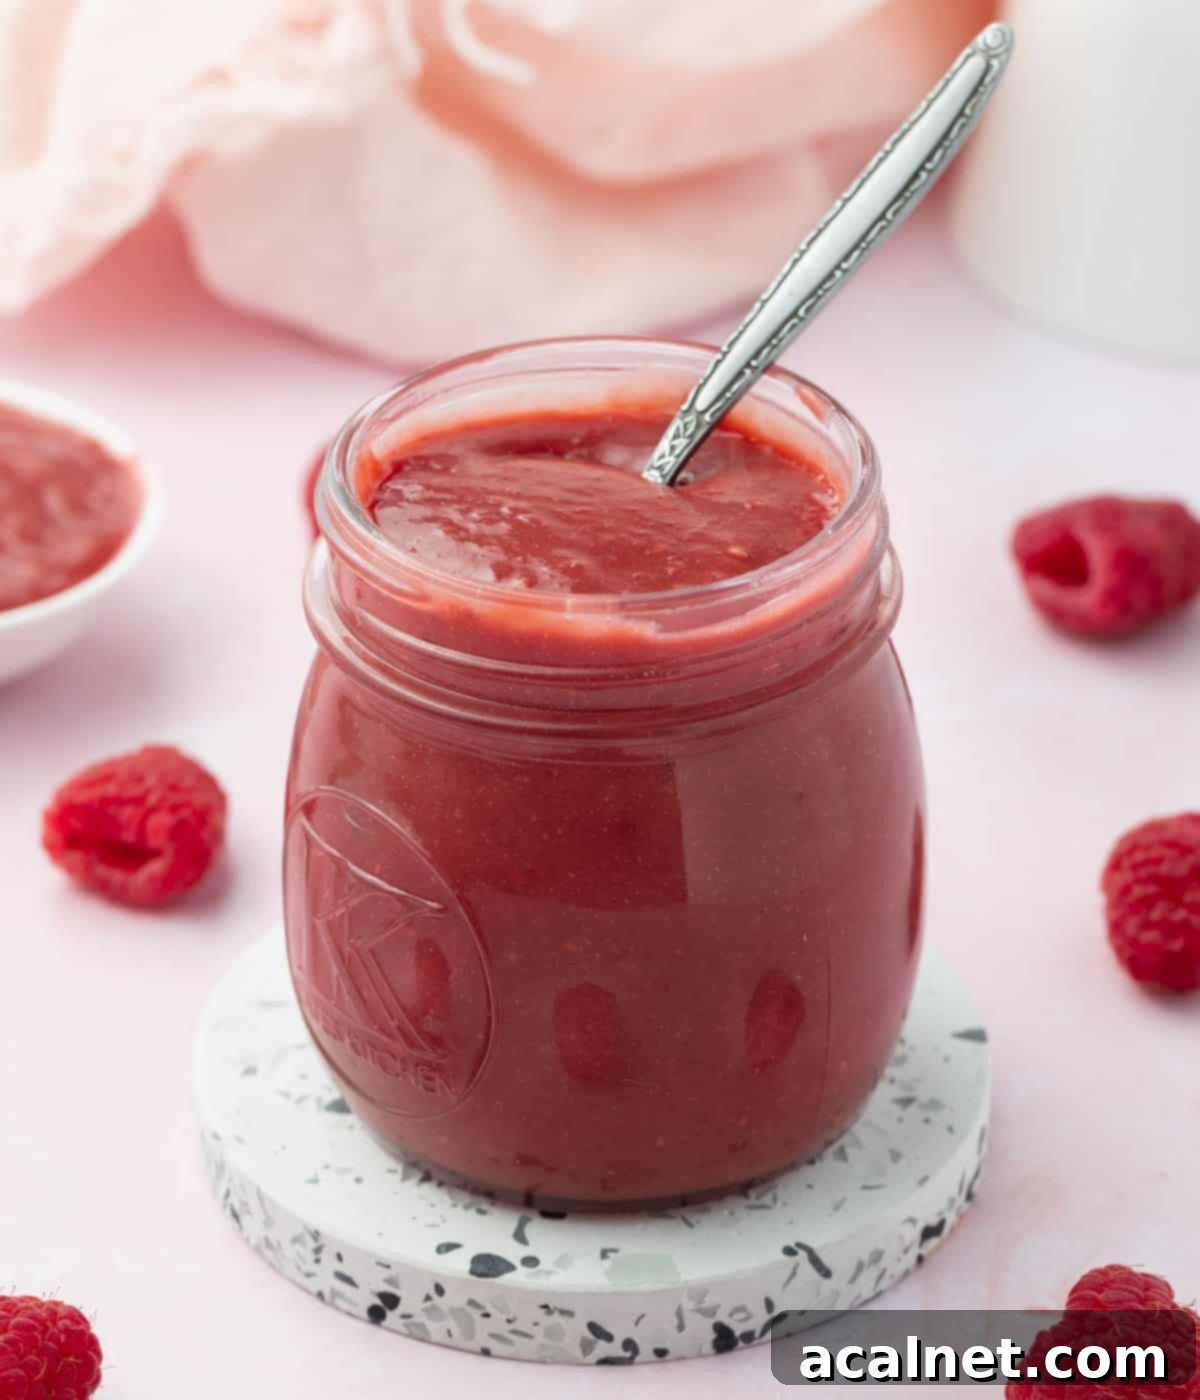
Transfer the hot raspberry curd into a clean jar or a small bowl. Immediately place plastic wrap directly onto the surface of the curd. This prevents a “skin” from forming as it cools. Allow it to cool down to room temperature for about 30 minutes, then seal the jar or cover the bowl tightly and place it in the refrigerator to chill and set. It requires at least 2 hours to properly set, but for the best results, chill it overnight.
Frequently Asked Questions About Raspberry Curd
Both custards and curds are delicious, creamy mixtures that are slowly cooked on the stovetop and rely on eggs (often just yolks) for thickening. However, their primary bases differ significantly. Custards are typically dairy-based, made with milk and/or cream, and can be sweet or savory. Think crème brûlée or pastry cream. Curds, on the other hand, are fruit-flavored, using fruit juice or puree as their primary liquid base. This gives curds their characteristic bright, tangy flavor, which is usually balanced with sugar and enriched with butter.
You have two main methods for cooking curd, each with its advantages:
The “direct heat” method involves cooking the curd directly in a saucepan over very low heat. This is generally the quicker option, allowing the curd to come to temperature and thicken more rapidly. However, it requires constant vigilance and stirring to prevent the eggs from overcooking and scrambling, which can lead to a lumpy curd.
The “indirect heat” method, also known as the double boiler method (bain-marie), is a gentler approach. Here, the curd mixture is placed in a heat-proof bowl set over a saucepan of simmering water (ensuring the bowl does not touch the water). While it takes longer to cook, this method provides more forgiving heat, significantly reducing the risk of scorching the curd or scrambling the eggs. It’s often recommended for beginners or for those who prefer a less hands-on approach to stirring.
Knowing when your curd is done is key to achieving that ideal creamy consistency. Here are two reliable methods:
– Temperature Test: The most precise way is to use a kitchen thermometer. The curd is fully cooked and safe when it reaches a temperature of approximately 82 degrees Celsius (180 degrees Fahrenheit). At this point, the egg proteins have sufficiently cooked and thickened the mixture.
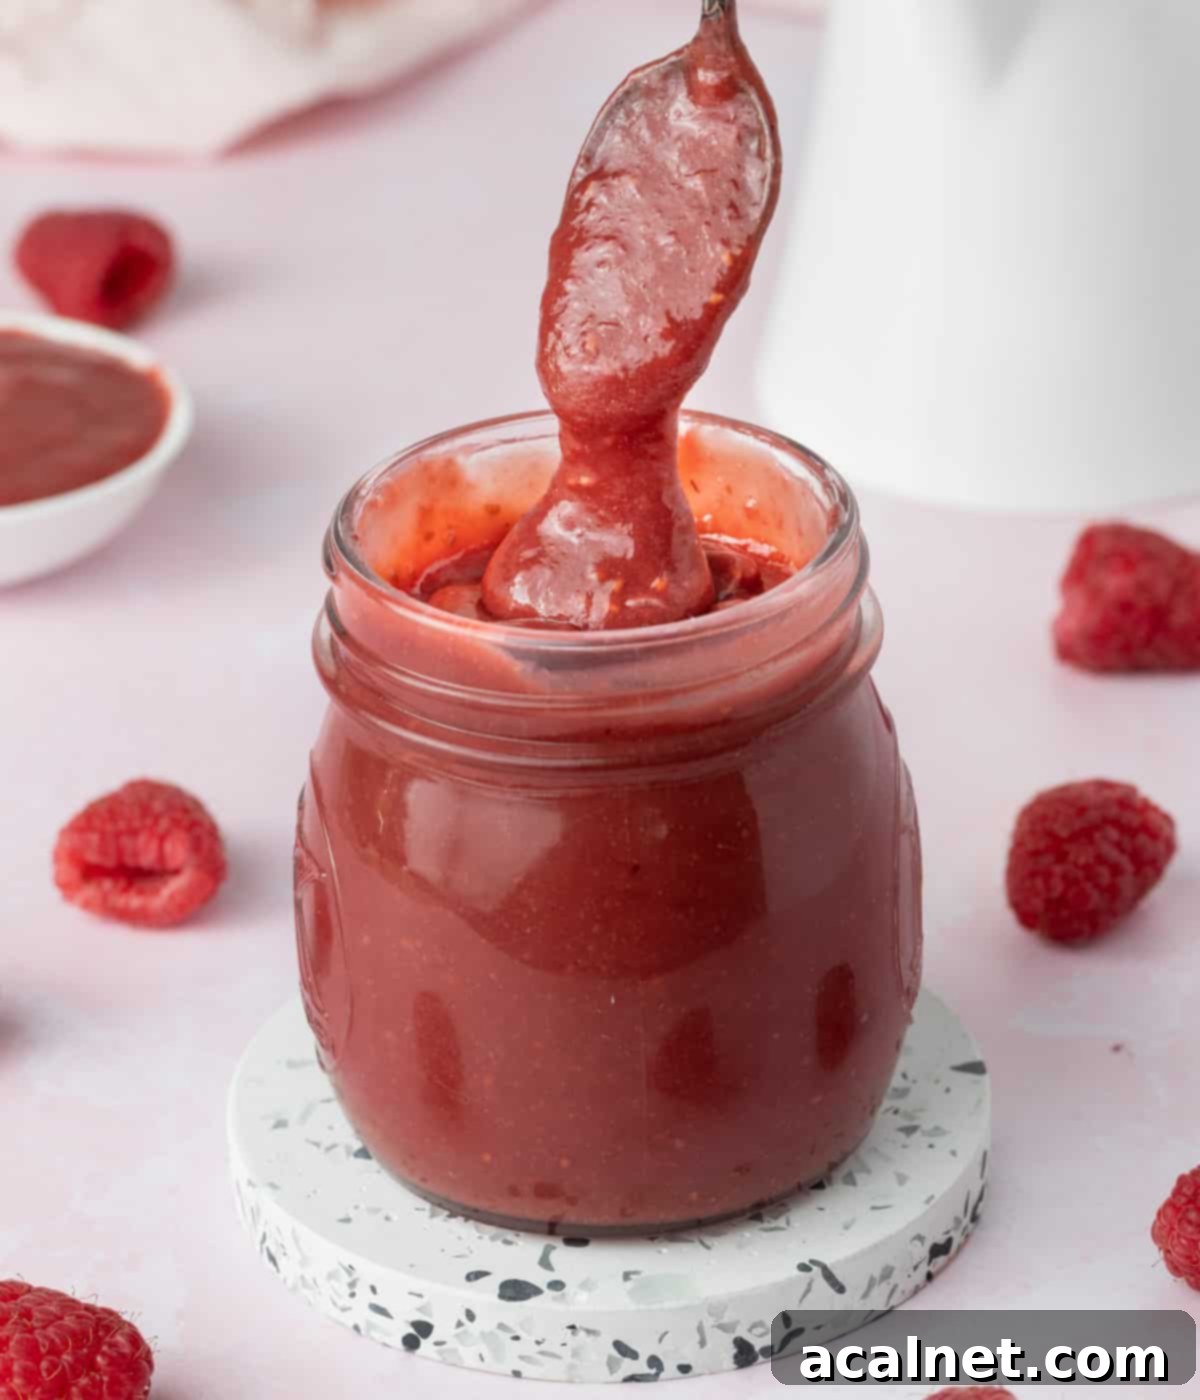
– Spoon Test: This visual and tactile test is also very effective. Dip the back of a spoon or spatula into the curd, ensuring it’s coated. Then, draw a clear line across the back of the spoon with your finger (be careful, it will be hot!). If the line remains distinct and the curd doesn’t immediately run back into the gap, it’s ready. If the curd is still liquid and flows over the line, it needs more cooking time. Additionally, the curd should appear thick and slightly cling to the spoon.
Delicious Ways to Enjoy Your Raspberry Curd
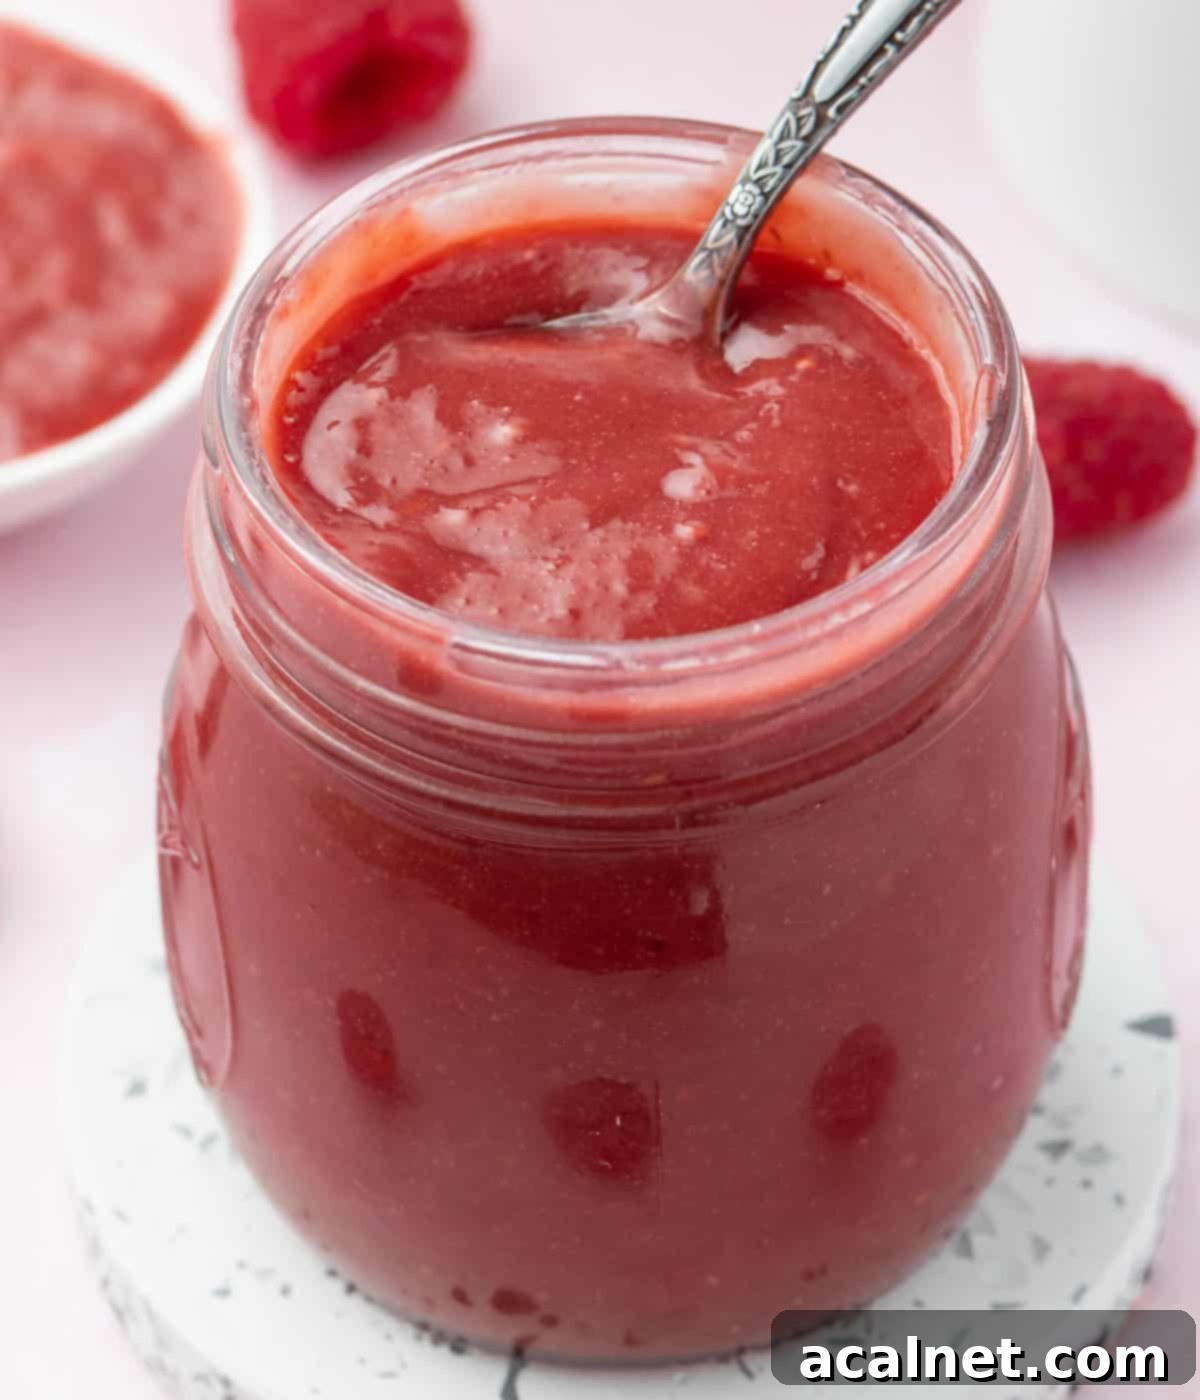
Once chilled and set, your homemade raspberry curd is ready to transform ordinary meals and desserts into extraordinary culinary experiences. Its bright, tangy flavor and smooth texture make it incredibly versatile. Here are some of our favorite ways to use it:
- Elevate Your Breakfast & Brunch:
Spread generously over warm waffles, fluffy pancakes, rich French toast, delicate crepes, or classic scones. It also pairs wonderfully with plain yogurt or can be spooned over oatmeal for a fruity start to your day. - Decadent Dessert Filling & Topping:
This curd shines as a luxurious filling for pastries, macarons, and various cakes. It’s especially perfect as a tart and creamy component in a Raspberry Tart. Use it as a vibrant topping for cheesecakes, pavlovas, or even simple vanilla ice cream for an instant upgrade. - Layered Desserts:
Incorporate it into more elaborate desserts such as a light and airy Raspberry Panna Cotta, a festive Pavlova Wreath, or delightful Raspberry Mousse Cups. Its intense flavor cuts through richness beautifully. - Baking Adventures:
Swirl it into a cake batter for a fruity surprise, as seen in my Pistachio Raspberry Loaf Cake, or drizzle it artfully over a finished Almond Raspberry Cake for an extra touch of elegance and flavor. - The Purest Pleasure:
Sometimes, the best way to enjoy raspberry curd is straight out of the jar with a spoon! No judgment here – its irresistible flavor is a treat on its own.
Expert Tips & Troubleshooting for Perfect Raspberry Curd
To ensure your raspberry curd turns out perfectly every time, keep these tips in mind. Even with the simplest recipes, a little knowledge can go a long way in preventing common issues.
- Choose the Right Pan: Using a heavy-bottomed, non-reactive saucepan is essential for the best results. Heavy bottoms distribute heat more evenly, preventing scorching. “Non-reactive” means materials like stainless steel or enamel. Avoid aluminum pans, as the acidity of the raspberries can react with the metal, imparting an unpleasant metallic taste to your delicate curd.
- For Ultra-Smooth Curd: If you desire an exceptionally silky texture, consider straining the mixture a second time *after* it has finished cooking and before chilling. This extra step will remove any tiny leftover raspberry seeds or even the smallest bits of cooked egg yolks that might have formed. While I personally enjoy the rustic touch that a few seeds add to my curd, this extra strain ensures a truly professional, velvety consistency.
- Addressing Lumpy Curd: If your raspberry curd ends up lumpy, it’s most likely due to the heat being too high, causing the eggs to cook unevenly or scramble. Remember, the curd should only ever simmer gently, never reach a rolling boil. To rescue a lumpy curd, immediately remove it from the heat and pass it through a fine-mesh sieve. For more stubborn lumps, a quick pulse with an immersion blender or in a regular blender can often smooth it out, though this should be done carefully to avoid over-aerating.
- “Why is my curd not thickening?” This is a common concern! If your curd isn’t thickening as expected, it’s almost certainly not fully cooked yet. Making curd requires patience, especially when cooking on very low heat to prevent scrambling. Resist the urge to turn up the heat drastically. Continue stirring gently and consistently. The thickening process can sometimes take a while, but it will happen. Keep in mind that the curd will continue to firm up significantly as it chills in the refrigerator, so it doesn’t need to be paste-like on the stove. Aim for a consistency that coats the back of a spoon, and trust the chilling process to do the rest.
Storing & Freezing Homemade Raspberry Curd
Proper storage is key to enjoying your fresh raspberry curd for as long as possible. Here’s what you need to know to keep it delicious:
Storage in the Refrigerator: Raspberry curd should always be stored in the refrigerator. Transfer it to an airtight container or a sealed jar immediately after it has cooled. For best results and to prevent a skin from forming, ensure plastic wrap is pressed directly onto the surface of the curd before sealing the container. When stored correctly, homemade raspberry curd is best enjoyed within one week. Due to the relatively low sugar content compared to traditional jams and jellies, it cannot be safely canned or preserved using typical home canning methods.
Freezing Raspberry Curd: While fruit curds can technically be frozen, I personally don’t recommend it for raspberry curd. The delicate emulsion of egg yolks and butter can sometimes break down during the freezing and thawing process, resulting in a slightly grainy or less smooth texture compared to its fresh counterpart. If you do choose to freeze it, store it in an airtight, freezer-safe container for up to 2-3 months. Thaw it slowly in the refrigerator overnight and give it a good whisk before using to try and restore its texture.
Explore More Berry Sauces & Compotes
If you’ve fallen in love with the vibrant flavor of this raspberry curd, you’ll surely enjoy these other berry-filled recipes perfect for topping, filling, or simply enjoying by the spoonful. Expand your repertoire of homemade fruit preparations!
- Easy Raspberry Compote (3 Ingredients)
- Simple Homemade Blueberry Compote
- Quick & Easy Strawberry Coulis
- Classic Raspberry Coulis
- Delightful Mixed Berry Compote
- 3-Ingredient Strawberry Compote
- Effortless Blueberry Coulis
Made this recipe?
We absolutely love seeing your creations! Let us know if you liked it by leaving a comment below, and don’t forget to tag us on Instagram @a.baking.journey with a photo of your delicious homemade raspberry curd!
Recipe Card

Raspberry Curd
Print Recipe
Ingredients
- 200 gr (7 oz) Raspberries, fresh or frozen & thawed
- 4 large Egg Yolks, at room temperature
- 100 gr (1/2 cup) Caster Sugar
- 1 tablespoon Cornstarch, optional, for a thicker curd
- 100 gr (6 1/2 tablespoons) Unsalted Butter, cubed, at room temperature
Instructions
- Using an immersion blender or regular blender, thoroughly blend the raspberries (fresh or thawed and drained frozen) until very smooth. Pour the puree through a fine-mesh sieve into a medium, heavy-bottomed, non-reactive saucepan. Press firmly with a spatula to extract all liquid and pulp, then discard the seeds. You should have approximately 150 grams of smooth raspberry puree remaining.
- Add the room-temperature egg yolks and caster sugar to the saucepan with the raspberry puree. Whisk vigorously until all ingredients are well combined and the sugar has started to dissolve. If using, whisk in the cornstarch at this stage (see note 1 for details).
- Place the saucepan over very low heat (see note 2). Cook for 3 to 4 minutes, stirring constantly with a heat-proof spatula or wooden spoon. During this time, the sugar will fully dissolve, and the mixture will begin to thicken very slightly. It’s crucial not to let it boil.
- Once the mixture shows slight thickening, begin adding the cubed unsalted butter, a few cubes at a time. Stir continuously after each addition until the butter is completely melted and smoothly incorporated into the curd before adding the next batch.
- After all the butter has been incorporated, continue to cook and stir constantly for another 5 to 8 minutes (see note 3 for variation). The curd is ready when it thickens significantly, coats the back of a spoon, and a clear line remains when you draw a finger across the spoon. For precise doneness, use a kitchen thermometer to check if it reaches 82 degrees Celsius (180 degrees Fahrenheit).
- For an exceptionally smooth curd, you can optionally pour it through a fine-mesh sieve again at this stage to remove any remaining seeds or tiny bits of cooked egg.
- Transfer the finished curd into a clean jar or small bowl. Immediately place plastic wrap directly onto the surface of the curd to prevent a skin from forming. Allow it to cool at room temperature for about 30 minutes, then seal the jar and place it in the refrigerator to chill and set for a minimum of 2 hours, though ideally overnight for the best texture.
Video
Would you like to save this recipe?
We’ll email this post to you, so you can come back to it later!
Notes
- Depending on how you are planning to use this curd, you can add a little bit of cornstarch to make it thicker. For example, I added cornstarch to use this curd as a filling for a tart. Note that if using cornstarch, the curd will thicken more quickly.
- Make sure to stay below medium heat, or the eggs will cook too quickly and start to scramble. This would result in a curdled or lumpy curd. The curd should only simmer and never boil.
- The exact time can vary based on the heat of your stove and the size of your pan.
Nutrition (per serving)
