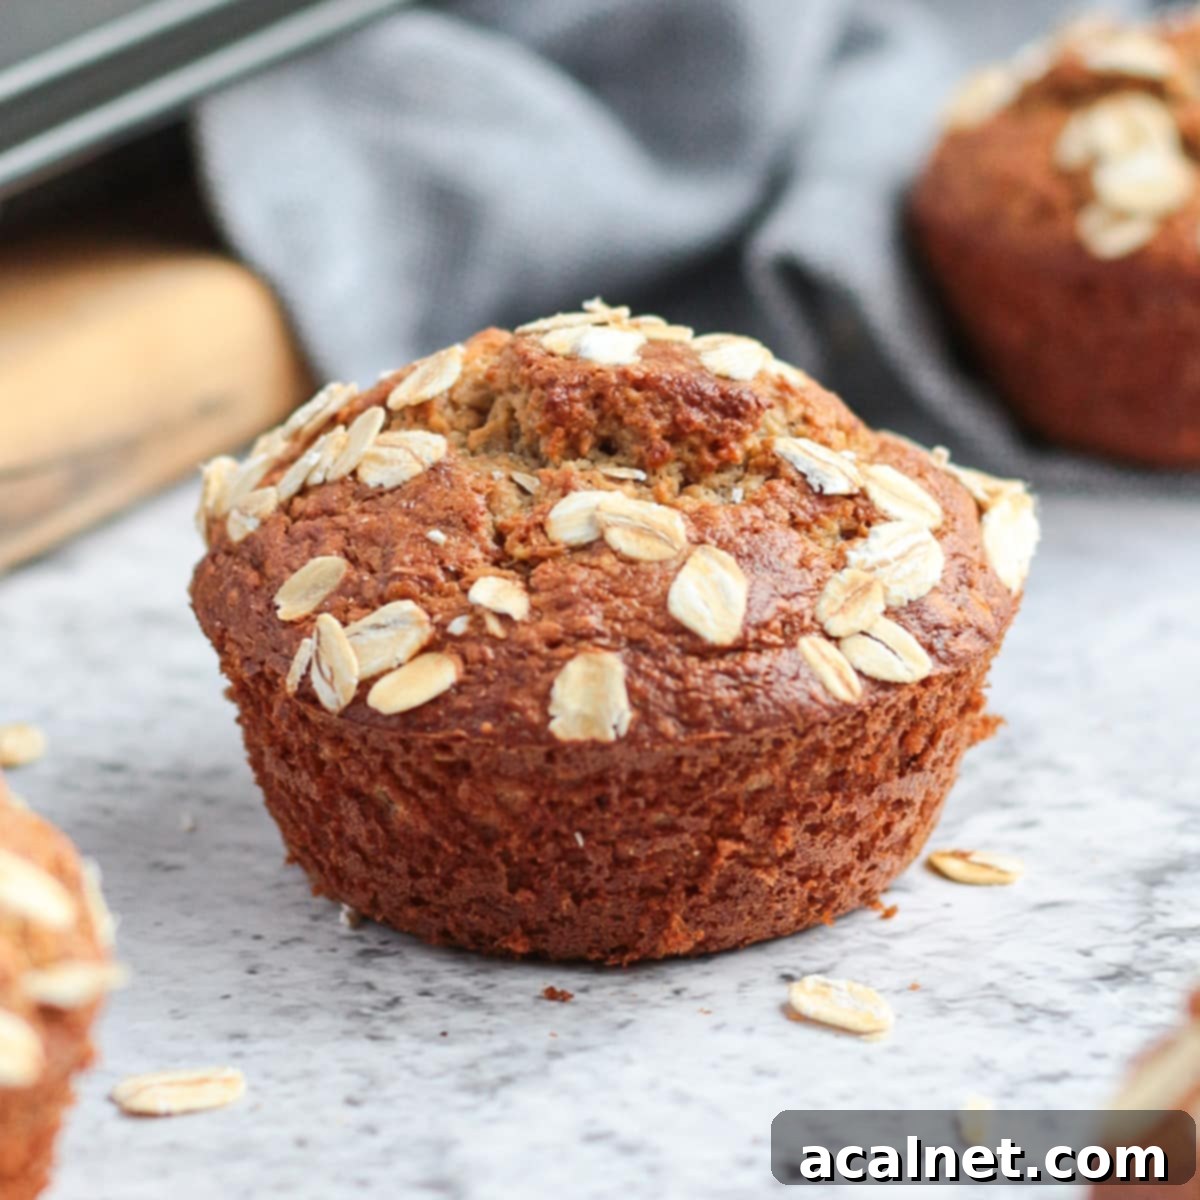
Healthy & Easy Flourless Oatmeal Banana Muffins with Almond Flour (Blender Recipe!)
Welcome to your new favorite healthy treat! These incredible Flourless Oatmeal Banana Muffins with Almond Flour are a game-changer for anyone seeking a delicious, wholesome, and incredibly easy-to-make sweet snack. Crafted without traditional wheat flour, they’re packed with the goodness of oats, ripe bananas, and nutrient-rich almond flour, making them a fantastic option for the entire family. Whether you need a grab-and-go breakfast, a satisfying afternoon pick-me-up, or a nutritious addition to your kids’ lunchboxes, these “Blender Muffins” are perfectly versatile and guaranteed to be a hit. Get ready to enjoy a guilt-free indulgence that doesn’t compromise on flavor or convenience!
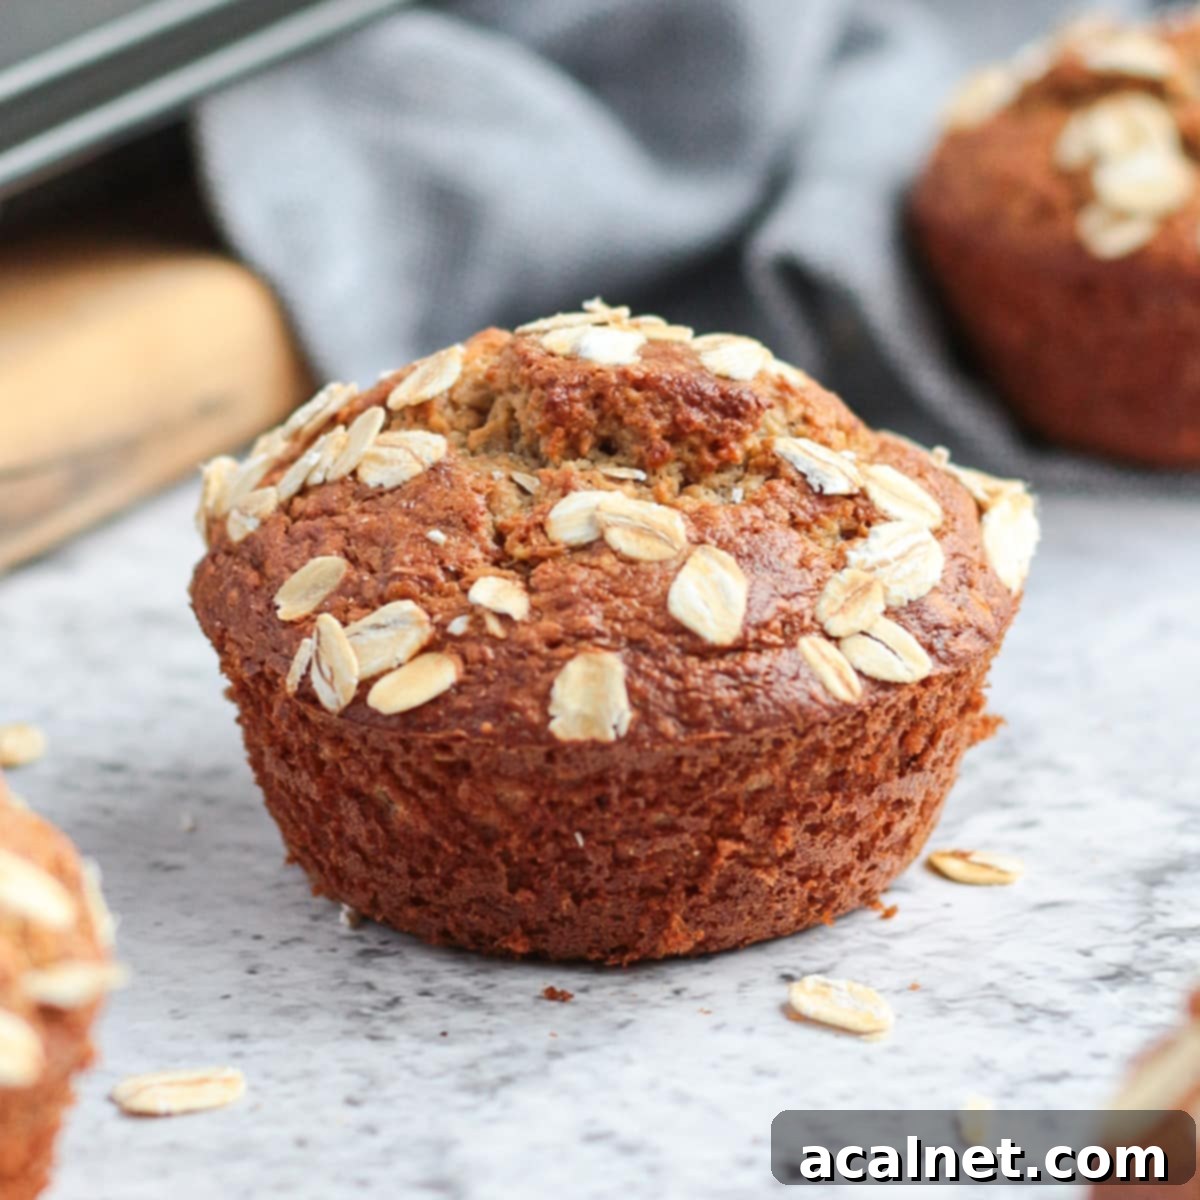
[feast_advanced_jump_to]
Why You’ll Adore These Flourless Banana Oat Muffins
There’s so much to love about these wholesome banana oat muffins. I’ve always had a special place in my heart for banana muffins, not just for their comforting taste but also for their incredible adaptability. While I enjoy many variations, including my Sugar-Free Chocolate Chip Banana Muffins and Choc Chip Oatmeal Banana Muffins, these Almond Flour Banana Muffins with Oatmeal stand out as my ultimate healthy “breakfast on the go” solution.
What truly sets them apart is their health-conscious profile. They are completely free from wheat flour and refined sugar, relying on the natural sweetness of ripe bananas and a touch of maple syrup. This makes them similar to my popular Breakfast Cookies, which are also a hit for their nutritious appeal. Beyond their healthy ingredients, the biggest win is how effortlessly they come together. Being “blender muffins,” all the magic happens in a food processor or a powerful blender, drastically cutting down on prep time and cleanup.
These aren’t just any muffins; they are delightful sweet treats that discreetly incorporate fruits, making them perfect for breakfast, a guilt-free dessert, or a healthy snack. Even the pickiest eaters, especially kids, will happily devour these, making your life a little easier and a lot more delicious. Their light, moist texture and rich banana flavor make them irresistible, proving that healthy eating can indeed be incredibly tasty and convenient.
Essential Ingredients for Your Healthy Banana Muffins
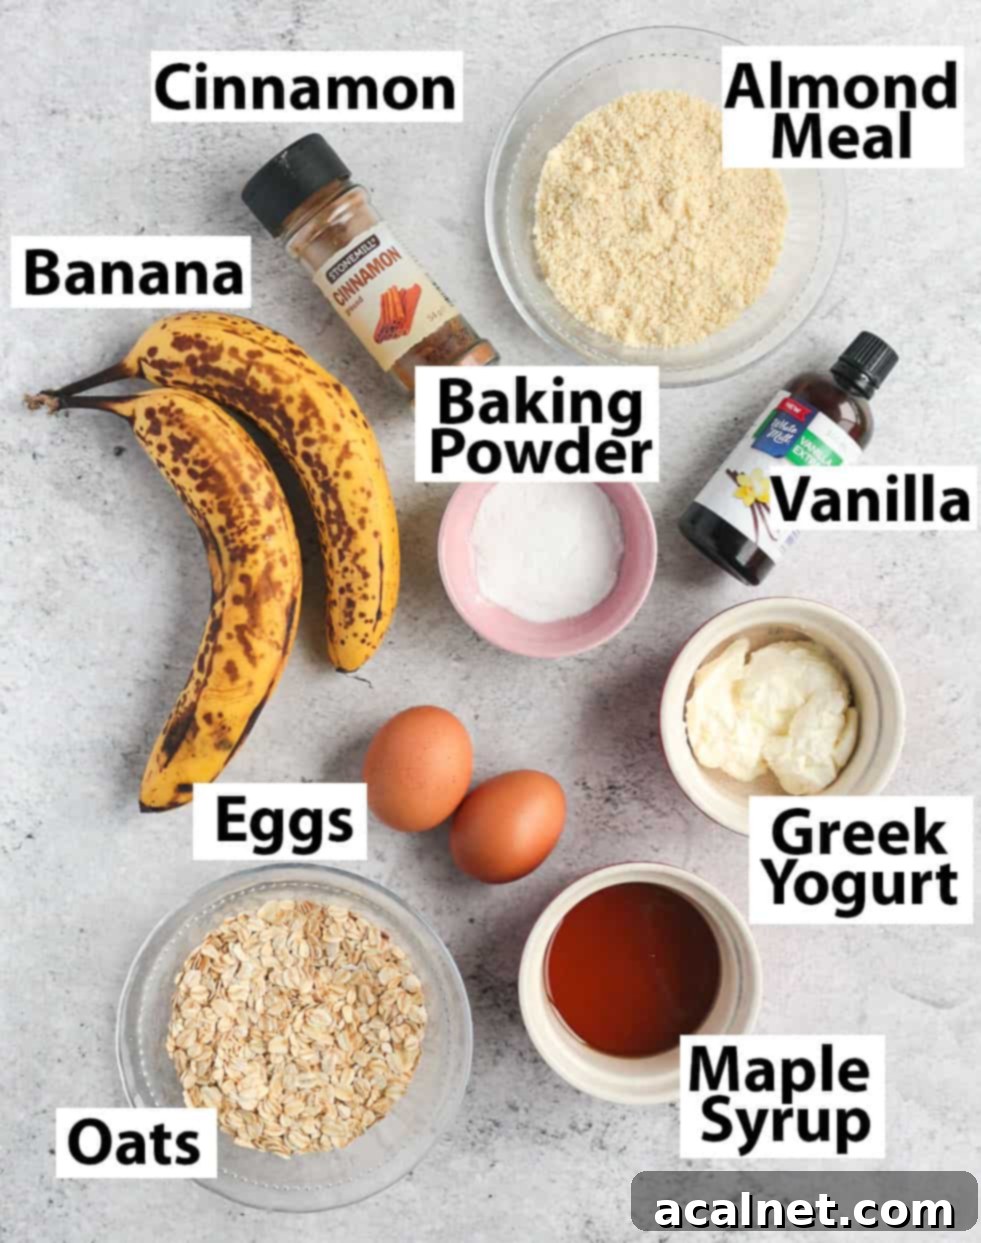
The beauty of these flourless oat banana muffins lies in their simple, wholesome ingredients. Instead of relying on traditional wheat flour, we create a delicious and healthy base using oats, Greek yogurt, and almond meal. This combination yields a wonderfully moist and flavorful muffin that’s both nutritious and satisfying. Here’s a closer look at the key components:
- Rolled Oats: These form the foundation of our flourless muffins. When blended, they create a fine oat flour that gives the muffins a tender crumb and hearty texture. If you need this recipe to be strictly gluten-free, always ensure you use certified gluten-free rolled oats, as regular oats can sometimes be cross-contaminated during processing.
- Almond Meal: A fantastic ingredient that contributes a delicate lightness, rich flavor, and essential fats to these muffins. It pairs beautifully with the banana and oats, enhancing the overall texture and nutritional profile.
- Bananas: The star of the show! It’s crucial to use very ripe bananas – the ones with plenty of brown spots on their peel. These are naturally sweeter and much easier to mash or blend, providing moisture and a concentrated banana flavor to the muffins, eliminating the need for excessive added sugar.
- Maple Syrup: Our preferred natural sweetener. Maple syrup not only adds a lovely depth of sweetness but also imparts a subtly floral and earthy flavor that complements the banana perfectly. It’s a healthier alternative to refined sugars.
- Baking Powder & Baking Soda: These leavening agents work together to give our muffins their perfect rise and fluffy texture. Just like with oats, if you require a gluten-free recipe, double-check that your baking powder is certified gluten-free, as some brands may contain wheat starch.
- Greek Yogurt: Adds an incredible amount of moisture and a slight tang that balances the sweetness. It also contributes to the protein content, making these muffins even more satisfying.
- Eggs: Act as a binder, helping to hold the muffins together and providing structure. They also add richness and contribute to the overall texture.
- Vanilla Extract & Ground Cinnamon (Optional): These are flavor enhancers that elevate the taste of the muffins. Vanilla adds warmth, while cinnamon brings a comforting spice that pairs wonderfully with banana.
More delicious Banana Recipes:
- One Bowl Banana Bread with Chocolate Chips
- Oven Baked Banana Chips
- 3 Ingredients Banana Pancakes
- Gluten Free Banana Buckwheat Pancakes
Smart Ingredient Substitutions for Your Flourless Muffins
One of the great advantages of this Flourless Oatmeal Banana Muffin recipe is its flexibility. Many ingredients can be easily swapped out to accommodate dietary needs, preferences, or simply what you have on hand. Don’t let a missing ingredient stop you from enjoying these delicious blender muffins!
- Rolled Oats: Since the rolled oats are blended into a fine powder, you can certainly use pre-made Oat Flour as a direct substitute. This can save you a step if you already have it in your pantry.
- Almond Meal: This versatile ingredient can be replaced with other ground nuts. Almond Flour works perfectly, as does any other type of fine ground almond. For a unique flavor twist, consider using Hazelnut Meal – it would be absolutely delicious in these muffins, adding a rich, nutty note.
- Eggs: To make these muffins vegan-friendly, you can substitute the eggs with a suitable egg replacer. An Egg Replacer Powder prepared according to package instructions is a reliable option, or you can use Flax Eggs (1 tablespoon ground flaxseed mixed with 3 tablespoons water per egg, allowed to sit for 5 minutes until gel-like).
- Maple Syrup: Any liquid sweetener you prefer can be used in place of maple syrup. Honey or Agave Syrup are excellent alternatives that will provide a similar level of sweetness and moisture. Adjust to your taste, keeping in mind that honey can have a stronger flavor.
- Greek Yogurt: The best substitutes for Greek Yogurt are Sour Cream or a thick Natural Yogurt. These will provide a similar tang and moisture content. If you’re aiming for a vegan version, a plant-based yogurt like Coconut Yogurt can be used. Be aware that this might subtly alter the flavor profile, as you’ll lose the characteristic sourness of dairy yogurt, but it will still contribute to a moist texture.
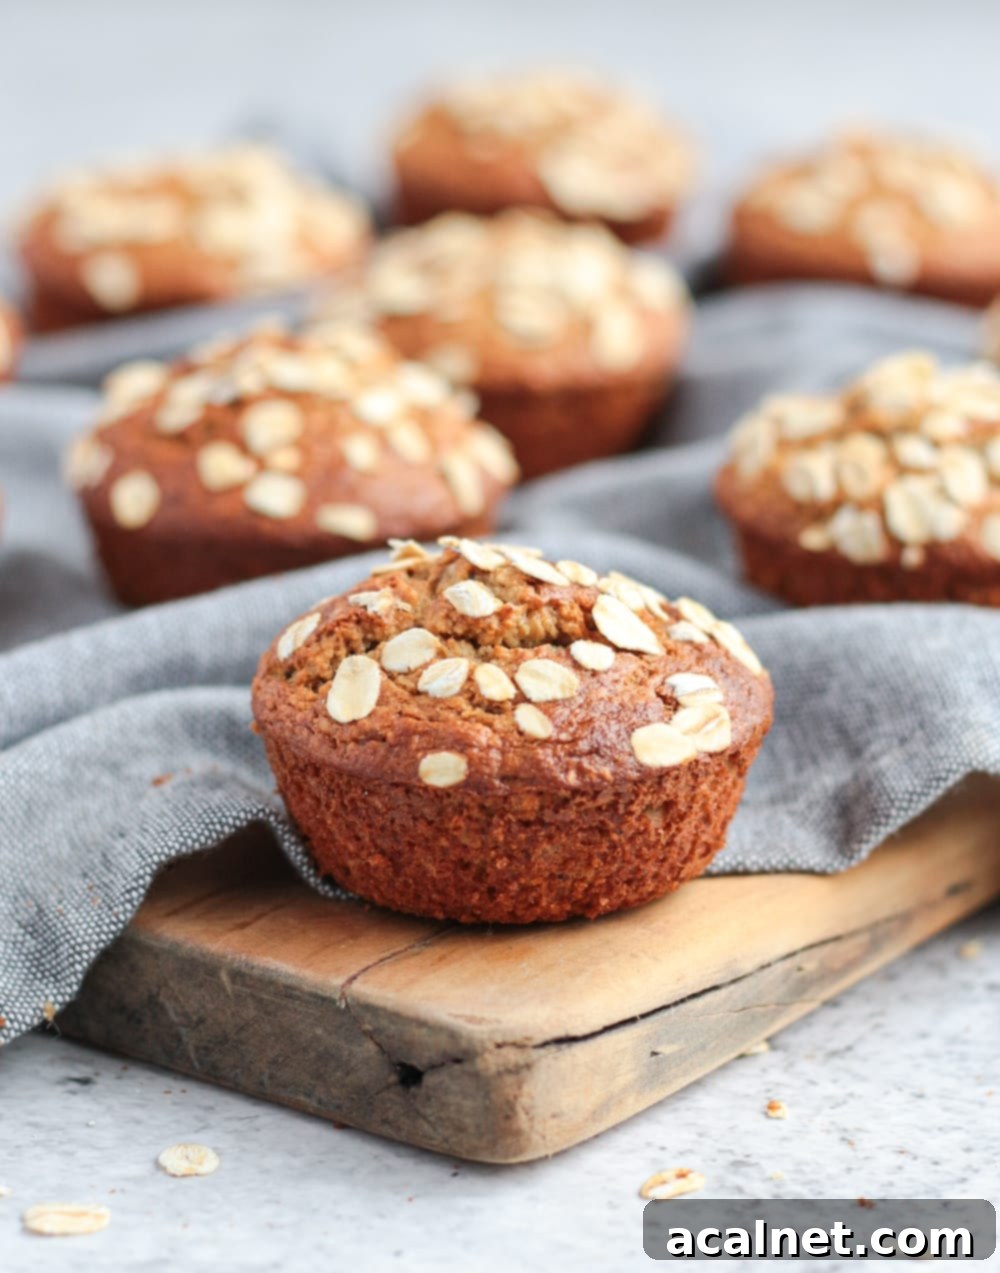
How to Effortlessly Make These Flourless Oatmeal Banana Muffins
Prepare to be amazed by how incredibly simple these muffins are to make. Seriously, I don’t think there’s an easier recipe on this blog! The beauty of these Blender Banana Muffins is that almost all the work is done by your food processor, minimizing mess and effort. Here’s how you can whip up these delicious, no-flour banana bread muffins in just a few easy steps:
Your Step-by-Step Guide to Flourless Banana Bread Muffins:
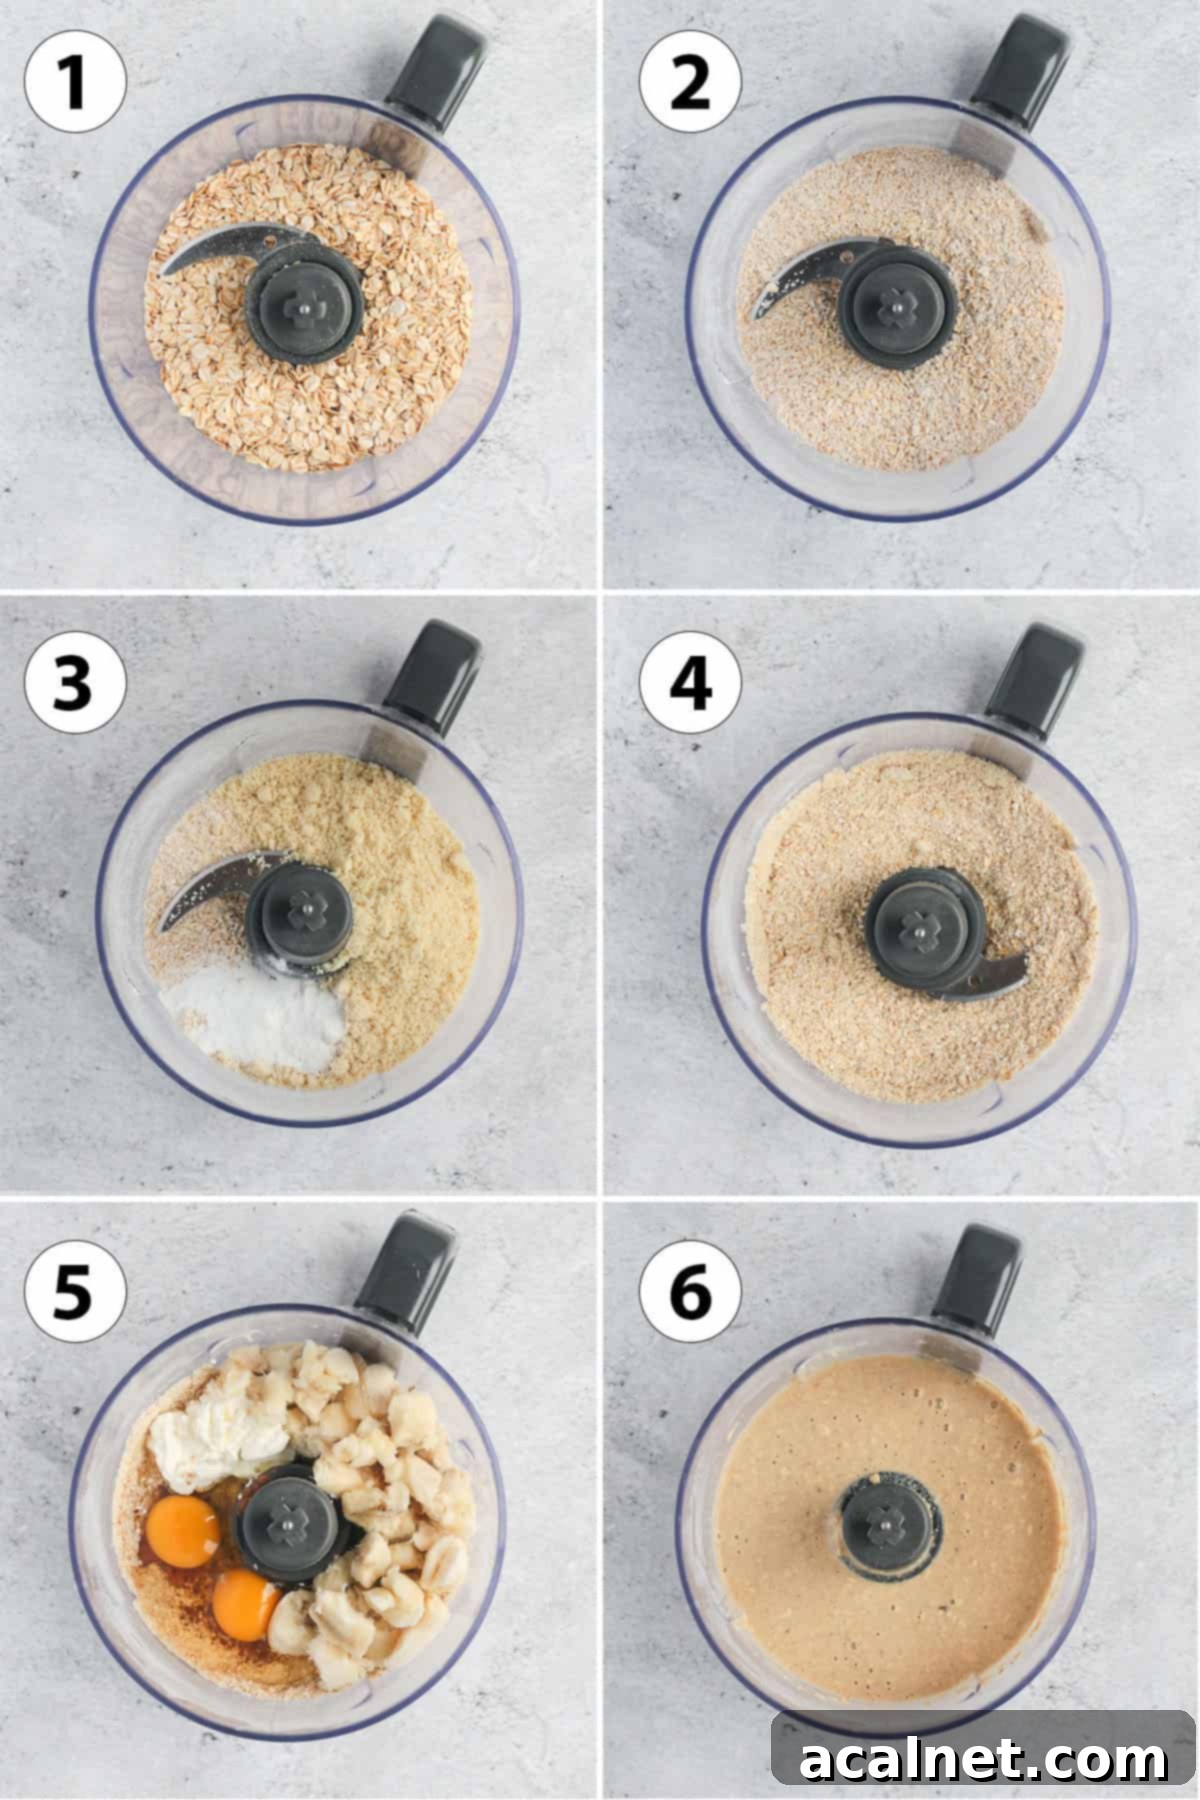
- Photo 1 & 2: Process the Oats. Begin by placing your rolled oats into the bowl of your food processor. Pulse them until they transform into thin crumbs, resembling a coarse flour. The texture is entirely up to your preference – for a more rustic, textured muffin, blend them coarsely. If you prefer a smoother, finer crumb, process them until they are almost like a fine oat powder. This step is crucial as the oats are our primary “flour” substitute.
- Photo 3 & 4: Combine Dry Ingredients. Next, add the remaining dry ingredients directly into the food processor with the oat crumbs. This includes the almond meal, baking powder, baking soda, a pinch of salt, and the optional ground cinnamon for that warm, inviting spice. Briefly pulse for just a few seconds to ensure everything is well combined. Be careful not to over-blend at this stage, as prolonged processing can generate heat, potentially making the almond meal sticky and difficult to work with.
- Photo 5: Add Wet Ingredients. Now it’s time for the wet components. Add your very ripe bananas (roughly cut into smaller pieces for easier blending), eggs, maple syrup, Greek yogurt, and a splash of vanilla extract (if using) to the food processor bowl.
- Photo 6: Blend to Perfection. Secure the lid and blend all the ingredients together until the mixture is completely combined and smooth. This typically takes around 30 seconds, but it might vary depending on the power of your machine. You’ll know it’s ready when the batter is consistent with no large lumps of banana remaining. If needed, stop the food processor occasionally to scrape down the sides of the bowl with a spatula, ensuring everything is incorporated evenly. The resulting batter will be quite liquid, which is perfectly normal for these muffins!
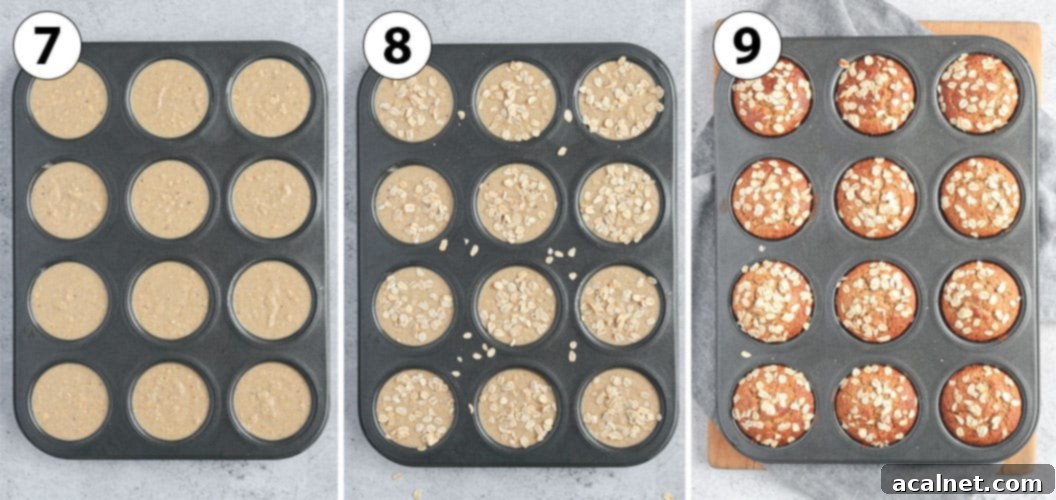
Once your smooth and ready muffin batter is prepared, it’s time to transfer it into your prepared muffin pan. It is absolutely essential to grease your muffin pan very, very well, or alternatively, use good quality paper or silicone liners. These muffins are quite soft and moist, which means they have a tendency to stick to the pan if not properly prepared. Using a reliable non-stick spray or buttering and flouring each cavity generously will prevent any sticking issues.
For ultimate ease of removal, I highly recommend using a Silicone Muffin Pan. The flexible material makes popping out freshly baked muffins an absolute breeze, ensuring they come out perfectly intact every time.
To bake your perfect flourless muffins:
- Photo 7: Fill the Pan. Use an ice-cream scoop or a deep spoon to evenly distribute the muffin batter into each cavity of your prepared muffin pan. Fill them about two-thirds full to allow for a beautiful dome-like rise.
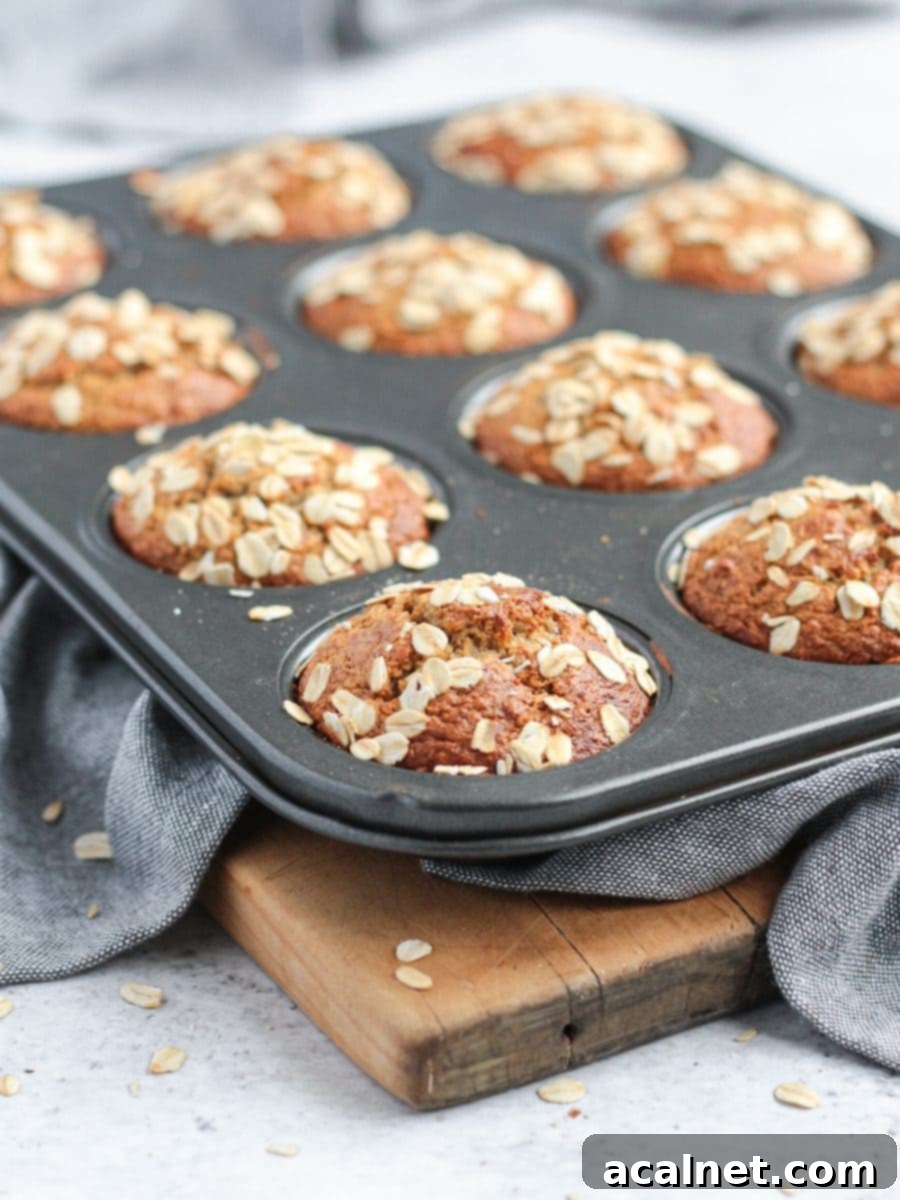
- Photo 8: Optional Oat Topping. For an extra touch of texture and visual appeal, you can optionally sprinkle a few rolled oats over the top of each muffin before baking. This adds a lovely rustic finish.
- Photo 9: Bake to Golden Perfection. Bake the muffins in your preheated oven at 180°C/350°F for approximately 20 to 25 minutes. They are ready when they are beautifully puffed up, golden brown on top, and a wooden skewer or toothpick inserted into the center of a muffin comes out clean, without any wet batter or moist crumbs clinging to it.
- Cooling is Key: This step is often overlooked but is absolutely crucial for success! Once baked, leave the muffins to cool down in the pan for 10 to 15 minutes. During this time, the muffins will continue to set and firm up slightly. If you try to remove them immediately, they are very likely to stick and break apart. As they cool, they will naturally pull away from the edges of the pan, indicating they are ready to be transferred. Gently move them to a wire rack to cool completely.
If you find any muffins still a little stubborn and sticking to the pan after cooling, carefully run a small pairing knife or a thin offset spatula around the edges of each muffin. This gentle action should help release them without damage.
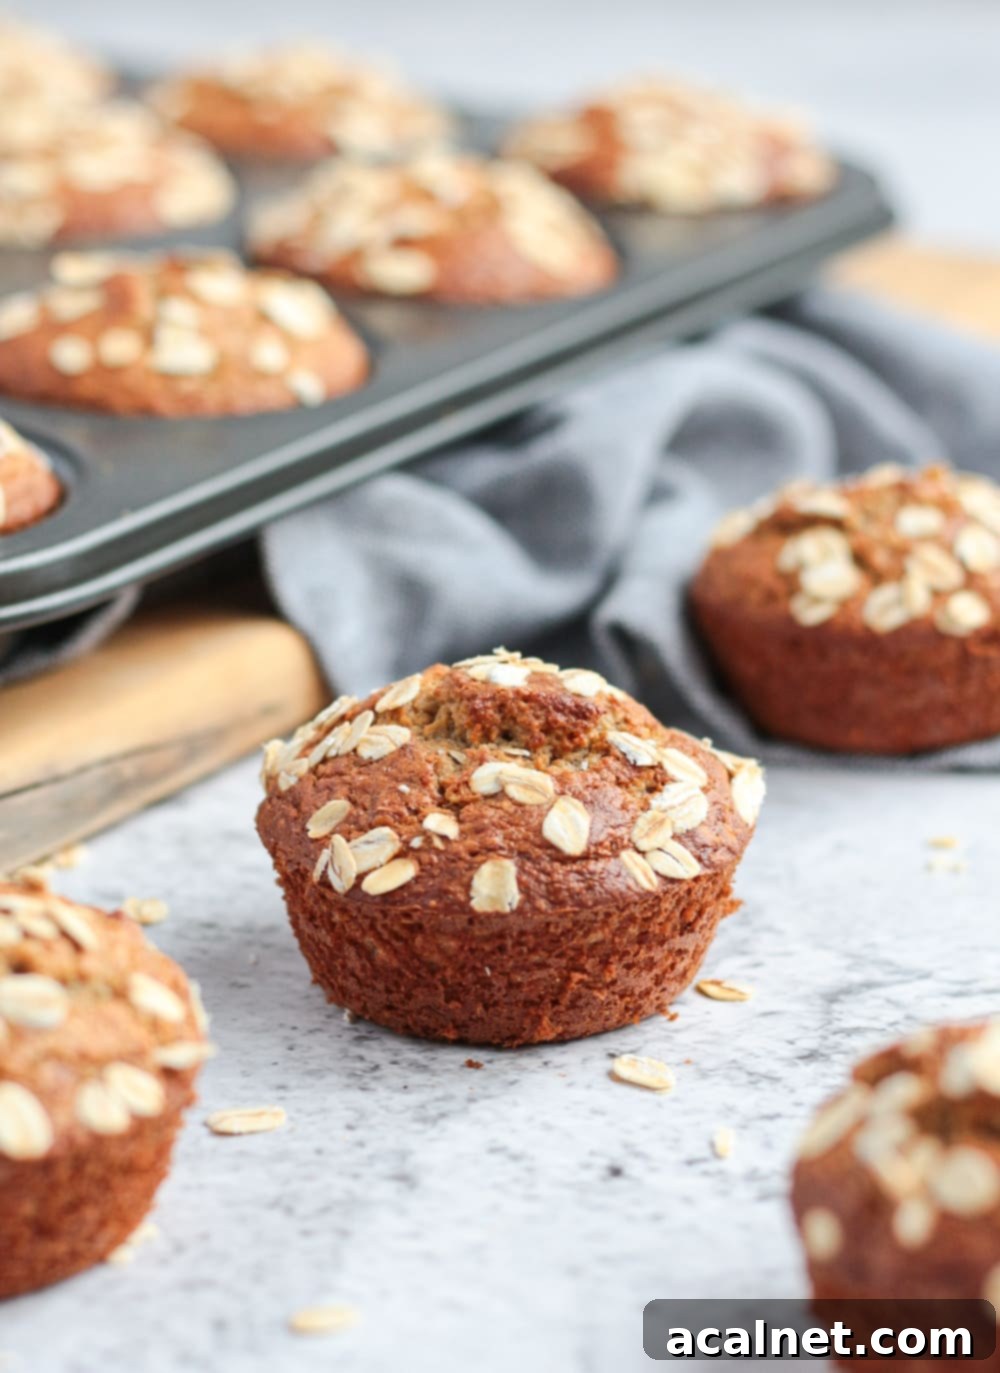
Frequently Asked Questions About These Flourless Banana Muffins
Absolutely, you can use a blender for this recipe, provided it’s a powerful one. While I find that a food processor tends to create a slightly finer and more consistent oat powder, a strong blender will certainly get the job done. You might need to pause and scrape down the sides of a blender more frequently than with a food processor to ensure all ingredients are fully incorporated and the batter is smooth. Just keep an eye on the consistency and blend until you achieve your desired texture.
Once your healthy Banana Blender Muffins have cooled completely to room temperature, they can be stored in an airtight container. They will stay fresh and delicious at room temperature for about 3 days. If you want them to last longer, you can store them in the fridge. However, be aware that refrigeration can sometimes make the muffins slightly harder and drier over time, so it’s best to enjoy them within 5-7 days if stored in the refrigerator.
Yes, these delicious Oat Muffins are perfectly suitable for freezing, making them ideal for meal prepping or having a quick snack on hand! Once they are completely cool, wrap each muffin individually in a layer of plastic wrap, followed by a layer of aluminum foil, or simply place them in a freezer-safe bag. They can be stored in the freezer for up to 3 months. To enjoy, simply thaw them at room temperature for a couple of hours, or for a warm, ‘freshly baked’ experience, pop them back into a warm oven (around 150°C/300°F) for 5 to 10 minutes until heated through.
Absolutely! These flourless banana muffins are incredibly versatile. Feel free to stir in about half a cup of your favorite mix-ins after blending the batter. Mini chocolate chips (dark, milk, or white), chopped nuts (walnuts or pecans work wonderfully), shredded coconut, or even dried fruit like raisins or cranberries would make fantastic additions. Just fold them in gently with a spatula before pouring the batter into the muffin pan.
Explore More Delicious Muffin Recipes
If you loved these flourless oatmeal banana muffins, you’ll be thrilled to discover more delightful muffin creations. From rich chocolate to zesty lemon, there’s a perfect muffin for every craving and occasion:
- Double Chocolate Brownie Muffins
- Vegan Carrot Cake Muffins
- Lemon and Poppy Seed Muffins
- Raspberry Lemon Muffins
- Chocolate Zucchini Muffins
- Orange Poppy Seed Muffins
- Apple Cinnamon Streusel Muffins
- Biscoff Muffins
Made this recipe?
We’d love to hear how your Flourless Oatmeal Banana Muffins turned out! Let us know if you liked them by leaving a comment below, and don’t forget to tag us on Instagram @a.baking.journey with a photo of your delicious creation!
Recipe Card

Flourless Oatmeal Banana Muffins
Servings: 12 muffins
Author: Sylvie
Print Recipe
Prevent your screen from going dark
Ingredients
- 100 gr (1 cup) Rolled Oats, certified Gluten-Free if required
- 150 gr (1 1/2 cup) Almond Meal
- 1 1/2 tsp Baking Powder
- 1/2 tsp Baking Soda
- 1 pinch Salt
- 1/2 tsp Ground Cinnamon, optional
- 2 Bananas, very ripe
- 2 Eggs
- 90 ml (1/3 cup) Maple Syrup, or equivalent Liquid Sweetener
- 60 ml (1/4 cup) Greek Yogurt, or Sour Cream
- 1/2 tsp Vanilla Extract, optional
Instructions
- 1. Preheat your oven to 180°C/350°F. Thoroughly grease a 12-cup muffin pan, or line it with muffin liners.
- 2. Place the Rolled Oats in the bowl of your Food Processor and pulse for about 30 seconds, or until they form thin crumbs (resembling coarse flour).
- 3. Add the rest of the dry ingredients to the food processor: Almond Meal, Baking Powder, Baking Soda, Salt, and Ground Cinnamon (if using). Pulse briefly to combine, about 5-10 seconds.
- 4. Add all the wet ingredients: ripe Bananas (roughly chopped), Eggs, Maple Syrup, Greek Yogurt, and Vanilla Extract (if using). Blend for approximately 30 seconds, or until the batter is completely combined and smooth. The batter will be quite liquid, which is normal.
- 5. Pour the prepared muffin batter evenly into the muffin pan cavities, filling each about two-thirds full.
- 6. Optional: Sprinkle a few rolled oats over the top of each muffin for added texture and a rustic look.
- 7. Bake for 20 to 25 minutes, or until the muffins are puffed, golden brown, and a skewer inserted into the center comes out clean.
- 8. Let the muffins cool in the pan for 10 to 15 minutes. This crucial step allows them to set and prevent sticking. Once slightly cooled, transfer them to a wire rack to cool completely.
Would you like to save this recipe?
We’ll email this post to you, so you can come back to it later!
Notes
- The muffins are quite soft and moist due to the lack of traditional flour, so it’s critical to grease the muffin pan very well or use reliable muffin liners to prevent them from sticking. A silicone muffin pan is highly recommended for easy release.
- You have full control over the texture of your muffins by adjusting how finely you blend the rolled oats. For a muffin with a subtle chew and texture, blend the oats coarsely into small crumbs. If you prefer a smoother, cake-like crumb, process the oats until they are a fine powder, similar to flour.
- To accurately check if the muffins are fully baked, insert a wooden skewer or toothpick into the center of one. If it comes out clean, without any wet batter or excessively moist crumbs clinging to it, your muffins are perfectly ready.
- Patience is key during the cooling process! It’s crucial to leave the muffins in the pan for 10 to 15 minutes after baking. Attempting to remove them straight out of the oven will likely result in them breaking apart or sticking stubbornly to the pan. They will naturally begin to pull away from the edges as they cool and set. If they still seem hesitant to release, gently run a small paring knife or a thin offset spatula around the edges of each muffin to loosen them before transferring to a wire rack.
Nutrition (per serving)
