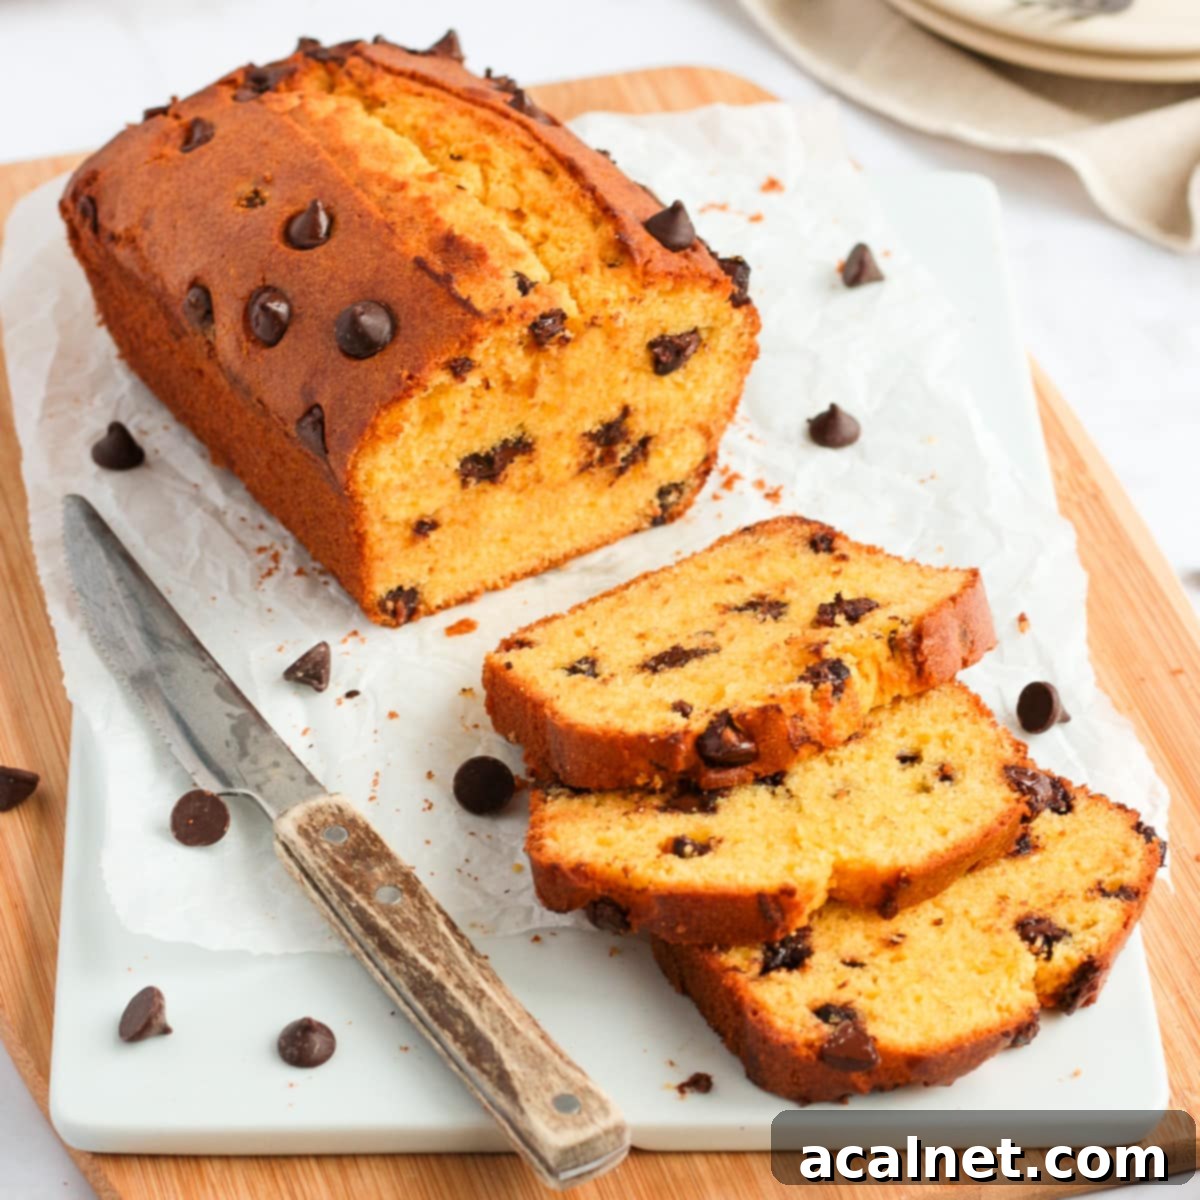
The Ultimate One-Bowl Chocolate Chip Loaf Cake: Easy, Fluffy & Irresistibly Delicious
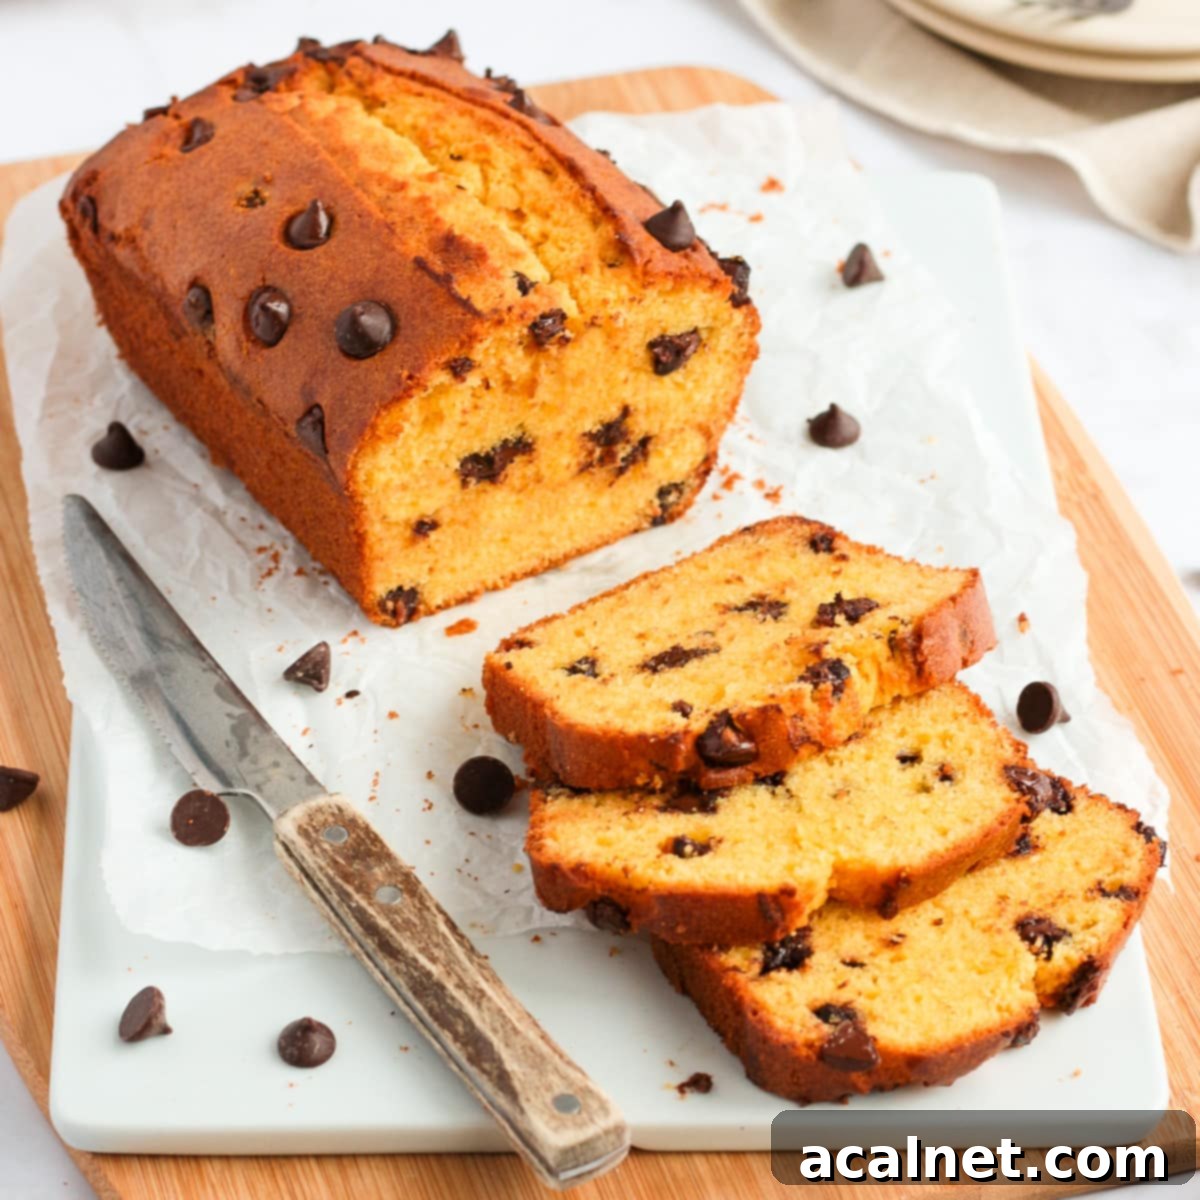
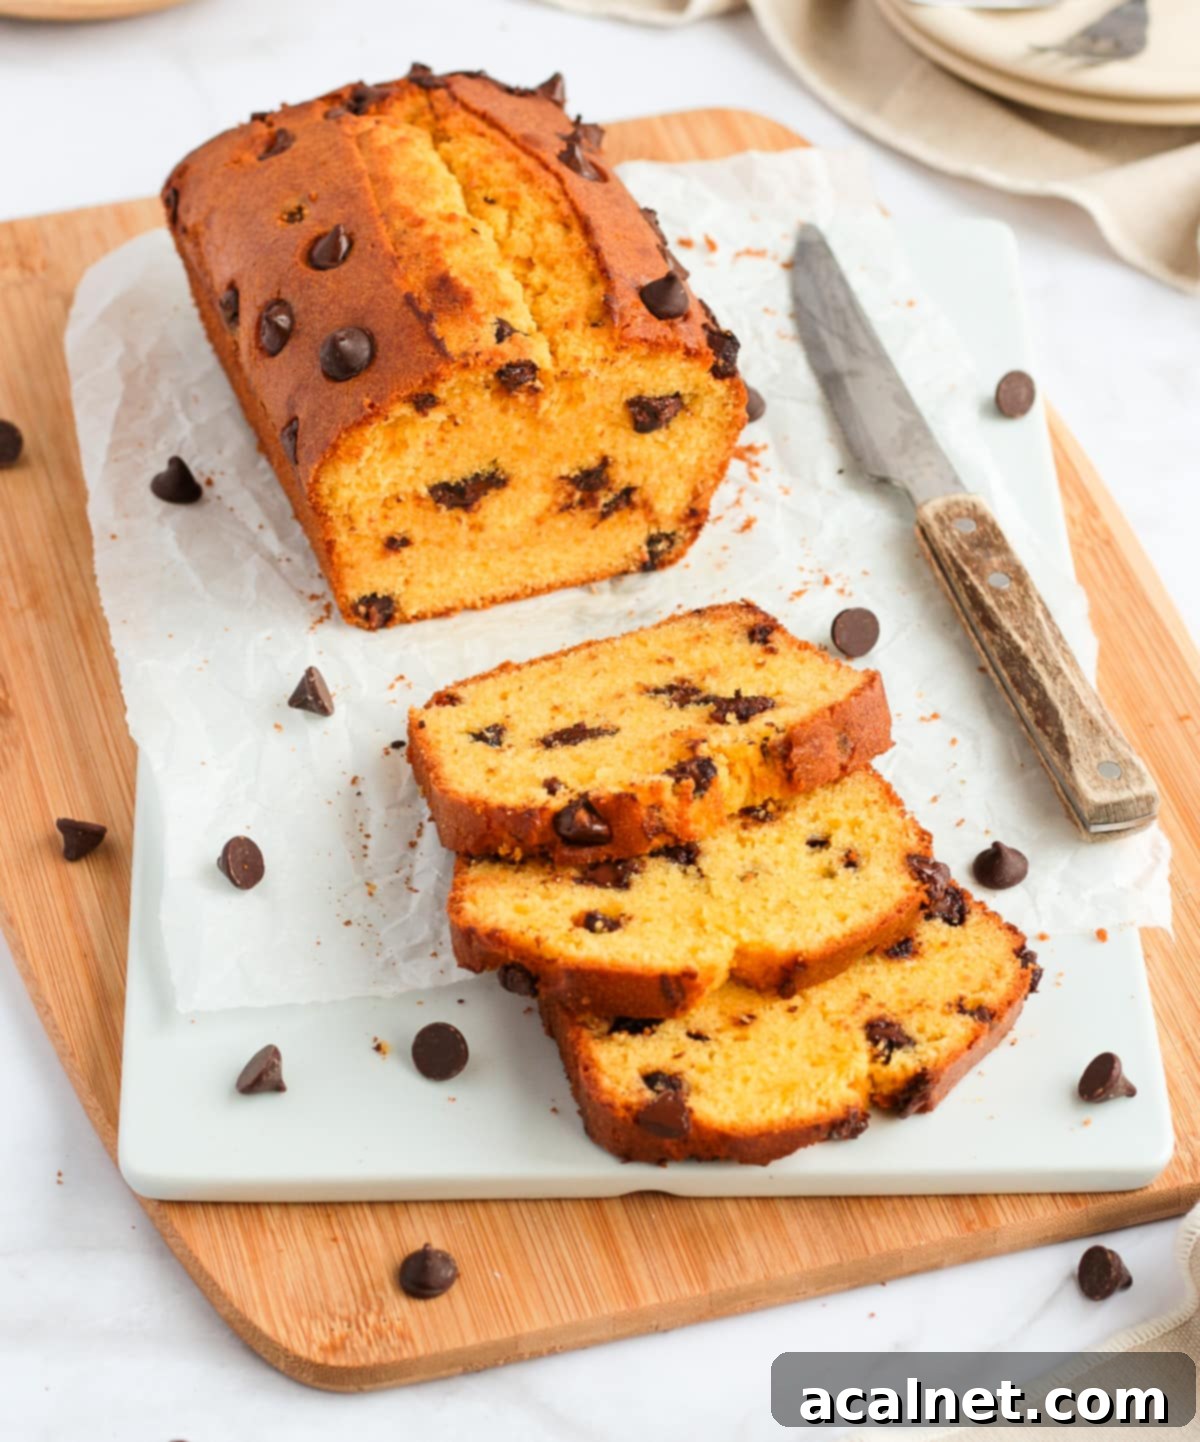
Imagine a fluffy, vanilla-scented loaf cake, generously studded with melty chocolate chips, so moist it practically melts in your mouth. This isn’t just a dream – it’s the reality of this Chocolate Chip Loaf Cake! Perfect for a delightful afternoon tea, a satisfying breakfast treat, or a simple yet decadent dessert, this recipe is designed for ease and speed. It’s an incredibly simple one-bowl wonder that promises a light, fluffy, and utterly delicious outcome, guaranteed to become a cherished family favorite. Forget complicated baking; this easy cake recipe brings pure joy with minimal effort.
Jump to Recipe
Why You’ll Fall in Love with This Easy Chocolate Chip Loaf Cake
This isn’t just another recipe; it’s the kind of reliable, utterly delicious bake you’ll want to keep in your repertoire for every sweet craving. The Chocolate Chip Loaf Cake is a true gem, offering maximum flavor with minimal fuss, making it ideal for both seasoned bakers and eager beginners. Here’s why we know you’ll adore it:
- **Effortlessly Simple:** With only about 10 to 15 minutes of active prep time and the convenience of a one-bowl method, this recipe is designed to be stress-free. Less cleanup means more time to enjoy your delicious creation!
- **Family-Friendly Fun:** Its straightforward steps make it perfect for getting kids involved in the kitchen. They’ll love helping to mix the batter and, of course, adding all those wonderful chocolate chips!
- **Incredibly Versatile:** While it makes an absolutely divine companion to your morning coffee or afternoon tea, this chocolate chip quick bread is also wonderful as a light dessert after dinner or even a sweet snack on the go. Its subtle vanilla base combined with generous chocolate chips hits all the right notes for any occasion.
- **Unforgettable Flavor and Texture:** Despite its simplicity, this loaf cake is anything but basic. It’s light, incredibly moist, and wonderfully fluffy, offering a richness that feels truly indulgent without being heavy. The burst of melted chocolate chips in every bite is pure bliss.
- **A Timeless Classic:** Quicker to prepare than a complex layered cake, yet just as decadent as a rich Double Chocolate Loaf Cake or an aromatic Coffee Loaf Cake, this vanilla chocolate chip loaf is a classic that never goes out of style. It strikes the perfect balance between comfort and elegance, making it a staple you’ll find yourself baking again and again.
Essential Ingredients for Your Perfect Chocolate Chip Loaf Cake
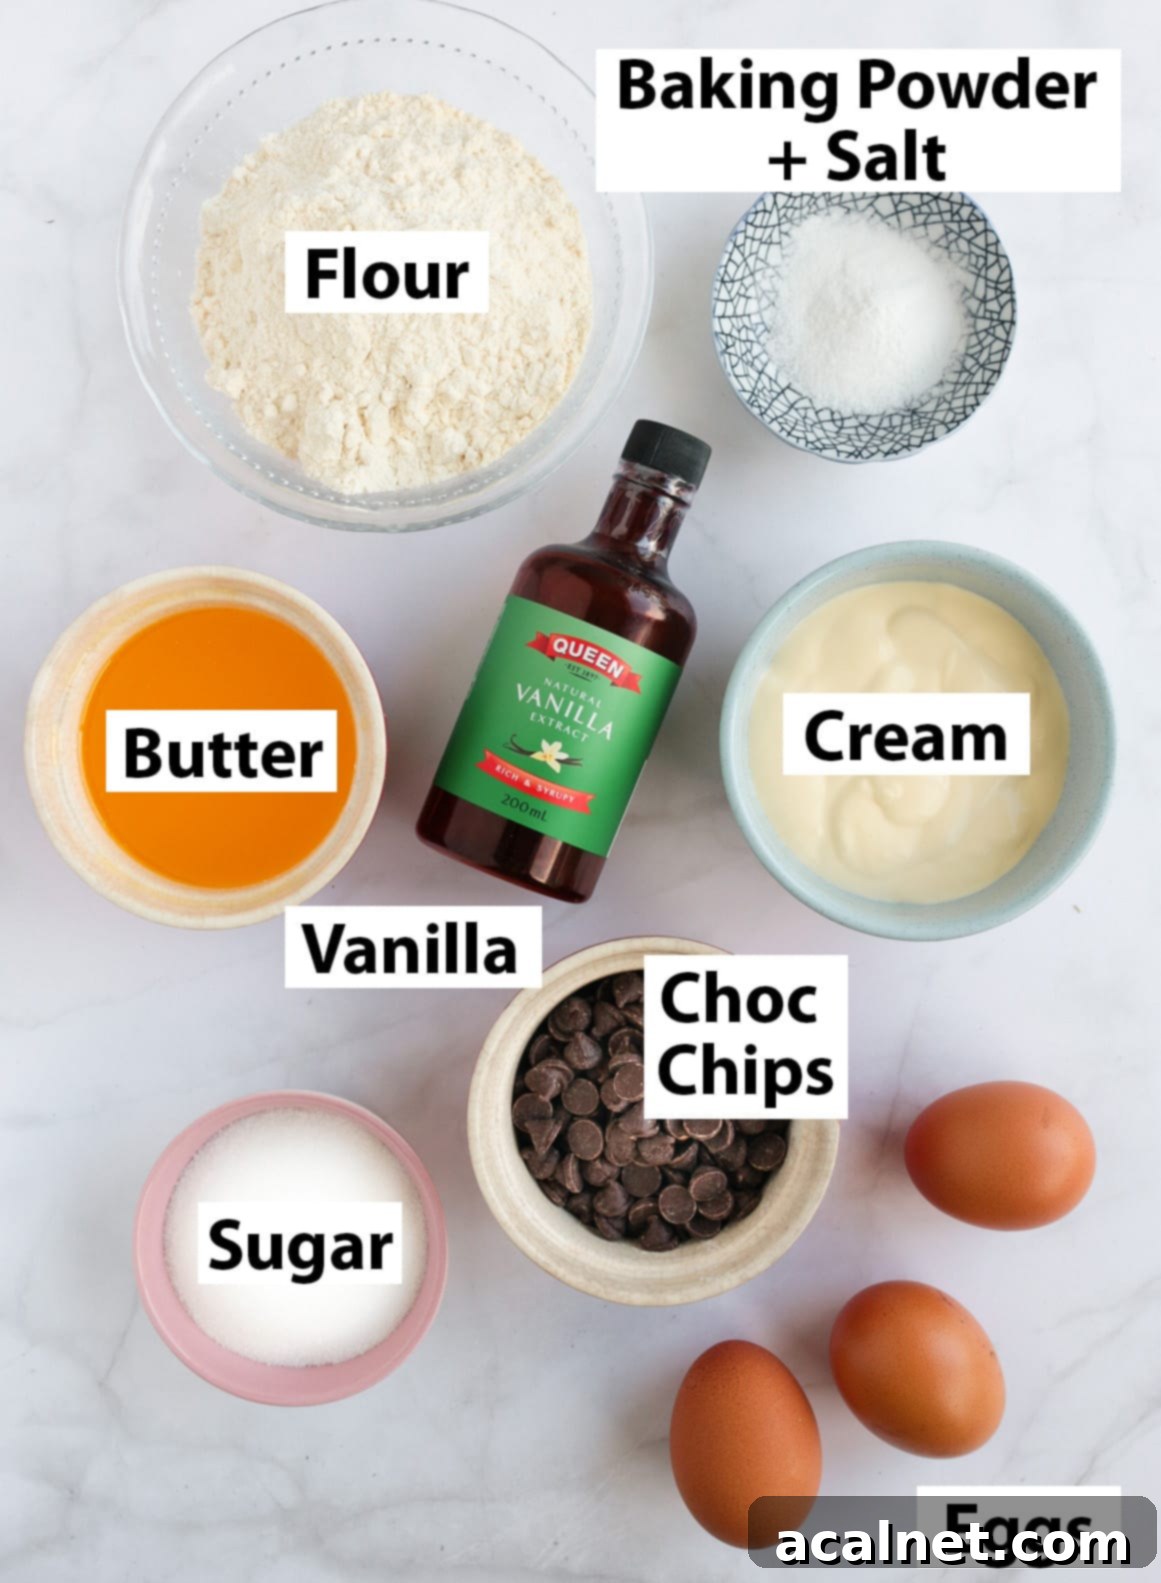
This delightful Chocolate Chip Loaf Cake is crafted from a handful of basic pantry staples. There’s nothing complicated or overly fancy required, just simple ingredients that come together to create a stunning vanilla cake base, beautifully complemented by a generous scattering of dark chocolate chips!
You will need these key ingredients to bring your chocolate chip loaf cake to life (all specific quantities are listed in the detailed recipe card below):
- Eggs: Ensure your eggs are at room temperature. This is crucial for achieving a well-emulsified batter and contributes significantly to the cake’s light and fluffy texture. Cold eggs can make the batter seize up.
- Caster Sugar: Also known as fine white sugar, caster sugar dissolves easily, helping to create that wonderfully foamy egg mixture that gives the cake its lift and delicate crumb.
- Butter: Unsalted and melted butter provides richness and moisture. Make sure it’s cooled slightly before adding to the mixture to avoid cooking the eggs prematurely.
- Cream: Heavy or thickened cream adds incredible moisture and tenderness to the cake. Always opt for full-fat cream when baking, as lighter versions contain more water and can affect the final texture.
- Vanilla Extract: Or vanilla bean paste, for that classic, comforting vanilla flavor that perfectly balances the chocolate. Use good quality extract for the best taste.
- Flour: Plain or all-purpose flour forms the structural backbone of the cake. Sifting it helps ensure a lump-free batter and an even crumb.
- Baking Powder + Salt: Baking powder is your leavening agent, providing the rise, while a pinch of salt enhances all the other flavors, making the cake taste even better.
- Chocolate Chips: I personally love the depth that dark chocolate chips bring, but feel free to use milk chocolate chips if you prefer a sweeter, creamier chocolate flavor. The more, the merrier!
Helpful Ingredient Substitutions
Baking should be flexible! If you find yourself missing an ingredient or simply want to try a different twist, here are some reliable substitutions:
- Butter: If you’re out of butter or prefer a dairy-free option, a neutral-flavored oil like canola oil or vegetable oil can be a great replacement. It will still provide moisture and tenderness.
- Heavy/Thickened Cream: For a dairy-free alternative, look for a good quality dairy-free heavy cream, such as a soy-based or coconut-based cream (ensure it’s suitable for baking).
- Chocolate Chips: Don’t have chips? No problem! Roughly chopped cooking chocolate (dark, milk, or white) works just as well and can give you delightful chocolate chunks instead of uniform chips.
For those looking for a slightly different texture or a touch more tang, I’ve successfully made this cake using Greek Yogurt instead of thickened cream. The result is equally delicious, with a subtle tang and perhaps an even lighter crumb. I wholeheartedly encourage you to give it a try with yogurt if you’re feeling adventurous!
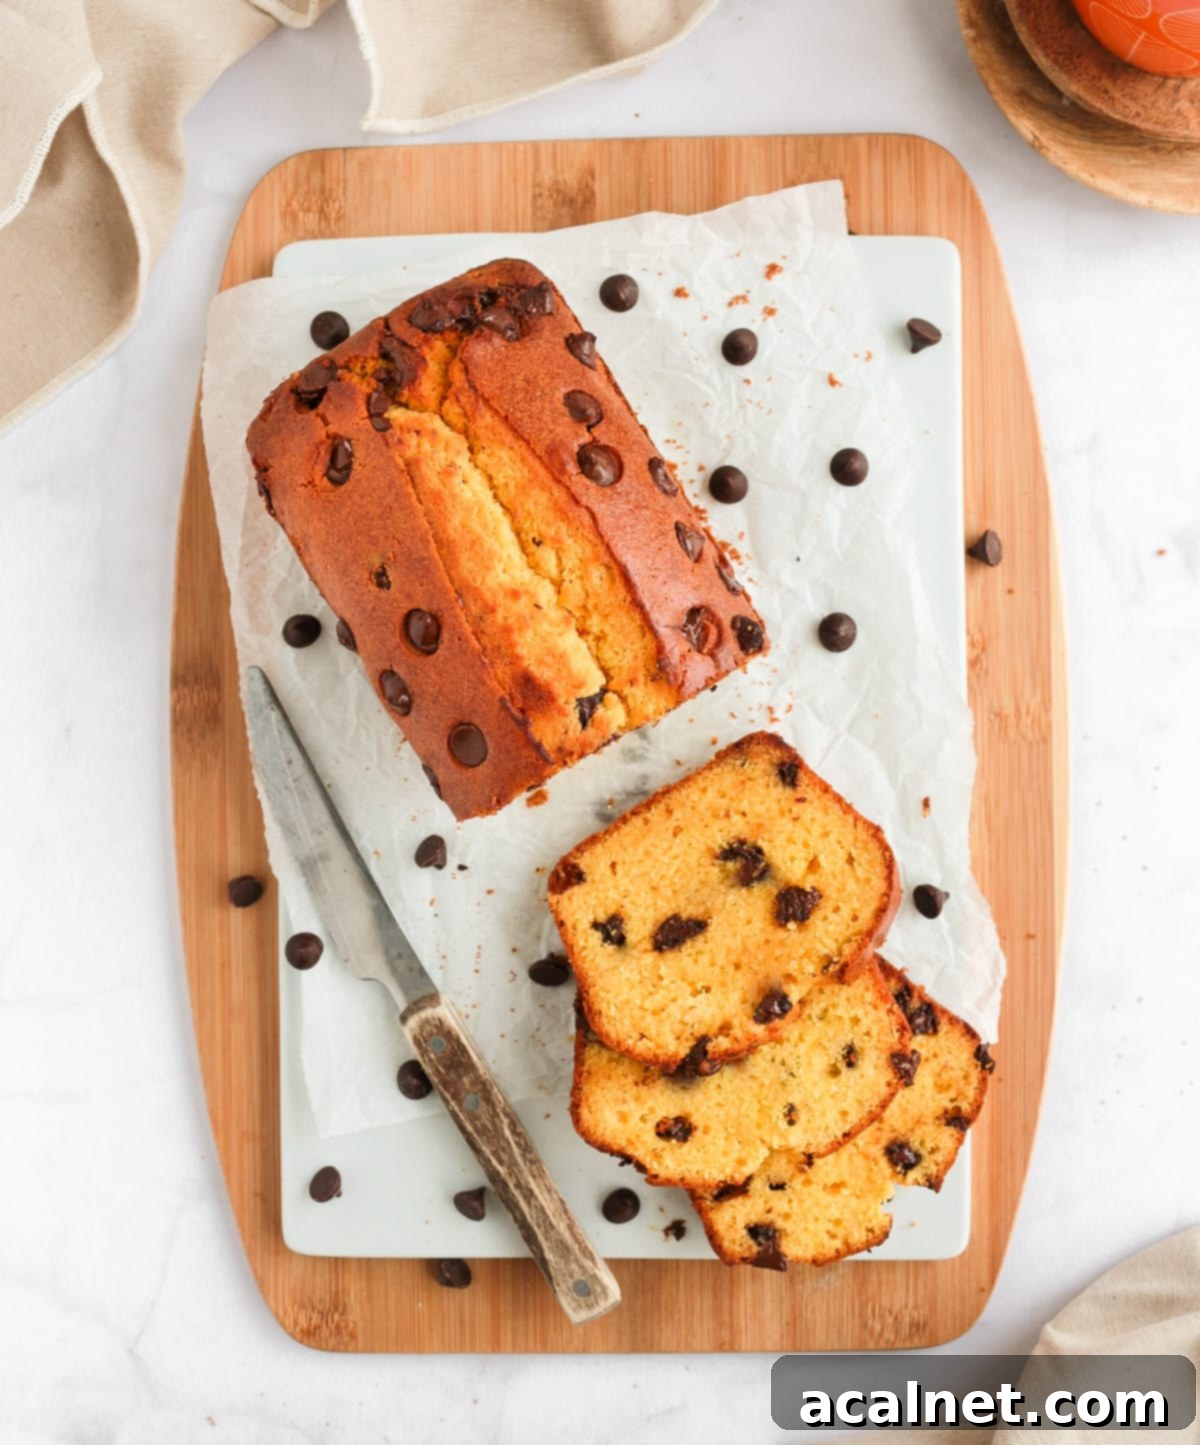
How to Make This Effortless One-Bowl Chocolate Chip Loaf Cake
Get ready to be amazed by how incredibly simple this recipe is! It’s genuinely one of the most accessible bakes, perfect for anyone, from absolute novice bakers taking their first steps in the kitchen to experienced hands looking for a quick and reliable treat.
- **Prepare Your Pan and Oven:** First things first, preheat your oven to 180°C/350°F. Next, prepare your loaf pan. You can either generously grease and flour it (see my note below for the best method), or line it with baking paper, leaving an overhang on the longer sides to easily lift the cake out later. Set the prepared pan aside.
- **Melt and Cool Butter:** Gently melt your butter, either in a small saucepan over low heat or in a microwave. Once melted, set it aside to cool down slightly. This prevents it from scrambling the eggs when added.
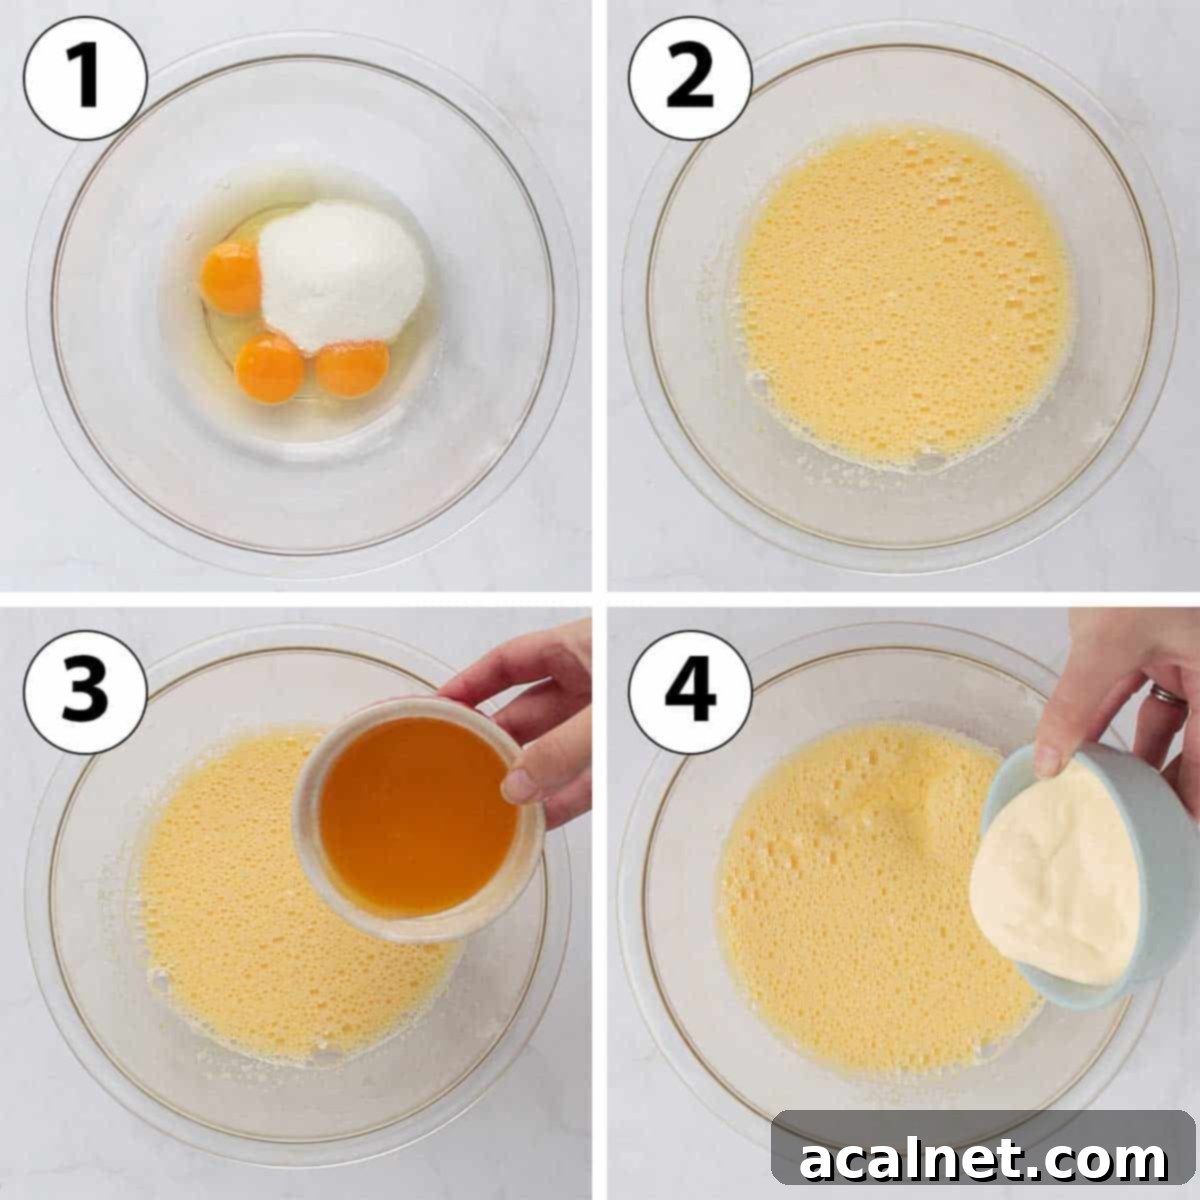
- **Whip Eggs and Sugar (The Key to Fluffiness):** In a large mixing bowl, combine your room temperature eggs and caster sugar. Using an electric hand mixer or stand mixer, whisk on medium to high speed for a good 3 to 5 minutes. You’re looking for a mixture that is very foamy, pale in color, and has significantly increased in volume—almost doubled in size. This step is critical as it incorporates air, which is the secret to a super fluffy loaf cake! (See Photo 1 & 2 in the collage below)
- **Incorporate Wet Ingredients:** Once your egg mixture is light and airy, add the slightly cooled melted butter, followed by the heavy/thickened cream and vanilla extract. Mix these wet ingredients in on a low speed, just until they are combined. Be careful not to overmix here, as you want to preserve all that lovely air you just whisked into the eggs. (See Photo 3, 4, 5 & 6 in the collage below)
(*) For guaranteed easy release, I swear by the grease and flour method. Start by generously spraying the inside of your loaf pan with oil spray (or brush with softened butter), ensuring every crevice is coated. Then, dust it with a tablespoon or two of plain flour, tilting and tapping the pan to distribute the flour evenly, making it stick to the greased surfaces. Finally, flip the pan upside down over your sink and tap it against a hard surface to remove any excess flour. This creates a perfect non-stick coating.
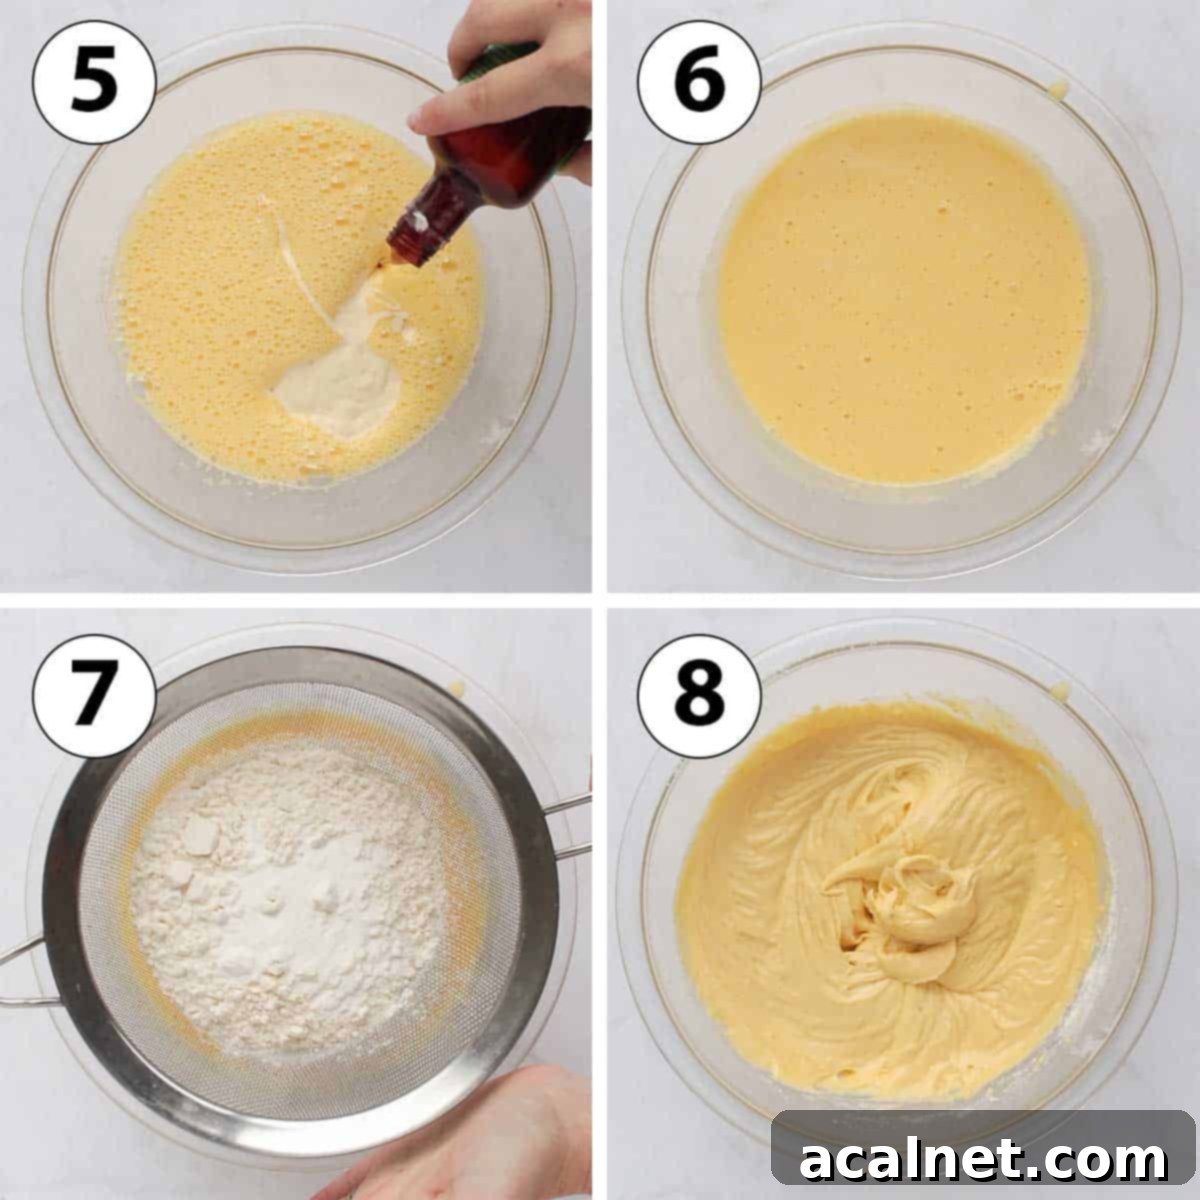
- **Sift in Dry Ingredients:** Now it’s time for the dry components. Using a thin mesh sieve or a sifter, carefully sift the plain flour, baking powder, and salt directly over your wet ingredients in the mixing bowl. Sifting prevents lumps and helps distribute the leavening agents evenly. (See Photo 7 in the collage below)
- **Gently Combine Dry and Wet:** With your mixer set to the absolute lowest speed, mix in the sifted dry ingredients just until they are combined. The key here is to *stop mixing as soon as you no longer see any pockets of dry flour*. Overmixing at this stage can develop the gluten in the flour too much, resulting in a tough, dense cake, which we definitely want to avoid! (See Photo 8 in the collage below)
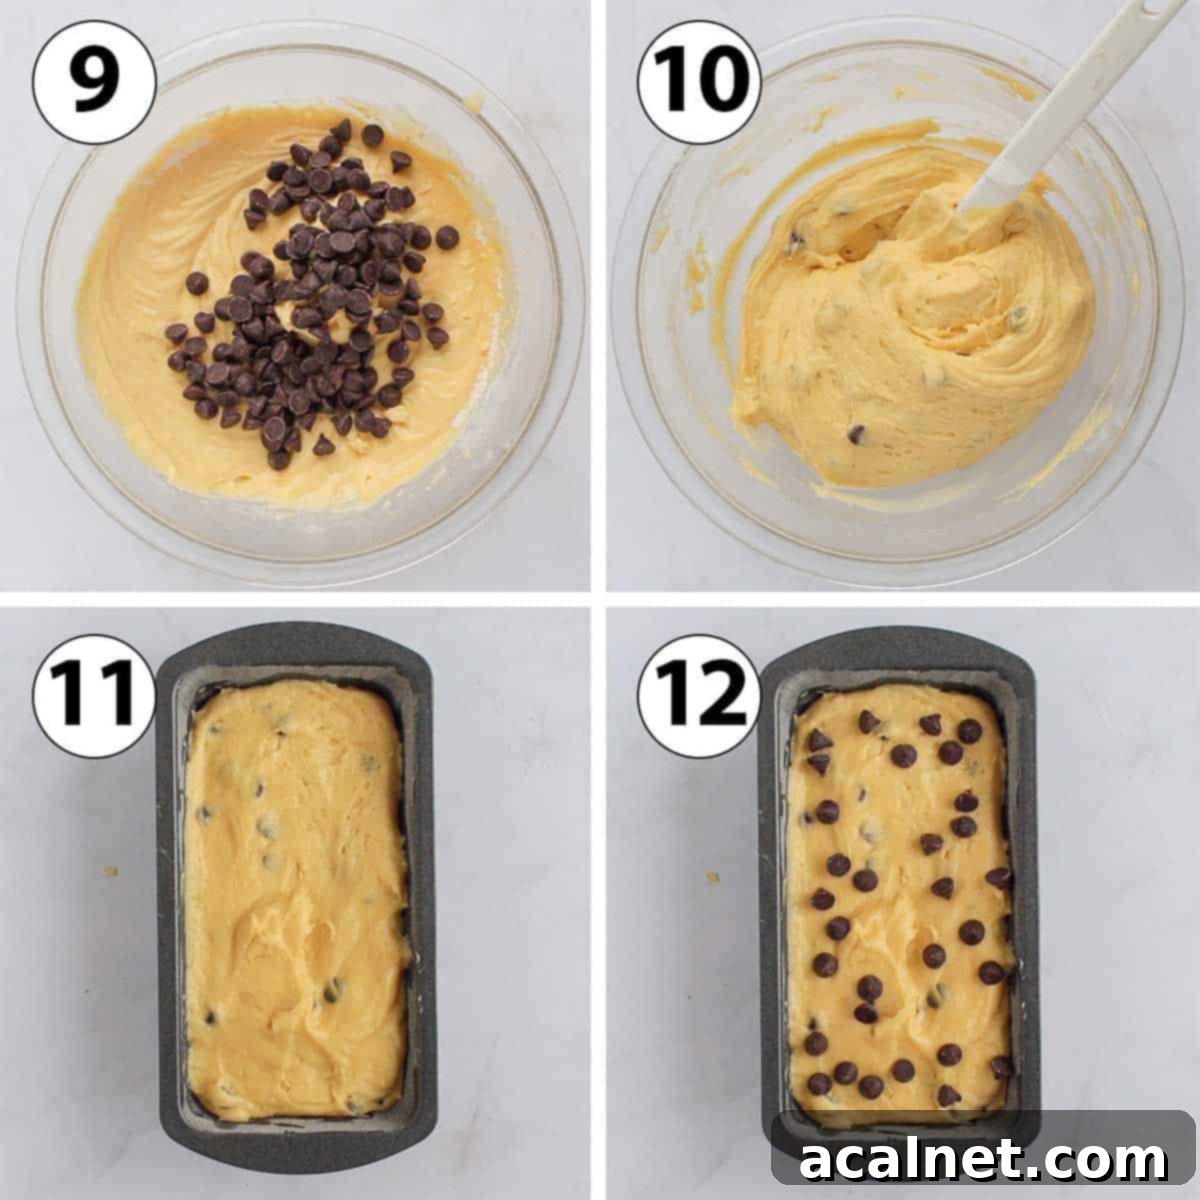
- **Fold in Chocolate Chips:** Add your chosen chocolate chips to the batter. Using a spatula, gently fold them in until they are evenly distributed. This ensures they don’t sink to the bottom of the pan during baking. (See Photo 9 & 10 in the collage below)
- **Fill the Loaf Pan:** Pour the prepared cake batter into your greased and floured loaf pan. If needed, use your spatula or the back of a spoon to gently smooth out the top of the batter, ensuring an even bake. (See Photo 11 in the collage below)
- **(Optional) Extra Chocolatey Topping:** For an extra flourish and beautiful presentation, sprinkle a few more chocolate chips over the top of the batter before baking. These will create lovely little pools of melted chocolate on the surface. (See Photo 12 in the collage below)
- **Bake to Golden Perfection:** Transfer the loaf pan to your preheated oven and bake for 40 to 50 minutes. The cake is ready when a wooden skewer or toothpick inserted into the center comes out clean, with no wet batter attached.
A Quick Baking Note: Baking times can vary considerably based on your individual oven’s calibration and the specific size and depth of your loaf pan. It’s entirely possible your cake might bake more quickly or require a few extra minutes. I highly recommend starting to check for doneness around the 20 to 30-minute mark and continue baking as needed. Keep an eye on the top; if it browns too quickly before the center is cooked, you can loosely tent it with aluminum foil to prevent scorching.
Expert Tips for Your Best Chocolate Chip Loaf Cake Ever
Achieving a perfectly fluffy, moist, and flavorful chocolate chip loaf cake is easy with these insider tips:
- Whip Eggs and Sugar Thoroughly: Do not rush this initial step! Whisking the eggs and sugar for at least 3 to 5 minutes, preferably with an electric mixer, is paramount. This process incorporates a significant amount of air, causing the mixture to lighten in color and nearly double in volume. This aeration is what gives your cake its incredible lift and tender, open crumb. While possible by hand, an electric mixer makes it much easier and more effective.
- Ensure Butter is Cooled: After melting, allow your butter ample time to cool to room temperature. Adding hot butter to the egg mixture can par-cook the eggs, leading to a denser, less appealing texture.
- Mix Wet Ingredients on Low Speed: When incorporating the cooled melted butter, cream, and vanilla extract, use the lowest speed on your mixer. The goal is to combine them without deflating the precious air bubbles you worked so hard to create in the egg-sugar mixture.
- Avoid Overmixing Dry Ingredients: This is a golden rule in baking! Once you’ve added the flour, baking powder, and salt, mix on the lowest speed only until the dry ingredients are just incorporated. As soon as you no longer see streaks of flour, stop mixing. Overmixing develops gluten, leading to a tough, rubbery cake.
- Gently Fold in Chocolate Chips: Instead of using an electric mixer, switch to a spatula for folding in the chocolate chips. This ensures even distribution without overworking the batter, maintaining its light structure.
- Properly Prepare Your Loaf Pan: For a cake that slides out effortlessly, always grease *and* flour your loaf pan, unless you’re lining it completely with baking paper. An oil spray followed by a light dusting of flour (tapping out the excess) creates a perfect non-stick surface. This is particularly important for loaf cakes due to their shape.
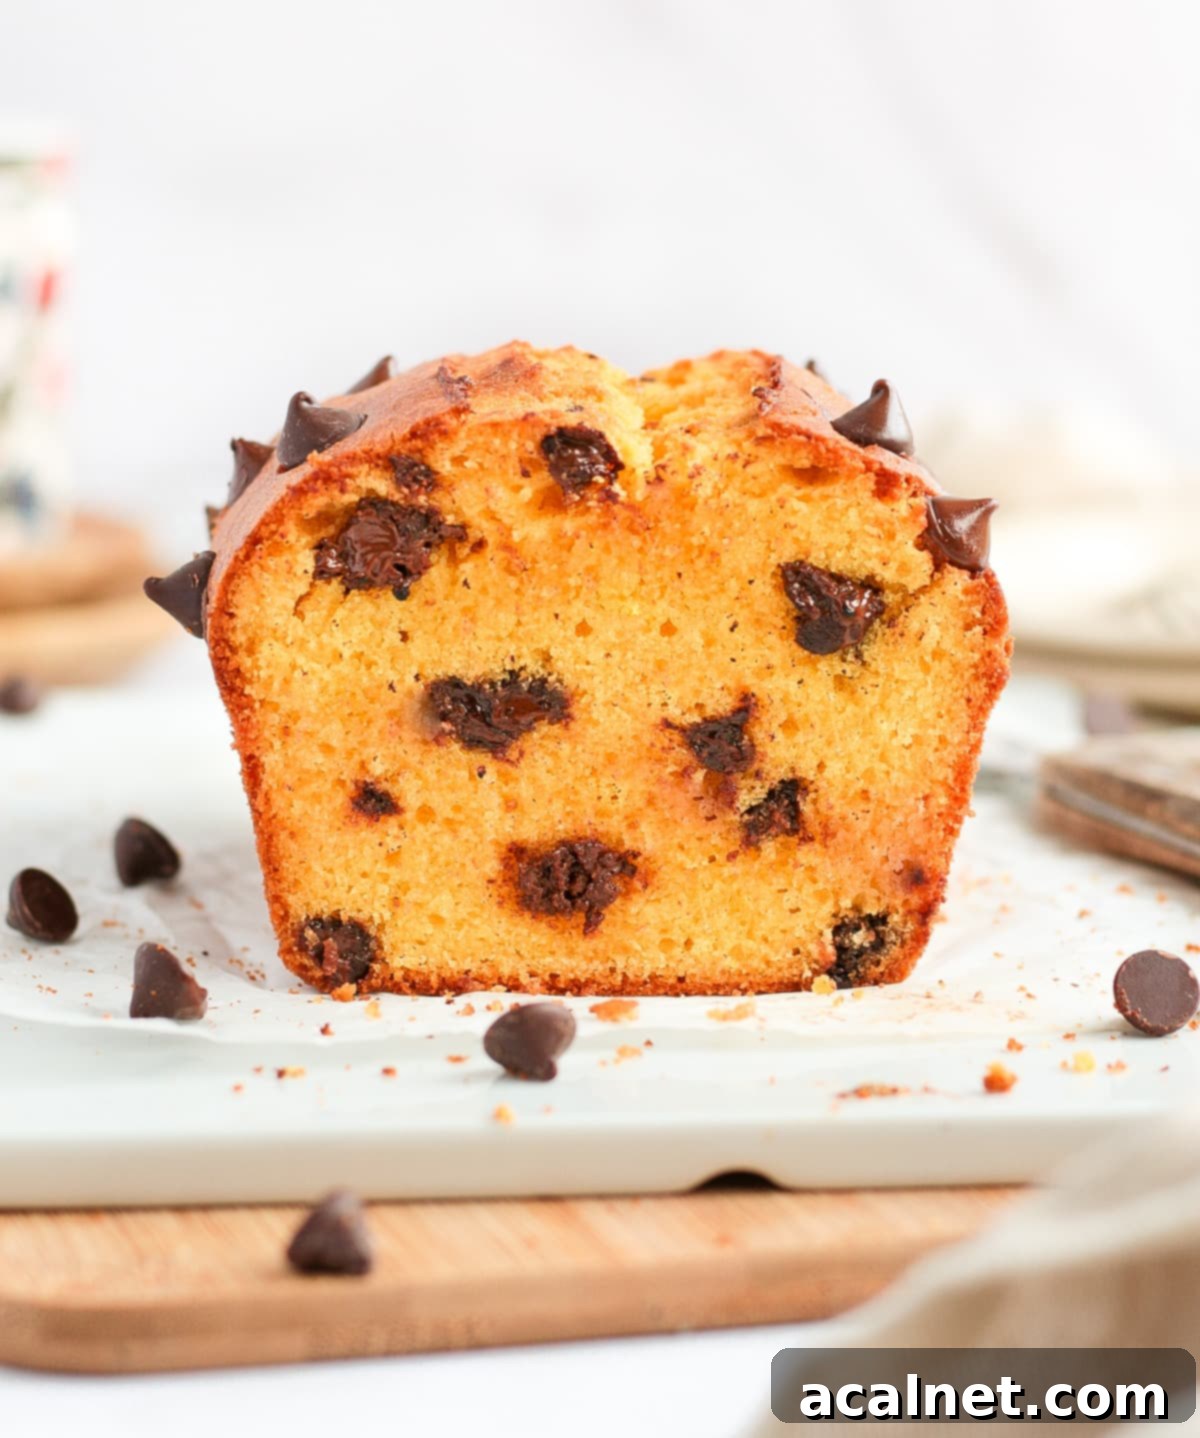
- Achieve the Signature “Crack”: For that beautiful, rustic crack down the middle of your loaf cake, here’s a pro tip: after the cake has baked for about 10 minutes, carefully remove it from the oven and, with a very sharp knife (or even a butter knife), make a shallow slash down the center. Immediately return it to the oven and continue baking as directed. This helps guide the expansion and creates that classic look.
- Monitor Baking Time Closely: Ovens vary! Start checking your cake for doneness around the 20 to 30-minute mark. Use the skewer test – if it comes out clean, your cake is likely done. If the top is browning too quickly, loosely tent it with aluminum foil for the remaining bake time.
- Cool Completely Before Removing: Patience is a virtue here! Allow the Chocolate Chip Loaf Cake to cool completely in the pan before attempting to remove it. If it seems to be sticking, gently run a thin pairing knife around the edges to loosen it, then invert it onto a wire rack. This prevents breakage and ensures the cake maintains its beautiful shape.
Common Questions About This Chocolate Chip Loaf Cake
Absolutely! If you only have self-rising flour on hand, you can certainly use it. Simply replace the plain (all-purpose) flour with the same quantity of self-rising flour. When doing so, remember to omit the separate baking powder and salt listed in the recipe, as these leavening agents are already included in self-rising flour. This will ensure your cake has the correct rise and flavor balance.
To maintain its delightful freshness and moisture, this homemade chocolate chip loaf cake is best stored at room temperature for up to 3 days. Make sure to place it in an airtight container or wrap it tightly with plastic wrap or aluminum foil. This prevents it from drying out and keeps it soft. You can also re-heat individual slices slightly in the microwave or toast them lightly for a warm, comforting treat, especially for breakfast or an afternoon snack!
I strongly advise against storing this cake in the refrigerator, as the cold air tends to quickly dry out baked goods, making them hard and less enjoyable. Room temperature storage is key for optimal texture and flavor.
Yes, this Chocolate Chip Loaf Cake freezes beautifully, allowing you to enjoy a homemade treat whenever a craving strikes! You can freeze it either whole or in individual slices, and it will keep well for up to 2 months. For best results, wrap the cake (or each slice) tightly first in plastic wrap, then in a layer of aluminum foil. If you’re freezing pre-sliced portions, place a small piece of baking paper between each slice to prevent them from sticking together.
To thaw, simply leave it overnight in the refrigerator or for a few hours at room temperature. If you prefer, you can gently re-heat a thawed slice in the oven or microwave for a fresh-baked feel.
The “best” chocolate chips really depend on your personal preference! Dark chocolate chips (around 60-70% cocoa) offer a richer, slightly bitter contrast to the sweet vanilla cake, creating a more sophisticated flavor profile. Milk chocolate chips will result in a sweeter, creamier, and more classic taste, often preferred by children. Semi-sweet chocolate chips are a great all-around choice if you’re looking for a balance between sweet and rich. You can even mix different types for an interesting flavor dynamic!
Craving More? Discover Other Delicious Chocolate Chip Recipes!
If you’ve loved this Chocolate Chip Loaf Cake, you’re in for a treat! Explore these other fantastic recipes that feature everyone’s favorite ingredient:
- One-Bowl Chocolate Chip Banana Bread
- Peanut Butter Blondies with Chocolate Chips
- Classic Chocolate Chip Scones
- Decadent Double Chocolate Zucchini Muffins
- Sugar-Free Chocolate Chip Banana Muffins
- Irresistible Double Chocolate Brownie Muffins
- Sweet Chocolate Chip Brioche Bread
Made this recipe?
We’d absolutely love to hear from you! Please let us know if you enjoyed it by leaving a comment below. Don’t forget to tag us on Instagram @a.baking.journey with a photo of your delightful creation!
Full Recipe: Chocolate Chip Loaf Cake

Chocolate Chip Loaf Cake
Print Recipe
Ingredients
- 120 gr (1/2 cup) Unsalted Butter, melted and cooled
- 3 Eggs, medium size, at room temperature
- 80 gr (1/3 cup) Caster Sugar, or fine white sugar
- 120 ml (1/2 cup) Heavy / Thickened Cream, full-fat
- 1 1/2 teasp. Vanilla Extract
- 200 gr (1 1/3 cup) Plain / All-Purpose Flour
- 7 gr (1 1/2 teasp.) Baking Powder
- 1 pinch Salt
- 100 gr (1/2 cup) Chocolate Chips, dark, milk, or semi-sweet
Instructions
- Preheat your oven to 180°C/350°F. Grease and flour your Loaf Pan (or line with baking paper, leaving an overhang) and set aside.
- Melt the Butter and set aside to cool down slightly.
- In a large mixing bowl, whisk the Eggs and Caster Sugar on medium to high speed for 3 to 5 minutes until very foamy and doubled in size.
- Add the cooled melted Butter, Cream, and Vanilla Extract. Mix on low speed just until combined.
- Sift in the Flour, Baking Powder, and Salt (see note 1). Mix on low speed only until all dry ingredients are just incorporated, being careful not to overmix (see note 2).
- Add the Chocolate Chips and gently fold them in with a spatula until evenly distributed.
- Pour the cake batter into the prepared Loaf Pan and smooth it out with a spatula or the back of a spoon if needed.
- Optional: sprinkle with more Chocolate Chips over the top.
- Bake for 40 to 50 minutes (see note 3), or until a skewer inserted into the center comes out clean. Leave to cool completely in the pan before removing.
- Tip: To achieve a perfect “crack” in the middle, remove the cake from the oven after about 10 minutes and make a shallow slash down the center with a sharp knife. Return it to the oven immediately and continue baking as indicated.
Video
Would you like to save this recipe?
We’ll email this post to you, so you can come back to it later!
Notes
- You can sift the dry ingredients together in a separate bowl first if preferred, or sift it directly into the mixing bowl. Sifting ensures a lump-free batter and helps distribute the leavening evenly.
- It’s crucial to avoid overmixing the batter after adding the dry ingredients. Stop mixing as soon as you can no longer see any flour streaks. Overmixing develops gluten, which can lead to a dense, tough cake.
- Baking times can vary significantly depending on your specific oven and the size/depth of your loaf pan. I recommend checking the cake for doneness around 20 to 30 minutes. If the top starts to brown too quickly while the inside is still raw, you can loosely tent the loaf pan with aluminum foil to prevent burning and allow the inside to catch up.
Nutrition (per serving)
