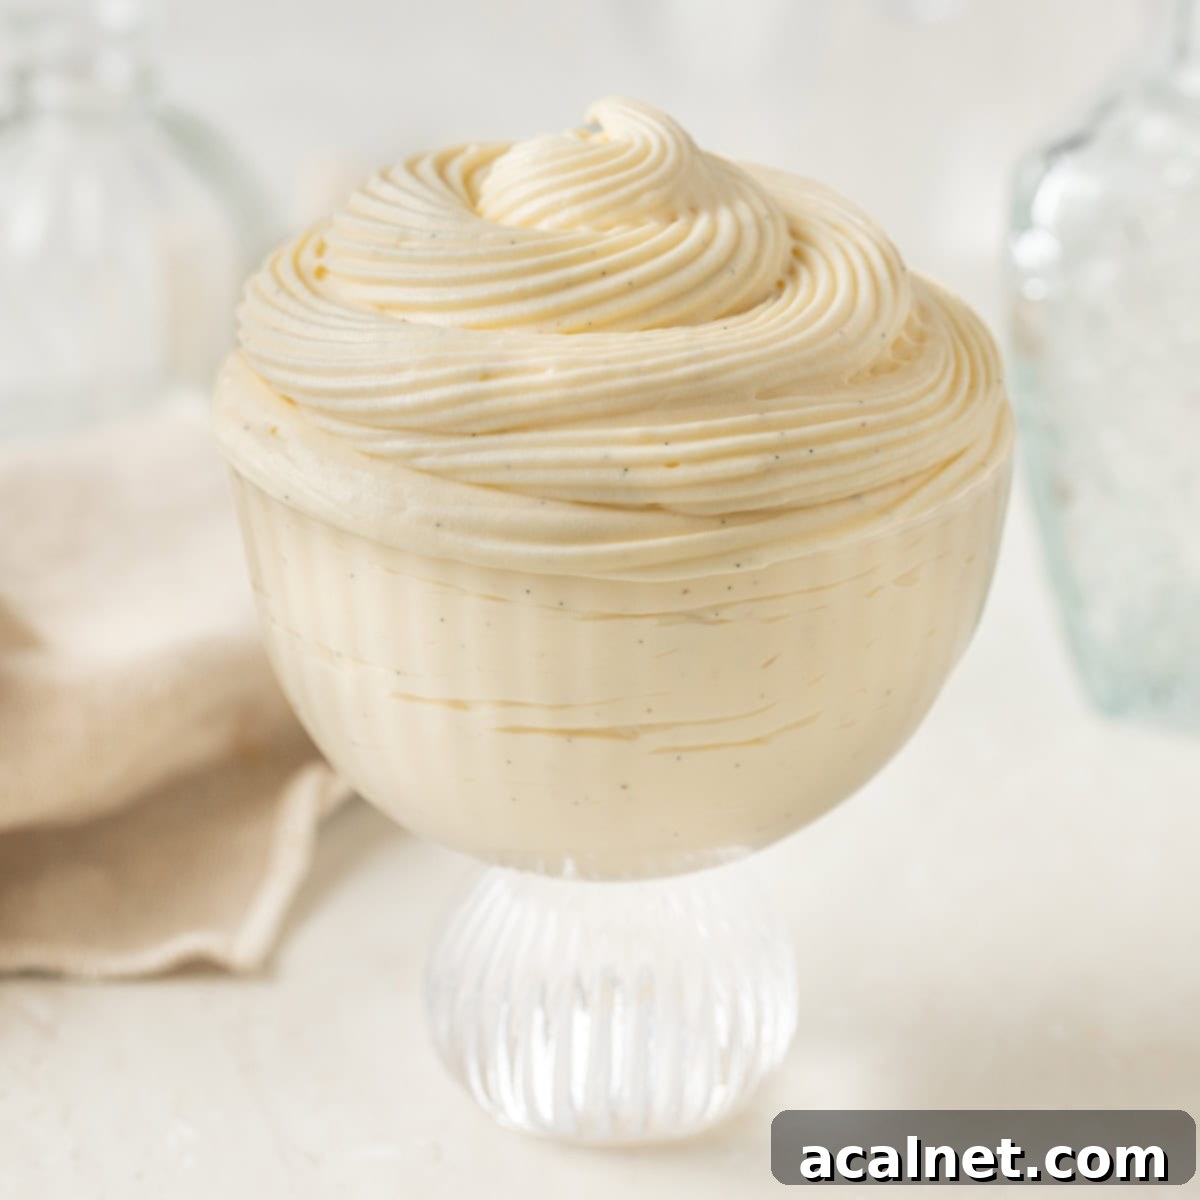
Master the Art of Crème Légère: Your Guide to Light & Airy French Pastry Cream
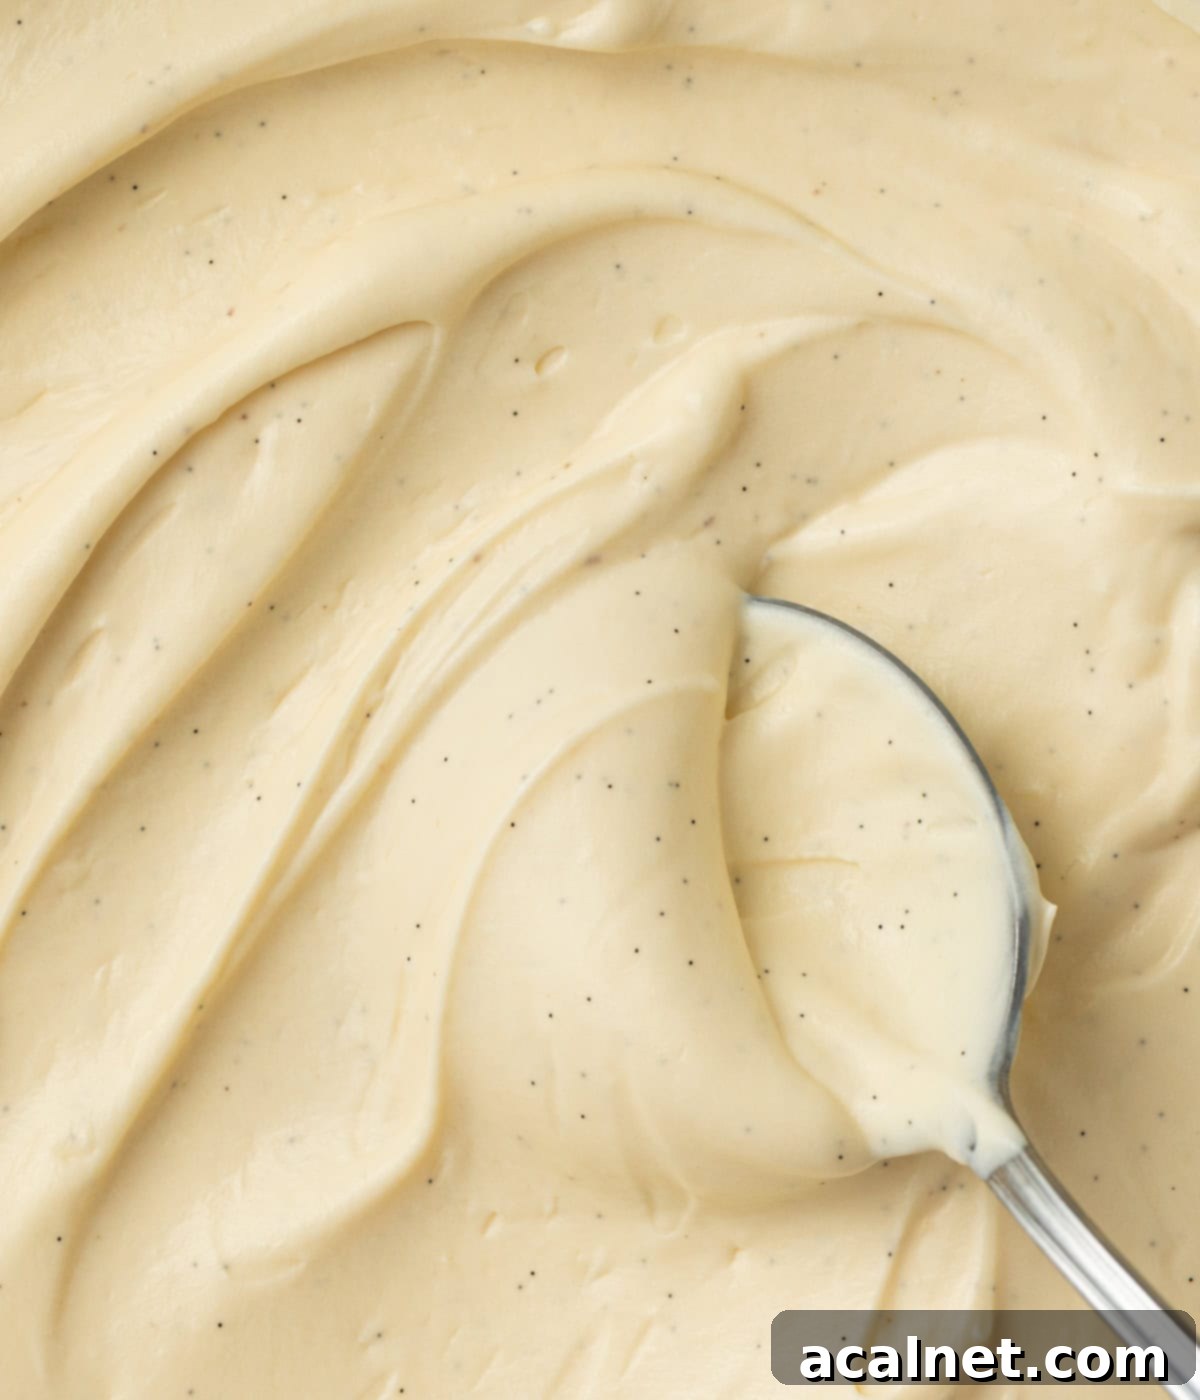
Crème Légère, meaning “light cream” in French, is an exquisite and versatile French preparation that perfectly balances rich flavor with a remarkably delicate texture. It’s an indispensable component in classic French patisserie, serving as a delightful filling for an array of desserts, from elegant tarts and airy choux pastries to sophisticated cakes and various other sweet treats. This delicious cream is essentially a harmonious blend of traditional Crème Pâtissière (pastry cream) and freshly whipped cream, offering the comforting, deep flavor of vanilla custard but with a significantly lighter, more ethereal consistency that truly lives up to its name. Its airy nature makes it a favorite for those seeking a less dense yet equally indulgent dessert experience.
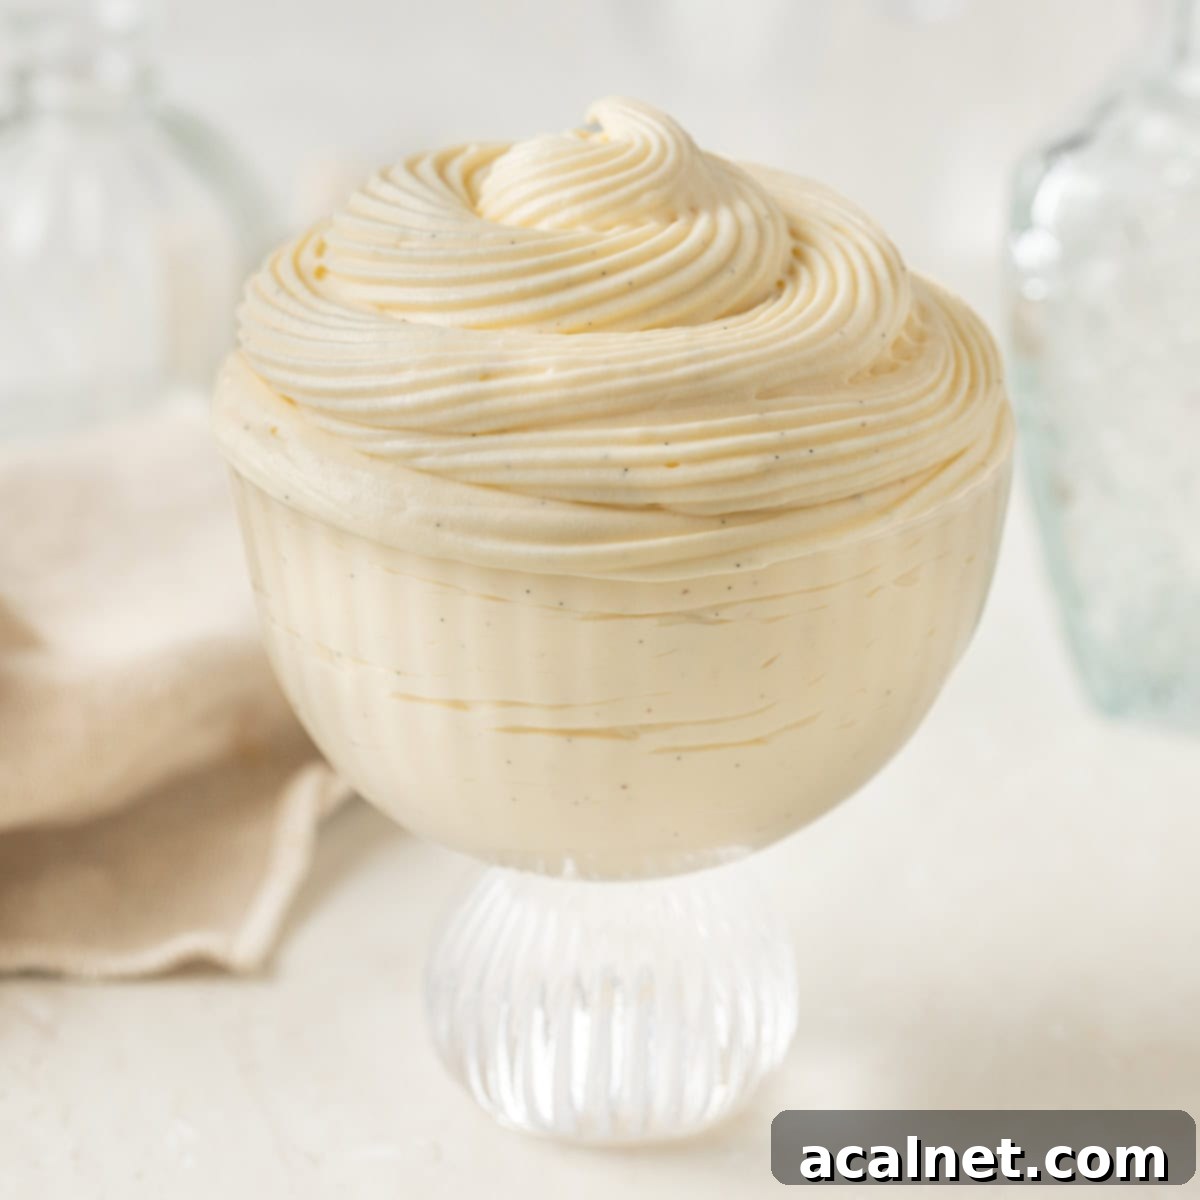
What is Crème Légère? The Essence of Light French Cream
Crème Légère, literally translating to “light cream” from French, represents a delightful fusion in the world of pastry. It stands as a refined hybrid, created by carefully folding whipped cream into a well-chilled Crème Pâtissière (classic pastry cream). Unlike Crème Diplomate (Diplomat Cream), which often incorporates gelatin for enhanced stability, Crème Légère relies solely on the structure of the pastry cream and the aeration of whipped cream, resulting in a distinctively lighter and fluffier texture. This makes it less rigid than Diplomat Cream but far more ethereal and airy than a standalone pastry cream.
Its charm lies in this delicate balance. While it boasts the rich, creamy essence of a vanilla custard base, the addition of whipped cream transforms it into a cloud-like confection. Traditionally, Crème Légère is celebrated for its vanilla flavor, derived from high-quality vanilla beans or paste. However, its versatility allows for endless customization with other ingredients like rich chocolate, aromatic coffee, or vibrant fruit purees. In the sophisticated realm of classic French patisserie, you might also hear Crème Légère referred to as “Crème Princesse” or “Crème Madame,” endearing titles that underscore its regal and elegant nature.
Essential Ingredients for Crème Légère
Crafting the perfect Crème Légère begins with a selection of high-quality ingredients. Each component plays a vital role in achieving that signature creamy texture and rich flavor. Here’s a closer look at what you’ll need:
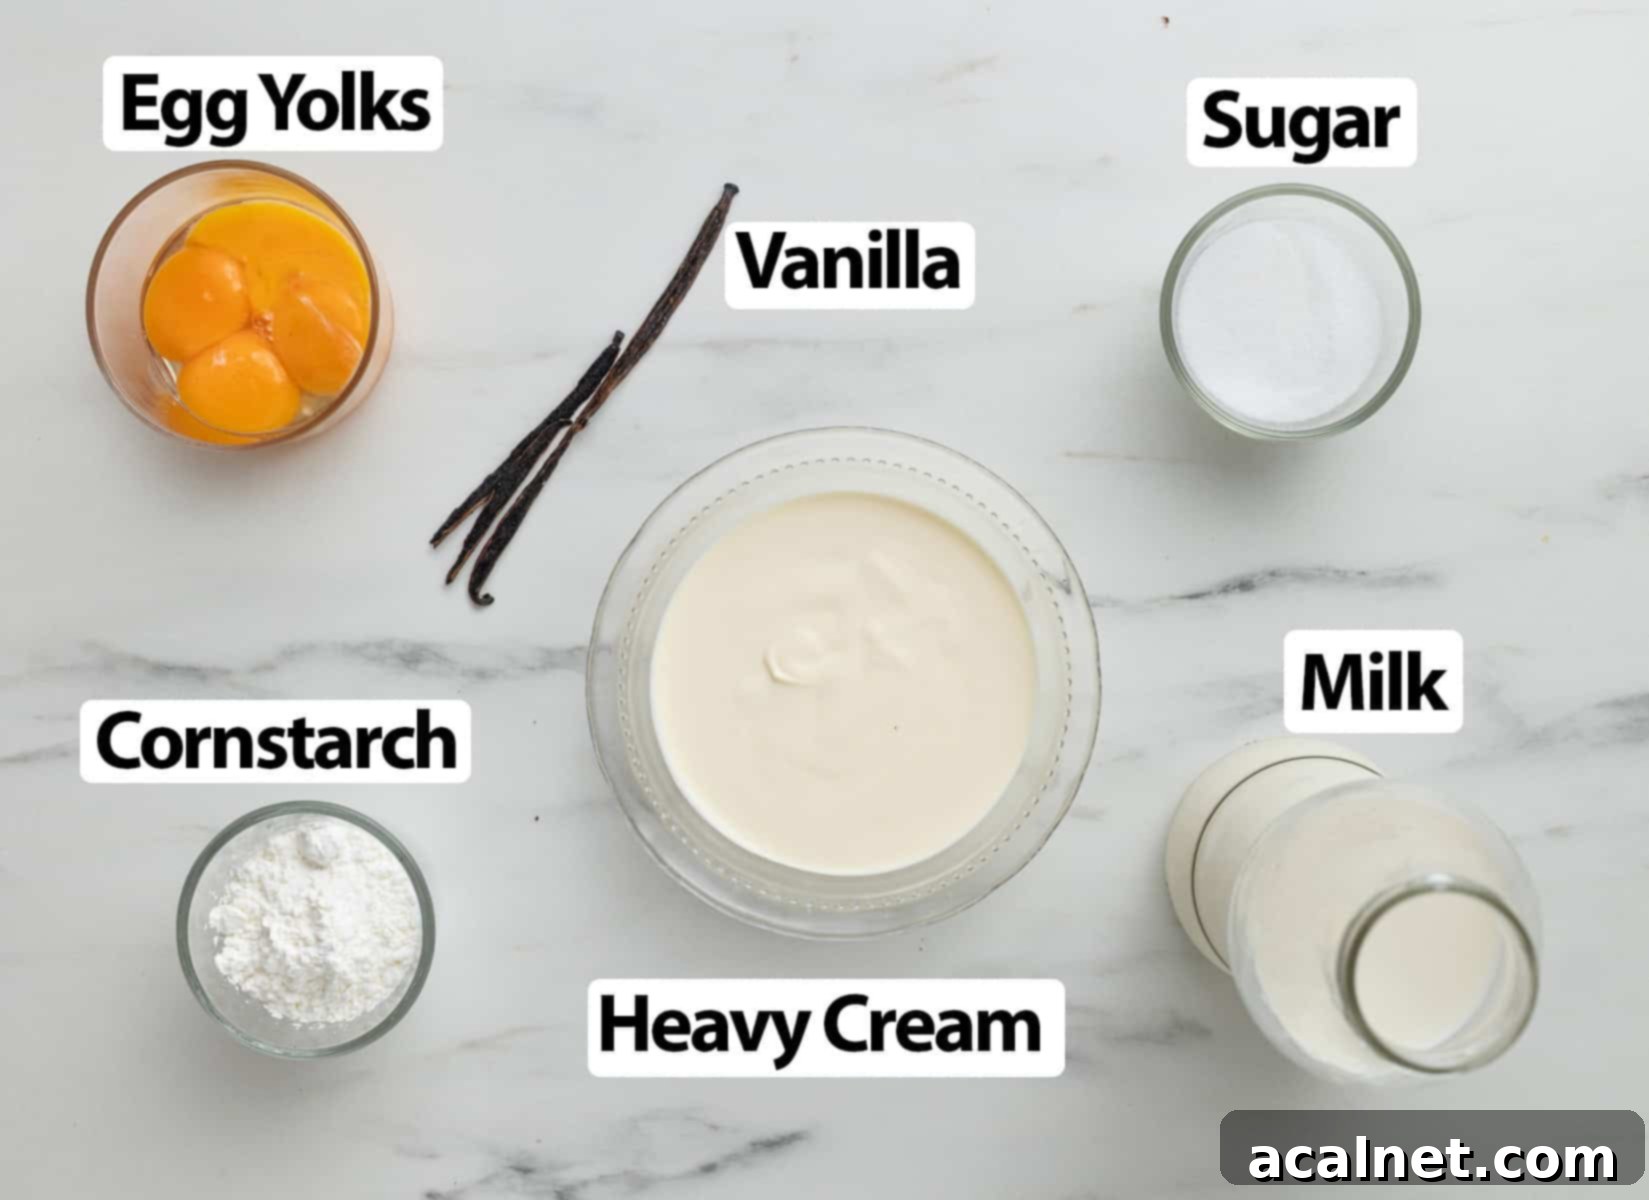
Scroll down to the recipe card below for all precise quantities
Ingredient Notes for the Best Crème Légère:
- Milk: For the most superior flavor and a luxuriously creamy texture in your pastry cream base, always opt for full cream or whole milk with a fat content of 3% to 4%. Skim or fat-reduced milk is not recommended as it will compromise the richness and mouthfeel. Interestingly, for a dairy-free alternative, this recipe has been successfully made using soy milk, proving its adaptability.
- Vanilla: Nothing compares to the unparalleled depth of flavor from a fresh vanilla bean. If budget or availability is a concern, a high-quality vanilla paste is an excellent second choice, offering concentrated flavor and those beautiful speckled vanilla seeds. While vanilla extract can be used, be aware that your finished cream may lack the vibrant and complex vanilla notes characteristic of its fresh counterparts.
- Egg Yolks: These are the backbone of your custard, providing richness, color, and thickening power. Always use large eggs and ensure the yolks are at room temperature. This helps them emulsify more smoothly with the sugar and prevents lumps.
- Cornstarch: This acts as the primary thickening agent for the pastry cream. While plain (all-purpose) flour can be substituted, cornstarch is preferred for its ability to create a lighter, silkier, and more translucent consistency in the finished custard, which perfectly complements the “light” nature of Crème Légère.
- Cream: For whipping, you need thickened or heavy cream with a minimum fat content of 30% to 35%. Cream with a lower fat percentage will struggle to whip properly, resulting in a weak, unstable foam that will deflate quickly and fail to contribute the desired airiness to your Crème Légère.
Optional Butter: A small amount of soft, unsalted butter can be incorporated into the pastry cream after it has finished cooking. This addition imparts an extra layer of richness and can help the cream set a bit firmer once chilled. While it enhances the luxuriousness of the pastry cream, I personally find it unnecessary for Crème Légère, as the goal is a lighter, less dense finish.
Exciting Crème Légère Flavor Variations
While classic vanilla Crème Légère is undeniably delicious, its base is incredibly adaptable, allowing you to explore a spectrum of flavors. Here are some inspiring ideas to customize your light pastry cream:
- Chocolate Crème Légère: Transform your cream into a cocoa dream by using a rich Chocolate Pastry Cream as your base instead of the vanilla version. The deep chocolate flavor pairs wonderfully with the light, airy texture.
- Fruity Crème Légère: Introduce a burst of freshness by substituting some (or all) of the milk with a vibrant fruit juice or puree. Think raspberry, passion fruit, lemon, or mango for a truly tropical or tangy twist. Ensure the puree is smooth and well-strained.
- Aromatic Infusions: Infuse the milk with fragrant elements like strong brewed coffee, various types of tea (Earl Grey, chai, jasmine), or even warm spices like cinnamon sticks or star anise for a sophisticated and inviting aroma.
- Nutty Crème Légère: For a delightful nutty profile, use a Pistachio Pastry Cream as the foundation. You could also infuse the milk with toasted almond or hazelnut for a subtle, comforting flavor.
How to Make Crème Légère: Step-by-Step Guide
Creating Crème Légère involves two main stages: preparing the pastry cream and then gently folding in whipped cream. Follow these detailed steps for a perfectly smooth, light, and delicious result.
- Prepare the Vanilla Milk Infusion: Begin by pouring the milk into a medium-sized saucepan. If you’re using a fresh vanilla bean (highly recommended for the best flavor), carefully slice it in half lengthwise and use the back of a knife to scrape out the tiny, fragrant seeds. Add both the seeds and the scraped vanilla pod to the milk. Place the saucepan over medium-low heat and gently bring the milk to a simmer. Once you see small bubbles forming around the edges, remove the pan from the heat, cover it with a lid, and let it infuse for at least 20 minutes. This step is crucial for extracting maximum vanilla flavor. If you’re using vanilla paste or extract, you can skip this infusion step and simply warm the milk without the vanilla, adding the paste/extract later.
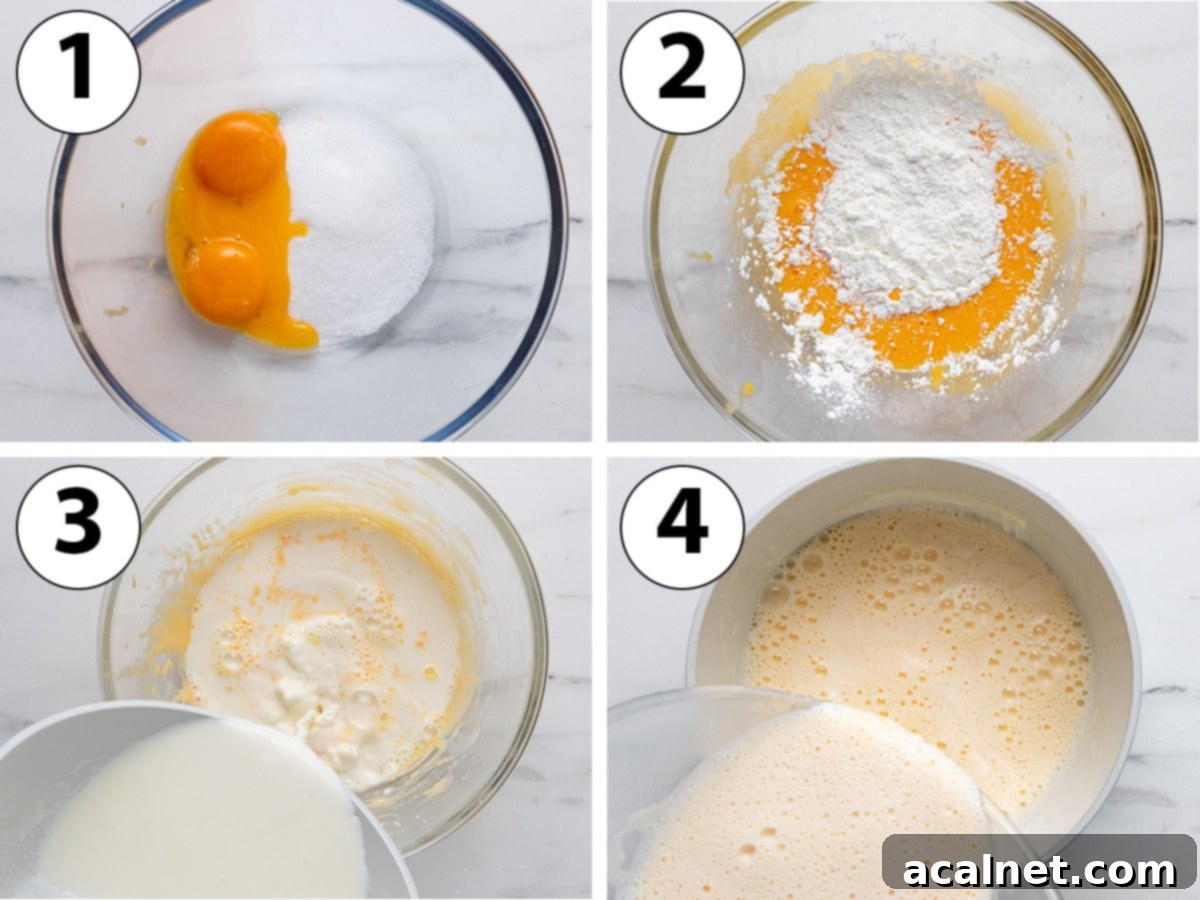
- Photo 1 & 2: Prepare the Egg and Sugar Mixture: While the milk is infusing, in a large heatproof bowl, thoroughly whisk together the room temperature egg yolks and granulated sugar until the mixture is smooth and light in color. Then, add the cornstarch and continue to whisk until no lumps are visible and the mixture is thick and homogenous. This creates a stable base for your custard.
- Temper the Eggs: If you infused your milk, remove the vanilla pod and bring the milk back to a gentle simmer. This ensures it’s warm enough for tempering.
- Photo 3: Combine the Mixtures: Slowly and gradually pour about one-third of the warm milk into the egg yolk mixture while continuously whisking vigorously. This process, known as “tempering,” gently raises the temperature of the egg yolks, preventing them from scrambling when exposed to the remaining hot milk. Once combined, pour the entire tempered mixture back into the saucepan with the remaining warm milk.
- Photo 4: Cook the Pastry Cream: Return the saucepan to low heat.
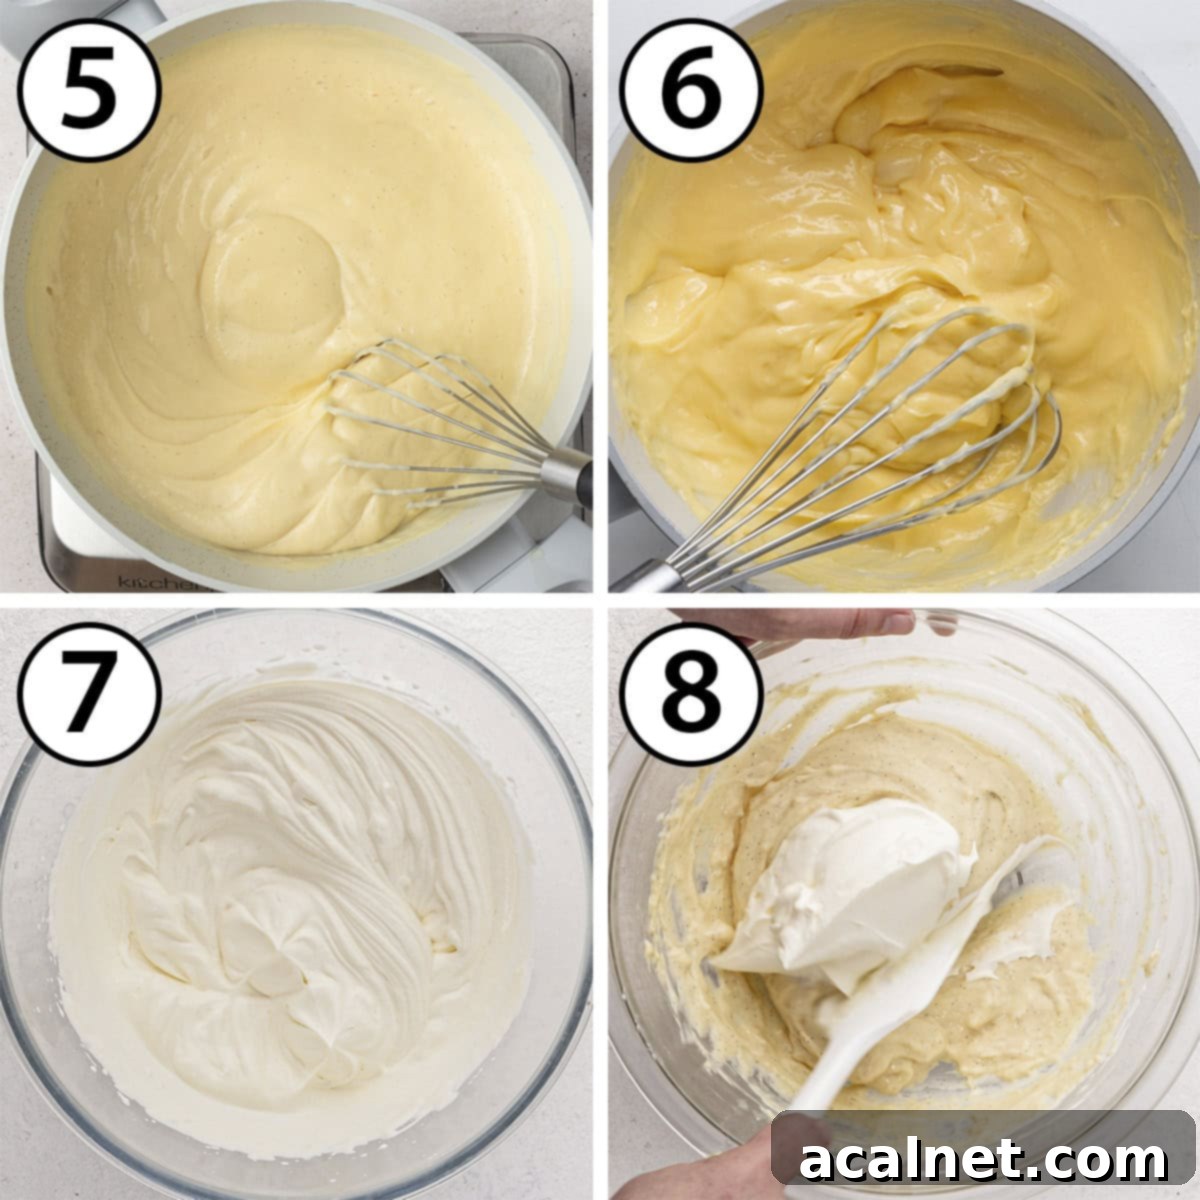
- Photo 5 & 6: Cook to Perfection: Continue to cook the mixture over low heat, constantly whisking, for approximately 5 minutes. The custard will visibly thicken. It’s crucial to whisk continuously to prevent it from sticking to the bottom of the pan and forming lumps. For the most accurate result, use a kitchen thermometer and cook the pastry cream until it reaches a temperature between 82°C and 84°C (180°F to 183°F). Cooking beyond this temperature risks overcooking the egg yolks, which can lead to a grainy or curdled texture. Avoid boiling at all costs. For larger batches, a slightly higher heat (up to medium) can be used, but vigilance is key.
- Chill the Pastry Cream: Immediately transfer your cooked pastry cream into a large, clean bowl or a shallow pan. A shallow pan will help it cool down more rapidly. Cover the surface of the cream directly with plastic wrap, pressing it down firmly to prevent a “skin” from forming. Place it in the fridge to chill and set completely for at least 2 to 3 hours, or ideally, overnight. Proper chilling is essential for the cream to stabilize before the next step.
- Photo 7: Whip the Heavy Cream: Once your pastry cream is thoroughly chilled, pour the very cold heavy cream into a large bowl (if using a hand mixer) or the bowl of your stand mixer fitted with the whisk attachment. Begin whipping the cream on medium speed, gradually increasing the speed to medium-high. Continue whipping until you achieve stiff peaks. To prevent over-whipping, slow down the mixer once the cream reaches medium peaks, allowing you more control as it approaches the desired stiff consistency. Over-whipped cream can become grainy.
- Lighten and Fold: Take the chilled pastry cream out of the fridge. If it was chilling in a shallow pan, transfer it to a larger bowl. Using a whisk, beat the pastry cream lightly for a minute or two to loosen it and smooth out any stiffness from chilling.
- Photo 8: Combine for Crème Légère: Add about one-quarter of the whipped cream to the loosened pastry cream and gently whisk it in until fully incorporated. This step helps to lighten the pastry cream, making it easier to fold in the rest of the whipped cream without deflating it. Switch to a spatula and carefully add the remaining whipped cream in two or three additions, gently folding it into the custard. Use a delicate motion, cutting through the center and folding it over, to preserve as much air as possible.
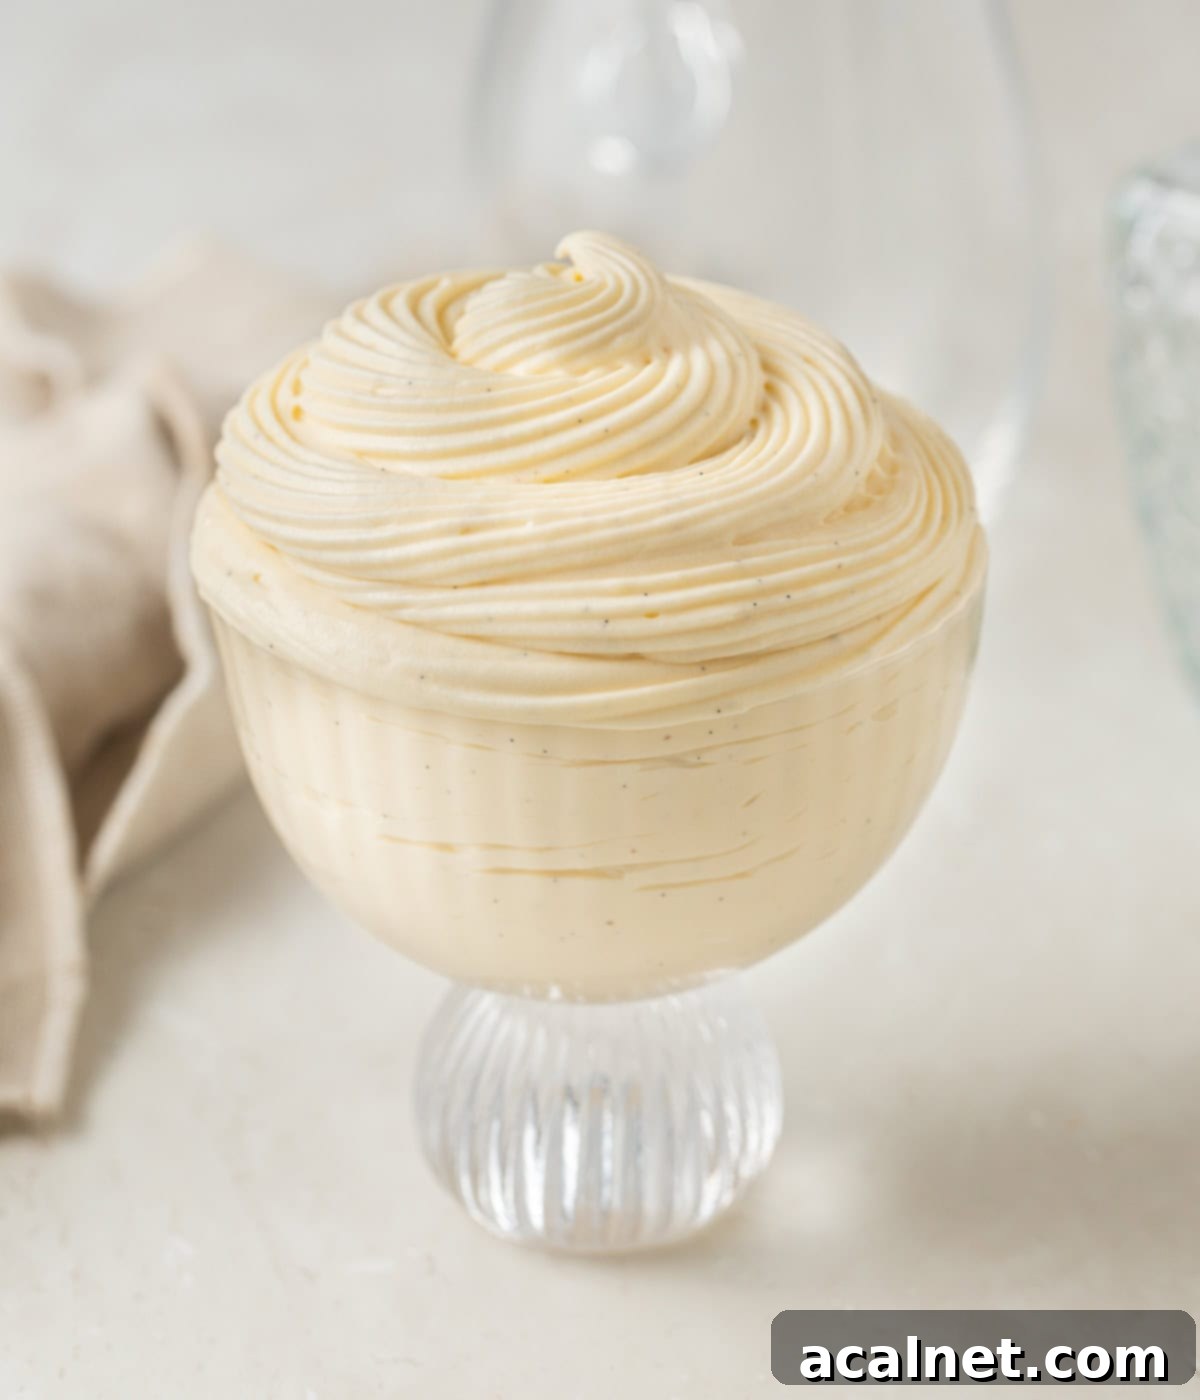
- Serve or Store: Once the whipped cream is completely incorporated and you have a light, airy, and fluffy mixture, your Crème Légère is ready. If not using immediately, store it in the fridge with plastic wrap pressed directly onto its surface to prevent a skin from forming. It will remain fresh for up to 3 days.
Crème Légère Recipe FAQs
The primary distinction between Crème Légère and Crème Diplomate lies in the use of a stabilizing agent. Crème Diplomate typically incorporates gelatin, which gives it greater stability and a firmer, more defined shape. This makes Diplomat Cream ideal for desserts requiring a robust filling that holds its form, such as complex layered cakes or delicate decorations. Crème Légère, on the other hand, does not use gelatin, resulting in a significantly lighter, softer, and more ethereal texture. While it’s wonderfully airy, it’s less stable and won’t hold sharp peaks like a Diplomat Cream would.
Crème Légère and Bavarian Cream share a similar light texture due to both being made with a custard base and whipped cream. However, there are two key differences. Firstly, Bavarian Cream uses a Crème Anglaise (a pourable custard thickened only with egg yolks, without starch or flour) as its base, whereas Crème Légère uses Crème Pâtissière (a thicker custard incorporating egg yolks and starch). Secondly, Bavarian Cream always includes gelatin as a thickener and stabilizer, giving it a firmer, moldable consistency, especially when chilled. Crème Légère, as mentioned, omits the gelatin for a looser, airier finish.
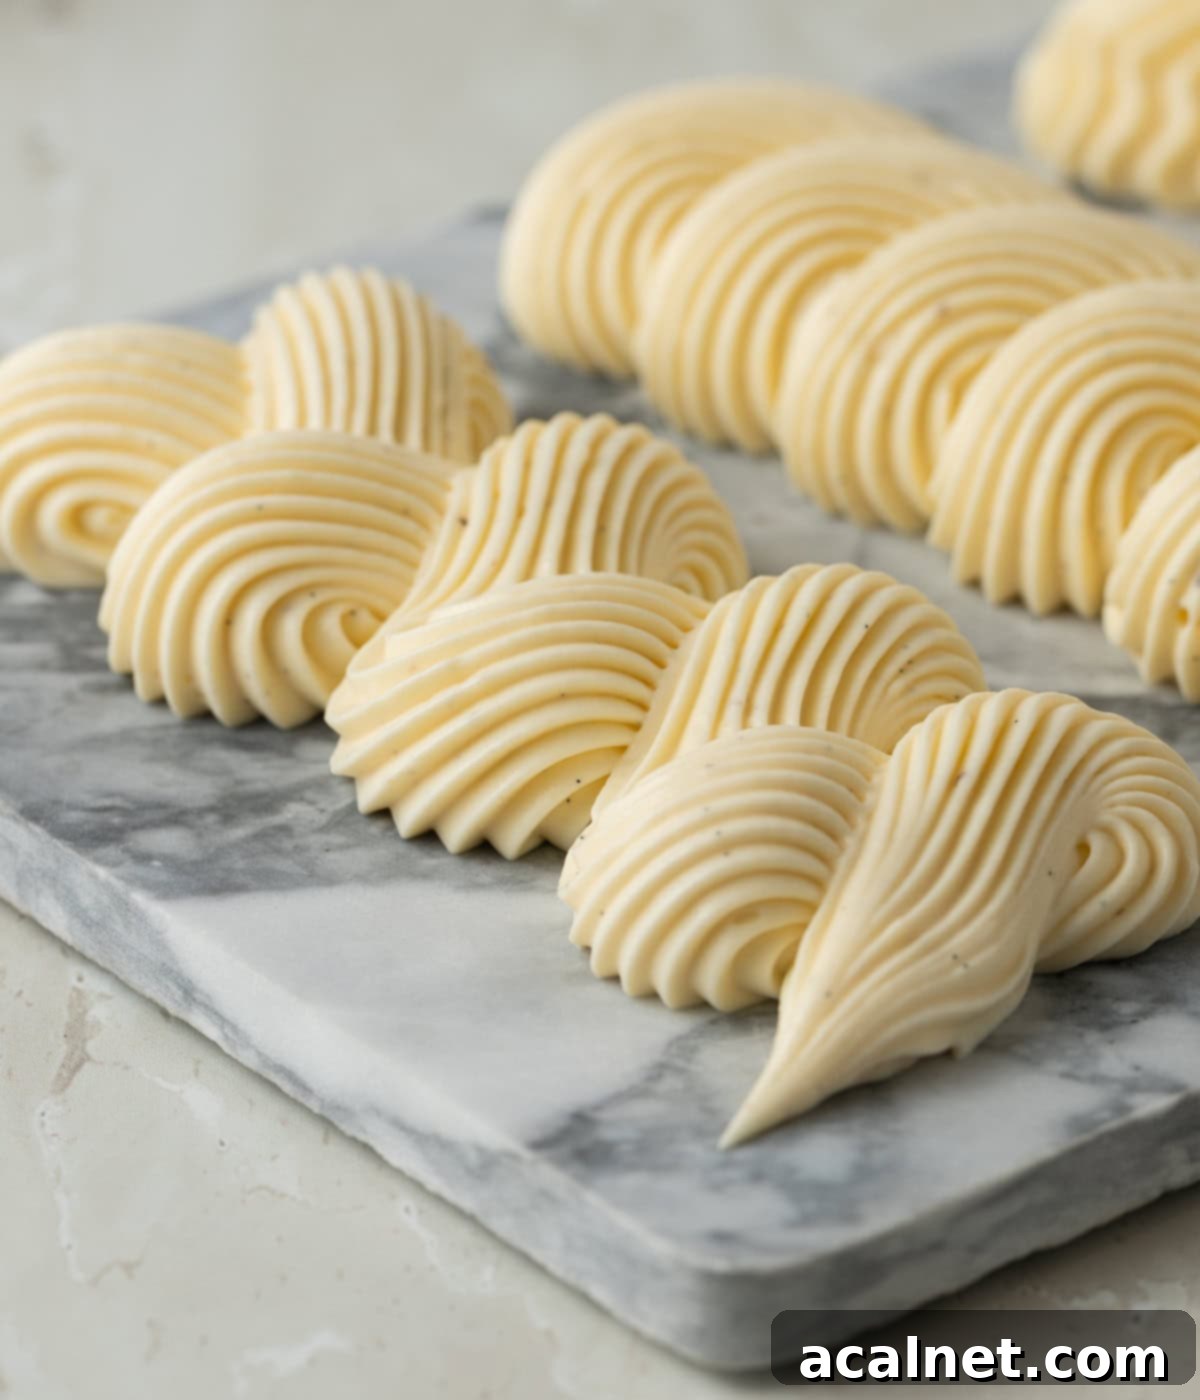
Crème Légère excels as a filling for a wide variety of desserts, including cakes, entremets, tarts, and pastries. Its lightened texture makes it a wonderful contrast to richer components. However, because it’s less stable than creams fortified with gelatin or butter (like buttercream), it’s generally not recommended for use as a primary frosting, particularly for cakes that require structural support or intricate piping. Its softer, more delicate consistency means it won’t hold a lot of weight or maintain sharp decorative shapes over time, but it’s perfect for a soft, pillowy layer inside.
The ratio of pastry cream to whipped cream significantly impacts the final texture and flavor intensity of your Crème Légère. For this recipe, we’ve used a balanced 2:1 ratio of milk (in the pastry cream) to heavy cream (for whipping). This yields a beautifully balanced cream that is rich in flavor yet wonderfully light. You have the flexibility to adjust this ratio based on your desired outcome: increasing the whipped cream percentage will make it even lighter and airier, while decreasing it will result in a creamier, more custard-like consistency. However, going beyond a 1:1 ratio (equal parts pastry cream and whipped cream) can sometimes dilute the pastry cream’s flavor too much, so it’s a good guideline to consider.
Tips & Troubleshooting for Perfect Crème Légère
Even experienced bakers can encounter challenges. Here are some common issues and how to troubleshoot them to ensure your Crème Légère is always perfect:
- The cream is lumpy or grainy: This usually points to the crème pâtissière base being cooked beyond its optimal temperature range (82°C to 84°C). When egg yolks overcook, they coagulate and “scramble,” leading to a lumpy or grainy texture. To prevent this, always cook your pastry cream slowly over low heat and use a reliable kitchen thermometer. Continuously whisking while on the stove is also crucial; it distributes heat evenly and prevents the mixture from sticking and burning at the bottom of the pan.
- The pastry cream is not setting or is too runny: This is a clear indication that the pastry cream was undercooked. Cornstarch, which is responsible for thickening the custard, only begins to gelatinize and stabilize the cream at temperatures around 60°C to 70°C. If you remove the cream from the heat too early, the starch won’t have fully activated, resulting in a runny consistency. Ensure you cook it to the correct temperature range. Additionally, ensure adequate chilling time; the cream needs at least 2-3 hours (preferably overnight) in the fridge to fully set and firm up before incorporating the whipped cream.
- I over-whipped the heavy cream: If your whipped cream has become slightly grainy but hasn’t fully split (where the fat and water separate), you might be able to salvage it. Try pouring a small amount of very cold, un-whipped heavy cream into the grainy whipped cream and gently fold it in. This can sometimes smooth out the texture. However, if the cream has completely split and looks curdled, it’s unfortunately very difficult to save, and it’s best to start over with fresh cream.
- Preventing a Skin on Pastry Cream: To ensure a perfectly smooth surface, always cover your freshly cooked pastry cream with plastic wrap directly touching its entire surface. This seals out air and prevents a thick, rubbery skin from forming as it cools.
How to Use Crème Légère: Versatile Dessert Applications
The delicate and airy nature of Crème Légère makes it an incredibly versatile filling that enhances a wide range of desserts. Here are some of its most popular applications:
- As a delightful filling for classic French tarts, such as my refreshing Strawberry Custard Tart or charming Mini Fruit Tarts.
- Inside delicate choux pastries, including fluffy Choux à la Crème, crispy Choux au Craquelin (crispy cream puffs), or elegant Éclairs.
- To construct magnificent layered pastries like the iconic Mille-Feuille (Napoleon).
- As a luscious filling for various layered cakes, often paired with fresh fruit, or within sophisticated French Entremets.
- Layered into individual dessert cups with fresh berries, cookie crumbles, or other complementary textures for a simple yet elegant treat.
- Used to fill sweet crepes or as a topping for fruit tarts, adding a light and creamy contrast.
Storing & Freezing Crème Légère
Proper storage is essential to maintain the quality and freshness of your Crème Légère:
- Crème Légère will keep well in the fridge for up to 3 days. It must be stored in an airtight container or bowl, with plastic wrap pressed directly onto its surface. This contact covering is crucial to prevent the cream from oxidizing and developing a dry, crusty layer on top.
- I do not recommend freezing Crème Légère. Due to its high water content and delicate emulsion, freezing and thawing will cause the cream to separate and become watery, irrevocably altering its smooth, airy texture. It is always best enjoyed fresh.
Explore More French Creams
If you love Crème Légère, you’ll enjoy discovering other exquisite French creams that form the foundation of countless classic desserts:
- Chantilly Cream: The epitome of simple elegance – sweetened whipped cream.
- Mascarpone Whipped Cream: A richer, more stable whipped cream with Italian flair.
- Chocolate Crémeux: An intensely rich and smooth chocolate cream.
- Namelaka: A silky, melt-in-your-mouth chocolate cream with a unique texture.
- Mousseline Cream: A rich buttercream-like cream, often used for Gâteau Fraisier.
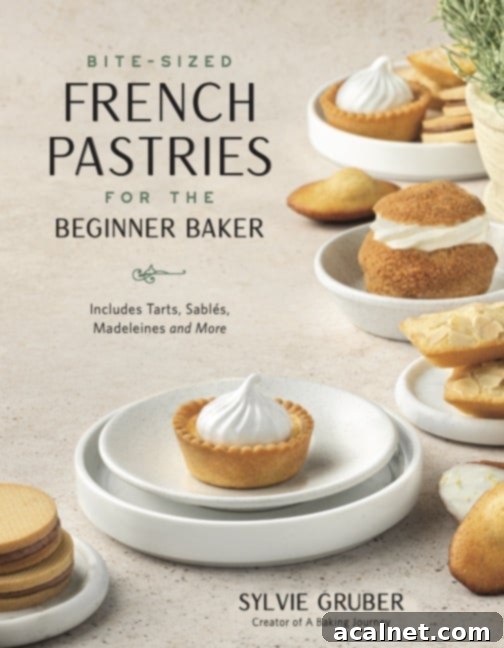
I am so excited to share that my debut cookbook
“Bite-Sized French Pastries for the Beginner Baker”
is now available for purchase!
Recipe
Crème Légère (Light Pastry Cream)
Print Recipe
Ingredients
- 500 ml Full Cream / Whole Milk
- 1 Vanilla Bean Pod, or 2 teaspoon vanilla paste
- 4 large Egg Yolks, at room temperature
- 60 gr Caster Sugar
- 40 gr Cornstarch
- 250 ml Thickened / Heavy Cream, 35% fat content
Instructions
- Place the Milk in a medium-size saucepan. If using a vanilla bean, slice it in half lengthwise, scrape the beans inside the vanilla pod and add them to the milk along with the remaining pod.
- Turn on medium low heat and bring to a simmer. Once it starts to simmer, turn off the heat, cover with a lid and leave to infuse for at least 20 minutes. If using vanilla paste or extract, you do not need to infuse the milk first.
- In the meantime, whisk the egg yolks and sugar in a large heatproof bowl until smooth. Add the cornstarch and whisk until no lumps remain. You should get a thick mixture.
- Slowly pour the warm milk (see note 1) over the egg mixture while you continuously stir to “temper” the eggs (see note 2). Whisk well until fully combined then pour the whole mixture back into the saucepan.
- Place the saucepan over low heat and cook for about 5 minutes or until the custard has thickened and reached 82℃ / 180℉. Make sure the cream does not start boiling and to continuously whisk while the cream is cooking so that it does not stick to the bottom of the pan.
- Transfer into a large clean bowl or shallow pan (to cool it down more quickly). Cover with plastic wrap touching the surface of the cream. Refrigerate for at least 2 to 3 hours, preferably overnight.
- Pour the cold heavy cream in a large bowl (if using a hand mixer) or the bowl of your stand mixer fitted with the whisk attachment. Start whipping the cream on medium speed, slowly increasing to medium-high spread until you reach stiff peaks (see note 3).
- Take the chilled pastry cream out of the fridge. If chilled in a shallow pan, transfer into a large bowl. Using a whisk, beat it lightly to loosen it.
- Add about 1/4 of the whipped cream to the pastry cream and gently whisk until fully incorporated. Switch to a spatula and add the remaining whipped cream in two or three times, gently folding it into the custard until it has been completely incorporated and you get a light, fluffy mixture.
- If not using straight away, keep stored in the fridge (with plastic wrap touching the surface of the cream) until ready to use. It will last for up to 3 days.
Video
Would you like to save this recipe?
We’ll email this post to you, so you can come back to it later!
Notes
- If you have been infusing the milk with vanilla, remove the pod and bring back to a simmer before adding to the egg mixture.
- “Tempering” is a way to slowly and gently increase the temperature of the egg yolks. This allows to avoid a temperature shock that could make the eggs scramble.
- I recommend slowing down after reaching medium peaks so you can insure you keep whipping the cream without going over stiff peaks, where the cream would start turning grainy.
Nutrition (per serving)
Made this recipe?
Let us know if you liked it by leaving a comment below, and tag us on Instagram @a.baking.journey with a photo of your creation!
