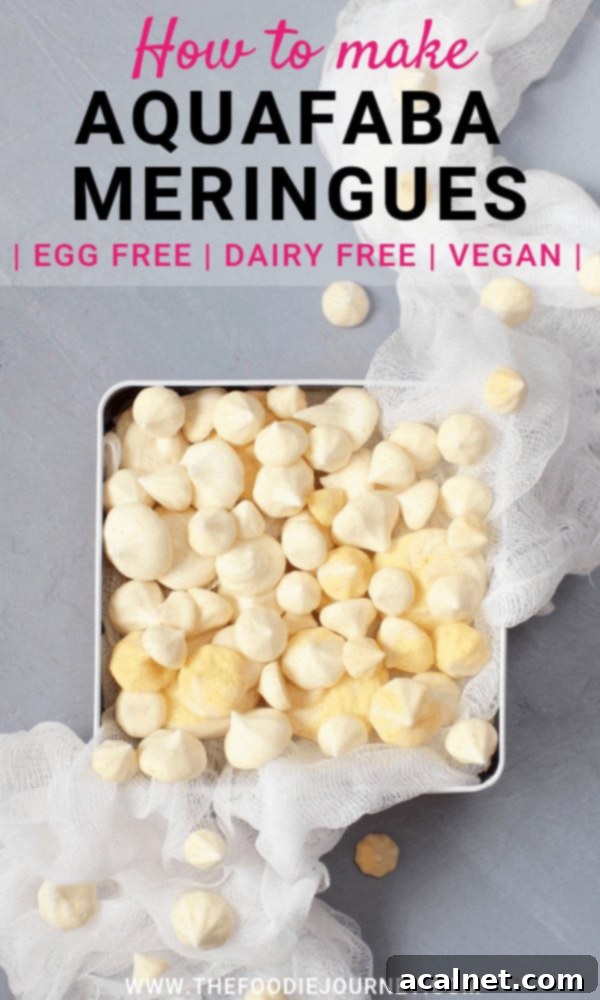
Delicious Vegan Aquafaba Meringue Cookies: Your Guide to Egg-Free Delights
Looking for an exquisite egg-free meringue recipe that tastes just as good, if not better, than the traditional kind? You’ve come to the right place! Here is your ultimate guide to creating light, airy, and utterly delicious Vegan Aquafaba Meringue Cookies made entirely from the magical liquid known as chickpea water. Get ready to transform a humble pantry staple into a delightful dessert!
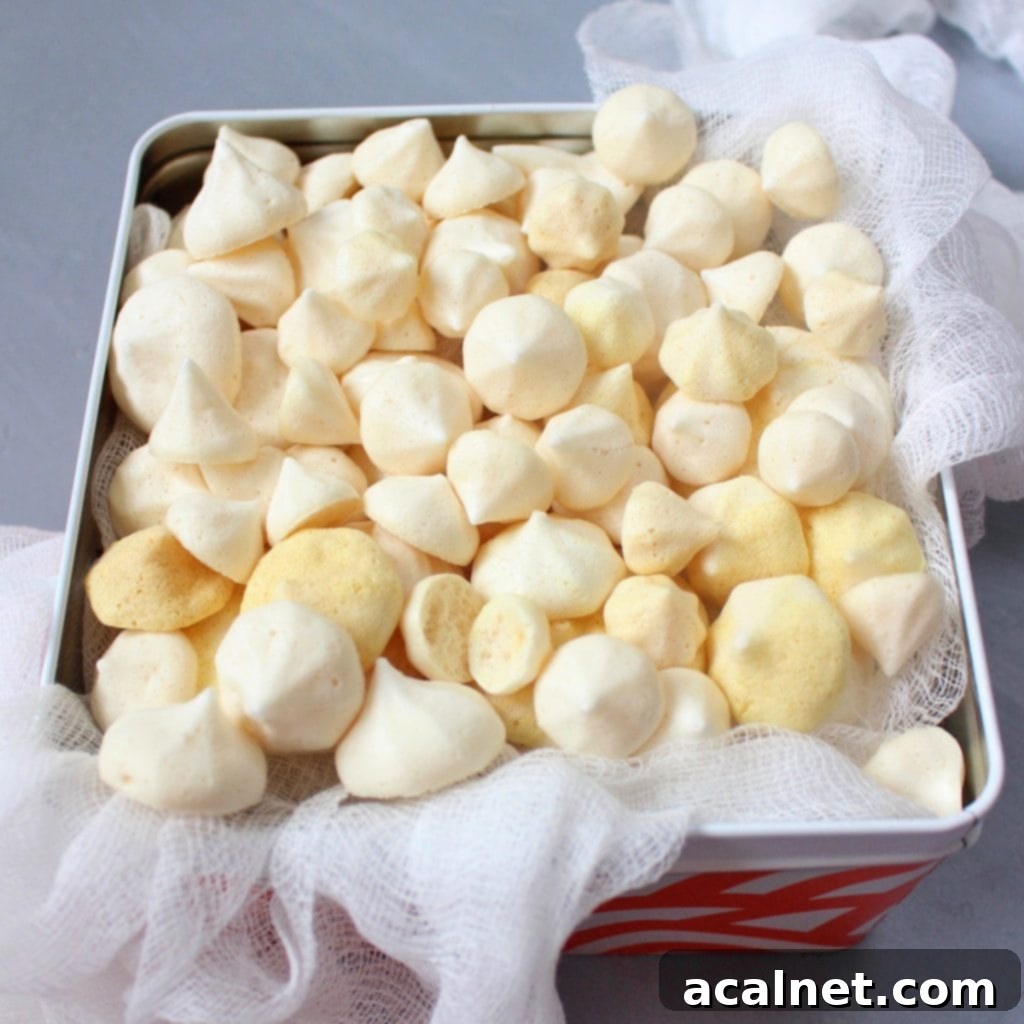
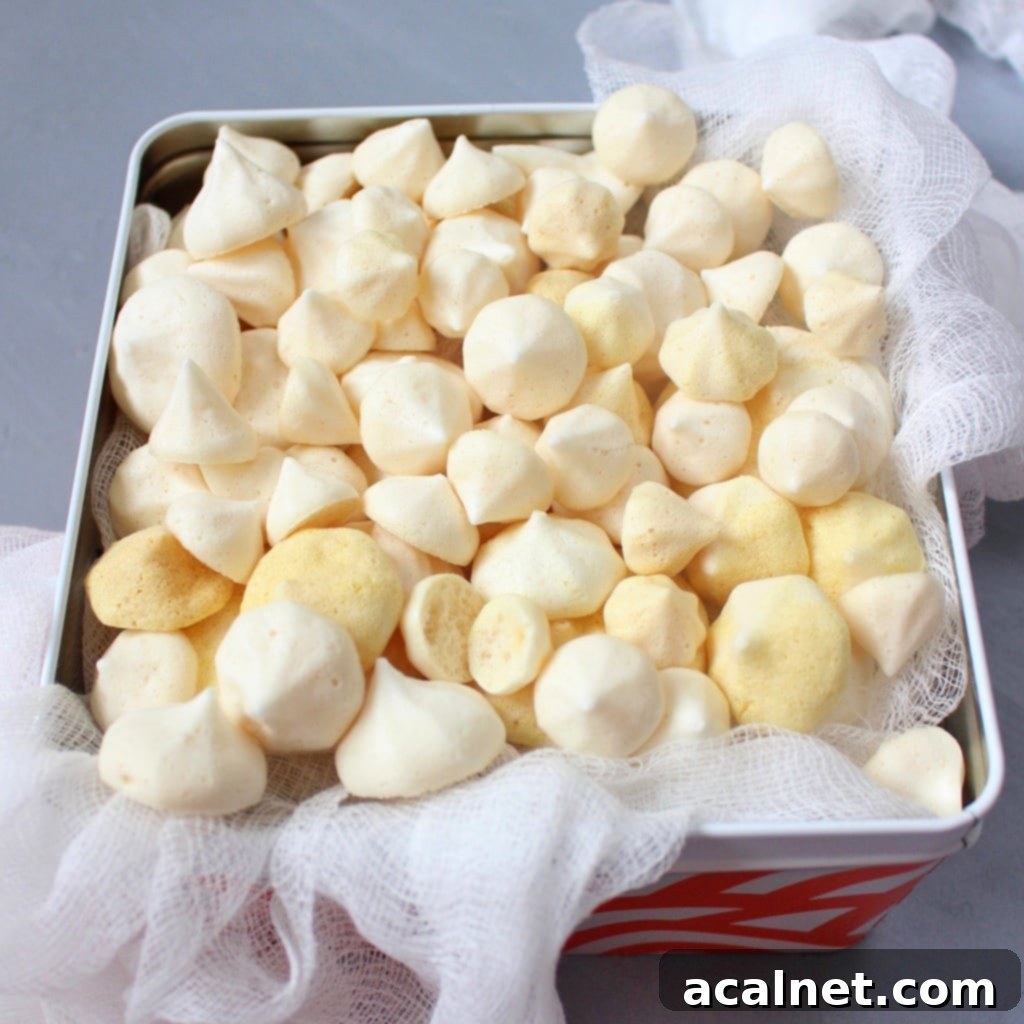
Whether you follow a vegan lifestyle and abstain from eggs, or you simply find yourself out of egg whites and in need of a quick substitute, it’s truly remarkable to discover that a fantastic alternative exists for making delightful meringues. This isn’t a complicated culinary trick; in fact, the process mirrors that of traditional meringues, relying on just one incredible ingredient: Aquafaba.
These versatile eggless meringue kisses can be enjoyed in numerous ways. For instance, they make a stunning topping for my Vegan Lemon Tart, adding a beautiful texture and sweet crunch. But their potential extends far beyond – they’re perfect for decorating cakes, serving as standalone treats, or even crushing over ice cream.
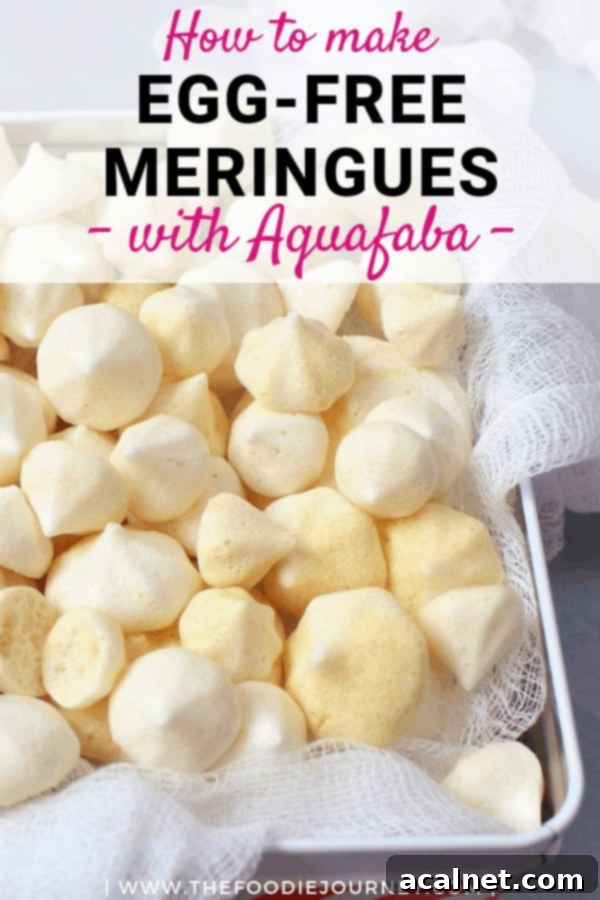
Understanding Aquafaba: The Miracle Egg Substitute
The name “Aquafaba” might sound a little exotic, but there’s no need to be intimidated – it’s far simpler than it sounds! Aquafaba is merely the term given to the liquid that remains after cooking legumes, most commonly chickpeas. This viscous liquid possesses remarkable emulsifying, binding, and aerating properties, making it an incredible plant-based alternative to egg whites in many recipes.
While aquafaba can technically be derived from various legumes, the liquid from chickpeas is widely recognized as the most effective for whipping into a stable foam, ideal for meringues and other delicate desserts. Its unique composition of proteins and starches is what gives it this incredible functionality.
How to Obtain Aquafaba: Two Convenient Methods
- From Canned Chickpeas: This is by far the easiest and most common method. Simply purchase a can of chickpeas from your local supermarket. Drain the chickpeas, reserving the liquid. This liquid is your aquafaba! Make sure to use unsalted or low-sodium chickpeas if possible, to avoid any unwanted flavors in your sweet meringues. Don’t discard the chickpeas themselves – they can be used to make delicious hummus, added to salads, or incorporated into other savory dishes.
- Make Your Own Aquafaba at Home: If you prefer to cook from scratch, you can prepare your own aquafaba. Begin by soaking dry chickpeas in plenty of water overnight (at least 8-12 hours). The next day, discard the soaking water and rinse the chickpeas thoroughly. Place the soaked chickpeas in a pot, covered with fresh water, ensuring there’s at least an inch or two of water above the chickpeas. Bring to a boil, then reduce the heat to a gentle simmer. Cook for approximately an hour, or until the chickpeas are very tender. The key is to allow the chickpeas to cool down completely in their cooking water. This cooling process helps the liquid thicken and absorb more starches, enhancing its whipping capabilities. Once cooled, separate the cooked chickpeas from the cooking liquid using a clean slotted spoon, and voilà – you have homemade aquafaba ready to use! This method gives you more control over the sodium content and consistency.
For those interested in delving deeper into the science and versatility of this fascinating ingredient, America’s Test Kitchen offers a super interesting article titled “What Exactly is Aquafaba, and how to use it?” available on their website.
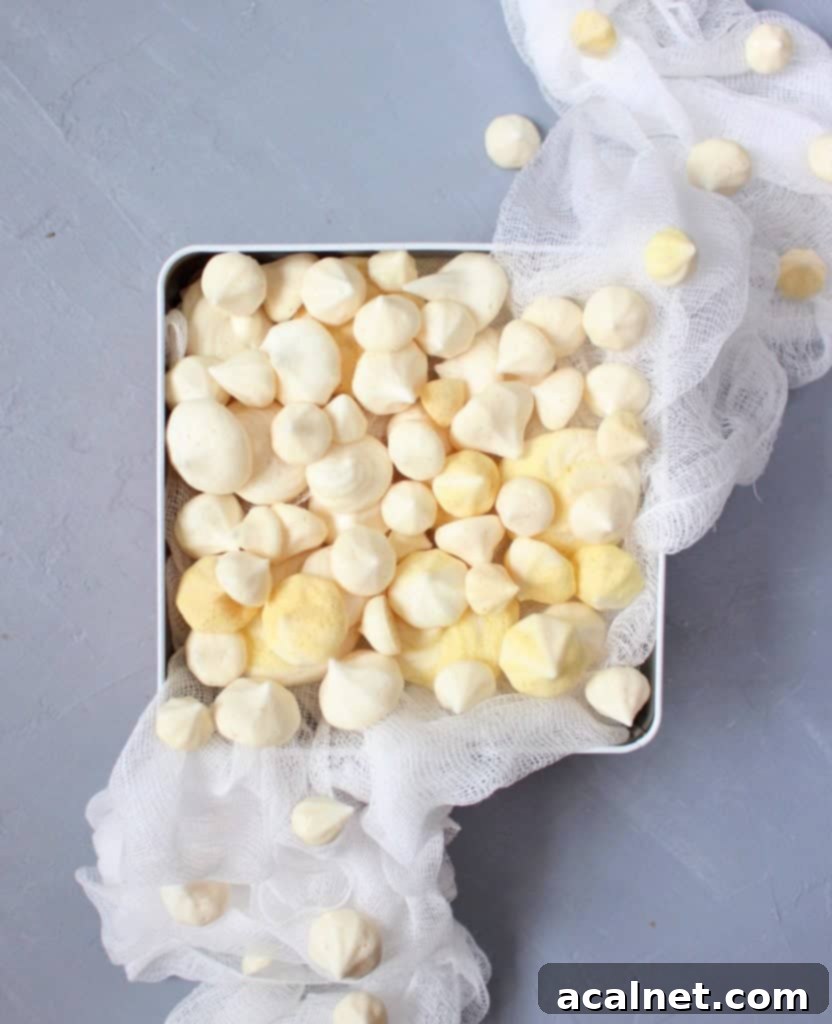
Mastering the Art of Aquafaba Meringue Kisses
While aquafaba might not boast the same protein content as traditional egg whites, its ability to mimic their whipping action is truly astounding. The fundamental principle remains the same: pour your chickpea liquid into a scrupulously clean, grease-free bowl and use either a hand-mixer or a stand-mixer fitted with a whisk attachment to whip it into a cloud-like consistency.
One key difference you might notice is that aquafaba generally takes a bit longer to whip to stiff peaks compared to egg whites. Don’t be discouraged if it seems to be working slowly at first; patience is your best friend here. Keep whipping, and it will eventually transform into that desired fluffy texture.
You can whip aquafaba on its own, but incorporating ingredients like Cream of Tartar is highly recommended. Just as with egg whites, cream of tartar acts as a crucial stabilizer for your aquafaba. For recipes like aquafaba meringues, where stability is paramount, cream of tartar is truly a must-have. It not only significantly accelerates the whipping process but also ensures your whipped aquafaba is much more stable, making it far less prone to deflating or breaking down after piping.
Essential Tools and Ingredients for Chickpea Water Meringues
Gathering your supplies before you begin will make the process smooth and enjoyable:
- The magical liquid: Aquafaba (from canned or homemade chickpeas).
- A crucial stabilizer: Cream of Tartar.
- For efficient whipping: A powerful Hand-Mixer or a sturdy Stand-Mixer equipped with a whipping attachment. Ensure the bowl and whisk are impeccably clean and grease-free.
- For sweetness and structure in meringues: Caster Sugar (superfine granulated sugar works best for dissolving easily).
Since we are specifically making delicate meringue cookies, caster sugar is chosen for its fine granules, which dissolve quickly into the aquafaba, creating a smooth, stable meringue. However, if you were to prepare whipped aquafaba for other applications, such as a light Vegan Chocolate Mousse, adding sugar wouldn’t be strictly necessary. In such cases, the cream of tartar alone would provide sufficient stabilization for a fluffy, unsweetened whip.
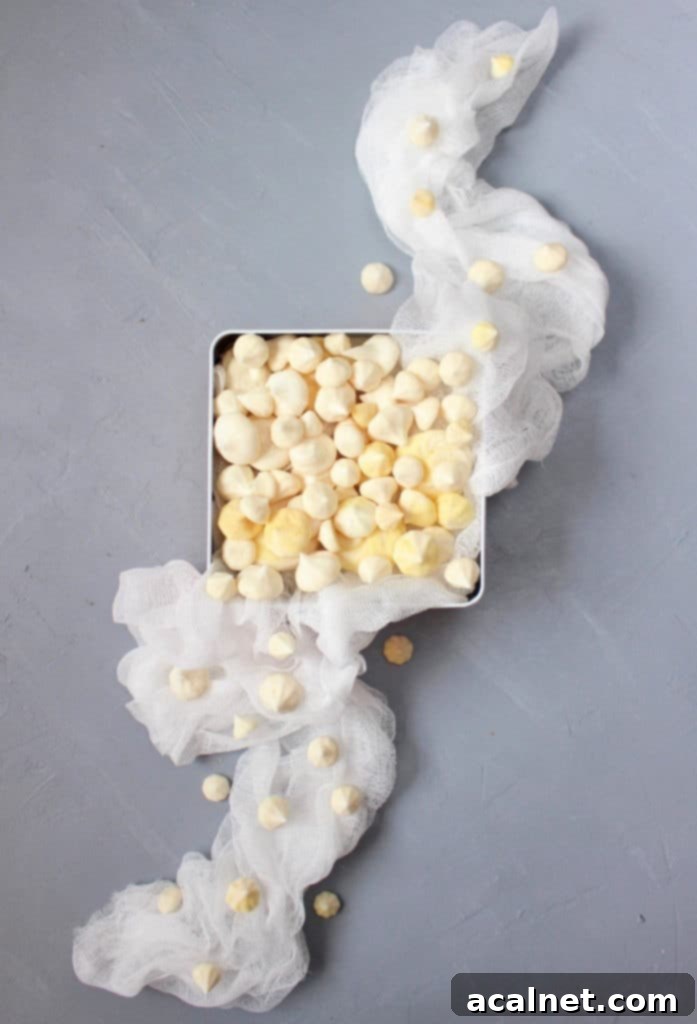
Crafting Your Own Vegan Egg-Free Meringue Cookies
Now, let’s dive into the detailed recipe for these incredible treats. Making Chickpea Juice Meringue Kisses might sound daunting at first, but as we’ve established, the process is surprisingly straightforward and very similar to whipping egg whites:
- Prepare Your Aquafaba: Carefully pour the liquid from one can of chickpeas (approximately 200ml or ¾ cup) into the impeccably clean, grease-free bowl of your stand mixer. If using a hand-mixer, a large, clean mixing bowl will work perfectly.
- Start Whipping with Stabilizer: Add 1 teaspoon of Cream of Tartar to the aquafaba. Begin whipping on a low speed, gradually increasing the speed. Initially, the liquid will become frothy and foamy, much like soapy water.
- Gradually Add Sugar: As the aquafaba starts to thicken and hold soft peaks, begin adding the caster sugar very slowly, about a tablespoon at a time, while the mixer continues to run. It’s crucial not to dump all the sugar in at once, as this can cause the aquafaba to deflate or prevent it from reaching stiff peaks. Continue whipping, gradually increasing the speed to high.
- Whip to Stiff Peaks: Keep whipping until stiff, glossy peaks form. The meringue should be thick, smooth, and hold its shape when you lift the whisk. To ensure all the sugar has dissolved, take a small amount of meringue between your thumb and forefinger and rub them together. If it feels gritty, continue whipping until it’s completely smooth. This process typically takes about 5 to 10 minutes, sometimes a little longer, depending on your mixer and the consistency of your aquafaba.
The exciting thing about Aquafaba Meringue Cookies is that, unlike egg white meringues, you cannot truly “over-whip” aquafaba. This offers a bit more flexibility and confidence for novice bakers. That being said, once stiff, glossy peaks are achieved and the sugar is fully dissolved, there’s no need to continue whipping.
Now that your aquafaba meringue is ready, you can transfer it into a piping bag fitted with your desired nozzle, or get creative by adding some colour. I once made these vegan meringues to top a Vegan Lemon Tart, so I decided to tint half of my meringue with Turmeric Powder to give it a beautiful, natural yellow hue. You can experiment with various natural food colourings, or even try other spices or fruit/vegetable juices like beetroot juice for vibrant pinks or spirulina for greens.
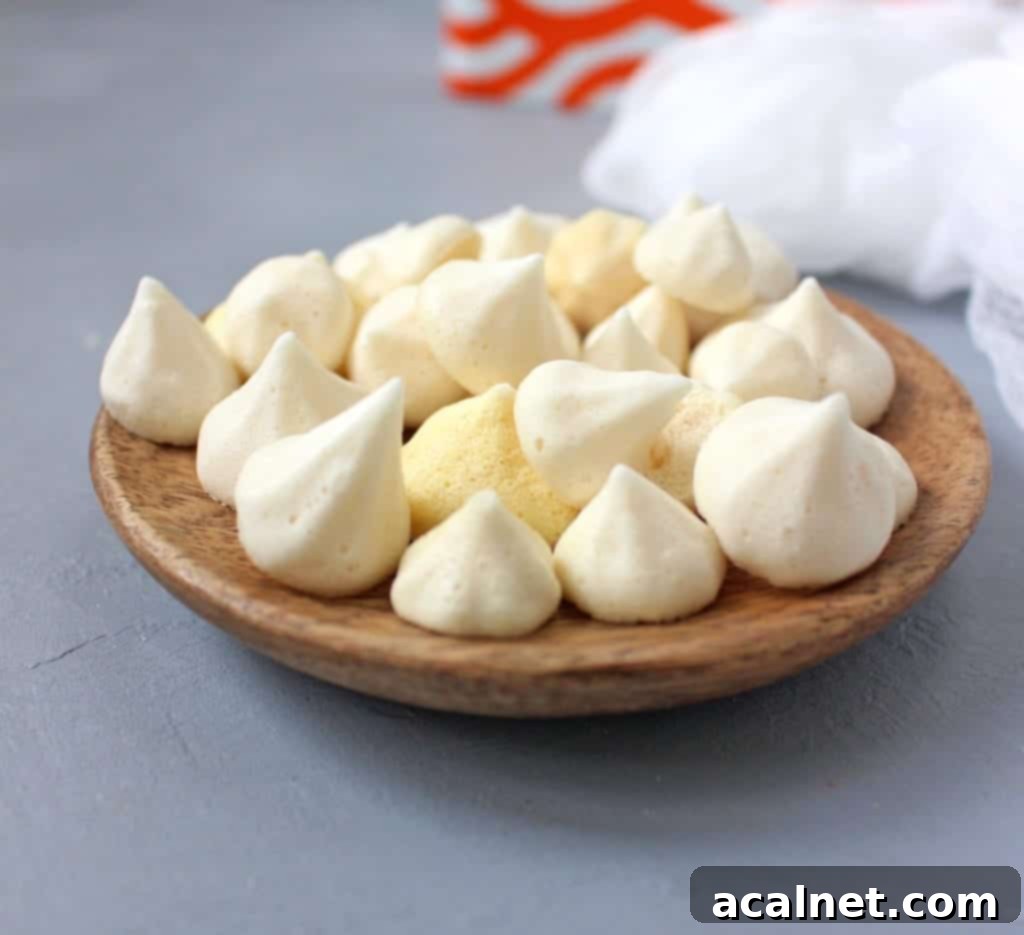
Finally, line a baking tray with a silicone baking mat or quality baking paper. Choose your preferred piping tip – there’s no right or wrong choice here; creativity is encouraged! I experimented with a few different shapes and sizes for visual variety, but a traditional star-shaped nozzle always creates classic and beautiful meringue kisses. Once you’ve finished piping your aquafaba meringue cookies, place your baking trays into an oven that has been pre-heated to a very low temperature of 120°C (250°F).
It is absolutely crucial to bake these vegan meringue cookies on a low heat. This extended, gentle baking process allows all the moisture to gradually evaporate from the meringues without causing them to brown or burn. The goal is to dry them out, not cook them. Bake for approximately 1 hour (or longer if you’ve piped larger cookies). After the baking time is complete, turn off the oven and, without opening the door, leave the meringues inside to cool down completely. This slow cooling process helps prevent cracking and ensures they become perfectly hard and dry.
Once cooled, your aquafaba meringues should be delightfully crisp and dry. Store them immediately in an air-tight container at room temperature. Meringues are highly susceptible to moisture, so any exposure to humidity will cause them to soften and eventually melt. Proper storage is key to maintaining their delicate texture and extending their shelf life.
Tips for Perfect Aquafaba Meringues Every Time
While aquafaba meringues are forgiving, a few expert tips can elevate your baking and ensure consistent success:
- Cleanliness is Key: Ensure your mixing bowl, whisk, and any utensils that come into contact with the aquafaba are meticulously clean and grease-free. Even a tiny trace of fat can prevent the aquafaba from whipping properly.
- Optimal Aquafaba Consistency: Canned aquafaba can vary in thickness. If yours seems very thin, you can gently reduce it on the stovetop over low heat until it slightly thickens, then cool it completely before whipping. This can improve its stability.
- Patience with Whipping: As mentioned, aquafaba takes longer to whip than egg whites. Don’t rush the process. Start on low speed and gradually increase. Listen to your mixer and watch for the distinct stages: foamy, soft peaks, then stiff, glossy peaks.
- Sugar Dissolution: The “no grit” test between your fingers is crucial. Undissolved sugar can lead to sticky or weeping meringues.
- Humidity Matters: Meringues are sensitive to humidity. Avoid making them on very humid days if possible. Store them in an airtight container as soon as they are completely cool to protect them from moisture.
- Even Piping: Try to pipe meringues of similar size and shape on each baking sheet to ensure they bake evenly.
- Flavor Variations: After achieving stiff peaks, gently fold in a few drops of vanilla extract, almond extract, or other flavorings. For chocolate aquafaba meringues, sift in a tablespoon of unsweetened cocoa powder. Freeze-dried fruit powders can also add natural flavor and color.
Serving Suggestions & Other Vegan Dessert Inspirations
These vegan aquafaba meringue cookies are incredibly versatile. Enjoy them on their own for a light, sweet treat, or use them to enhance other desserts:
- Decorate Cakes & Tarts: As mentioned, they are perfect for my Vegan Lemon Tart, but also lovely on chocolate cakes, fruit tarts, or trifles. Remember to add them just before serving to prevent softening.
- Crumbled Topping: Crush them lightly and sprinkle over vegan ice cream, fruit salads, puddings, or yogurt for added crunch and sweetness.
- Meringue Nests: Pipe larger meringue nests and fill them with fresh berries, vegan whipped cream, or chocolate mousse.
- Edible Gifts: Package them beautifully in an airtight tin for a thoughtful, homemade gift.
Explore More Vegan Dessert Recipes:
- Vegan Chocolate Mousse Tart with Raspberries
- No Bake Chocolate Espresso Tart
- No Bake Mini Blueberry Tarts
- Chocolate Shortbread Cookie Sandwich
- Vegan Carrot Cake Muffins
- Vegan Sticky Date Puddings
- Chocolate Avocado Mousse
Vegan Aquafaba Meringue Cookies Recipe:
Recipe
How to Make Aquafaba Meringue Cookies
Servings:
60
cookies
Author:
Sylvie
20 minutes
1 hour
1 hour
1 hour
20 minutes
Print Recipe
Ingredients
- 1 Can of Chickpeas – Liquid Only, Equivalent to about 200ml – 3/4 cup, ideally low-sodium
- 75 grams (1/3 cup) Caster Sugar, superfine granulated sugar for best dissolution
- 1 teaspoon Cream of Tartar, essential for stability and quicker whipping
- Optional: Food coloring or flavorings, e.g., vanilla extract, turmeric powder, beetroot juice
Instructions
- Note that this recipe yields approximately 3 trays of cookies (about 60 small meringues). Adjust quantities proportionally if you wish to make a smaller batch.
- Preheat your oven to a low temperature of 120°C / 250°F. Prepare your baking trays by lining them with a silicone baking mat or parchment paper.
- Pour the liquid from one can of chickpeas (aquafaba) into a meticulously clean, grease-free bowl of your stand-mixer (or use a hand-mixer). Attach the whisk attachment.
Add the Cream of Tartar, then begin whipping on a low speed. Gradually increase the mixer speed as the aquafaba starts to get frothy.
- Once the liquid becomes foamy and starts to thicken, slowly and gradually add the Caster Sugar, about a tablespoon at a time, while continuing to beat. Increase the speed to high and continue whipping until very stiff, glossy peaks form. This will typically take about 5 to 10 minutes. Test for dissolved sugar by rubbing a small amount of meringue between your fingers; it should feel completely smooth, without any graininess.
- Optional: If desired, gently fold in any food coloring or flavorings at this stage. Be careful not to deflate the meringue.
- Transfer your aquafaba meringue into a large piping bag fitted with your chosen piping tip. Pipe the meringue cookies onto the prepared baking trays in your desired sizes and shapes. Leave a little space between each meringue.
- Place the baking trays in the pre-heated oven and bake for 1 hour. For larger meringue cookies, you may need to extend the baking time. After baking, turn off the oven and leave the meringue cookies inside to cool down completely, ideally for another hour or two, without opening the oven door. They should feel very dry and hard. Once fully cooled, immediately transfer them into an air-tight container (see note 1).
Notes
- If you plan to use these eggless meringues to decorate a cake, tart, or any dessert that contains moisture, ensure you place them on the dessert only right before serving. Otherwise, the humidity from your cake or tart will cause your meringue to absorb moisture, become soggy, and eventually melt or lose its crisp texture.
- Store baked aquafaba meringues in an airtight container at room temperature for up to 1-2 weeks. Avoid refrigeration, as it introduces moisture.
