Irresistibly Soft No-Knead Classic Potato Rolls: Your New Family Favorite Recipe
Imagine the aroma of freshly baked bread wafting through your home – a comforting scent that promises warmth and deliciousness. Our Classic Potato Rolls deliver exactly that, and more! These rolls are an absolute dream: incredibly soft, packed with a subtle, earthy flavor from mashed potatoes, and delightfully easy to make. Best of all, there’s no kneading the dough required, making them a perfect project for bakers of all skill levels, even those new to bread making.
The secret to their exceptional texture lies in the mashed potatoes, which add a unique tenderness and moisture that other rolls simply can’t achieve. Fresh from the oven, these potato rolls are absolute perfection. They are wonderfully versatile, serving as an ideal accompaniment to a grand holiday dinner, a cozy weeknight soup or stew, or any meal in between. For classic comfort food combinations, serve them alongside bowls of Pinto Bean Chili, hearty Chicken Spaghetti with Rotel, or a delicious No Ketchup Meatloaf. Get ready to impress your family and friends with these irresistible homemade treats!
Key Ingredients for Your Homemade Potato Rolls
Crafting these delectable potato rolls requires a few simple, wholesome ingredients you likely already have in your pantry or can easily find at any grocery store. The quality of these components plays a significant role in the final flavor and texture of your rolls.
- Yeast: The magical leavening agent that gives our rolls their light, airy structure. Ensure your yeast is fresh and active for the best rise.
- Russet Potatoes: The star ingredient! Freshly mashed Russets are crucial for the unique flavor and incredibly tender crumb of these rolls.
- Butter: Adds rich flavor and contributes to the soft, melt-in-your-mouth texture. Make sure it’s softened for easy mixing.
- Eggs: Provide structure, richness, and a beautiful golden color to the rolls.
- Milk: Helps to create a tender dough and activates the yeast. Scalding and then cooling the milk is a traditional step that enhances the dough’s texture and promotes a better rise.
- Flour: The primary building block of our rolls. All-purpose flour works perfectly for this recipe.
- Salt and Sugar: Essential for balancing flavors and aiding yeast activity.
Effortless Baking: Easy to Make with No Kneading Required!
What truly sets this recipe apart, beyond its delicious flavor and comforting family history, is its incredible ease. Unlike many traditional bread recipes that demand vigorous kneading, our Classic Potato Rolls are a dream to prepare because they are completely no-knead. This means less effort for you and a more enjoyable baking experience overall! All you truly need is a sturdy spoon and a large mixing bowl – though a stand mixer with a dough hook can certainly make the process even quicker and more hands-off.
The beauty of this no-knead method is that it relies on a longer rise time to develop gluten and flavor, rather than manual manipulation. This makes it a fantastic recipe for beginners or anyone looking for a low-stress baking project. You’ll be amazed at how a simple stir can result in such a beautifully textured dough.
As an added bonus for busy schedules, this recipe offers a flexible approach: you can make these rolls in two easy steps, or spread the preparation over two days. This two-day option is particularly convenient for holiday entertaining or meal prepping, allowing you to prepare the dough one day and bake fresh, hot classic potato rolls the next. Serving warm, homemade rolls with any meal, any time, truly becomes a snap!
The Secret to Success: Use Real (Idaho!) Potatoes
For the very best results with these homemade potato rolls, always opt for fresh potatoes over instant flakes. While instant potatoes are undeniably quick and easy to prepare, they simply cannot replicate the nuanced flavor and superior texture that real, fresh potatoes bring to this recipe. The natural starches and moisture in fresh potatoes are what give these rolls their signature softness and delightful chew.
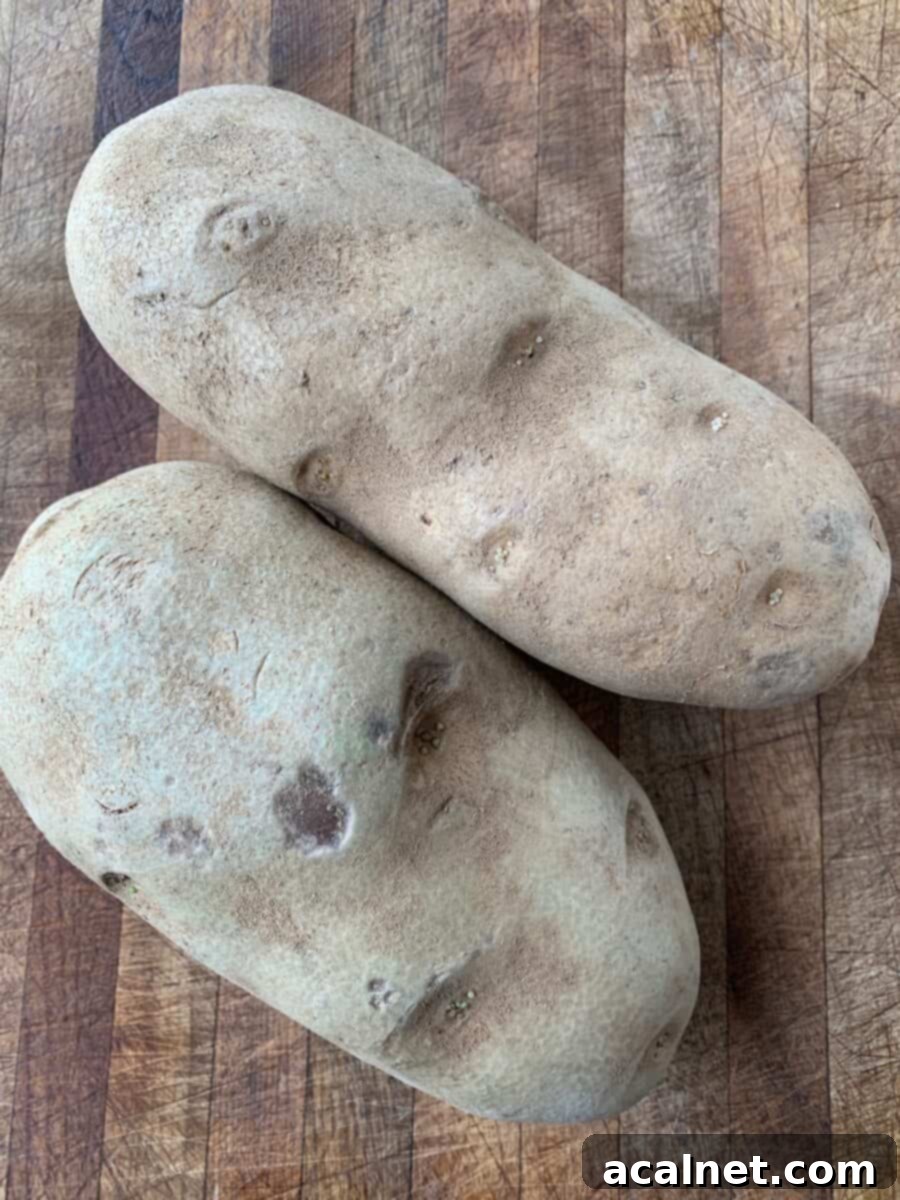
And, since I proudly live in Idaho, I will always, always recommend using Idaho potatoes! Our state is renowned for its high-quality spuds, and for good reason. You might be surprised by the sheer variety of potatoes available. Even the familiar Russet potato comes in many variations, each with its own subtle characteristics. The Idaho Potato Commission maps them all out beautifully for us, highlighting the diverse world of potatoes.
For this specific recipe, I consistently prefer Russet potatoes. Their starchy texture makes for incredibly fluffy mashed potatoes, which in turn leads to exceptionally light and tender potato rolls. They have a wonderful, earthy flavor that complements the richness of the butter and milk in the dough, contributing to an outstanding final product that tastes truly homemade.
Top Tips and Frequently Asked Questions for Perfect Potato Rolls
Achieving bakery-quality potato rolls at home is easier than you think, especially with these helpful tips and answers to common questions. Let’s make sure your rolls turn out perfectly soft and delicious every time!
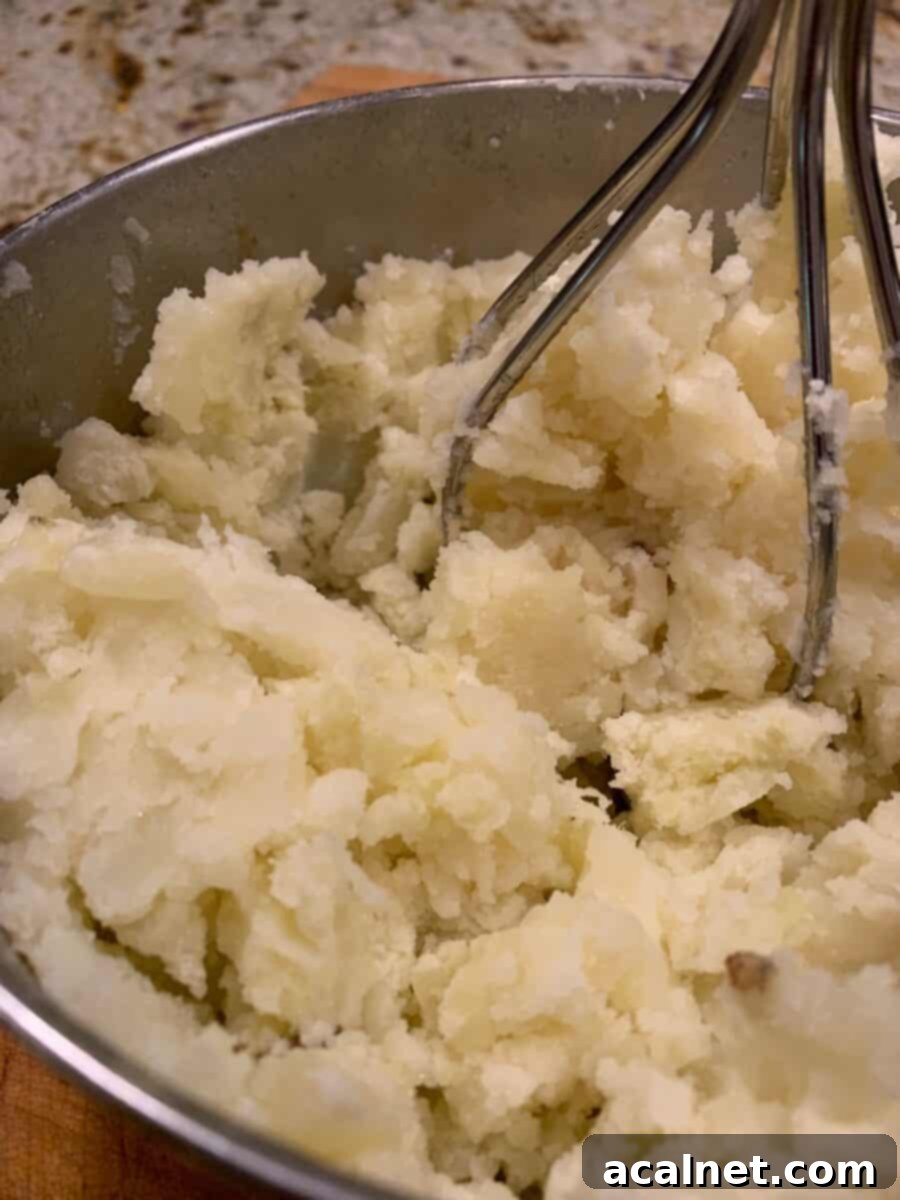
While a few small, well-distributed lumps here and there won’t ruin your rolls, aiming for soft and consistently smooth mashed potatoes will result in the most tender and uniform dough. Here’s a quick tip to help avoid lumps and achieve perfect mashed potatoes for your rolls:
- Cook the peeled Russet potatoes in boiling water until they are very, very soft. Don’t undercook them! You should be able to easily pierce them with a fork.
- Drain the potatoes thoroughly using a colander over the sink.
- Immediately after draining, cover the potatoes in the colander with foil. Allow them to steam for about five minutes. This steam from the hot potatoes will help to further soften them and release excess moisture, making them incredibly easy to mash.
- Transfer the steamed potatoes to a small bowl and mash with a fork or a dedicated potato masher until creamy smooth. These will become the fluffiest mashed potatoes ever, ideal for your rolls!
While some recipes suggest using leftover mashed potatoes, I highly recommend making fresh mashed potatoes specifically for these rolls. Leftover mashed potatoes often contain added ingredients like cream, cheese, or seasonings that can alter the flavor profile and texture of the dough, potentially making it too wet or affecting the yeast’s activity. Freshly made, unseasoned mashed potatoes provide the cleanest flavor and optimal consistency for the best tender rolls.
It’s crucial to ensure your yeast is active for a good rise. To test it, combine the yeast with the warm water (around 105-115°F or 40-46°C) as instructed in the recipe. Let it sit for 5-10 minutes. If the mixture becomes foamy or bubbly on top, your yeast is active and ready to go! If nothing happens, your yeast might be old or inactive, and it’s best to get a fresh packet.
Scalding the milk (heating it until just before boiling) denatures proteins that can inhibit yeast activity. Cooling it back down to a lukewarm temperature (around 105-115°F or 40-46°C) is essential before adding it to the yeast and other ingredients. This ensures the milk is warm enough to activate the yeast but not so hot that it kills it. This step contributes to a softer, more consistent dough and a better rise.
Several factors can prevent rolls from rising:
- Inactive Yeast: As mentioned above, always check your yeast.
- Temperature of Liquids: Water or milk that’s too hot will kill the yeast, while liquid that’s too cold won’t activate it. Aim for lukewarm (105-115°F).
- Cold Environment: Yeast loves warmth to thrive. Ensure your dough is rising in a warm, draft-free spot.
- Too Much Flour: Adding too much flour can make the dough dense and heavy, hindering its ability to rise. The dough should be stiff but not dry or crumbly.
Shaping Your Rolls: Roll The Dough, Slice Like Pizza
Working with this potato roll dough is a pleasure! It has a wonderfully thick, soft, and pliable texture that is surprisingly not sticky, making it very easy to handle and roll out. This characteristic is another advantage of using fresh mashed potatoes in your dough. Once your dough has completed its initial rise, it’s time for the fun part: shaping your individual rolls.
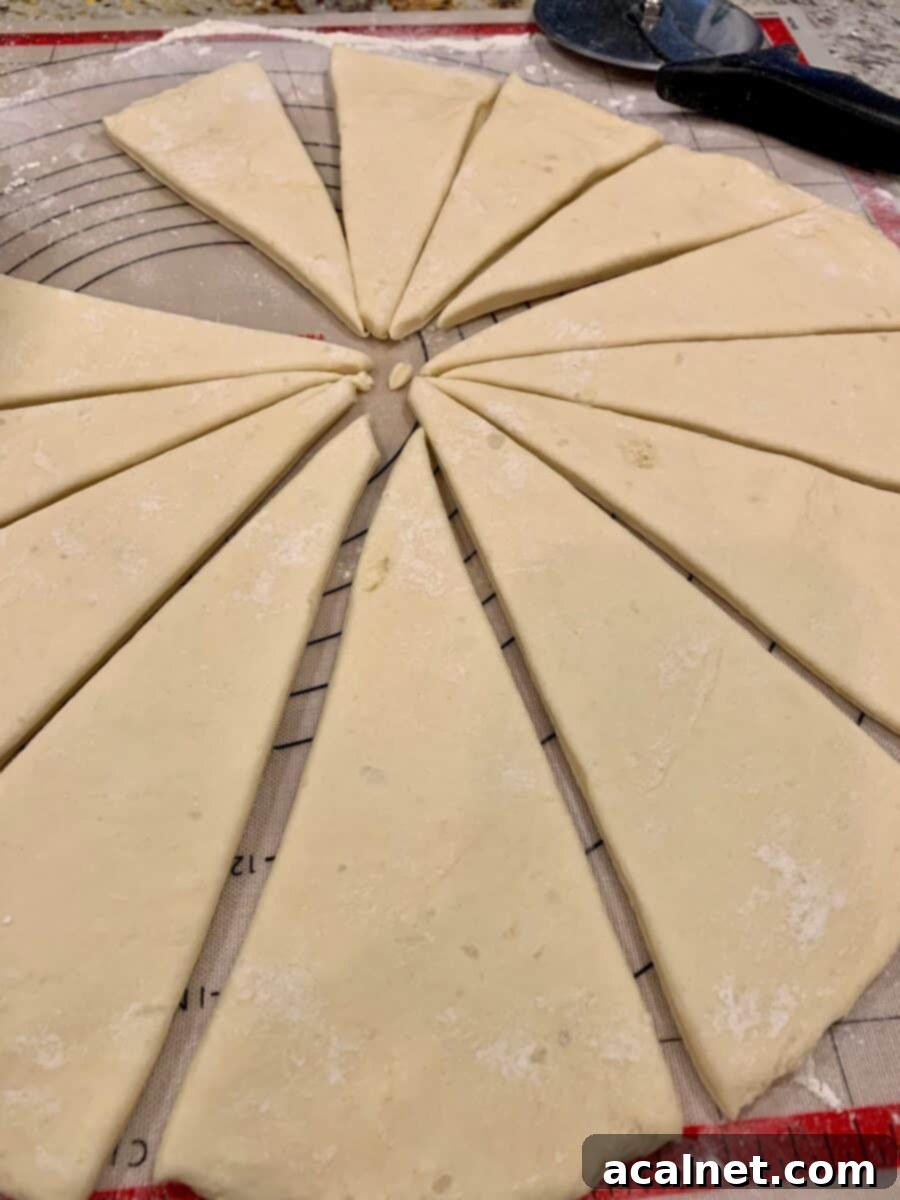
Begin by lightly dusting a clean cutting board or work surface with a sprinkle of flour to prevent sticking. Then, transfer your risen dough onto the floured surface and use a rolling pin to gently roll it out until it’s about ¼ inch thick. Aim for an even thickness across the entire dough to ensure uniform rolls that bake consistently.
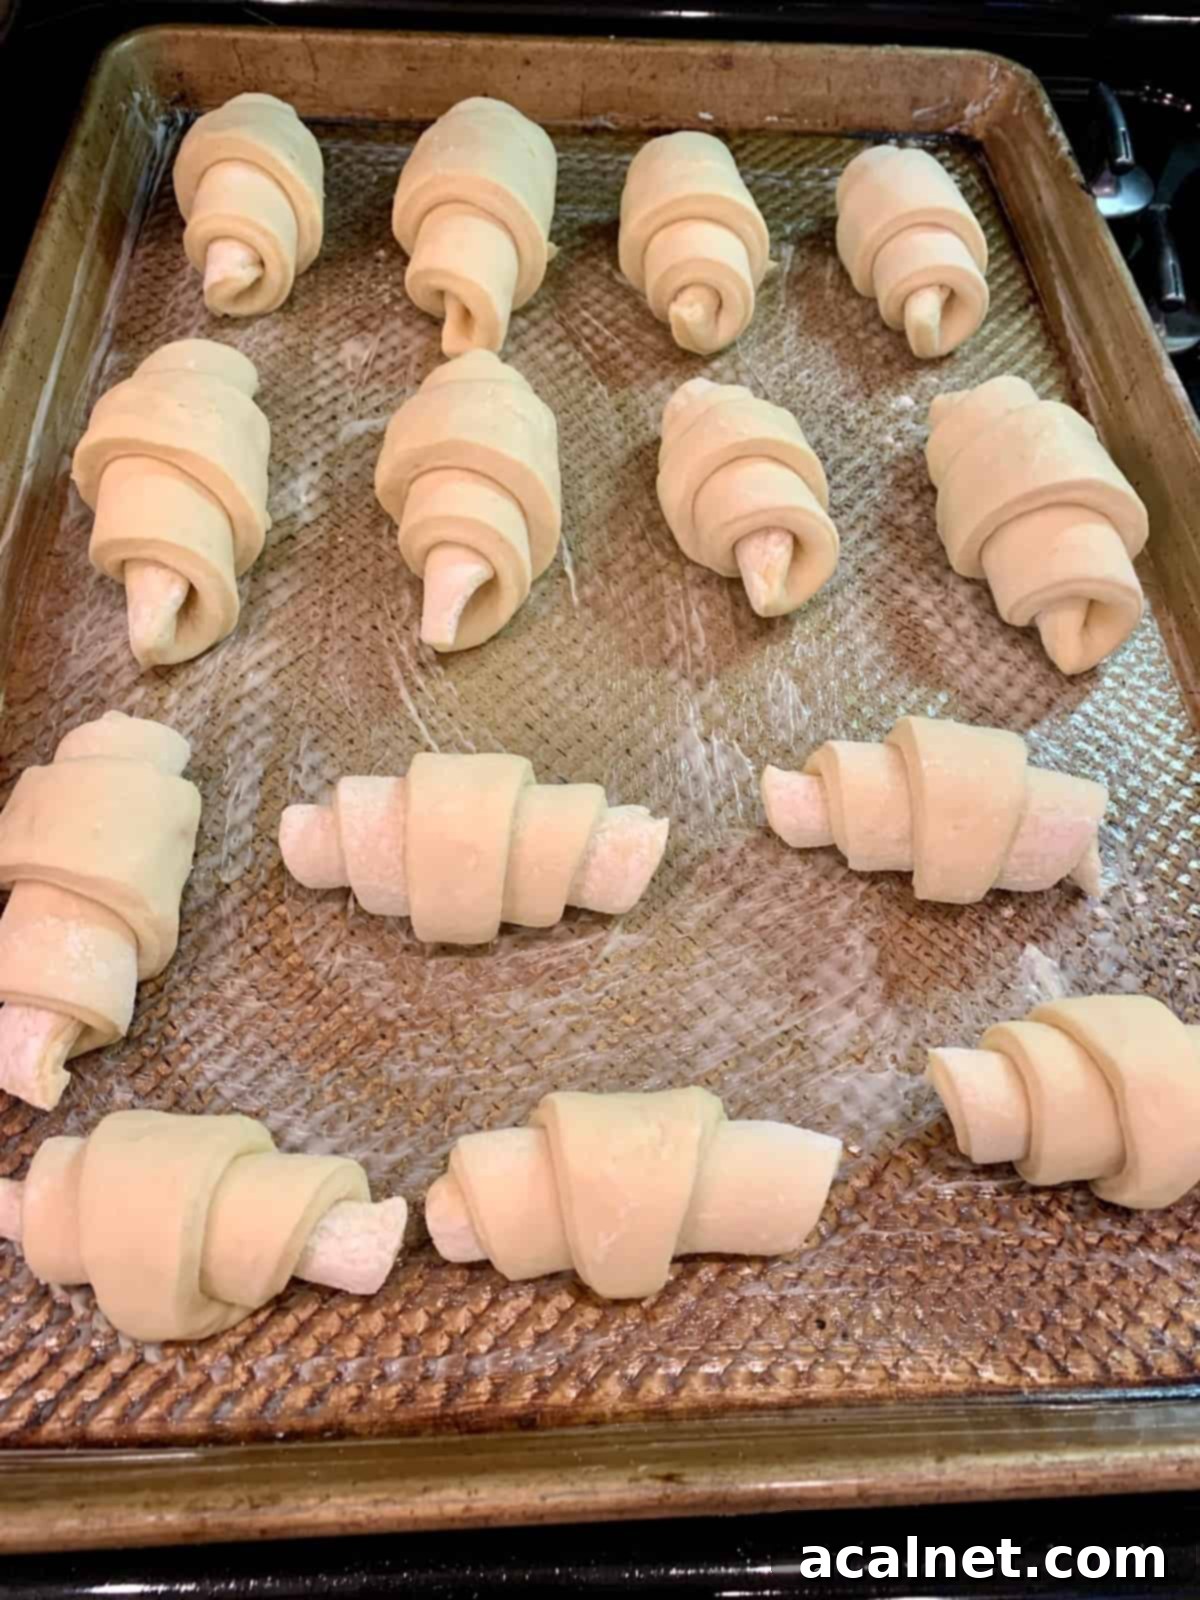
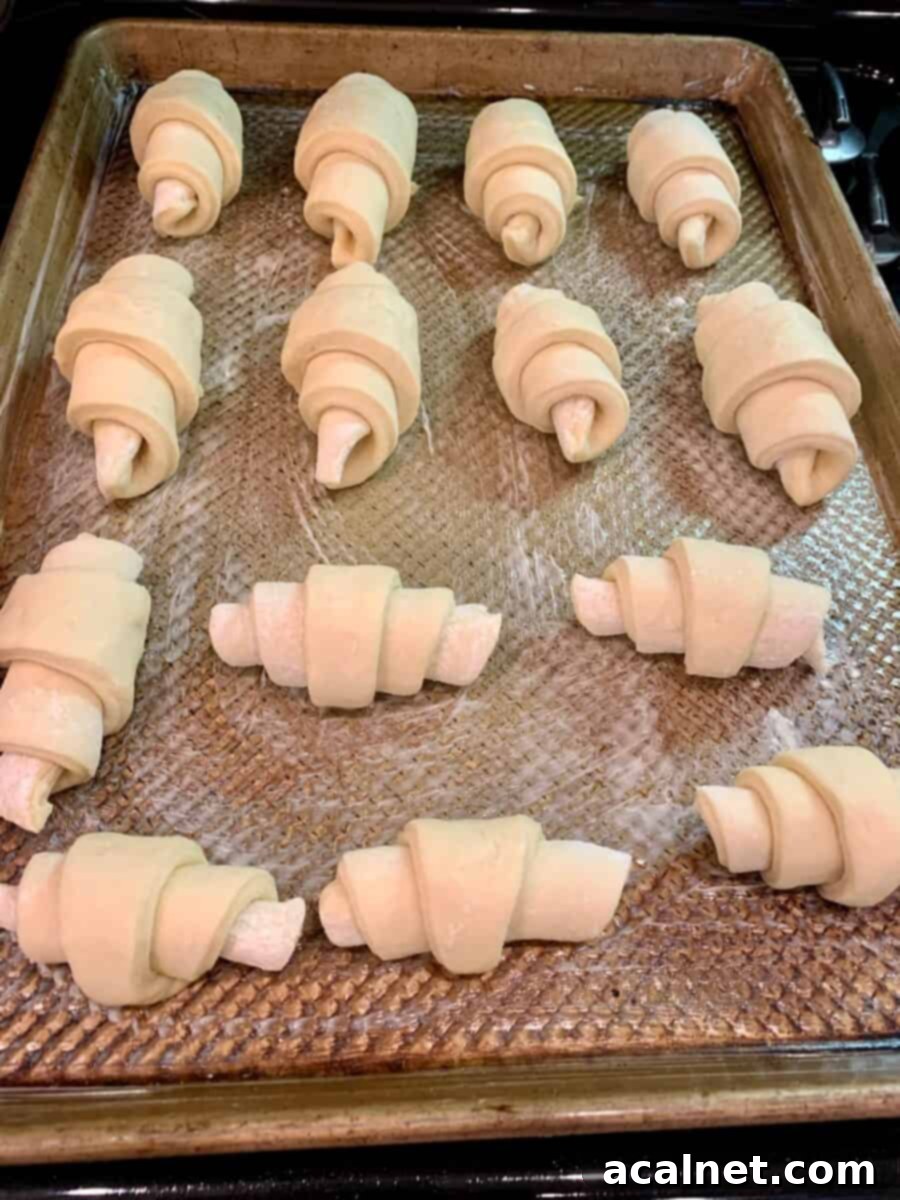
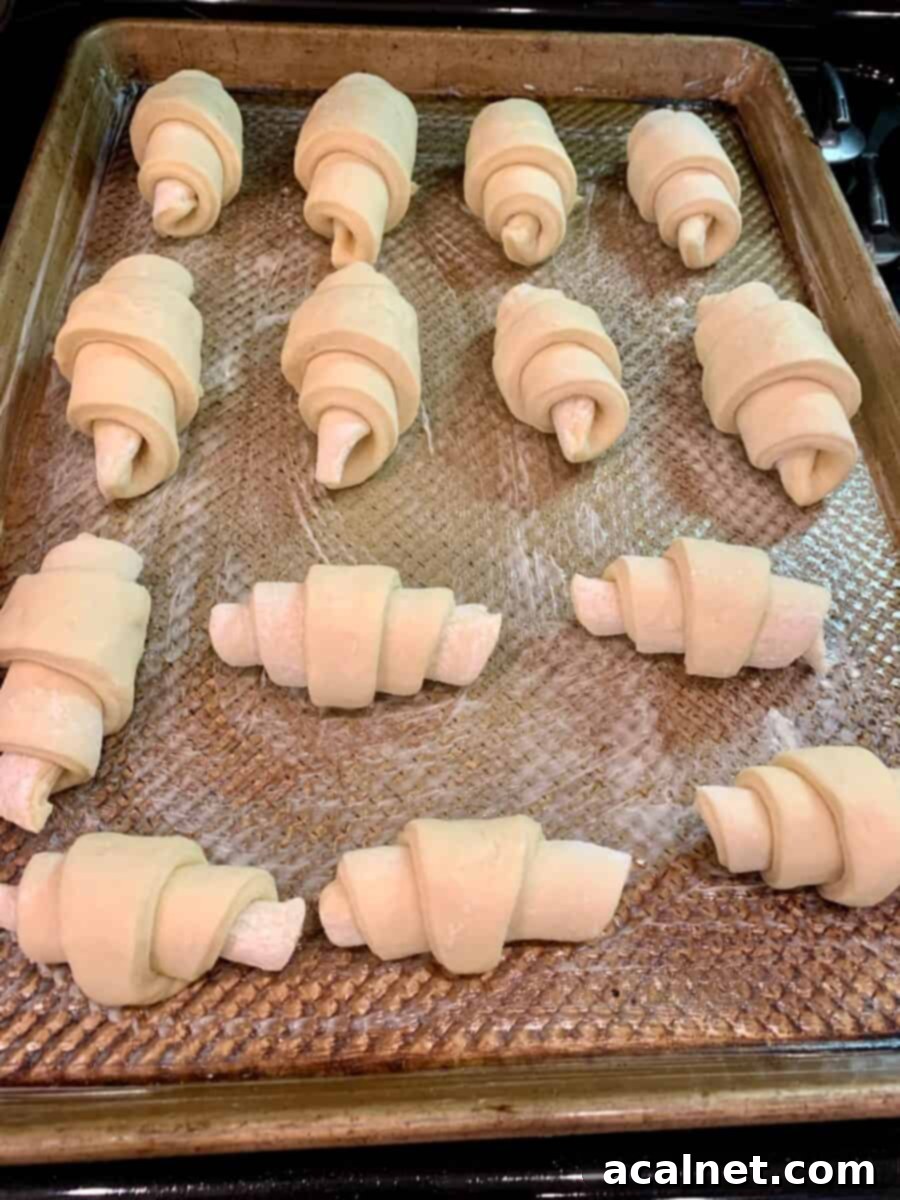
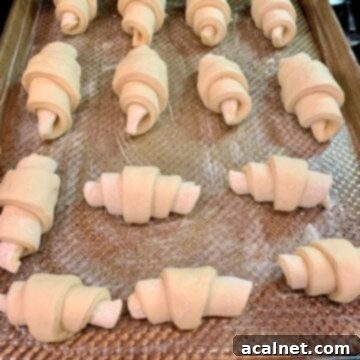
One of my favorite, most efficient ways to shape these rolls is by using a technique I call “pizza-style” slicing. Instead of fiddling with individual pieces, simply take a pizza cutter and slice the rolled-out dough into wedges, much like you would a pizza. This method is incredibly quick and creates perfectly portioned triangles. Once you have your wedges, simply roll each slice starting from the wide end towards the pointed end to form a cute crescent shape. This gives the rolls a classic, appealing look.
Alternatively, if you prefer, you can use a round cookie cutter to cut out circles, then fold each circle in half to create half-moon shapes. Whichever method you choose, arrange the shaped rolls on a buttered baking pan, making sure to leave at least an inch or two of space between each roll. This generous spacing is crucial as these rolls will expand significantly, becoming beautifully big and puffy during their final rise and baking.
Storing and Enjoying Fresh or Frozen Classic Potato Rolls
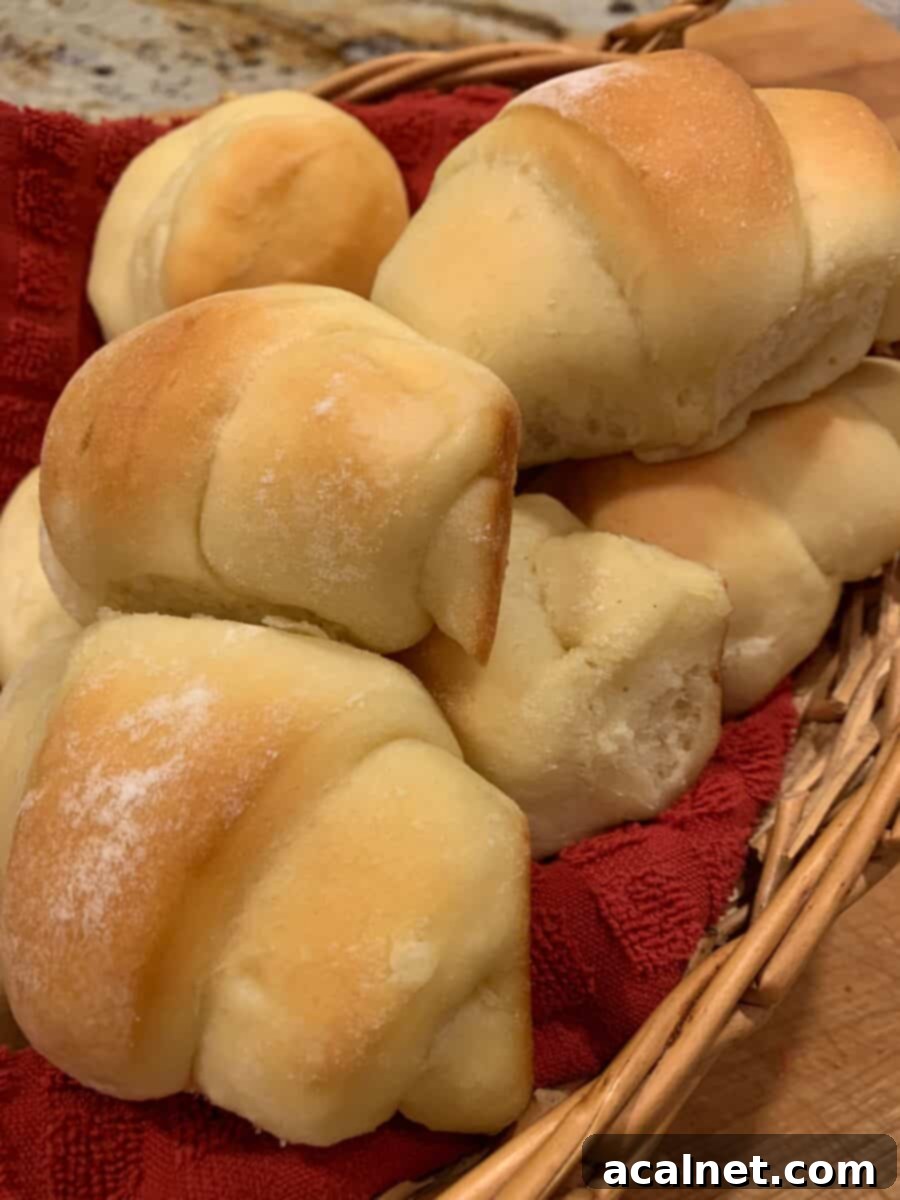
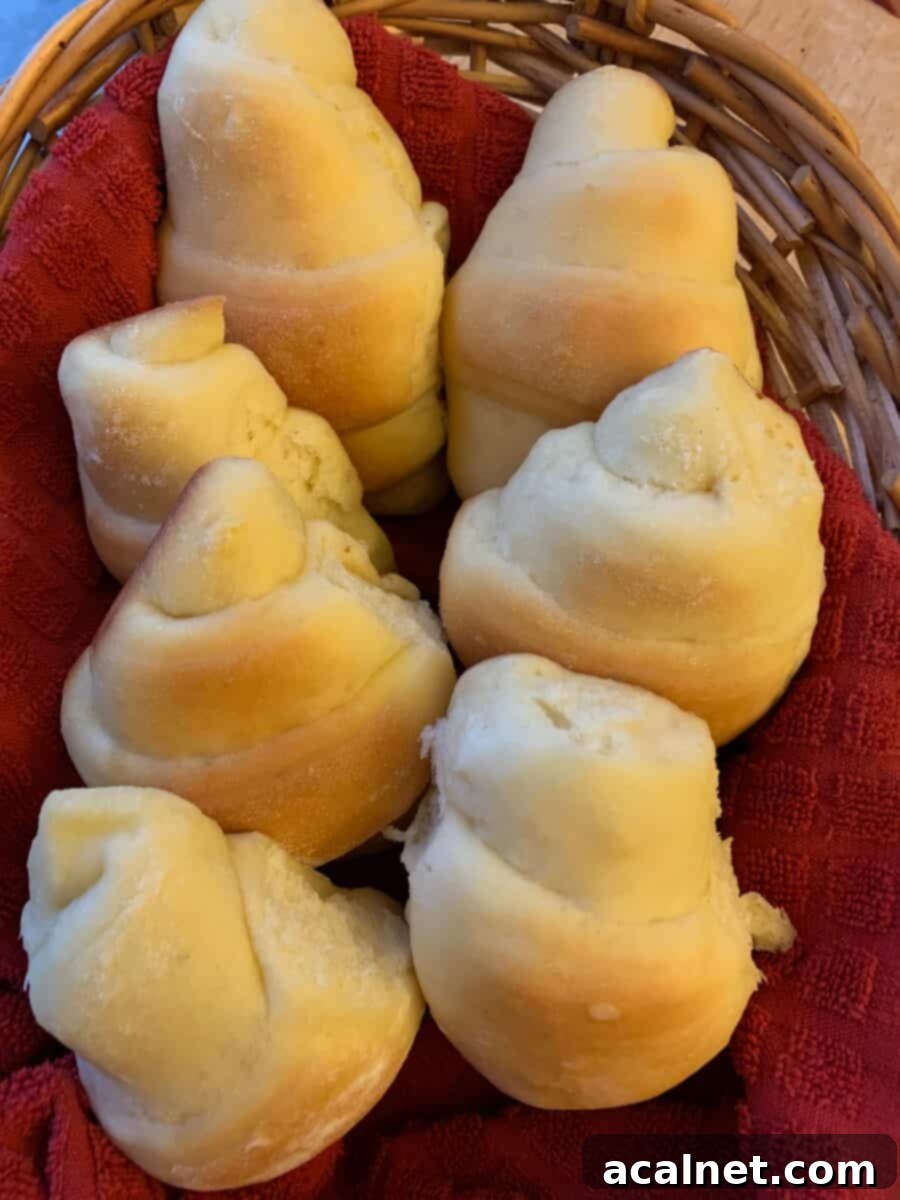
This generous recipe yields about 30 delicious rolls, which are truly at their peak when served fresh on the day they are baked – warm and fragrant from the oven. However, 30 rolls can often be more than what’s needed for a single meal, even for a hungry crowd. The great news is that these Classic Potato Rolls are incredibly freezer-friendly, allowing you to enjoy that fresh-baked goodness whenever a craving strikes, without having to bake a whole new batch!
Storing Freshly Baked Rolls
If you anticipate finishing the rolls within a day or two, simply store them in an airtight container or a large resealable plastic bag at room temperature. This will help maintain their softness and prevent them from drying out. Avoid refrigerating fresh rolls, as this can actually cause bread to go stale faster.
Freezing for Later Enjoyment
For longer storage, freezing is your best friend. Once the baked rolls have completely cooled to room temperature, simply pop any unused rolls into a sturdy plastic freezer bag. Squeeze out as much air as possible before sealing. Don’t forget to label the bag with the date – they will keep beautifully in the freezer for several months, ready for your next meal or unexpected guests.
How to Reheat Frozen Potato Rolls for Bakery-Fresh Taste
The magic of these rolls extends to their incredible ability to taste just like they were freshly baked, even after being frozen. Reheating them properly is key to restoring their tender texture and delicious warmth.
Here’s what you do to serve frozen rolls:
- Defrost: Remove the bag of frozen rolls from the freezer and let them defrost on the kitchen counter for a few hours. This slow thawing helps maintain their structure.
- Prepare for Warming: Once defrosted, remove the rolls from the bag.
- Microwave Method (Quick & Soft): For a quick reheat that emphasizes softness, wrap the rolls loosely in a bread cloth or a damp paper towel. Warm them lightly in the microwave on reduced power (around 50%) for about 1-2 minutes, checking periodically. This method yields wonderfully hot and tender rolls, almost as if they just came out of the oven.
- Oven Method (Crispier & Warm): If you prefer a slightly crispier exterior and a more even warmth, preheat your oven to 300°F (150°C). Place the rolls on a baking sheet and heat for about 5-10 minutes, or until warmed through. Keep an eye on them to prevent over-browning.
No matter which reheating method you choose, these potato rolls will be hot, tender, and incredibly satisfying – just like they were on the day you baked them. It’s the perfect solution for having homemade bread on hand at a moment’s notice!
A Taste of Tradition: The Family Story Behind These Rolls
Beyond being simply delicious, this recipe for Classic Potato Rolls carries a rich tapestry of family history and cherished memories. It’s an “Auntie’s Favorite” passed down through my husband’s family, a culinary heirloom that has graced countless gatherings over the years.
According to my mother-in-law, Odessa, the origin of this beloved recipe can be traced back to her sister-in-law, Katheline. I’m told Katheline had a special knack for baking and these potato rolls were her signature contribution to holiday feasts and family get-togethers. Her warm, tender rolls became synonymous with comfort and celebration within the family.
As generations passed, the tradition continued. These rolls have been lovingly made by many hands, including Aunt Linda and Grandma Fulwyler, each adding their touch and ensuring the legacy lived on. Today, my sister-in-law Kristie has taken the lead in our branch of the family, diligently upholding the tradition and ensuring these wonderful rolls continue to be a staple at our family tables. A heartfelt thanks goes out to all the “Aunties” who have played a role in keeping these rolls alive and, of course, to Grandma Fulwyler for starting it all!
It’s truly a testament to the power of food to connect us to our roots and to each other. These rolls are more than just bread; they are a symbol of family, tradition, and enduring love.
P.S. Take a moment to check out the charming photo below from 1965, capturing a glimpse of all the aunts and uncles together for a lively family gathering in Rupert, Idaho, at Grandma and Grandpa Fulwyler’s house. It truly brings the history of these rolls to life!

Discover More Beloved Family Favorites
If you’ve fallen in love with these Classic Potato Rolls, I have a feeling you’ll also adore some of our other cherished family-favorite recipes. Each one brings its own unique flavor and story to the table, perfect for creating new traditions or reliving old ones:
- Old Fashioned Chocolate Poundcake is another treasured family recipe that disappears incredibly fast! Every single bite is rich, moist, and wonderfully chocolatey. Interestingly, these cakes often taste even better after a day or so, proving there are no dry, old leftovers when this is around.
- Perfect Pie Crust is a game-changer for anyone who has ever felt intimidated by making homemade pie crusts. This incredibly easy recipe allows you to whip up a batch that provides plenty of crusts for multiple pies, and they are wonderfully freezer-friendly too!
- Crockpot Banana Bread takes the baking out of the oven and straight into your slow cooker! It’s an exceptionally easy and utterly delicious way to utilize those ripe bananas, treating everyone to a warm, moist, and freshly baked banana bread with minimal effort.
- Butternut Squash Mac and Cheese offers a creamy, comforting, and incredibly satisfying combination of sweet butternut squash, rich cheese, and tender pasta. The butternut cheese sauce is luxuriously silky and creamy, complemented by seasonings that are light and impart just a hint of nutty warmth.
Keep Me Posted! Share Your Potato Roll Creations
I absolutely love hearing from you! If you try this recipe for Classic Potato Rolls, please let me know how they turn out. Your feedback and experiences are incredibly valuable to me and the entire community.
Recipe
Classic Potato Rolls
Print
Rate
Pin Recipe
Ingredients
- 1 package yeast
- ½ cup warm water
- 1 cup mashed potatoes
- ½ cup butter – softened
- 2 eggs beaten
- 1 teaspoon salt
- ¼ cup sugar
- 1 cup warm milk – scalded then cooled
- 6 cups flour
Instructions
Prepare the Dough
- Dissolve yeast in warm water. Mix potatoes, butter, sugar, salt and eggs then add the yeast and water mixture and the cooled milk.
Add flour and mix until combined. The dough will be stiff.
Place in a greased bowl, cover and let rise for 2-3 hours. Proceed to the next step and “Make the Rolls.”
Or, if making ahead of time, place the covered bowl in the refrigerator for the next day. Remove from the refrigerator and let the dough sit in the bowl for about an hour at room temperature, then proceed with the directions below.
Make the Rolls
- Dust a cutting board with flour and roll out dough with a rolling pin until about a ¼ inch thick.
Using a round cookie cutter, cut into rounds then fold over to create a half-moon or slice pizza-style and roll each slice into a cute crescent shape.
Bake
- Brush a large baking sheet with butter and place rolls on the sheet. Allow to rise for about 90 minutes.
- Bake at 350° for 20-30 minutes, or until golden brown.
Notes
Please note, the nutrition details are estimated using a food database, so they’re just a rough estimate not an exact science.
