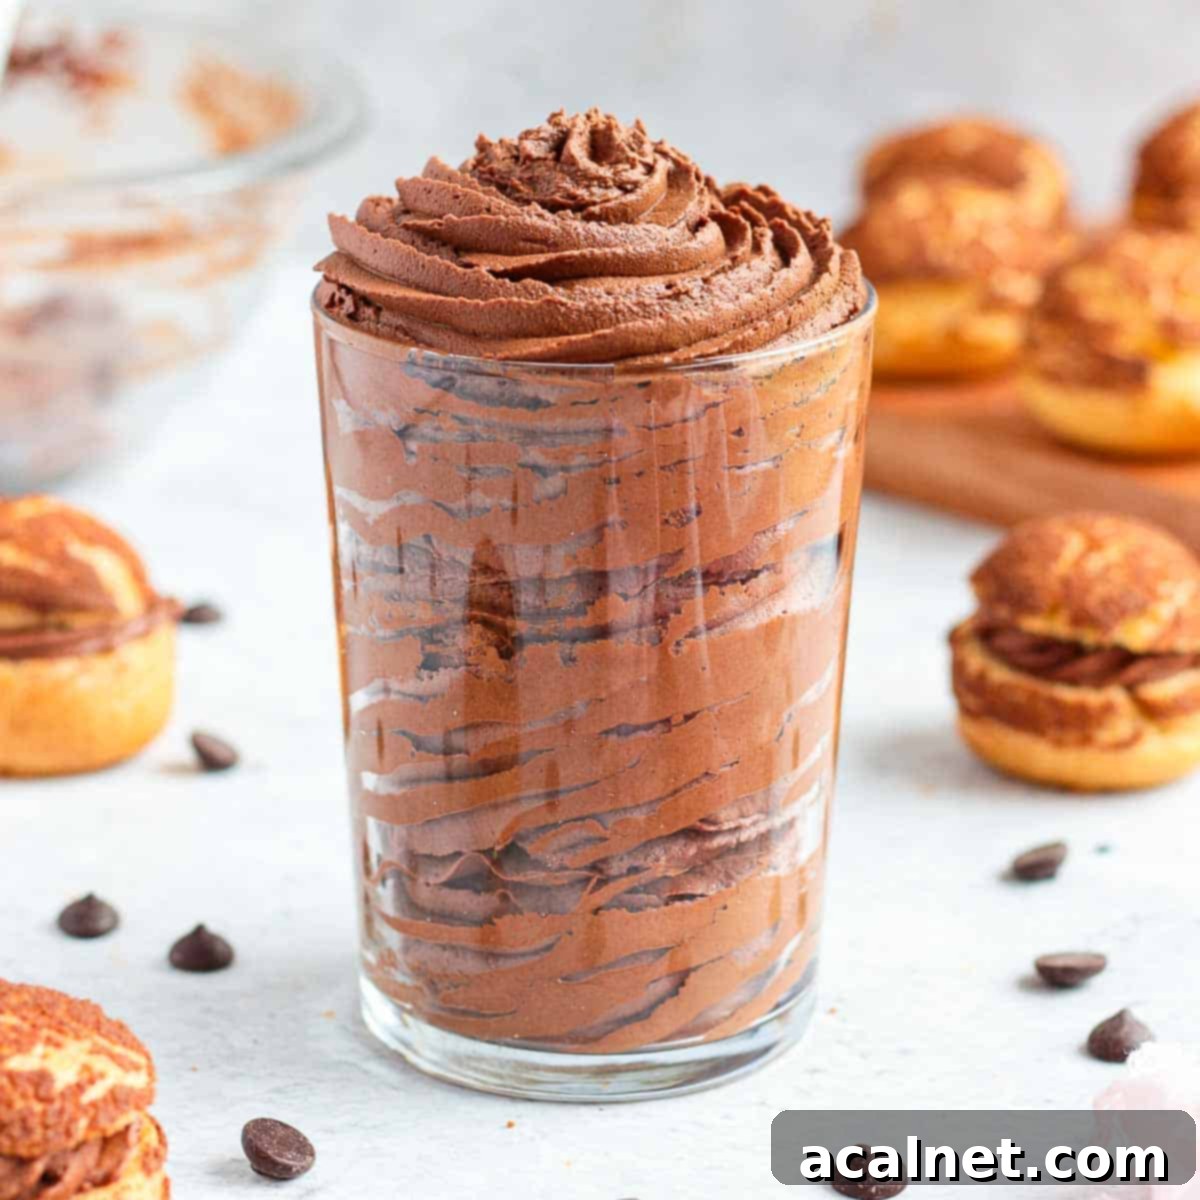
Effortlessly Decadent: The Ultimate 2-Ingredient Whipped Chocolate Ganache Frosting (Ganache Montée)
Prepare to be amazed by this unbelievably easy and incredibly decadent Whipped Ganache. It’s hands down the simplest and most delicious chocolate frosting you will ever create. With just two core ingredients, and absolutely no added sugar or butter, this Whipped Chocolate Ganache Frosting is a game-changer for any dessert lover.
Why You’ll Fall in Love with This Whipped Ganache Recipe
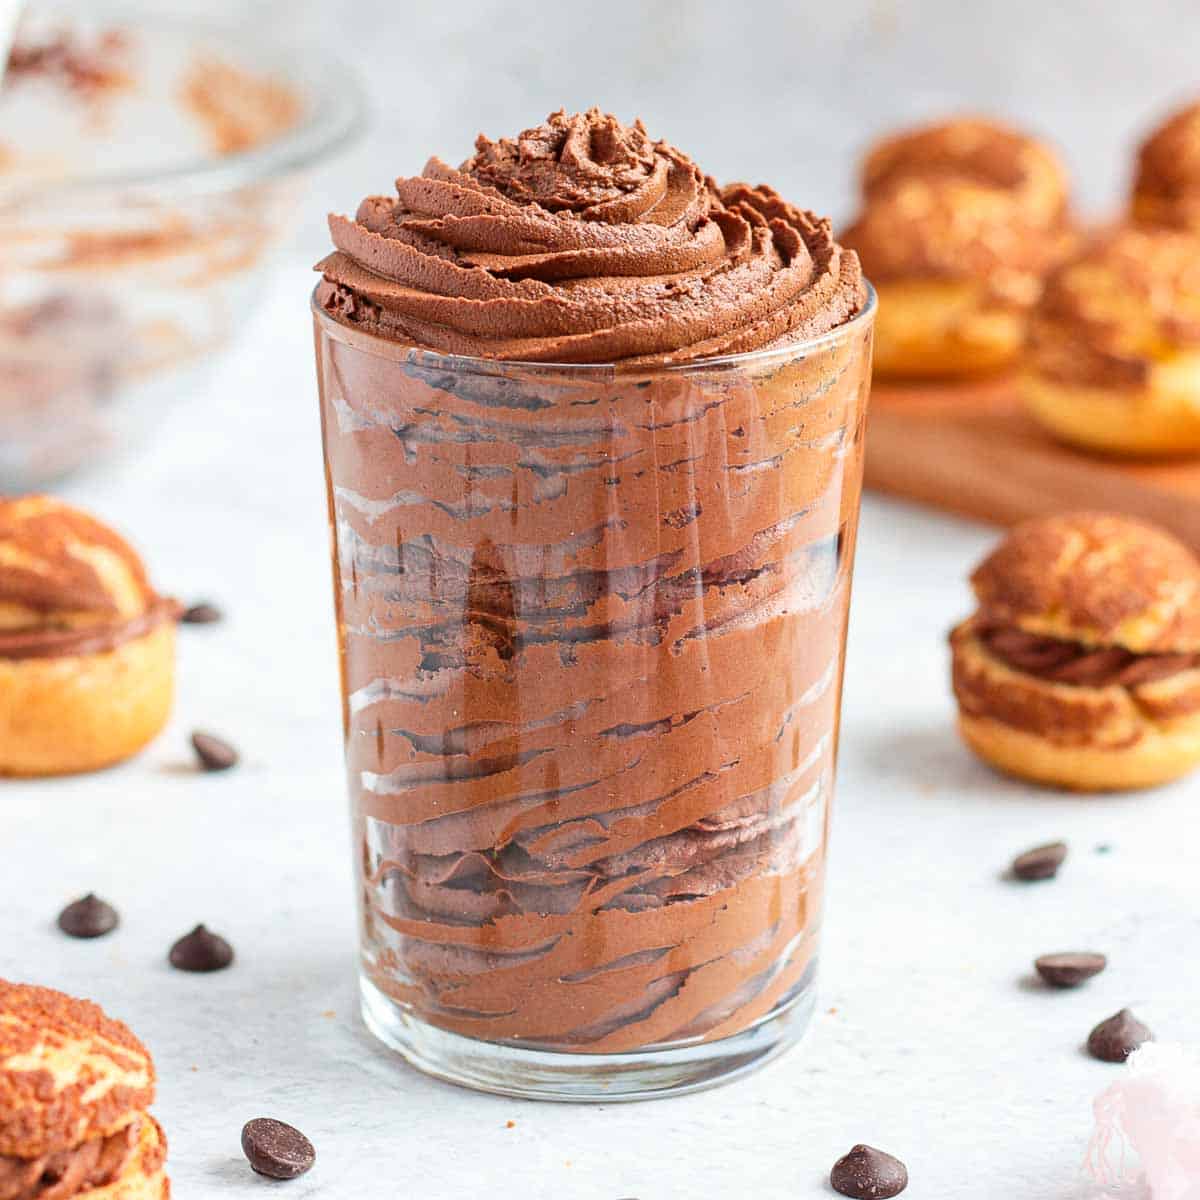
Crafting a rich, luxurious chocolate cream to adorn your tarts, pastries, or to fill an exquisite cake has truly never been simpler. This elegant Whipped Chocolate Ganache Frosting, known in French as “Ganache Montée,” requires only two fundamental ingredients, making it an accessible indulgence for any home baker.
Much like its cousin, a classic Chocolate Whipped Cream, this delightful chocolate frosting distinguishes itself by being entirely free of added sugar and butter. Its incredible versatility allows it to be used in countless ways, whether as a sumptuous filling or a beautiful topping. It serves as an excellent, lighter alternative to traditional chocolate buttercream, frosting, or icing, providing a pure, intense chocolate flavor without the heaviness.
One of the key advantages of Whipped Ganache is its remarkable stability. It holds its shape exceptionally well, similar to a Chocolate Cremeux or Namelaka, making it ideal for piping intricate decorations or creating stable cake layers. This contrasts beautifully with a Chocolate Pastry Cream, which typically has a runnier consistency. Its firm yet ethereal texture and intensely rich chocolate taste make it a superior choice for elevating your sweet creations.
Essential Ingredients for Perfect Whipped Ganache
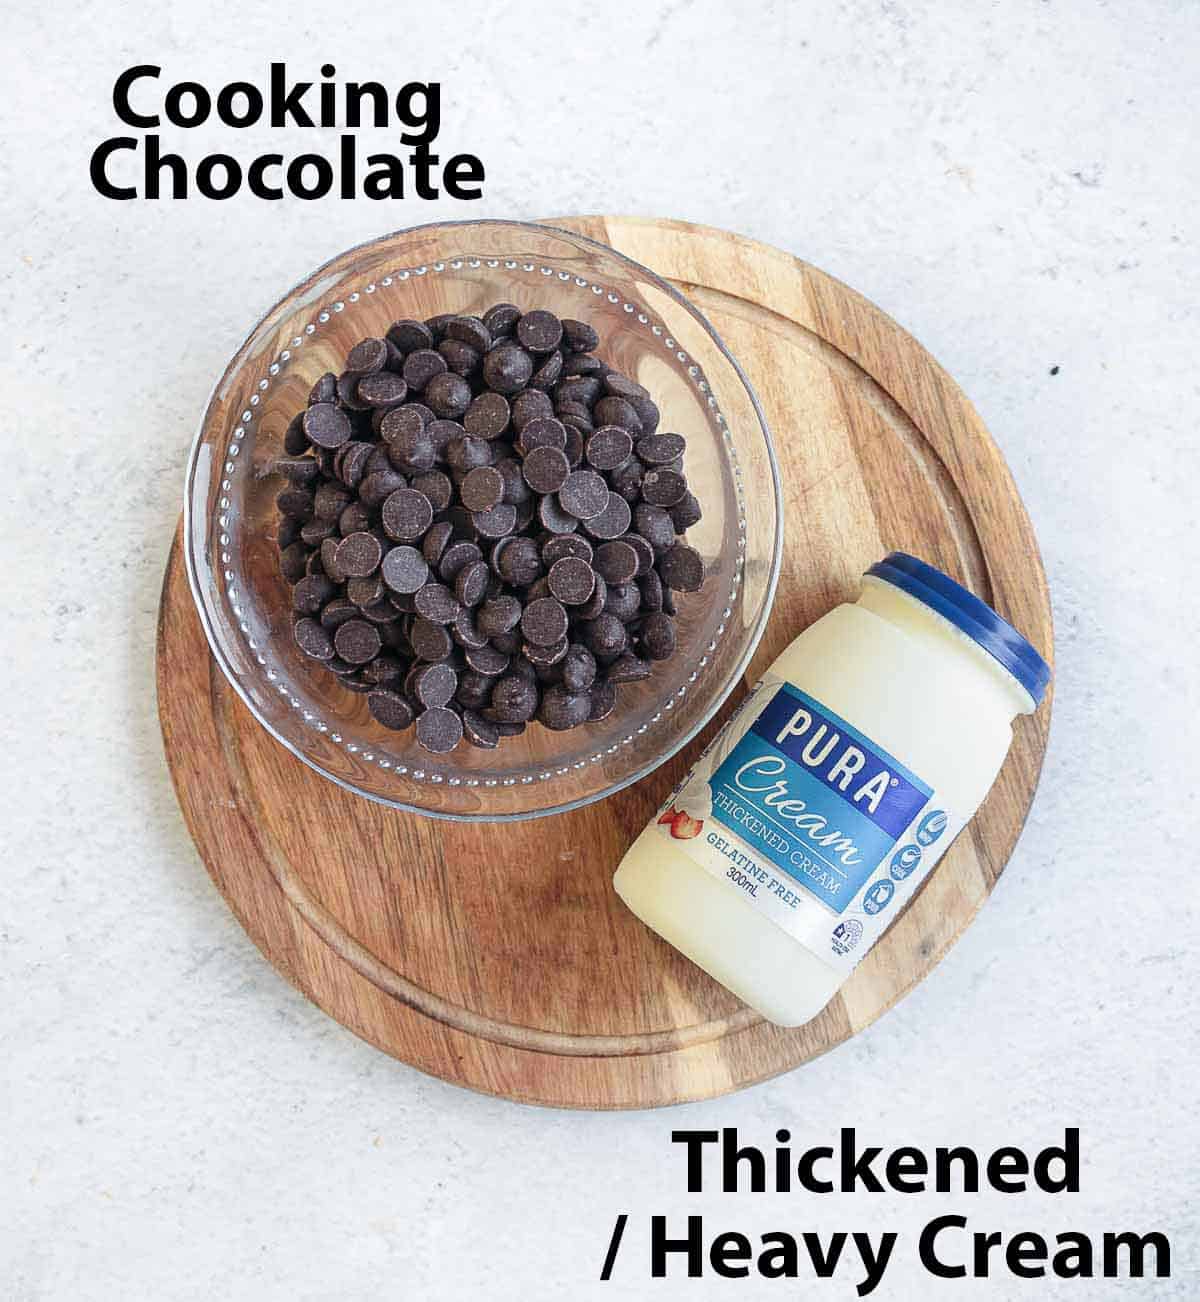
Remarkably, only two ingredients are required to create this luscious chocolate whipped cream, making it a delightfully straightforward recipe:
- Chocolate: The type of chocolate you choose will significantly impact the flavor and the required cream ratio. You can use dark, milk, or white chocolate, but the crucial factor is that it must be cooking chocolate (also known as couverture chocolate). Cooking chocolate is formulated with a higher cocoa butter content and is designed to melt smoothly and re-solidify correctly. Using regular eating chocolate (like a standard chocolate bar) often leads to a grainy, dense, or greasy whipped ganache because it contains stabilizers and less cocoa butter, preventing proper emulsification. For a richer, more intense flavor, opt for a dark chocolate with a higher cacao percentage.
- Cream: For successful whipping, you need a high-fat cream. This means using a thickened cream, heavy cream, or double cream with a minimum fat content of at least 30%. Creams with a lower fat percentage, such as light cream or half-and-half, will simply not whip properly, resulting in a liquid ganache that lacks the desired volume and stability.
Beyond these two basics, your whipped ganache frosting can be wonderfully flavored. Especially when working with white chocolate, you can infuse it with essences like vanilla extract, coffee extract, orange zest, mint, or even a splash of your favorite liqueur to create a truly bespoke dessert component.
Understanding the Perfect Whipped Ganache Ratio
The fundamental distinction between a classic liquid ganache and a whipped ganache lies in their ingredient ratios. While a traditional liquid ganache typically calls for equal parts chocolate and cream by weight, a whipped ganache requires a significantly higher proportion of cream to chocolate. This increased cream content is essential for achieving that light, airy, and pipeable texture.
The precise ratio of chocolate to cream varies depending on the specific type of chocolate you select. Generally, the darker the chocolate (meaning the higher its cocoa solid percentage), the more cream you will need to balance its intensity and ensure a smooth, stable emulsion:
- Dark Chocolate: For dark chocolate, a ratio of 1 part chocolate to 3 parts cream is ideal. For example, use 100 grams of dark chocolate for 300 ml of heavy cream. This balance allows the robust chocolate flavor to shine while providing enough cream to whip into a light, stable frosting.
- Milk Chocolate: When using milk chocolate, which is sweeter and contains more milk solids and less cocoa, adjust the ratio to 1 part chocolate to 2.5 parts cream. For instance, 100 grams of milk chocolate would pair with 250 ml of cream.
- White Chocolate: White chocolate, being the sweetest and containing no cocoa solids but primarily cocoa butter, requires a slightly different balance. Use a ratio of 1 part chocolate to 2.4 parts cream. So, 100 grams of white chocolate would be combined with 240 ml of cream.
For optimal accuracy and consistent, superior results, I highly recommend using a kitchen scale to measure your ingredients in grams and milliliters, as indicated. Measuring with cups and spoons can often be imprecise and lead to varying outcomes.
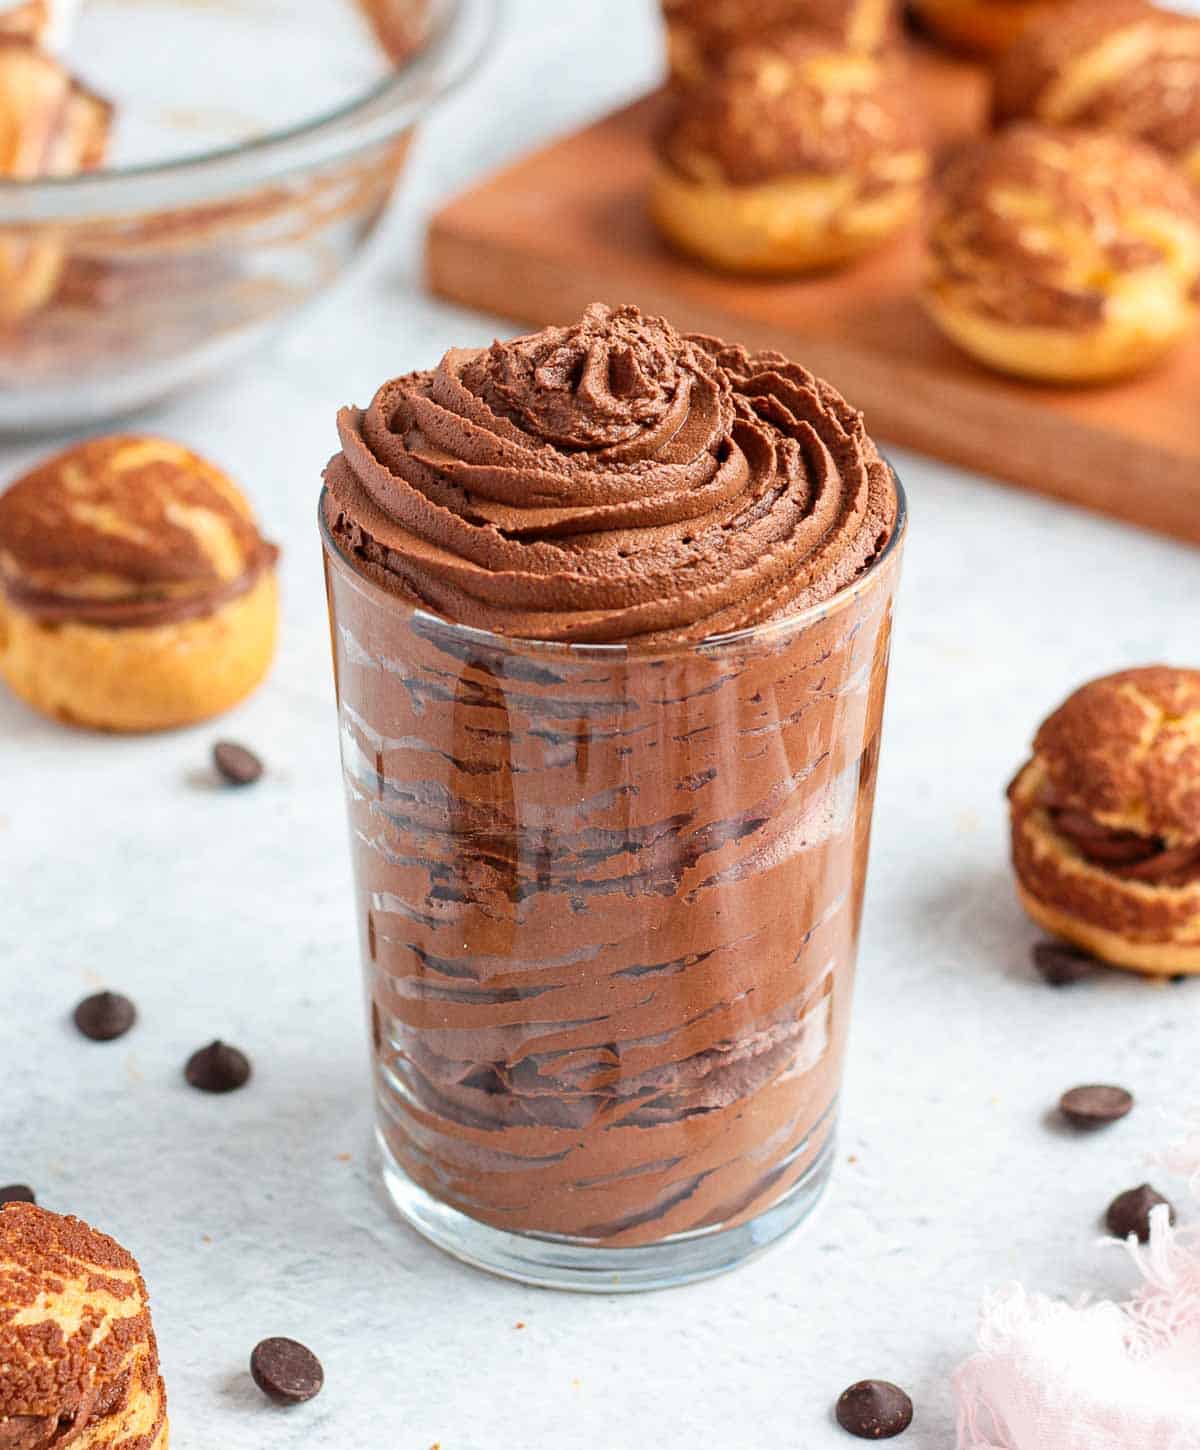
How to Prepare Homemade Whipped Chocolate Ganache: A Step-by-Step Guide
Creating whipped ganache is a surprisingly straightforward process that combines the simplicity of making a classic chocolate ganache with the familiar technique of whipping cream. Follow these steps for a perfect, airy chocolate frosting:
- Begin by placing your chosen cooking chocolate in a heat-proof mixing bowl. If you are using a chocolate bar, ensure you chop it finely into small, uniform pieces. This allows it to melt evenly and quickly. If using couverture chocolate callets or chips, you can use them as is.
- Next, pour your heavy cream into a small saucepan and gently heat it on the stove over low to medium heat. Watch it carefully and remove it from the heat as soon as it begins to simmer around the edges, before it comes to a full boil. Boiling the cream can scorch it and negatively affect the chocolate’s flavor.
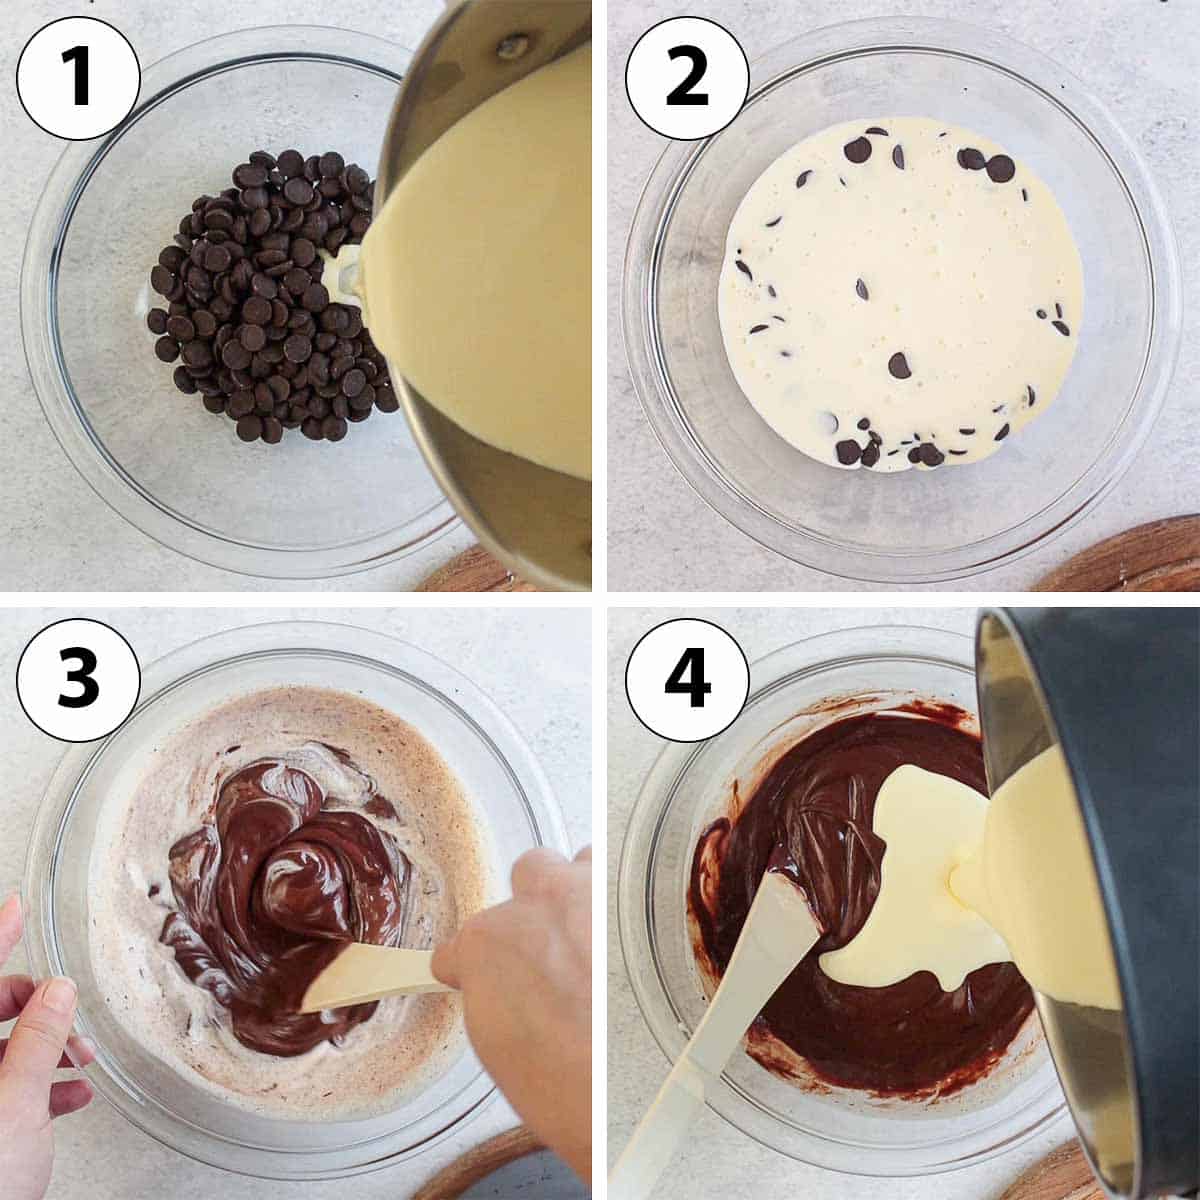
- Photo 1: Once the cream reaches a gentle simmer, carefully pour approximately two-thirds of the hot cream directly over the finely chopped chocolate in your mixing bowl.
- Photo 2: Resist the urge to stir immediately. Allow the hot cream to sit undisturbed over the chocolate for 2 to 3 minutes. This crucial resting period allows the heat from the cream to gently melt the chocolate, preparing it for emulsification.
- Photo 3: After resting, take a spatula and begin stirring the two ingredients together. Start with small, circular movements from the very center of the bowl, gradually expanding your circles outwards towards the edges. This technique is vital for creating a smooth, stable emulsion. As you continue to stir, the ganache will slowly start to come together, transforming into a thick, glossy mixture as the hot cream fully incorporates with the melted chocolate.
- Photo 4: When you no longer see any visible cream and the mixture is mostly emulsified, add the remaining hot cream to the melted chocolate and repeat the stirring process. Continue to mix until the ganache is completely smooth and shiny. If at any point the cream has cooled significantly, you may need to gently re-heat it to ensure all the chocolate melts thoroughly.
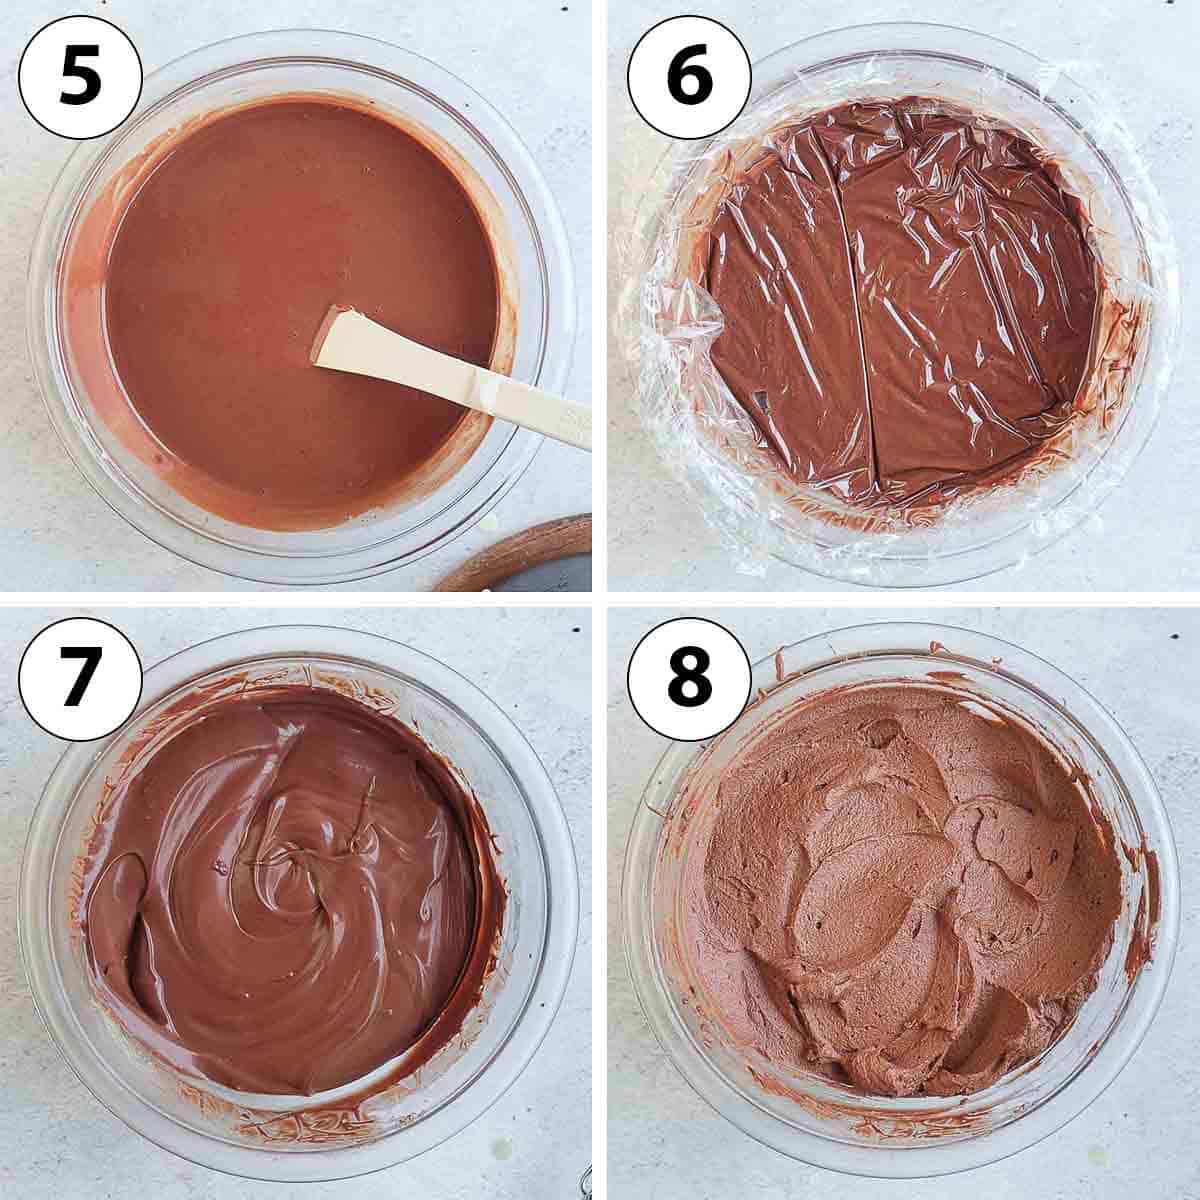
- Photo 5: At this stage, you should have a very smooth and somewhat liquid chocolate ganache. If you still spot any tiny bits of unmelted chocolate, you can gently warm the bowl over a double boiler (bain-marie) or briefly microwave it in very short 15-second bursts, stirring well after each interval, until fully melted and smooth.
- Photo 6: Cover the surface of the ganache directly with plastic wrap, pressing it down so it touches the entire surface. This prevents a skin from forming. Place the covered ganache in the refrigerator to cool down completely and set. This will take at least 2 hours, but for the best results and easiest whipping, chilling it overnight is highly recommended.
- Photo 7: After adequate chilling time in the fridge, the ganache should have transformed. It will be firm, thick, and retain its beautiful glossy sheen.
- Photo 8: Transfer the thoroughly chilled ganache into a large mixing bowl or the bowl of a stand mixer fitted with a whisk attachment. Begin whipping the very cold ganache on a medium speed, gradually increasing to high speed. Pay close attention to the consistency. As soon as the ganache starts to stiffen and holds soft peaks, stop and check it. Continue to whip in short bursts of a few seconds at a time if needed, carefully monitoring the texture. Whipped ganache can over-whip very quickly and turn grainy, so it’s crucial to stop as soon as it reaches your desired consistency – typically soft to medium-firm peaks.
If you’re not planning to use the whipped ganache immediately, cover it again with plastic wrap (surface touching) and store it in the refrigerator for up to 2 days. When you’re ready to use it, remove it from the fridge and let it sit at room temperature for 5 to 10 minutes to soften slightly. If it’s too firm, gently loosen it with a spatula or whisk until it reaches a pipeable consistency.
Expert Tips & Common Troubleshooting for Whipped Ganache
Essential Tips for Success:
- Chill Thoroughly for Best Results: The ganache absolutely needs to be very cold to whip properly and achieve its light, stable texture. It’s an excellent practice to prepare the base ganache the day before you plan to whip and use it, allowing it to chill in the fridge overnight. This extended chilling time ensures optimal consistency.
- Accelerate Cooling if Needed: If you’re pressed for time, you can speed up the cooling process. After initially melting the chocolate with about half of the hot cream, add the remaining cream cold (not hot). Then, transfer the ganache into a shallow pan, like a brownie pan or a metal baking sheet, which will help it cool down much more quickly than in a deep bowl.
- Avoid Over-Whipping: This is perhaps the most critical tip. It’s always better to slightly under-whip the ganache than to over-whip it. Whipped ganache can split or turn grainy very rapidly, much faster than regular whipped cream. Once the ganache starts to thicken, stop frequently to check the consistency. Whip only for a few seconds at a time until you reach soft to medium-firm peaks. It will continue to firm up a bit in the fridge, so don’t be afraid to stop slightly early.
- Adjust Sweetness Naturally: Instead of adding granulated sugar or other sweeteners directly to the ganache, consider adjusting its inherent sweetness by choosing a different type of chocolate. The higher the percentage of cacao in your chocolate, the more pronounced and slightly bitter the ganache’s flavor will be. Conversely, using white or milk chocolate will naturally yield a sweeter whipped chocolate ganache than one made with dark chocolate.
Troubleshooting Common Whipped Ganache Issues:
- My Whipped Ganache Split: This unfortunate occurrence typically happens when the emulsion – the stable mixing of water (from the cream) with fat (from the chocolate) – fails. It’s most frequently a temperature-related issue during the initial melting of the chocolate with the hot cream. If your un-whipped ganache has split (it will look greasy and clumpy with separated liquid), you can often save it! Gently re-melt the split ganache over a double-boiler (bain-marie) while continuously stirring with a spatula or whisk. As it heats and becomes liquid again, continue stirring vigorously until it comes back together into a smooth, cohesive mixture. This method works best before the ganache has been whipped.
- The Frosting is Grainy: A grainy texture in whipped ganache is almost always a sign of over-whipping. Cream stiffens much more quickly than, say, egg whites, so you must exercise extreme caution once the ganache begins to thicken. As mentioned above, stop often to check the consistency, whipping only for a few seconds at a time until you achieve your desired smooth, light texture. To try and rescue a grainy, over-whipped ganache, you can sometimes add a very small amount of cold heavy cream (a tablespoon at a time) and gently whisk it in by hand until it smooths out, being careful not to over-whisk again.
- The Ganache is Not Holding its Shape: If your whipped ganache isn’t holding its shape, there are a few potential culprits. First, double-check if you used the correct ratio of cream to chocolate for your specific chocolate type (dark, milk, or white). Remember, these ratios are crucial for stability. Second, ensure that your cream had at least 30% fat content; low-fat creams will not whip. Lastly, it could simply be due to under-whipping the ganache; it might need a few more seconds of careful whipping to reach the proper stiff-peak consistency. Also, ensure the ganache was thoroughly chilled before whipping.
Frequently Asked Questions About Whipped Ganache Frosting
While both offer a light, airy chocolate texture, chocolate mousse traditionally relies on eggs (often separated, with whites whipped to peaks) to create its characteristic lightness. Whipped Ganache, on the other hand, achieves its texture purely from the aeration of a high-fat cream and chocolate mixture. Whipped ganache generally tends to be more stable and holds its shape better than most chocolate mousses, making it particularly excellent for piping and decorating cakes, whereas mousse is often served as a standalone dessert.
Yes, you absolutely can use dark, milk, or white chocolate for this recipe. However, it is paramount that you use cooking chocolate (also known as baking chocolate or couverture chocolate). Standard eating chocolate bars contain different types of fats and stabilizers that prevent them from melting and re-solidifying correctly for ganache, often resulting in a grainy, separated, or waxy texture once whipped. Always choose a good quality baking chocolate for the best results. You can find more information about different types of chocolate here.
No, not just any cream will work. For successful whipped ganache, the cream needs to have a minimum fat content of at least 30%. This is why heavy cream, thickened cream, or double cream are the preferred choices. Creams with lower fat percentages, such as light cream, half-and-half, or single cream, lack the necessary fat structure to emulsify with the chocolate and aerate properly, meaning they will remain liquid and will not whip.
This luscious chocolate frosting should always be stored in an airtight container in the refrigerator. It will maintain its quality for up to 2 days, whether it has been whipped or is still in its un-whipped, chilled state. I do not recommend freezing this particular type of cream, as its texture can become grainy and separate upon thawing.
Creative Ways to Use This Decadent Chocolate Cream
The versatility of this whipped chocolate ganache knows no bounds. Its rich flavor and stable, airy texture make it perfect for a myriad of applications, transforming ordinary desserts into extraordinary delights:
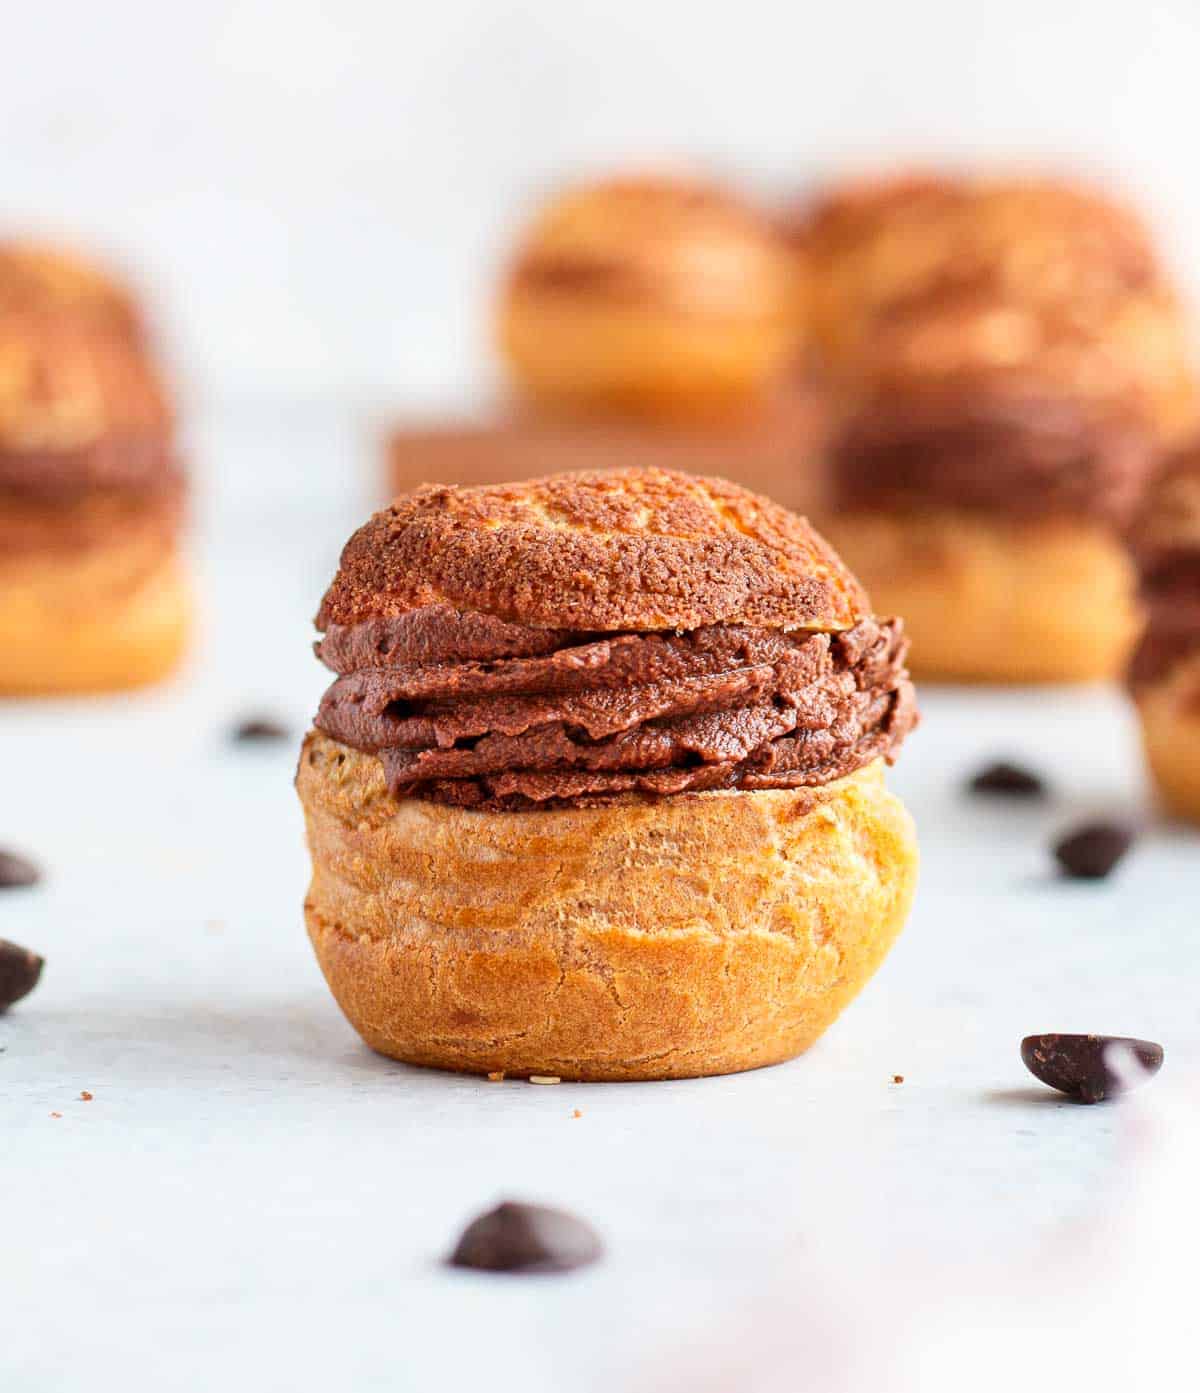
- As a luxurious filling for classic Choux Buns or crispy Choux au Craquelin.
- An exquisite cake frosting, providing a light yet intensely chocolatey coating, perfect for a Chocolate Loaf Cake or any layer cake.
- To elegantly decorate and elevate a Chocolate Ganache Tart, adding a beautiful swirl or piping.
- Serve it simply as a delightful, easy-to-make Eggless Chocolate Mousse, perhaps layered with fresh berries.
- Use it as a filling for cupcakes, éclairs, or sandwich cookies.
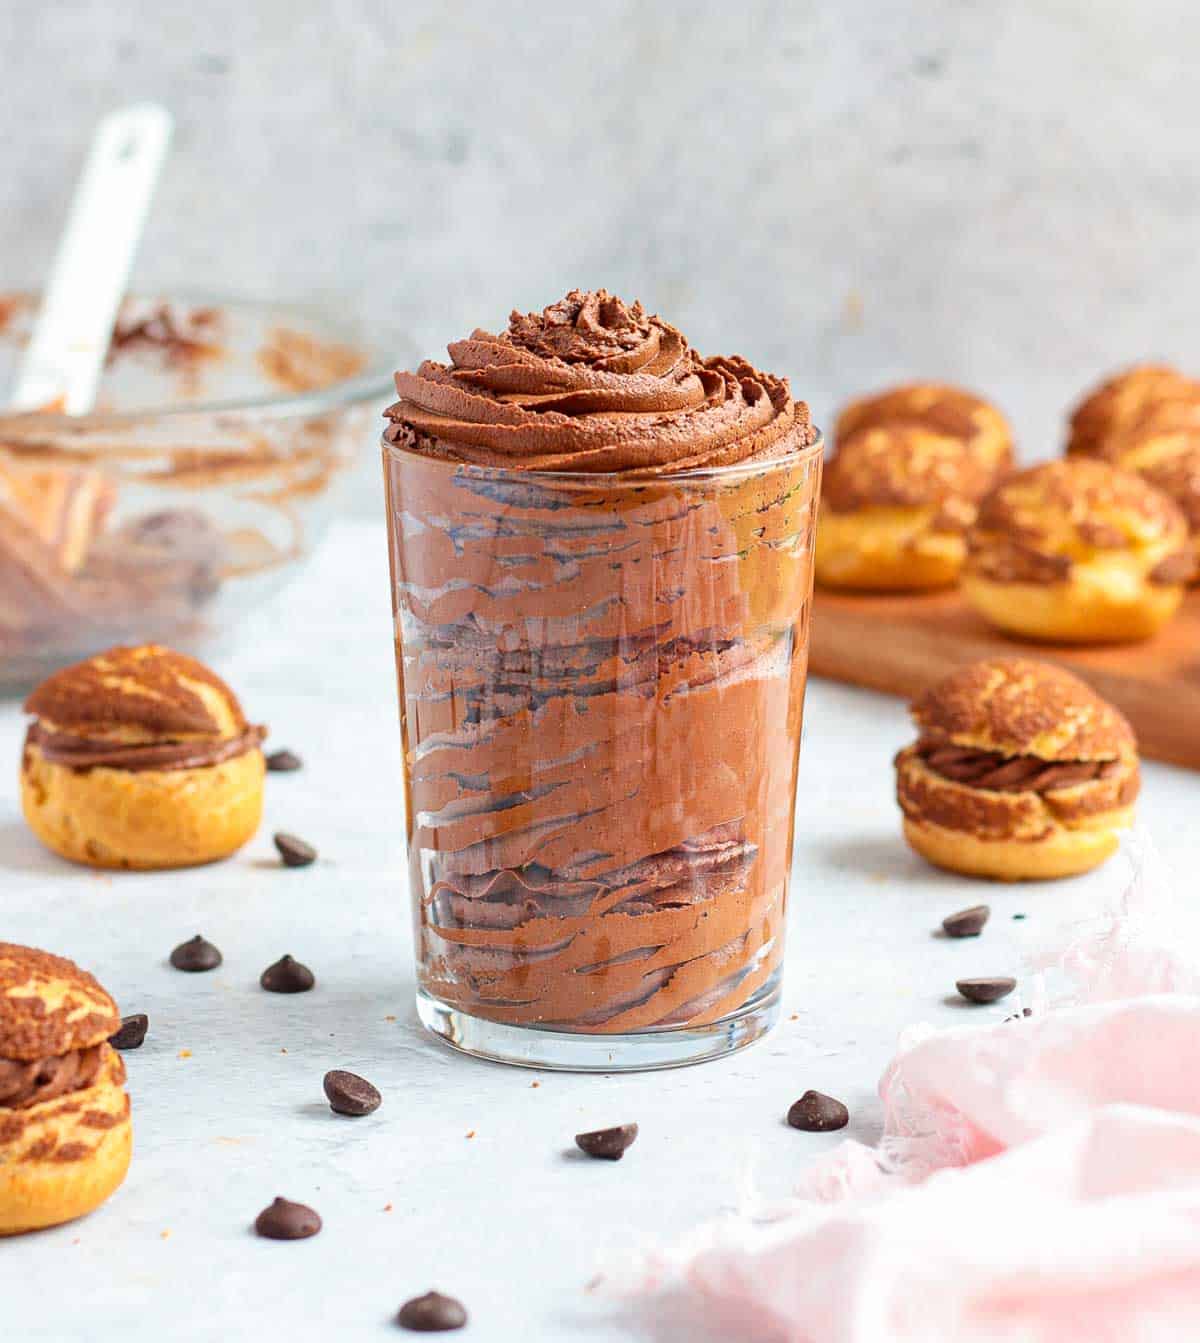
- Pipe it into small dessert glasses and top with chocolate shavings or fruit for a quick, impressive treat.
- A sophisticated topping for hot chocolate or coffee.
Explore More Decadent Chocolate Desserts
If you’re a chocolate enthusiast, you’ll love these other rich and delightful chocolate-focused recipes:
- Irresistible Chocolate and Raspberry Brownies
- Moist Chocolate Beetroot Cake with Ganache
- Elegant Double Chocolate Bavarois Cake
- Fun and Easy Chocolate Cornflake Cakes
- Quick and Easy Chocolate Brownie Bites
- Indulgent Double Chocolate Brownie Muffins
- Classic French Baked Chocolate Tart
Made this recipe?
Let us know if you liked it by leaving a comment below, and tag us on Instagram @a.baking.journey with a photo of your creation!
Recipe
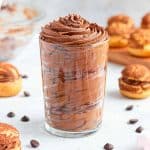
Whipped Chocolate Ganache Frosting
Print Recipe
Ingredients
- 100 gr (3,5 oz) Dark Cooking Chocolate, (see notes below if using milk or white chocolate)
- 300 ml (1 1/4 cup) Heavy / Thickened Cream, (at least 30% fat content)
Instructions
- Place the Cooking Chocolate in a heat-proof mixing bowl. If using a chocolate bar, finely chop it first.
- Place the Cream in a small saucepan and turn on low heat. Bring to a simmer then remove from the stove (see note 1)
- Pour about 2/3 of the hot cream over the Chocolate and leave to melt for 2 to 3 minutes without touching it. Then using a spatula, stir together in small circular movements starting from the centre of the bowl and slowly making your way towards the edges. You should get a thick ganache (see note 2).
- Add the rest of the hot cream (see note 3) and stir again until all the chocolate has melted and the ganache is thin and shiny.
- Cover with plastic wrap touching the surface of the ganache and place in the fridge to rest for at least 2 hours, preferably overnight. Once it is very cold, the ganache should have thickened and hardened.
- Transfer into the bowl of your mixer and whip on medium speed, slowly increasing to high speed. Stop as soon as the cream starts to stiffen (see note 4). Use straight away or store in the fridge for up to two days (see note 5).
Video
Would you like to save this recipe?
We’ll email this post to you, so you can come back to it later!
Notes
Yield: this recipe will make about 2 cups or 400 grams of Whipped Ganache. If you need more or less, simply use the 1:3 ratio (or the recommended ratio for the type of chocolate below) to increase or decrease the quantities.
Ingredients Note:
Chocolate: I used a 70% Dark Cooking Chocolate for this recipe, with a ratio of 1 chocolate to 3 cream. If using Milk or White Chocolate, the ratios are different:
- Dark Chocolate: 100 grams of chocolate for 300ml of cream (1 part chocolate to 3 parts cream)
- Milk Chocolate: 100 grams of chocolate for 250ml of cream (1 part chocolate to 2,5 parts cream)
- White Chocolate: 100 grams of chocolate for 240ml of cream (1 part chocolate to 2,4 parts cream)
You need to use proper Cooking (or Baking) Chocolate or Couverture Chocolate – using eating chocolate will result in a grainy whipped ganache.
Cream: make sure the cream you use has a minimum fat content of 30%, or it will not whip.
Instruction Notes:
- Make sure the cream is not boiling or you might burn the chocolate.
- You will probably still have a few unmelted chunks of chocolate, it’s normal.
- If the rest of the cream is not hot anymore, slightly reheat it before adding it to the chocolate. If you still have unmelted pieces of chocolate after adding all the hot cream, you can finish it over a double-boiler/bain-marie or in the microwave (no more than 15 seconds at the time to avoid burning the chocolate).
- It is very easy to over-whip the ganache as the cream will stiffen very quickly. I highly recommend stoping and checking the consistency as soon as the ganache seems to get stiff, then continue whipping for a few seconds at the time only if needed until you reach the desired consistency. It is better to under-whip than over-whip the ganache or it will become grainy.
- Take it out of the fridge for 5 to 10 minutes to get back to room temperature before using it or it will be too hard to pipe. You might want to slightly loosen the cream with a whisk before using it as well.
Nutrition (per serving)
