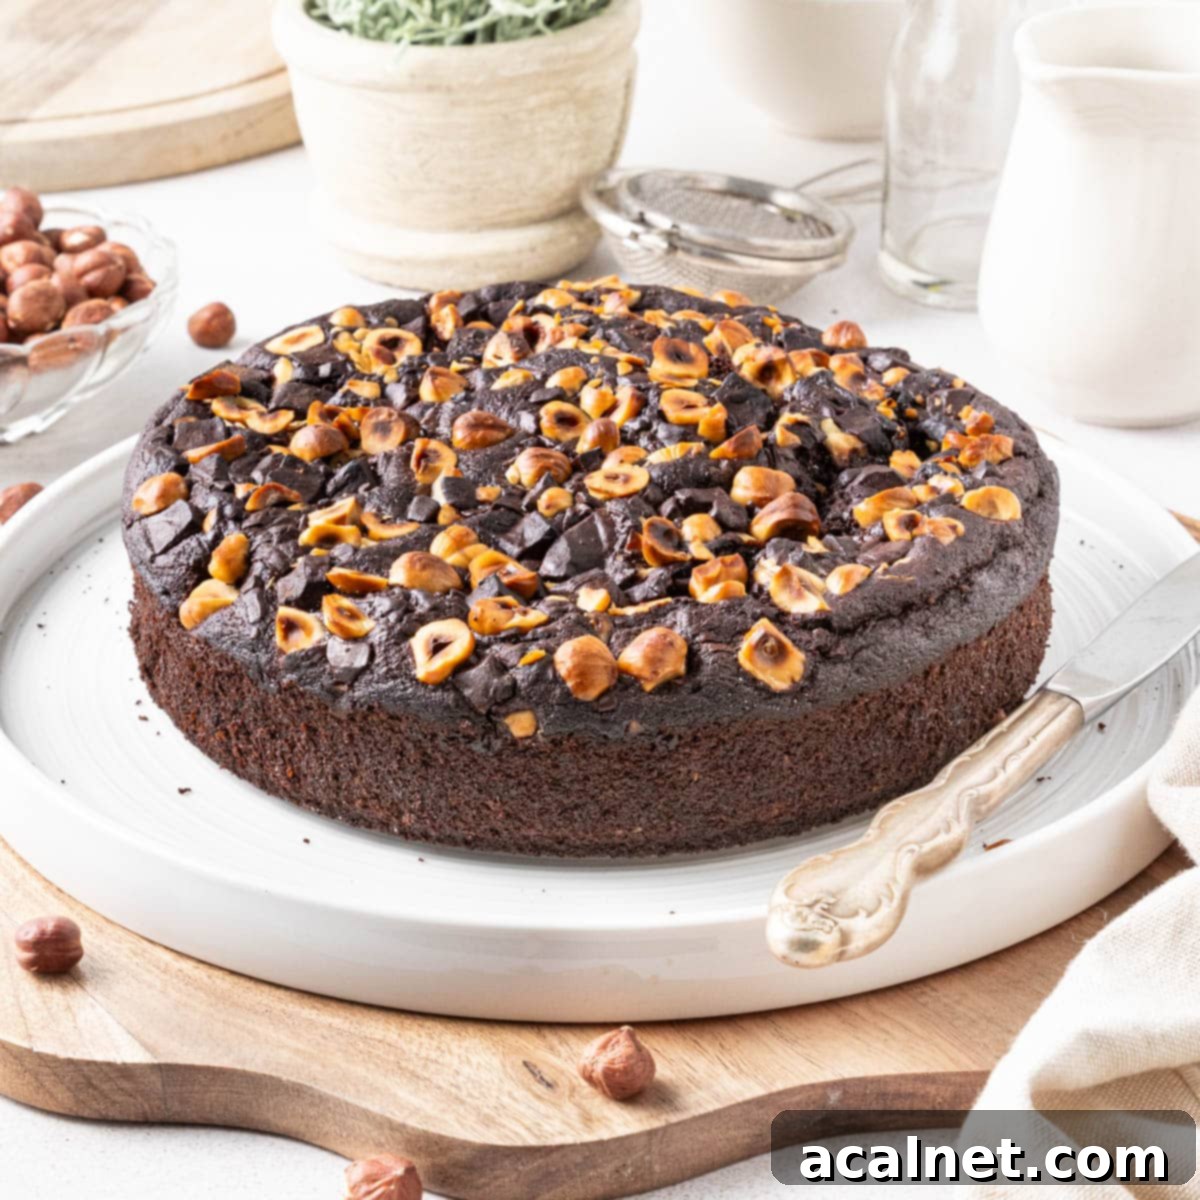
Decadent & Easy One-Layer Chocolate Hazelnut Cake: A Quick & Simple Recipe
Indulge in the rich, deep flavors of chocolate and the earthy warmth of hazelnuts with this incredibly simple, one-layer Chocolate Hazelnut Cake. This recipe is designed for ease and speed, allowing you to create a deliciously decadent dessert in less than an hour. Perfect for a spontaneous sweet craving, an elegant afternoon tea, or a delightful dinner dessert, this cake promises a moist crumb, intense flavor, and a satisfying nutty crunch without any fuss. Forget complicated multi-layered confections; this single-layer marvel stands out with its unpretentious charm and irresistible taste.
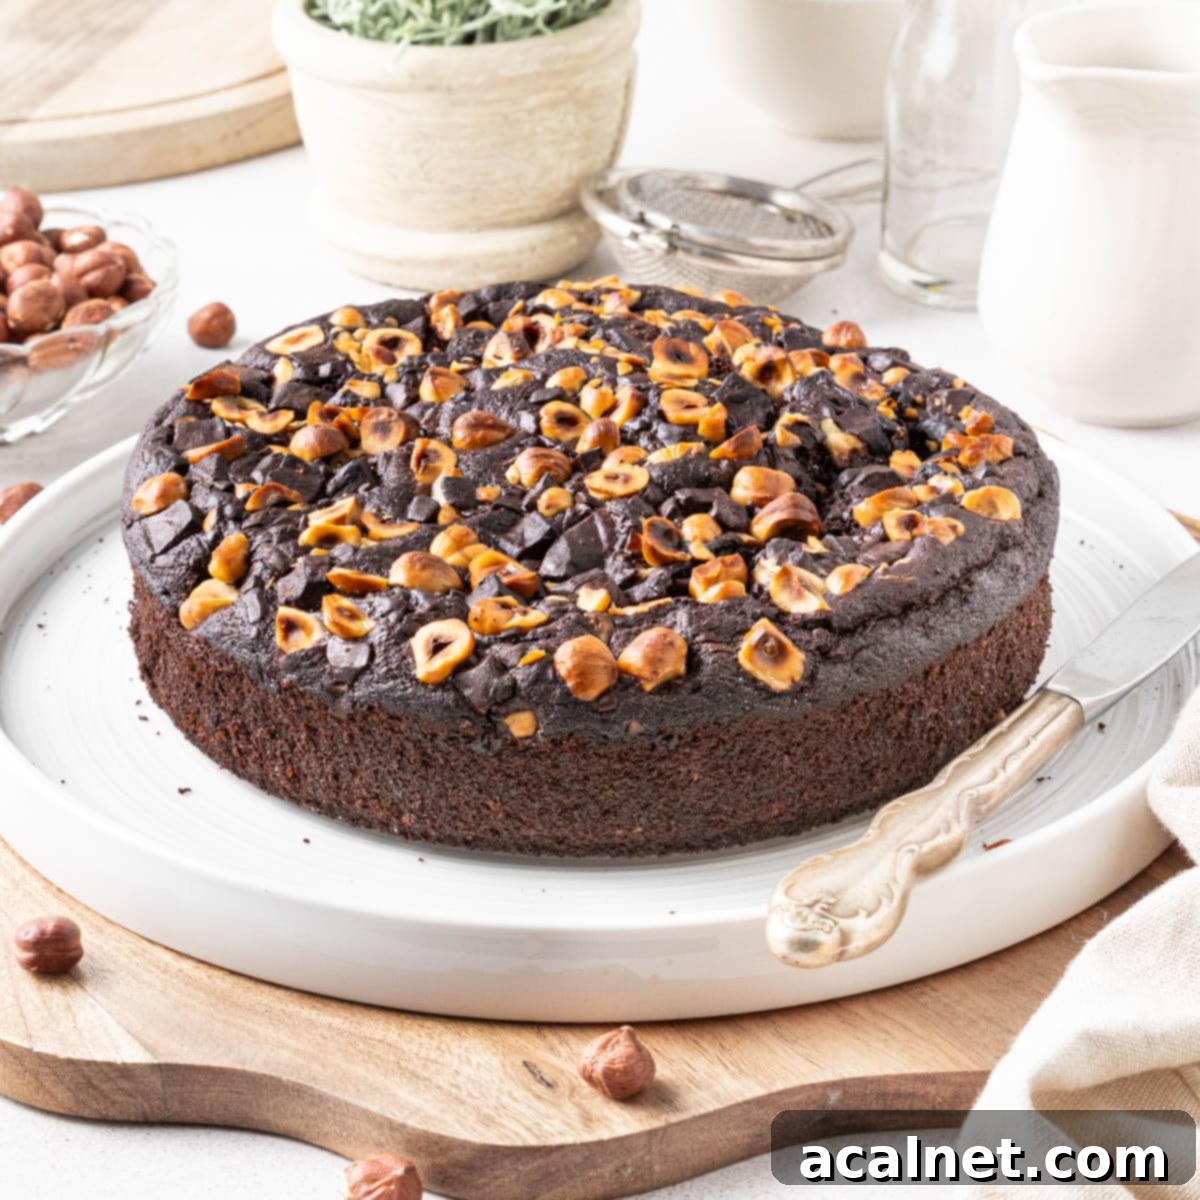
Why You’ll Adore This Easy Chocolate Hazelnut Cake
If you’re a true connoisseur of the harmonious pairing between intense chocolate and the rich, earthy undertones of hazelnut, then this recipe is an absolute must-try! Our Chocolate Hazelnut Cake distinguishes itself through its incredible simplicity and speed. There’s no need for an electric mixer, and the preparation time is wonderfully minimal, meaning you can have this exquisite cake out of the oven and filling your kitchen with its irresistible aroma in under an hour. It’s truly a baker’s dream for those moments when you crave something special without the lengthy commitment.
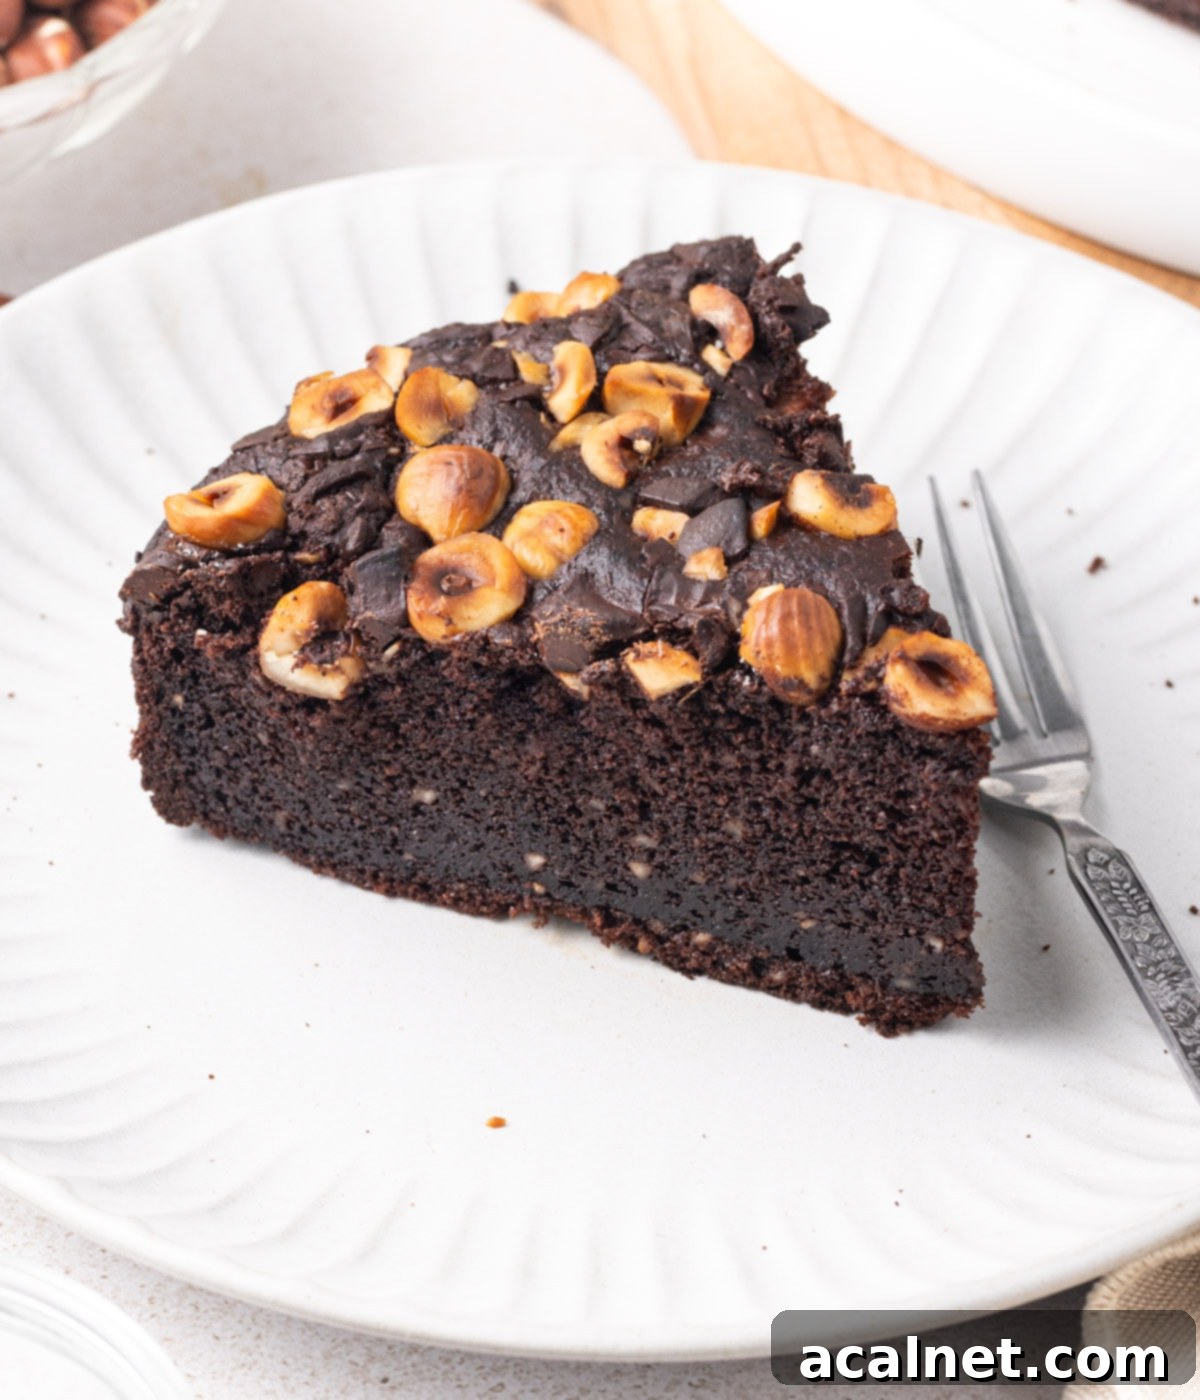
What makes this cake stand out is its perfectly balanced sweetness. We steer clear of overly sugary flavors, allowing the deep notes of natural cocoa powder and roasted hazelnuts to truly shine through – so, no cloyingly sweet Nutella taste here! The texture is just as captivating: a wonderfully light and moist crumb that melts in your mouth, complemented by a delightful, subtle crunch. This texture comes from the generous inclusion of hazelnuts, both finely ground within the batter and expertly roasted on top. Every bite offers a symphony of flavor and texture that is both comforting and sophisticated.
Looking for more delightful chocolate and hazelnut combinations? Explore these other fantastic recipes: Chocolate Hazelnut Shortbread Cookies for a delightful bite-sized treat.
Essential Ingredients for Your Perfect Chocolate Hazelnut Cake
Crafting this magnificent cake begins with understanding the role of each ingredient. Here’s a closer look at what you’ll need and why it matters:
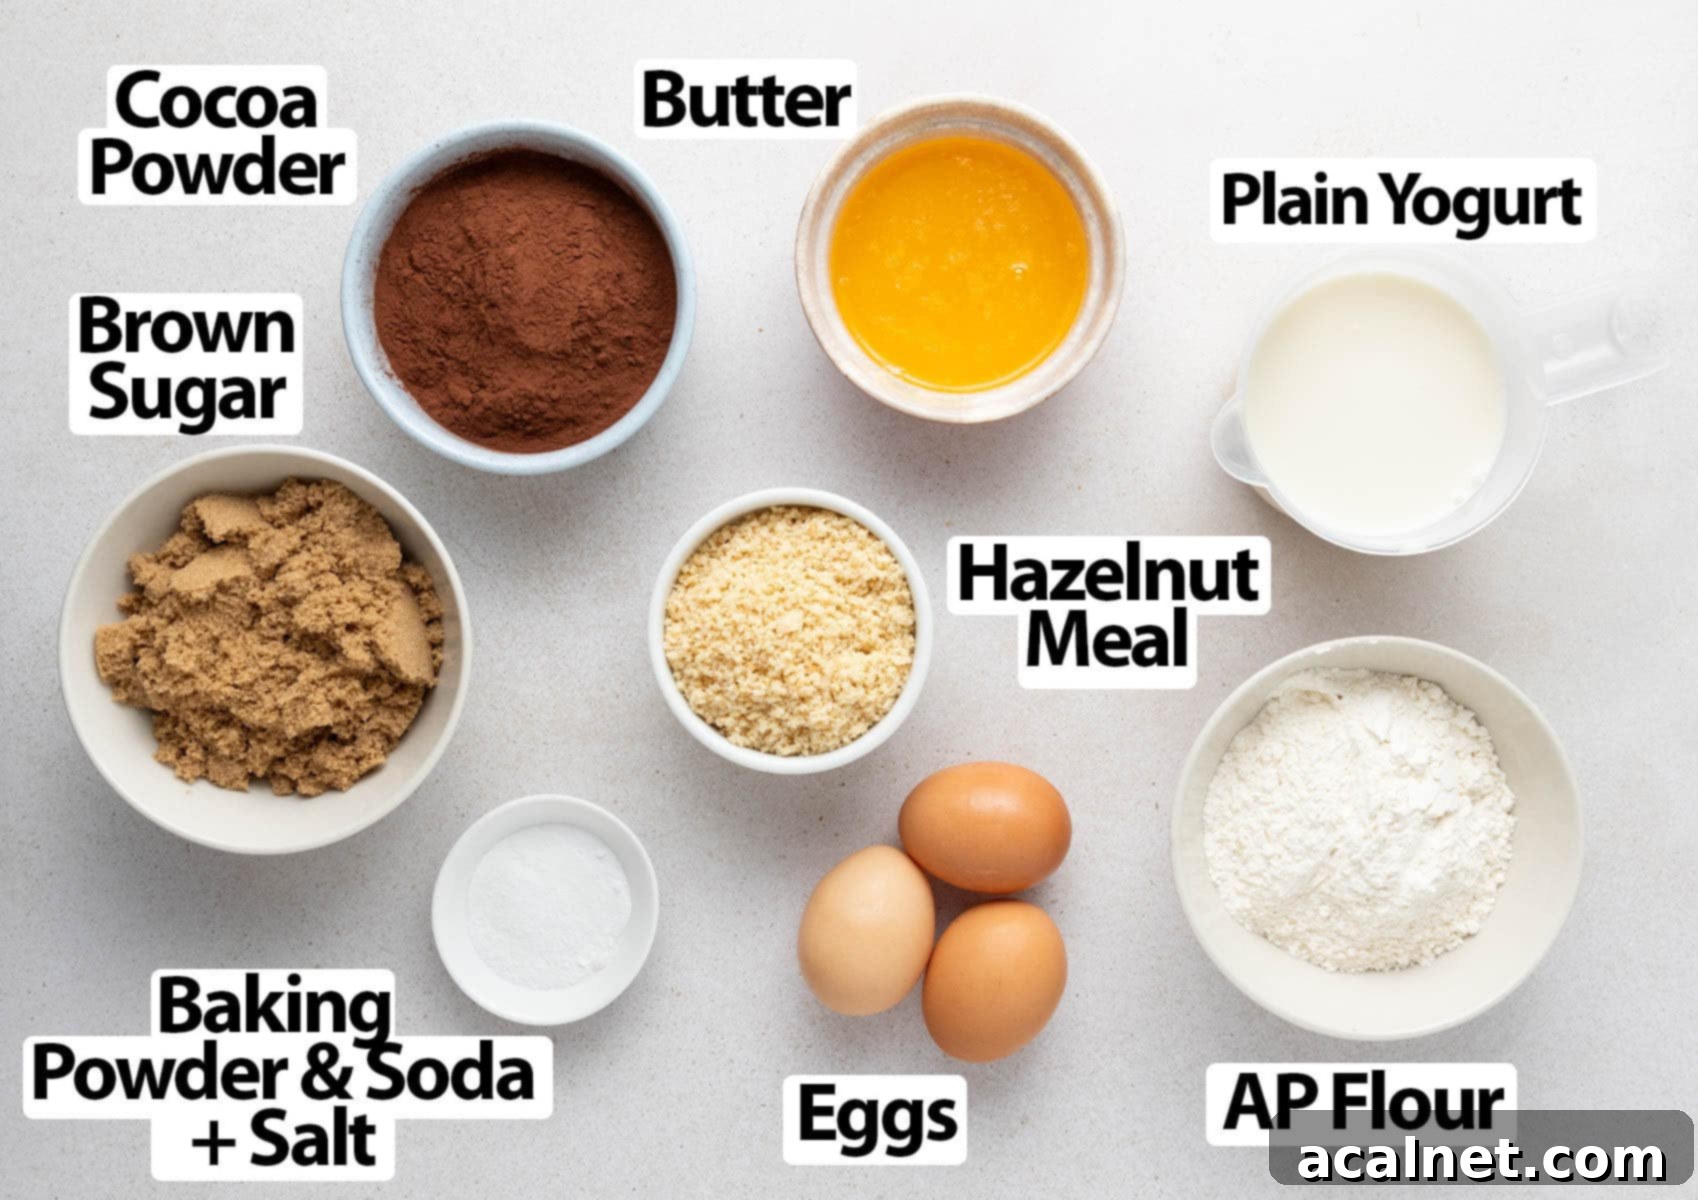
Scroll down to the recipe card below for all precise quantities.
Here’s a breakdown of the key components that make our chocolate hazelnut cake so special:
Dry Ingredients for Structure and Flavor
- Cocoa Powder: For that rich, intense chocolate flavor, always opt for unsweetened, natural cocoa powder. This type of cocoa powder has a higher acidity, which reacts beautifully with the baking soda in the recipe, aiding in the cake’s rise and creating a tender crumb. Dutch-process cocoa powder, being neutralized, will not have the same reaction and may result in a denser cake.
- Hazelnut Meal: Also commonly referred to as hazelnut flour, this ingredient is the heart of our nutty flavor. You can often find pre-packaged hazelnut meal at most supermarkets or specialty stores. For an even fresher and more robust flavor, we highly recommend making your own at home by grinding roasted hazelnuts. This also gives you control over the texture, from fine flour to slightly coarser meal for added crunch. (See dedicated section below for instructions on how to make your own hazelnut meal!)
- All-Purpose Flour, Baking Powder, Baking Soda, and Salt: These are your standard baking essentials. The flour provides the cake’s structure, while baking powder and baking soda work together to create lift and a light texture. The pinch of salt is crucial for enhancing all the other flavors, particularly the chocolate and hazelnut.
Wet Ingredients for Moisture and Richness
- Brown Sugar: While caster sugar or fine white granulated sugar can be used, light brown sugar is our preferred choice. Its subtle molasses notes complement the deep chocolate beautifully, adding an extra layer of caramelized richness and contributing to the cake’s moistness.
- Eggs: Large eggs, brought to room temperature, are essential. They act as a binder, provide structure, and help incorporate air when whisked with sugar, contributing to the cake’s overall lift and tender texture. Room temperature eggs also emulsify better with other ingredients.
- Unsalted Butter: Melted and then cooled, unsalted butter adds luxurious richness and flavor. It’s vital that the butter is not hot when added to the batter, as hot butter can “cook” the eggs prematurely, affecting the cake’s texture. For a dairy-free option or a slightly lighter cake, vegetable oil (such as canola oil) can be successfully substituted.
- Yogurt: We use plain (natural) yogurt with a more liquid consistency than thick Greek yogurt. The addition of yogurt is a game-changer for this cake. Unlike milk or cream, yogurt’s acidity reacts with the baking soda, further enhancing the cake’s rise. More importantly, it imbues the cake with unparalleled richness, tenderness, and an incredibly moist crumb that stays fresh longer.
Optional Additions to Elevate Your Cake
- Hazelnut Chunks: For an even more pronounced hazelnut flavor and an exceptional textural contrast, scattering roughly chopped hazelnuts over the cake batter before baking is highly recommended. These hazelnuts will lightly roast in the oven, intensifying their aroma and providing a satisfying crunch with every slice.
- Chopped Chocolate: If you desire an even more intense chocolate experience, incorporate additional chopped dark cooking chocolate (e.g., 70% cocoa) or chocolate chips. These can be sprinkled on top to create molten pockets of chocolate goodness, or for a more integrated flavor, they can be gently folded directly into the cake batter before pouring into the pan.
- Coffee: A classic baker’s secret! Adding a shot of hot brewed coffee (or instant coffee dissolved in a small amount of hot water) doesn’t make the cake taste like coffee, but rather deepens and accentuates the chocolate flavor, making it even more robust and complex.
- Vanilla Extract or Essence: A touch of vanilla can round out the flavors beautifully, adding a warm, aromatic note that enhances both the chocolate and hazelnut.
How to Bake Your Decadent Chocolate Hazelnut Cake
This recipe is designed for straightforward execution, making it a joy to bake. Follow these steps to achieve a perfect, moist, and flavorful chocolate hazelnut cake:
If you’re opting to make your own hazelnut meal from whole hazelnuts, begin by preparing them. Roast the blanched hazelnuts in your preheated oven for 8 to 10 minutes until they become fragrant and lightly golden. Once cooled, grind them in a food processor to your desired consistency – a slightly coarse powder adds a fantastic textural dimension and extra crunch to the cake. (Detailed instructions for making hazelnut meal are provided further down the page).
- Prepare Your Oven and Pan: Preheat your oven to 180 degrees Celsius (350 degrees Fahrenheit). Take a 22 cm / 8-inch springform pan and line its bottom with a sheet of baking paper or parchment paper. Lightly grease the sides of the pan with a neutral-flavored oil or butter to ensure easy release.
- Measure and Prep Ingredients: Before you start mixing, have all your ingredients measured out. Melt the unsalted butter in a microwave-safe bowl or a small saucepan, then set it aside to cool completely. Chop any optional hazelnuts or chocolate you plan to use as a topping and keep them at hand.
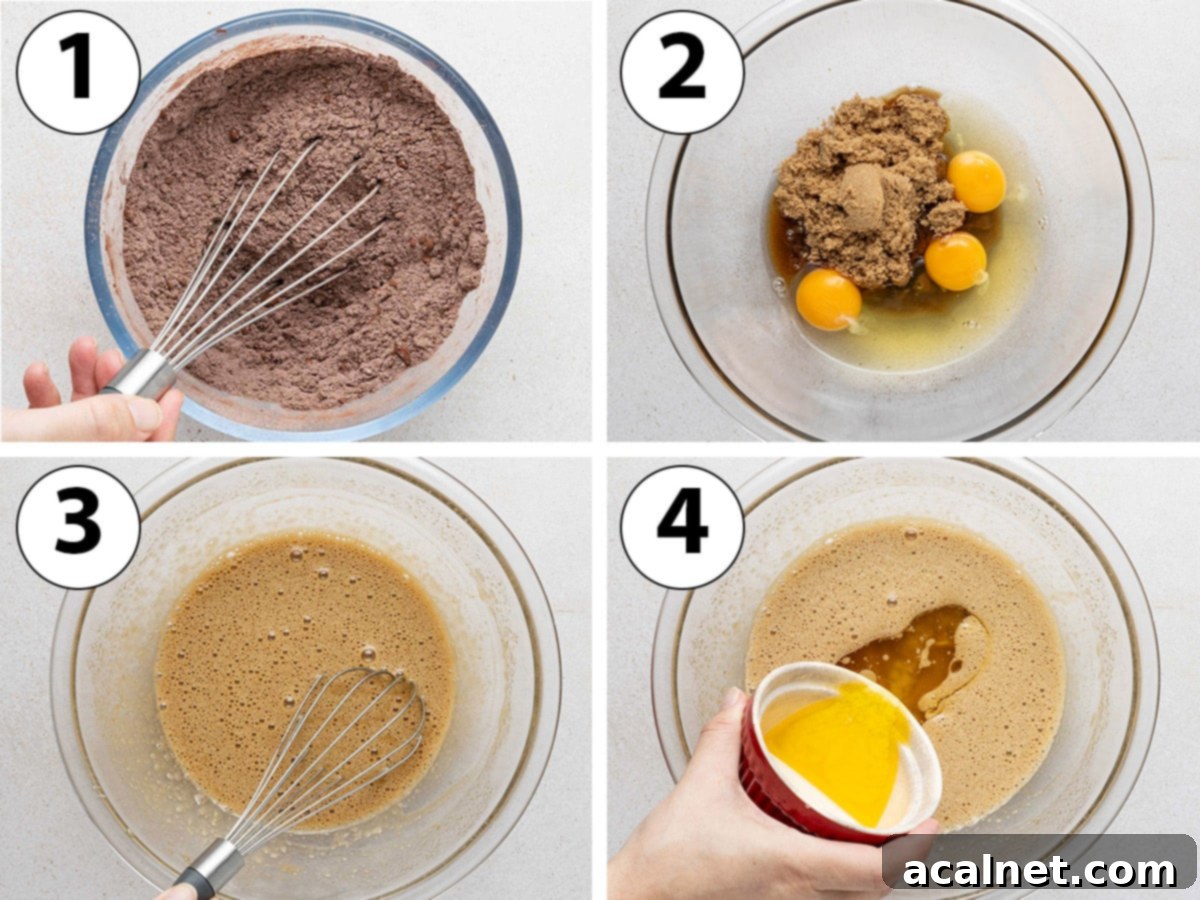
- Combine Dry Ingredients (Photo 1): In a medium-sized mixing bowl, combine all your dry ingredients: the plain/all-purpose flour, hazelnut meal, sifted cocoa powder, baking powder, baking soda, and a pinch of salt. Whisk them together thoroughly to ensure they are evenly distributed, then set this bowl aside.
- Whisk Wet Ingredients (Photo 2 & 3): In a separate, larger mixing bowl, begin by whisking the room temperature eggs and light brown sugar together. Continue whisking for about 3 to 4 minutes. You’ll notice the mixture will lighten in color, slightly thicken, increase in volume, and become visibly bubbly. This aeration step is crucial for a light and fluffy cake. You can achieve this with an electric hand mixer, a stand mixer (using either the whisk or paddle attachment), or simply by hand with a sturdy whisk for a bit of an arm workout!
- Incorporate Cooled Butter (Photo 4): Once your egg and sugar mixture is light and bubbly, gently pour in the cooled melted butter. Whisk thoroughly until the butter is fully incorporated into the mixture. Remember, ensuring the butter is cool prevents it from scrambling the eggs.
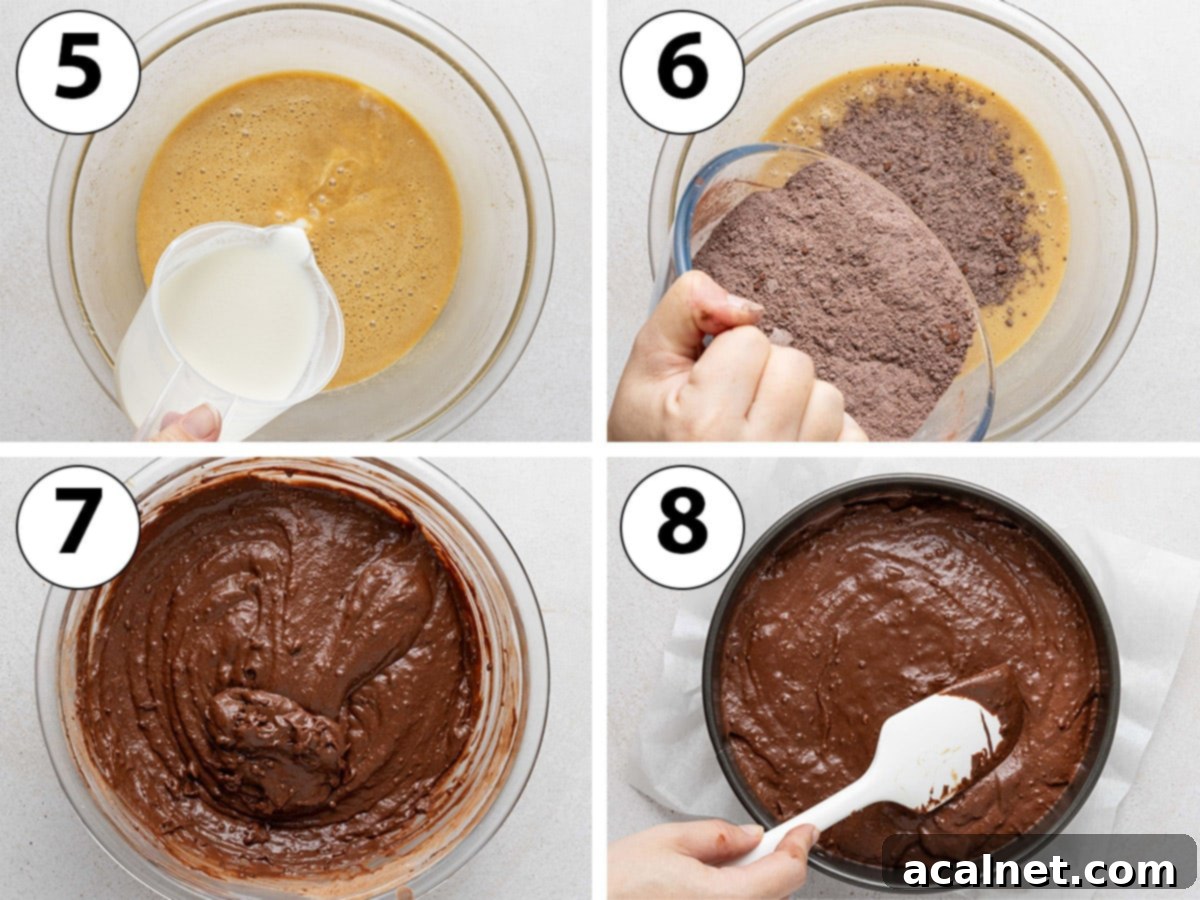
- Add Yogurt (Photo 5): Pour in the natural/plain yogurt and stir gently until you achieve a smooth, homogenous mixture. The yogurt is key to the cake’s tenderness and moisture.
- Fold in Dry Ingredients (Photo 6 & 7): Now, add all the pre-mixed dry ingredients to the wet mixture. If you notice any lumps in your dry mixture, give them a quick sift before adding. Using a spatula, gently fold the dry into the wet ingredients. Mix just until no streaks of dry flour remain. Be careful not to overmix, as this can lead to a tough cake. The batter will be relatively thick and may appear slightly lumpy due to the hazelnut meal – this is perfectly normal and contributes to the cake’s delightful texture.
- Prepare for Baking (Photo 8): Pour the finished cake batter into your prepared springform pan. Use a spatula to gently spread the batter into an even layer, ensuring it reaches all edges of the pan.
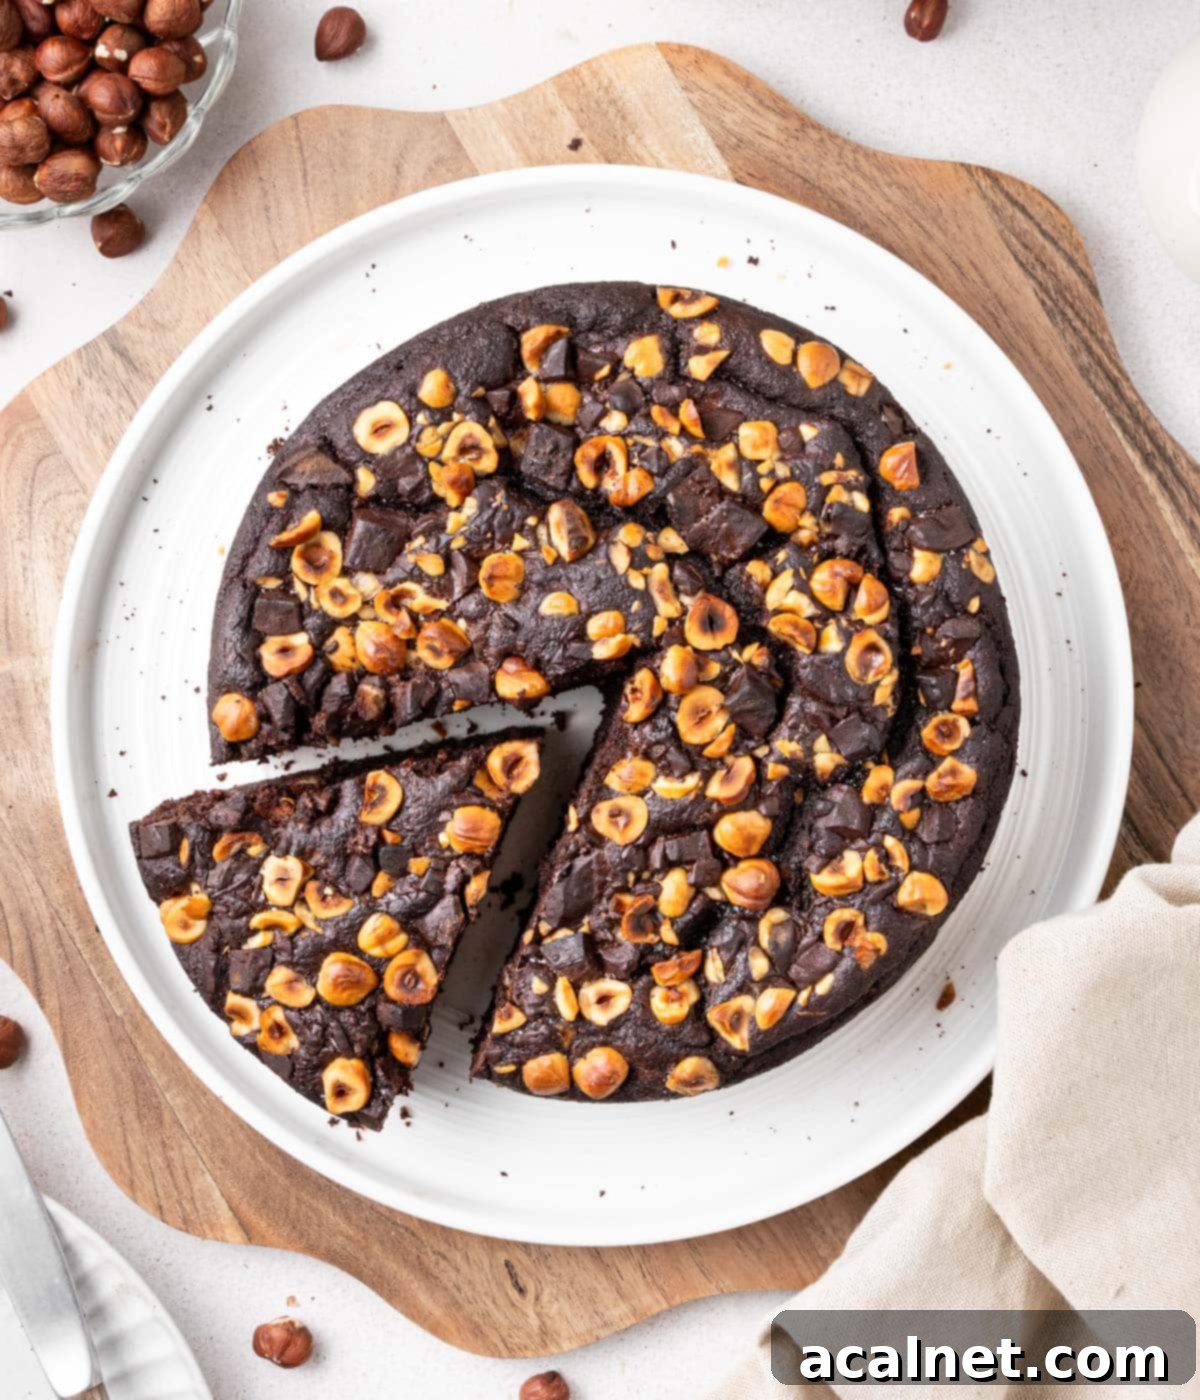
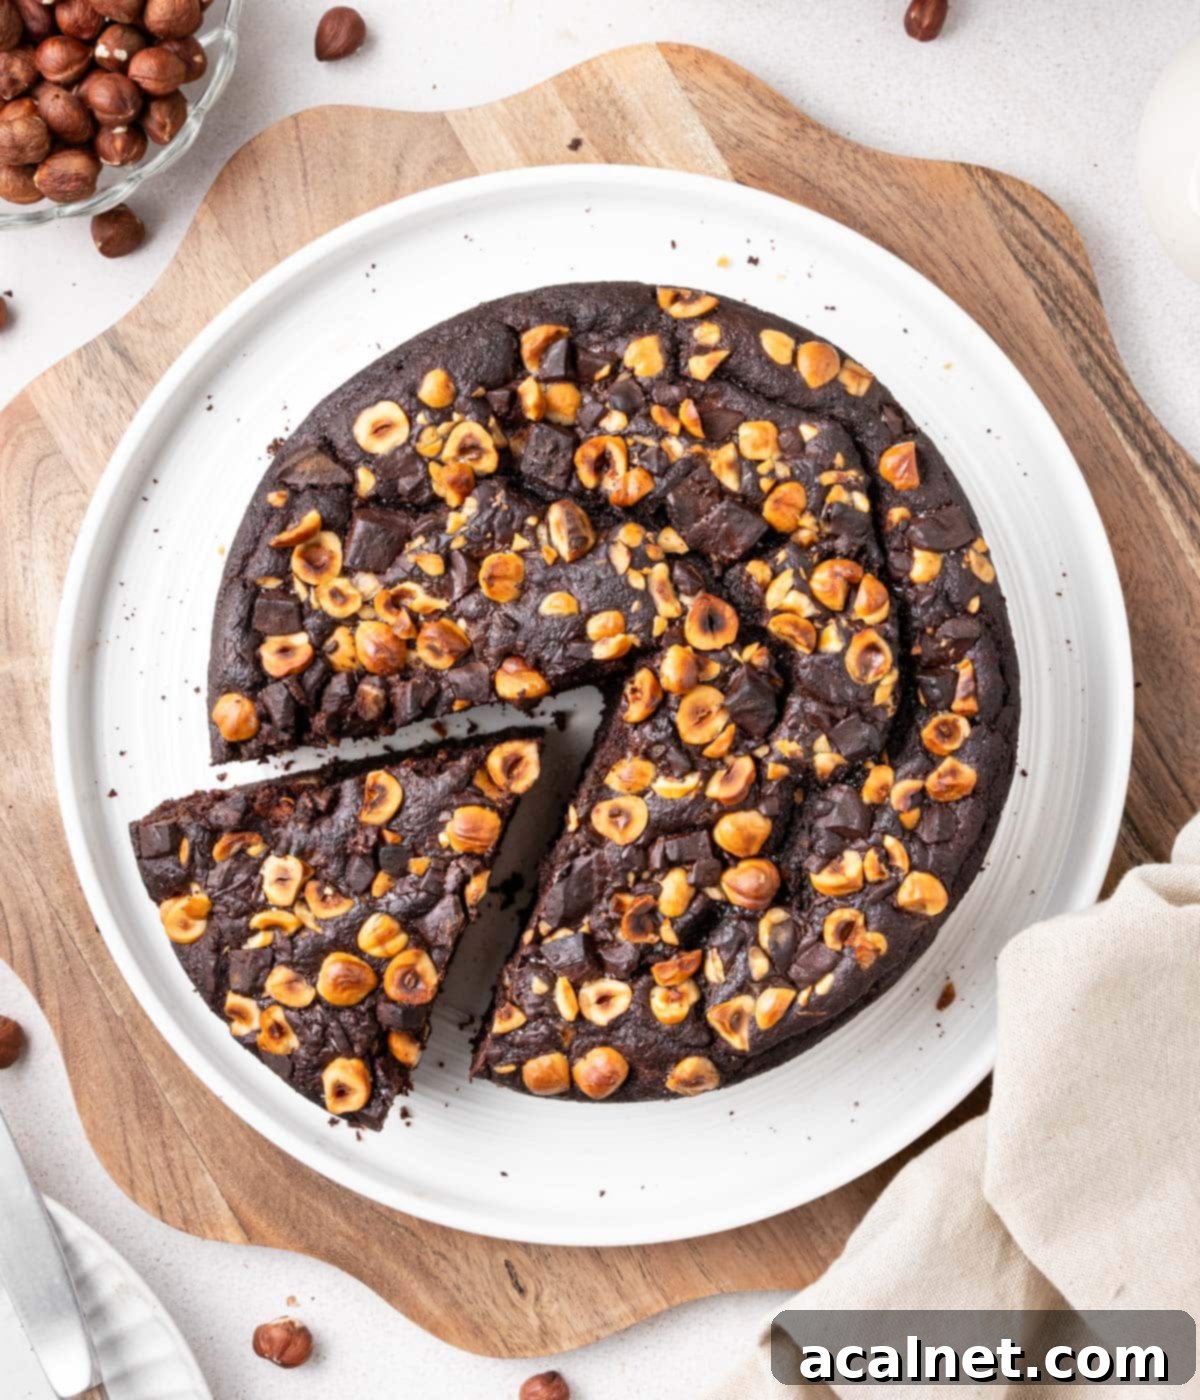
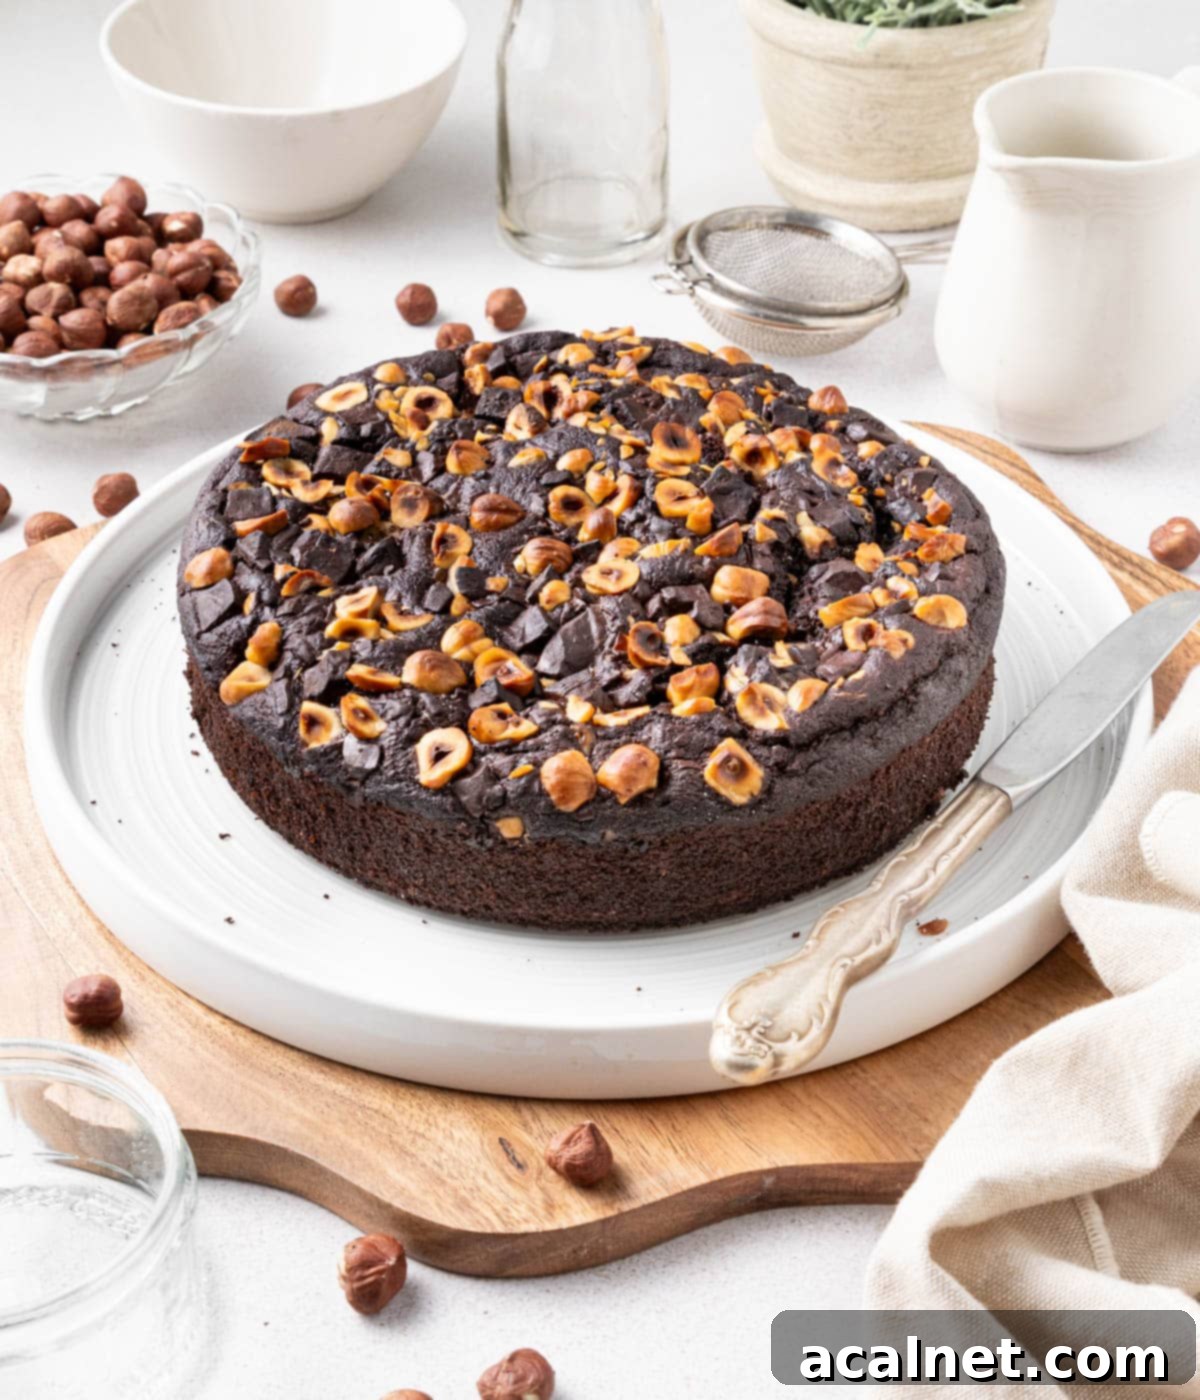
- Add Optional Toppings: This is the moment to get creative! Generously sprinkle your roughly chopped hazelnuts and chocolate chunks over the top of the batter. As the cake bakes, these toppings will toast and melt, adding another layer of flavor and texture.
- Bake to Perfection: Transfer the pan to your preheated oven and bake for approximately 40 to 45 minutes. The cake is done when a wooden toothpick or skewer inserted into the center comes out clean, with no wet batter clinging to it.
- Cooling: Once baked, remove the cake pan from the oven and place it on a wire cooling rack. Allow the cake to cool completely in the pan before attempting to remove it. This ensures the cake sets properly and prevents it from breaking. For an extra touch of elegance and sweetness, you can dust the cooled cake with a little powdered sugar just before serving.
Frequently Asked Questions About This Cake
Absolutely! To adapt this recipe for a gluten-free diet, you can successfully substitute the all-purpose flour with a high-quality 1:1 gluten-free flour mix. It’s crucial to use a blend specifically formulated for baking, as a single gluten-free flour (like just rice flour or cornflour) will not yield the same structural integrity or texture in the cake. Ensure your chosen GF mix contains a blend of flours and starches for the best results.
Yes, you can! We’ve tested this recipe using buttermilk in the same quantity, and it works just as well. However, our preference for plain (natural) yogurt stems from the extra richness and superior moisture it imparts to the cake, resulting in a more tender and luxurious crumb. Buttermilk will still create a delicious cake, but it tends to be slightly lighter in texture.
Indeed! This versatile chocolate hazelnut cake batter is perfectly suitable for creating beautiful cake layers. You have a couple of options: you can either reduce all ingredient quantities proportionally (maintaining the same ratios) and bake several thinner cake layers, or you can use the exact recipe as written and, once cooled, carefully slice the single cake horizontally into two layers. Once you have your layers, spread your choice of delicious buttercream, ganache, or frosting over the bottom layer, then gently place the second layer on top for a stunning presentation.
While this cake is wonderfully satisfying served plain, if you’re aiming for a more decadent dessert experience, there are numerous ways to elevate it! Consider topping it with a silky chocolate ganache, a light and airy whipped ganache frosting, a glossy chocolate glaze, or your favorite rich buttercream frosting.
For non-chocolate additions, think about pairing a slice with a scoop of creamy vanilla ice cream, a dollop of elegant Chantilly Cream, a pour of classic Crème Anglaise custard, or for an extra hazelnut boost, a spoonful of luscious Hazelnut Praline Paste or smooth Hazelnut Butter! Each option brings its own unique charm and enhances the cake’s flavors.
Expert Tips & Tricks for the Best Chocolate Hazelnut Cake
- Boost Hazelnut Flavor: To truly unlock and intensify the rich, nutty flavor of your hazelnuts, consider lightly toasting them. Simply spread the ground hazelnuts (or whole blanched hazelnuts if making your own meal) on a baking tray lined with parchment paper or a silicone mat. Bake in a 180°C (350°F) oven for 6 to 8 minutes, or until they are lightly golden and incredibly fragrant. Allow them to cool completely before incorporating them into your cake batter. This simple step makes a world of difference!
- Achieve Perfect Hazelnut Meal Texture: When making your own hazelnut flour, resist the urge to grind the nuts into an ultra-fine powder. Leaving some slightly larger chunks not only adds to the homemade charm but also provides a delightful, subtle crunch and textural interest to your finished cake. Experiment to find your preferred level of coarseness!
- For a More Intense Chocolate Experience: While sprinkling chocolate chunks on top creates lovely molten pockets, if you crave a more consistent and decadent chocolate taste throughout the cake, fold the chocolate chunks directly into the batter just before pouring it into the pan. This ensures every bite is loaded with rich chocolate flavor.
- Room Temperature Ingredients: Always ensure your eggs and yogurt are at room temperature. This allows them to emulsify better with the melted butter and sugar, resulting in a smoother batter and a more uniform, tender crumb.
- Don’t Overmix: After adding the dry ingredients to the wet, mix only until just combined. Overmixing develops the gluten in the flour, leading to a tough and dry cake. A few small lumps from the hazelnut meal are perfectly fine!
Mastering Homemade Hazelnut Meal: A Step-by-Step Guide
Creating your own hazelnut meal (or flour) at home is incredibly simple and offers a superior, fresher flavor compared to store-bought versions. It also allows you to control the texture to your preference. Here’s how to do it:
- Preheat and Prepare: Start by preheating your oven to 180 degrees Celsius (350 degrees Fahrenheit). Line a flat baking tray with a sheet of baking paper or a silicone baking mat.
- Spread Hazelnuts: Spread your raw hazelnuts (either blanched or with skins on) in an even single layer across the prepared baking tray. Ensure they aren’t crowded, as this allows for even roasting.
- Roast for Flavor: Bake the hazelnuts for approximately 8 to 10 minutes. Keep a close eye on them, as nuts can burn quickly. You’ll know they’re ready when they become fragrant, start to turn a light golden color, and, if using unskinned hazelnuts, their skins begin to crack and loosen. This roasting step is crucial as it significantly enhances their nutty flavor and makes them easier to grind.
- Cool Down: Once roasted, remove the tray from the oven and allow the hazelnuts to cool down completely to room temperature. This is important to prevent them from turning into butter when ground.
- Remove Skins (Optional but Recommended): If you started with unskinned hazelnuts, you can easily remove the skins while they are still warm (but not hot) by rubbing them vigorously against each other within a clean kitchen towel. The friction helps the loosened skins peel right off. While optional, removing skins can result in a smoother texture and less bitter flavor.
- Grind to Meal: Once fully cooled (and skinned, if applicable), transfer the hazelnuts to a food processor. Pulse in short bursts until you achieve a coarse or fine powder, depending on your desired texture. For a cake that has a slight crunch, keep the meal slightly coarse. Be careful not to over-process, as the nuts will release their oils and turn into hazelnut butter if ground for too long.
While you could process raw hazelnuts directly, the oven roasting step is highly recommended. Not only does it significantly enhance the hazelnuts’ flavor, but it also draws out their natural moisture, which makes the grinding process much easier and reduces the risk of creating hazelnut butter instead of meal.
Storing & Freezing Your Chocolate Hazelnut Cake
Proper storage ensures your delicious chocolate hazelnut cake remains fresh and delightful for as long as possible. Here’s how to keep it at its best:
- Room Temperature Storage: This cake can be kept at room temperature for up to 24 hours. To maintain its freshness and prevent it from drying out, ensure it is well covered, either under a cake dome or inside a sealed airtight container or cake box.
- Refrigerated Storage: For extended freshness, transfer the cake to the fridge, where it will stay delicious for up to 3 days. Again, make sure it’s properly covered to protect it from absorbing other odors and to retain its moisture. Allow refrigerated cake to come to room temperature for about 30 minutes before serving for the best texture and flavor.
- Freezing for Later Enjoyment: This chocolate hazelnut cake freezes exceptionally well, making it perfect for meal prepping desserts or saving leftovers. To freeze, first ensure the cake is completely cooled. Then, wrap the entire cake (or individual slices for convenience) tightly in a couple of layers of plastic wrap, followed by a layer of aluminum foil. Place the well-wrapped cake on a flat surface in the freezer until solid. When you’re ready to enjoy it, simply transfer the frozen cake to the refrigerator to thaw overnight, or leave it at room temperature for a few hours. Thawing it slowly helps maintain its moist texture.
Explore More Delicious Chocolate Cake Recipes
If you loved this chocolate hazelnut delight, you might enjoy these other irresistible chocolate cake recipes:
- Pear and Chocolate Cake
- French Chocolate Fondant Cake
- Chocolate Loaf Cake
- Chocolate Chiffon Cake
- Easy Flourless Chocolate Cake
- Easy Chocolate Orange Brownies
- Marble Loaf Cake
- Biscoff Brownies
Made this recipe?
Let us know if you liked it by leaving a comment below, and tag us on Instagram @a.baking.journey with a photo of your creation!
Recipe Card
Easy Chocolate Hazelnut Cake
Print Recipe
Ingredients
Dry Ingredients
- 100 gr Plain / All-Purpose Flour
- 80 gr Hazelnut Meal, or hazelnut flour (see note 1).
- 60 gr Unsweetened Cocoa Powder, sifted
- 1 1/2 teaspoon Baking Powder
- 1/2 teaspoon Baking Soda
- 1 pinch Fine Table Salt
Wet Ingredients
- 3 large Eggs, at room temperature
- 150 gr Light Brown Sugar
- 120 gr Unsalted Butter, melted, cool
- 240 ml Natural / Plain Yogurt
Optional Toppings
- 50 gr Skinned Hazelnuts, roughly chopped
- 50 gr Dark Chocolate Chunks, or chocolate chips
Instructions
- Preheat your oven on 180 degrees Celsius / 350 degrees Fahrenheit. Line the bottom of a 22 cm / 8-inch Springform Pan with a sheet of baking paper or parchment paper. Lightly grease the sides of the pan with neutral oil.
- In a medium bowl, mix all your dry ingredients: plain / all-purpose flour, hazelnut meal, sifted cocoa powder, baking powder, baking soda and salt. Set aside.
- In a separate large mixing bowl, whisk the eggs and brown sugar for 3 to 4 minutes or until the mixture has slightly thickened, increased in volume and looks bubbly.
- Whisk in the cool melted butter then the yogurt.
- Add the pre-mixed dry ingredients (pre-sifted if needed) and gently stir until fully combined. Stop as soon as you can’t see any dry ingredients; you should get a slightly thick batter (see note 2).
- Pour the cake batter into the prepared pan and gently spread it into an even layer. Optionally, generously top the cake with the roughly chopped hazelnuts and chocolate chunks.
- Bake for 40 to 45 minutes or until a toothpick inserted into the cake comes out clean. Place the cake pan on a cooling rack and leave to cool down completely before removing from the pan.
Would you like to save this recipe?
We’ll email this post to you, so you can come back to it later!
Notes
- To make your own hazelnut meal: roast blanched hazelnuts in the oven (180°C / 350°F) for 8-10 minutes. Once cooled, grind in a food processor until you reach a rough powder. I prefer a slightly coarse texture for added crunch.
- The cake batter will be relatively thick and may appear a bit lumpy – these small lumps are typically just larger pieces of hazelnut meal, which add to the cake’s texture.
Nutrition (per serving)
