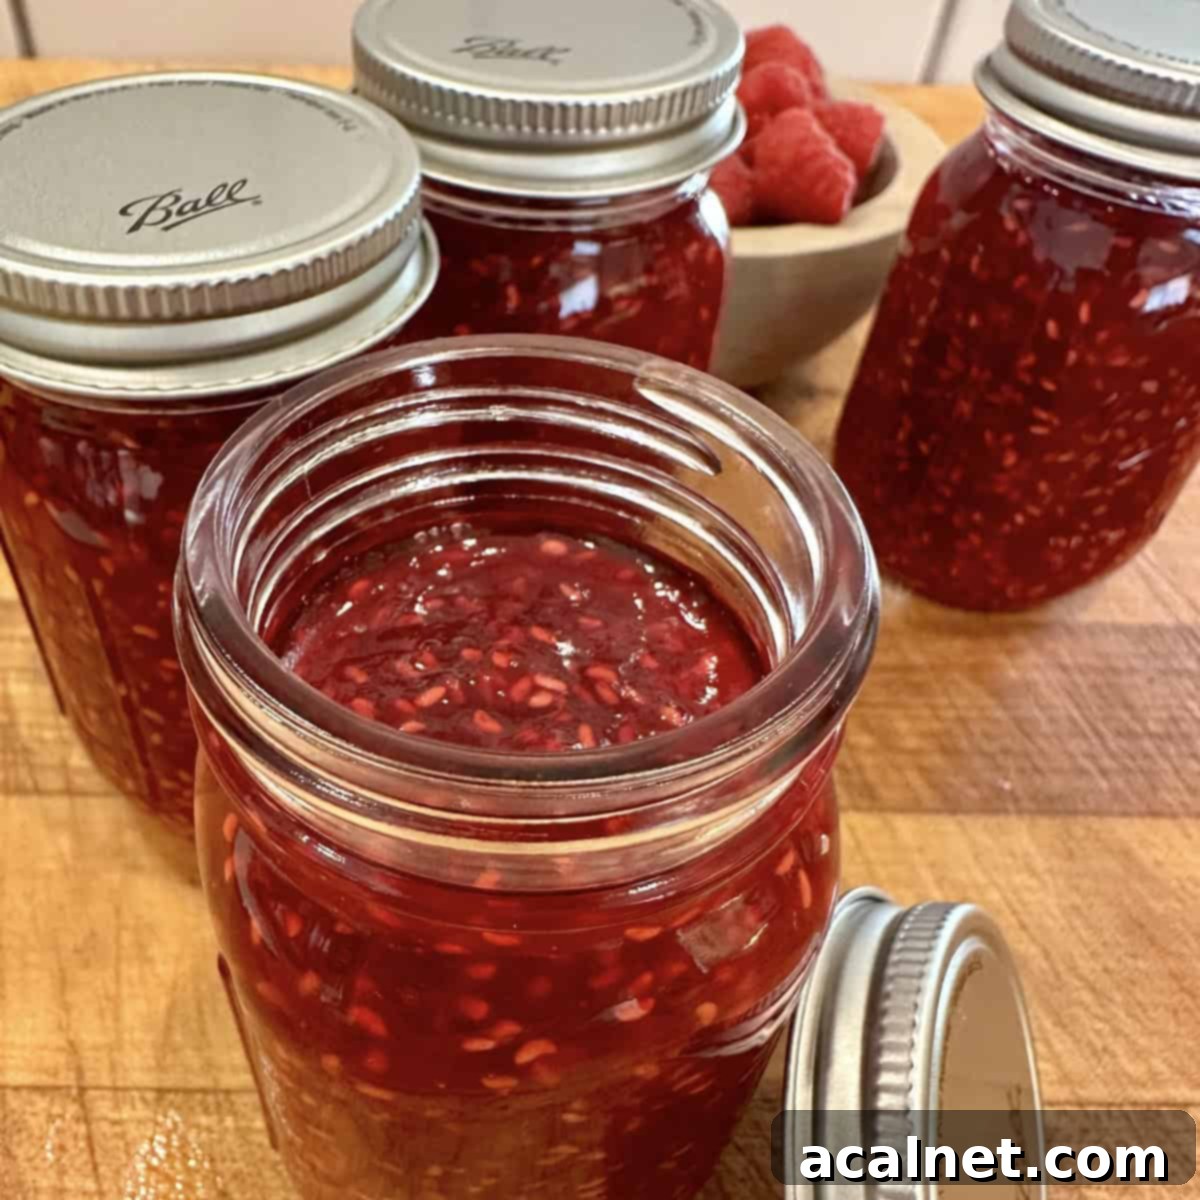
Easy Homemade Raspberry Jam: No Pectin, Small Batch, & Freezer Friendly
Dive into the delightful world of homemade preserves with this incredibly Easy Raspberry Jam recipe. It’s a return to basics, focusing on letting the vibrant, natural flavor of fresh raspberries take center stage. If you’ve ever yearned to create your own luscious raspberry jam without the fuss of added pectin or the intimidation of traditional canning, this effortless small-batch method is exactly what you need. All it takes are four pantry staples: ripe fresh raspberries, granulated sugar, a splash of lemon juice, and a tiny pinch of salt. Forget about fancy equipment or complex techniques – pure, delicious jam is within your reach!
⭐ Why You’ll Love This Easy Raspberry Jam Recipe

Whether you’re a seasoned chef or a first-time jam maker, this recipe is designed for success. It’s truly a fantastic, easy-to-make homemade raspberry jam, especially ideal for beginners eager to dip their toes into the world of preserves.
One of the biggest advantages? No complex canning equipment or techniques are needed! This recipe focuses on creating a freezer jam, which simplifies the process immensely. You can easily store your delicious creation in the freezer for up to a year, enjoying the taste of summer long after the season ends. It’s also absolutely perfect for gifting! Imagine sharing a jar of this vibrant, homemade raspberry jam alongside a container of Homemade Honey Butter or a charming little bag of Spiced Walnuts. It’s a thoughtful present that always delights.
Furthermore, this recipe yields a convenient small batch of jam, making it an excellent way to utilize just a few cups of fresh raspberries from your garden or a farmer’s market haul. No overwhelming quantities, just enough to savor and share without any waste.
🍋 Essential Ingredients for Small Batch Raspberry Jam
Crafting this delicious homemade raspberry jam requires only a handful of common ingredients. Each plays a crucial role in achieving that perfect balance of sweetness, tang, and texture. Here’s a closer look at what you’ll need:
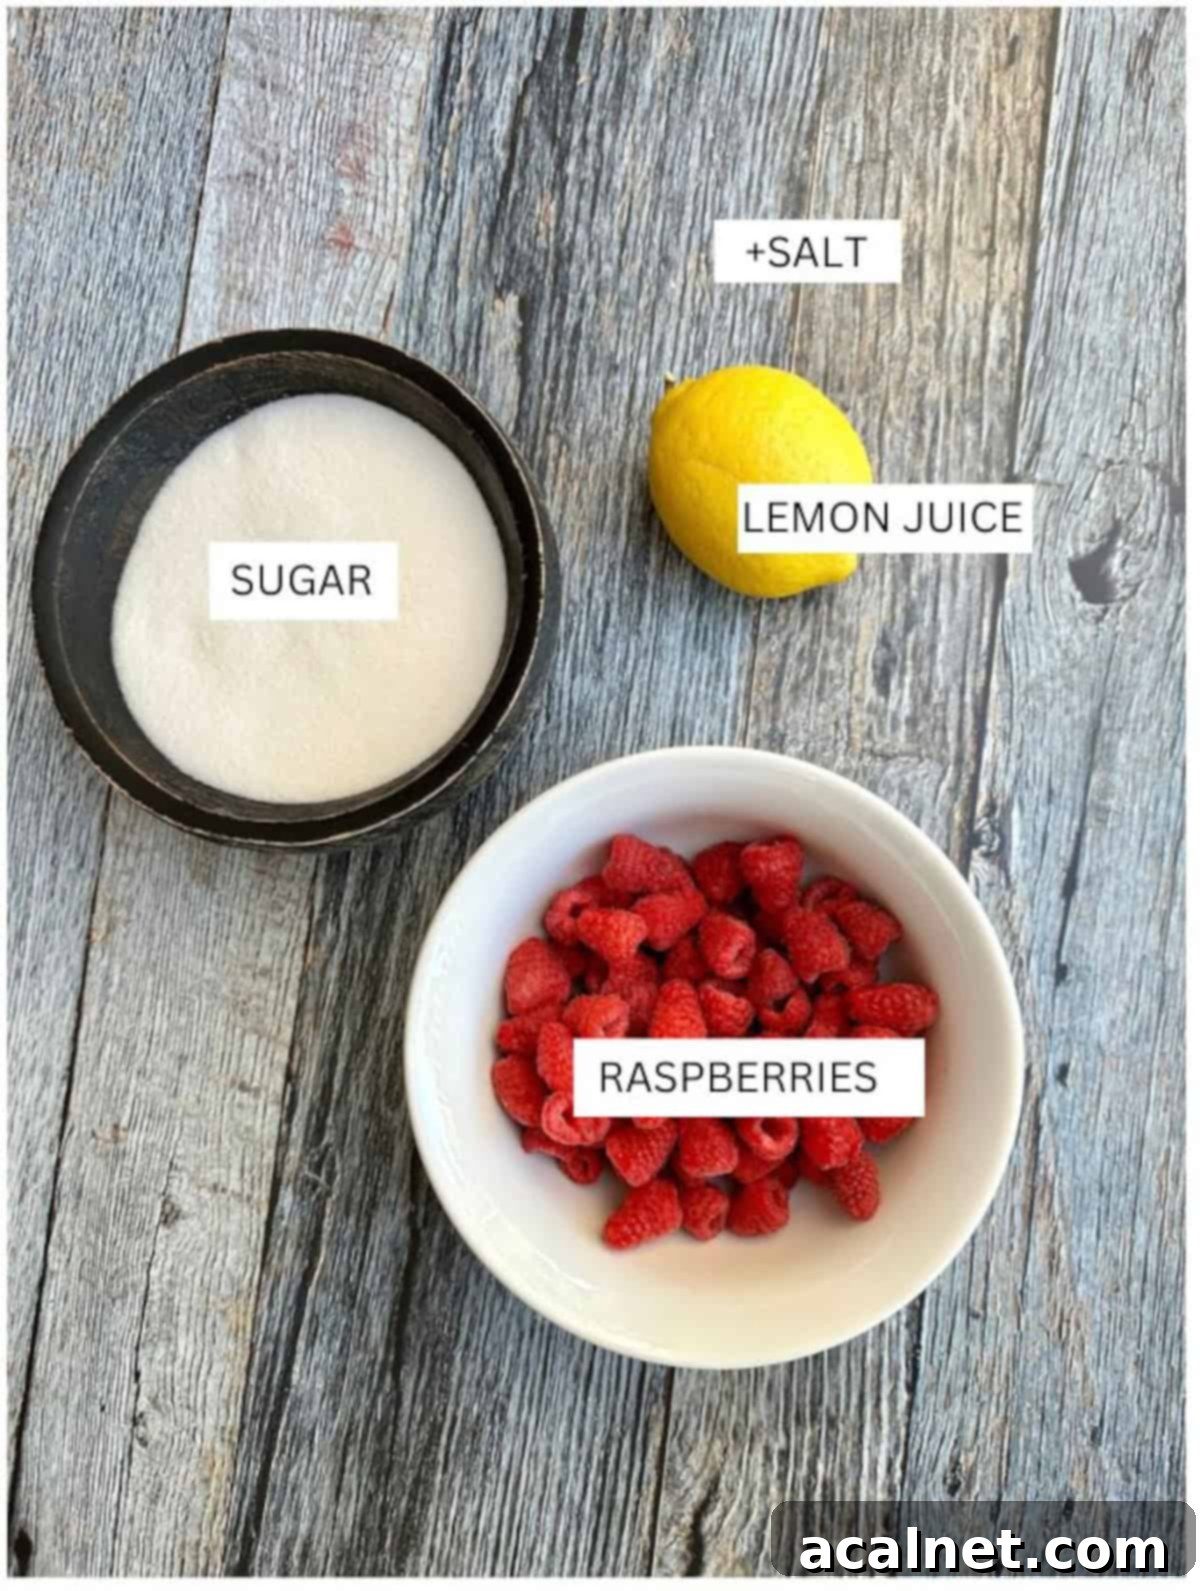
Fresh Raspberries: The star of our jam! One of the most wonderful aspects of making homemade jam with raspberries is their minimal preparation. Unlike many other fruits, there’s no need for tedious peeling, coring, or pitting. Simply give them a gentle rinse under cool water, and they’re ready for the pot. Since this is a small batch jam recipe, you’ll only need about 4 cups of these vibrant berries. If you happen to have an abundance of extra berries, consider transforming them into a delightful Fresh Fruit Tart with Shortbread Crust or a comforting Croissant Bread Pudding!
Sugar: Beyond just adding sweetness to balance the natural tartness of the fresh raspberries, sugar is a vital component in the jam-making process. During cooking, it interacts with the natural pectin present in the fruit, helping it bond and create that desirable gelled texture. Sugar is incredibly important for giving homemade jam its familiar, perfectly spreadable consistency. Without adequate sugar, your jam would likely remain a runny sauce. For tart raspberries, you might consider adding an extra ¼ cup of sugar to taste.
Lemon Juice: This ingredient is a true workhorse in our no-pectin jam. The fresh lemon juice provides a natural boost of acidity, which is crucial for activating and enhancing the fruit’s inherent pectin. This activation is what helps the jam thicken beautifully, creating a stable gel without the need for commercial pectin. Additionally, lemon juice contributes a lovely bright, tart note that elevates the overall flavor profile of the jam, preventing it from being overly sweet.
Salt: While it might seem like a small detail, a tiny amount of salt in this recipe makes a big difference. It doesn’t make the jam salty, but rather acts as a flavor enhancer, much like in baking. It subtly brightens and deepens the natural fruity notes of the raspberries, making them even more pronounced and delicious. Don’t skip this small but mighty ingredient!
Scroll down to the recipe card below for the complete ingredient list, including precise measurements.
🥣 Easy Step-by-Step Instructions for Homemade Raspberry Jam
This easy homemade raspberry jam recipe achieves a beautifully thick consistency without any added pectin, relying instead on simple ingredients and a few time-tested techniques. This method has been passed down for years in my family, proving itself to be as reliable and beloved as my mom’s famous Old-Fashioned Strawberry Rhubarb Pie!
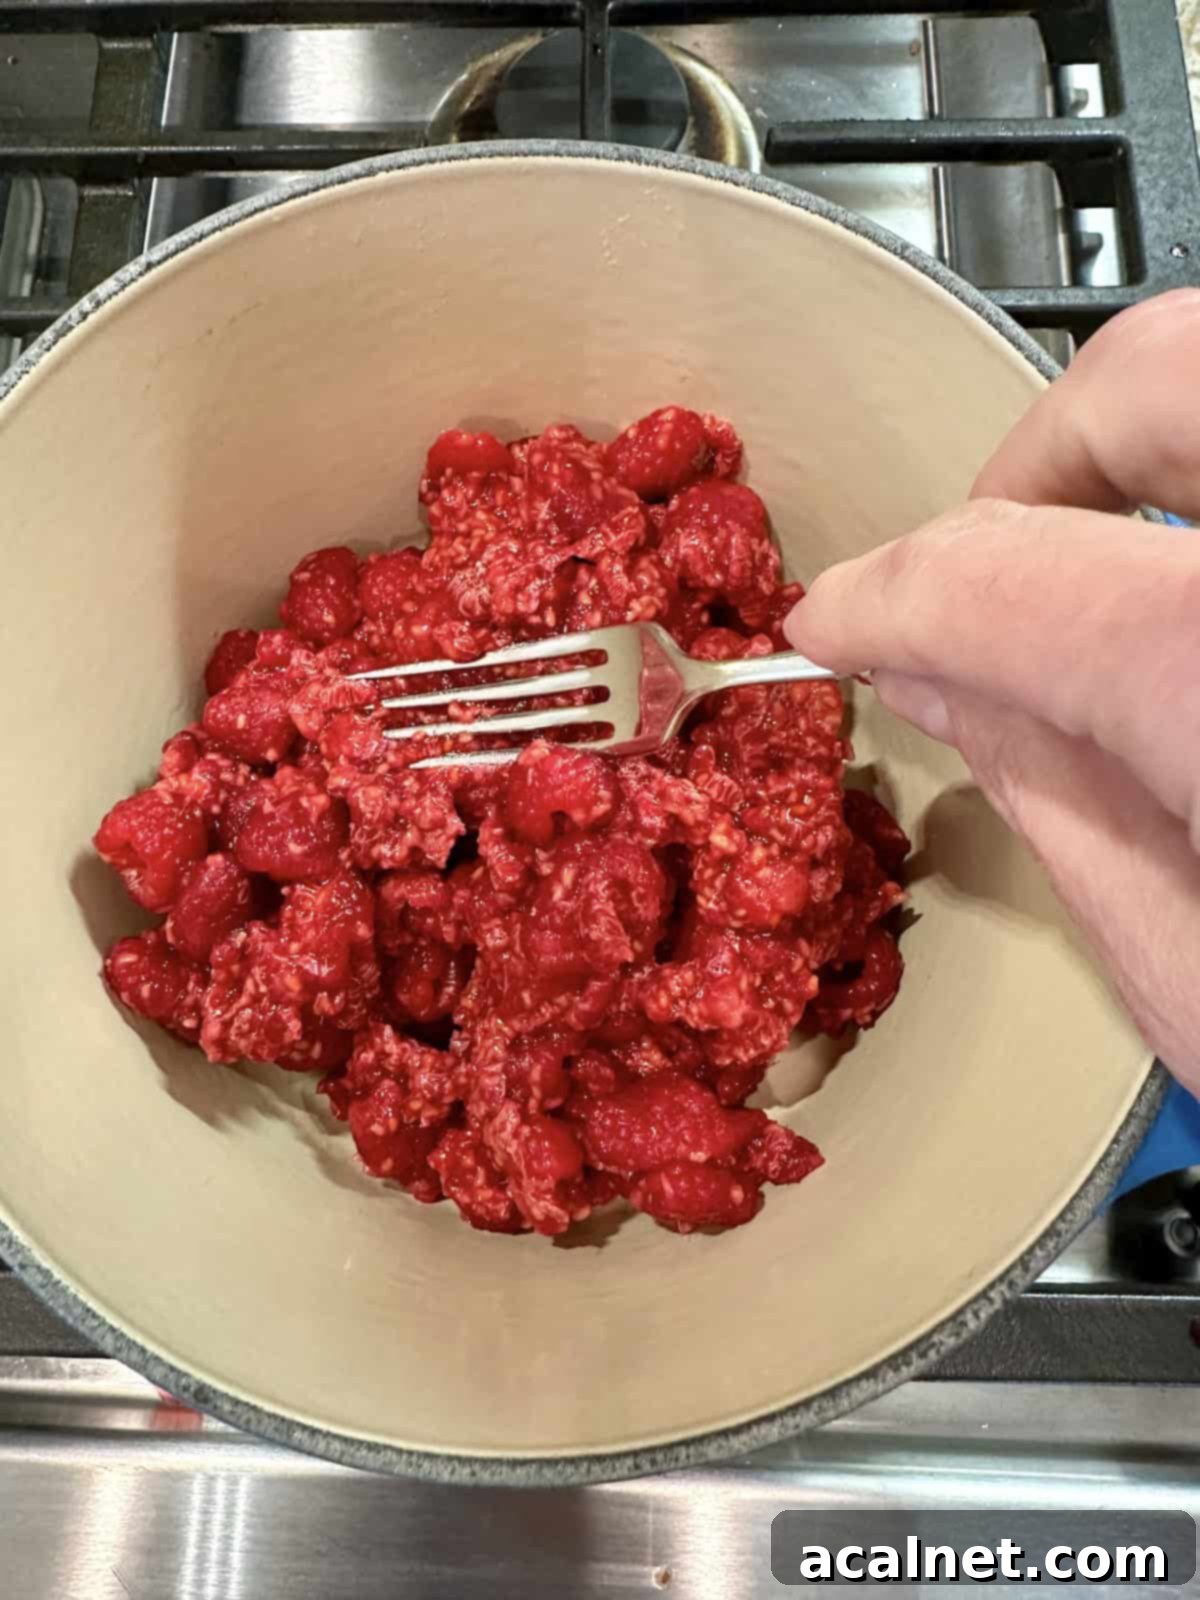
Step 1: Prepare the Raspberries. Begin by thoroughly rinsing your fresh raspberries to remove any debris or stems. Once clean, place the berries into a 2 or 3-quart saucepan on your stove. Using a sturdy fork or a potato masher, gently mash some of the berries. This crucial step helps break down the fruit and release their natural juices, providing the liquid needed to start the cooking process.
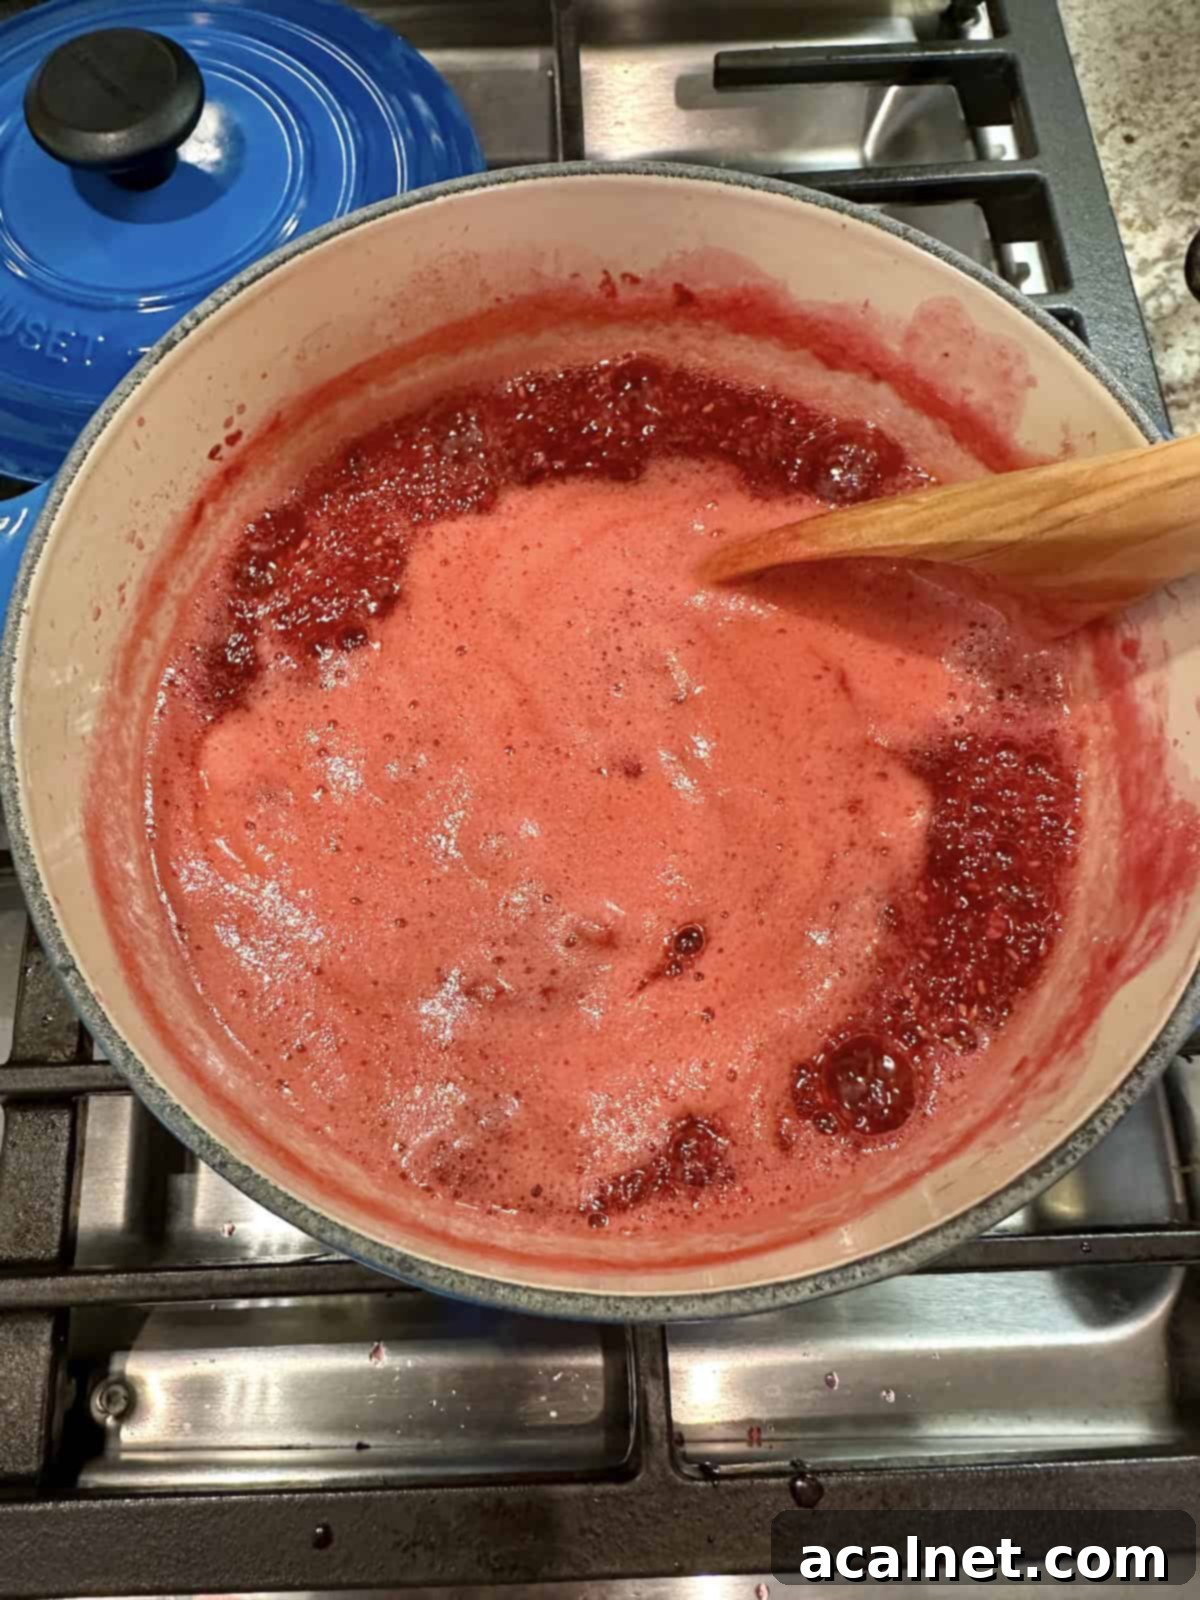
Step 2: Bring to a Boil. Turn the heat to high. As the raspberries warm up, continue to stir occasionally. Bring the mashed raspberries to a vigorous boil. This initial high heat helps activate the natural pectin and begin the sugar dissolving process.
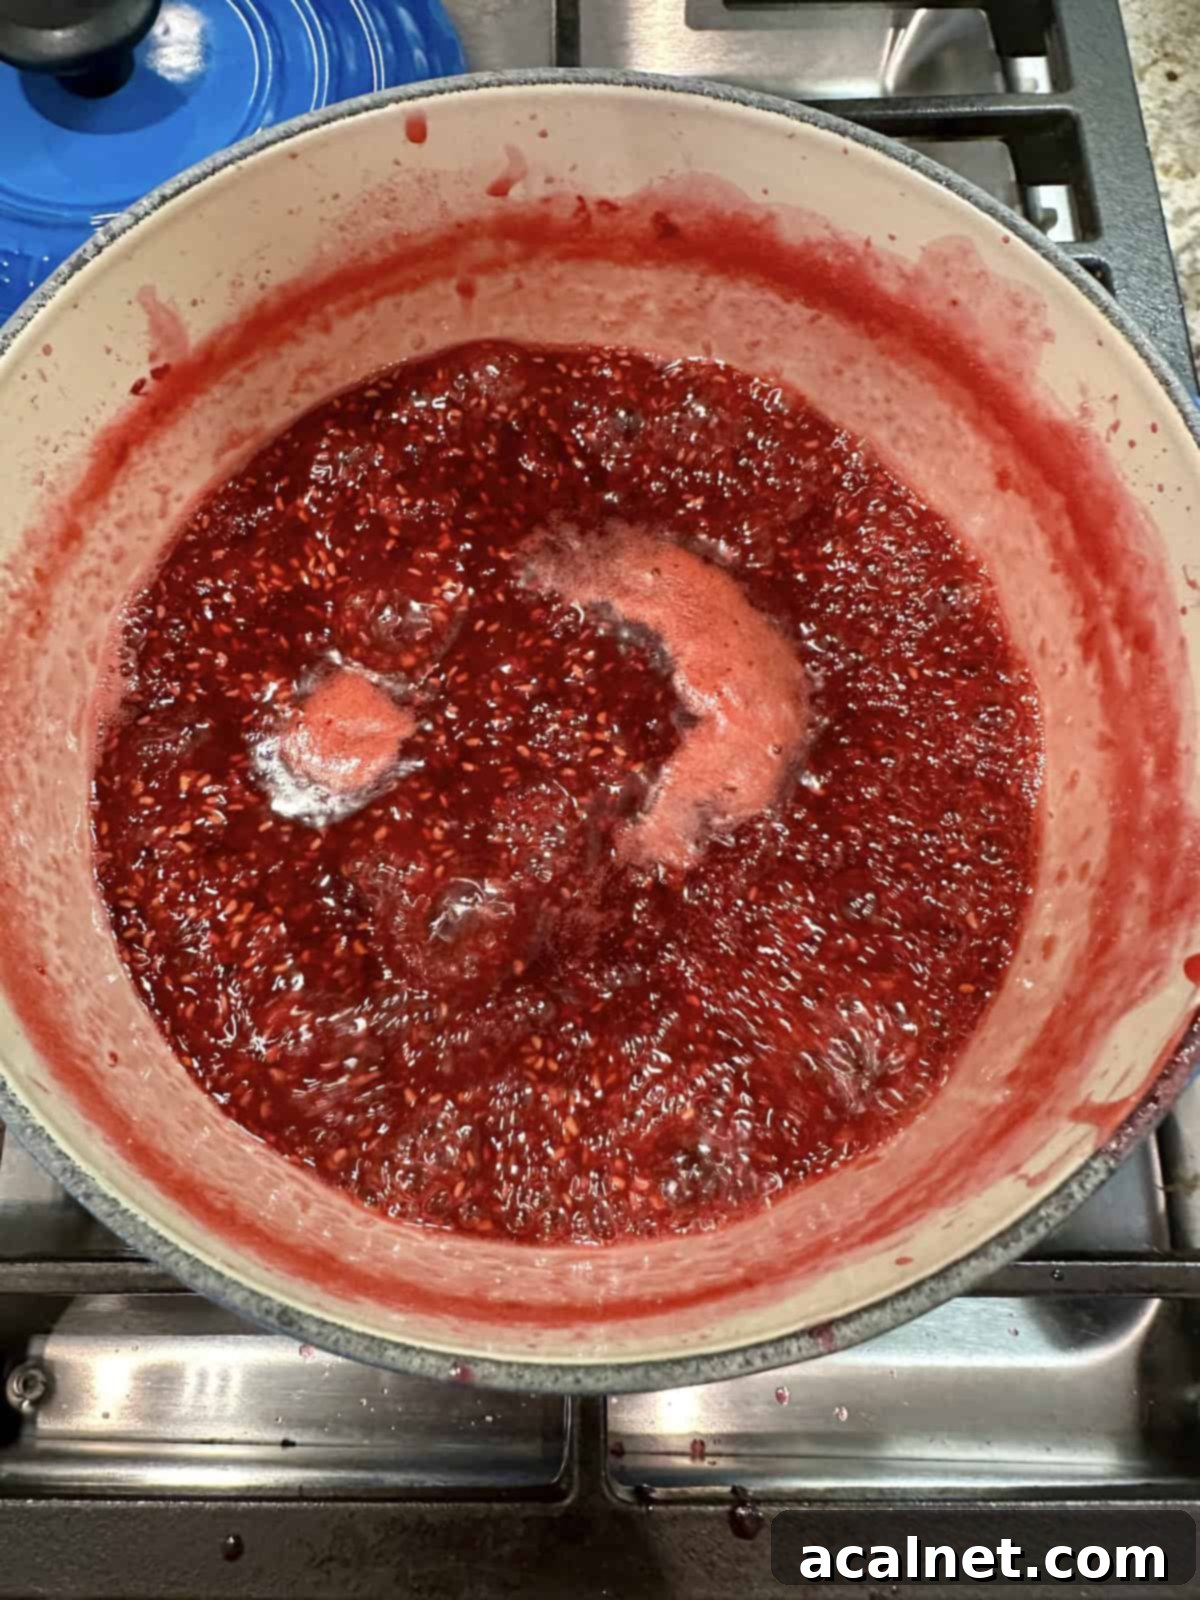
Step 3: Add Remaining Ingredients and Simmer. Once the raspberries are boiling, carefully add the granulated sugar, fresh lemon juice, and the pinch of salt to the pan. Stir well to ensure the sugar fully dissolves. Reduce the heat slightly to maintain a consistent, rolling simmer, stirring frequently to prevent scorching, especially as the jam begins to thicken. Continue simmering for approximately 10-15 minutes, or until the mixture reaches the desired soft-ball stage. This critical stage is what ensures your raspberry mixture will transform into the familiar, spreadable consistency of jam. (Don’t worry, reaching this stage is easier than it sounds! Scroll down for detailed instructions on how to confidently determine when your jam is perfectly done.)
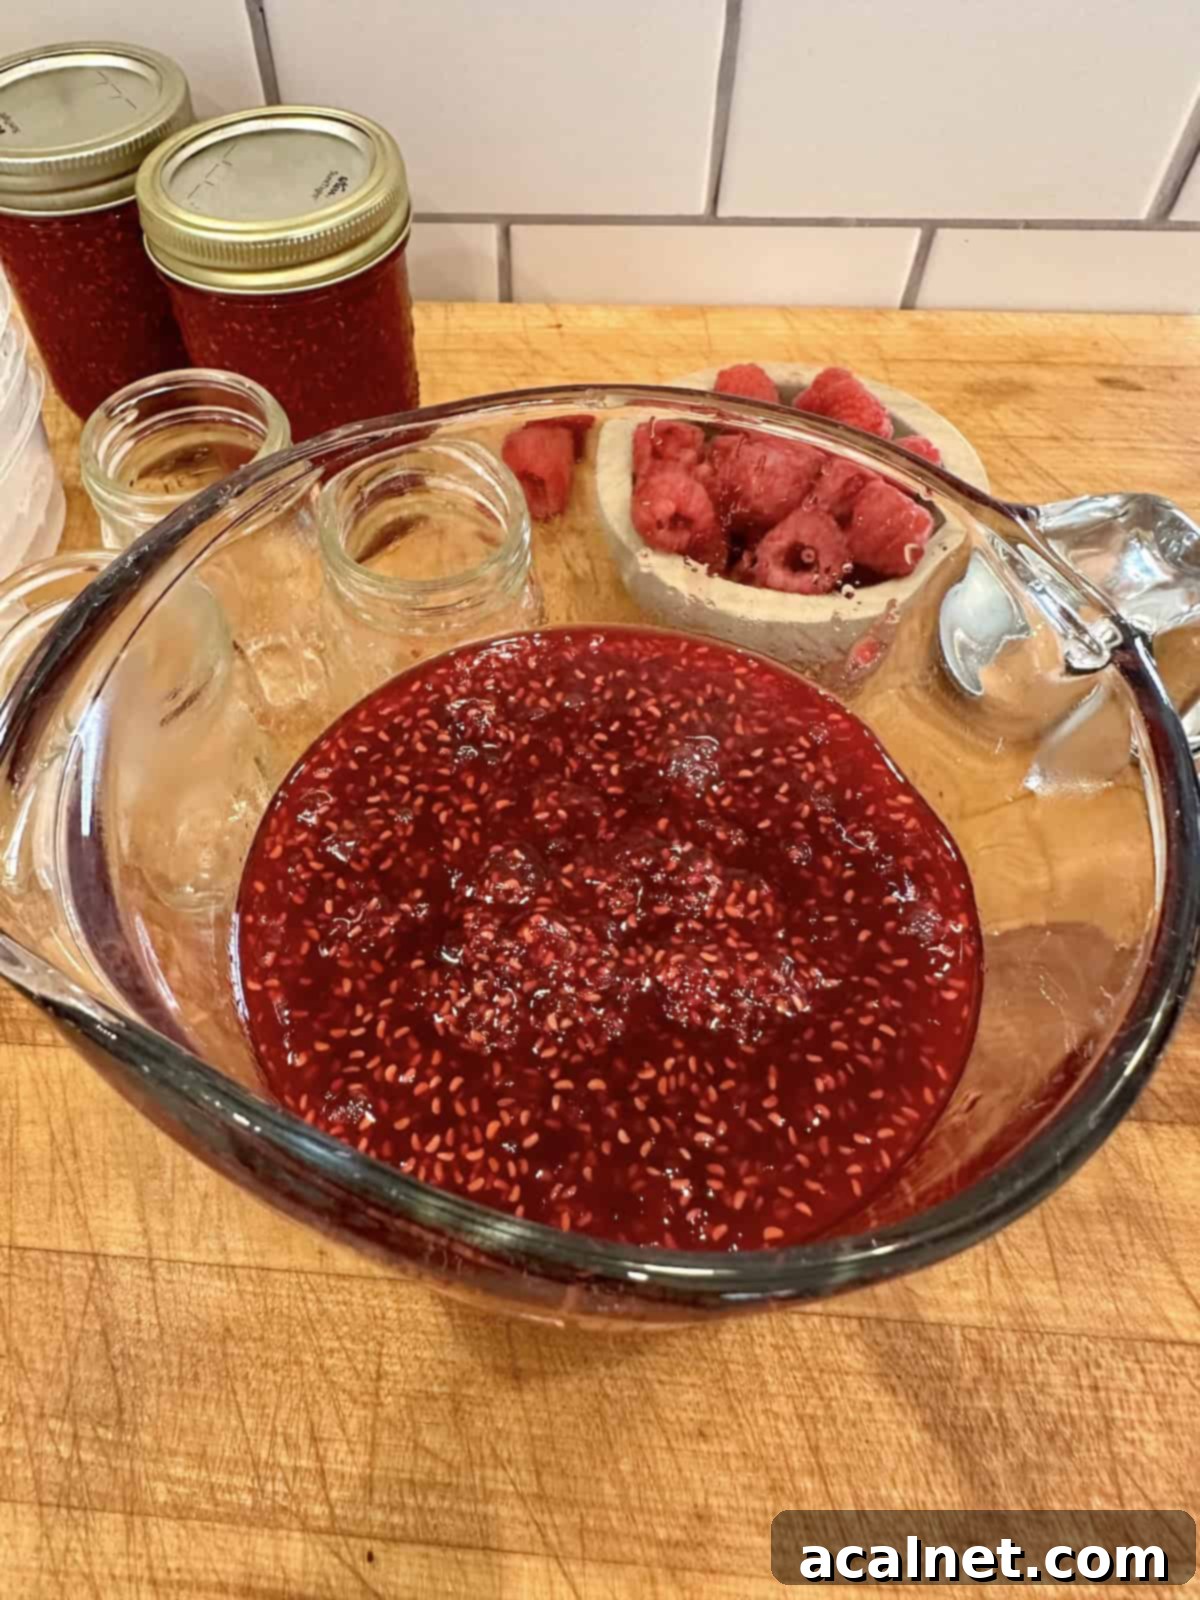
Step 4: Cool Slightly. Once the jam has reached the soft-ball stage, remove the saucepan from the heat. Carefully pour the hot jam mixture into a large glass measuring cup that has a convenient pouring spout. This will make the next step much easier and safer. Allow the jam to set and cool in the measuring cup for about 10 minutes. During this time, it will continue to thicken slightly.
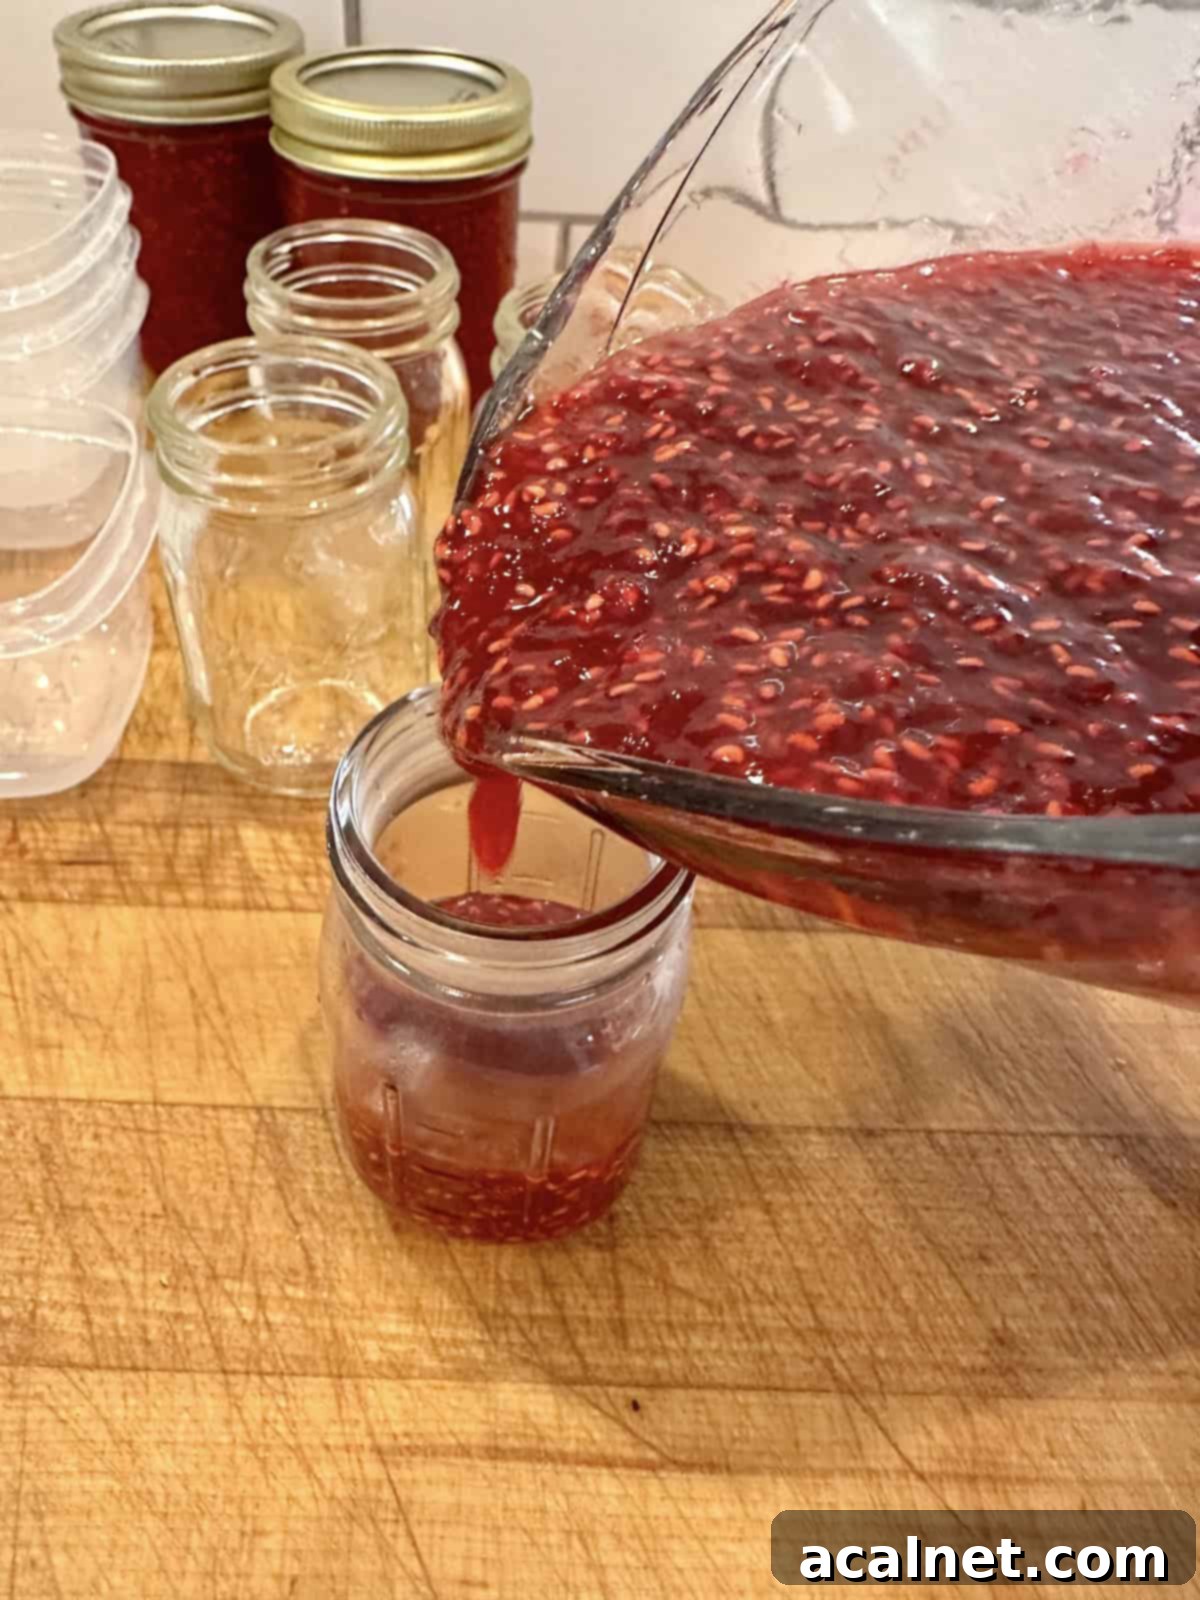
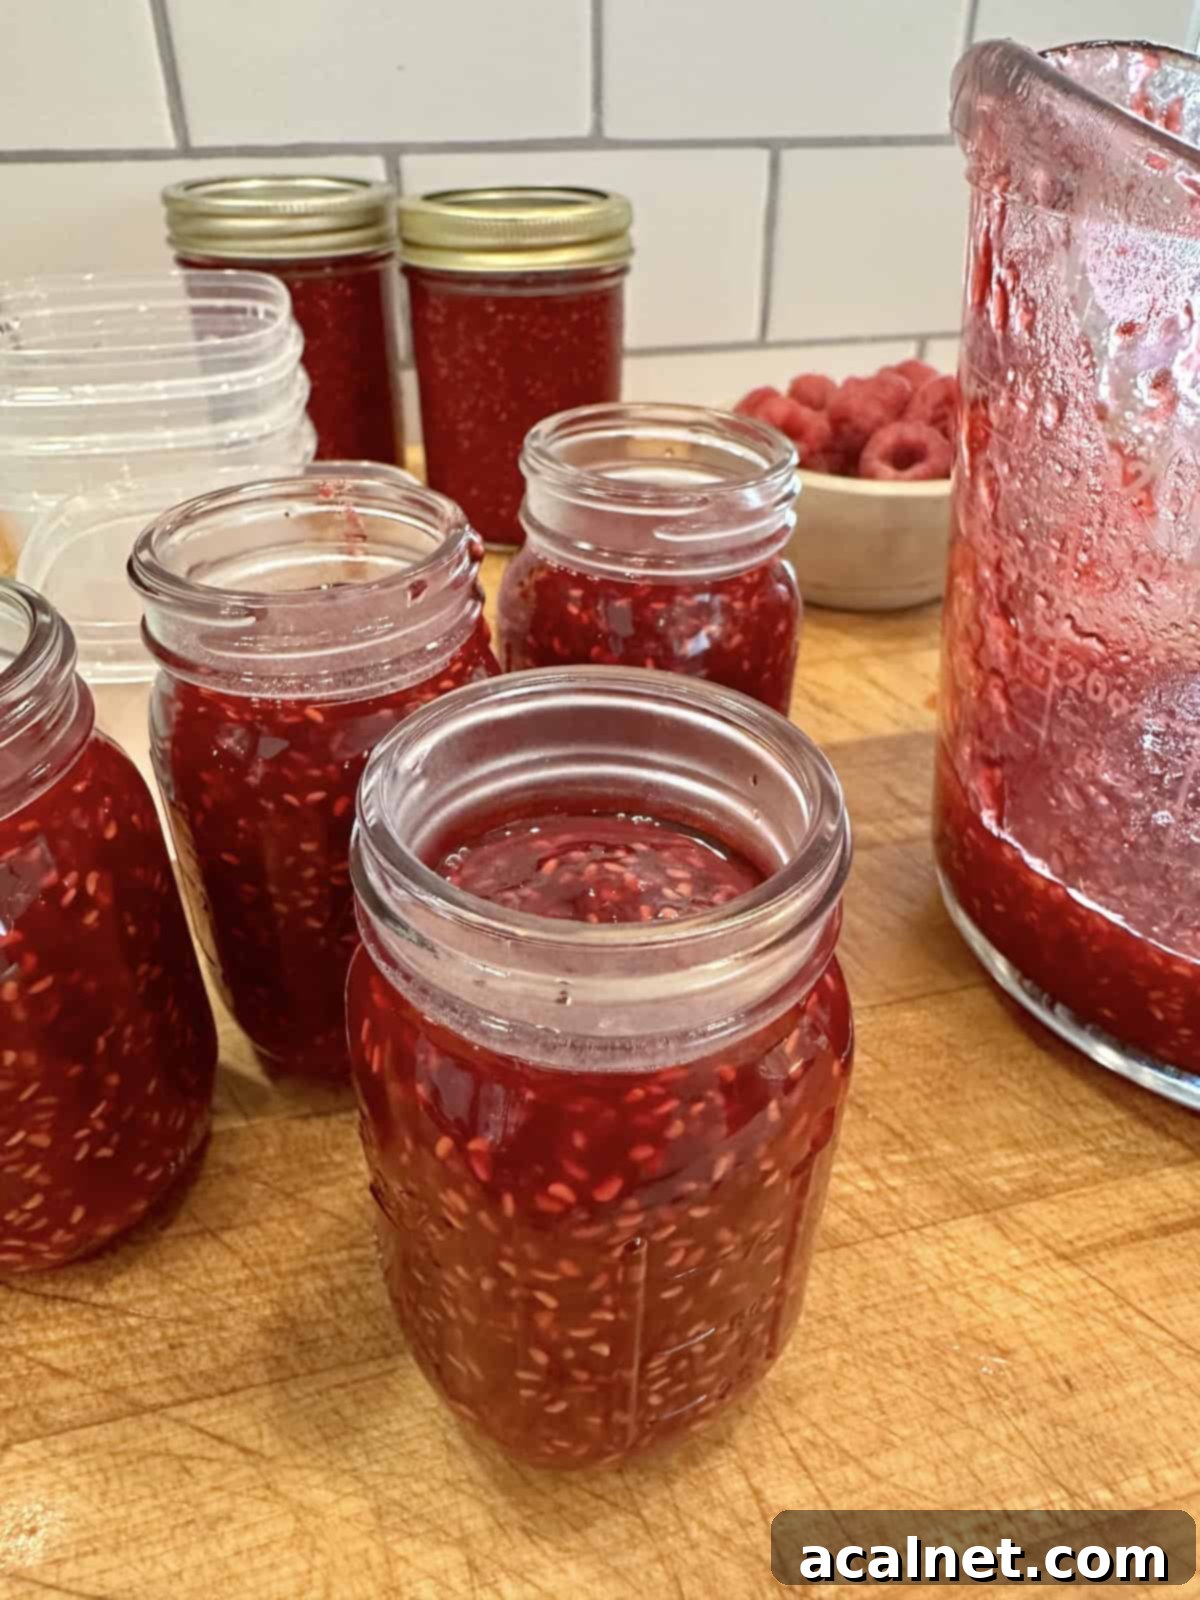
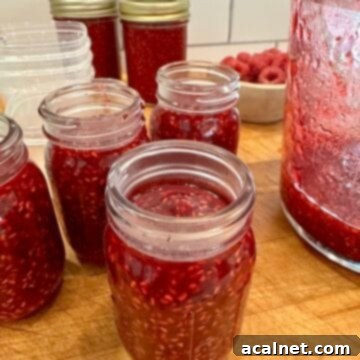
Step 5: Fill Jars. Once slightly cooled, carefully pour the warm raspberry jam into your clean, prepared jars or freezer-safe containers. This recipe makes approximately 2 ½ cups of delicious jam, enough for several small jars or one larger container. Remember to leave about ½ inch of headspace at the top of each jar to allow for expansion if you plan to freeze it.
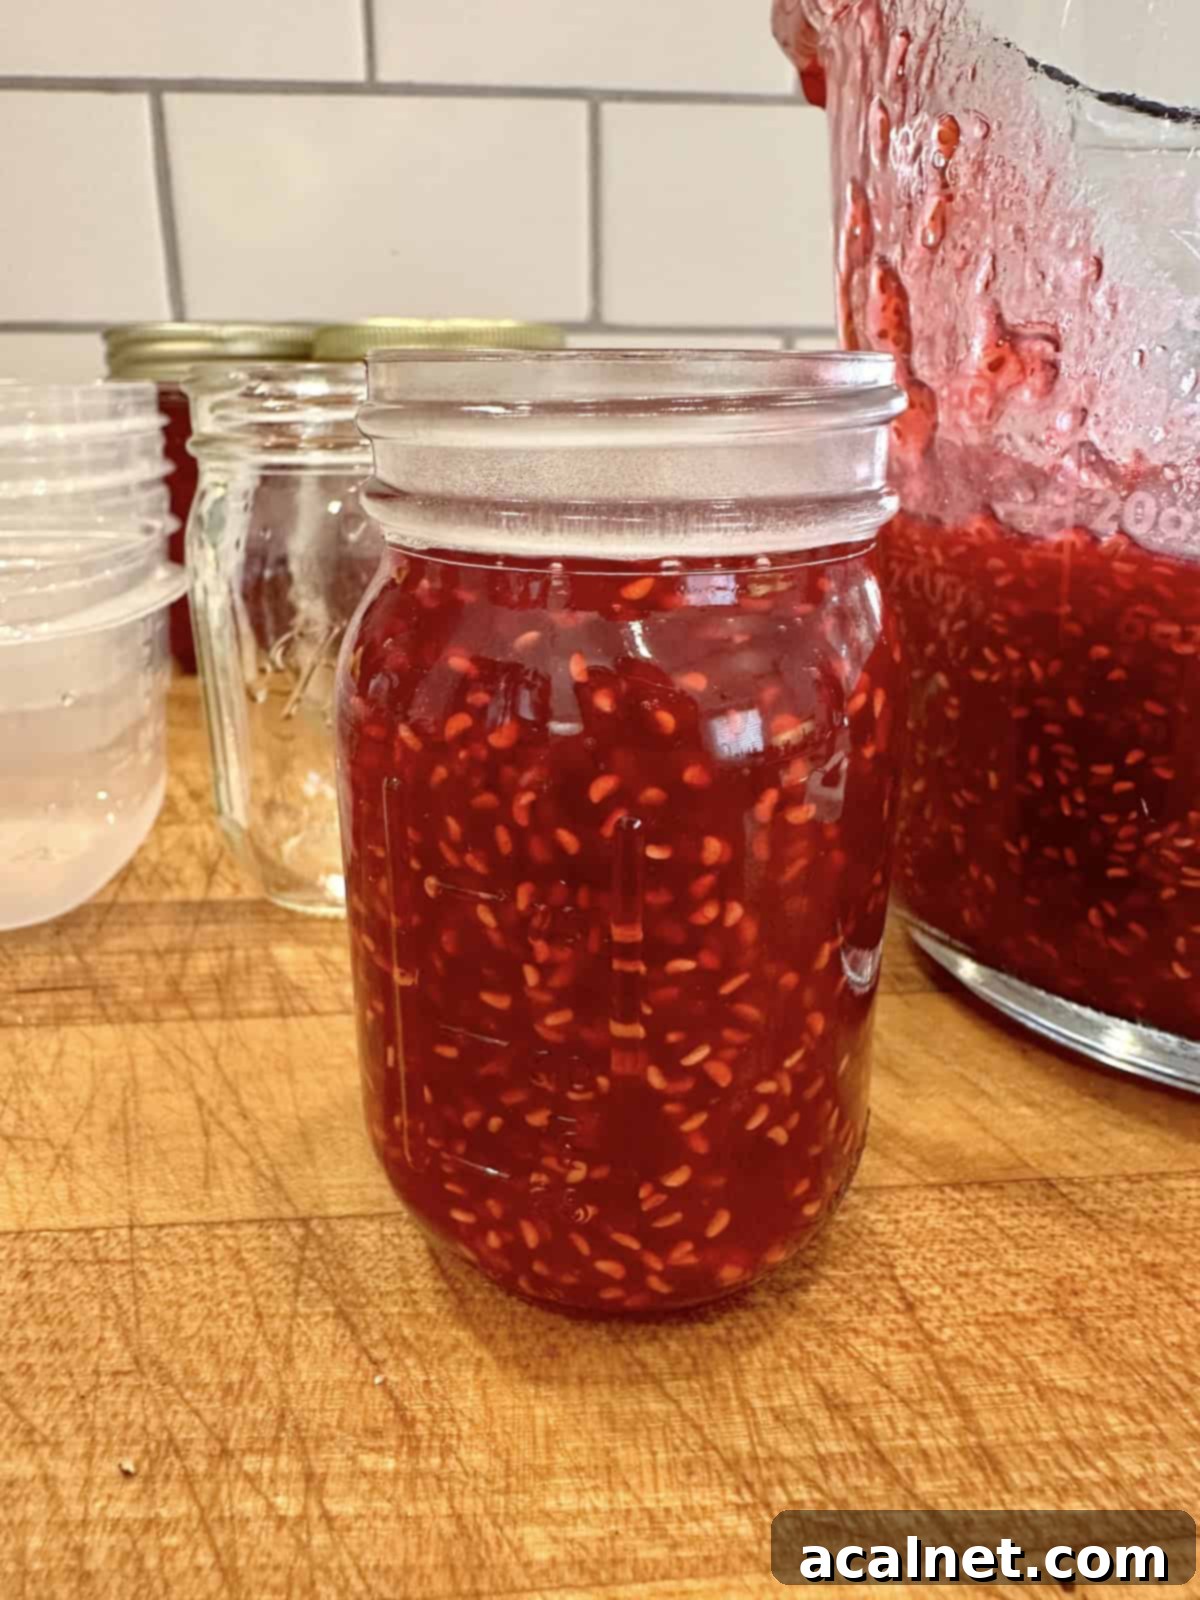
Step 6: Final Cool and Store. Allow the filled jars of jam to cool completely to room temperature, which will take at least another 10-15 minutes, if not longer. Once cool, securely place a lid on each container. Don’t forget to label your jars with the date! At this point, your homemade raspberry jam is ready for storage – either refrigerate for short-term use or freeze for long-term enjoyment.
⭐ Pro Tip: Understanding Freezer Jam vs. Canning
It’s important to remember that this raspberry jam recipe is specifically designed as a freezer jam. This means it is not shelf-stable and absolutely must be stored in the refrigerator or freezer, not at room temperature. Freezer jam is a fantastic, simpler alternative to traditional water bath canning, making homemade preserves accessible to everyone.
However, if you’re curious about the art of traditional canning and want to explore making shelf-stable preserves, there’s a phenomenal and reliable resource available. Head over to the National Center for Home Food Preservation. This trusted site provides comprehensive, step-by-step guidance, helpful tips, proven techniques, and essential safety guidelines for water bath canning and many other food preservation methods. It’s an invaluable tool for expanding your food preservation skills.
💭 Recipe FAQs About Homemade Raspberry Jam
Absolutely! Using frozen raspberries is a brilliant way to enjoy making homemade jam all year round, even when fresh berries aren’t in season. For best results, simply thaw the frozen raspberries completely and drain any excess liquid before proceeding with the recipe. This ensures you start with the right consistency and don’t introduce too much water into your jam.
Lemon juice is a critical ingredient in this no-pectin raspberry jam recipe. It serves two vital purposes: it provides the necessary acidity to activate the natural pectin within the raspberries, which is what helps the jam thicken and set. It also adds a bright, tangy flavor that balances the sweetness of the sugar and enhances the fruit. Without lemon juice, your jam may not set properly and could remain too runny, resembling a syrup rather than a spreadable jam.
No candy thermometer? No problem! The “cold plate test” is a traditional and highly reliable method to check if your jam has reached the perfect setting point. It’s incredibly easy to do and yields excellent results. Scroll down to the section titled “How to Know if Your Jam is Done Cooking” for detailed instructions on performing this foolproof test.
Yes, you can absolutely make a wonderful seedless raspberry jam! To do so, after boiling the crushed berries but before you add the sugar, lemon juice, and salt, carefully press the cooked berries through a fine-mesh sieve, a food mill, or a strainer to remove all the seeds. Once you have a smooth, seedless berry purée, return this strained mixture to the saucepan, add the sugar, lemon juice, and salt, then continue following the recipe as written. This will give you a silky-smooth, seedless raspberry jam.
While it might be tempting to reduce sugar for a healthier option, sugar plays a crucial role beyond just sweetness in jam making. It aids in the gelling process by interacting with pectin and acts as a preservative. Significantly reducing the sugar content can prevent the jam from setting properly and also shorten its shelf life, especially for freezer jam. For this specific no-pectin recipe, it’s best to stick to the recommended amount for optimal results and safe storage. If you prefer a less sweet jam, you might explore recipes specifically designed for low-sugar jams with added low-sugar pectin.
It’s common for a layer of foam to form on the surface of your jam during the cooking process. While not harmful, it can make the jam look a little less appealing in the jar. To remove it, simply skim it off the surface with a spoon before pouring the jam into your jars. Some people like to reserve the foam to enjoy immediately on toast, as it’s perfectly delicious!
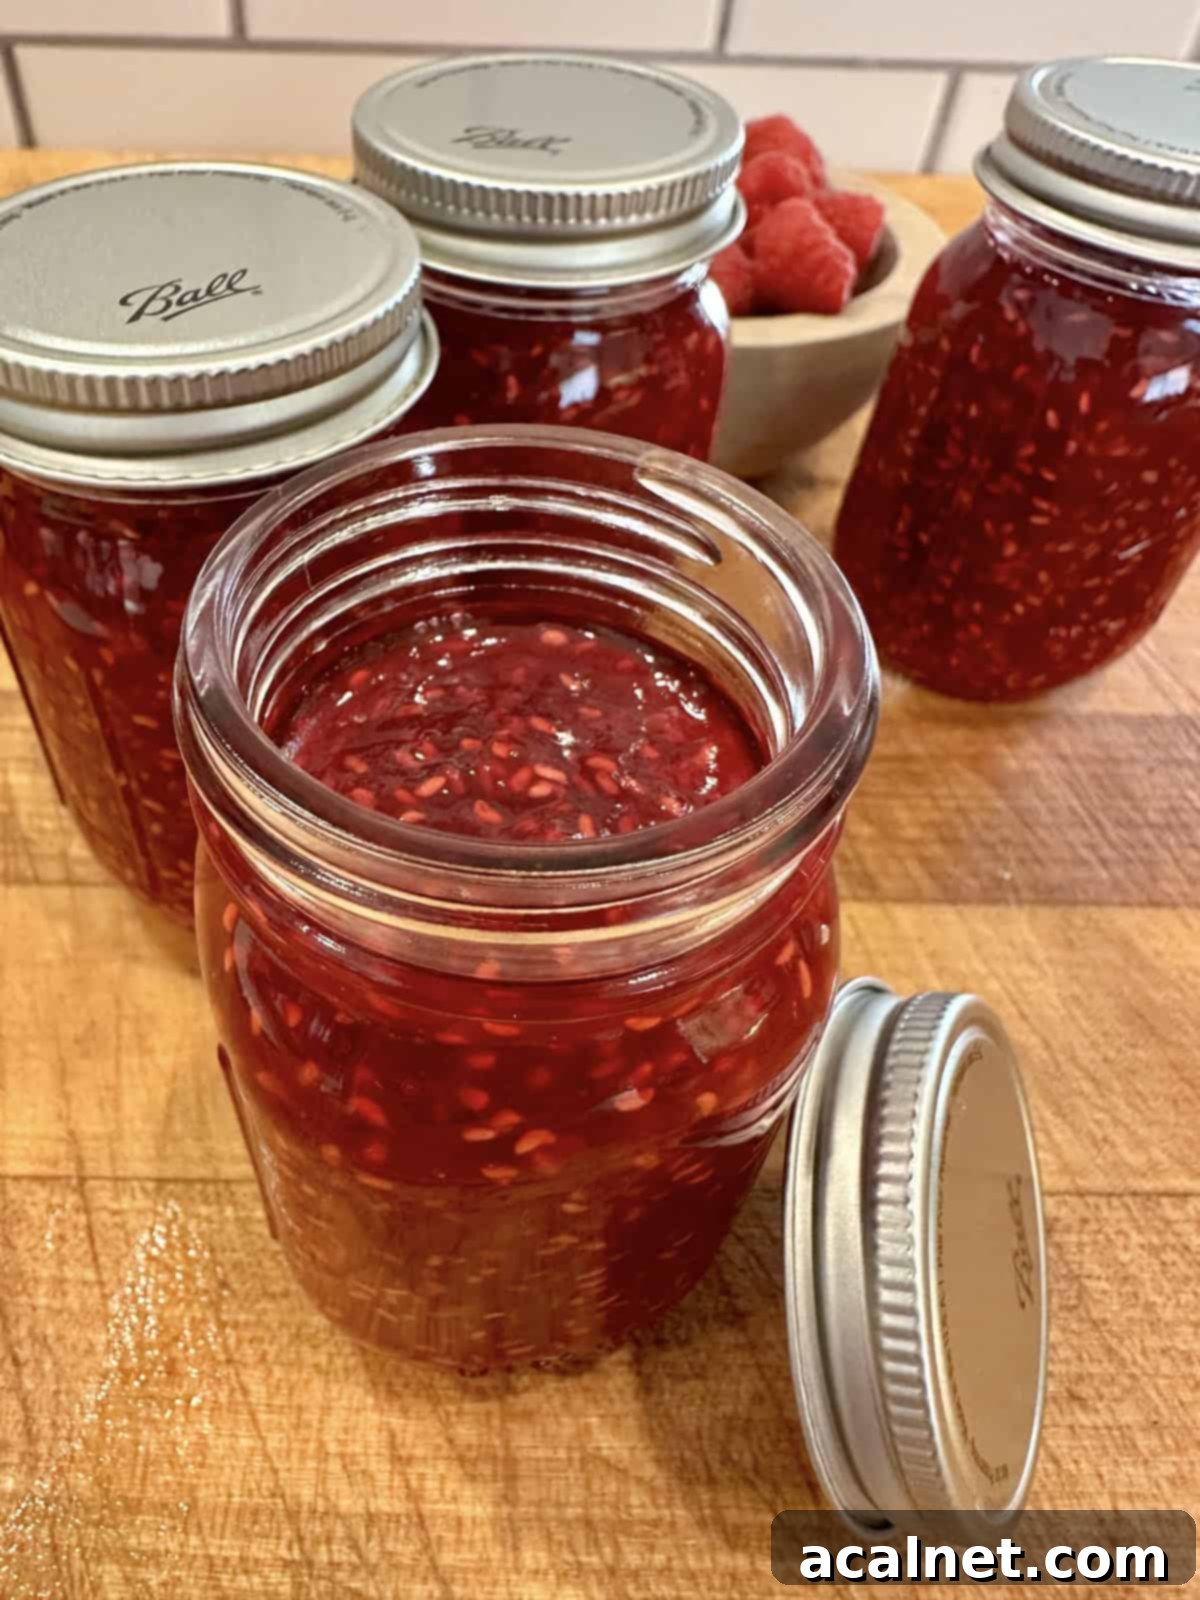
🍓 Berry Substitutions and Serving Suggestions
This versatile jam recipe isn’t just for raspberries! You can easily swap out the raspberries for the same quantity (4 cups) of other delicious berries to create a variety of homemade fruit spreads:
- Blackberries: Offer a deeper, earthier flavor.
- Boysenberries: A delightful cross between raspberries and blackberries, providing a unique sweetness.
- Strawberries: For a classic, universally loved, sweet jam.
- Blueberries: Will create a beautiful, rich blue-purple jam with a distinct flavor.
Alternatively, consider creating a fantastic “mixed berry” jam by using a combination of any of the above berries, ensuring the total amount still equals 4 cups. Experiment with your favorites to find your perfect blend!
Homemade berry jam is always a wonderful pantry staple to have on hand, offering a multitude of delicious serving options. Enjoy it simply spread over freshly baked basic biscuits or fluffy no-knead potato rolls for a comforting breakfast. It also makes an exquisite addition to a gourmet cheese board or a lavish charcuterie board, pairing beautifully with various cheeses and cured meats. For a creative appetizer, serve it on the side with elegant Handheld Charcuterie Cups. The possibilities are truly endless!
♨️ How to Know if Your Raspberry Jam is Done Cooking (The Soft-Ball Stage)
Achieving the perfect texture for your jam hinges on cooking it just long enough for the sugar to reach what’s scientifically known as the “soft-ball” stage. This specific sugar concentration and temperature are essential for giving jam its characteristic spreadable consistency – not too runny, not too firm. There are two reliable methods to test for this stage, so you can choose whichever is most convenient and comfortable for you.
Candy Thermometer Test: This is the most precise method. The soft-ball temperature for sugar will vary slightly depending on your altitude. At sea level, the jam mixture needs to reach 220°F (104°C). For every thousand feet (approximately 305 meters) above sea level, you should reduce the target temperature by 2°F (about 1°C). For instance, if you live in Boise, Idaho, where the elevation is around 2,700 feet, your jam will typically reach the soft-ball stage at approximately 215°F (102°C). Keep a close eye on the thermometer and remove from heat once the target temperature is met.
Cold Plate Test (No Thermometer Needed!): This traditional method is incredibly effective and doesn’t require any special equipment beyond a plate. Here’s how to do it: as you begin cooking your jam, place a small, clean plate in the freezer for a few minutes to get it very cold. After your jam has been simmering for at least 10 minutes (and you suspect it might be close to done), remove a small spoonful of the hot jam mixture from the heat. Carefully pour a tiny amount of this boiling jam onto the chilled plate. Immediately return the plate to the freezer for about 1 to 2 minutes. Then, remove the plate and gently push the jam with your finger. If the liquid has thickened to resemble a syrupy consistency (similar to warm pancake syrup) and wrinkles or gels when pushed, your jam is perfectly done! If it’s still thin, watery, and runs off the plate easily, it needs to boil for a few more minutes. See the visual examples below for a clearer understanding:
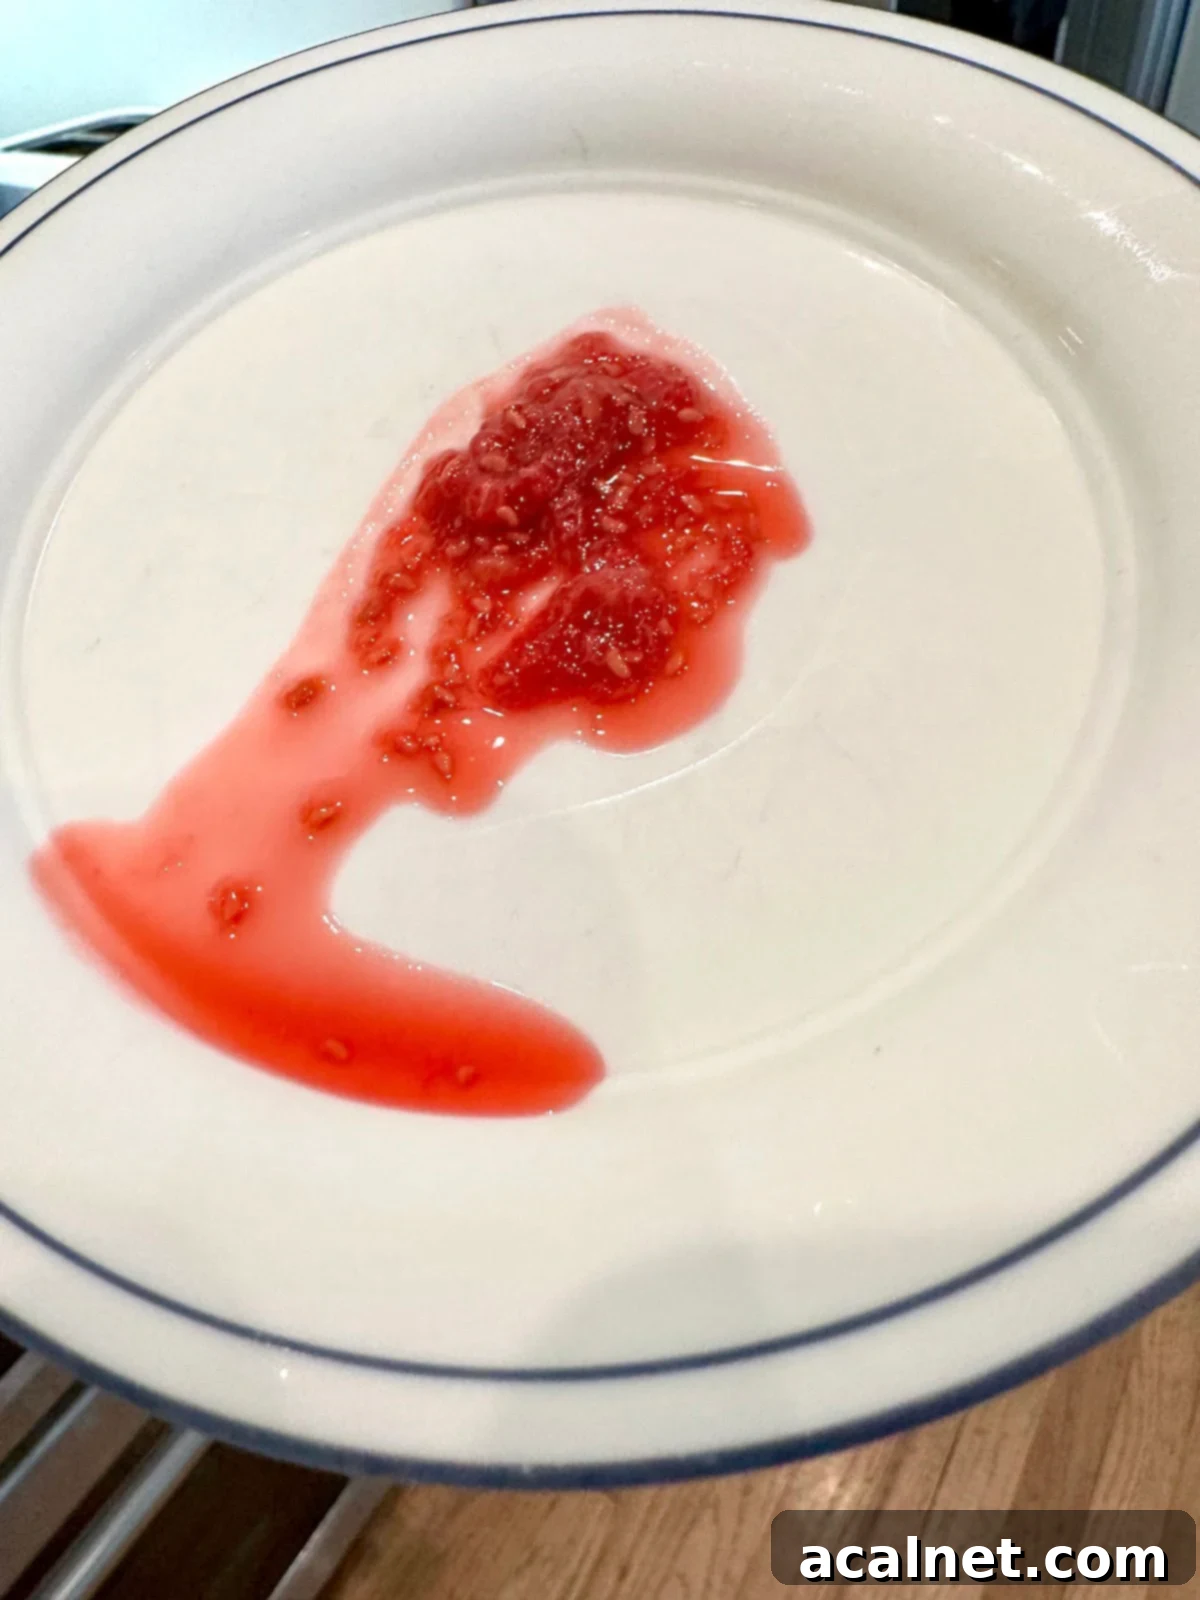
Cold Plate Test 1: Not Ready. In this example, the jam is clearly not yet ready. There’s no syrupy gel forming around the crushed raspberries, and the liquid remains thin and runny, easily flowing off the cold plate. It needs more cooking time.
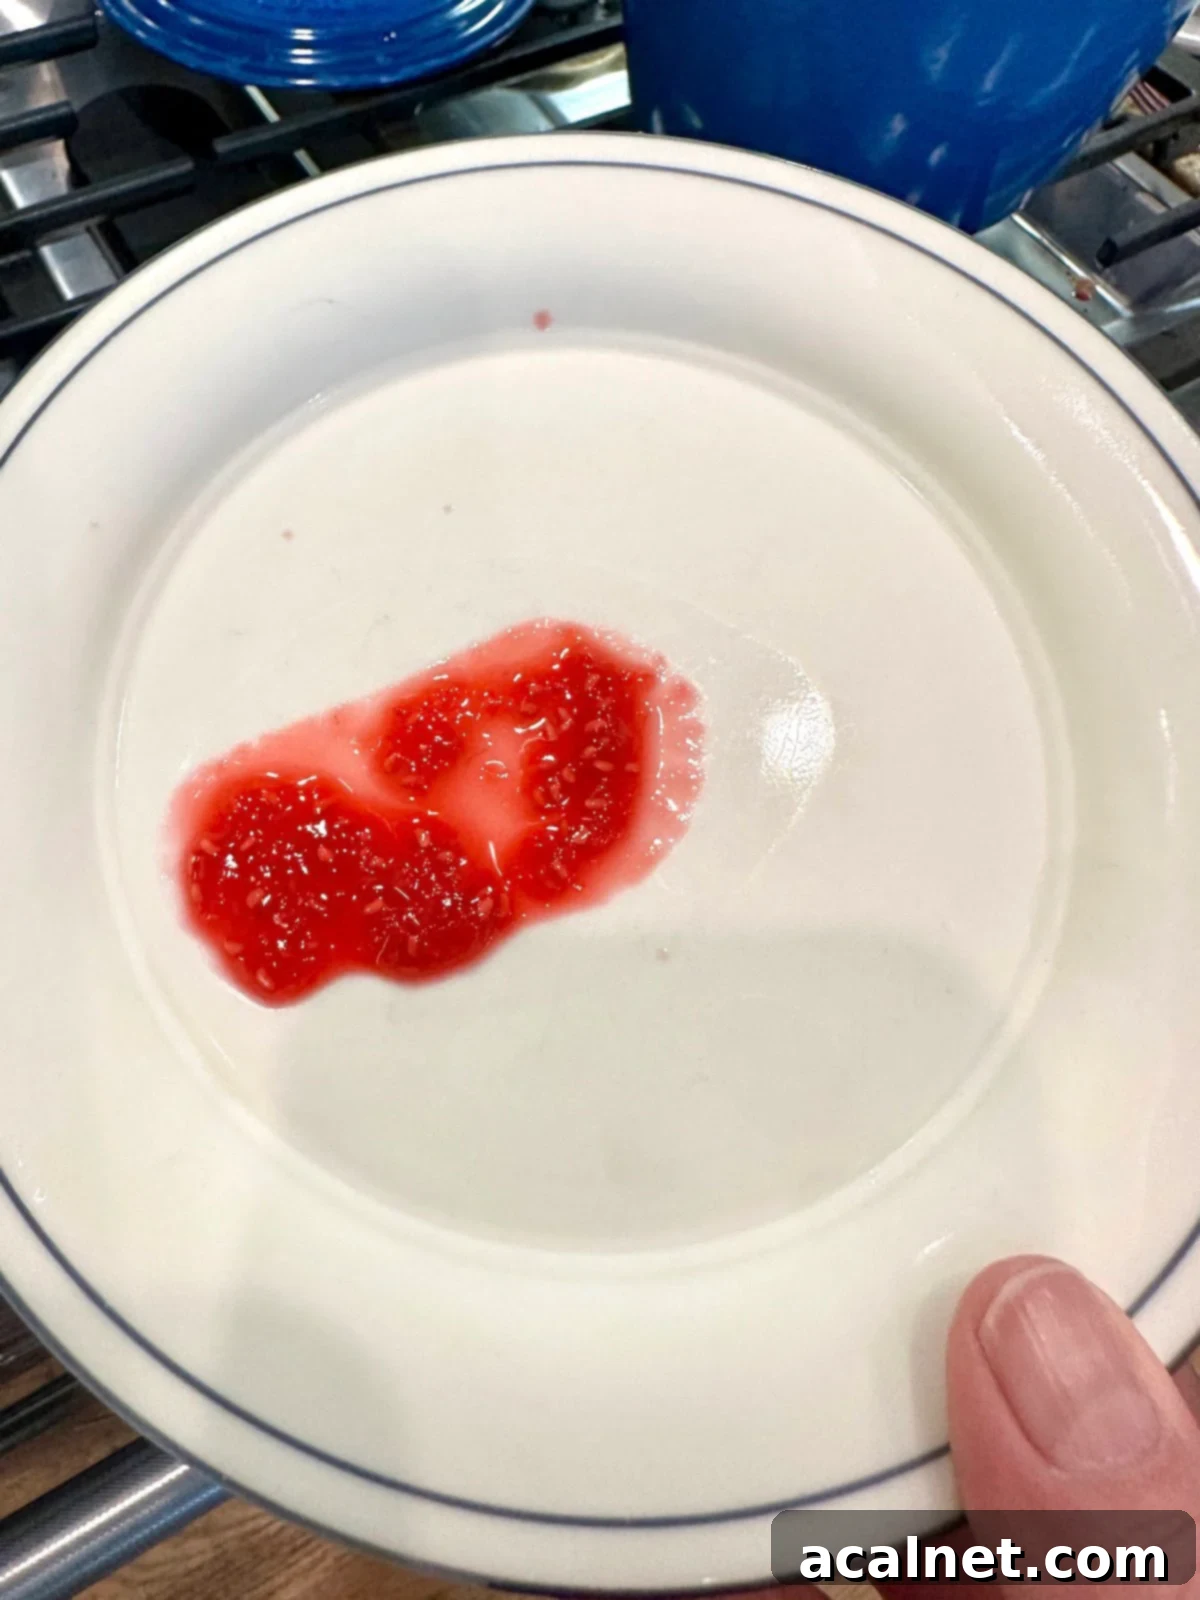
Cold Plate Test 2: Perfectly Ready! Here, the jam has reached the perfect soft-ball stage. Notice the distinct jelled portions of jam around the berries, and when nudged, the liquid has become sticky, forming a beautiful syrupy consistency. This jam is ready to be taken off the heat and jarred!
⭐ Pro Tip: Jar Selection for Small Batch Jam
This recipe yields approximately 2 ½ cups of jam, making it ideal for smaller containers. I personally love using small 4-ounce jars for storing this homemade raspberry jam. They are incredibly convenient – perfectly sized for tucking neatly into a corner of your fridge or freezer, and they make fantastic, charming gifts for friends, family, and neighbors. While glass jars are classic, feel free to use any freezer-safe container you have on hand. Choose what works best for your storage needs and gifting preferences!
👩🏻🍳 How to Store Easy Raspberry Jam
Proper storage is key to enjoying your delicious homemade raspberry jam for as long as possible. This freezer jam offers two convenient options:
Refrigerator Storage: If you plan to enjoy your jam relatively quickly, it keeps beautifully in the fridge. Simply spoon the cooled jam into clean jars or airtight containers, securely fasten the lid, and store it in the refrigerator. It will maintain its fresh taste and texture for up to 3 weeks. This is perfect for immediate enjoyment or short-term gifting. (Need it to last even longer? Be sure to check out the freezer option below!)
Freezer Storage: For extended enjoyment, this raspberry jam can be safely frozen for up to 1 year. This makes it an excellent option for preserving the taste of fresh summer berries well into the colder months. When you’re ready to savor your jam or share it with loved ones, simply transfer the frozen jars or containers to the refrigerator and allow them to thaw overnight. Once thawed, it will be ready to spread and enjoy!
🍽 More Delicious Summer Recipes to Try
This Easy Raspberry Jam truly embodies the essence of summer in a jar – bright, fresh, and utterly delicious. If you’re looking for more delightful recipes that capture the flavors of the warmer months (or any time of year!), here are a few more of my absolute favorites:
- Creamy Corn and Potato Soup
- Chocolate Zucchini Cake
- Easy Raspberry Jam (No Pectin, No Canning)
- Tiramisu Cake for Dessert
If you make Easy Raspberry Jam, I’d absolutely love to hear how it turned out for you! Please take a moment to leave a 🌟🌟🌟🌟🌟 star rating and a comment below. Your feedback means the world to me, and I’m eagerly looking forward to hearing from you!
Recipe Card
Easy Raspberry Jam (No Pectin, No Canning)
Print
Rate
Pin Recipe
Ingredients
- 4 cups fresh raspberries
- 2 cups granulated sugar – add ¼ cup more for tart raspberries, if desired
- 2 tablespoons fresh lemon juice
- ⅛ teaspoon fine sea salt
Instructions
Prepare the Berries and Combine Ingredients
- Gently rinse the fresh raspberries under cool water, then carefully remove any lingering stems or leaves. Place the cleaned berries into a 2 or 3-quart saucepan on your stove. Use a potato masher or a sturdy fork to gently mash a portion of the raspberries; this helps to break them down and release their natural juices, which will kickstart the cooking process. Turn the heat to medium-high and bring the mashed raspberries to a rolling boil, stirring frequently to prevent sticking.4 cups fresh raspberries
- Once the berries are boiling, add the granulated sugar, fresh lemon juice, and the fine sea salt to the saucepan. Stir thoroughly until the sugar is completely dissolved.2 cups granulated sugar, 2 tablespoons fresh lemon juice, ⅛ teaspoon fine sea salt
Cook the Jam Mixture to Perfection
- Bring all the ingredients to a full, rolling boil. Maintain this active boil, continuing to simmer the mixture while stirring constantly. As the jam thickens, you may need to reduce the heat to medium to prevent it from boiling over or scorching on the bottom of the pan. Consistent stirring is essential for even cooking and preventing sticking.
- For the best setting and texture, boil the mixture until the sugar reaches the “soft-ball” stage. This occurs when the temperature of the jam mixture reaches approximately 220°F (104°C) at sea level. The cooking time typically ranges from 10 to 15 minutes of simmering to reach this stage. Begin checking the jam after 10 minutes using one of the two reliable methods described below.
How to Test the Jam for the Soft-Ball Stage
- Candy Thermometer Test: The precise soft-ball temperature for sugar can vary slightly with your altitude. While 220°F (104°C) is the standard at sea level, you should reduce the target temperature by 2°F (about 1°C) for every thousand feet (305 meters) you are above sea level. For example, living in an area like Boise, Idaho, with an elevation of 2,700 feet, your jam will typically reach the soft-ball stage at approximately 215°F (102°C) after roughly 12 minutes of active cooking.
- Cold Plate Test (No Thermometer): To prepare, place a small plate in the freezer as you start cooking the jam. After about 10 minutes of boiling, remove a spoonful of the jam mixture from the heat and place a small amount onto your very cold plate. Return the plate to the freezer for 1-2 minutes. Then, remove it and gently push the jam with your fingertip. If the mixture wrinkles, is sticky, and forms a syrupy gel, your jam is perfectly done. If it remains thin, watery, and runs freely, continue boiling the jam for a few more minutes, then re-test with a fresh cold plate.
- Once your jam has reached the soft-ball stage by either method, remove the saucepan from the heat. Allow the hot jam mixture to rest and cool for 10 minutes in the pan; it will continue to thicken as it cools.
Fill Jars and Final Cool Down
- PRO TIP: For easier and mess-free pouring, transfer all of the jam mixture into a large 4-cup glass measuring cup with a pouring spout. This significantly simplifies filling the jars. Carefully pour the jam into your clean jars or freezer-safe containers. Ensure you leave at least ½ inch of headspace between the surface of the jam and the rim of the jar or container. This crucial space allows for the jam to expand safely when it’s frozen. Let the filled jars cool completely to room temperature for at least another 10-15 minutes before covering.
Storage Instructions
- Once the jam has cooled completely, securely cover the jars or containers with lids and label them with the date. Store your delicious homemade raspberry jam in the refrigerator for up to 3 weeks, or transfer to the freezer for long-term storage of up to one year.
Notes
Freezer Storage: For longer preservation, this jam can be frozen for up to 1 year. When you’re ready to enjoy or share it, simply thaw the jars or containers overnight in the refrigerator.
Please note: This raspberry jam recipe is not shelf-stable, which means it cannot be stored at room temperature like traditionally canned jams. For comprehensive information on how to make jam using the traditional water bath canning method, including detailed techniques and essential safeguards, please visit the official website of the National Center for Home Food Preservation. It is an excellent and trusted resource for all your food preservation inquiries!
Please note: The nutrition details provided are estimated using a food database and should be considered a rough estimate, not an exact scientific calculation. Individual results may vary based on specific ingredients and preparation methods.
