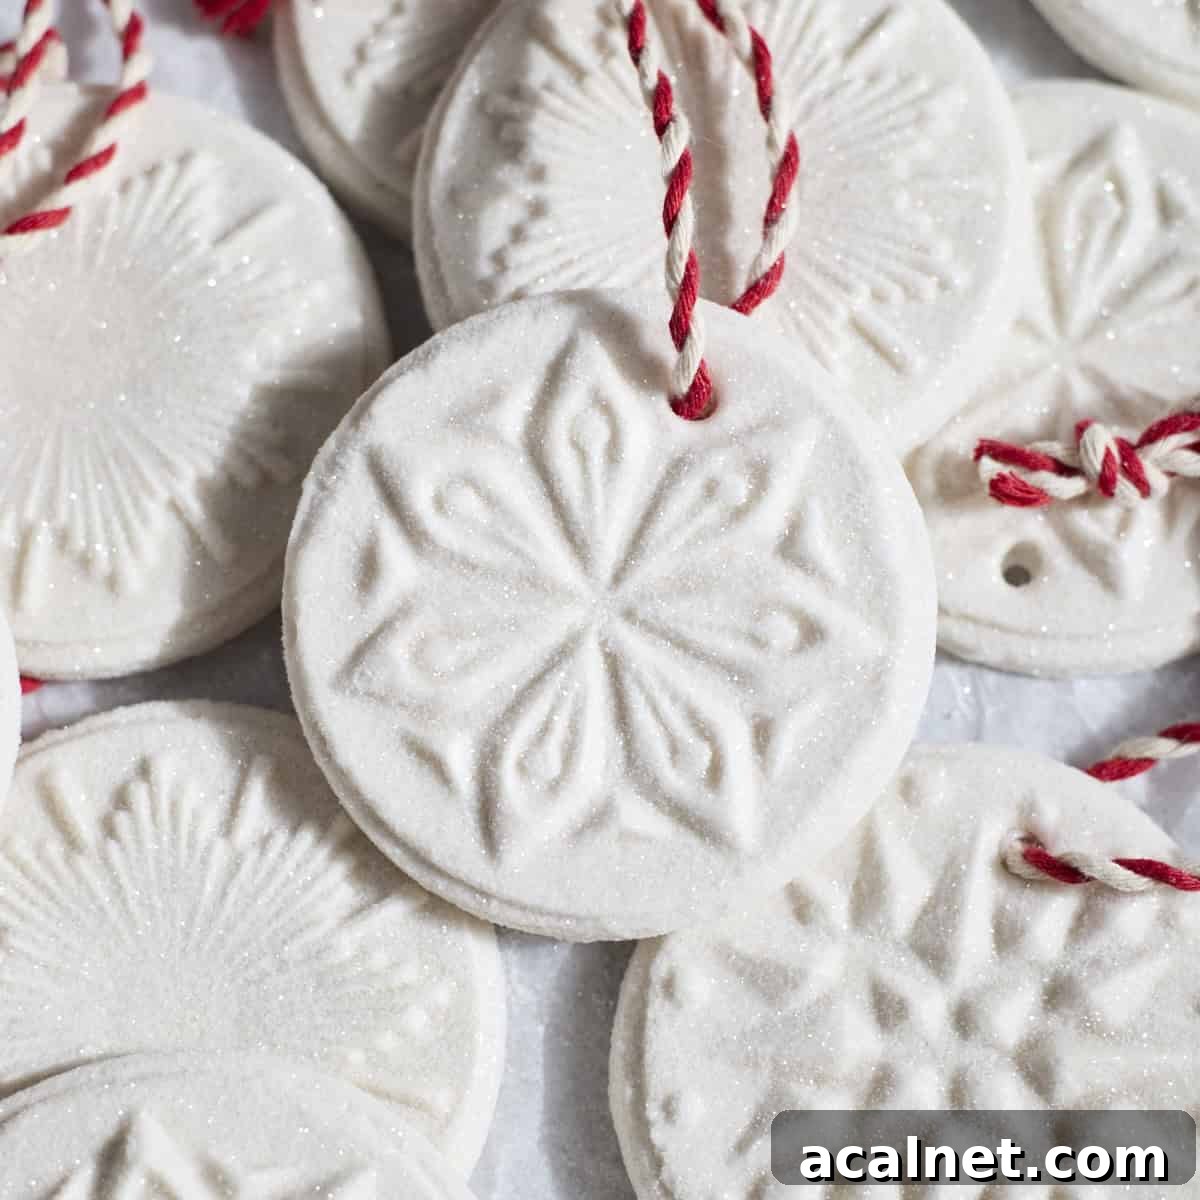
Making salt dough ornaments has become a favorite holiday tradition at our house. These Sourdough Discard Salt Dough Ornaments are cheerful, simple to make, and perfect for crafting with family or gifting to friends. They’re an excellent way to use sourdough discard, but the recipe also works without it (see the no-sourdough variations below).
Quick note: You don’t need a sourdough starter to make attractive salt dough ornaments. If you do have unfed sourdough discard, this is a festive, non-food use for it that produces durable, long-lasting ornaments.
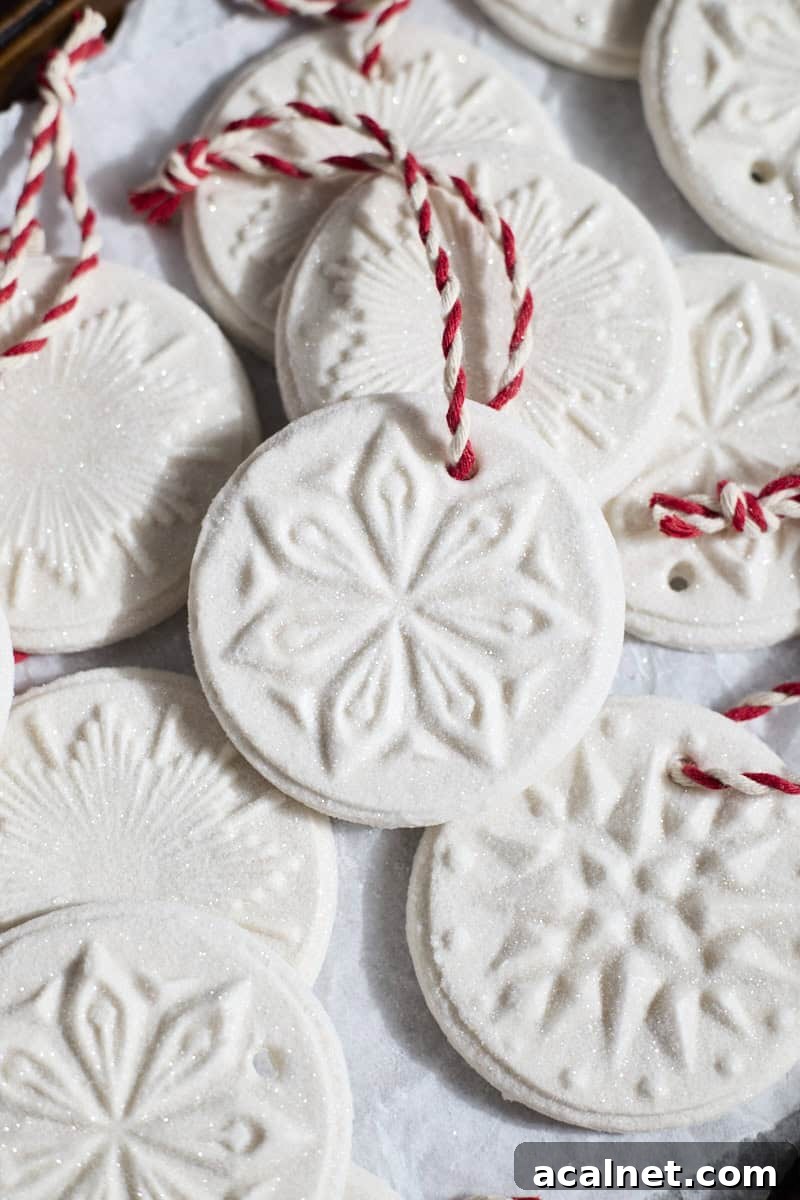
Why you’ll love this recipe
- These ornaments are easy to make and lovely to display. The process involves more drying time than active work time, so you can do it in short sessions between other tasks.
- They’re a fun group craft for kids and adults and make thoughtful, handmade gifts during the holidays.
- It’s a great way to use up sourdough discard without baking food items.
- Properly sealed and stored, salt dough ornaments can last for years.
Ingredients
You only need four basic ingredients to make these ornaments:
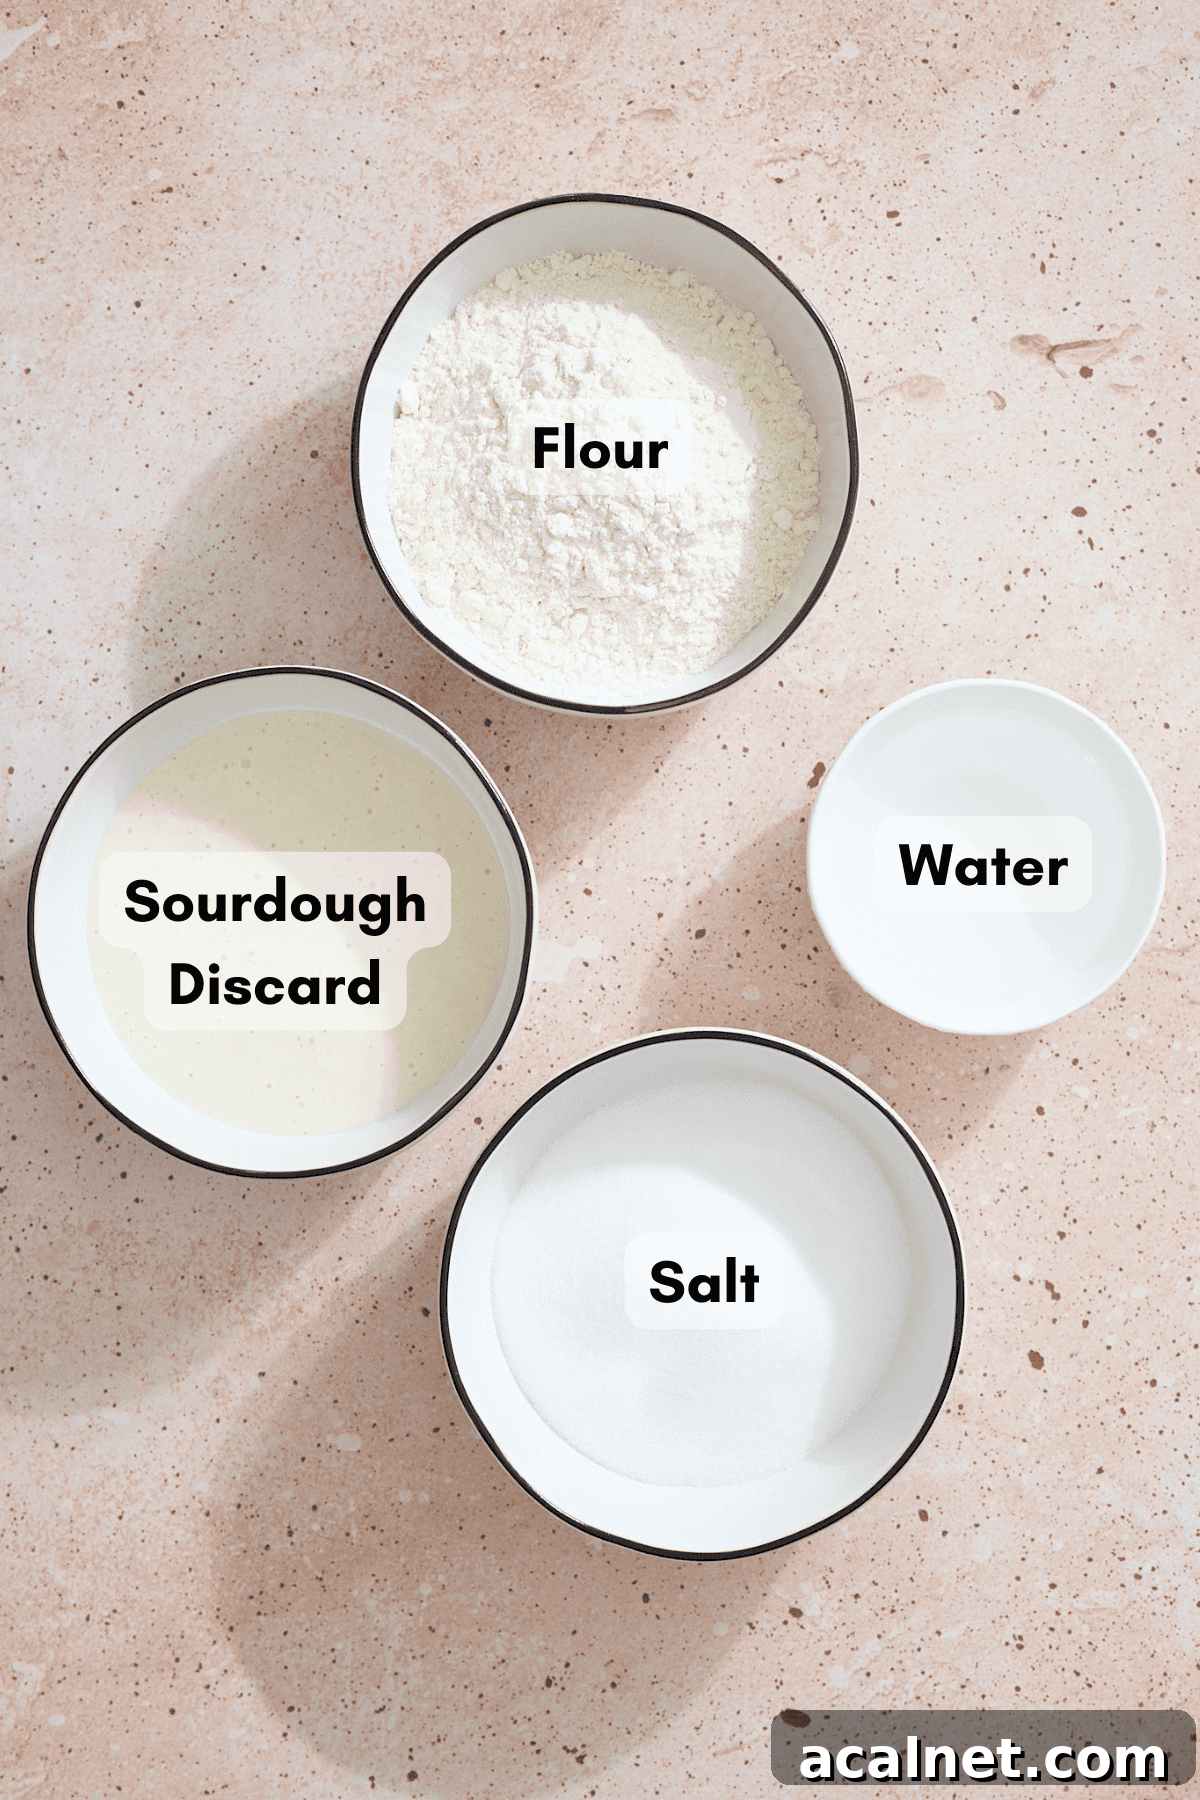
- Sourdough discard: Use unfed discard at room temperature. This recipe assumes a 1:1 starter feeding ratio. If your starter uses a different ratio, the dough may need slight adjustments to flour or water.
- All-purpose flour: Provides structure.
- Salt: Acts as a preservative; fine-grain salt produces a smoother dough.
- Water: Just enough to bring the dough together; you’ll adjust as needed to get a smooth, non-sticky consistency.
See the recipe card below for exact measurements, including a variation for making the dough without sourdough discard.
Equipment
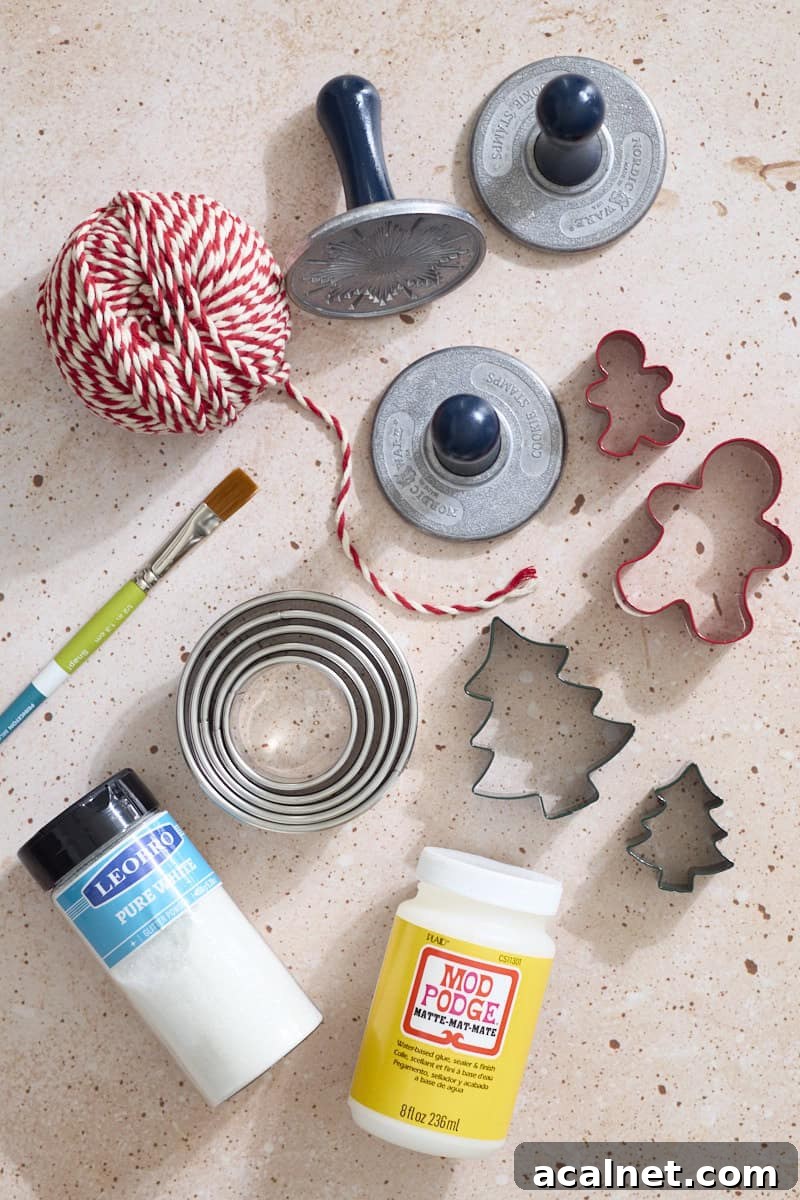
Helpful tools for smooth, consistent ornaments:
- Cookie stamps or cookie cutters and a biscuit cutter for clean round edges
- Rolling pin (if using cookie cutters)
- Straw to poke holes for ribbon or string
- Baking sheet lined with parchment paper or a silicone mat and a cooling rack for drying
- Fine (220-grit) sandpaper for smoothing edges (optional)
- Toothpicks or skewers to clear holes after sealing
- Matte sealer (such as Mod Podge) and a small paintbrush to protect the ornament
- Fine glitter for decorating (optional), and ribbon or twine to hang
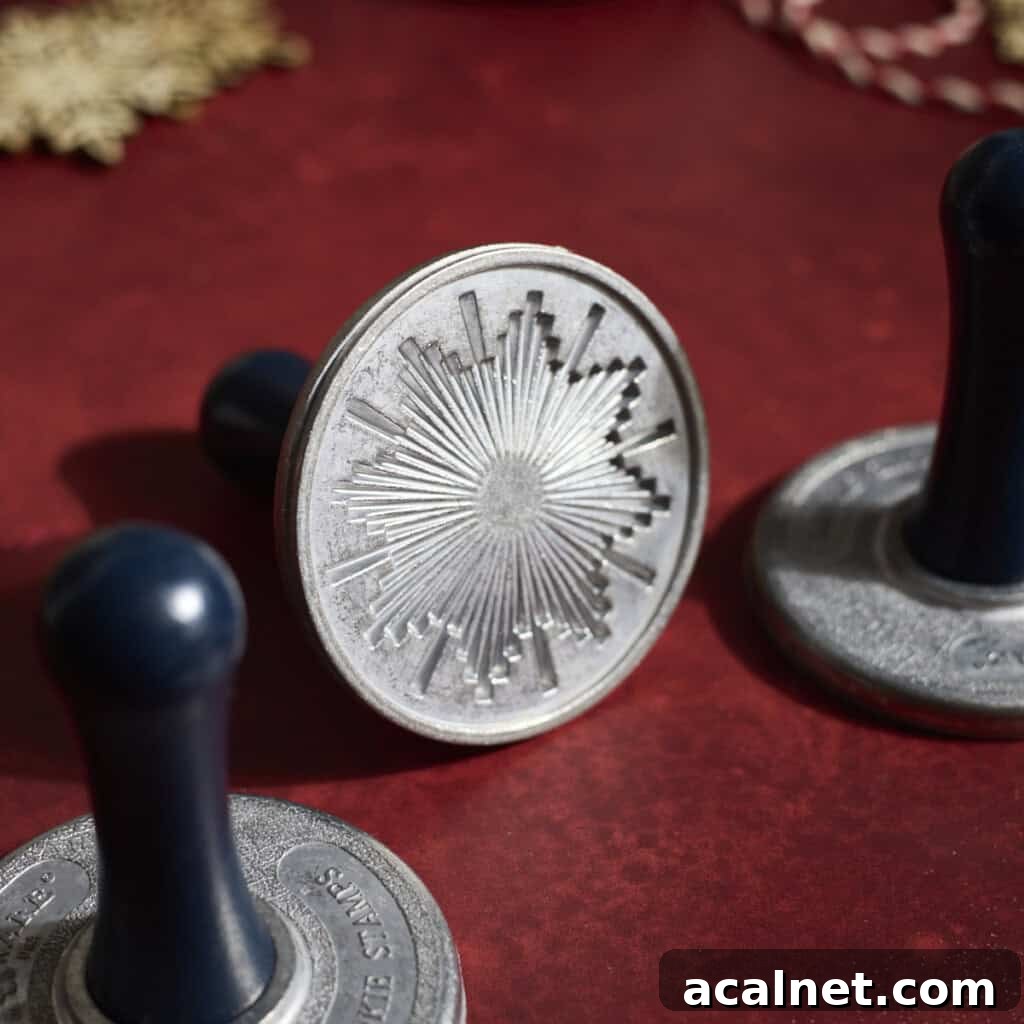
kitchen essentials
Cookie stamps and cutters
Cookie stamps give lovely, detailed impressions. If you prefer clean circles, use a biscuit cutter after stamping or cut with cookie cutters from rolled dough.
How to Make Sourdough Discard Salt Dough Ornaments
The steps are straightforward; the main requirement is patience for drying. Work in short bursts and allow time between steps for the best results.
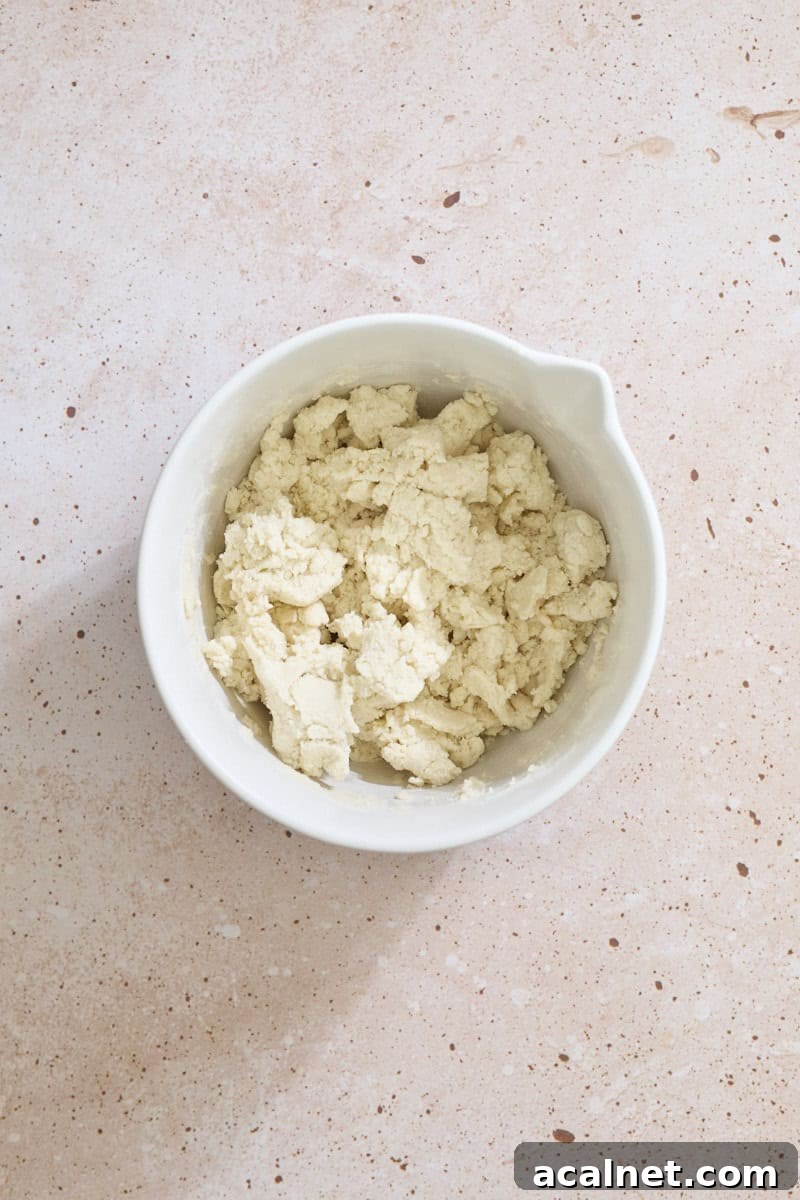
- Step 1: In a large bowl, mix flour and salt. Add unfed sourdough discard and water, stirring until a shaggy dough forms. The dough may be easier to handle with your hands.
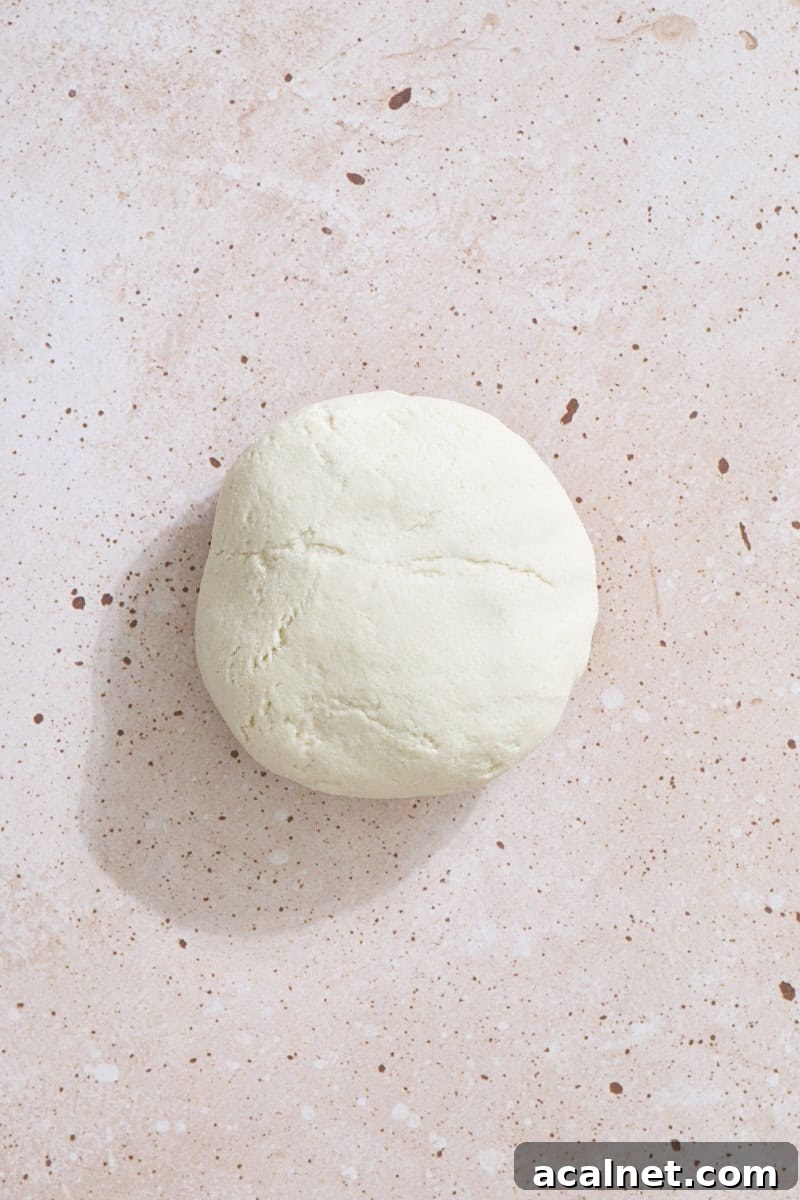
- Step 2: Knead on a lightly floured surface until smooth, about 3–4 minutes. The dough should be cohesive and not sticky; add flour or water by the tablespoon if needed.
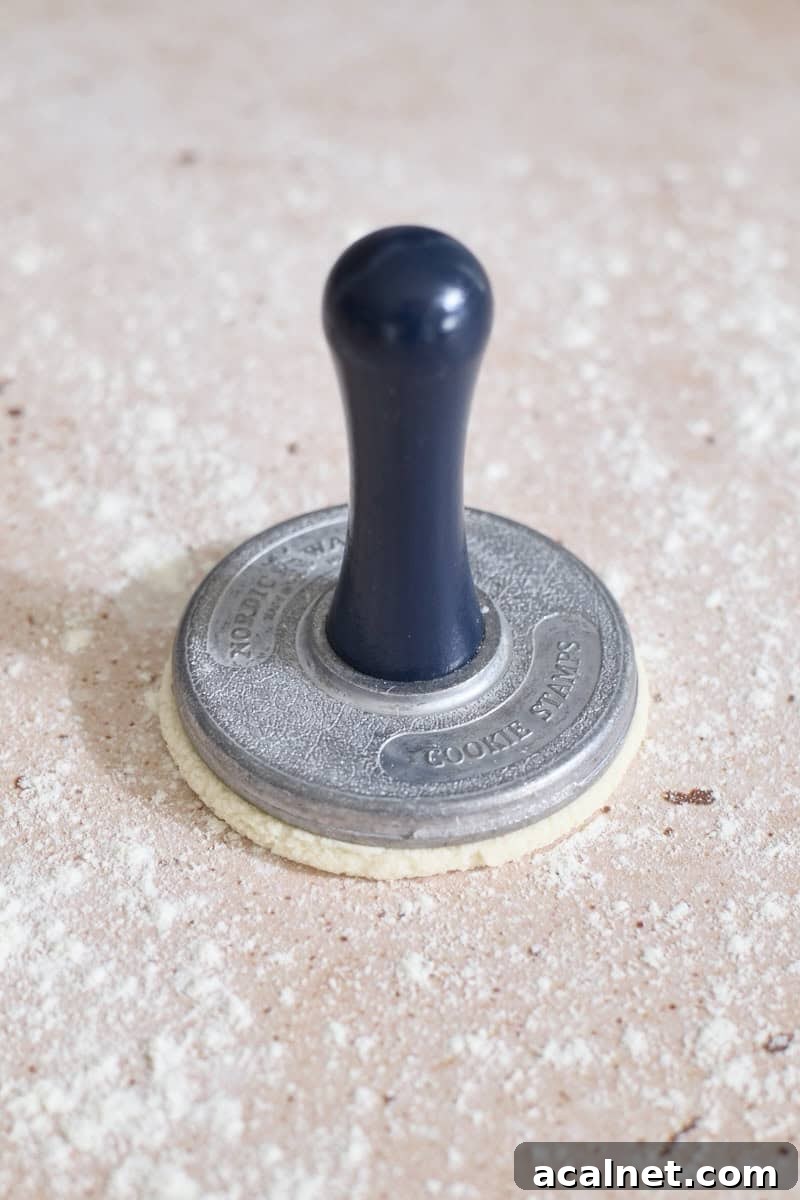
- Step 3: Divide the dough into portions (about 2 tablespoons each). Roll into balls and press with a cookie stamp or roll the dough and cut shapes with cookie cutters to about 1/4-inch thick.
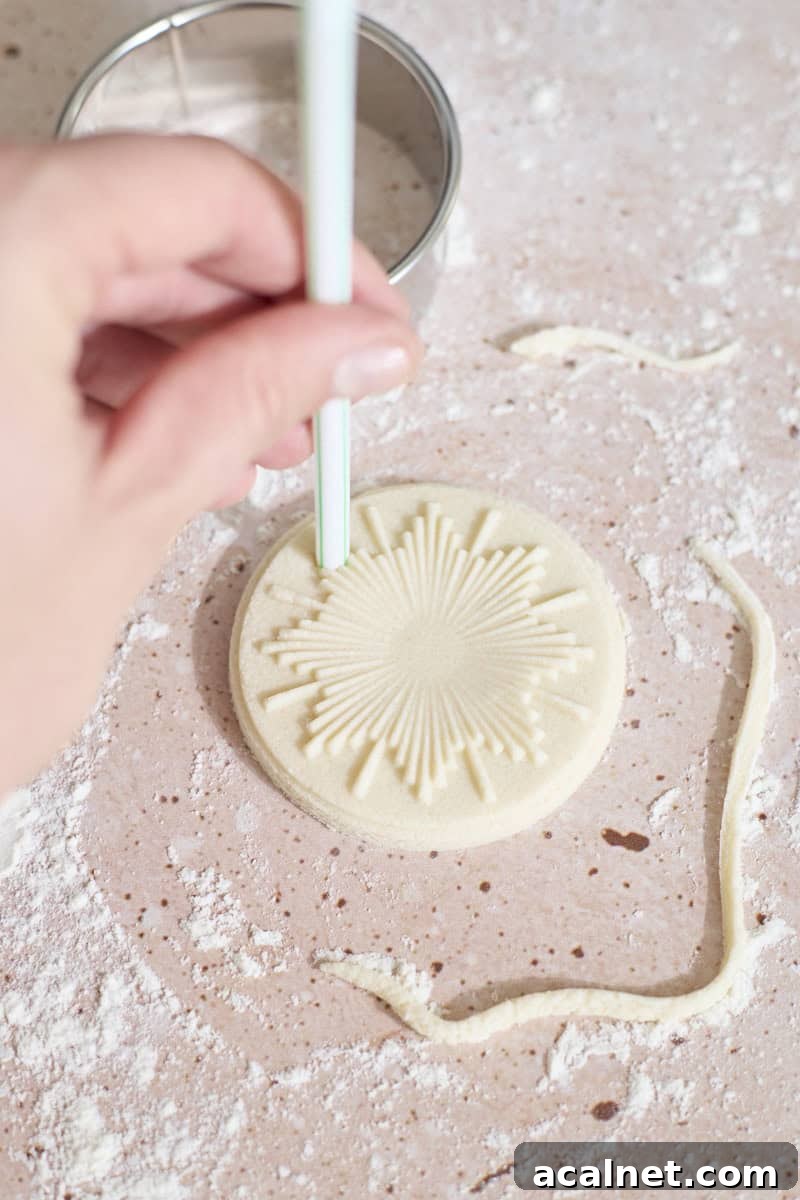
- Step 4: Carefully remove shapes, trim edges with a biscuit cutter if desired, and use a straw to make a hole for hanging.
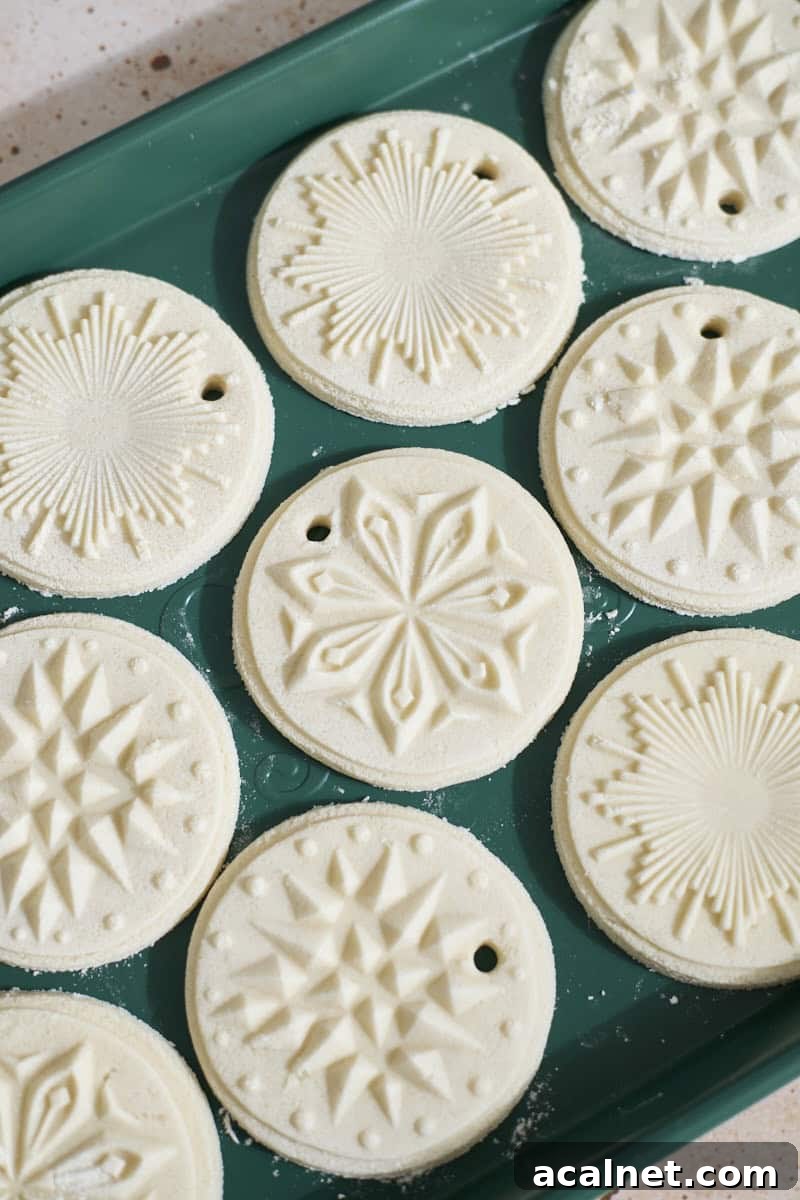
- Step 5: Allow ornaments to dry completely (see drying options below).
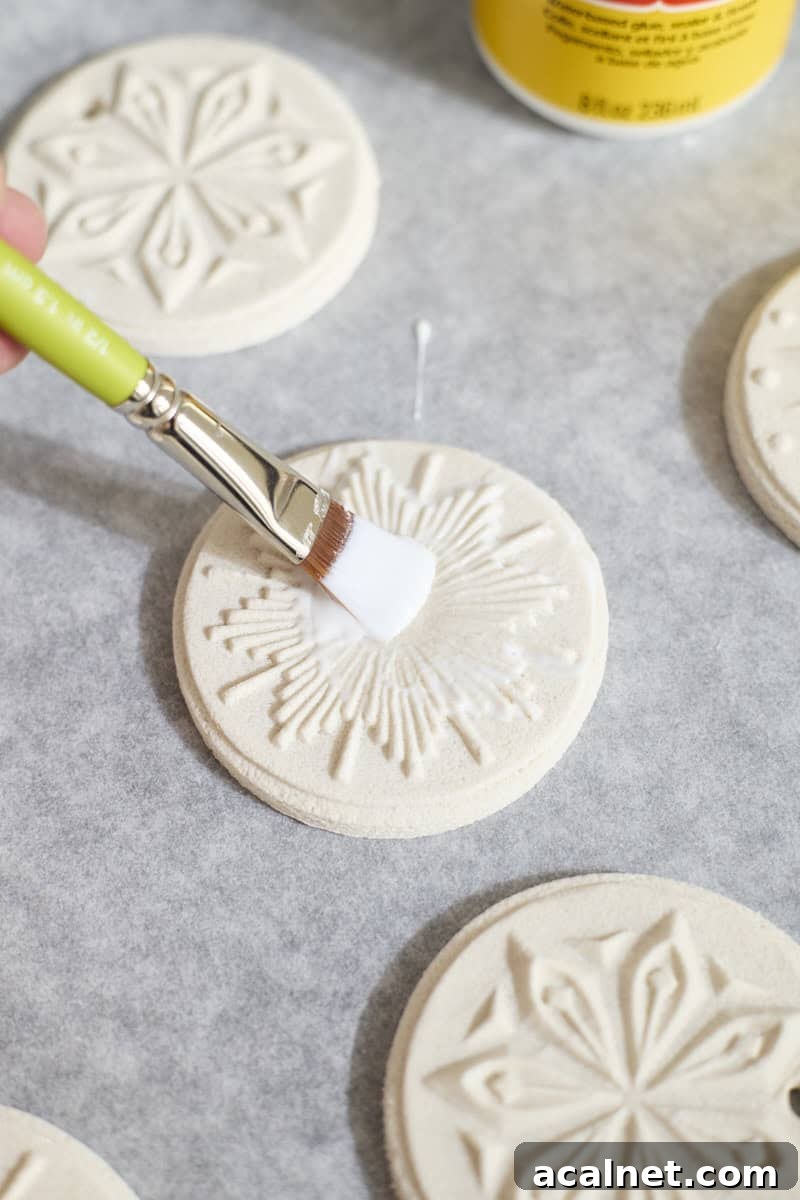
- Step 6: Once dry, brush one side with matte sealer, add optional glitter, let dry, then repeat on the other side.
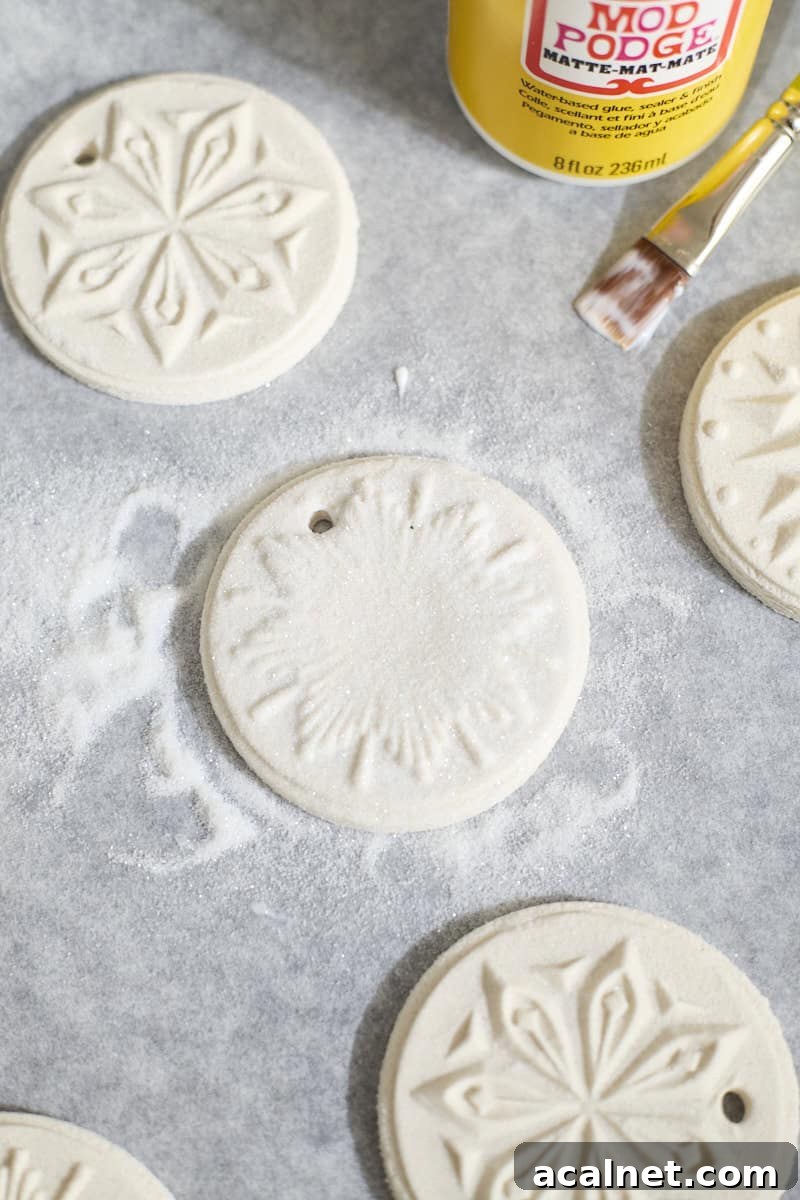
- Step 7: After sealer and glitter are dry, sand any rough edges lightly if desired and ensure holes are clear with a toothpick.
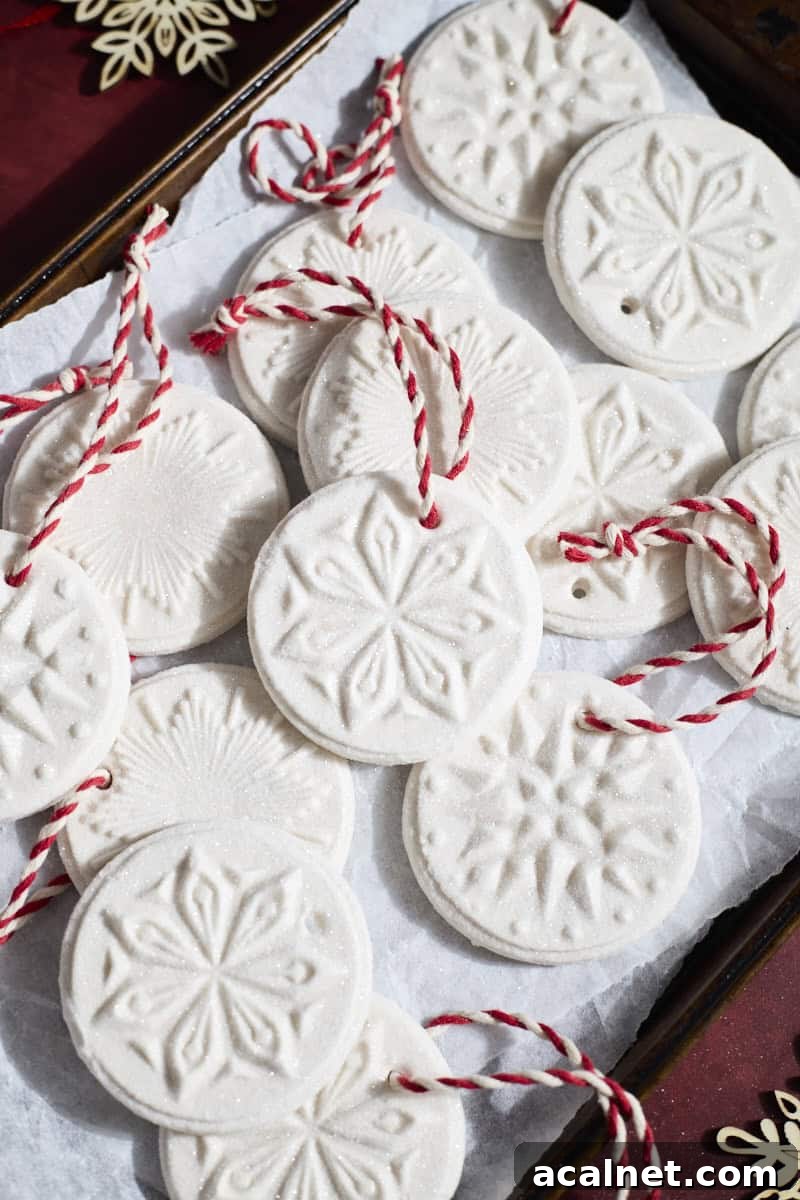
- Step 8: Thread ribbon or twine through each hole, tie a knot, and your ornaments are ready to hang.
Expert Tips
- Flour the work surface and stamps: A light dusting prevents sticking and usually brushes away after drying.
- Keep the dough thickness consistent: About 1/4-inch thickness keeps designs intact and makes drying predictable.
- Air-drying gives the best color and shape: Air-dried ornaments dry whiter and retain more fine detail than oven-dried versions.
- Sand edges for a polished look: A quick pass with fine sandpaper smooths rough edges.
- Collect excess glitter on parchment: Pour glitter over parchment so you can return unused glitter to the container easily.
Can you make salt dough ornaments without sourdough discard?
Yes. Omit the sourdough discard and use the following measurements as a guideline:
- 2 cups all-purpose flour
- 1 cup salt
- ¾ cup plus 1 tablespoon water (adjust as needed)
Adjust flour or water by a tablespoon at a time until the dough is smooth and not sticky.
Drying Salt Dough Ornaments
Choose the method that fits your schedule. Air-drying takes longer but produces brighter, whiter ornaments. Oven-drying is faster but leaves a slightly dough-colored finish.
Air-Dry: Place ornaments on a baking sheet overnight, flip the next day, then transfer to a cooling rack to finish drying. Time: 2–7 days, depending on humidity and thickness.
Oven-Dry: Preheat oven to 175°F (about 80°C). Bake 2–4 hours, flipping every hour, until completely dry. Time depends on thickness.
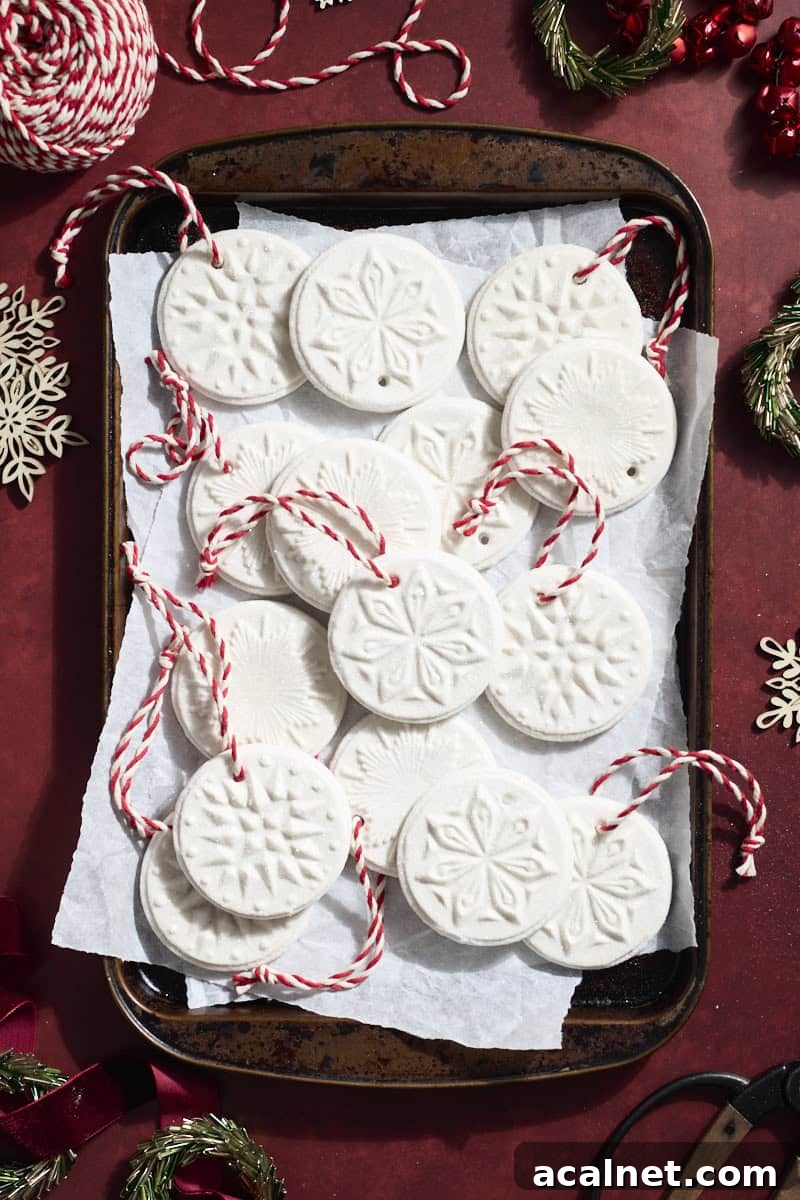
Storage
Store ornaments away from moisture. Place them in a sealable bag or wrap, then protect with a sturdy tin or box to prevent breakage. Proper storage can keep ornaments looking great for years.
Recipe FAQs
No. Once fully dry, ornaments are finished as-is. Mod Podge seals and protects, and glitter adds decoration if desired.
You can air-dry or oven-dry. Air-drying yields whiter, more durable results but takes longer.
No. These ornaments are not food and should not be eaten by people or pets.
More holiday ideas
If you enjoyed this craft, try other seasonal projects like dried or candied orange slices or homemade extracts for gifting. Handmade edible and non-edible gifts pair beautifully for a thoughtful holiday package.
If you try these Sourdough Discard Salt Dough Ornaments, please share your experience in the comments and consider leaving a star rating. Happy crafting!
Sourdough Discard Salt Dough Ornaments
2 hrs (active time shorter; drying time varies)
Equipment
- Cookie stamps or cookie cutters
- Biscuit cutter, rolling pin
- Baking sheet, parchment paper or silicone mat, cooling rack
- Straw, sandpaper (220-grit), toothpicks
- Matte sealer, small paint brush, fine glitter (optional), ribbon/twine
Ingredients
- 1 1/4 cups all-purpose flour
- 1 cup fine salt
- 200 g sourdough discard (about 3/4 cup), unfed and at room temperature
- 1/3 cup water
Instructions
Make the Dough
- Stir together flour and salt in a large bowl. Add sourdough discard and water and mix until a rough dough forms. It may be easiest to mix by hand.
- Transfer to a floured surface and knead 3–4 minutes until smooth. Adjust with a tablespoon of flour or water if too sticky or too dry.
Cut the Shapes
- If using cookie stamps: portion dough into ~2 Tbsp balls, roll smooth, flour the stamp, and press the stamp until the dough extends just past the edge. Remove carefully, trim with a biscuit cutter, and poke a hole with a straw.
- If using cookie cutters: roll dough to about 1/4-inch thickness, cut shapes, transfer to a baking sheet, and poke hanging holes.
Dry the Ornaments
- Ensure holes are made before drying.
- Air-dry: Leave on a baking sheet overnight, flip, then transfer to a cooling rack. Allow 2–7 days depending on humidity and thickness.
- Oven-dry: Bake at 175°F for 2–4 hours, flipping every hour, until fully dry.
Decorate
- Sand edges lightly if desired. Brush one side with matte sealer, sprinkle fine glitter, shake off excess, and let dry. Repeat on the other side.
- Clear holes with a toothpick if they fill with sealer. Thread ribbon or twine, tie a knot, and hang.
Notes
These ornaments are not edible. Store in a dry place to keep them in good condition for years.