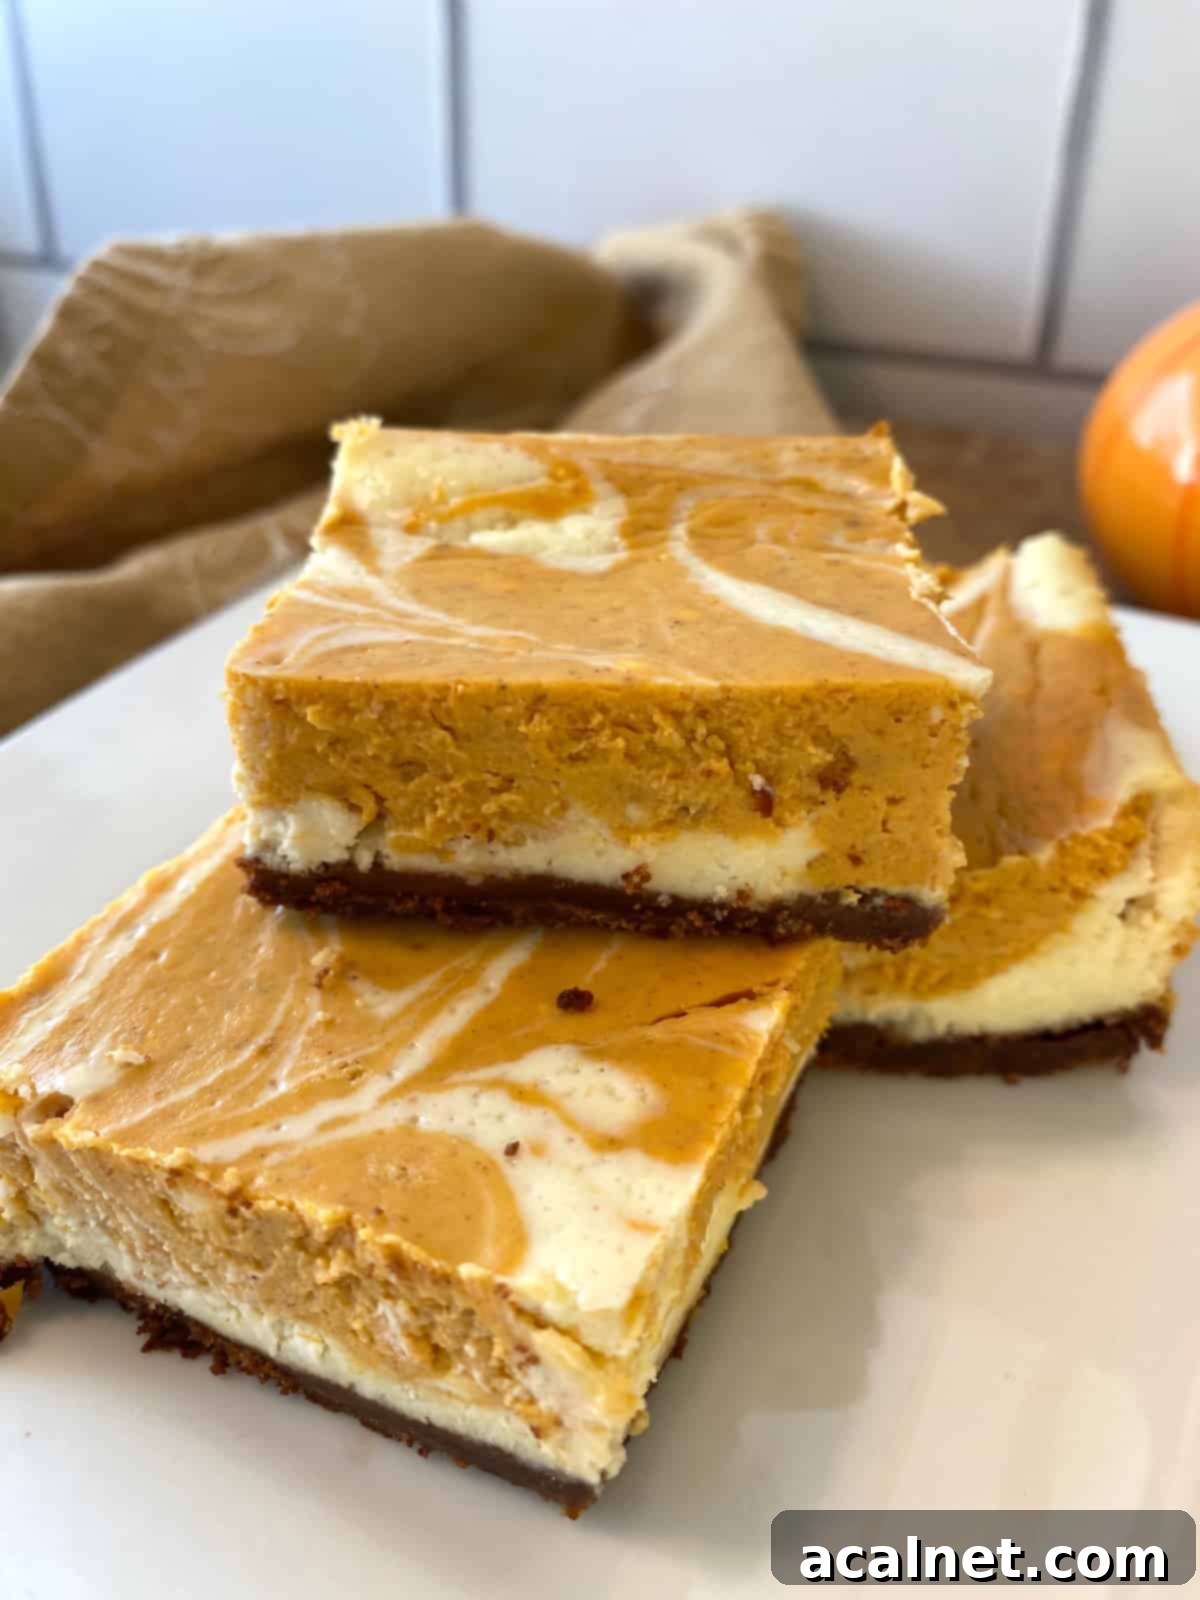
Decadent Marbled Pumpkin Cheesecake Bars: Your Ultimate Fall Dessert with a Chocolatey Twist
There’s an undeniable magic to the flavors of fall, and nothing captures that essence quite like a perfect pumpkin dessert. These Marbled Pumpkin Cheesecake Bars are a true celebration of autumn, delivering all the comforting taste of a creamy pumpkin pie, but in a delightfully easy-to-serve bar format. Imagine a rich, velvety pumpkin cheesecake swirled with a classic vanilla cheesecake batter, all resting atop a unique and utterly delicious chocolate cookie crust. They are the quintessential fall treat, making them ideal for holiday gatherings, potlucks, or simply a cozy evening at home.
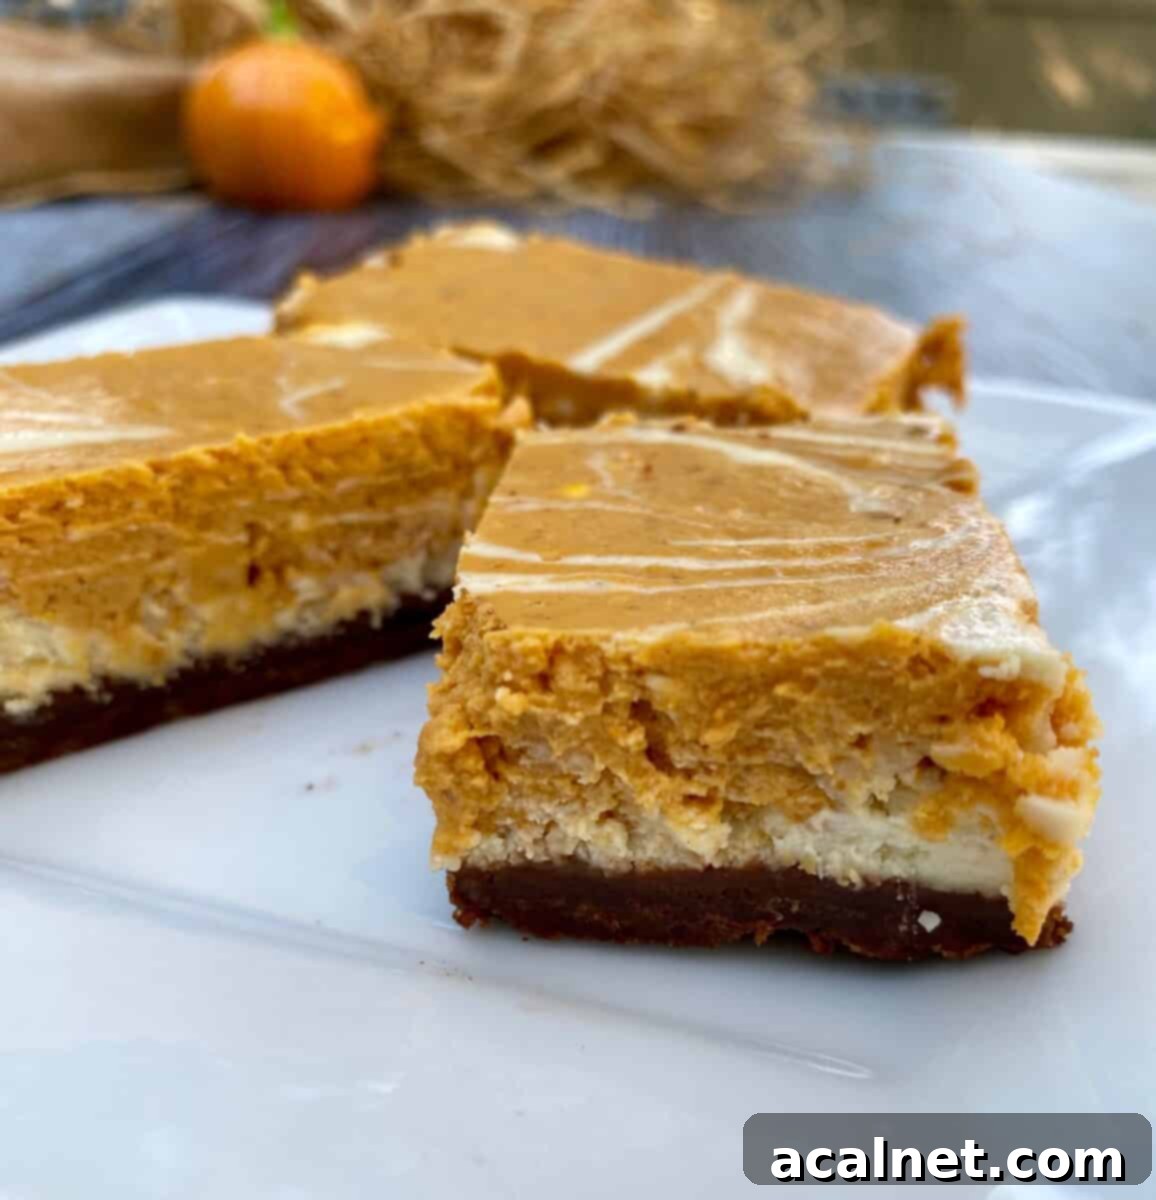
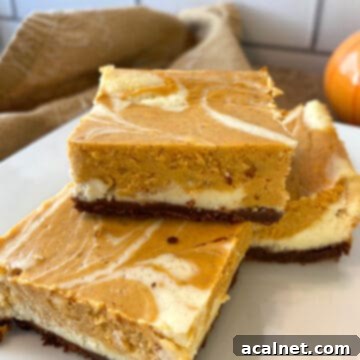
What sets these bars apart is not just their exquisite flavor, but also their incredible convenience. Unlike a traditional pie that requires careful slicing and serving, these bars are as simple to serve as brownies. This makes them a fantastic choice for any occasion where you want a show-stopping dessert without the fuss. The homemade chocolate cookie crust, crafted from Nilla Wafers and cocoa, offers a complementary depth of flavor and a satisfying crunch that beautifully balances the smooth, swirled cheesecake filling.
Much like a classic Vanilla Cheesecake, this recipe is a timeless treat, versatile enough to be enjoyed any time of year, though it truly shines during the cooler months. It’s the perfect sweet ending after a hearty meal of comforting dishes like Butternut Squash Mac and Cheese or No Ketchup Meatloaf. Get ready to impress your family and friends with this easy-to-make, utterly irresistible dessert that combines the best of pumpkin pie and cheesecake in one delightful bite.
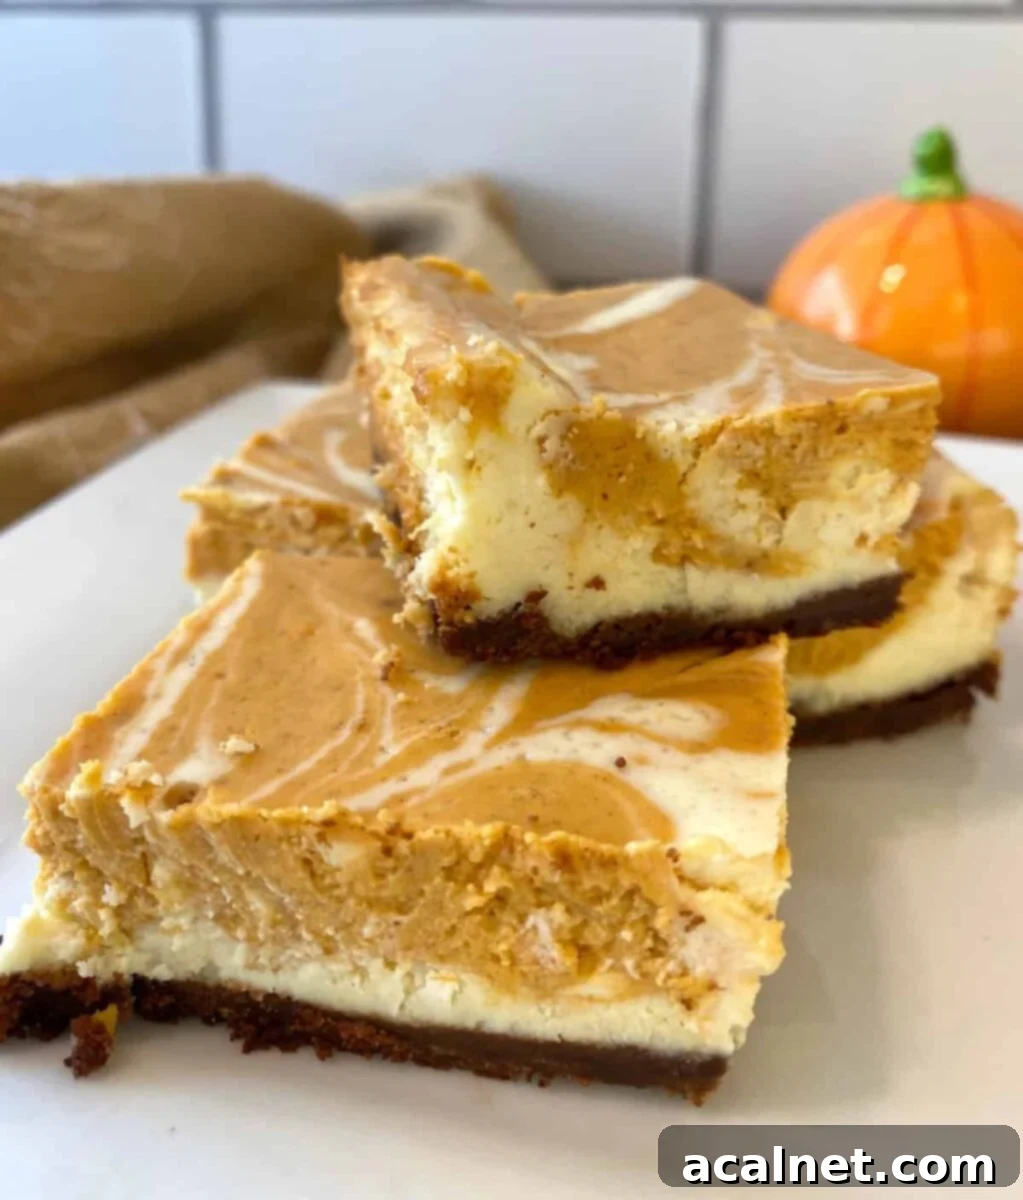
Essential Ingredients for Your Marbled Pumpkin Cheesecake Bars
Crafting these delectable pumpkin cheesecake bars requires a few key ingredients, many of which you likely already have in your pantry, especially during the fall season. Having these staples on hand ensures a smooth and enjoyable baking process. Here’s a detailed look at what you’ll need:
- Canned Pumpkin Puree: This is the star of our pumpkin layer. Ensure you’re using pure pumpkin puree, not pumpkin pie filling, which contains added spices and sugar (more on this below!).
- Sweetened Condensed Milk, canned (not evaporated milk): This provides the perfect level of sweetness and contributes to the incredibly smooth, creamy texture of the cheesecake filling. It’s a non-negotiable for that classic cheesecake richness.
- Pumpkin Pie Spice: This pre-blended spice mix delivers all the warm, aromatic flavors synonymous with pumpkin pie – cinnamon, nutmeg, ginger, cloves, and allspice. It’s what truly elevates the pumpkin layer.
- Cream Cheese: Full-fat cream cheese, softened to room temperature, is essential for a smooth, lump-free cheesecake batter. It provides the tangy, rich foundation for our bars.
- Vanilla Extract: A touch of pure vanilla extract enhances all the other flavors, adding a subtle warmth to both the vanilla and pumpkin cheesecake layers.
- Cocoa Powder: This is the secret ingredient for our unique chocolate cookie crust, lending a beautiful color and rich, slightly bitter counterpoint to the sweet filling.
- Nilla Wafers: These classic vanilla wafers form the base of our homemade crust. Their delicate crunch and mild vanilla flavor are perfect for creating a tender, flavorful foundation.
With these high-quality ingredients, you’re well on your way to creating an unforgettable fall dessert that combines classic flavors with an approachable bar format.
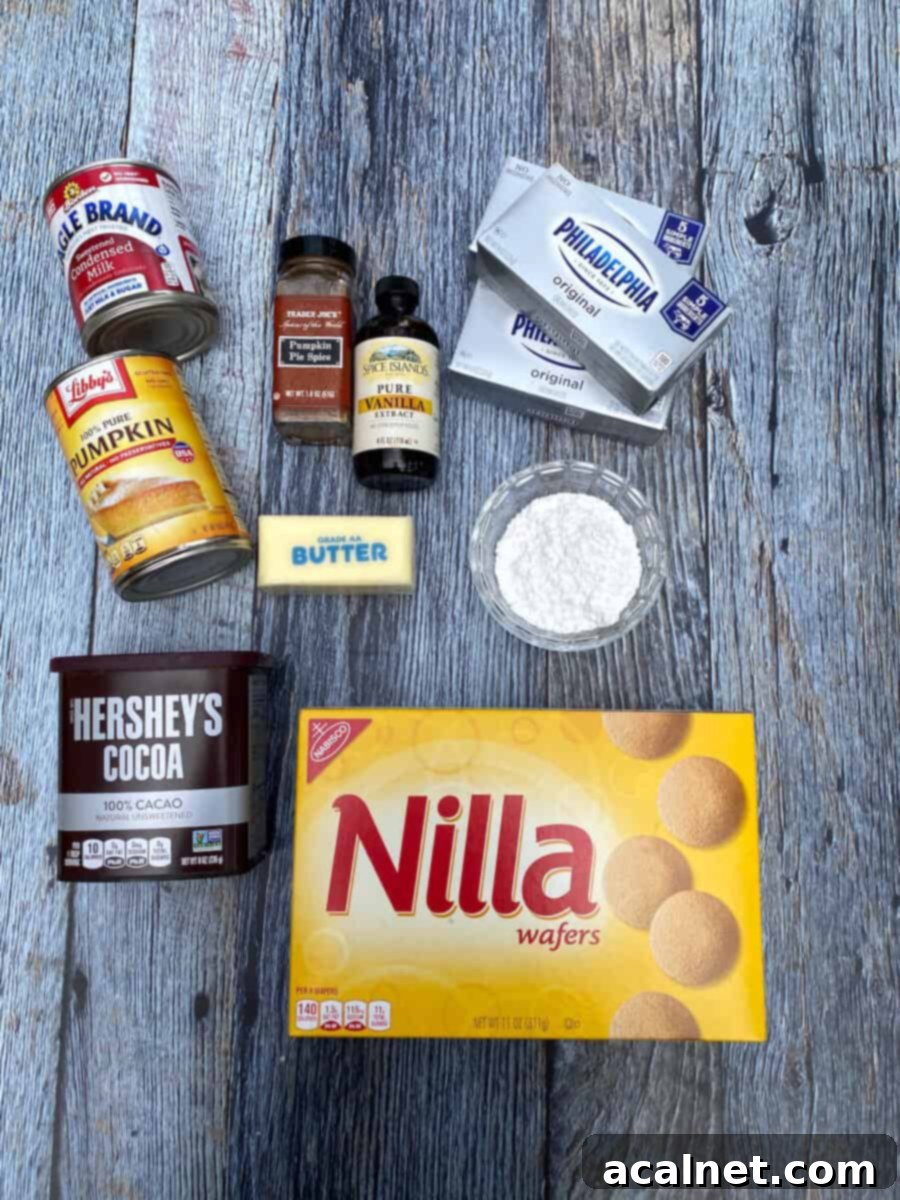
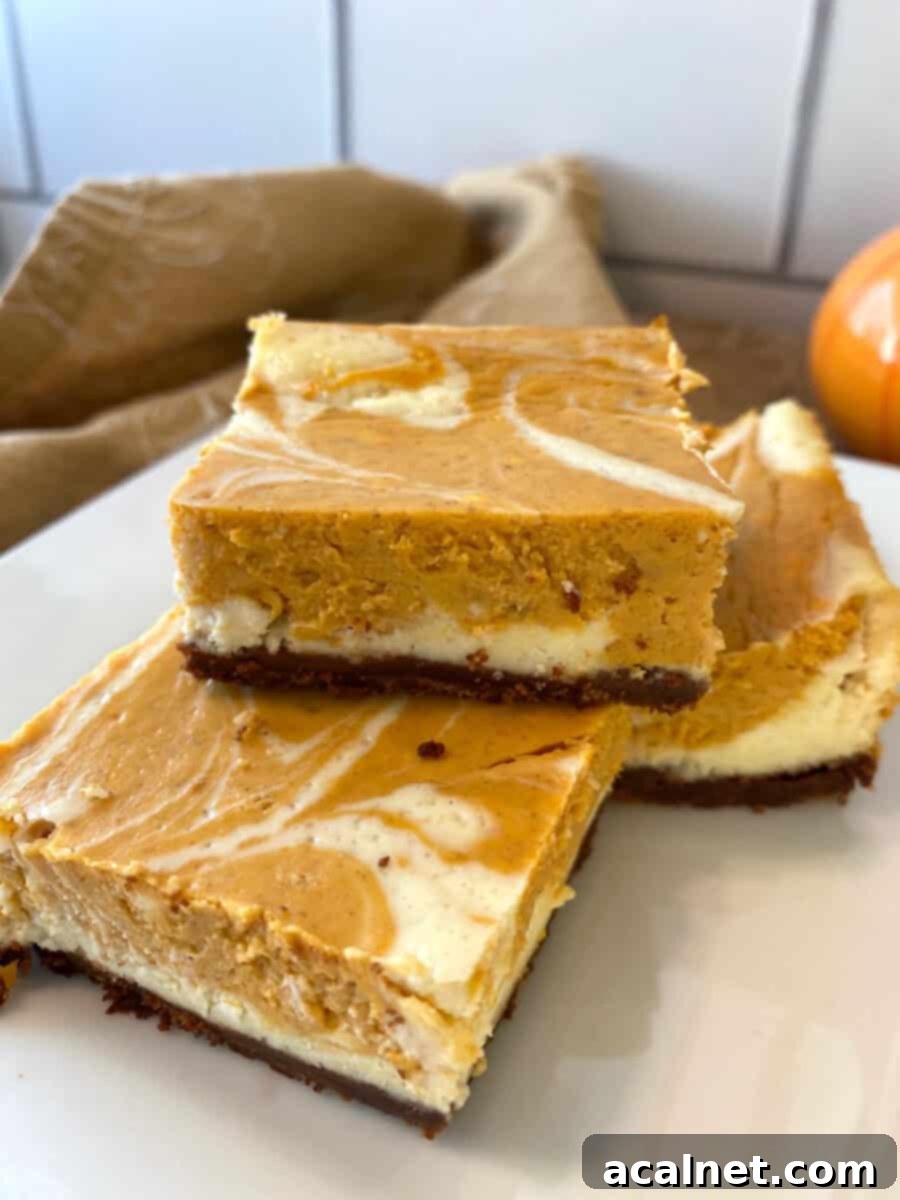
The Uniquely Delicious and Easy-to-Make Chocolate Cookie Crust
While many pumpkin cheesecakes feature a traditional graham cracker, gingersnap, or shortbread crust, this recipe truly stands out with its homemade, buttery, chocolate cookie crust. This inventive twist adds an unexpected depth of flavor and a delightful texture that perfectly complements the creamy pumpkin and vanilla cheesecake layers. The subtle bitterness of the chocolate cuts through the sweetness, creating a more sophisticated and irresistible bite.
The beauty of this crust lies in its simplicity. We start with crushed Nilla Wafers, which provide a light, crumbly base. The process couldn’t be easier: simply place the wafers in a zipped-top plastic bag and use a rolling pin to crush them into fine crumbs. This hands-on method is surprisingly therapeutic and much quicker than you might think! Once you have your crumbs, you’ll combine them with good quality cocoa powder, rich melted butter, and a touch of powdered sugar. The result is a fragrant, slightly sweet, and wonderfully chocolatey mixture that forms the perfect foundation for your cheesecake bars.
One of the best features of this particular crust is that it’s designed for minimal fuss. There’s no need to meticulously line your baking pan with foil or parchment paper, nor do you need to spray it with shortening or baking spray. The buttery nature of the crust ensures that it won’t stick to the pan once baked and properly chilled. This means clean slices and easy removal every single time, making serving an absolute breeze. This simple, yet incredibly flavorful, chocolate cookie crust sets the stage for the decadent marbled cheesecake filling, elevating the entire dessert experience.
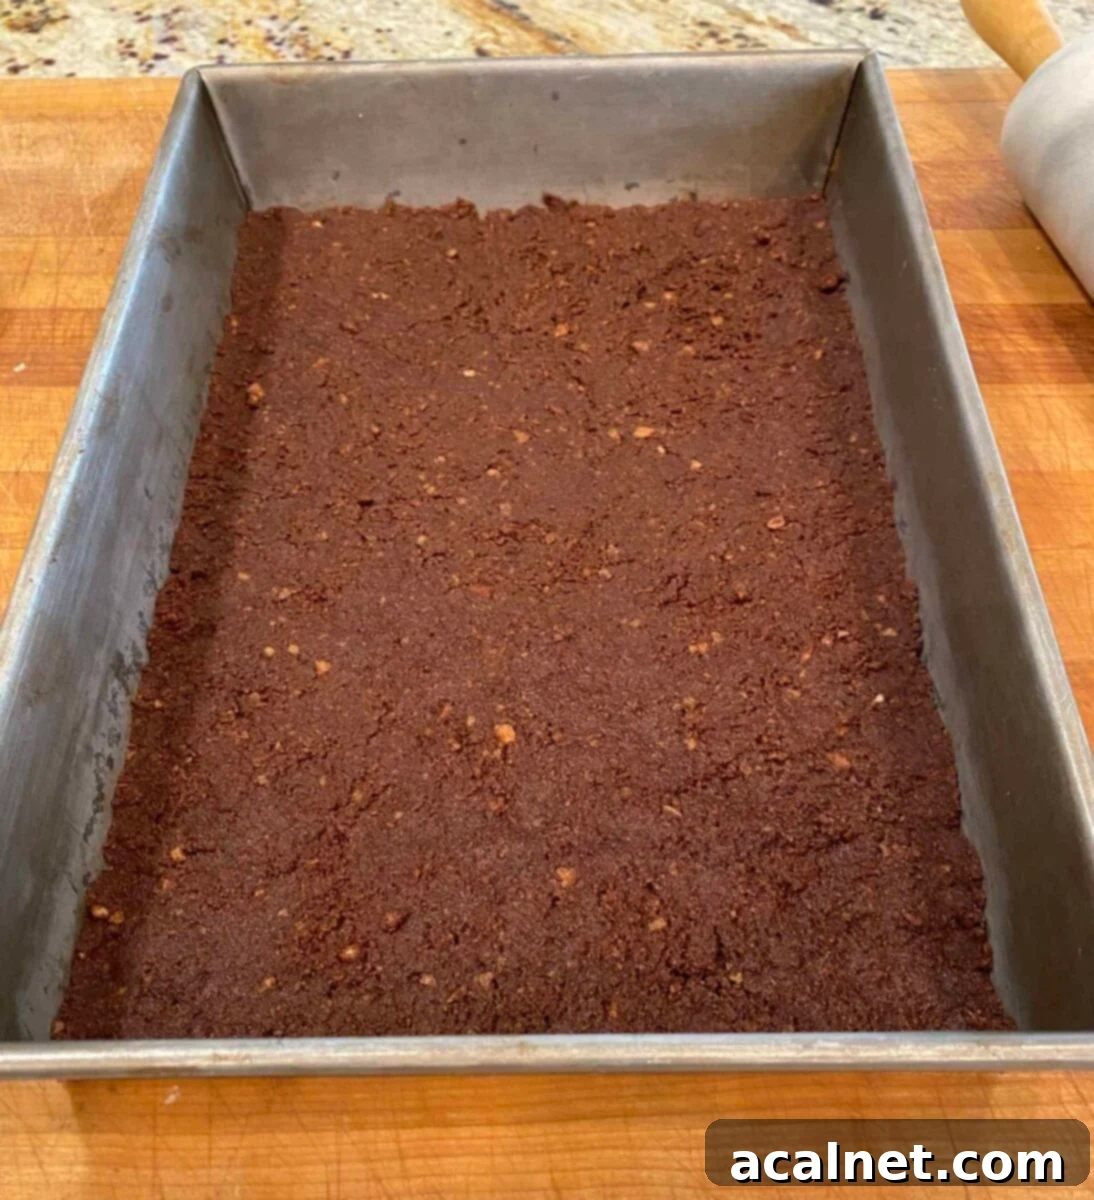
Achieving the Perfect Pat-in-the-Pan Crust
When you first introduce the chocolatey Nilla Wafer crumb mixture into your 13″ x 9″ baking pan, you might initially feel a moment of doubt. It can look like there simply isn’t enough crust mixture to cover the entire surface evenly. But rest assured, there is! This recipe is designed to create a thin, yet sturdy and flavorful, base for your cheesecake bars.
The key to success here is patience and a gentle, even hand. Resist the urge to clump the crumbs. Instead, take your time to carefully pat and push the mixture across the bottom of the entire pan. Use the flat bottom of a measuring cup or your knuckles to firmly and consistently press the crumbs into a uniform layer. Focus on getting an even thickness from edge to edge and into the corners. A thin crust provides the perfect counterpoint to the rich, creamy filling without overpowering it. This meticulous, yet simple, pat-in-the-pan method ensures that every single bite of your marbled pumpkin cheesecake bar will include that satisfying chocolate crunch, making for a truly balanced and delicious dessert experience.
The Importance of Using Pumpkin Puree (Not Pie Filling)
This is a critical step that cannot be overstated for the success of your Marbled Pumpkin Cheesecake Bars: always use 100% pure pumpkin puree, not pumpkin pie filling. It’s incredibly easy to confuse the two, as they are often placed side-by-side on grocery store shelves, and their packaging can look strikingly similar. However, their contents are vastly different, and using the wrong one will significantly alter your dessert.
There is a big difference between pumpkin puree and pumpkin pie filling. Pumpkin pie filling is a pre-mixed product that already contains various spices (like cinnamon, nutmeg, and ginger) and sweeteners. It’s essentially a shortcut to making pumpkin pie. Pumpkin puree, on the other hand, is just that: pure, cooked, and mashed pumpkin. It contains no added sugar, spices, or other ingredients.
For this recipe, we specifically add our own pumpkin pie spice and sweetened condensed milk to achieve the perfect balance of flavors and sweetness. If you were to use pumpkin pie filling, your cheesecake would end up overly sweet and intensely spiced, throwing off the delicate balance and potentially ruining the texture. Always double-check the label to ensure you’re grabbing the can that says “100% Pure Pumpkin” for the best results in these luscious bars.
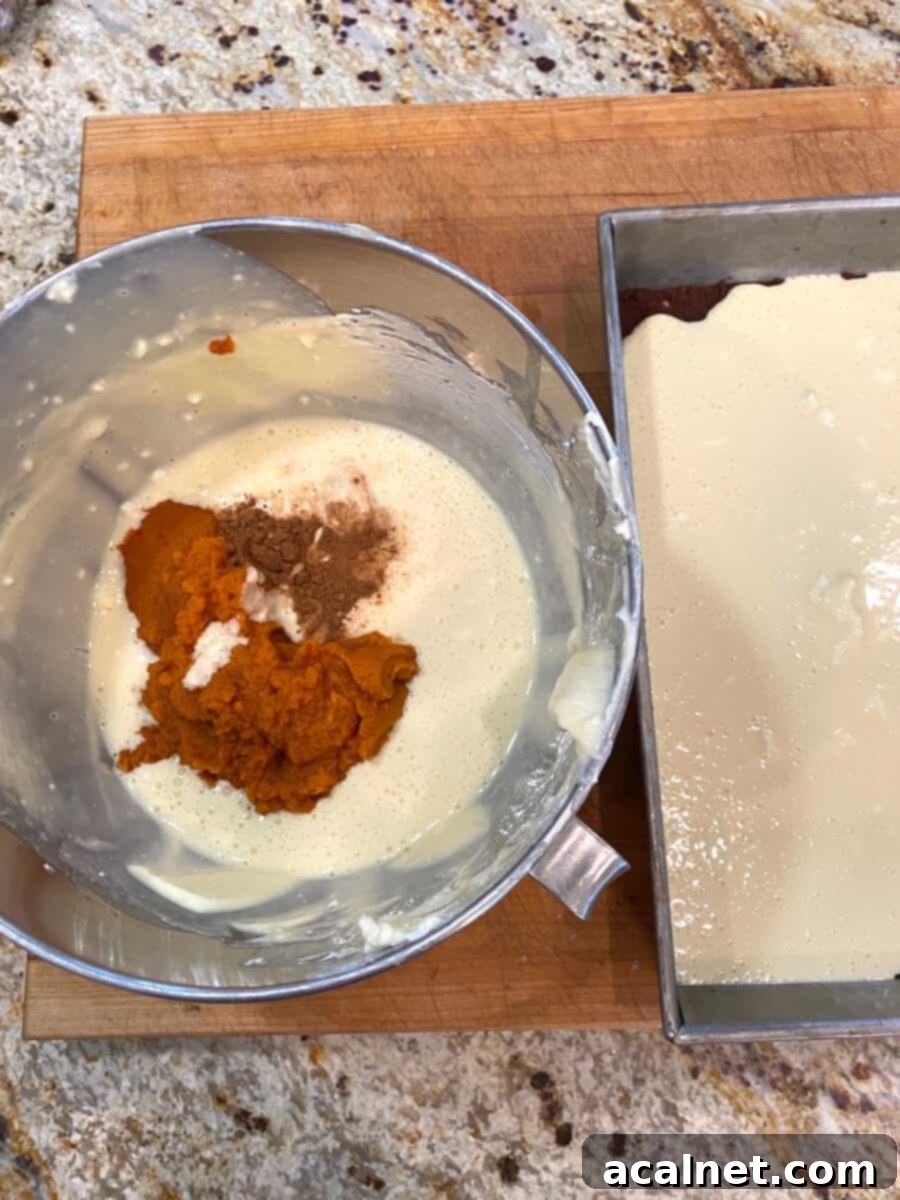
Maximize Flavor: Use a Whole Can of Pumpkin
One of the beauties of this Marbled Pumpkin Cheesecake Bars recipe is its efficient use of ingredients. It calls for a standard 15-ounce can of pumpkin puree, and you’ll find yourself using every single ounce. This means no leftover pumpkin puree languishing in the fridge, and no food waste – just perfect, rich pumpkin flavor distributed throughout your delicious bars.
Using the entire can ensures a robust and authentic pumpkin flavor in every bite of the swirled layer. It provides the ideal ratio of pumpkin to cream cheese, resulting in a distinct yet harmonious blend of flavors. I often find it convenient to buy two cans at a time during the fall season. This way, I always have pumpkin puree readily available for impromptu baking sessions, allowing me to whip up these incredible cheesecake bars whenever the craving strikes, or even to try other pumpkin-infused delights.
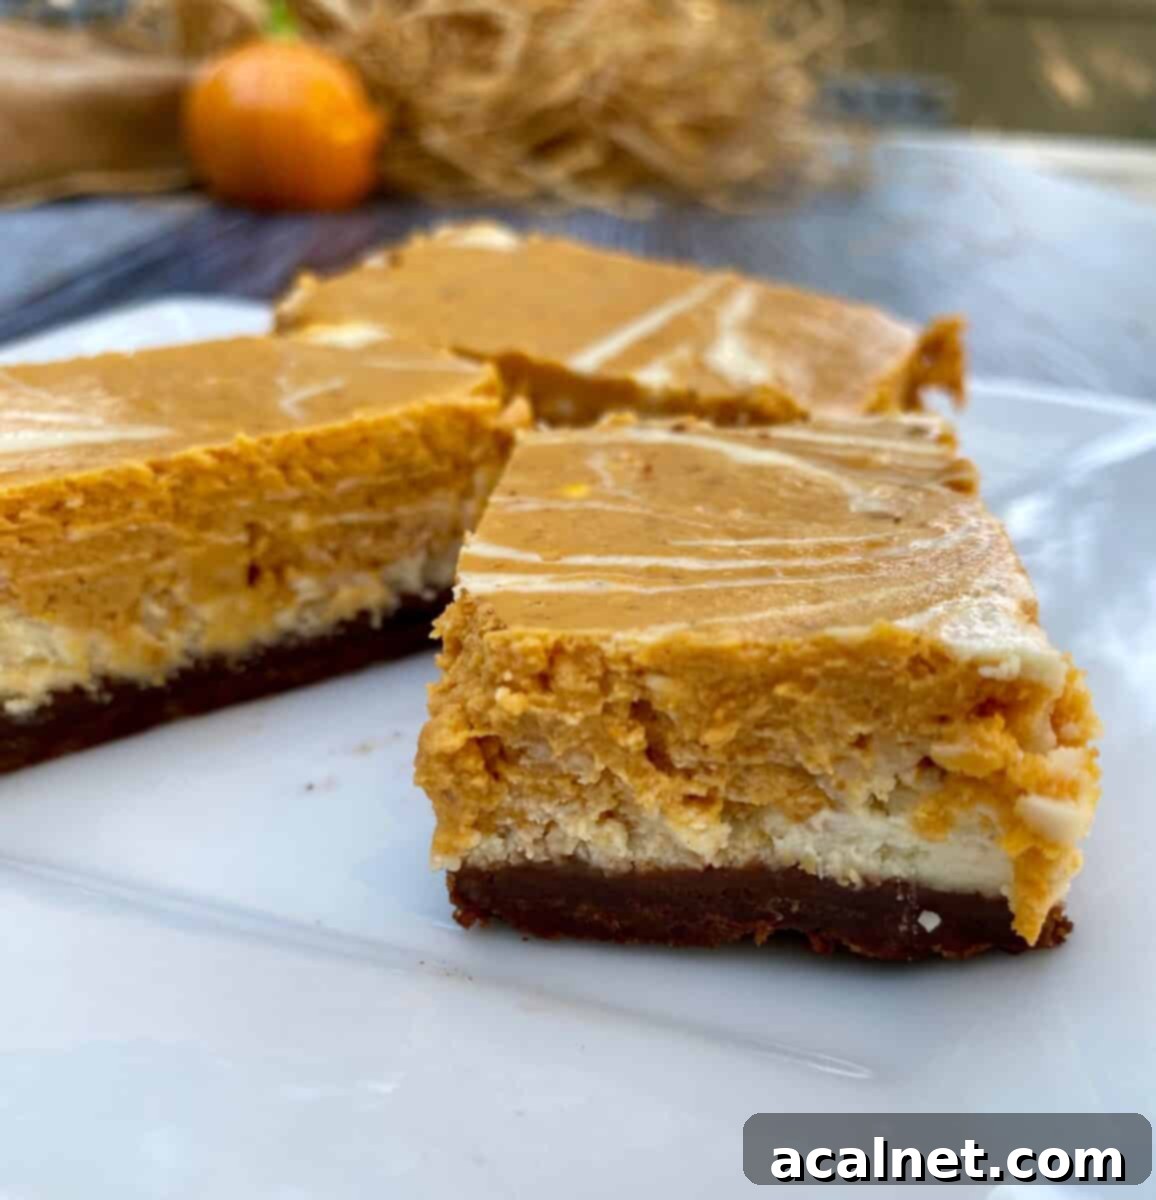
Mastering the Marbled Effect: A Simple Trick for Stunning Cheesecake Bars
The beautiful, artistic swirl in these Marbled Pumpkin Cheesecake Bars isn’t just for show – it creates a delightful visual appeal that makes this dessert truly stand out. What’s even better is that creating this stunning marbled effect is surprisingly simple and only takes a few seconds to master. It’s a trick that elevates your bars from delicious to absolutely gorgeous.
After you’ve spread the initial layer of plain vanilla cream cheese batter over your chocolate crust, you’ll spoon dollops of the pumpkin-infused batter on top. Don’t worry about perfection at this stage; simply drop spoonfuls of the pumpkin mixture evenly across the surface of the vanilla layer. The key to the marble effect comes next: grab a simple table knife or a skewer.
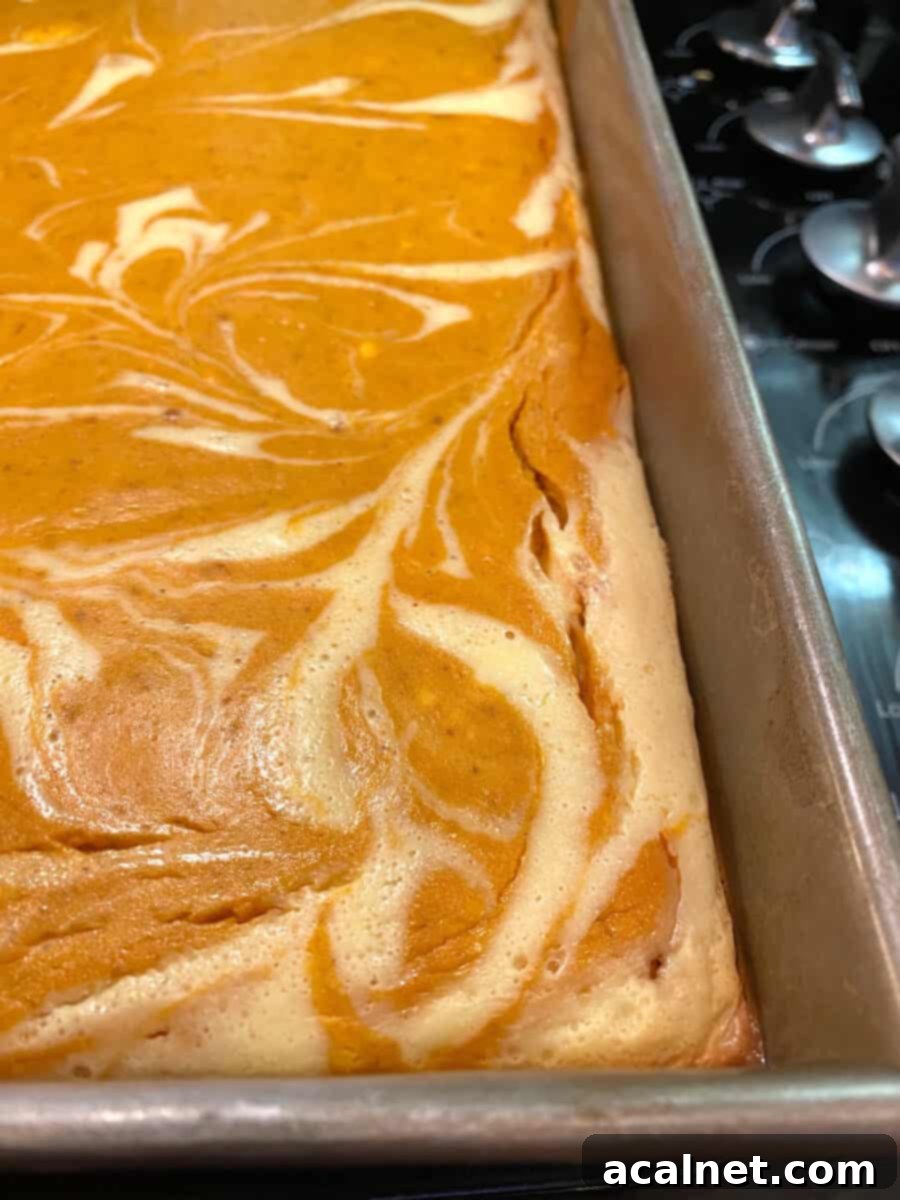
Gently drag the knife through the dollops of pumpkin batter and into the vanilla layer beneath, making swirling motions. Think of it like drawing gentle S-shapes or figure-eights. The goal isn’t to fully mix the two batters, but rather to create distinct ribbons and swirls of color. Be careful not to over-mix, as you want to preserve the contrast between the two layers. A light touch and a few deliberate swirls are all it takes to achieve that elegant, eye-catching marbled pattern. For a visual demonstration, watch the video below to see exactly how this quick and easy technique is done!
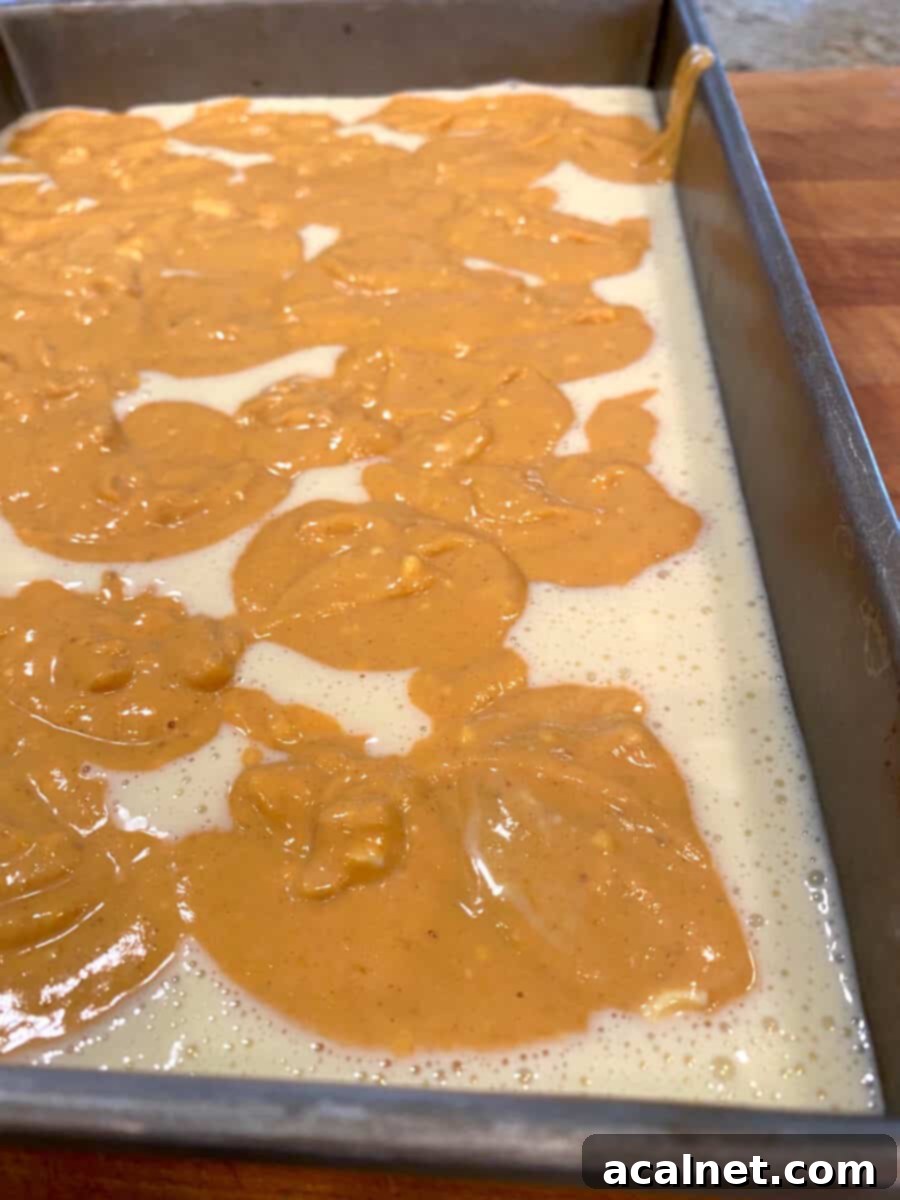
It’s actually very simple to create that pretty marbled effect in these cheesecake bars and it just takes a few seconds. Watch this video to see how it’s done.
Recipe Frequently Asked Questions
Sort of, yes. Pumpkin pie spice is simply a combination of five common spices. If you have cinnamon, nutmeg, cloves, ginger and allspice on hand, you could certainly create your personal version of pumpkin pie spice. A typical blend might be 3 parts cinnamon, 2 parts ginger, 1 part nutmeg, and a dash each of cloves and allspice. However, to get the distinctive, warm, and perfectly balanced flavor that defines pumpkin pie, using a pre-mixed pumpkin pie spice blend often yields the most consistent and authentic results. It ensures all those comforting autumnal notes are present in just the right proportion.
Absolutely, yes! Just like full-sized cheesecakes freeze beautifully, so do these pumpkin cheesecake bars. They are an excellent make-ahead dessert option for holidays or when you want to save some for later. For best results, I recommend stacking the completely cooled bars with a sheet of waxed paper or parchment paper between each layer to prevent sticking. Place them in an airtight, zipper-top freezer bag or a freezer-safe storage container. When you’re ready to enjoy them, simply defrost the bars in the refrigerator for a day before serving. They will retain their creamy texture and delicious flavor.
Using fresh pumpkin from your garden would undoubtedly be a delightful and rewarding experience, and it would certainly be delicious in these bars! If you choose to use fresh pumpkin, just be sure to cook and mash the peeled and seeded pumpkin until it’s really soft and smooth. The goal is to replicate the smooth, consistent texture of the commercially canned pumpkin puree. You might need to strain out any excess moisture to achieve the right consistency, as fresh pumpkin can sometimes be more watery. This will ensure your cheesecake bars have the perfect texture and don’t become watery or grainy.
Effortless Elegance: Easy to Serve Pumpkin Cheesecake Bars
When the autumn leaves start to turn and the holidays approach, our thoughts often drift to classic fall desserts: the beloved pumpkin pie, crisp apple tarts, or rich pecan pies. While these traditional treats hold a special place in our hearts, these Marbled Pumpkin Cheesecake Bars offer a refreshingly easy and equally delicious alternative that might just change your holiday dessert game forever. They deliver all the beloved flavors of fall in a format that’s incredibly simple to manage, especially when serving a crowd.
Forget the stress of trying to slice a perfect pie that might crumble or spill its filling. These velvety marbled cheesecake bars slice cleanly and easily into neat portions every single time. There’s no delicate crust to handle, no wobbly filling to contain – just firm, rich bars that hold their shape beautifully. This inherent stability means less mess and more enjoyment for both the host and the guests. The convenience extends even further: there’s often not even a need for a fork! These bars are perfectly designed for handheld enjoyment, making them ideal for casual gatherings, holiday buffets, or potlucks where plates and utensils might be limited.
Their effortless elegance makes them a perfect addition to any fall menu, offering a sophisticated yet approachable dessert that everyone will love. Get ready to embrace a new fall favorite that combines stunning presentation with unparalleled ease of serving.
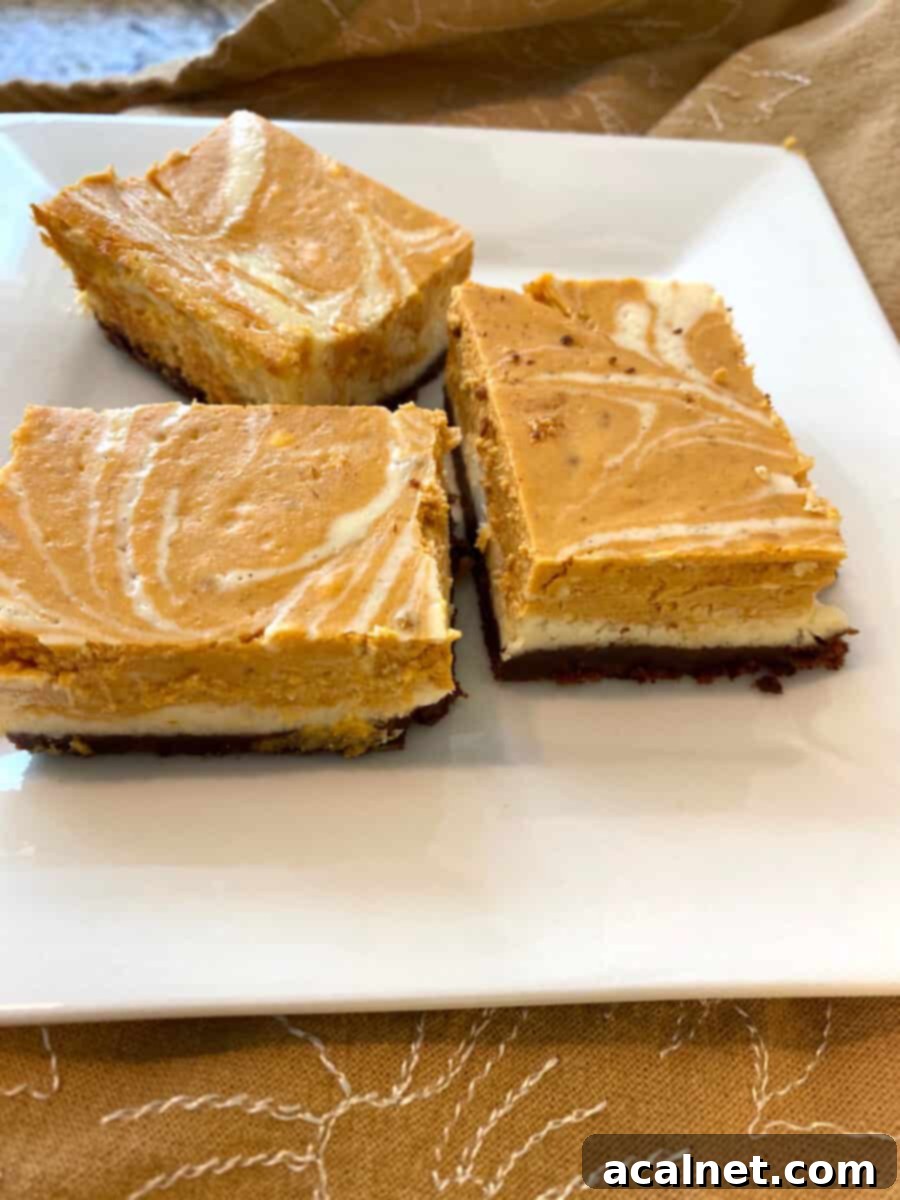
Portioning Perfection: Serves Like a Brownie
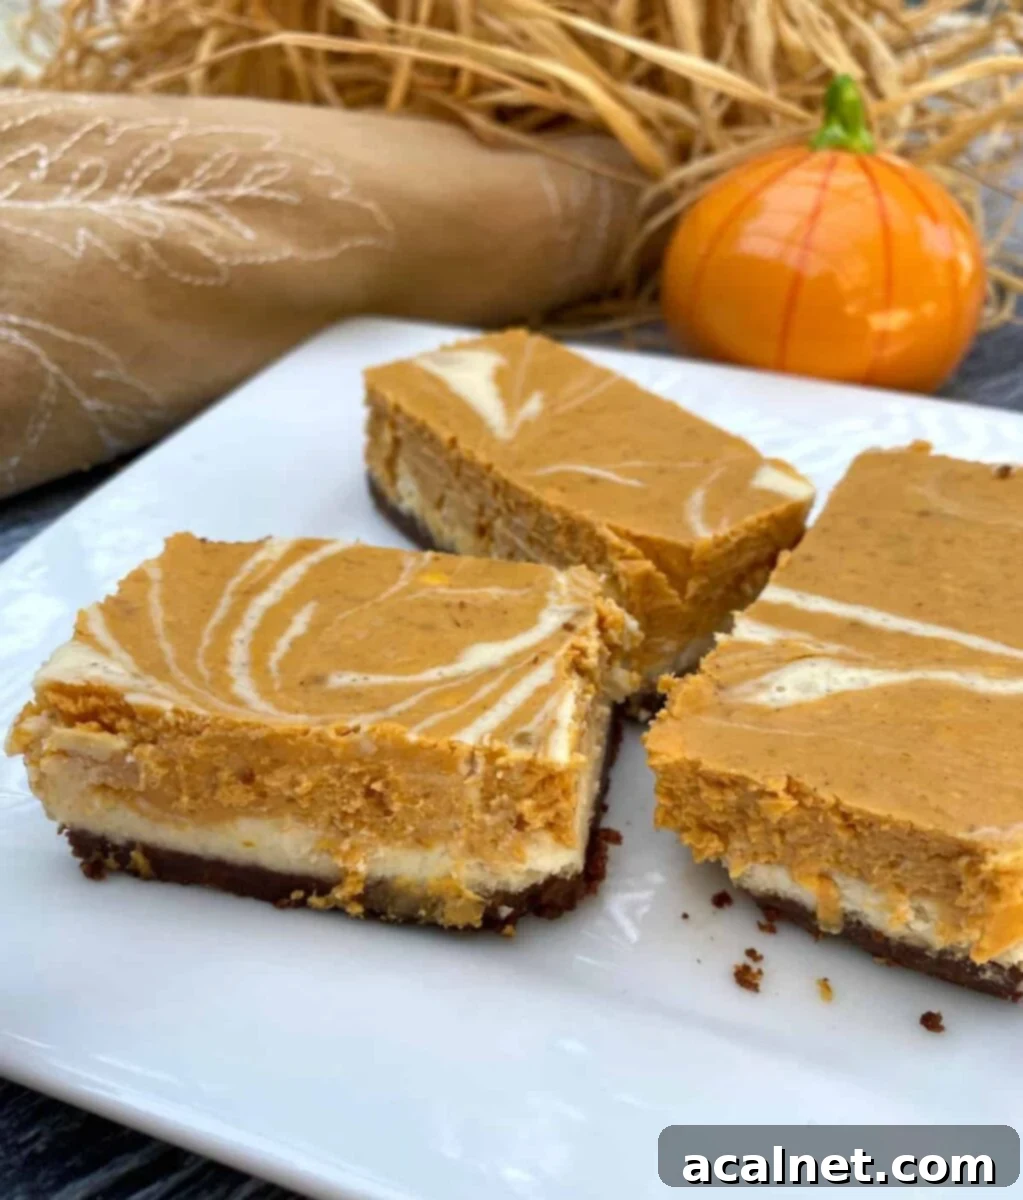
The practical design of these Marbled Pumpkin Cheesecake Bars truly sets them apart, offering the ultimate convenience for any gathering. When I bake this recipe in a standard 13″ x 9″ baking pan, I typically cut the finished product into 24 generous portions. This size is perfect for sharing at parties, potlucks, or family dinners, ensuring everyone gets a satisfying taste of this autumnal delight.
However, the beauty of bars is their versatility in portioning. You are, of course, the master of your dessert and can decide how large or small to make each serving. For a richer, more substantial treat, you could cut them into 12 or 16 larger squares. Alternatively, for a dessert buffet or an event with many other treats, I’ve found that cutting them into tiny, bite-sized portions is always a huge hit. These mini morsels are perfect for sampling and encourage guests to try a variety of desserts without feeling overwhelmed.
The serving process is as simple as can be. Just like brownies, you slice them into your desired bar size, easily lift each serving out of the pan using a spatula, and they’re ready to be enjoyed. No mess, no fuss, just take a bite and savor the rich, creamy, and subtly spiced flavors. This brownie-like serving style makes them incredibly adaptable for any occasion, ensuring they’ll be a beloved staple in your fall recipe repertoire.
More Easy-to-Serve Dessert Ideas You’ll Love
Having a repertoire of easy-to-serve dessert ideas on hand is always a good strategy, whether you’re planning a casual get-together or a larger holiday celebration. These Marbled Pumpkin Cheesecake Bars are a fantastic start, but if you’re looking for more convenient and crowd-pleasing treats, here are a few other recipes that I think you’ll absolutely adore. They offer delicious flavors without the fuss, ensuring you can spend more time enjoying your guests and less time in the kitchen!
- Fancy Rice Krispy Treats: Elevate a childhood classic into an elegant, yet simple, dessert that’s perfect for any occasion.
- No Peel Apple Cake: Enjoy the comforting flavors of apple cake without the tedious task of peeling. This moist and flavorful cake is a delightful autumn staple.
- Mrs. Fields Chocolate Chip Bars: Indulge in the nostalgic taste of warm, chewy chocolate chip cookies in an easy-to-slice bar form. A timeless favorite that’s always a hit!
Marbled Pumpkin Cheesecake Bars Recipe
Marbled Pumpkin Cheesecake Bars
Print
Rate
Pin Recipe
Ingredients
- 2 cups nilla wafer crumbs – about 60 cookie wafers or about half a bag from an 11 ounce box of wafers
- ⅓ cup cocoa powder
- ⅓ cup powdered sugar
- ½ cup butter – melted
- 3, 8 ounce packages cream cheese – softened
- 1, 14 ounce can sweetened condensed milk
- 3 eggs
- 2 teaspoons vanilla extract
- 1 15 ounce can pumpkin puree – not pumpkin pie filling
- 1 teaspoon pumpkin pie spice
Instructions
Preheat Oven and Prepare Crust
- Preheat oven to 350° F (175° C). This ensures your oven is at the correct temperature for even baking before you place the cheesecake in.
- In a medium bowl, combine the nilla wafer crumbs with the cocoa powder, powdered sugar, and melted butter. Stir until all the crumbs are evenly moistened. Press this mixture firmly into the bottom of a 13″ x 9″ baking pan, ensuring an even layer across the entire base. Use the bottom of a glass or your knuckles to compact it well.
Blend the Filling
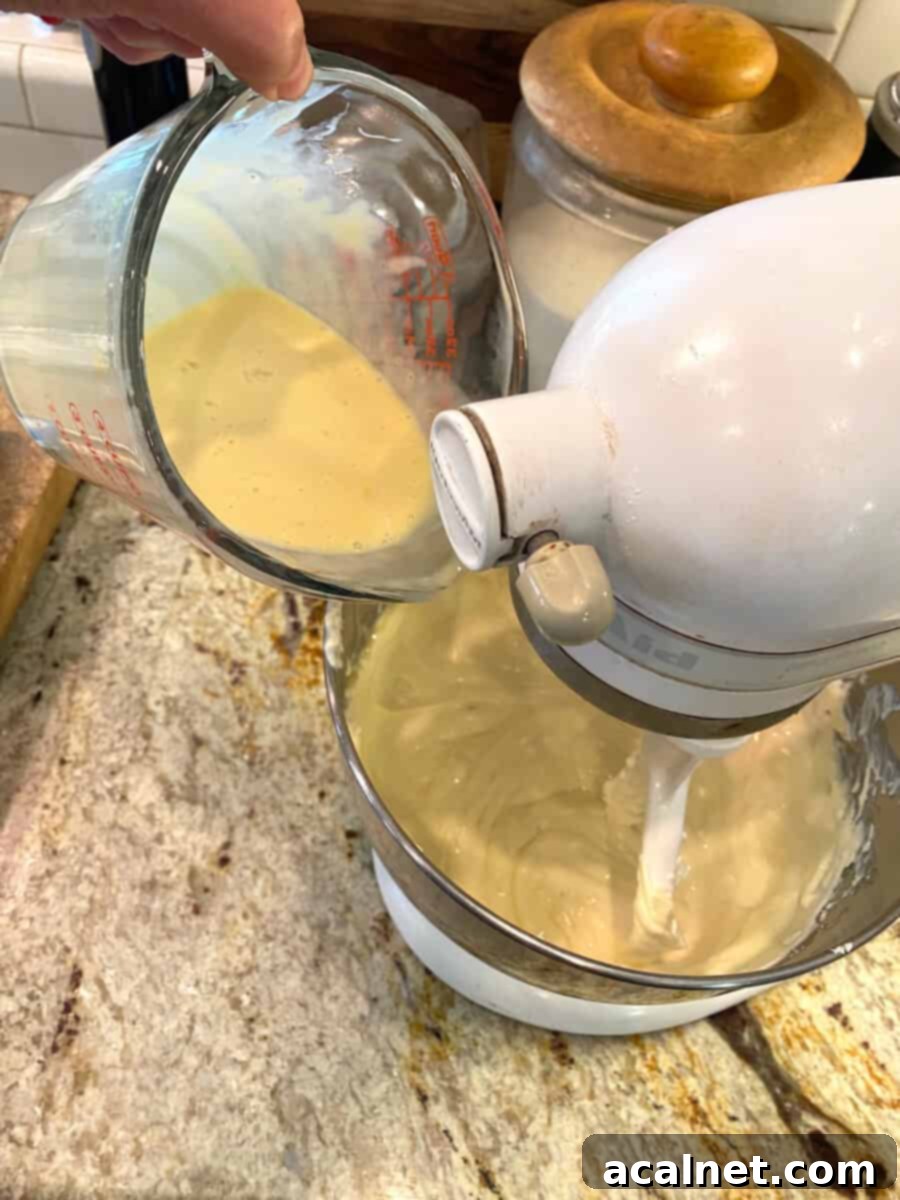
- In a large mixing bowl, beat the softened cream cheese with an electric mixer until it is light, smooth, and fluffy. In a separate glass measuring cup or small bowl, whisk together the sweetened condensed milk, eggs, and vanilla extract until well combined. Gradually pour this liquid mixture into the mixing bowl with the cream cheese, stirring gently on low speed until just blended. Avoid overmixing to keep the cheesecake tender.
- Carefully pour about half of this cream cheese batter over the prepared chocolate nilla wafer crumb crust in the baking pan. Spread it gently with a spatula to create an even first layer, then set the pan aside. This will be your vanilla cheesecake base layer.
- To the remaining cream cheese batter still in the mixing bowl, add the entire 15-ounce can of pumpkin puree and the pumpkin pie spice. Stir everything together thoroughly until uniformly combined. A whisk works particularly well here to ensure there are no streaks of plain cream cheese and all the pumpkin and spice are fully incorporated, creating a vibrant orange pumpkin batter.
Swirl the Batter for a Marbled Finish
- Now comes the fun part: creating the stunning marbled effect! Take spoonfuls of the pumpkin batter and gently drop them on top of the first layer of vanilla cream cheese batter in the pan. Distribute the pumpkin dollops somewhat evenly across the surface.
Once all the pumpkin batter has been dropped, use a table knife, a skewer, or a thin handle of a spoon. Gently swirl through each section of pumpkin batter, dragging it down into the vanilla layer and then pulling some of the vanilla batter up. Be careful not to blend the batters completely; the goal is to create beautiful, distinct swirls and ribbons. A few gentle twists and turns with the knife will create that elegant marbled pattern.
Bake, Chill and Serve
- Bake in the preheated oven for 45 minutes, or until the edges are set and slightly puffed, and the center is mostly set with a slight jiggle. A small crack around the edges is a good indicator that it’s cooked through.
- Once baked, remove the pan from the oven and let it cool completely on a wire rack at room temperature. This gradual cooling helps prevent cracking. After it’s cooled, transfer the pan to the refrigerator and chill for at least 4 hours, or preferably overnight. Chilling is crucial for the bars to set properly and for clean slicing.
- Once thoroughly chilled, cut the cheesecake into bars using a sharp knife. For best results, wipe the knife clean between each cut. Serve and enjoy these decadent Marbled Pumpkin Cheesecake Bars!
Notes
Please note, the nutrition details are estimated using a food database, so they’re just a rough estimate not an exact science.
