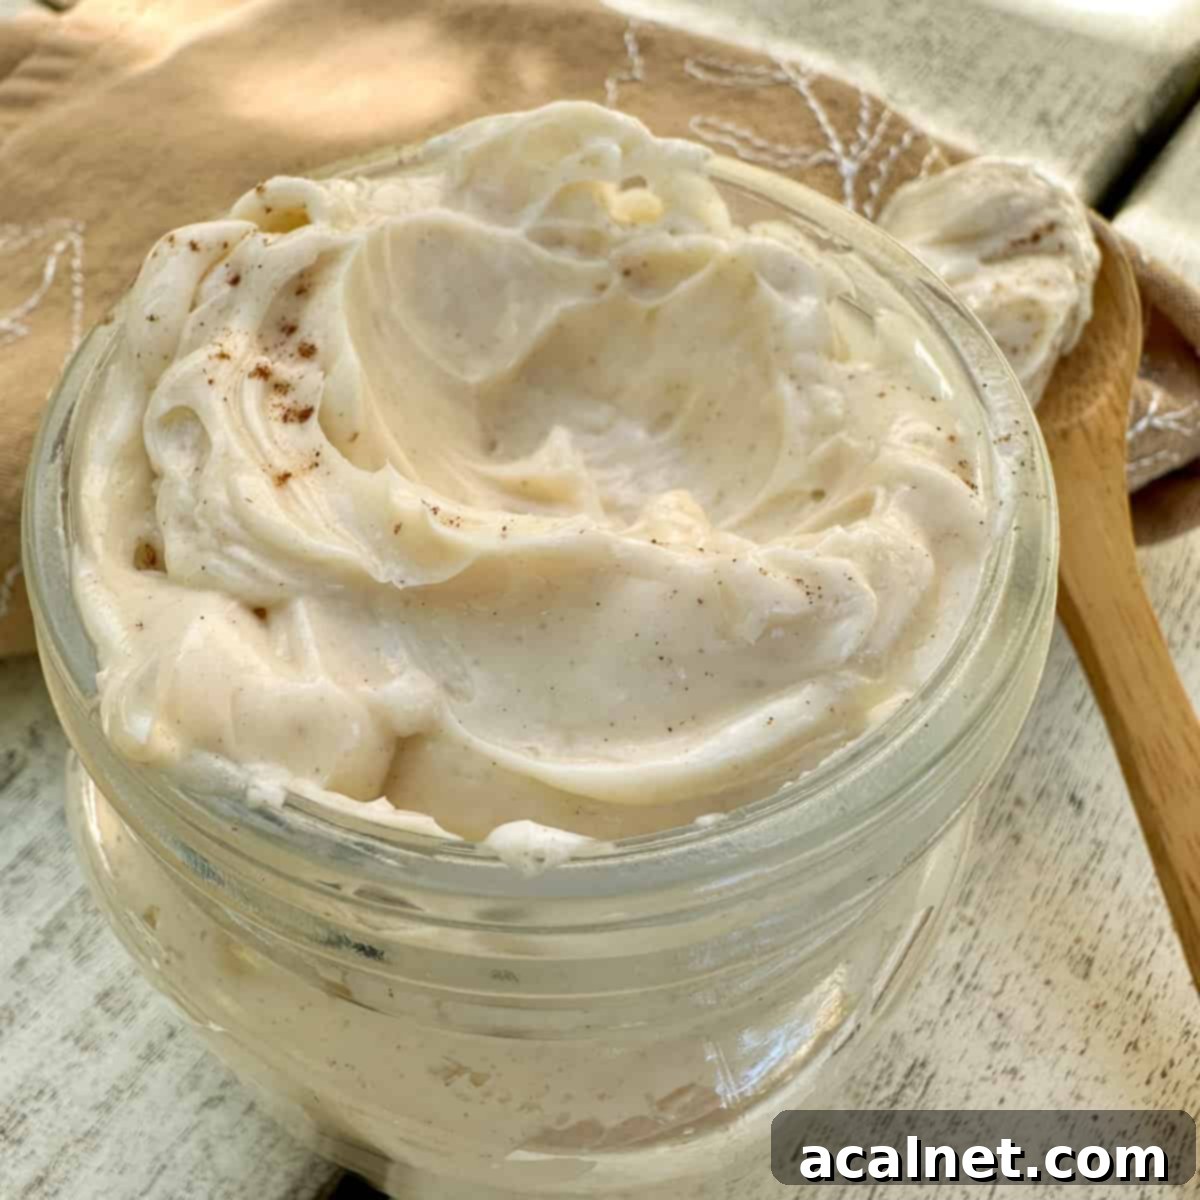
Easy Homemade Honey Butter: Your Guide to the Perfect Sweet & Creamy Whipped Spread
Discover the delightful simplicity of making your own Easy Homemade Honey Butter. This incredibly versatile and utterly delicious spread is the perfect companion for almost anything baked, from a warm slice of freshly baked bread to fluffy basic biscuits, delicate scones, or comforting muffins. Imagine the rich, creamy texture of perfectly whipped butter, delicately infused with the natural sweetness of honey and a hint of warm cinnamon. The best part? This luxurious treat can be ready in as little as 10 minutes, transforming your everyday meals into something truly special.
Whether you’re serving it alongside a hearty breakfast of Crockpot Banana Bread or elevating your dinner rolls with a dollop on Classic Potato Rolls, the subtle magic of honey and cinnamon creates an irresistible flavor profile that’s both familiar and comforting. This comprehensive guide will walk you through everything you need to know to create a batch of this wonderful whipped honey butter that will surely become a staple in your kitchen.

[feast_advanced_jump_to]
⭐ Why You’ll Love This Easy Honey Butter Recipe
There are countless reasons to fall in love with homemade honey butter, making it a must-have in your recipe collection. Firstly, its sheer simplicity is unmatched. You truly don’t need any fancy kitchen gadgets or culinary expertise to make this incredibly delicious Homemade Honey Butter. With just a few basic ingredients and minimal effort, you can whip up a fresh batch in 10 minutes or less – perfect for those busy mornings or last-minute entertaining needs!
Secondly, the flavor profile is simply divine. This recipe masterfully combines the rich, velvety texture of perfectly whipped butter with the pure, natural sweetness of honey. A subtle hint of cinnamon adds a layer of warmth and complexity, transforming ordinary butter into an extraordinary spread. Try it on a simple slice of toast for a more sophisticated and healthier alternative to traditional cinnamon toast, or spread it generously on freshly baked goods like Carrot and Banana Muffins or light and airy Blueberry Rhubarb Muffins. It’s an instant upgrade for any baked good, adding a gourmet touch effortlessly.
Many describe this Homemade Honey Butter as a delightful sweet and salty spread that bears a striking resemblance to the famous, beloved butter served at the Texas Roadhouse restaurants. Imagine bringing that restaurant-quality flavor right into your own home, easily and affordably. Beyond its incredible taste, making honey butter yourself means you control the quality of ingredients, ensuring a fresh and wholesome product every time. It’s also incredibly versatile, pairing wonderfully with both sweet and savory dishes, making it a truly indispensable kitchen staple that will impress family and guests alike.
🍯 Simple Ingredients for the Best Homemade Honey Butter
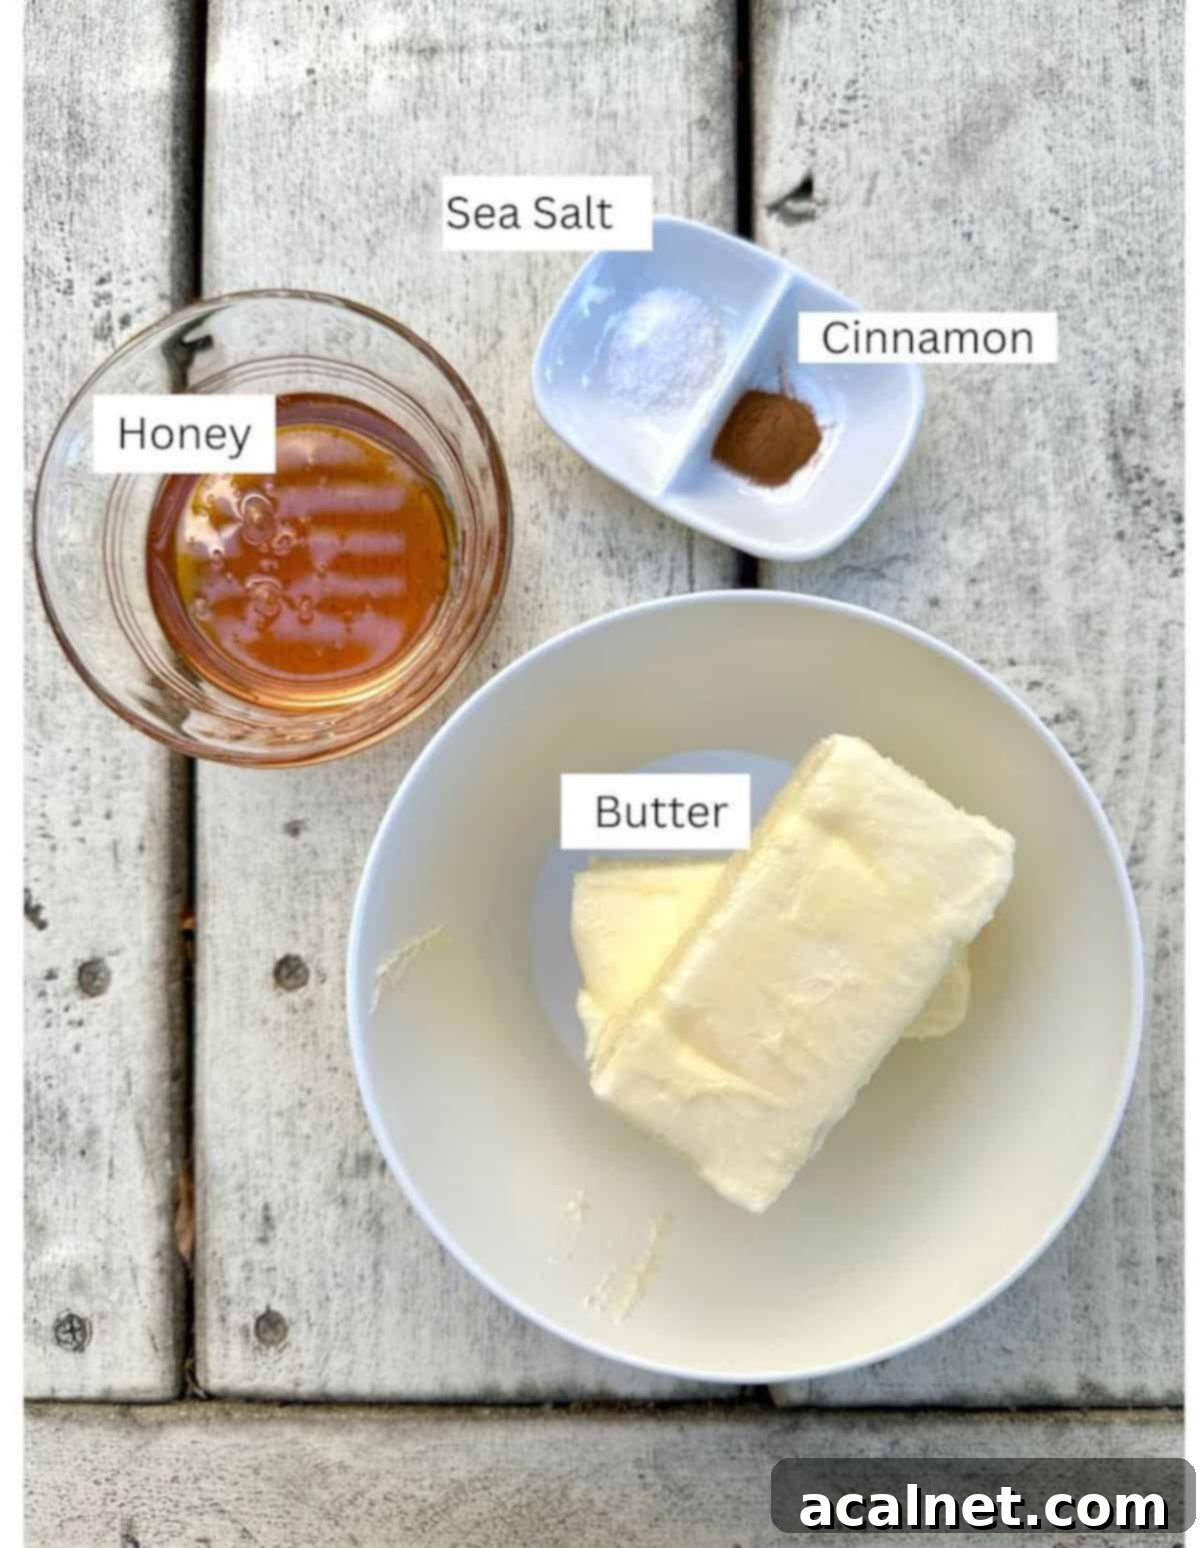
One of the best aspects of this recipe is that it calls for very few ingredients, all of which are common pantry staples. These simple ingredients are easy to keep on hand, especially honey, which is known for its incredibly long shelf life and truly never expires when stored correctly. Here’s a closer look at what you’ll need to create this amazing whipped honey butter:
Honey: The undisputed star of the show! For the best flavor and purity in your honey butter, always look for the word “pure” on the label. This simple detail ensures that there are no unwanted added ingredients like corn syrup or artificial sweeteners, allowing the natural floral notes of the honey to shine through. While a classic pure clover honey is a popular choice for its mild, sweet flavor, feel free to experiment with other varieties like wildflower, acacia, or even a local artisanal honey to impart unique nuances to your butter. Darker honeys, such as buckwheat or rewarewa, will give a more robust and distinct flavor, while lighter honeys will result in a more delicate sweetness. Choose what you love!
Butter: High-quality butter is absolutely essential for a rich, creamy, and wonderfully whipped spread. I highly recommend using unsalted butter for this recipe. This gives you complete control over the amount of salt in the final product; I typically add about ¼ teaspoon. However, if salted butter is all you have on hand, it will certainly work! Just be sure to taste your honey butter before adding any additional salt, as the pre-salted butter might already provide enough seasoning. Remember to soften your butter to room temperature before beginning, as this is crucial for achieving that light, airy, and evenly whipped texture. Softened butter blends much more smoothly and incorporates air better with honey and spices, leading to a superior spread.
Cinnamon: A small amount of ground cinnamon adds a delightful warmth, aromatic depth, and a comforting flavor that perfectly complements the sweetness of the honey. It creates that familiar, cozy taste many associate with honey butter. While entirely optional, it’s highly recommended for that classic, comforting profile. If you’re not a fan of cinnamon, or prefer other spices, you can easily omit it or substitute it with other warming spices like nutmeg or a pinch of allspice (more on that in the substitutions section below).
Sea Salt: A delicate pinch of salt is vital to balance the sweetness of the honey and enhance all the flavors in the butter. It prevents the spread from being cloyingly sweet and brings out the best in both the butter and honey. I prefer to use fine sea salt crystals because they dissolve beautifully and distribute evenly throughout the butter, providing a consistent savory note in every bite. If you don’t have fine sea salt, regular table salt will also work just fine. Just be mindful that table salt is finer and can taste saltier, so you might use slightly less than ¼ teaspoon if opting for it. Always taste and adjust to your preference.
For precise measurements and a full list of ingredients for this delectable honey butter, please refer to the comprehensive recipe card located at the bottom of this page.
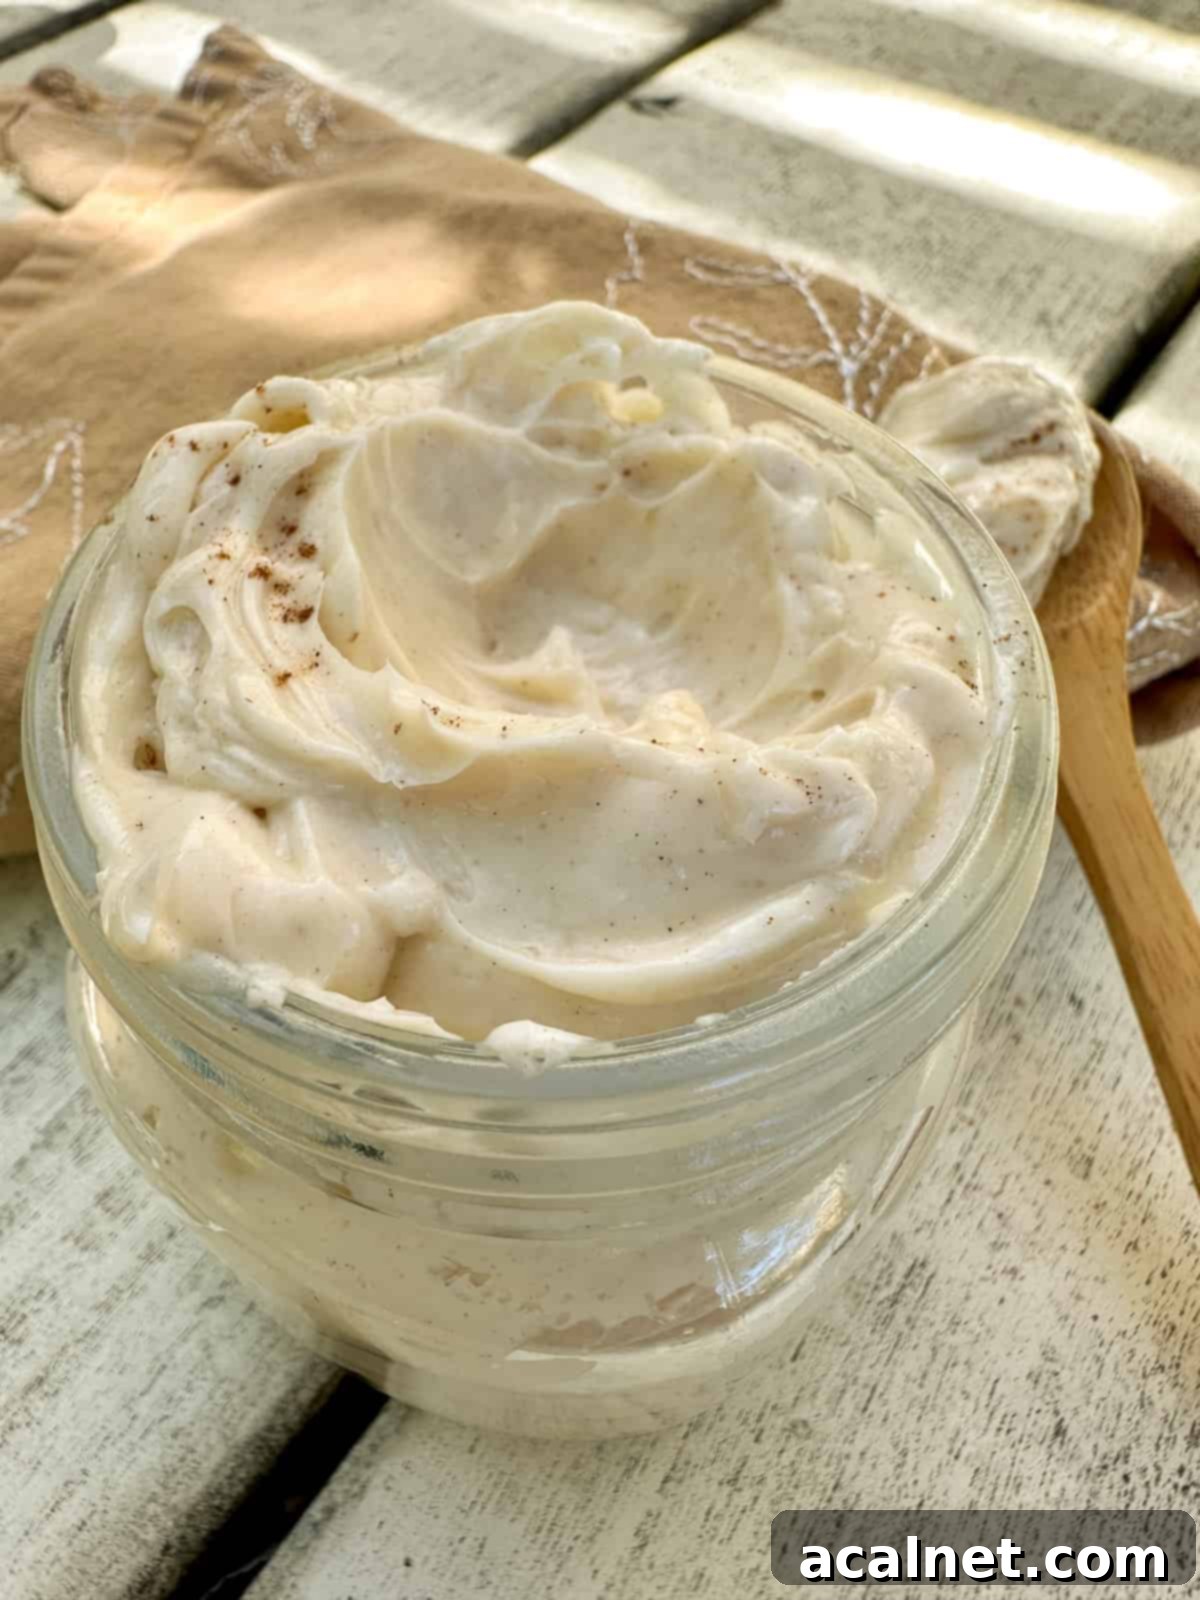
📖 Substitutions and Creative Flavor Variations for Honey Butter
One of the joys of making homemade honey butter is how incredibly adaptable it is. While the classic honey-cinnamon combination is always a winner, there are many exciting ways to add unique flavors, a burst of freshness, or even a little spicy kick to your whipped honey butter. These simple substitutions and creative variations ensure you can enjoy a new spin on this delightful spread every time you make it, perfectly matching your mood, the season, or the dish you’re serving.
Jalapeno Honey Butter: For those who love a bold sweet-and-spicy kick, this variation is an absolute game-changer. Turn up the heat on the traditional sweetness by blending in a teaspoon of finely diced, pickled jalapenos. The tangy heat of the jalapenos creates a fantastic, unexpected contrast with the honey’s sweetness and the butter’s richness. This spicy-sweet spread is especially delicious on savory items like fresh cornbread, grilled chicken sandwiches, or even as a unique topping for baked potatoes or quesadillas. It’s a truly memorable flavor combination!
Want that fiery kick but prefer to skip the jalapenos themselves? No problem! Achieve a similar warmth and spice by adding ¼ teaspoon of red pepper flakes or a generous dash of cayenne powder instead. Start with a smaller amount and adjust to your preferred level of heat, tasting as you go.
Orange Honey Butter: Infuse your honey butter with a bright, zesty aroma and taste by blending in a teaspoon of fresh orange zest. This simple addition adds a lovely citrusy note that truly awakens the palate and adds a burst of sunshine to your spread. The refreshing flavor of orange makes this variation especially delicious with breakfast staples like fluffy waffles, light crepes, delicate pancakes, or even fruit tarts and cranberry muffins. For a different citrus twist, lemon zest or lime zest can also be used, each offering its own unique brightness.
Pro Tip for Flavored Butters: For the best flavor and to maintain freshness, especially for variations like Orange Honey Butter or Jalapeno Honey Butter (due to the inclusion of fresh or pickled ingredients), always store them in an airtight container in the refrigerator. Before serving, remember to warm the butter to room temperature so it softens and becomes perfectly spreadable again, allowing the full range of aromatic flavors to bloom.
Use Pumpkin Pie Spice: Embrace the cozy, comforting flavors of autumn by swapping the ¼ teaspoon of cinnamon with ¼ teaspoon of pumpkin pie spice. This popular blend typically includes cinnamon, nutmeg, ginger, and cloves, creating a warm, aromatic whipped butter that is absolutely perfect for pairing with fall-inspired recipes. Imagine it on pumpkin bread, apple muffins, sweet potato dishes, or even a warm slice of gingerbread. It’s like a hug in a spread!
Add Vanilla Extract: For an extra layer of classic sweetness and a wonderfully fragrant aroma, include a ¼ teaspoon of pure vanilla extract. Vanilla effortlessly enhances and rounds out both the honey and butter flavors, creating an irresistible buttery, vanilla combination that is fantastic on almost anything. It’s particularly good on fruit scones, simple toast, or warm banana bread.
Add Powdered Sugar: If you prefer a noticeably sweeter honey butter, or desire a texture that feels even more like a light frosting, boost the sweetness by adding a tablespoon or two of powdered sugar (also known as confectioners’ sugar). This also helps to make the butter exceptionally smooth and light, contributing to an even creamier mouthfeel without adding extra liquid from honey, which can sometimes alter the consistency if too much is added.
Maple Honey Butter: For a deeper, richer sweetness and an added layer of complexity, consider substituting a portion of the honey with pure maple syrup. This creates a delightful maple-honey fusion that’s incredible on pancakes, waffles, French toast, or even warm biscuits during colder months. The robust flavor of maple syrup adds a wonderful earthy note.
Herb-Infused Honey Butter (Savory Twist): While traditionally sweet, a small amount of finely chopped fresh herbs like rosemary or thyme can create a unique savory-sweet spread. This is an adventurous but surprisingly delicious option for crusty artisan bread served with roasted meats, grilled vegetables, or certain cheese boards. Start with a very small amount and adjust to taste, as herbs can be potent.
🥘 Step-By-Step Guide to Whipping Homemade Honey Butter
Making your own honey butter is incredibly straightforward, and these step-by-step instructions with accompanying photos will ensure you achieve a perfectly creamy, dreamy spread every single time. Remember, the key to success begins with properly softened butter!
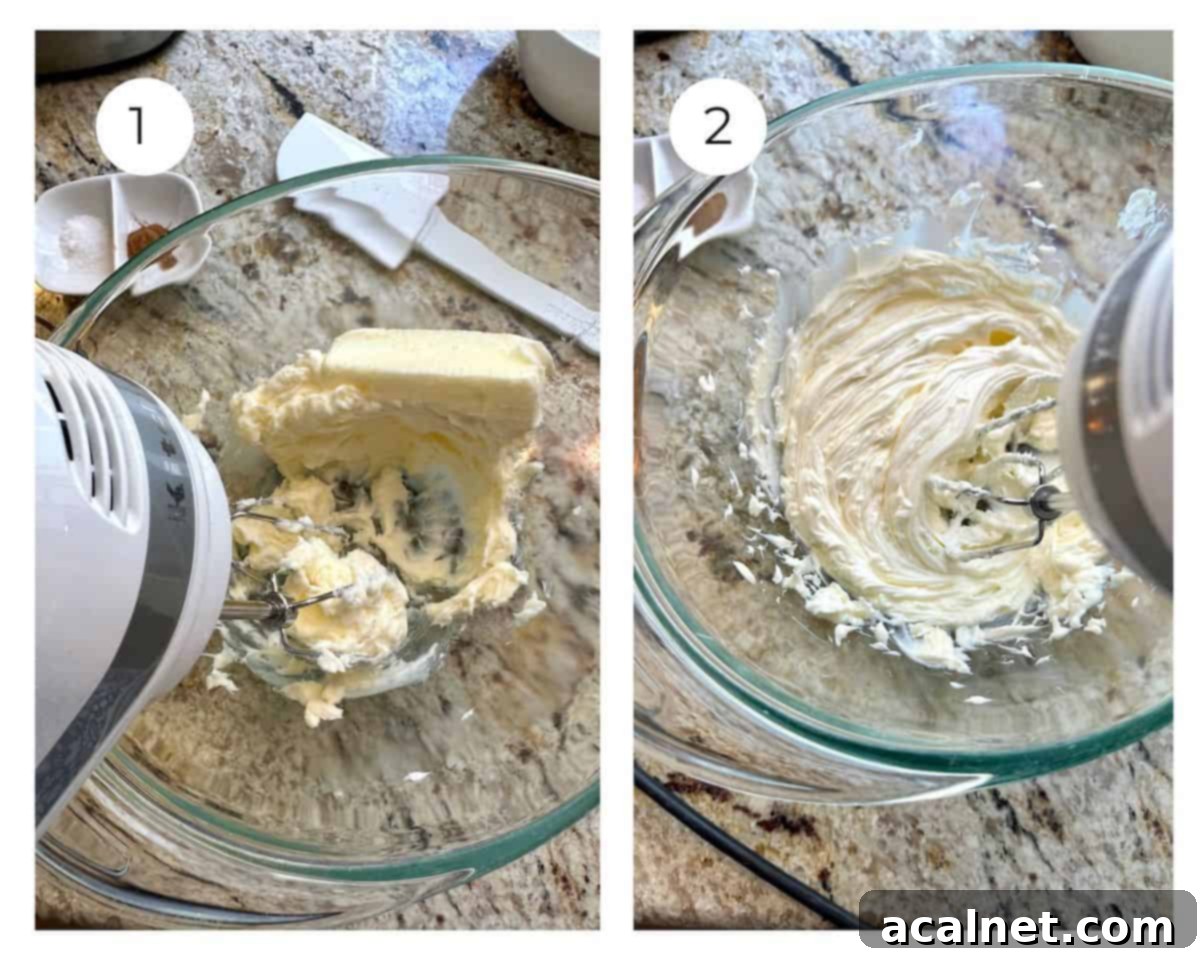
Step 1: Soften the Butter Perfectly. Begin by placing your softened butter (which should be at a pliable room temperature, not melted) in a medium-sized mixing bowl. If your butter isn’t already soft, you can leave it on the counter for about an hour, or gently warm it in the microwave using the lowest power setting for very short bursts (5-10 seconds) until it’s just soft enough to easily indent with a finger, but not greasy or liquid. This proper consistency is vital for a fluffy end product. (Photo #1)
Step 2: Whip the Butter. Using a hand mixer on medium speed, or a sturdy wooden spoon and some vigorous elbow grease, thoroughly blend the softened butter. Continue mixing for 1-2 minutes until it becomes noticeably light, airy, and takes on a creamy, whipped texture. This process incorporates air into the butter, making it wonderfully spreadable and fluffy. Scrape down the sides of the bowl as needed to ensure all butter is evenly whipped and no hard lumps remain. (Photo #2)
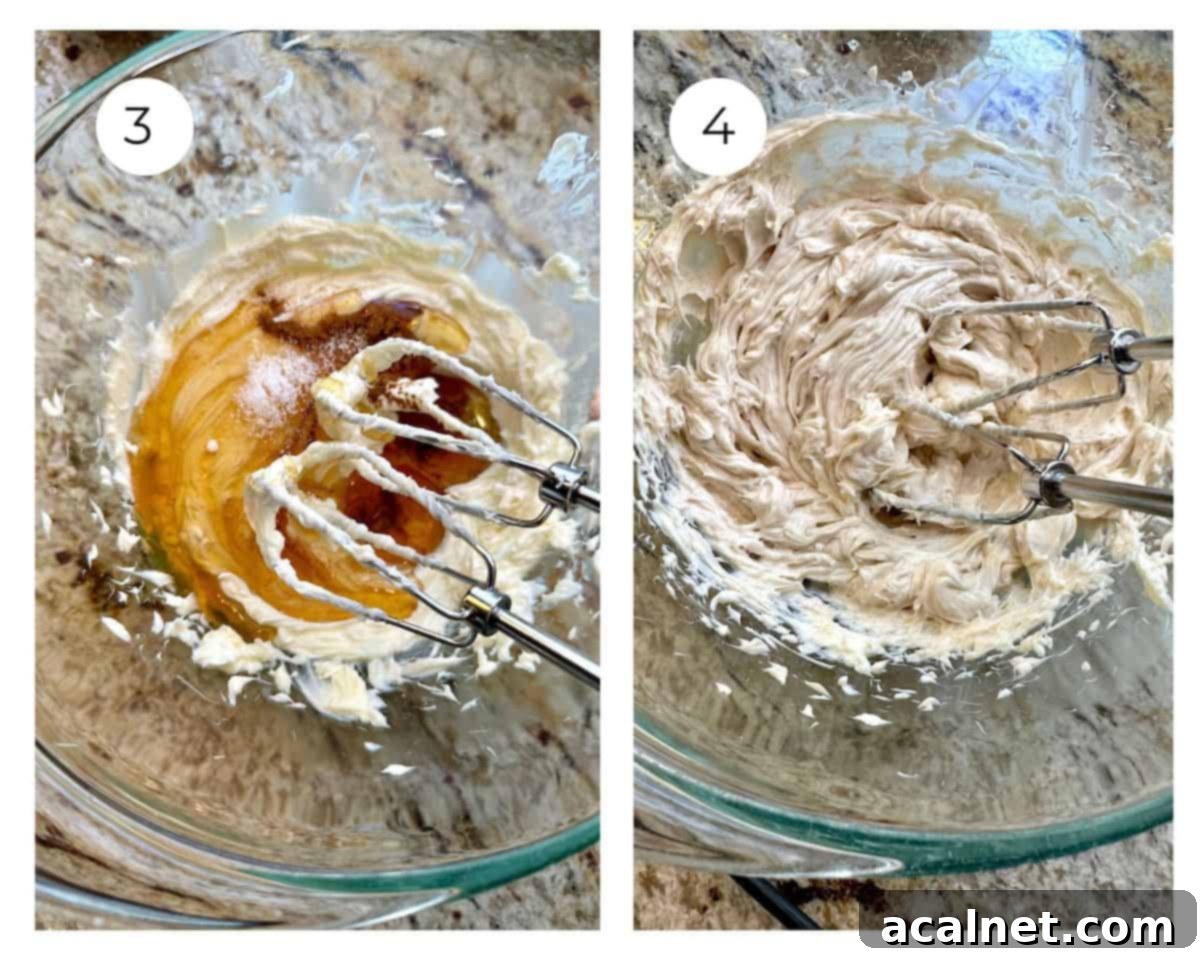
Step 3: Add the Flavorings. Now it’s time to introduce the stars of the show! Add the pure honey, ground cinnamon (if using it for that warm, spiced note), and the fine sea salt directly into the bowl with the whipped butter. Be careful not to add too much liquid at once if you’re doubling the recipe, as this can sometimes deflate the butter’s airy texture or make it difficult to incorporate evenly. (Photo #3)
Step 4: Combine Thoroughly. Continue blending all the ingredients together using your hand mixer or spoon. Mix until the honey, cinnamon, and salt are completely and evenly distributed throughout the butter, ensuring every spoonful will have that perfect balance of sweet, savory, and warm spice. The mixture should be uniform in color and texture, without streaks of honey or unmixed butter. This usually takes another 1-2 minutes. (Photo #4)
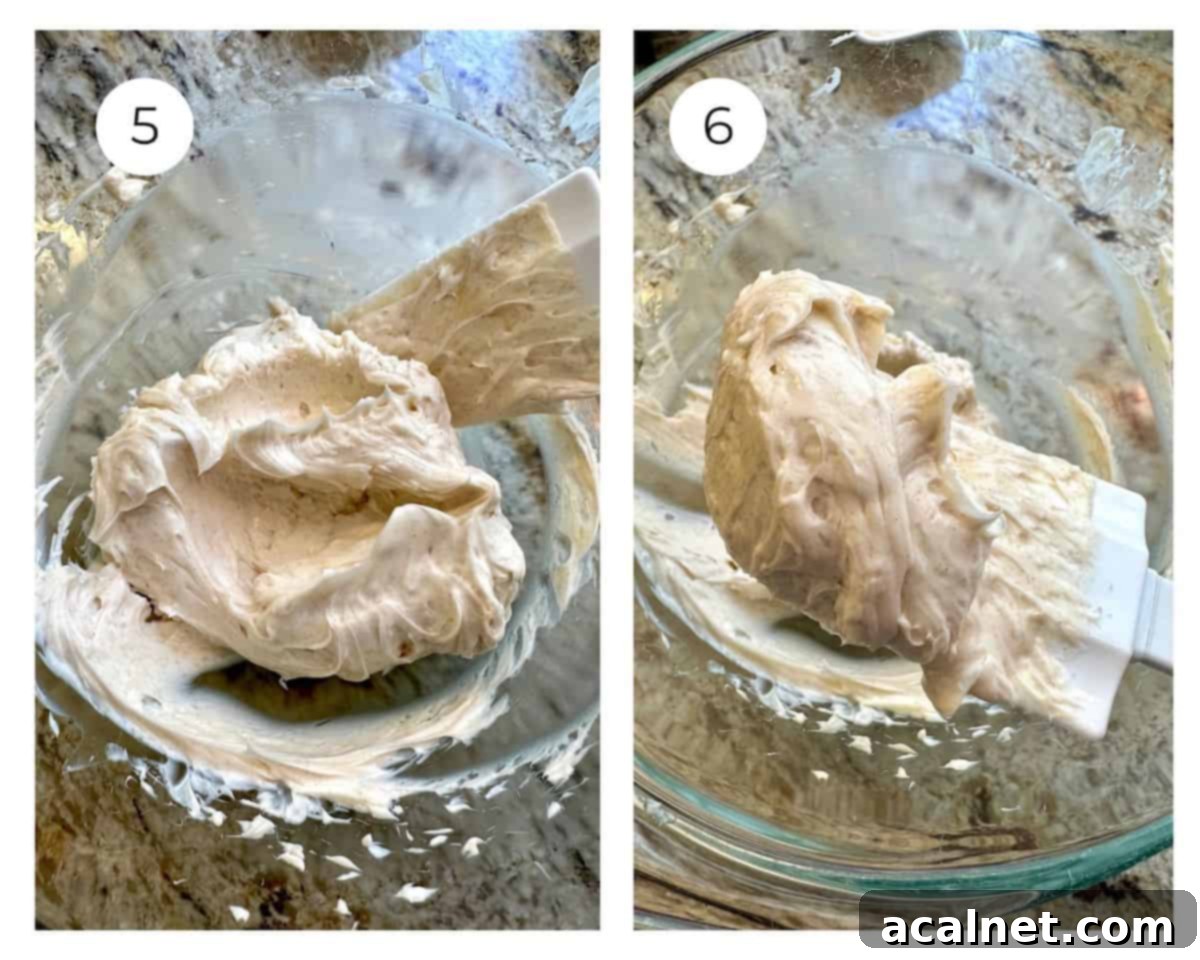
Step 5: Final Scrape and Blend. Take a rubber spatula and scrape down the sides and bottom of the mixing bowl one last time, ensuring that no unmixed butter or honey remains. Give it a final quick blend for about 30 seconds to incorporate everything perfectly and ensure a consistent, smooth texture throughout your entire batch of honey butter. (Step #5)
Step 6: Ready to Serve. Your irresistible homemade honey butter is now perfectly ready to enjoy! You can immediately spoon it into a small decorative serving bowl or spread it directly onto your favorite baked goods in place of regular butter. It’s truly a game-changer for breakfast, brunch, or dinner. For an elegant presentation, especially if you’re gifting it, consider transferring it to a small, decorative jar. Here’s a handy tip for filling jars neatly: Use the spatula to scoop the butter and honey mixture from the mixing bowl into your chosen utensil. (Photo #6)
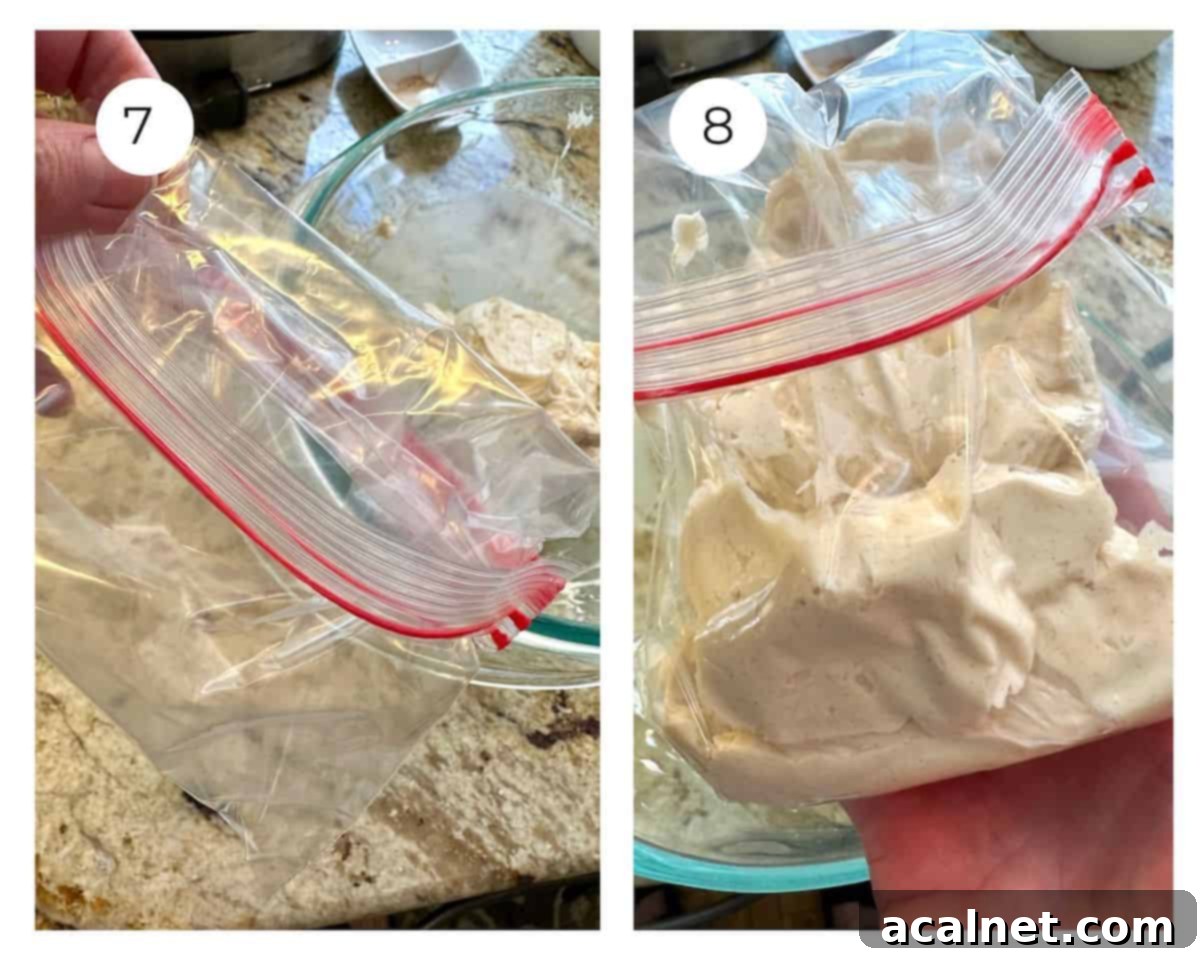
Step 7: Prepare for Jar Filling (Optional, for Gifting). If you plan to serve or gift your honey butter in a jar, grab a quart-sized zip-top baggie. For easier filling and to keep the top clean, fold down the top edges of the bag to create a wider, more stable opening and prevent the butter from getting stuck in the zipper. (Photo #7)
Step 8: Fill the Bag. Use your rubber spatula to carefully transfer all of the prepared honey butter into the prepared baggie. Push the butter down towards one of the bottom corners, consolidating it to make piping easier. (Photo #8)

Step 9: Pipe into Jars. Close the zip-top bag securely, ensuring no air is trapped. Using sharp kitchen scissors, snip off one of the bottom corners of the plastic baggie. Create an opening approximately one inch in size – large enough for the butter to flow smoothly but small enough to maintain control. Point the trimmed, open corner of the plastic baggie directly into your clean, dry jar. Gently and steadily squeeze all of the honey butter from the baggie, guiding it toward the open corner and allowing it to pipe neatly and smoothly into the jar. This creates a beautifully even fill. (Photo #9)
Pro Tip for Jarring: This piping bag technique is incredibly efficient and fantastic! It ensures that your honey butter fills the jar beautifully and smoothly, with virtually no mess around the edges, making for a professional and attractive presentation, especially if you’re preparing it for gifting.
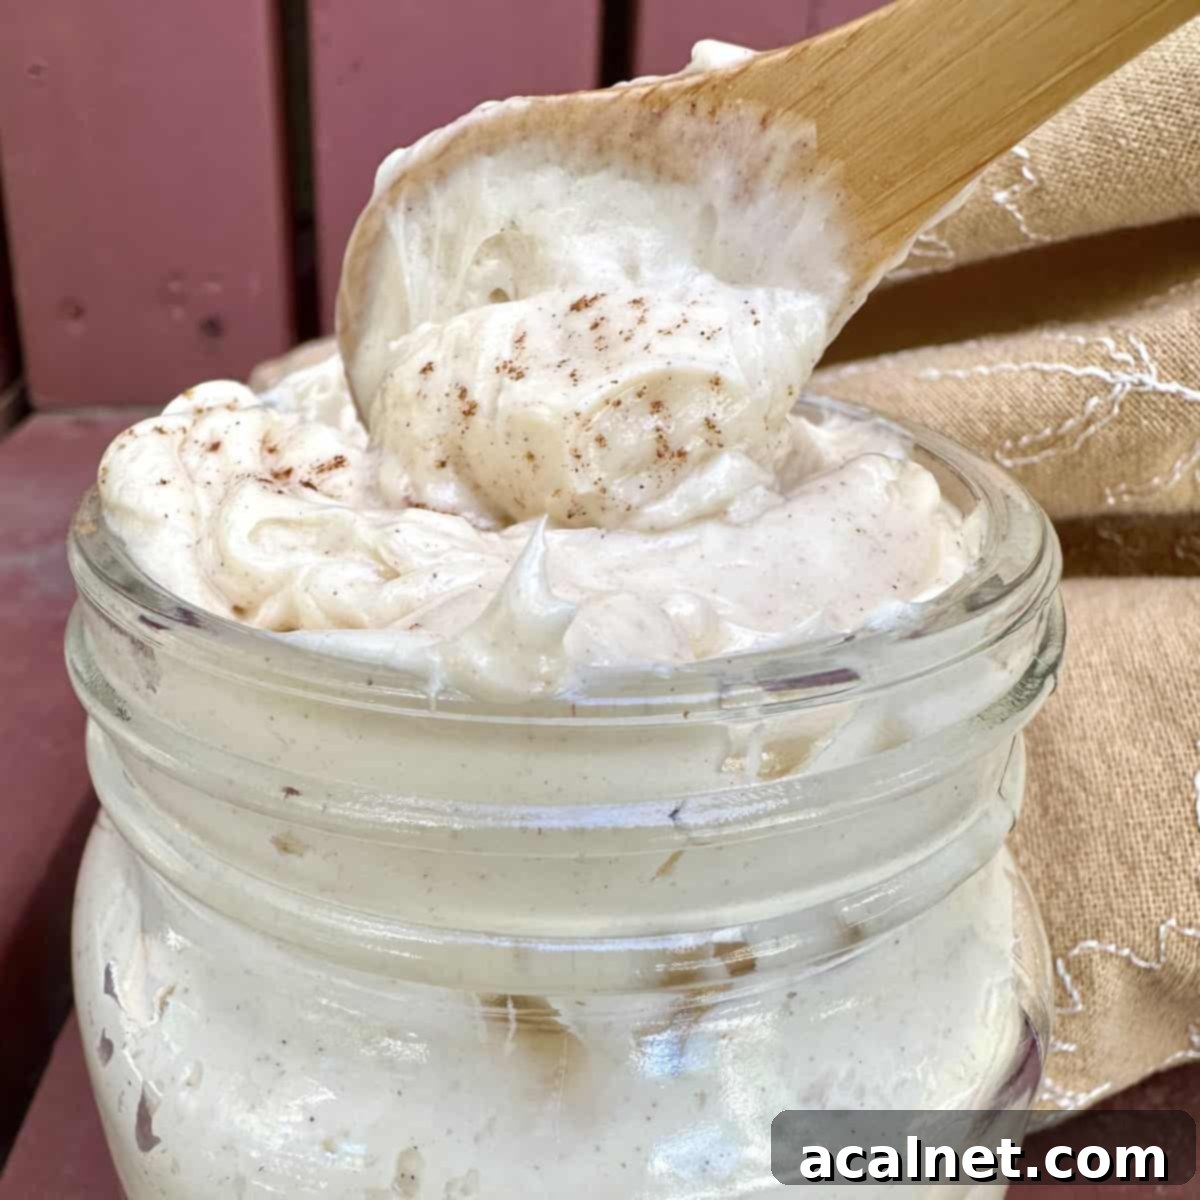
Step 10: Smooth the Top. After filling the jar, use the rounded backside of a clean spoon to gently push down on the top of the honey butter. This helps to settle the butter, remove any trapped air pockets, and create an even, attractive surface. Wipe away any excess butter from the jar’s rim with a damp cloth for a perfectly clean and finished look. (Photo #10)
💭 Frequently Asked Questions About Honey Butter
While I personally enjoy using pure clover honey for its classic, mild sweetness that allows the butter to shine, the variety of honey you choose can significantly impact the final flavor profile of your homemade honey butter. If you have a particular blend of honey that you love, definitely go for it! There are many, many varieties of honey available, from light, floral acacia to robust, earthy buckwheat, raw, organic, and unfiltered options. Each offers unique tasting notes and can subtly change the character of your spread. Be sure to read the label to understand its characteristics and choose a variety that best suits your personal preferences and the specific flavor you want to impart to your honey butter. The “pure” label is most important to ensure no unwanted additives.
Absolutely, yes! Homemade honey butter freezes beautifully, making it an excellent option for long-term storage. This is particularly useful if you’ve made a large batch, want to prepare it ahead for gifts, or simply want to always have some on hand. To freeze, simply transfer the honey butter into an airtight, freezer-safe container. Ensure there’s minimal air exposure to prevent freezer burn – you can even press a piece of plastic wrap directly onto the surface of the butter. When you’re ready to enjoy it, simply move it from the freezer to the refrigerator to thaw overnight, then bring it to room temperature before serving for the best texture and flavor. For optimal quality, plan to enjoy your frozen honey butter within 2 months.
I do not recommend using margarine as a substitute for butter in this specific recipe. While margarine can sometimes mimic butter in certain baking applications due to its similar texture, its chemical composition and flavor profile are quite different. Margarine is typically made with a blend of various vegetable oils, which gives it a distinct taste and a different mouthfeel compared to dairy butter. True butter, made from cream, is what provides that rich, authentic, and wonderfully creamy “buttery” base that, when combined with honey and spices, creates this distinctive and delightful spread. Using margarine would result in a noticeable difference in both taste and texture, detracting significantly from the classic honey butter experience we’re aiming for.
Forgetting to soften butter is a common kitchen dilemma! The best way to quickly soften butter without melting it is to cut it into smaller, uniform cubes (about 1-inch pieces) and spread them out on a plate. Let them sit at room temperature for 15-20 minutes, which will dramatically speed up the softening process. Alternatively, you can use your microwave: place the cubed butter in a microwave-safe bowl and microwave on the LOWEST power setting for very short 5-10 second intervals, checking after each burst. You want it soft enough to press an indentation with your finger, but not melted or greasy. Overheating will result in liquid butter, which won’t whip properly and will yield a grainy texture.
Making delicious honey butter requires very minimal equipment, making it accessible for almost any home kitchen. At its most basic, you’ll need a medium-sized mixing bowl and a sturdy wooden spoon or a whisk for blending. For an even lighter and fluffier texture, and to make the process incredibly quick and easy, a hand mixer is ideal. If you plan to gift the honey butter or neatly store it in jars, a rubber spatula and a quart-sized zip-top plastic bag (as demonstrated in the step-by-step photos) will be helpful for a clean and attractive transfer. Other than these, you simply need your high-quality ingredients and a desire for deliciousness!
🍽 Delightful Ways to Serve Homemade Honey Butter
Once you’ve made a batch of this luscious homemade honey butter, you’ll find endless opportunities to enjoy it. Its sweet, creamy, and subtly spiced flavor makes it incredibly versatile, enhancing both sweet and savory dishes. It’s more than just a spread; it’s a flavor enhancer! Here are some of our absolute favorite ways to serve and enjoy this delightful whipped spread:
Baked Goods and Breads: This is where honey butter truly shines and becomes an absolute revelation! A plain piece of warm, crusty toast becomes absolutely scrumptious when covered with a generous spread of honey butter. The same goes for toasted bagels, soft English muffins, light and flaky croissants, tender fresh biscuits (especially fluffy Buttermilk Butter Biscuits), elegant scones, or pillowy dinner rolls. It’s an especially good pairing with rich, homemade potato rolls, adding an extra layer of comfort and flavor that’s hard to beat. Don’t forget cornbread!
Fruit: Elevate your fruit platter or a simple fruit bowl by serving honey butter alongside sliced ripe bananas, crisp apple wedges, and juicy pears. The creamy sweetness perfectly complements the natural tartness or sweetness of various fruits, creating a harmonious bite. For a unique twist, pair it with slices of your favorite mild cheese for a delicious sweet option on a charcuterie board, offering a surprising and delightful combination that guests will adore.
Fried Chicken Sandwiches: Prepare to transform your ordinary fried chicken sandwiches into a gourmet experience! Spread a generous layer of homemade honey butter on toasted hamburger buns or brioche rolls. Then, layer with crispy fried chicken strips and your favorite fixings like pickles or coleslaw. The perfect sweet and savory seasoning in perfectly cooked buttermilk chicken tenders creates an ideal flavor harmony with the rich, sweet honey butter, making for a sandwich that would rival any high-end takeout joint.
Breakfast & Brunch Delights: Honey butter is a true breakfast hero. Spread it generously on warm French toast, delicate crepes, fluffy pancakes, or crispy waffles. It melts beautifully, soaking into the nooks and crannies and adding an incredible depth of flavor that goes far beyond plain syrup or butter. It also pairs wonderfully with breakfast muffins, quick breads, or even as a unique topping for oatmeal or grits.
Vegetables: Don’t reserve honey butter just for sweet treats! It’s absolutely delicious on various cooked vegetables, adding a touch of richness and a hint of sweetness that can make even picky eaters enthusiastic. Try it melted over tender cooked carrots, oven-roasted sweet potatoes or parsnips, or warm corn on the cob. It’s also fantastic with roasted butternut or acorn squash, enhancing their natural sweetness and providing a creamy finish. And for a comforting side, a generous dollop of honey butter on a perfectly baked potato is simply divine!
Snacks & Appetizers: Get creative with your snack time. Warm up your honey butter slightly until just melted and drizzle it over freshly popped popcorn for a sweet and salty cinematic treat that’s impossible to resist. Spread it on crackers and serve it with sliced cheese for an easy yet sophisticated appetizer that combines creamy, crunchy, sweet, and savory elements. It’s also a delicious and wholesome spread for rice cakes, oat cakes, or even a simple piece of dry fruit bread.
👪 Homemade Honey Butter: Perfect for Thoughtful Gifting
There’s something incredibly thoughtful, personal, and heartwarming about a homemade gift, and a beautifully presented jar of Homemade Honey Butter fits the bill perfectly. Whether you’re looking for a special treat to share during the holidays, a thoughtful housewarming present for new neighbors, a charming hostess gift for a dinner party, or even a unique party favor, a jar of this delicious spread is a gift that will always be appreciated and devoured with pleasure.
To make your gift truly exceptional and ensure your recipients get the most out of it, consider adding a personal touch. Beyond just a beautifully packaged jar, be sure to offer recommendations (as listed above in “What to Serve with Honey Butter”) for all the tasty and creative ways your gift recipients can enjoy their sweet and creamy present. A small handwritten card detailing these suggestions will inspire them and help them get the most out of their delicious honey butter, making it an even more memorable gift.
Pro Tip for Gifting: Presentation matters immensely when giving food gifts! Use any clean, attractive 8-ounce jar with a tight-fitting lid. I find that 8-ounce canning jars are ideal because they are not only aesthetically pleasing with their classic design but also incredibly practical, being dishwasher-safe and conveniently reusable for various purposes. Decorate with a festive ribbon, a custom-printed label, or even a small square of fabric secured with twine over the lid to make it extra special and professional-looking.
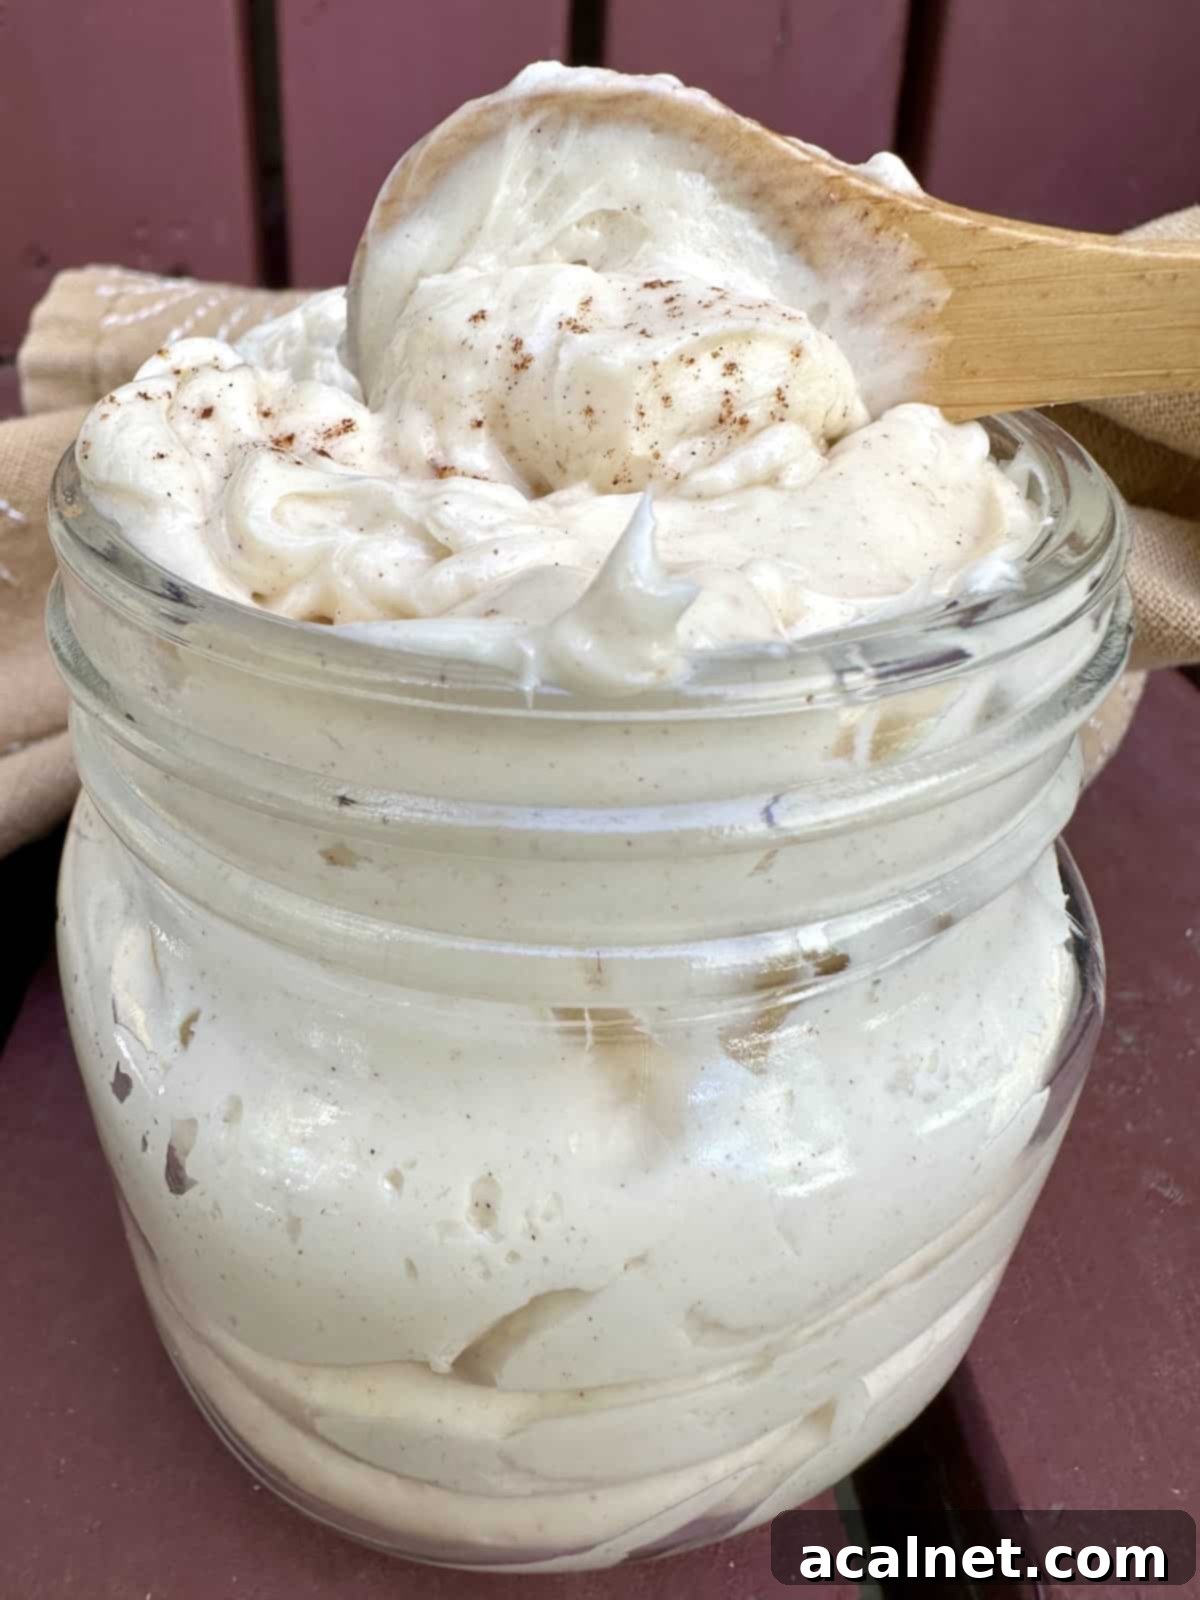
Don’t forget to neatly label each jar with the words Homemade Honey Butter. Additionally, it’s a great idea to include a small notecard with clear storage instructions (you’ll find these detailed instructions below) so your friends and family know exactly how to properly care for their delectable gift and enjoy it to its fullest potential for as long as possible. This thoughtful detail prevents any guesswork and ensures a delightful experience.
👩🏻🍳 Storage and Freezer Instructions for Honey Butter
Proper storage is key to enjoying your delicious homemade honey butter for as long as possible, whether you’re planning to devour it immediately or save it for a special occasion. Here’s how to keep it fresh and ready for whenever a craving strikes:
How to Enjoy and Store: Your freshly made Homemade Honey Butter can be safely left at a comfortable room temperature for up to 2 days. This makes it perfect for leaving out on the counter during a brunch, a casual gathering, or for easy daily access for a couple of days. However, to extend its delicious shelf life beyond this period, or if you simply prefer it chilled, it’s best to store it covered tightly in an airtight container or jar in the refrigerator. When refrigerated, it will maintain its excellent quality and flavorful appeal for up to 2 weeks. Just remember that once refrigerated, the honey butter will firm up significantly, so always bring it back to room temperature before serving to restore its wonderfully soft, creamy, and spreadable texture. This allows the flavors to truly bloom.
Freezing Honey Butter for Long-Term Storage: Yes, you can absolutely freeze honey butter for even longer storage! This is a fantastic option for making larger batches, preparing gifts well in advance, or simply ensuring you always have some delicious honey butter on hand. To freeze, simply transfer the honey butter into any airtight, freezer-safe container. You can also form it into a log, wrap it tightly in plastic wrap, then place it in a heavy-duty freezer bag to prevent freezer burn. For the best quality, taste, and texture, plan to defrost it and enjoy your frozen honey butter within 2 months of freezing. Thaw it slowly in the refrigerator overnight before bringing it to room temperature for optimal serving consistency.
🍞 Sweet Baking Recipes That Pair Perfectly with Honey Butter
A homemade whipped buttery topping like this honey butter truly elevates so many sweet baked goodies, transforming simple treats into extraordinary delights. It’s the perfect complement to a wide range of breads, cakes, and muffins, adding a touch of luxurious sweetness and a hint of spice to every bite. Don’t stop at just biscuits and toast! Be sure to check out all my favorite muffin, bread, and cake recipes to find even more delicious pairings for your freshly made honey butter and discover new ways to enjoy it!
- Homemade Biscuits (Easy, No Yeast Recipe)
- Chocolate Zucchini Cake
- Tiramisu Cake for Dessert
- Buttermilk Butter Biscuits
If you’ve had the pleasure of making and enjoying this incredibly versatile Easy Homemade Honey Butter or any other delightful recipe from my website, please take a moment to leave a 🌟 star rating and share your experience in the 📝 comments below. Your feedback is invaluable and helps other home cooks discover wonderful recipes, making our culinary community even better!
Recipe Card: Easy Homemade Honey Butter
Easy Homemade Honey Butter
Print
Rate
Pin Recipe
Ingredients
- 1 cup unsalted butter – softened to room temperature
- ⅓ cup pure honey
- ¼ teaspoon ground cinnamon – optional, for warmth
- ¼ teaspoon fine sea salt
Instructions
Soften the Butter Perfectly
- To ensure the best whipped texture, it’s essential to start with properly softened butter. Remove one cup (which is equivalent to two sticks) of unsalted butter from your refrigerator. Set them on your kitchen counter at room temperature for at least one hour, or until they are pliable enough to easily make an indentation with your finger without being greasy.
- As a quicker alternative if you’re short on time, you can gently soften the butter in the microwave. Place the butter in a microwave-safe bowl and use the lowest power setting, heating in very short bursts of 5-10 seconds. Be extremely careful not to melt the butter. You’ll want it to be softened and easy to handle and whip, but not liquidy, as melted butter will not achieve the desired airy consistency and can lead to a greasy, separated spread.
Whip the Butter and Combine Ingredients Smoothly
- Once your butter is perfectly softened, place it in a medium-sized mixing bowl. Using either a powerful hand mixer on medium speed or a sturdy spoon (and a bit of arm work for a more rustic texture!), begin to blend the butter vigorously. Continue whipping for 1-2 minutes until it transforms into a creamy, pale yellow, and noticeably light and fluffy texture. This step is crucial for incorporating air and creating that signature whipped consistency that makes honey butter so delightful.
- Next, add the pure honey, ground cinnamon (if you’re including it for that warm spiced note), and the fine sea salt to the whipped butter. Continue blending all the ingredients together until they are thoroughly combined and evenly distributed throughout the butter. Scrape down the sides of the bowl with a rubber spatula as needed to ensure everything is fully incorporated and uniform. The mixture should be cohesive and smooth, without streaks of honey or unmixed butter.
Serve and Indulge in Your Homemade Honey Butter
- Congratulations! Your delightful homemade honey butter is now perfectly ready to enjoy. Spoon it generously into a small serving bowl or simply dollop it onto your plate, and serve it right away with your favorite freshly baked goods. It’s truly magnificent on warm bread, fluffy biscuits, light scones, crusty bagels, soft English muffins, and of course, a stack of pancakes or waffles. The possibilities are endless, so spread it on anything you name it and savor the sweet, creamy goodness!
Create Thoughtful Honey Butter Gifts in a Jar
- For a charming presentation or if you plan to share your honey butter as a thoughtful gift, placing it in an 8-ounce jar is an excellent serving option. These make wonderful, personal presents for any occasion, from holidays to housewarmings.
- To fill the jars cleanly and easily, use a rubber spatula to scoop the honey butter mixture from your mixing bowl and transfer it into a quart-sized plastic zip-top bag. Zip the top closed securely to prevent spills. Then, use a pair of sharp kitchen scissors to snip off one of the bottom corners of the plastic bag, creating an opening that’s approximately one inch in size.
- Point the trimmed, open corner of the plastic baggie directly into the clean, dry jar. Gently and steadily squeeze all of the honey butter from the baggie, guiding it toward the open corner and allowing it to pipe neatly and smoothly into the jar. This ingenious technique ensures that the honey butter fills the jar beautifully and with minimal mess around the rim, making your gift look professional.
- After the jar is filled, use the rounded, backside of a clean spoon to gently push down on the top of the honey butter. This helps to settle the butter, remove any trapped air bubbles, and create an even, attractive surface. Wipe away any excess butter from the jar’s rim with a damp cloth for a perfectly clean and finished look.
- After filling your jars, it’s very likely that you will have a few extra tablespoons of delicious honey butter left over in your mixing bowl or piping bag. This “overflow” is your well-deserved chef’s treat, so be sure to enjoy it right away on a piece of toast or a warm biscuit!
- Finally, cover the jar tightly with its lid, apply a decorative label with the name of the product, and share your wonderful homemade gift with friends and family. Don’t forget to include storage instructions on a small tag or notecard!
Storing Your Delicious Honey Butter Properly
- To ensure the freshness and safety of your homemade honey butter, it can be left at comfortable room temperature (around 68-72°F or 20-22°C) for up to 2 days. This is convenient for immediate serving or for a weekend brunch. However, to extend its delicious shelf life beyond this period, or if you simply prefer it chilled, transfer any remaining honey butter into an airtight container and store it covered in the refrigerator. When refrigerated, it will stay fresh and flavorful for up to 2 weeks.
- For even longer preservation, you absolutely can freeze honey butter! This is a fantastic option for making larger batches or preparing gifts well in advance. Use any airtight, freezer-safe container or tightly wrapped log (first in plastic wrap, then in foil) to prevent freezer burn. For the best quality, taste, and texture, plan to defrost it and enjoy your frozen honey butter within 2 months of freezing.
- When serving refrigerated or frozen honey butter, always remember to bring it back to room temperature before spreading. This allows the butter to soften to its ideal creamy consistency and ensures the flavors are fully released for a truly enjoyable experience. A cold, hard spread won’t deliver the same delightful mouthfeel.
Notes
Butter Type: While I highly recommend using unsalted butter to precisely control the seasoning of your honey butter (I suggest starting with ¼ teaspoon of salt), using salted butter is perfectly acceptable if that’s what you have on hand. If using salted butter, make sure to taste your finished honey butter before adding any additional salt. This allows you to adjust to your preferred level of saltiness. This spread is particularly delightful when served with rich Buttermilk French Toast for an incredible flavor combination!
Gifting Idea: Just like Homemade Brownie Mix, this easy homemade honey butter makes a fantastic and highly appreciated gift in a jar for any occasion throughout the year! It’s a personal touch that truly shows you care and is sure to be a hit.
Please note, the nutrition details provided are estimated using a reliable food database. They are intended as a rough estimate for informational purposes and should not be considered an exact scientific calculation.
