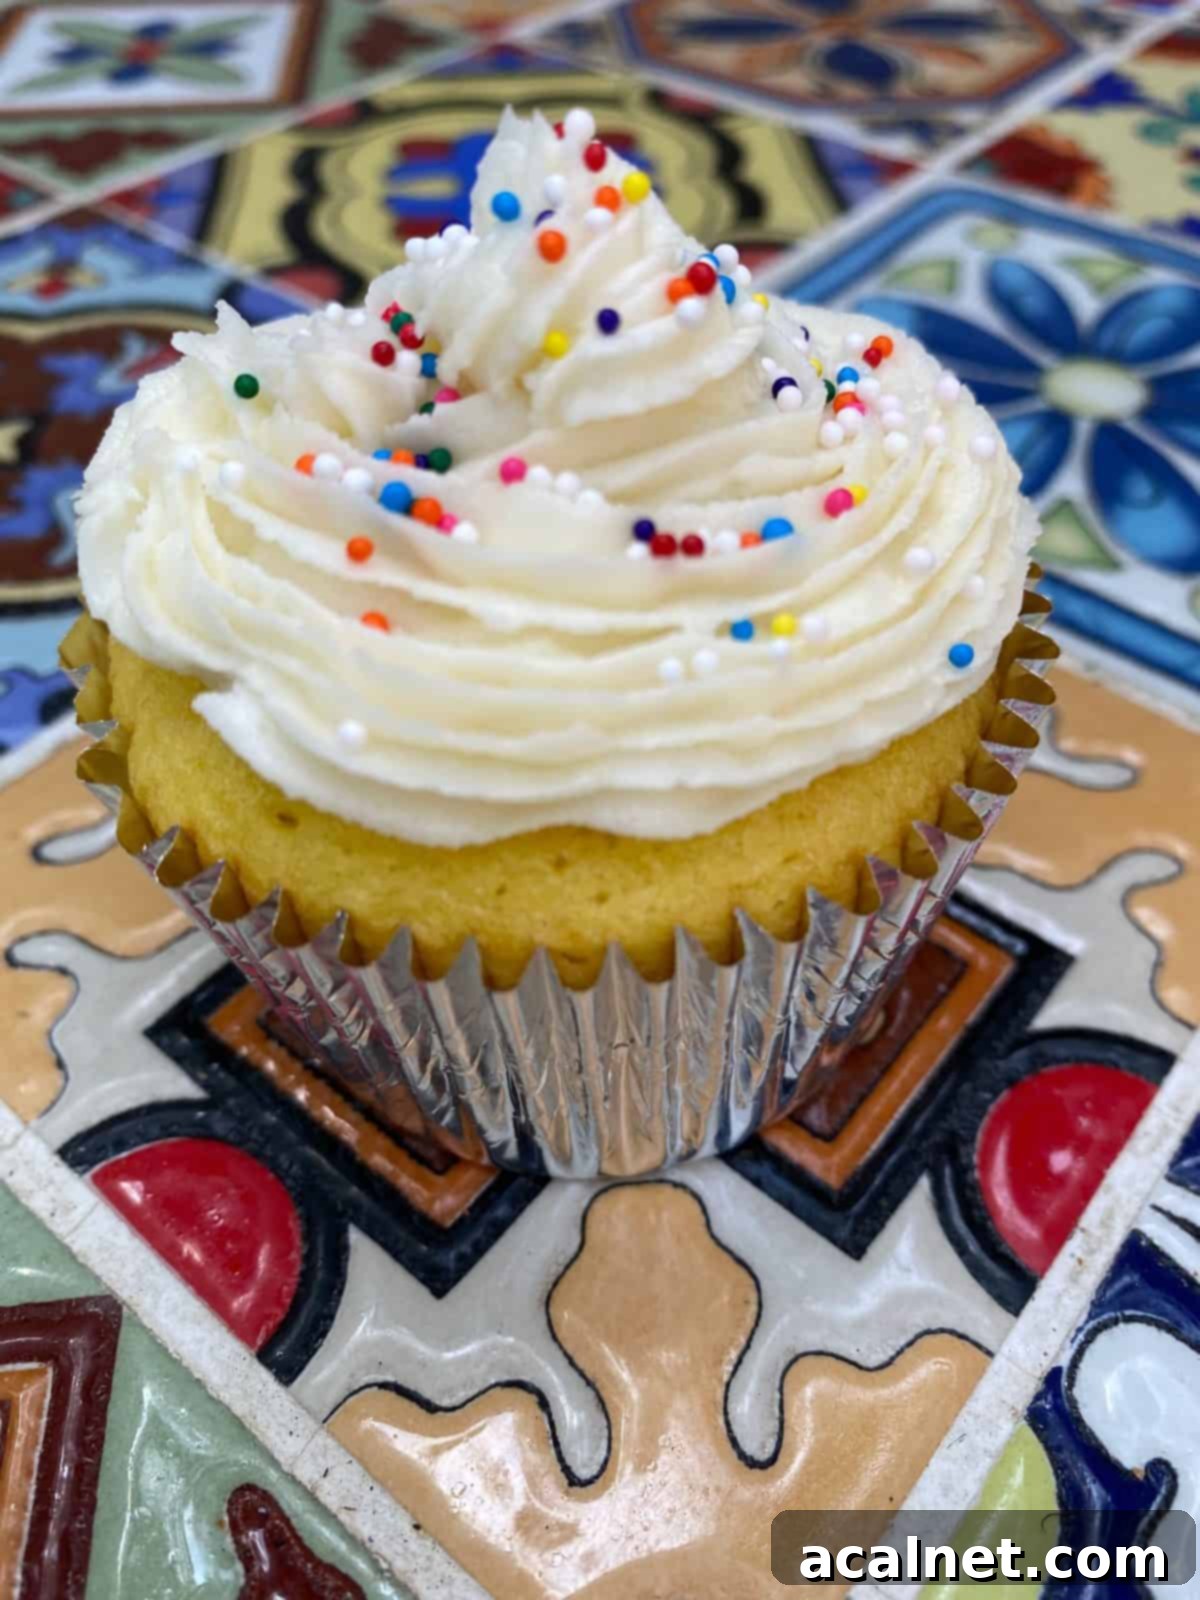
The Ultimate Guide to Making the Best Buttercream Frosting: Easy, Versatile, and Unforgettable
Imagine a frosting so incredibly smooth, perfectly sweet, and utterly delicious that it transforms any baked good into a masterpiece. That’s exactly what you get with the best buttercream frosting. This isn’t just any ordinary frosting; it’s a culinary chameleon, effortlessly adaptable for any occasion. Whether you’re whipping up a quick batch of cupcakes for an impromptu gathering or meticulously decorating an elegant multi-tiered cake for a special celebration, this versatile buttercream is your go-to recipe. It’s surprisingly easy to make, yet sophisticated enough to impress even the most discerning palates. Get ready to elevate your baking game and create desserts that taste as good as they look!
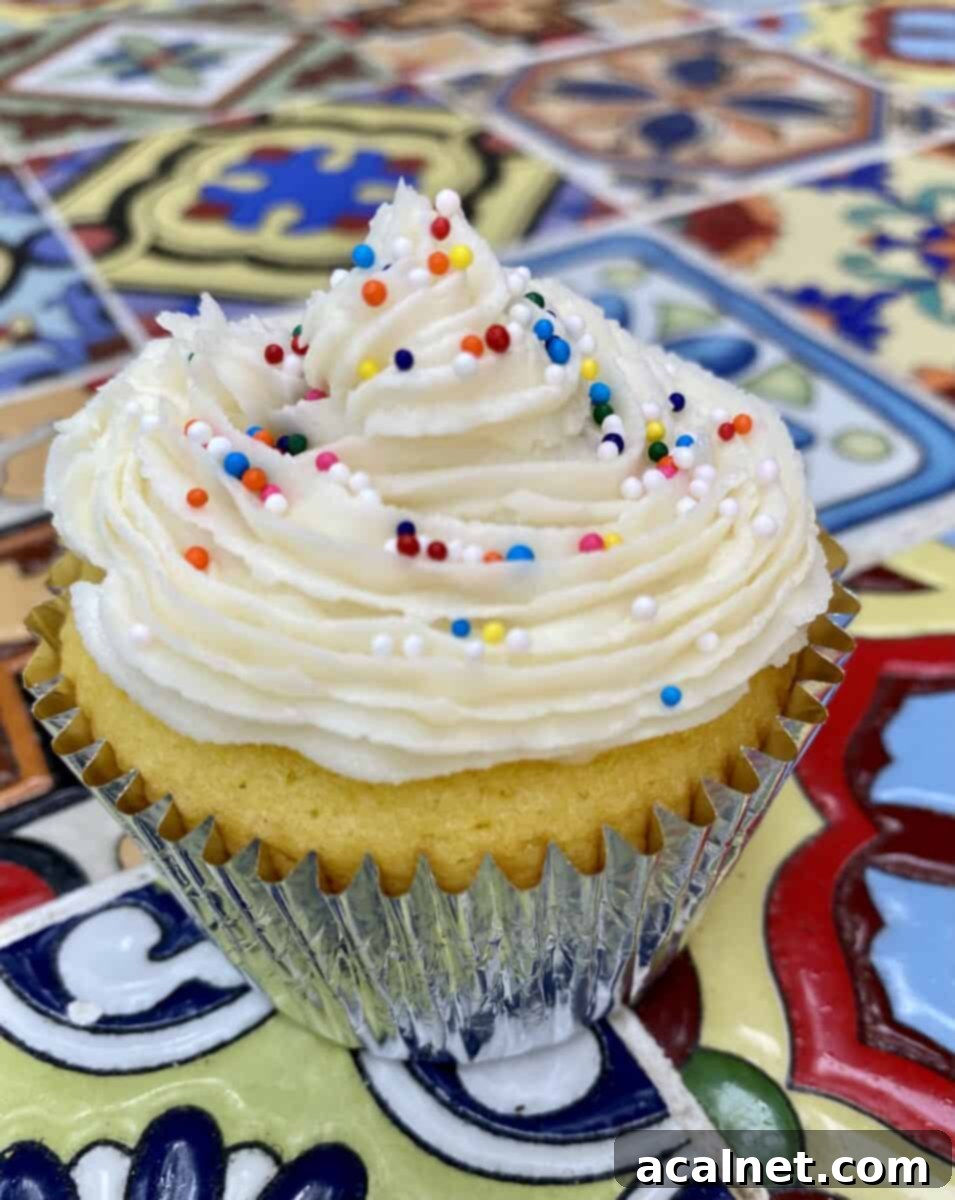
The Secret Ingredients: Lemon and Salt
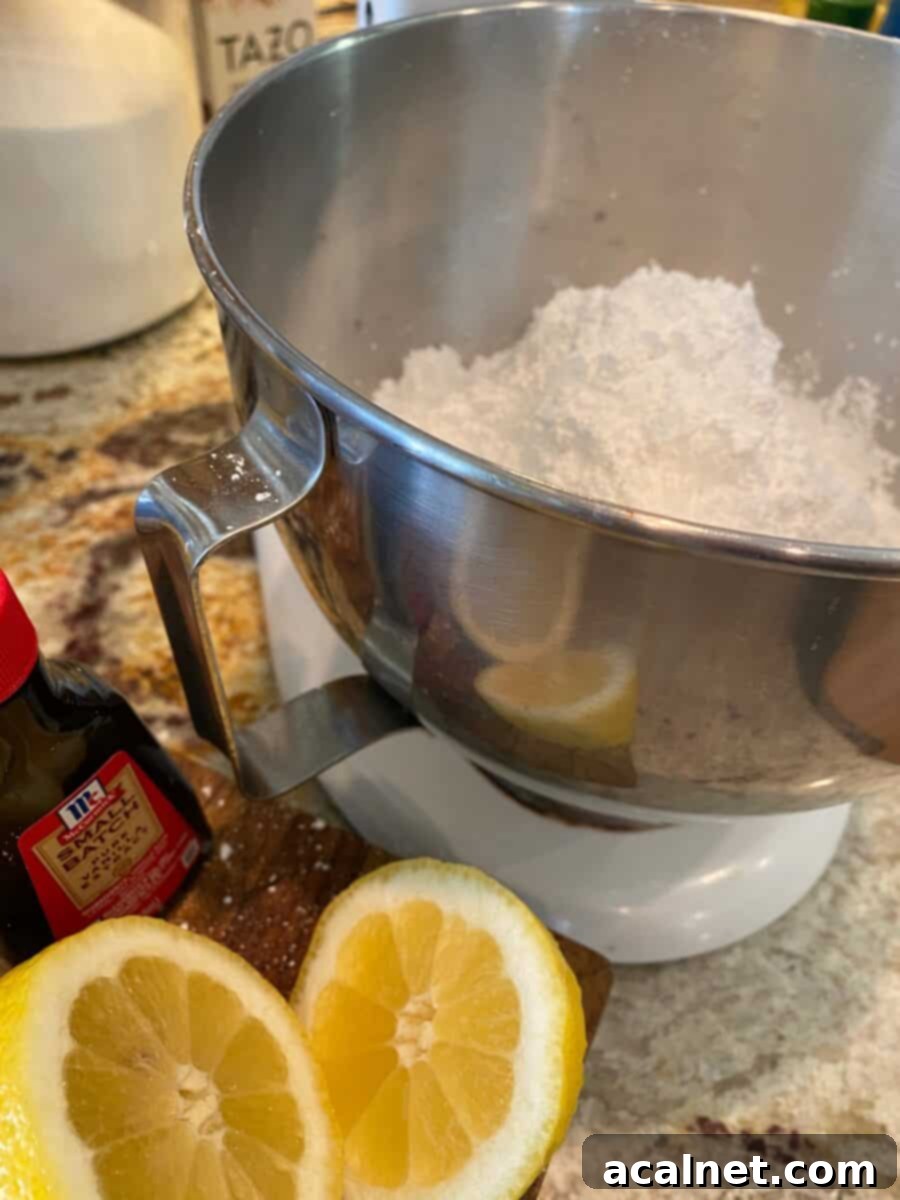
What sets our buttercream frosting apart from the rest? It’s two simple yet impactful ingredients: a touch of fresh lemon juice and a dash of salt. While these might seem like unusual additions to a sweet frosting, their magic lies in their ability to perfectly balance and enhance the overall flavor profile. We’re not aiming for a lemon-flavored frosting, but rather a subtle tartness that cuts through the richness of the butter and the sweetness of the powdered sugar. This gentle acidity prevents the frosting from becoming cloyingly sweet, making it incredibly moreish. You might just find yourself tempted to eat it by the spoonfuls!
The role of salt is equally crucial. Just as a pinch of salt can elevate a savory dish, it does wonders for sweet treats. In buttercream, salt doesn’t make the frosting taste salty; instead, it amplifies the other flavors, bringing out the creamy notes of the butter and making the vanilla taste even more vibrant. The perfect balance of these two ingredients ensures a buttercream that is rich, complex, and utterly irresistible. You only need about a half-teaspoon of fresh lemon juice and a small dash of salt, but what a remarkable difference these small quantities make!
Choosing Your Butter: Salted vs. Unsalted
For this buttercream recipe, I strongly recommend using **salted butter**. The inherent salt content in salted butter naturally enhances and balances the sweetness of the frosting, giving it a richer, more profound flavor. While many recipes often call for unsalted butter to allow for precise control over the salt content, in buttercream, the slight saltiness from the butter works harmoniously with the powdered sugar to create a truly superior taste. It helps prevent the frosting from tasting flat or overly sweet.
It’s also absolutely essential to use **real butter** for this recipe, not a substitute like margarine or vegetable shortening. While some frostings, particularly those designed for intricate piping or in very hot climates, may use shortening for its stability and pure white color, it simply cannot replicate the creamy texture and delicious flavor that real butter provides. Butter is the heart of buttercream, contributing to its signature richness and melt-in-your-mouth quality that shortening simply lacks. Stick to high-quality dairy butter for the best possible results.
Achieving the Perfect Consistency: Mixing Tips
Crafting the perfect buttercream is all about mastering the mixing process, which results in that incredibly smooth and pipeable consistency. Start by ensuring your butter is properly softened – not melted, but pliable enough to yield with gentle pressure. This is crucial for creaming it successfully with the powdered sugar.
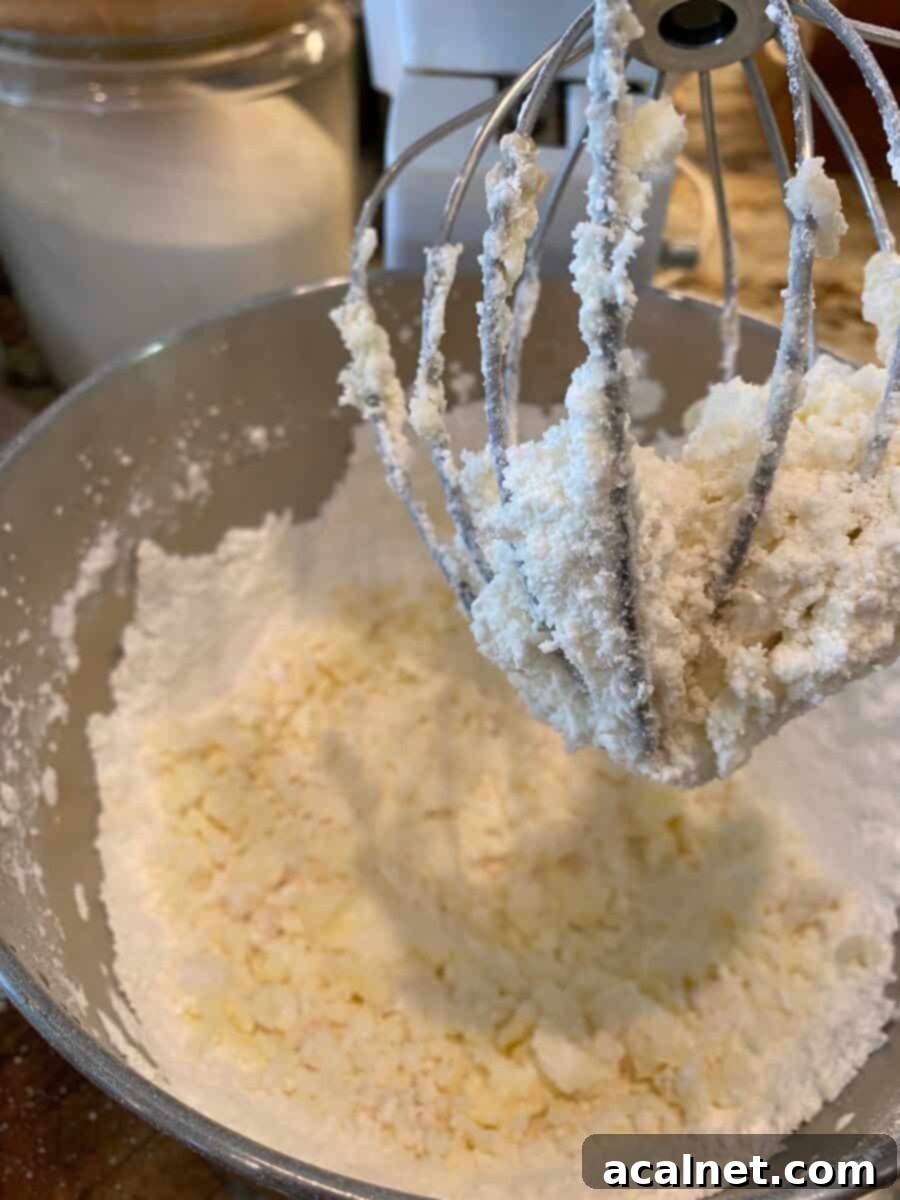
When you begin mixing the softened butter, powdered sugar, and a dash of salt in a large bowl, don’t worry if it looks stiff or crumbly at first. This is completely normal. The butter needs a minute or two to fully incorporate with the sugar. Keep your mixer on a low speed to prevent a cloud of powdered sugar from engulfing your kitchen, gradually increasing the speed as the ingredients start to combine. Scrape down the sides of the bowl frequently to ensure everything is evenly mixed.
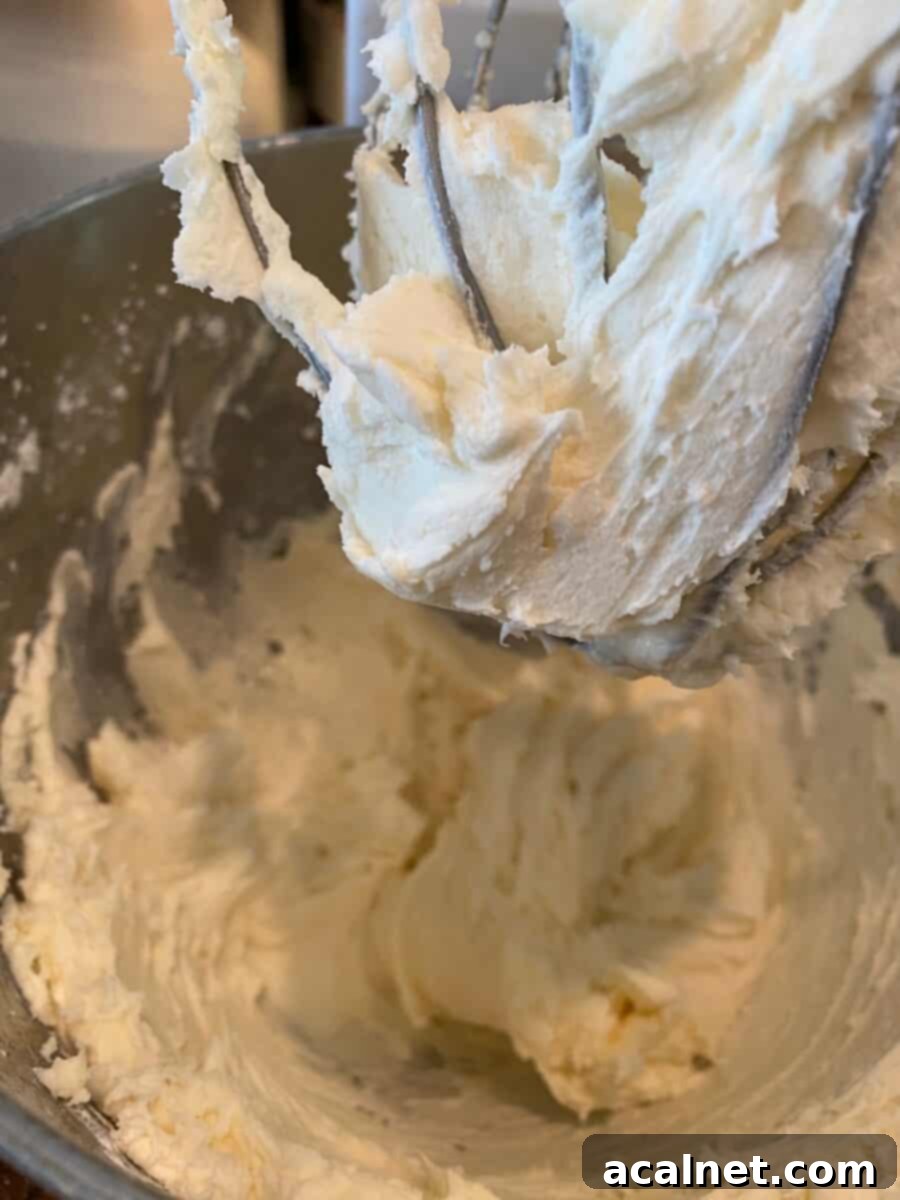
Once the butter and sugar have formed a thick paste, it’s time to introduce the liquid ingredients. Add the lemon juice and vanilla extract, allowing them to blend thoroughly. Then, gradually add the half and half (or heavy cream if you prefer a richer frosting), one half-teaspoon at a time. This slow addition is key to controlling the frosting’s thickness. You’ll notice the frosting transforming from a stiff mixture to a wonderfully creamy, spreadable texture. If it’s too thick, add a tiny bit more half and half; if it’s too thin, you can add another half-cup of powdered sugar, one tablespoon at a time, until you reach your desired consistency. The goal is a light, airy, and easily pipeable frosting that holds its shape beautifully. Patience here will be rewarded with a flawless buttercream!
Storing Your Delicious Buttercream Frosting
While buttercream frosting, like many freshly baked goodies, is undoubtedly at its peak when served immediately, sometimes you find yourself with leftovers or need to prepare it in advance. Fortunately, buttercream is quite forgiving when it comes to storage, provided you follow a few simple guidelines.
Refrigeration
If you have extra buttercream that you plan to use within a week, the refrigerator is your best friend. Simply transfer the frosting to an airtight container. This is crucial to prevent it from absorbing odors from other foods in your fridge and to maintain its freshness. Cover it tightly and place it in the coldest part of your refrigerator. According to the USDA Food Safety and Inspection Service guidelines, and based on the ingredients in our buttercream frosting, it will stay fresh and safe to eat for about one week when properly refrigerated.
Reviving Refrigerated Buttercream
When you’re ready to use your refrigerated buttercream, it will likely be quite firm. To restore its perfect consistency, remove it from the fridge and place it on your kitchen counter at room temperature for approximately one hour, or until it has softened. Once it has warmed up, transfer it to a mixing bowl and stir it thoroughly with a spoon or an electric mixer on low speed. You’ll notice it gradually return to its creamy, spreadable state. If it seems a little too stiff, you can add a tiny splash (about a quarter teaspoon) of half and half or milk and mix until it’s perfectly smooth again.
Freezing for Longer Storage
For longer storage, buttercream frosting freezes exceptionally well! You can freeze it for up to two months without compromising its quality. To freeze, place the buttercream in a freezer-safe, airtight container or a heavy-duty freezer bag, squeezing out as much air as possible. Label the container with the date so you can keep track of its freshness.
Thawing Frozen Buttercream
When you’re ready to use frozen buttercream, transfer it from the freezer to the refrigerator and let it thaw overnight. Once thawed, bring it to room temperature on the counter for about an hour, then re-whip it as described above until it’s smooth and creamy. Freezing and thawing buttercream won’t affect its flavor or texture, making it an excellent option for meal prepping your desserts or saving leftovers.
Storing Frosted Goodies
One of the best advantages of this particular buttercream frosting is its stability. There’s no need to clutter your refrigerator with frosted cakes or cookies! You can confidently keep your frosted baked goods at room temperature for up to three days. This makes planning for parties and events much easier, as you can frost your treats in advance without worrying about them drying out or losing their appeal in the cold. Just ensure they are stored in an airtight container or under a cake dome to prevent them from becoming stale or exposed to air, which can dry out the frosting.
The sugar in the buttercream acts as a natural preservative, and the butter is stable enough at typical room temperatures for this duration. This allows the flavors of your cake or cookies and the frosting to meld beautifully, often tasting even better the next day. So go ahead, frost your masterpieces, display them proudly, and enjoy them at their best without the chill of the fridge!
If you’re looking for a great sugar cookie recipe, try this one. The cookies are sweet, thick, tender, and oh so delicious! They are truly the perfect canvas for this versatile buttercream frosting, making any occasion extra special.
Pair Your Perfect Buttercream with Classic Sugar Cookies
Once you’ve mastered this incredible buttercream frosting, you’ll want the perfect base to showcase its deliciousness. While it’s fantastic on cupcakes and cakes, it truly shines when paired with a classic sugar cookie. If you’re searching for a reliable and utterly delightful sugar cookie recipe, look no further than this one. These cookies are renowned for being sweet, perfectly thick, wonderfully tender, and just melt-in-your-mouth delicious!
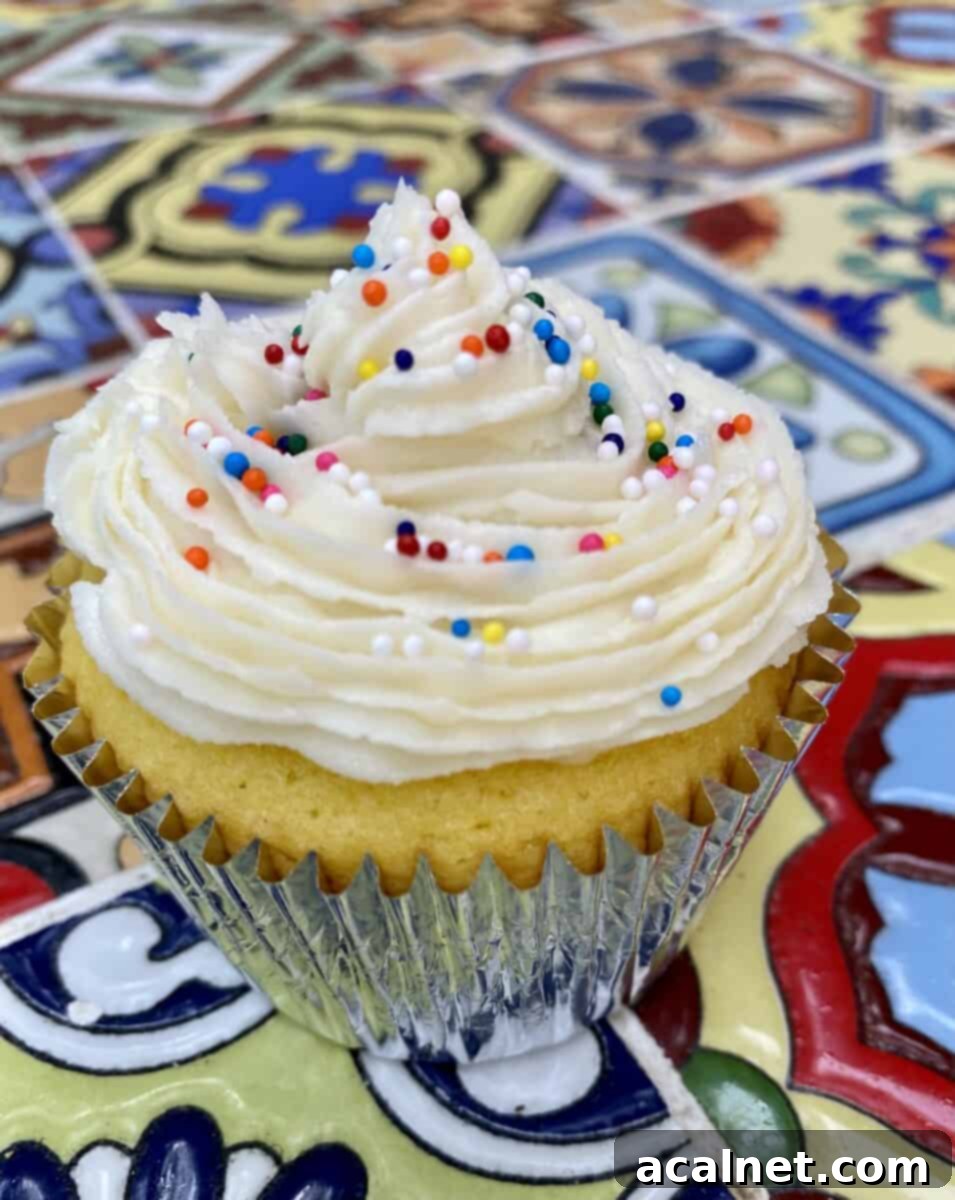
This particular sugar cookie recipe creates cookies that are similar to those sophisticated, fancy cookie-bouquet style treats you find in specialty bakeries. Their sturdy yet soft texture makes them ideal for holding piped buttercream designs, while their balanced sweetness allows the frosting’s unique lemon-and-salt notes to truly sing. Together, they create an irresistible combination that is perfect for holiday baking, special events, or simply an afternoon treat. Get ready to bake, frost, and enjoy a truly unforgettable dessert experience!
Recipe: Best Buttercream Frosting

Best Buttercream Frosting
Print
Rate
Pin Recipe
Ingredients
- 1 cup butter, softened – salted butter is recommended for best flavor
- 4 cups powdered sugar – you may need ½ cup additional to reach desired consistency
- 1/2 teaspoon fresh lemon juice
- ½ teaspoon vanilla extract
- 2 teaspoons half and half – you may need 1-2 teaspoons additional for desired consistency
- dash salt – adjust to taste, especially if using unsalted butter (add 1/4 tsp if unsalted)
Instructions
Step 1: Cream the Base
- In a large mixing bowl, combine the softened butter, the dash of salt, and the powdered sugar. Begin blending on low speed to avoid a sugar cloud, then gradually increase to medium speed. It will take a minute or two for the butter to fully combine with the sugar and begin to thicken into a cohesive mixture. Scrape down the sides of the bowl periodically to ensure all ingredients are well incorporated.
Step 2: Add Liquid Ingredients and Adjust Consistency
- As the mixer continues to blend the butter and powdered sugar, add the lemon juice and vanilla extract. Mix until well combined. Next, gradually add the half and half, starting with one half-teaspoon at a time. Continue mixing until the frosting reaches your desired consistency – smooth, creamy, and spreadable or pipeable. If the frosting is too thick, add a bit more half and half (¼ teaspoon at a time). If it’s too thin, you may need to add an additional ½ cup of powdered sugar, one tablespoon at a time, until the perfect consistency is achieved. Once the frosting is just right, you’re done and ready to frost your cupcakes, cake, or cookies!
Notes
Please note, the nutrition details are estimated using a food database, so they’re just a rough estimate not an exact science.
