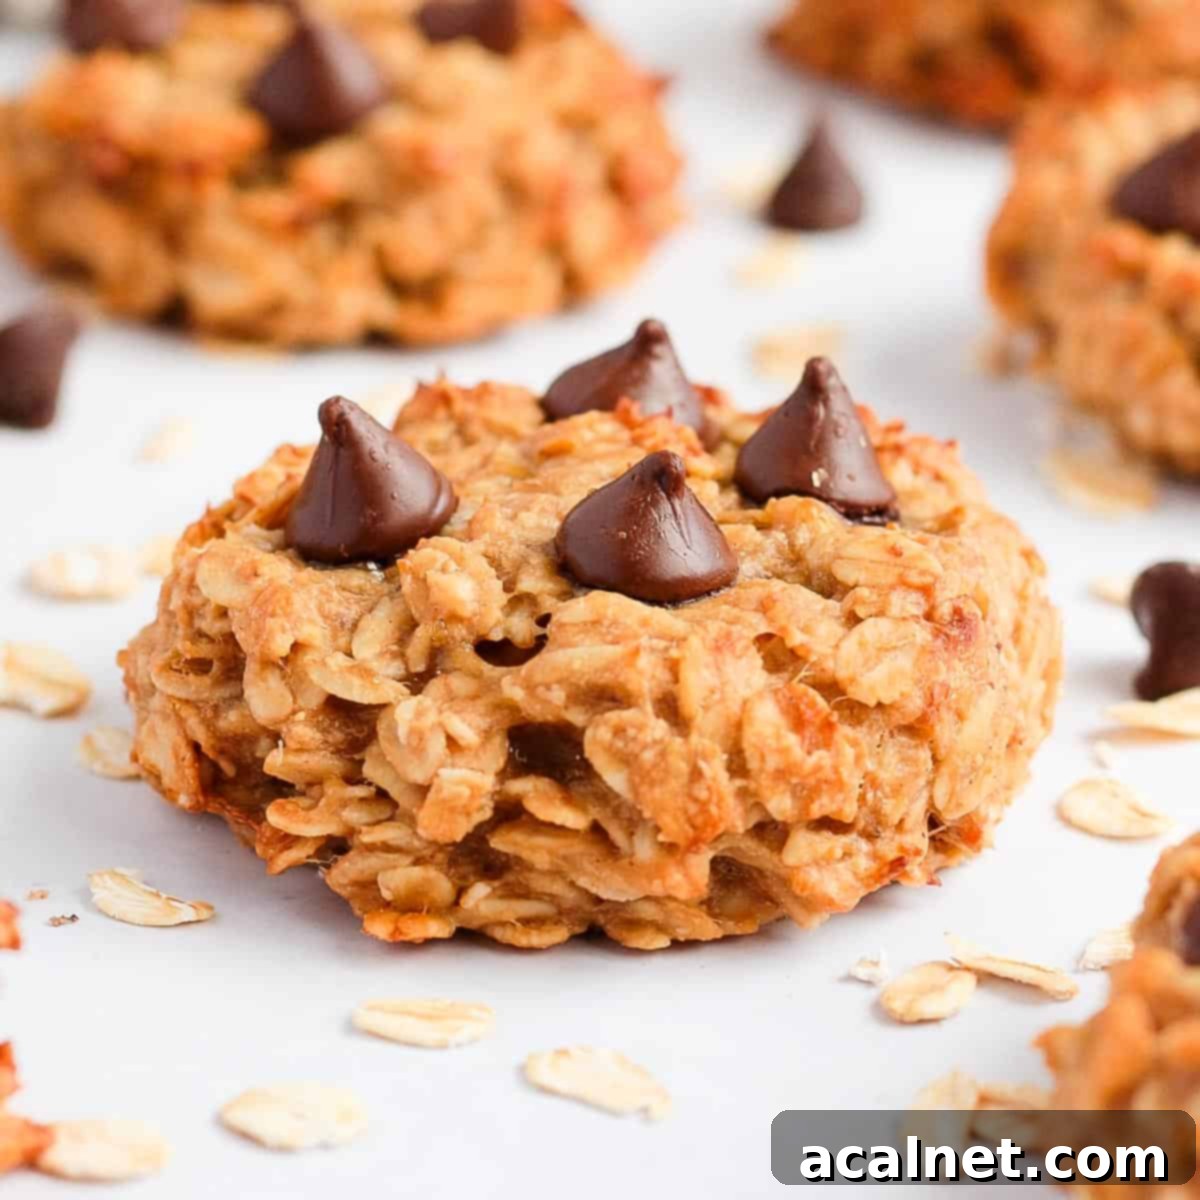
Irresistible 3-Ingredient Peanut Butter Banana Oatmeal Cookies: Your New Go-To Healthy Treat (No Sugar, No Flour, No Eggs!)
Welcome to the easiest and most delicious cookie recipe you’ll ever bake! These 3-Ingredient Peanut Butter Banana Oatmeal Cookies are a true game-changer, perfect for anyone seeking a wholesome, quick, and utterly satisfying snack or breakfast. Crafted with just three pantry staples – ripe bananas, creamy peanut butter, and hearty rolled oats – these cookies are incredibly simple to prepare, requiring no eggs, no added sugar, and no flour. They are naturally vegan and gluten-free friendly, making them an inclusive treat for nearly everyone!
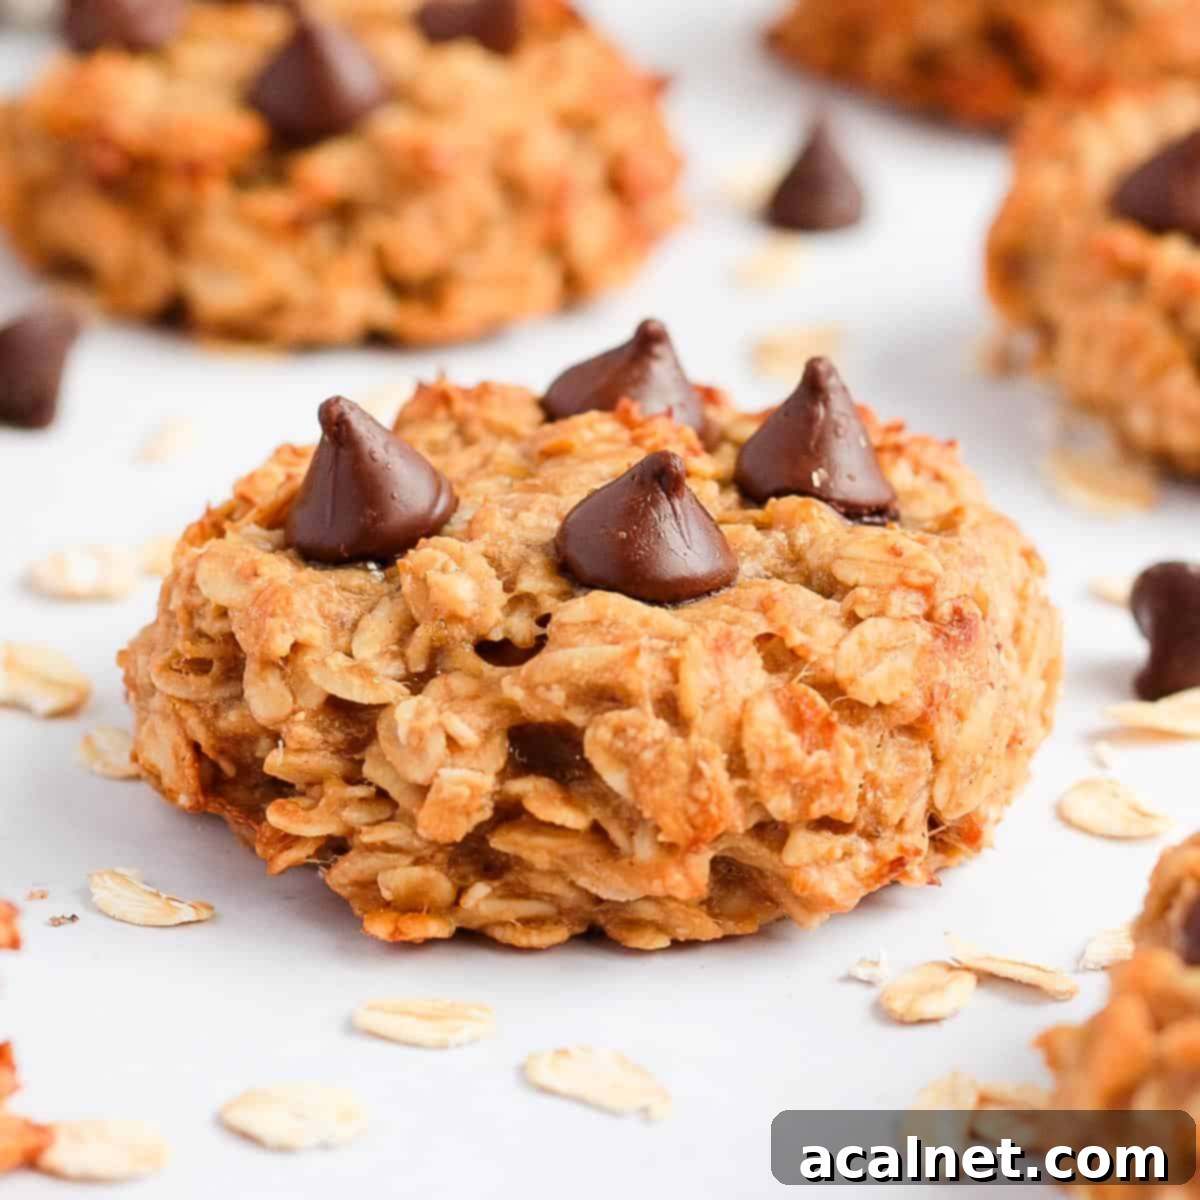
Why You’ll Adore These Healthy Peanut Butter Banana Oatmeal Cookies
Imagine a cookie that not only tastes incredible but also supports a healthy lifestyle. These peanut butter oatmeal cookies tick all the boxes! They are a fantastic option for a quick breakfast on busy mornings, a guilt-free afternoon snack, or even a wholesome dessert. Their appeal lies in their effortless preparation and amazing versatility.
What makes this recipe truly stand out is its incredibly short ingredient list – just three core items! This simplicity makes it a perfect entry-level baking project for beginners and a lifesaver for experienced bakers looking for a no-fuss treat. Unlike many traditional cookie recipes, these are completely free of refined sugar, eggs, and flour, relying instead on the natural sweetness of ripe bananas and the binding power of peanut butter and oats. This makes them naturally gluten-free friendly and vegan, catering to a wider range of dietary needs and preferences.
Beyond their dietary benefits, these cookies are exceptionally practical. They can be prepared in advance, making them ideal for meal prepping or simply ensuring you always have a healthy option on hand. They stay fresh for several days at room temperature, maintaining their delightful soft and chewy texture. This recipe is also a wonderful way to use up those overly ripe bananas sitting on your counter, preventing food waste and transforming them into something truly delicious. Whether you’re making them for yourself, your kids, or sharing with friends, these banana peanut butter oat cookies are sure to be a hit!
Similar to our popular 3-Ingredient Banana Pancakes, this recipe offers maximum flavor with minimal effort. They’re like a compact, chewy version of our Chocolate Chip Banana Oat Muffins or Flourless Banana Oatmeal Muffins, perfectly portioned for an on-the-go snack. They’re a fantastic choice for parents looking for kid-friendly and toddler-friendly treats, as they’re naturally sweetened and packed with wholesome ingredients.
The Simple Ingredients You’ll Need
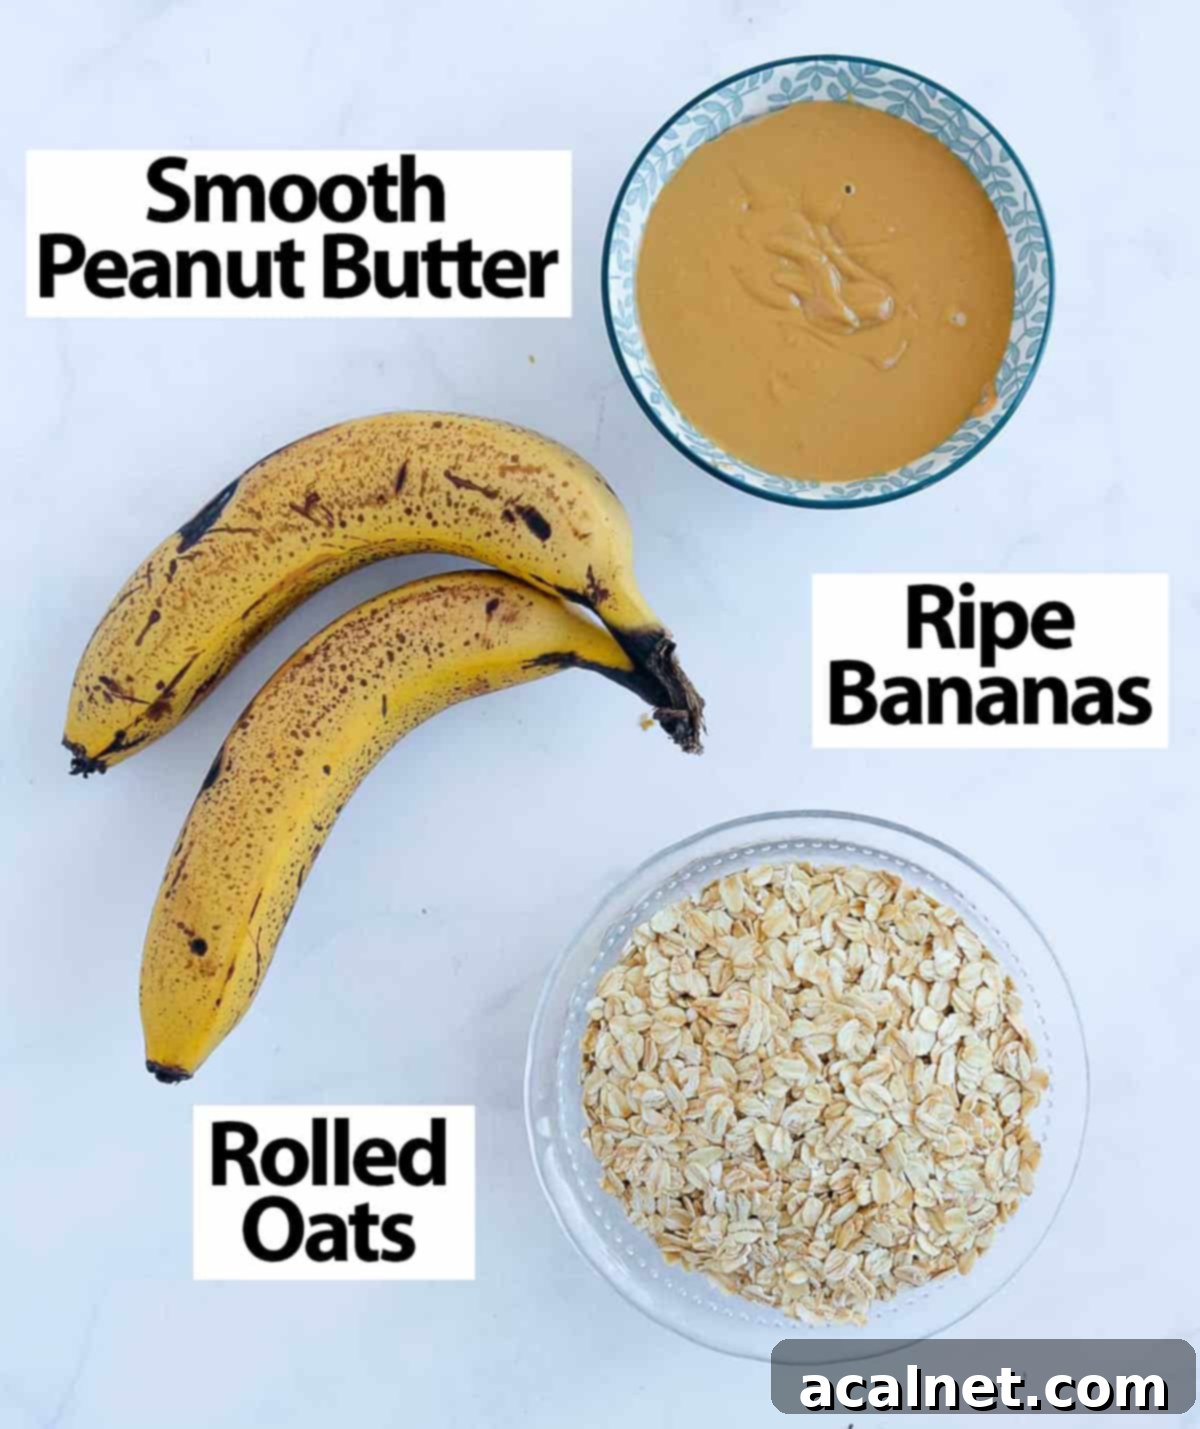
The beauty of these Banana Breakfast Cookies lies in their minimal ingredient list. You truly only need three core items to create these delightful treats:
- Peanut Butter: This is the sticky, flavorful binder that holds everything together and provides a rich, satisfying taste. While I typically use smooth peanut butter for a uniform texture, crunchy peanut butter works wonderfully if you prefer an added textural element. For the healthiest option, I highly recommend choosing an all-natural peanut butter that contains no added sugar, salt, or oils. This ensures the cookies remain naturally sweet and free from unnecessary additives.
- Bananas: The riper the bananas, the better! This is crucial because the natural sweetness of your cookies comes entirely from the bananas themselves. Overripe bananas, those with plenty of brown spots, are not only easier to mash but also provide a more intense, caramelized sweetness. For this recipe, I used two medium-sized bananas, which typically yield about 200 grams (or 7 ounces) once mashed. Don’t be shy with those brown bananas – they are perfect here!
- Oats: Simple rolled oats (also known as old-fashioned oats) are the backbone of these cookies, providing fiber, chewiness, and a wholesome texture. If you need these cookies to be strictly gluten-free, be sure to use certified gluten-free rolled oats, as conventional oats can sometimes be cross-contaminated during processing. Understanding the differences between rolled, steel-cut, and instant oats can help you appreciate why rolled oats are ideal for this recipe, offering the perfect balance of chewiness without being too dense.
Elevate Your Cookies: Optional Additions and Flavor Boosters
While delicious on their own, these peanut butter banana oatmeal cookies are a fantastic canvas for customization. You can easily tailor them to your personal taste or whatever ingredients you have on hand. My personal favorites include a blend of cinnamon and dark chocolate chips, but don’t hesitate to get creative!
- Cinnamon: A touch of ground cinnamon works magic with the flavors of peanut butter and banana. It adds a warm, inviting spice that truly elevates the overall taste profile of the cookie, making it feel even more like a comforting treat.
- Chocolate Chips: Who can resist chocolate? Dark or milk chocolate chips are an excellent addition, providing little bursts of sweetness and a delightful contrast in texture. Sprinkle them on top before baking for a beautiful finish, or gently fold in mini chocolate chips into the batter.
- Vanilla Extract: Just like cinnamon, a splash of pure vanilla extract or vanilla essence is an effortless way to deepen and enhance the flavors of these Banana Peanut Butter Oatmeal Cookies, adding a subtle, aromatic richness.
- Chopped Nuts: For an extra layer of crunch and healthy fats, consider adding finely chopped nuts like walnuts, pecans, or almonds. If incorporating directly into the batter, ensure they are finely chopped to maintain the cookie’s structural integrity. Alternatively, sprinkle larger pieces on top for a more pronounced texture.
- Dried Fruits: If you’re looking for an alternative to chocolate or simply want to add more natural sweetness and chewiness, dried fruits like raisins, sultanas, dried cranberries, or chopped apricots are wonderful options. They pair beautifully with the banana and peanut butter flavors.
- Shredded Coconut: A sprinkle of unsweetened shredded coconut can add a tropical hint and another interesting texture to your cookies.
- Seeds: Boost the nutritional content with chia seeds, flax seeds, or hemp seeds. These tiny powerhouses blend seamlessly into the batter.
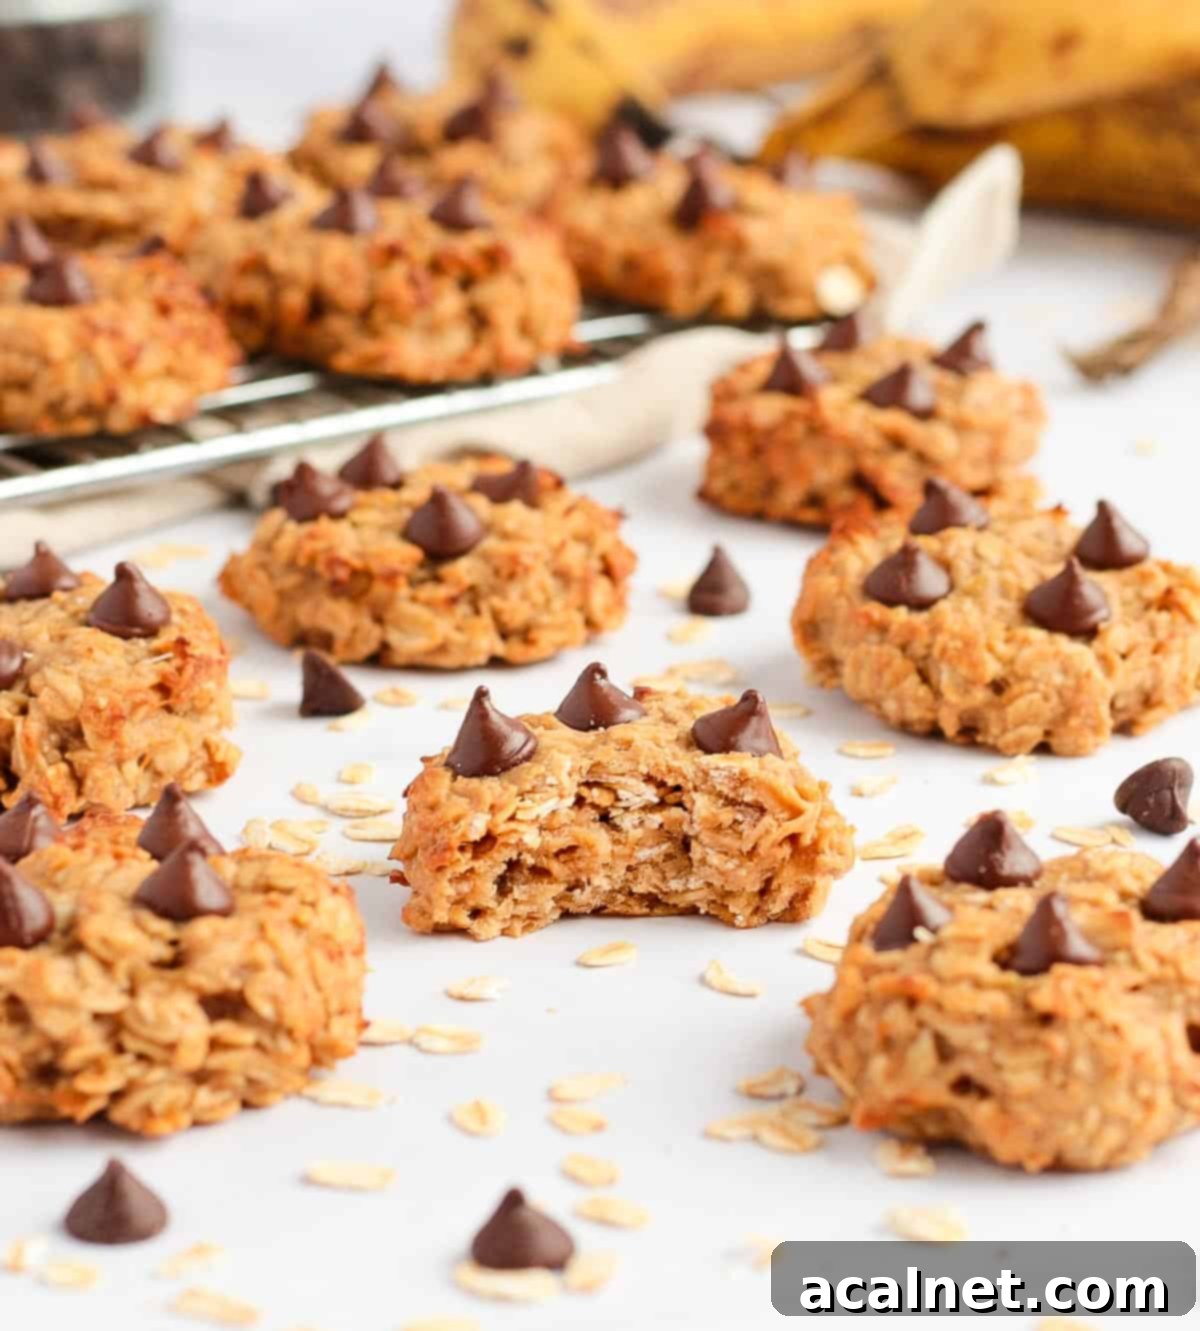
Effortless Preparation: How to Make These Breakfast Cookies
Get ready for the simplest cookie-making experience of your life! These Flourless Oatmeal Banana Peanut Butter Cookies are unbelievably easy to prepare. You’ll only need one bowl and a potato masher (or even just a fork) to get the job done. No fancy equipment, no complex steps – just pure, simple baking enjoyment.
- First things first, preheat your oven to 180°C (350°F). While it’s heating up, prepare a baking tray by lining it with a sheet of baking paper or a silicone baking mat. This step ensures your cookies won’t stick and makes for easy cleanup.
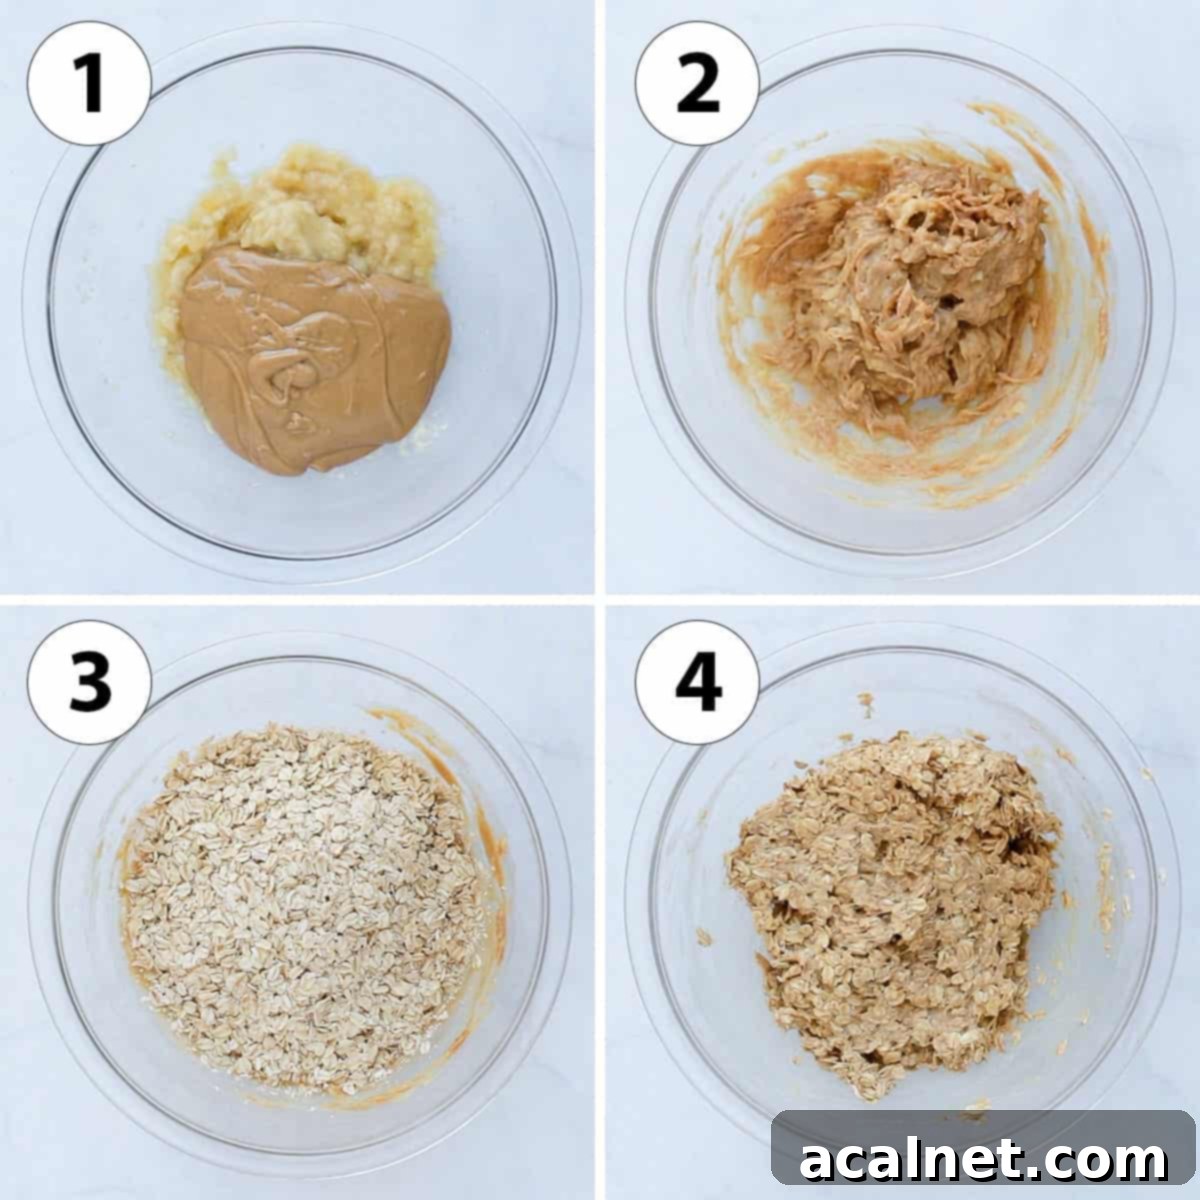
- Photo 1: In a large mixing bowl, take your ripe bananas and mash them thoroughly using a potato masher or a sturdy fork. Aim for a relatively smooth consistency, though a few small lumps are perfectly fine and will add character to your cookies. Once mashed, add your preferred smooth peanut butter. This is also the perfect time to incorporate optional additions like ground cinnamon or vanilla extract if you’re using them.
- Photo 2: With a whisk or spoon, thoroughly combine the mashed bananas and peanut butter until they are well integrated and form a cohesive, slightly thick mixture. This step is crucial for distributing the flavors evenly and creating a good base for your cookies.
- Photo 3: Now, it’s time to add the star of the show: the rolled oats. Pour them directly into the banana and peanut butter mixture.
- Photo 4: Using a spatula or a wooden spoon, mix all the ingredients together with patience. Continue mixing until every single oat flake is evenly coated with the banana and peanut butter mixture. You’ll notice the mixture becoming quite thick and sticky, which is exactly what you want – this is what will bind your cookies together without any eggs or flour.
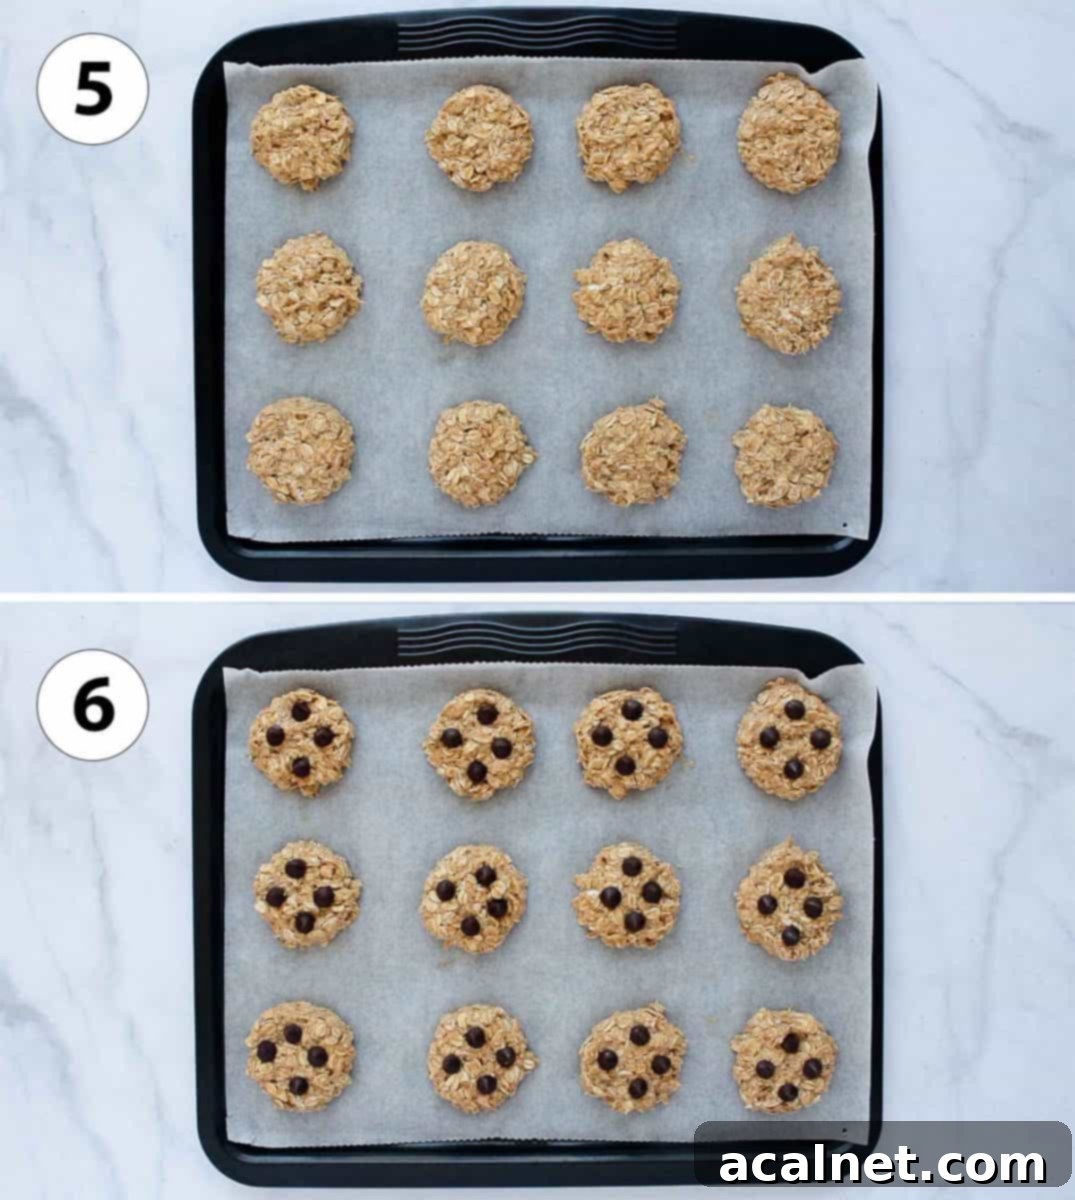
- Photo 5: Using a small ice cream scoop (approximately 1.5-2 tablespoons) or simply your hands, scoop out small, uniform dollops of the cookie batter. Place them onto your prepared baking tray, leaving a little space between each. Gently flatten each cookie with your fingers. This step is important because these cookies won’t spread much in the oven, and flattening them ensures they cook evenly all the way through.
- Photo 6: If you’re adding optional toppings like chocolate chips, now’s the time! Arrange them on top of each flattened cookie. This not only looks appealing but also prevents the chocolate from sinking too much into the batter during baking.
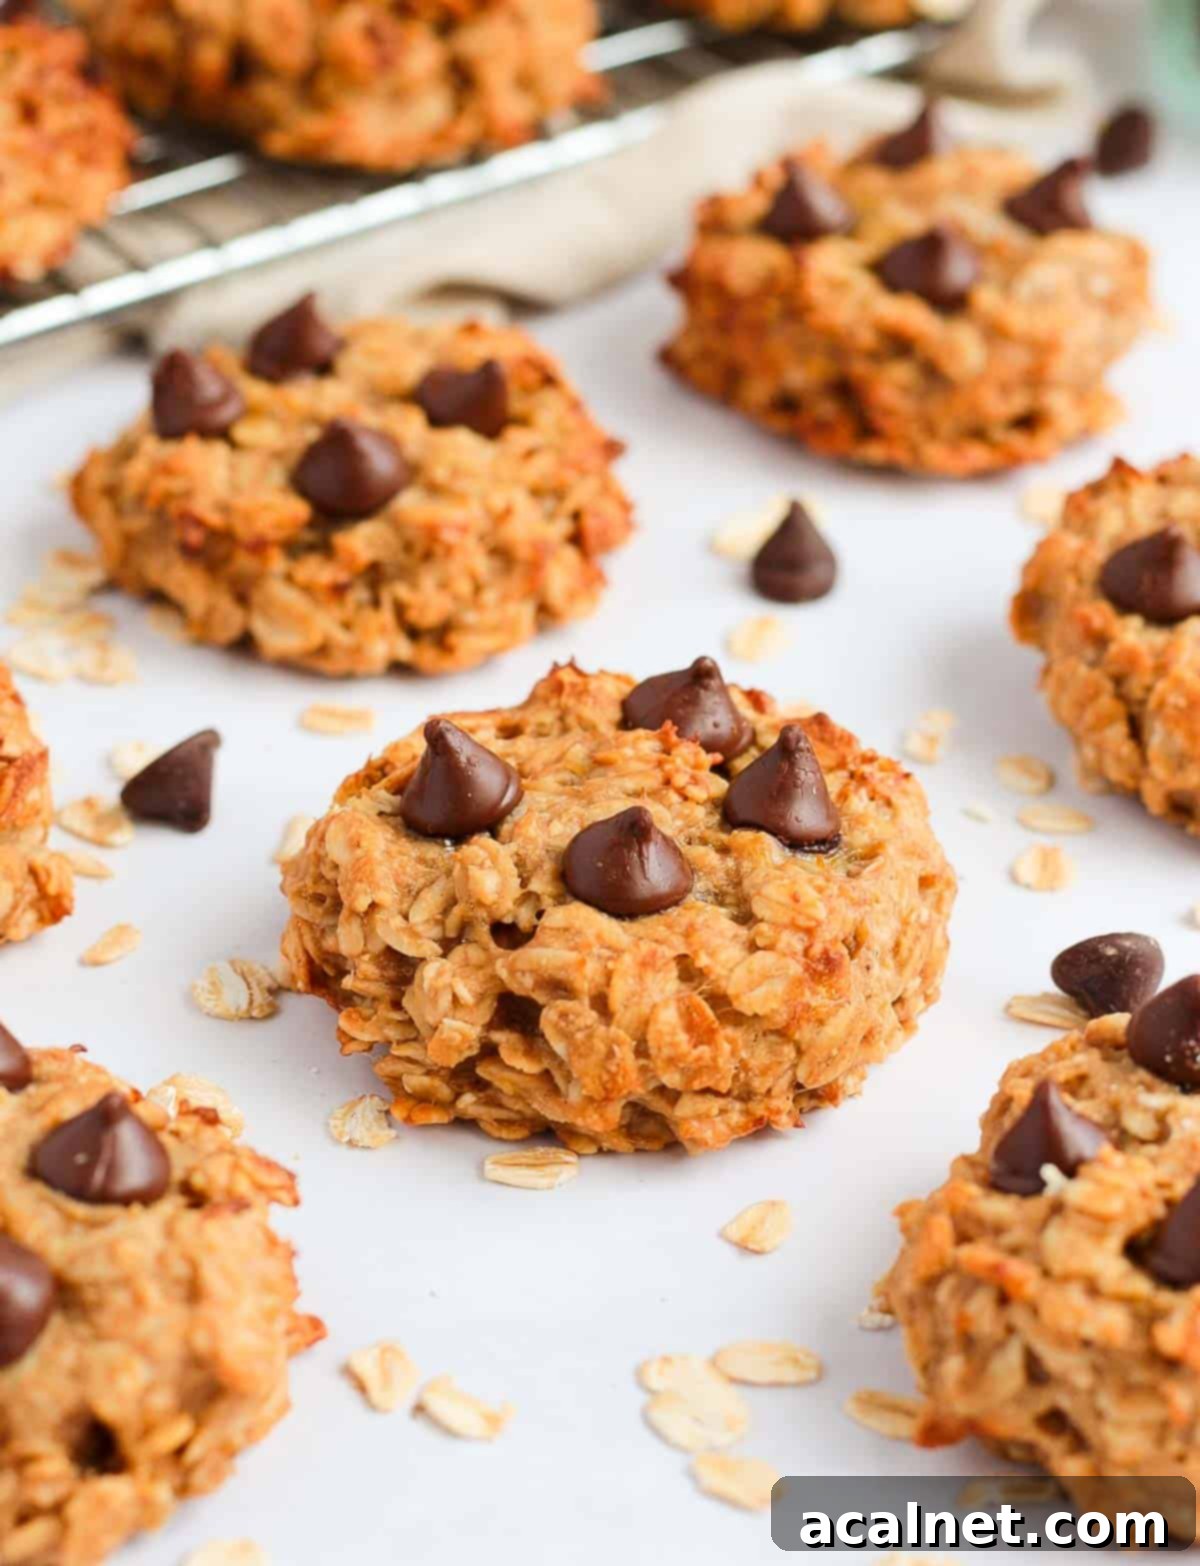
- Bake for 15 to 20 minutes, or until the edges are lightly golden brown and the cookies feel slightly firm to the touch. Keep in mind that baking times can vary slightly depending on your oven and the thickness of your cookies. They will still be quite soft when they first come out of the oven – this is perfectly normal.
- Allow them to cool down on the baking tray for at least 10 to 15 minutes. This crucial cooling period allows them to firm up and prevents them from breaking when you transfer them. Once slightly cooled, carefully move them to a wire cooling rack to finish cooling completely. Enjoy your homemade, healthy, and delicious cookies!
Pro Tips & Troubleshooting for Perfect Cookies Every Time
To ensure your 3-ingredient cookies turn out perfectly, here are some helpful tips and solutions to common baking questions:
- Accurate Banana Measurement: For the most consistent results, I highly recommend weighing your mashed bananas to get approximately 200 grams or 7 ounces. Banana sizes can vary significantly, and using a scale ensures you have the correct ratio of ingredients, which is key for these simple recipes where ratios are everything.
- Adding Chocolate Chips: If you plan to add chocolate chips, it’s best to place them on top of the formed cookies before baking rather than mixing them directly into the batter. The batter is quite thick, and regular-sized chocolate chips might make the dough crumbly and harder to form. If you absolutely want them mixed in, opt for mini chocolate chips or finely chopped chocolate.
- Flattening is Key: These cookies do not spread much in the oven. Therefore, it is crucial to gently flatten them with your fingers or the back of a spoon before baking. If left too high, the center of the cookies might remain undercooked, resulting in a soft or mushy texture.
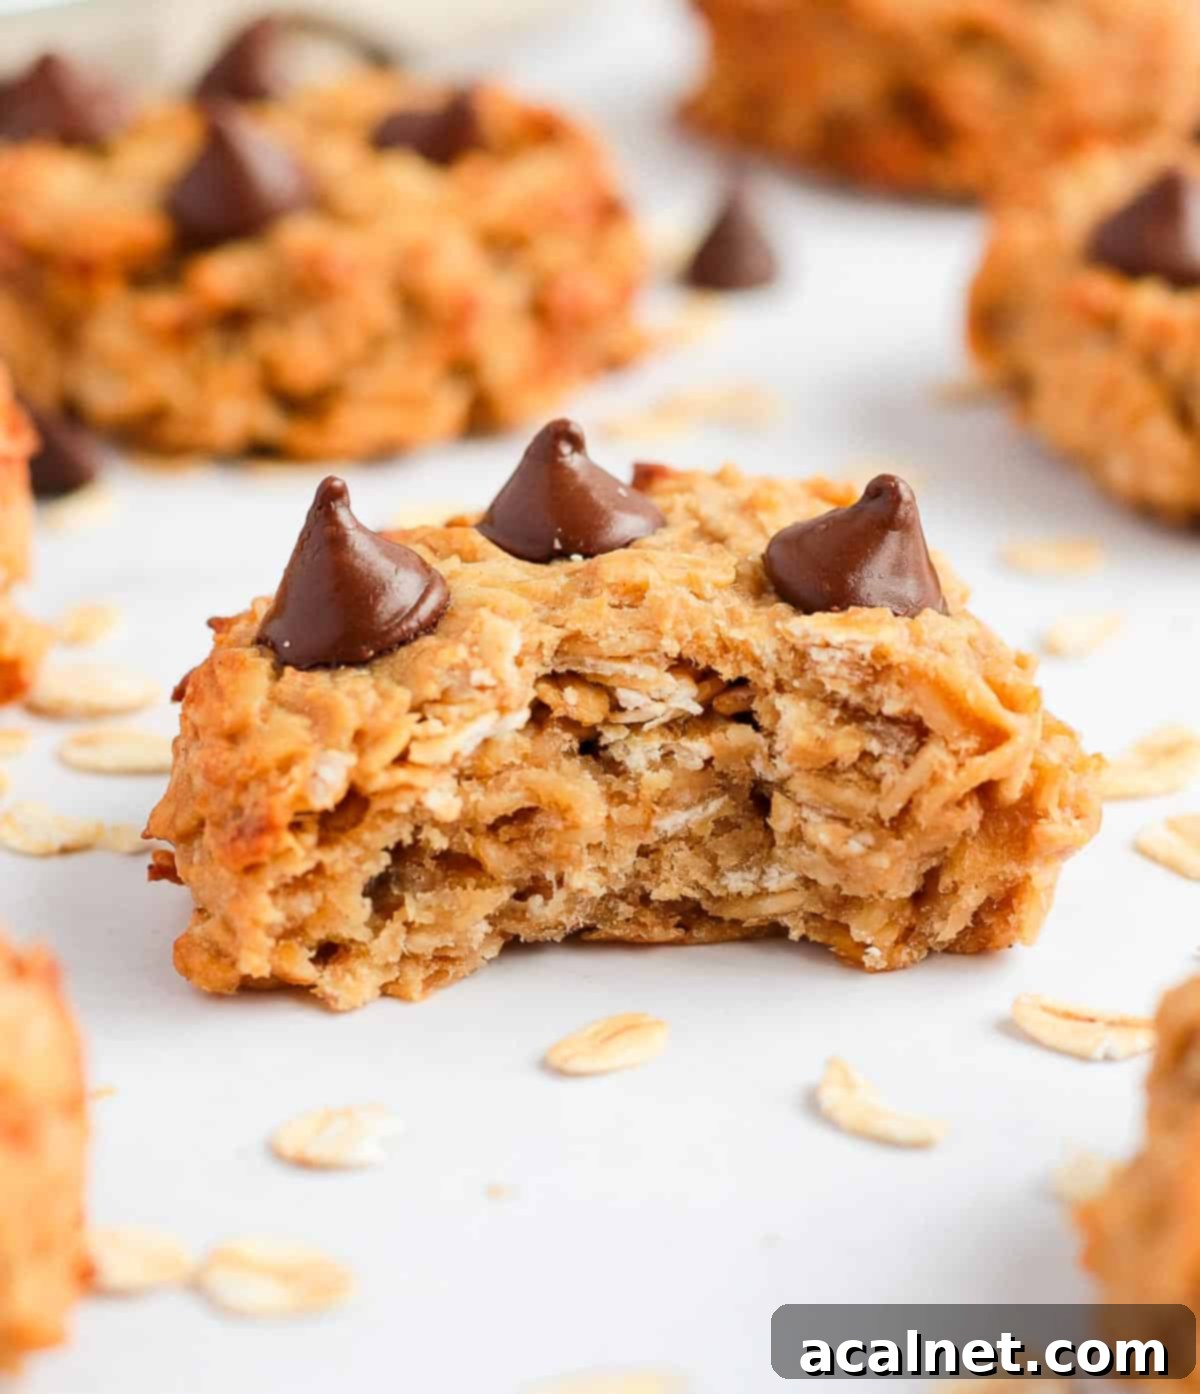
- Baking Time Variations: The baking time of 15-20 minutes is a general guideline. Your actual baking time might vary based on the size and thickness of your cookies, as well as the calibration of your oven. The best indicator that they are ready is their color: a light golden brown hue around the edges. Remember, they will be quite soft when hot and will firm up as they cool.
- Patience During Cooling: Resist the urge to transfer the cookies immediately after removing them from the oven. They are very delicate when warm and are prone to breaking. Allow them to cool on the baking tray for at least 10 to 15 minutes. This cooling period allows them to set and become sturdy enough to handle. Once partially cooled, you can carefully move them to a wire rack to cool completely.
- Prevent Burning: If you notice your cookies browning too quickly or appearing to burn, especially around the edges, lower your oven temperature slightly (e.g., by 10-15°C or 25-35°F). Oven temperatures can sometimes be inaccurate, or your cookies might be thinner than anticipated.
- Optimal Ripeness for Bananas: Always use very ripe bananas (those with brown spots). They contribute the primary sweetness and moisture to the cookies, acting as a natural binder. Under-ripe bananas will result in less sweet, drier cookies that might not hold together as well.
- Natural Peanut Butter: Opt for natural peanut butter that only contains peanuts (and possibly salt). Peanut butter with added sugars or hydrogenated oils can alter the texture and sweetness of the cookies.
Frequently Asked Questions About These 3-Ingredient Cookies
Yes, absolutely! This recipe will work with quick or instant oats as well. However, be aware that you might lose a little bit of the chewy texture that rolled oats provide. Quick oats will result in a slightly softer, more uniform cookie. If texture is a top priority, stick with old-fashioned rolled oats.
Absolutely! Using crunchy peanut butter is a fantastic way to add an extra layer of texture and delightful crunch to these cookies. It works just as well for binding the ingredients. You can also experiment with other nut butters like almond butter or cashew butter for different flavor profiles, ensuring they are natural and unsweetened for the best results.
These delicious Peanut Butter Banana Oatmeal Cookies will stay fresh and soft for about 3 to 4 days when stored properly. Keep them at room temperature in an airtight container, or on a plate covered tightly with plastic wrap or aluminum foil. I do not recommend storing them in the fridge, as the cold air tends to dry them out quickly, affecting their lovely chewy texture.
While technically possible, I generally do not recommend freezing these oatmeal breakfast cookies. Freezing can alter their soft, chewy texture, making them a bit crumbly or dry upon thawing. They are best enjoyed fresh within a few days of baking for optimal taste and texture.
This usually happens if your bananas weren’t ripe enough (meaning less moisture and sweetness to bind), or if your peanut butter was too dry or not natural. Ensure you’re using very ripe, spotty bananas and a creamy, natural peanut butter without excessive oil separation. Also, make sure to mash the bananas thoroughly and mix the ingredients until well combined, ensuring all oats are coated.
Absolutely! These cookies are excellent for meal prepping. You can bake a batch on Sunday and enjoy them throughout the week for a quick breakfast or a healthy snack. As mentioned, they keep well at room temperature in an airtight container for up to 3-4 days.
Explore More Delicious Cookie Recipes
If you’ve enjoyed the simplicity and deliciousness of these 3-ingredient cookies, you’ll love exploring other delightful cookie creations from our kitchen:
- Almond Shortbread Cookies: A buttery, tender classic with a nutty twist.
- Lemon and Poppy Seed Shortbread Cookies: Zesty and vibrant, perfect for a refreshing treat.
- No Bake Oat Peanut Butter Cookies: Another quick and easy peanut butter oat cookie, no oven required!
- French Sablés Cookies: Delicate and rich French shortbread, a true indulgence.
- Chocolate and Vanilla Marble Cookies: Beautiful to look at and even better to eat.
- Chocolate Hazelnut Shortbread Cookies: A sophisticated blend of chocolate and toasted hazelnuts.
- Oat Flour Chocolate Chip Cookies: A gluten-friendly take on the timeless favorite.
- Biscoff Butter Cookies: For the ultimate Biscoff lover, a delightful spiced cookie.
- Strawberry Shortbread Cookies: Seasonal sweetness captured in a crumbly shortbread.
Made this recipe?
We’d love to hear from you! Please let us know if you enjoyed these incredible 3-ingredient cookies by leaving a comment below. Don’t forget to tag us on Instagram @a.baking.journey with a photo of your delicious creation!
Recipe Card

3 Ingredients Peanut Butter Banana Oatmeal Cookies
Print Recipe
Ingredients
Cookies
- 200 gr (2 cups) Rolled Oats
- 2 medium Ripe Bananas, or about 200 gr / 7 oz mashed, very ripe for sweetness
- 180 gr (3/4 cup) Smooth Peanut Butter, natural, no added sugar/salt preferred
Optional additions
- 1 teasp. Vanilla Extract
- 1/2 teasp. Ground Cinnamon
- 40 gr (1/4 cup) Chocolate Chips, or to taste, for topping
- Chopped Nuts or Dried Fruit, for added texture and flavor
Instructions
- Preheat your oven to 180°C/350°F. Line a baking tray with baking paper or a silicone baking mat to prevent sticking.
- In a large mixing bowl, finely mash the very ripe bananas until mostly smooth. Add the smooth peanut butter (and any optional additions like Ground Cinnamon or Vanilla Extract). Whisk thoroughly until well combined and creamy.
- Add the rolled oats to the mixture. Using a spatula or wooden spoon, mix until all the oats are evenly coated with the banana and peanut butter mixture. The dough will be thick and sticky.
- Using a small ice cream scoop (approximately 1.5-2 tbsp) or your hands, scoop out uniform dollops of cookie batter onto the prepared baking tray. Gently flatten each cookie with your fingers to ensure even baking (see note 1).
- Optional: press a few chocolate chips or chopped nuts onto the top of each cookie before baking.
- Bake for 15 to 20 minutes, or until the edges are lightly golden brown (see note 2).
- Remove from the oven and let the cookies cool on the baking tray for 15 to 20 minutes. This is crucial for them to firm up and prevent breaking. Afterward, carefully transfer them to a wire cooling rack to cool completely (see note 3).
Video
Would you like to save this recipe?
We’ll email this post to you, so you can come back to it later!
Notes
- For the best and most accurate result, I highly recommend weighting the mashed bananas to get the recommended quantity of 200g / 7oz. Banana size can highly vary, so weighing them is the best way to ensure you are using the right amount for perfect cookie consistency.
Instruction Notes:
- If you don’t have an ice cream scoop, you can simply create small balls of batter using your hands and then gently flatten them on the baking sheet. Using an ice cream scoop simply ensures that you get about the same quantity of batter in each cookie, leading to more even baking.
- Depending on the size and thickness of the cookies, they might need a little bit more or less time in the oven. Keep a close eye on the color – lightly golden edges are a good indication that they are ready.
- These cookies will be very soft when they come out of the oven, which is normal for this type of cookie. They will start to harden and set as they cool down. Make sure not to try to move them from the baking tray straight away, or they might fall apart. Allow them to cool on the tray for at least 15-20 minutes before transferring to a cooling rack.
Nutrition (per serving)
