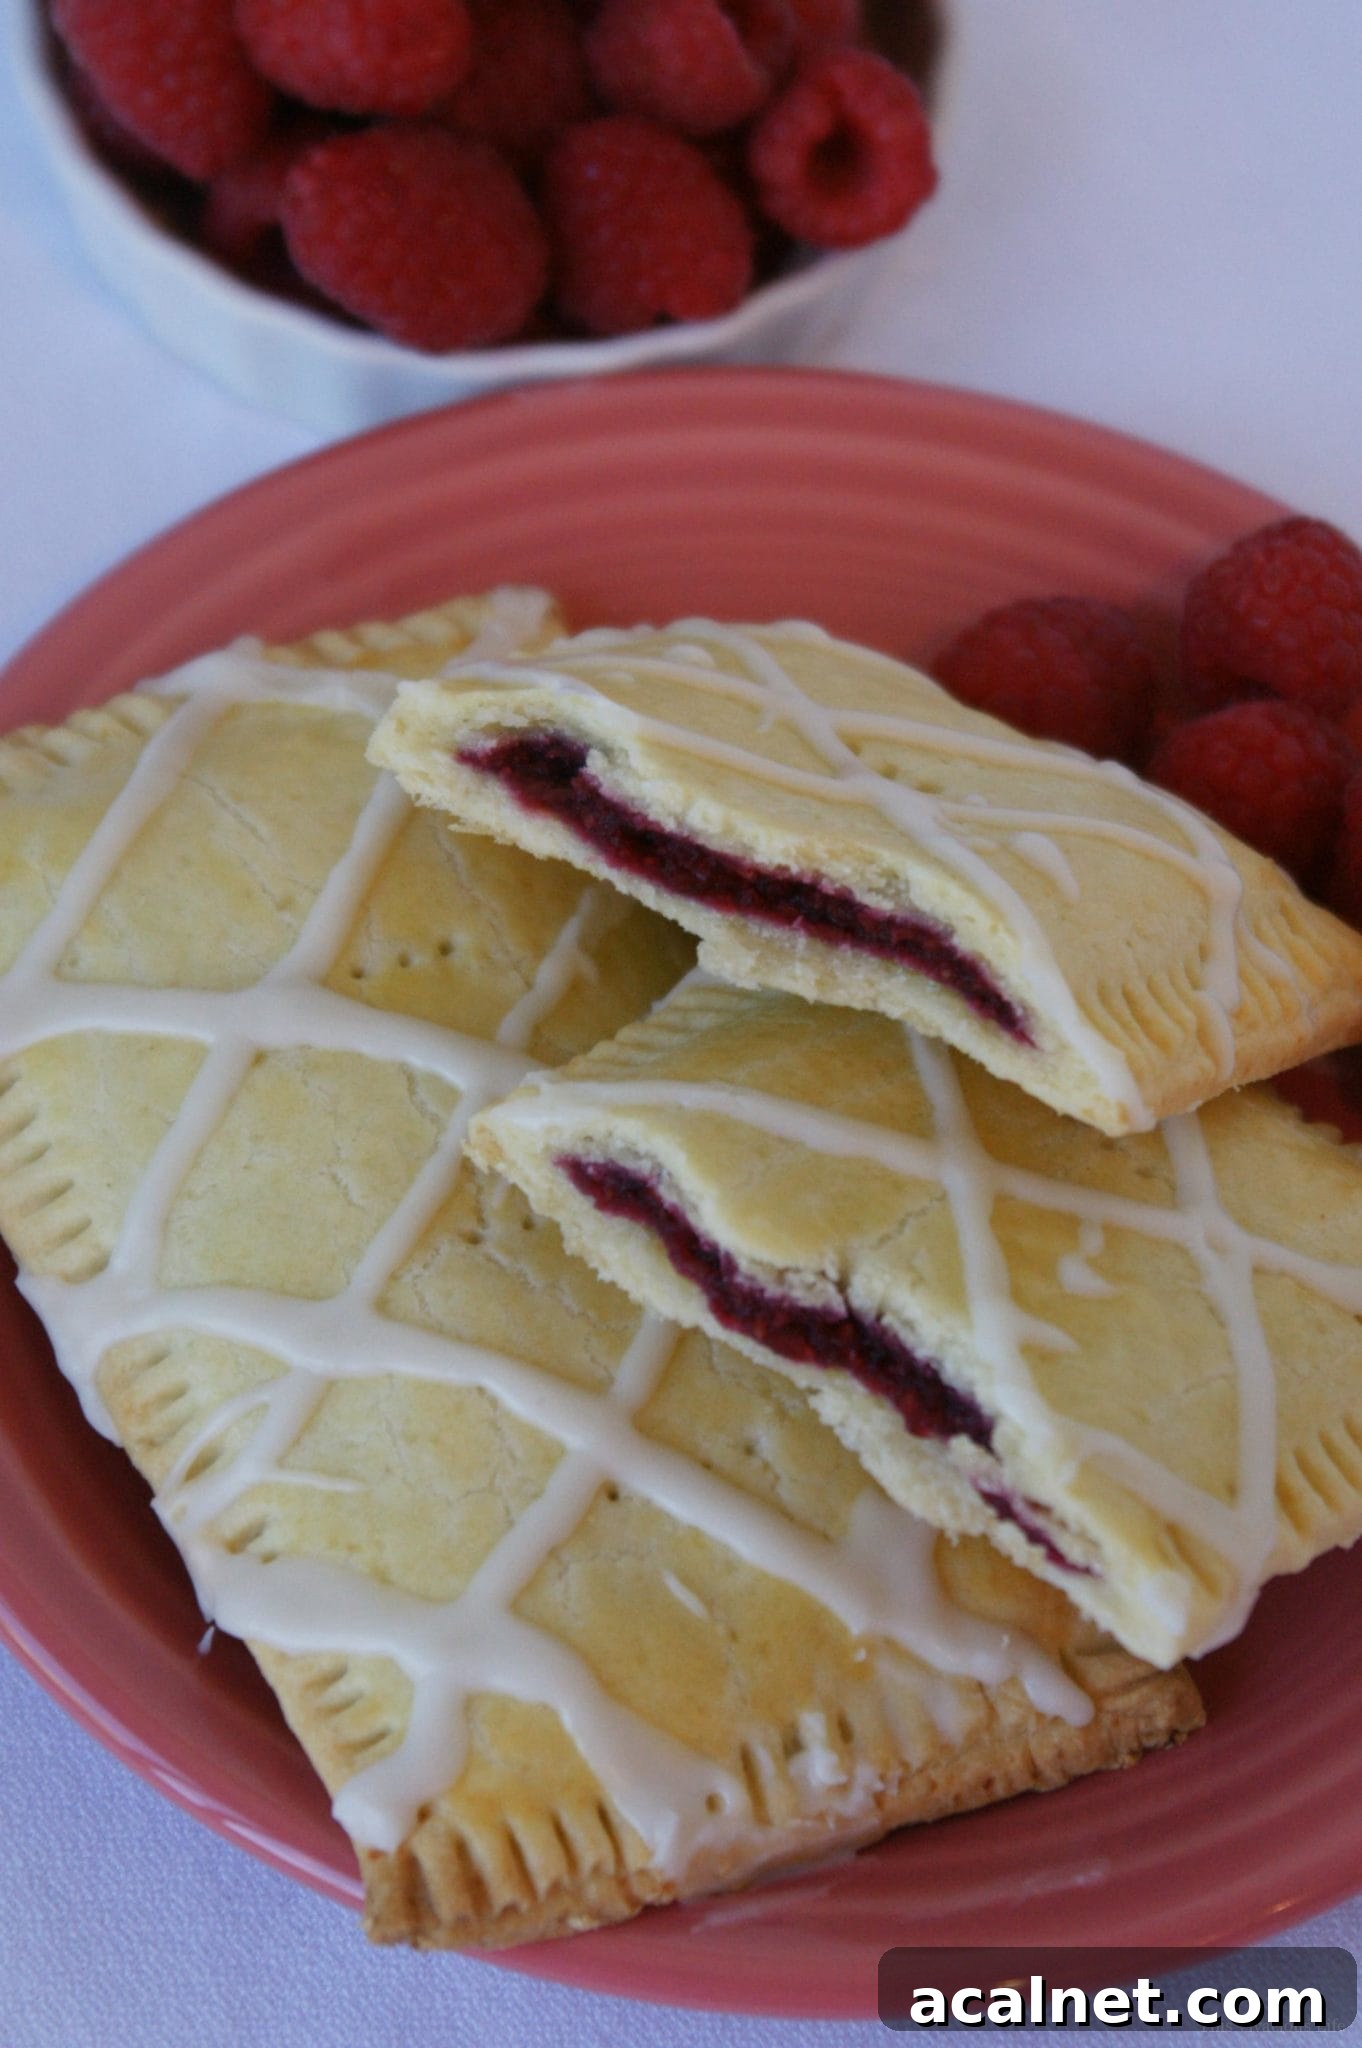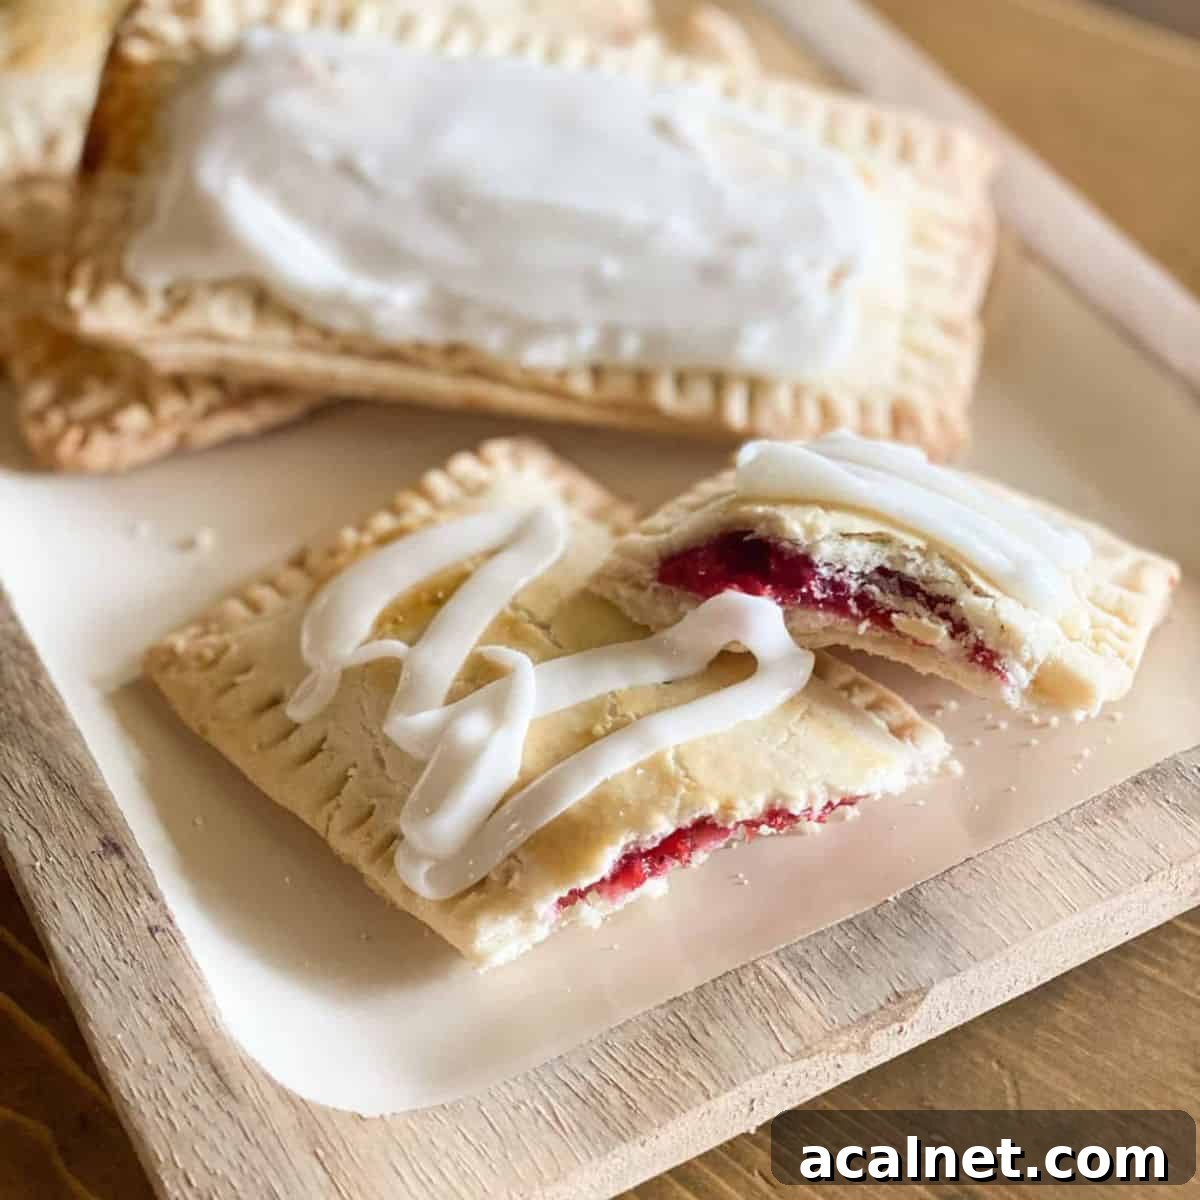
These homemade gluten-free pop tarts are a flaky, fruity treat made with a buttery crust and a sweet raspberry filling. They’re perfect for breakfast or an afternoon snack, take about 45 minutes to make, and freeze well for busy mornings. This recipe uses simple, natural ingredients—no artificial dyes or preservatives—and yields a pastry that tastes like a gourmet bakery version of this nostalgic favorite.
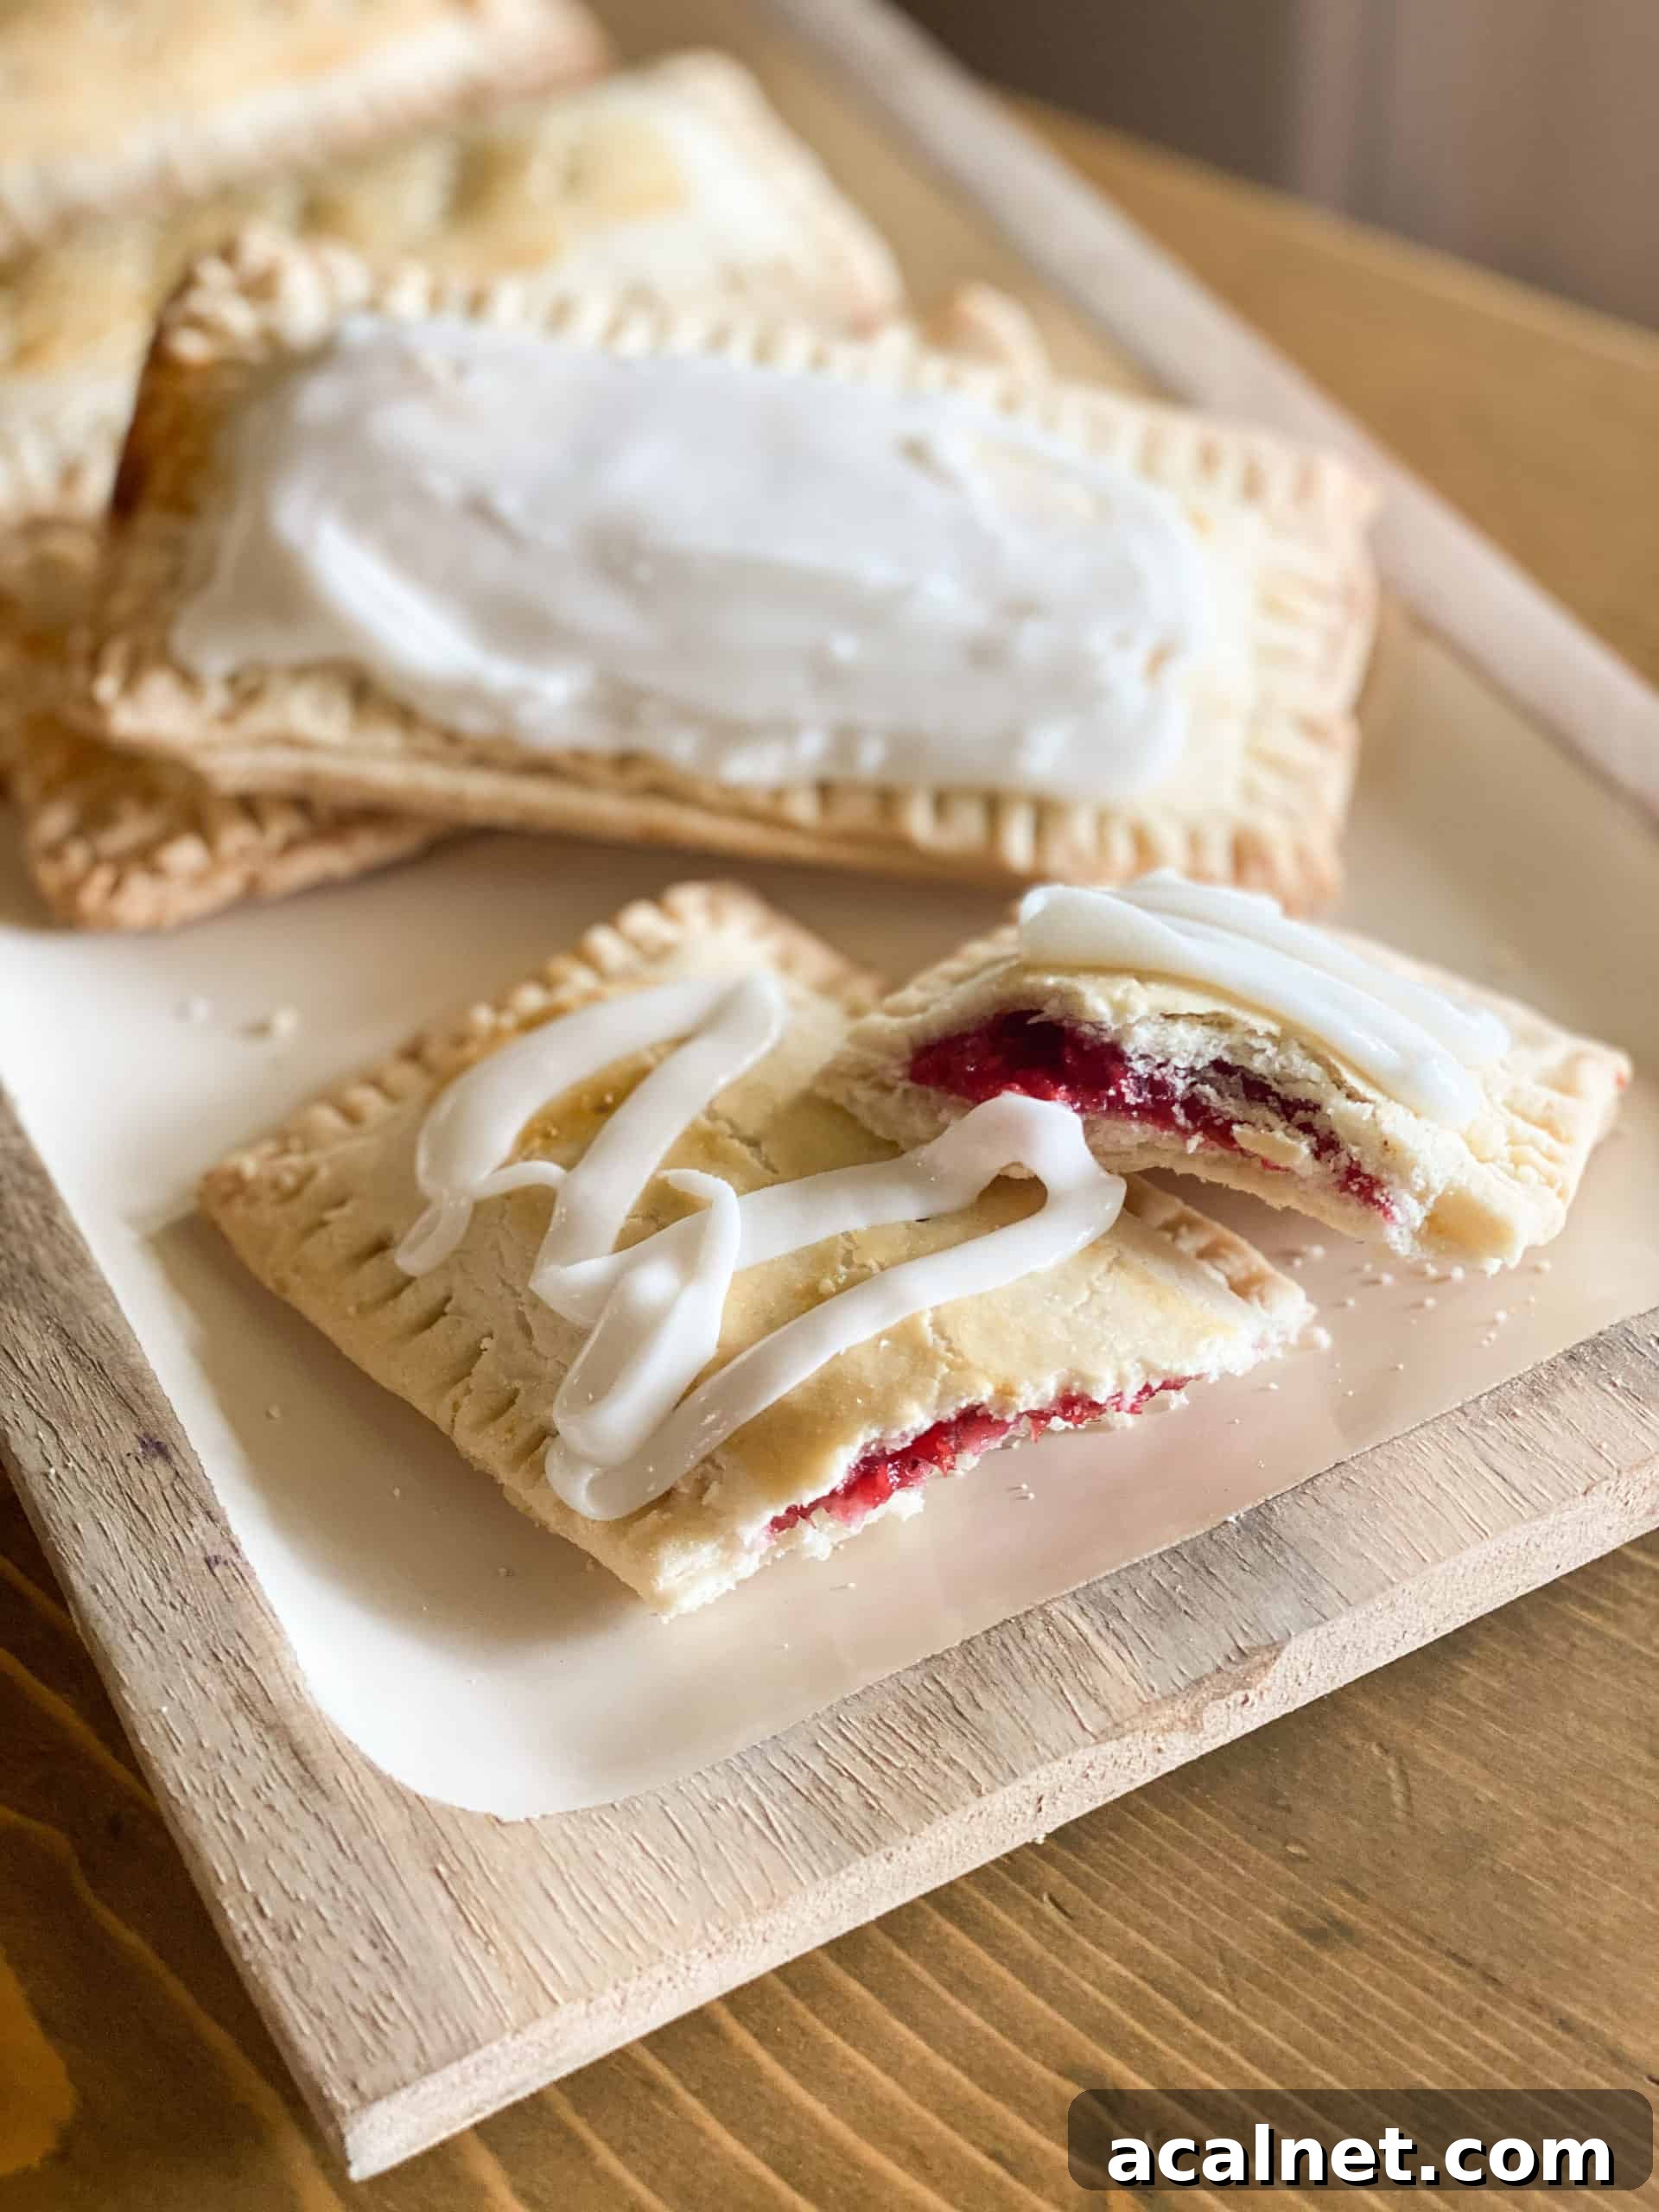
I grew up on the classic brown sugar cinnamon pop tarts. After my celiac diagnosis more than a decade ago, I struggled to find a gluten-free version that really hit the mark. My mom and I experimented until we developed a pastry crust that is flaky, tender, and rich with butter — a true upgrade from store-bought toaster pastries.
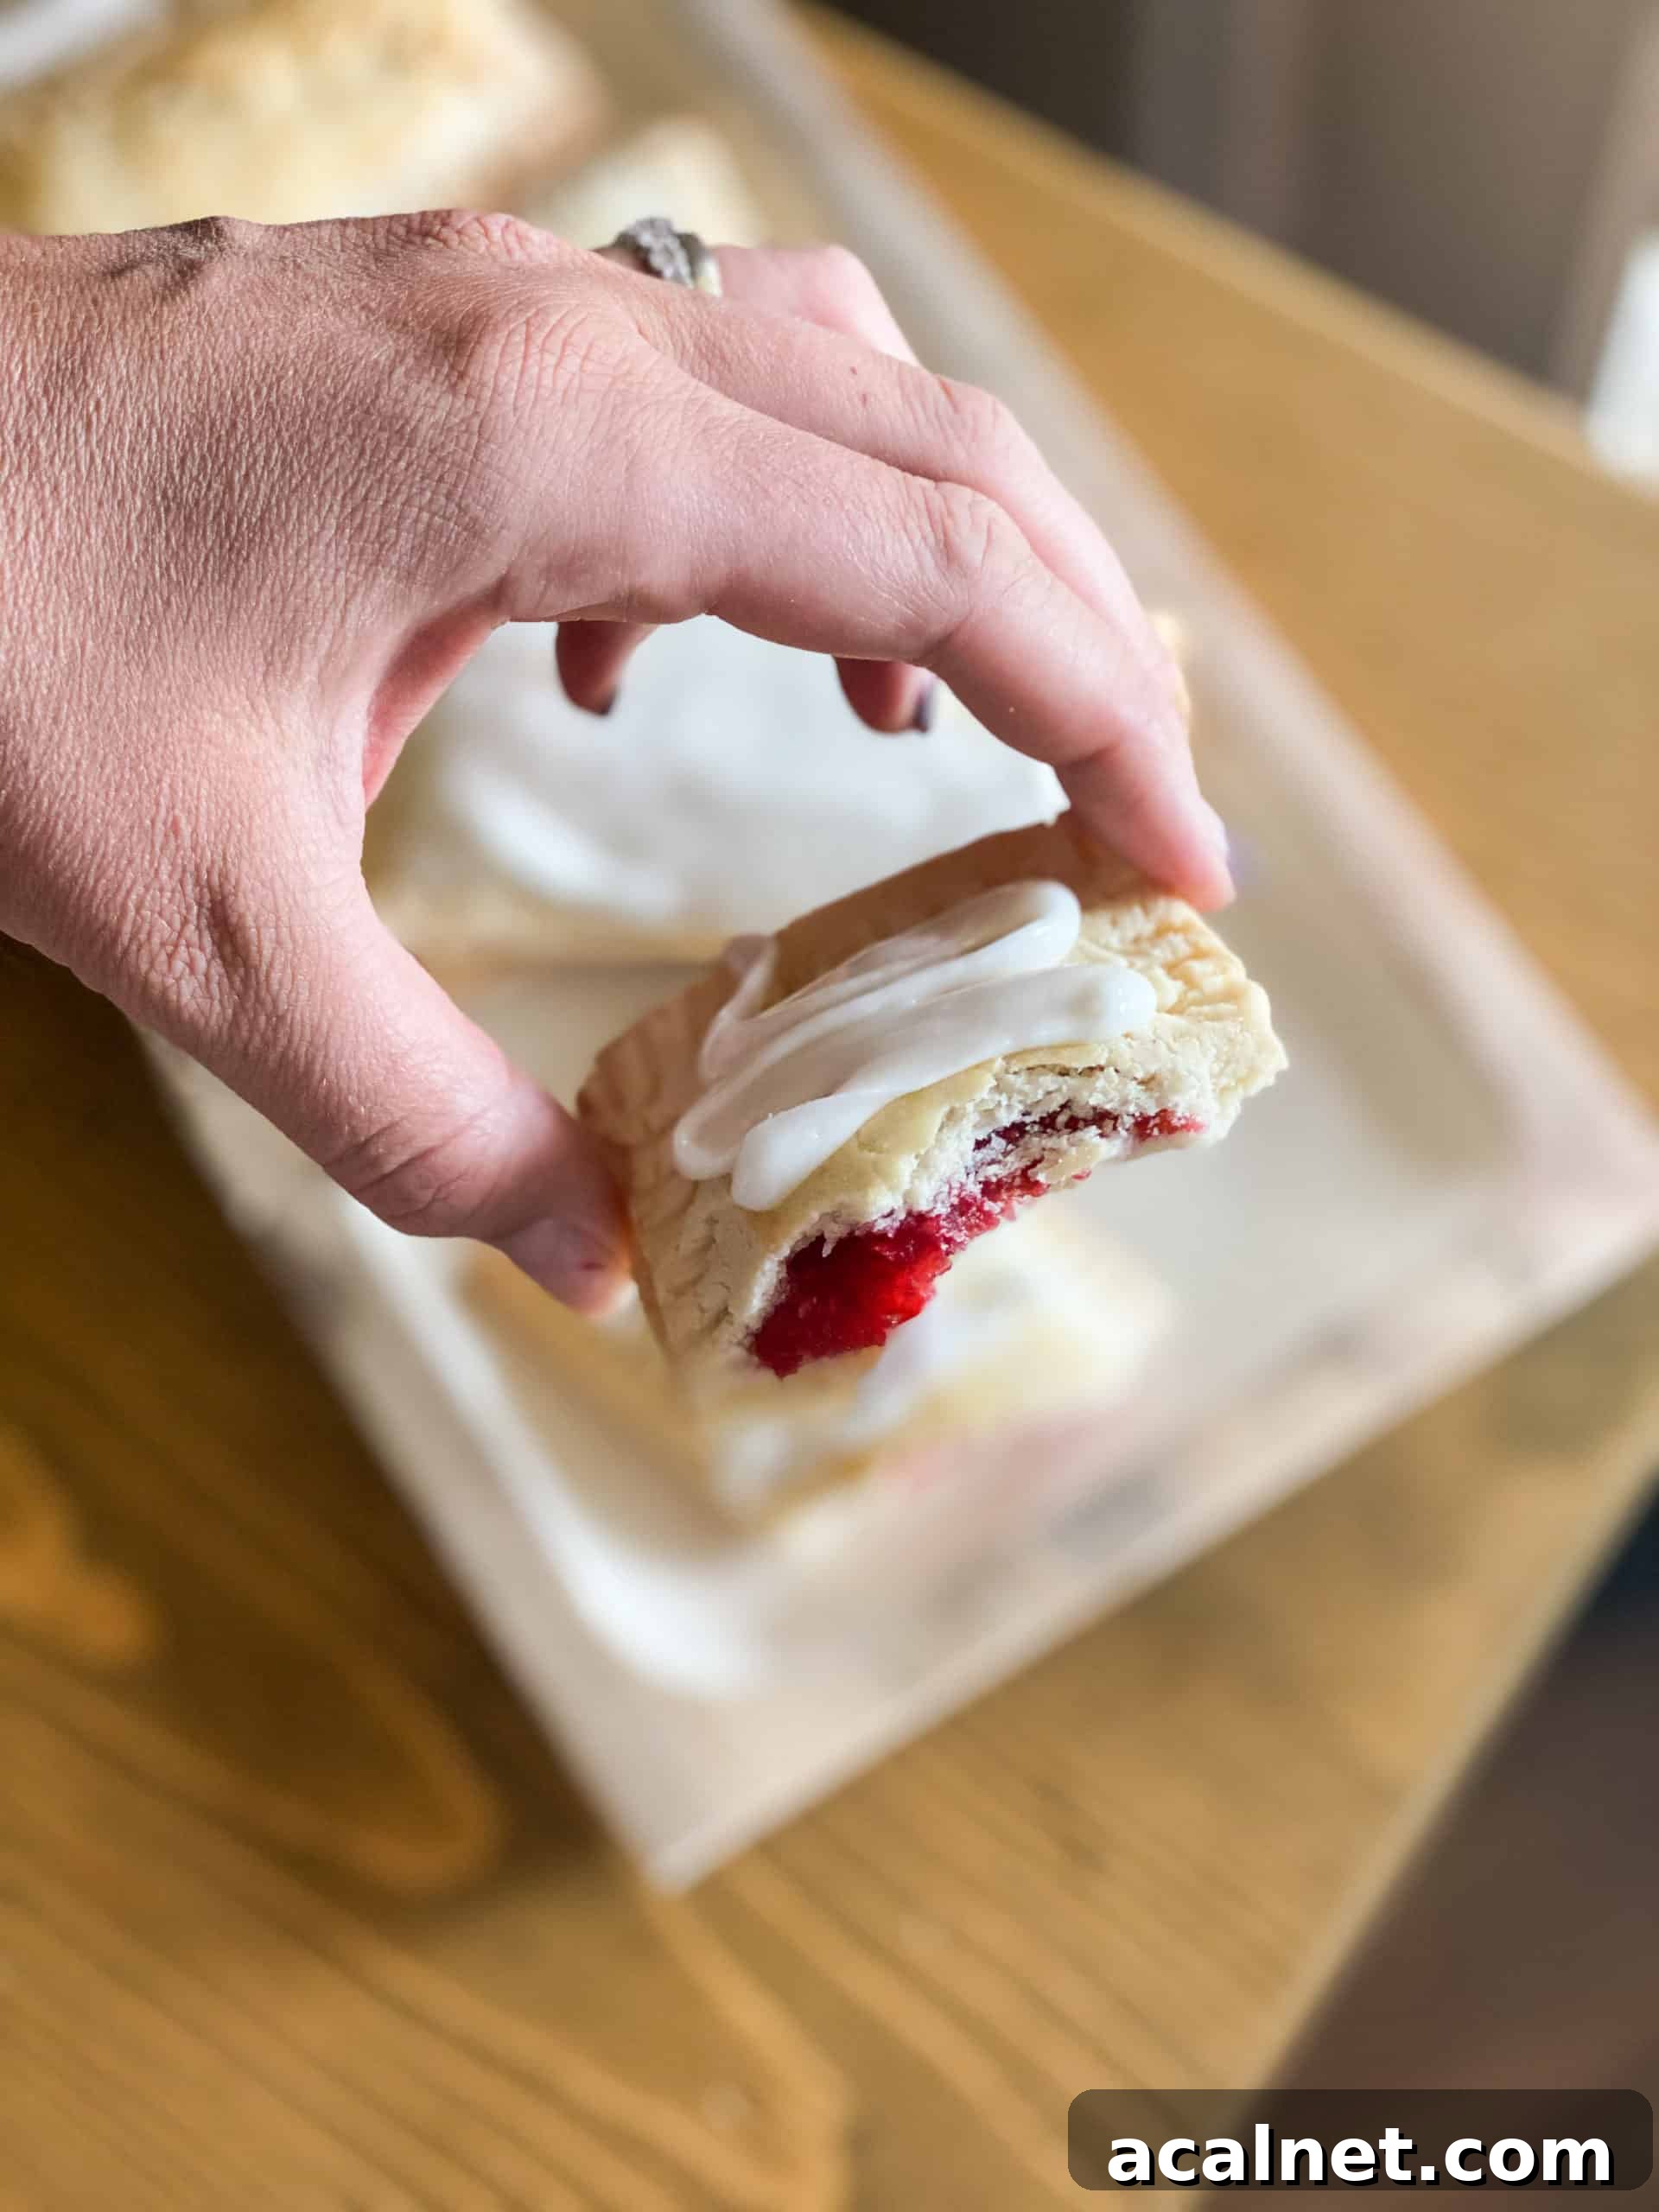
These pop tarts deliver a crisp, layered crust and a jam filling that’s just sweet enough. They’re customizable—try raspberry, strawberry, blueberry, or even a brown-sugar filling—and you can finish them with a simple glaze or flavored frosting. They’re also freezer-friendly: bake a batch, cool completely, freeze flat in a freezer-safe bag, then toast or microwave to reheat.
Why these gluten-free pop tarts stand out
- Perfect texture: The crust is flaky and layered thanks to frozen butter grated into the flour blend. The result is a tender pastry that doesn’t feel dense or gummy.
- Customizable fillings: While raspberry is a favorite here, these pop tarts work with any thick jam or pie filling. Keep fillings to a small spoonful per pastry to avoid leakage.
- Freezer friendly: Make a large batch and store extras in the freezer. When ready to eat, pop them in a toaster since they are already baked.
- Simple ingredients: The recipe avoids artificial colors and preservatives—use fresh or frozen fruit and a straightforward flour blend for the best results.
What you’ll need
- Gluten-free flour blend – A mix of brown rice flour, white rice flour, tapioca starch and arrowroot produces the best structure and texture. If needed, a trusted all-purpose gluten-free flour can be substituted, though a custom blend yields flakier results.
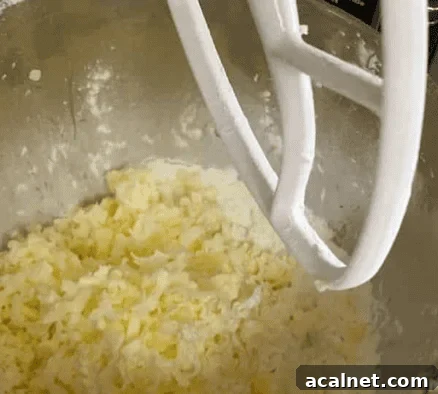
- Frozen butter – Grating frozen butter into the dry mix creates cold pockets that steam while baking to form flaky layers. Don’t use warm butter.
- Buttermilk / buttermilk powder & vinegar – A touch of acidity keeps the dough tender and adds lift without weighing it down.
- Egg – Used for an egg wash to achieve a golden, glossy finish on the tops.
Let’s get to baking
Pro tip: Chilling the dough for 10 minutes is optional but helps prevent sticking and makes it easier to roll and cut.
Tips for best results
- Keep ingredients cold – Use cold butter, cold liquids, and work quickly to retain a flaky texture.
- Use parchment paper – Placing parchment between the rolling pin and dough reduces sticking and mess.
- Cut with a pizza cutter – A pizza cutter or pastry wheel yields clean, even rectangles for consistent baking.
More gluten-free breakfast ideas
- Family favorite breakfast casserole
- Gluten-free fried donuts
- Peanut butter oatmeal bars
- Fluffy pancakes with buttermilk syrup
- Gluten-free French toast casserole
45-Minute Homemade Gluten Free Pop Tarts
Ingredients
Filling
- 10 ounces frozen raspberries
- ½ cup sugar
- 3 tablespoons cornstarch
Pastry
- ¼ cup brown rice flour
- ½ cup white rice flour
- ½ cup tapioca starch
- ½ cup arrowroot starch
- ½ teaspoon xanthan gum
- ½ teaspoon gelatin
- ½ teaspoon salt
- ½ tablespoon buttermilk powder
- 1 tablespoon sugar
- ½ cup butter, frozen
- 1 tablespoon buttermilk
- 1 egg, beaten (reserve 2 tablespoons)
- ½ tablespoon apple cider vinegar
- 1½–2 tablespoons ice water
Icing
- 1 cup powdered sugar
- 1–2 tablespoons milk
Instructions
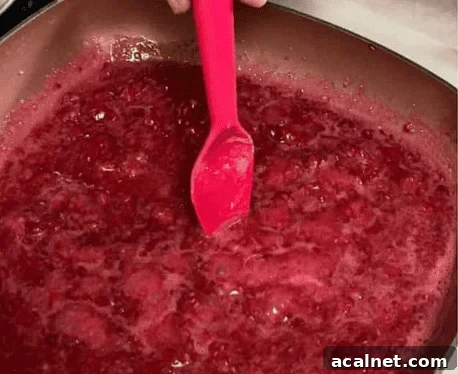
- Make the filling: In a saucepan combine raspberries, sugar, and cornstarch. Cook over medium heat, stirring frequently, until the mixture is hot and thickened. Remove from heat and cool completely before filling.
- Preheat the oven to 400°F (200°C).
- In a mixer combine the dry pastry ingredients (flours, starches, xanthan gum, gelatin, salt, buttermilk powder, and sugar).
- Grate frozen butter into the dry mix a little at a time and gently fluff the pieces so each is coated with flour.
- Add buttermilk, apple cider vinegar, and 2 tablespoons of the beaten egg, mixing briefly between additions.
- Add ice water one tablespoon at a time until the dough comes together and is smooth but not wet. Chill 10 minutes if desired; dough should be slightly cooler than room temperature when rolling.
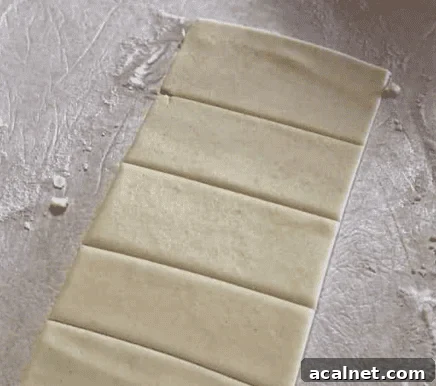
- On plastic wrap or parchment, divide dough in half and roll into a large rectangle. Use a pizza cutter to cut rectangles about 3″ x 5″. Transfer rectangles to a parchment-lined baking sheet, leaving working space between pieces.
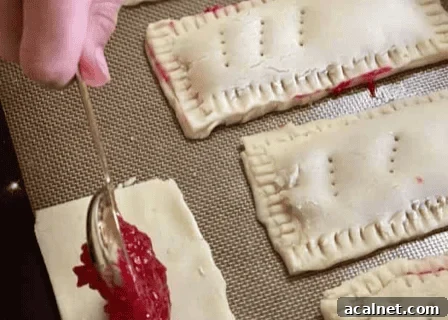
- Place 3–4 tablespoons of cooled raspberry filling on each rectangle, spreading to leave a ¼” border. Dip a finger in water and run around the border to help seal.
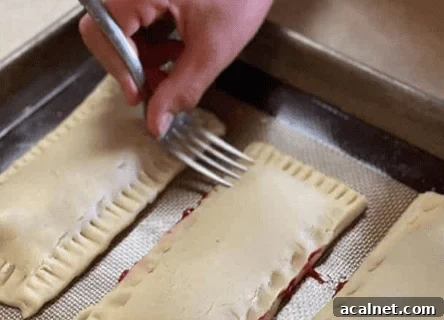
- Roll out the second half of dough and place matching rectangles on top of the filled pieces. Press edges to seal and crimp with a fork. Add a few vents to the tops for steam release.
- Brush the tops (not the edges) with the remaining beaten egg. Bake 17–19 minutes or until golden brown. Cool completely before icing.
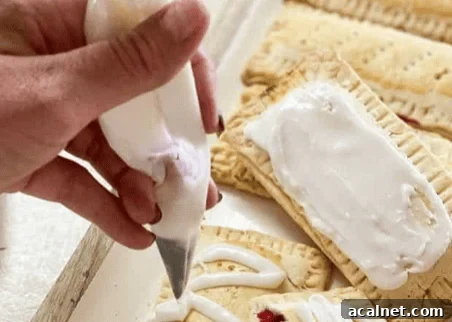
- For the icing, mix powdered sugar and milk until smooth. Transfer to a small bag, snip a corner, and pipe a thin pattern on each pop tart when ready to serve. Do not ice before toasting.
Notes
Storing and make-ahead
Storing: Keep pop tarts up to 4 days at room temperature in an airtight container. Reheat in the toaster or microwave before serving.
Freezing: Cool completely, then store in a freezer-safe bag. Reheat from frozen in a toaster. They keep up to 3 months.
Additional tips
- Keep ingredients cold for the flakiest crust.
- Use parchment to prevent sticking while rolling.
- A pizza cutter makes even, consistent rectangles.
Nutrition
| Carbs: 83 g | Protein: 4 g | Fat: 17 g
| Sugar: 41 g | Fiber: 4 g
This post was originally published in 2017 and has been updated with new photos and step-by-step images. The recipe remains the same tried-and-true version that yields flaky, flavorful gluten-free pop tarts every time.