Making a gluten-free pie crust often intimidates even experienced bakers, but it doesn’t have to. With the right recipe and a couple of straightforward transfer techniques, you can produce tender, flaky crusts that hold up beautifully in the pan. These methods simplify moving a rolled gluten-free crust into your pie dish so you can focus on flavor and presentation.
Begin with a reliable gluten-free pie crust recipe to achieve that light, flaky texture everyone loves. A crust made from gritty or crumbly gluten-free flour will be difficult to transfer and won’t produce the best results. Choose a recipe and a flour blend formulated for elasticity and fine texture—this makes the dough easier to roll and less likely to crack when lifted into the pie plate.
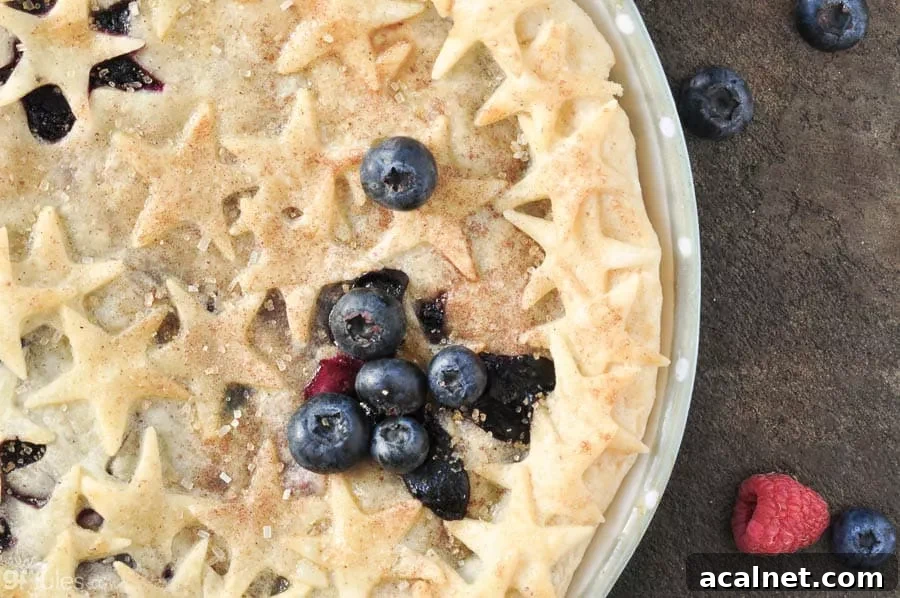
Using a well-tested recipe plus the right transfer method removes most of the stress from making gluten-free pies. When your dough is tender, not gritty, and chilled properly, either of the two simple approaches below will help you move the crust into the pan without tearing or reshaping. The result: a perfectly fitted shell ready for fruit, custard, or savory fillings.
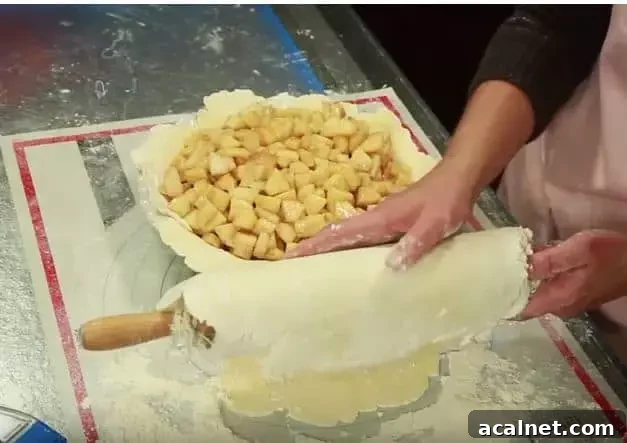
Method One: Transfer a Gluten Free Pie Crust using a Pastry Mat and Rolling Pin
Work on a lightly floured pastry mat or a clean, flat surface. Roll the dough between two pieces of parchment or on the mat until it’s evenly sized and slightly larger than your pie pan. Slide the rolling pin under the edge of the chilled dough, lift gently and roll it around the pin so the crust wraps neatly. Position the rolling pin over the pie pan and unroll the dough into the dish. Press the crust into the pan gently, patch any small tears with pinched dough, trim the excess leaving a small overhang, and crimp or flute the edges as desired. Chilling the crust briefly in the pan before blind-baking or filling helps preserve shape and reduce shrinkage.
Method Two: Transfer a Gluten Free Pie Crust using a Pie Bag:
A pie bag (or pastry transfer bag) offers a tidy, controlled way to move a fragile crust. After rolling the dough to the correct diameter, slide it onto the flattened bag and fold the bag around the dough. Lift the bag and center it over the pie plate, then open the bag and let the dough settle into the pan. The soft support of the bag prevents stretching or tearing and is especially helpful for very thin doughs. If you don’t have a pie bag, a large sheet of parchment folded over itself can work similarly.
You can find pie bags and other tools in specialty stores or from suppliers that offer gluten-free baking accessories. A purpose-made bag reduces handling and keeps the dough cold longer, both of which protect texture and flakiness.
Recap: how to transfer gluten-free pastry into the pan using either method
- Choose a fine-textured, elastic gluten-free dough that rolls easily without cracking.
- Chill dough until firm but still pliable for easier handling.
- Roll between parchment or on a pastry mat to your desired diameter.
- Use a rolling pin to roll the dough onto the pin and unroll into the pie plate, or lift the dough with a pie bag or folded parchment and ease it into position.
- Gently press to fit, trim excess, and crimp or finish edges; patch small tears with pinched dough.
- Chill in the pan briefly before baking or filling to prevent shrinkage.
Once you’ve mastered the transfer, the only question is which pie to make first: apple, peach, blueberry, cherry, pumpkin, banana cream, chocolate cream, key lime, or another favorite. With a dependable recipe and one of these transfer methods, you’ll be creating beautiful, flaky, gluten-free pies with confidence. For full details on dough texture, chilling times, and troubleshooting, consult a trusted gluten-free pie crust recipe and tips guide before trying either technique.